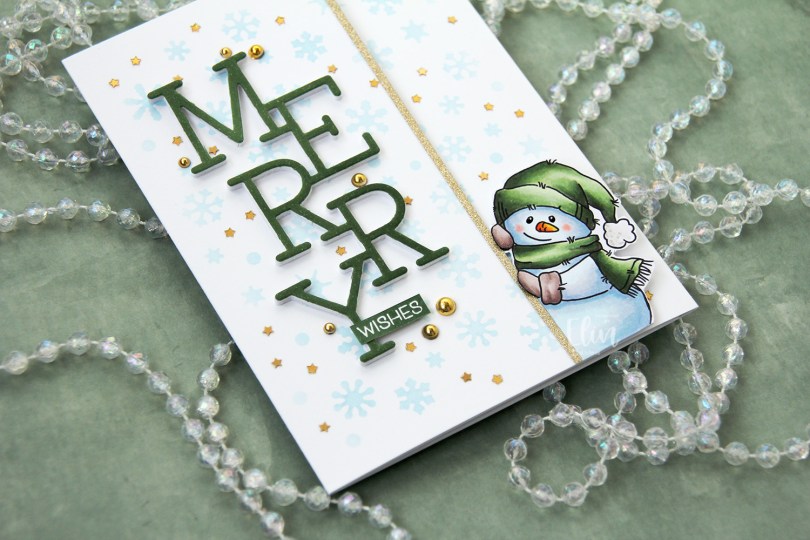
Hi, crafty friends. I’m still creating holiday cards, I still have no idea how many I’ve made this year, but I do know that this snowmen stamp set from the latest Lili of the Valley release is a must have.
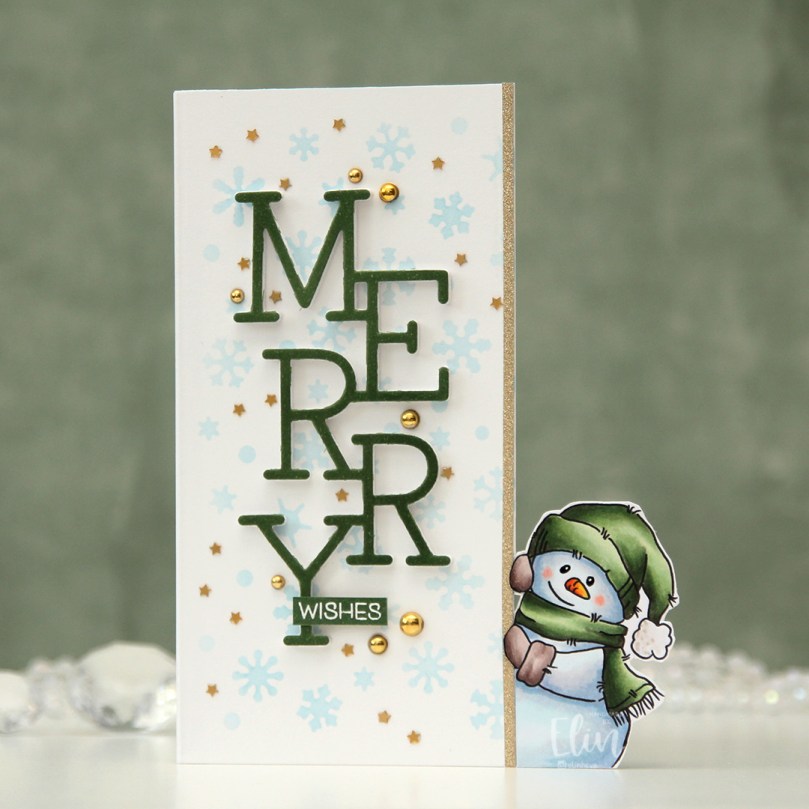
I’ve actually created a tri-fold card this time. There are several images in this stamp set that lend themselves very well to this kind of off the edge design. I colored my snowman with Copics, before adhering him towards the right edge of a half sheet (8 x 5 1/2″) of Stamper’s Select White cardstock from Papertrey Ink. I fussy cut to the right of him, leaving a white trim and used a steel ruler and a craft knife on the left to create a vertical edge. Adhering him to the white cardstock did two things: 1 – it added strength, and 2 – it covered up the back of my coloring for a clean look when the card is open.
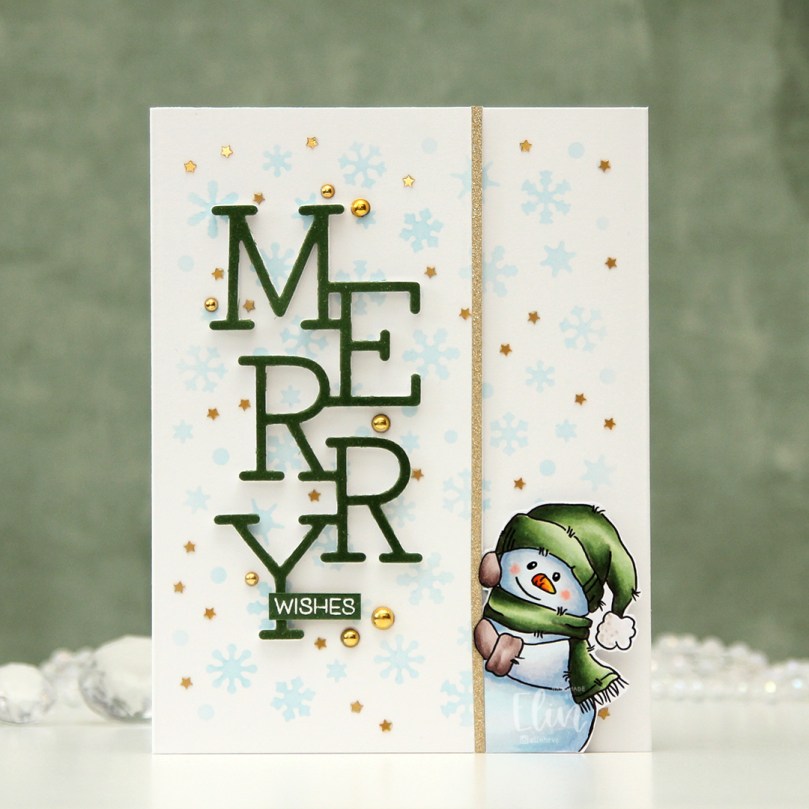 This is the card closed. I created this by gluing 2 side fold A2 card bases together; the half with the snowman with the fold on the left and the other one with the fold on the right.
 I used the Snowflake Confetti fancy die from Hero Arts to die cut from Gina K Masking Magic to create a stencil to ink blend through. I used Iceberg ink from Altenew to create subtle blue snowflakes in the background on the front of the card to the left of the snowman and also on the other flap.
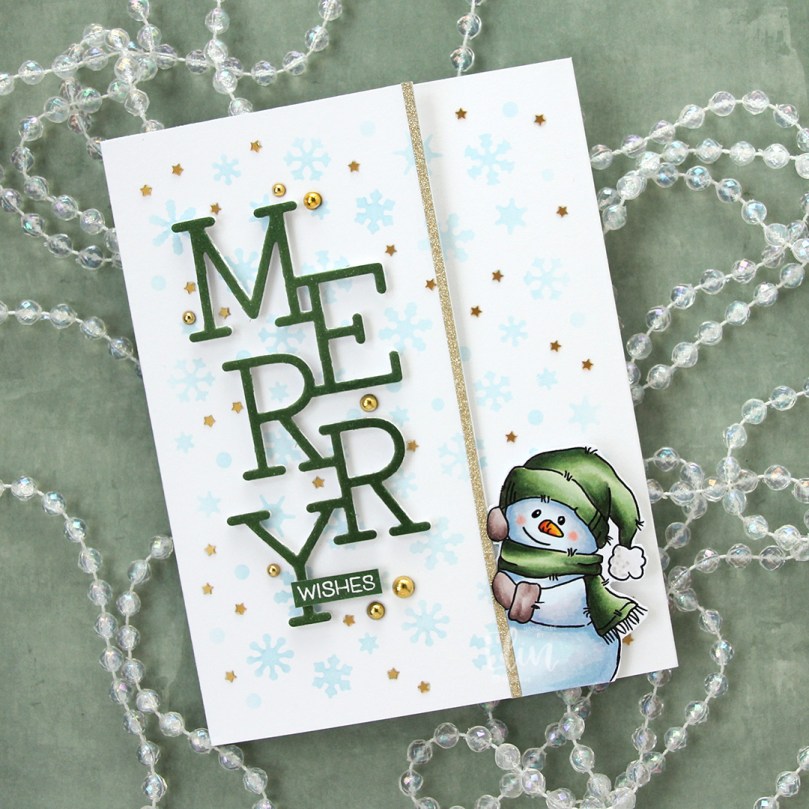 I adhered an 1/8″ gold glitter cardstock strip from Kort & Godt for the snowman to hold on to for a defining edge and used the Stacked Merry die from My Favorite Things to die cut 6 times for a stacked look. 5 layers from white cardstock, the top layer from a piece of X-Press It blending card that I colored to match the green on the snowman. I stacked the six layers and adhered them in the center of the left front panel, stamped and white heat embossed a sub sentiment from the Christmas Greetings stamp set from Lili of the Valley, before adhering it on top of the stem of the Y with a few additional layers of cardstock behind it for dimension and strength.
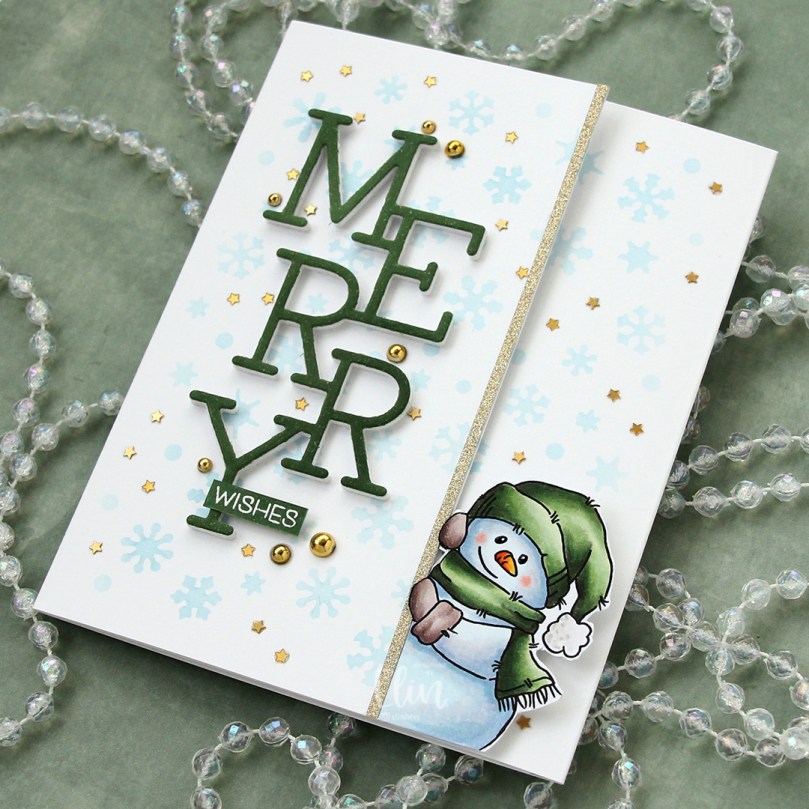 I embellished with a combination of gold pearls around the sentiment and tiny confetti stars all across the background. Both are from the Vanilla Kiss mix from Little Things from Lucy’s Cards. I also added a bit of black glaze pen to the eyes of the snowman. It adds a tiny bit of dimension and some shine. Once dry, I went over with a dot of white, using a Gelly Roll 05.
 On the inside flap, behind the snowman, I stamped another sentiment from the Christmas Greetings stamp set from Lili of the Valley, this time using Jalapeño Popper ink from My Favorite Things.
 Simple color palette for this one. Lots of colors for the snow, though, I can’t seem to help it.

 I stamped three of the little penguins using Extreme Black ink from My Favorite Things, colored them all in using my Copics, then restamped using Obsidian ink from Altenew, which is a pigment ink that stamps extra crisp and extra dark to bring the details of the linework back in.
 Onto a separate piece of cardstock, I stamped a sentiment from the Mini messages stamp set from Mama Elephant using Hunter Green ink from Altenew.
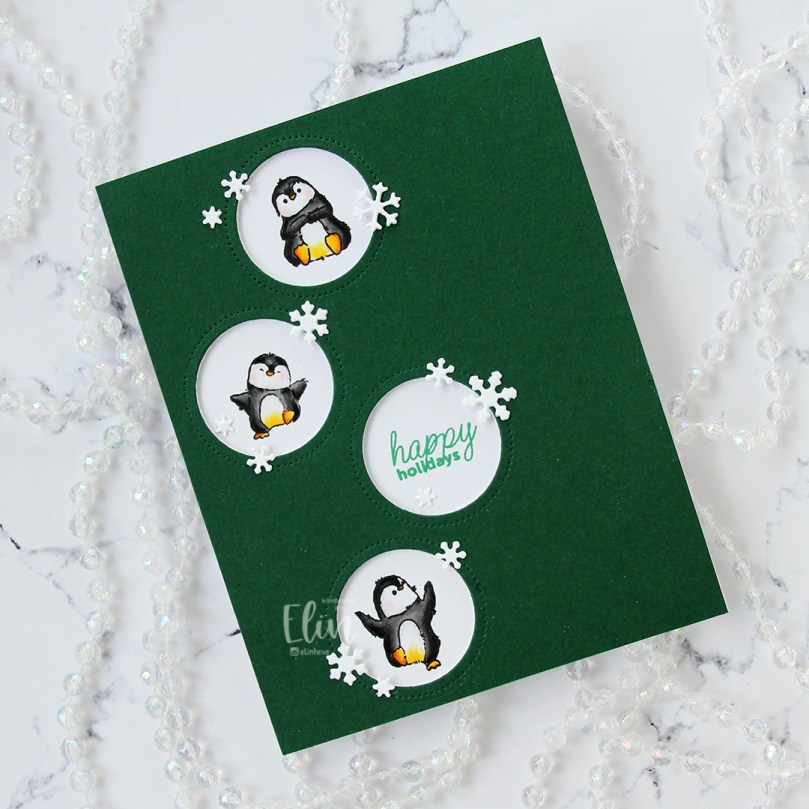 Using the Circle Frames die from Avery Elle, I die cut the openings from Evergreen cardstock from Concord & 9th. I also die cut a few panels from white cardstock to layer behind the green, so my penguins would be recessed a little bit.
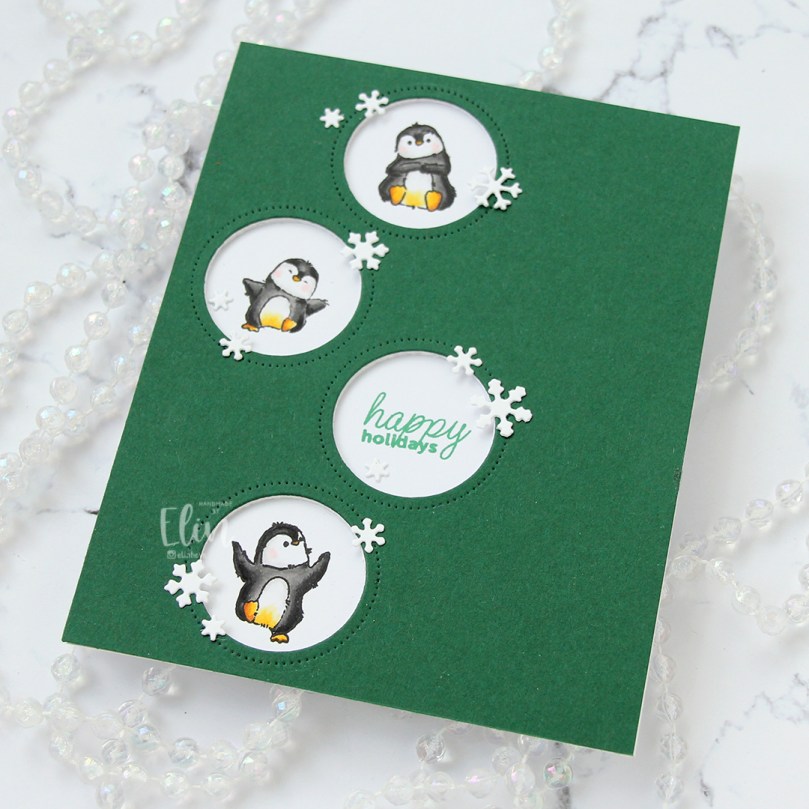 Using the Snowflake Confetti Fancy die from Hero Arts, I die cut a bunch of snowflakes from white cardstock (Stamper’s Select White from Papertrey Ink, which I also used for my card base) that I adhered around my circle openings to draw the eyes in toward those cute penguins and the sentiment. Easy peasy card, right?
 Quick and easy peasy to color too.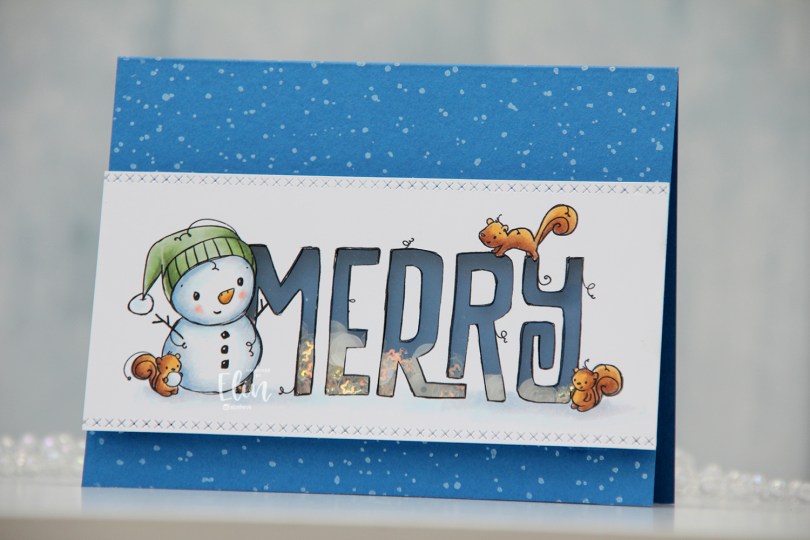
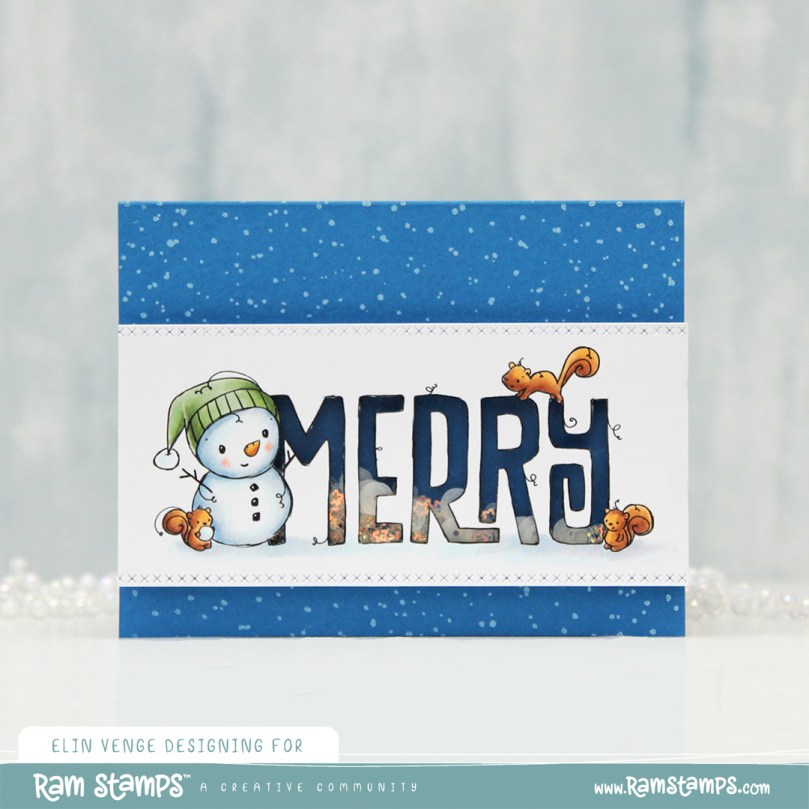
 I colored the image with Copics, then used a craft knife to cut away the insides of the letters. I used a die from the Stitched borders die set from Lawn Fawn to create a defined edge on my colored panel and added a piece of acetate from Simon Says Stamp behind the letters. I’d made sure to keep the counters on the Rs intact when I did my cutting, so I could add them back in once the acetate was in place.
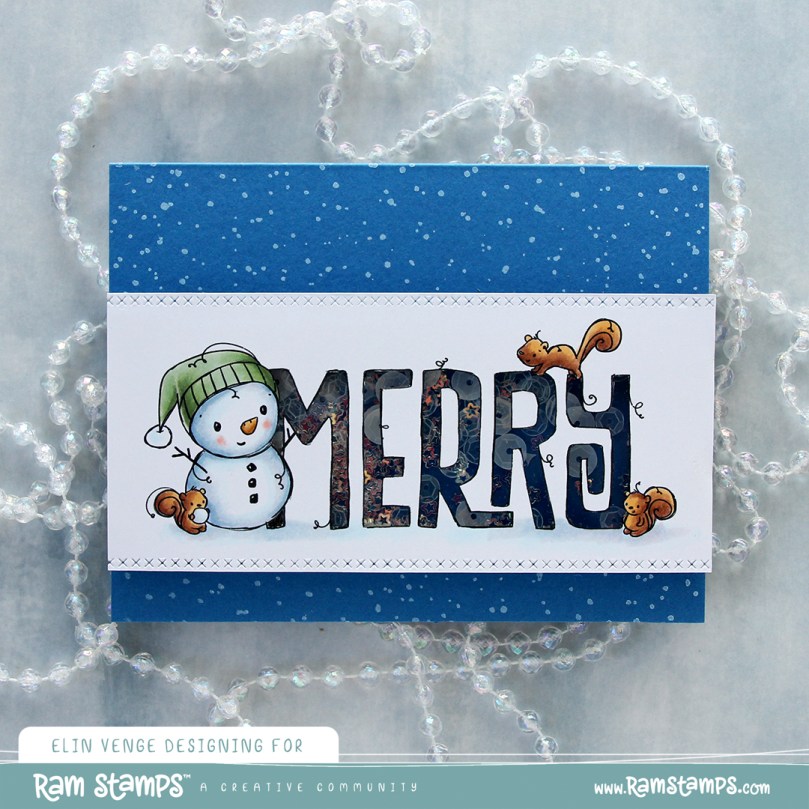 I used Cornflower cardstock from My Favorite Things to create the shaker well. I doubled up on foam tape and put sequins and confetti from the Icicle Sequin mix from Hero Arts in the well, then adhered the window on top.
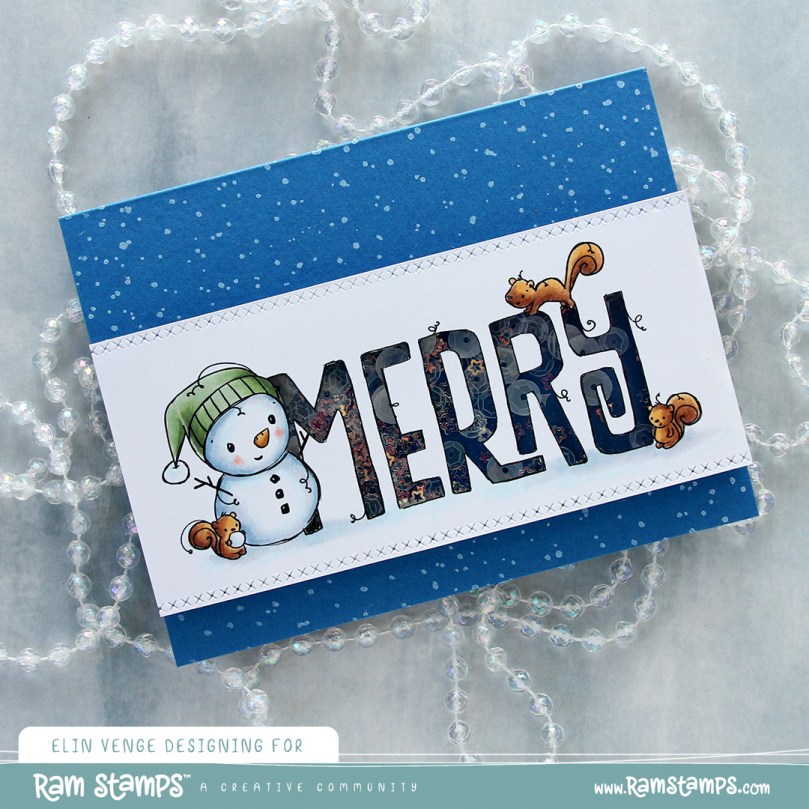 I created a top fold A2 landscape card base using Cornflower cardstock once again. I stamped the Paint Splatter background stamp from My Favorite Things onto the card base using Fresh Snow hybrid ink from Papertrey Ink, and adhered my shaker panel on top. Easy peasy.
 By doubling up on the foam tape, the sequins and confetti have lots of room to shake.
 Super simple color palette for this one.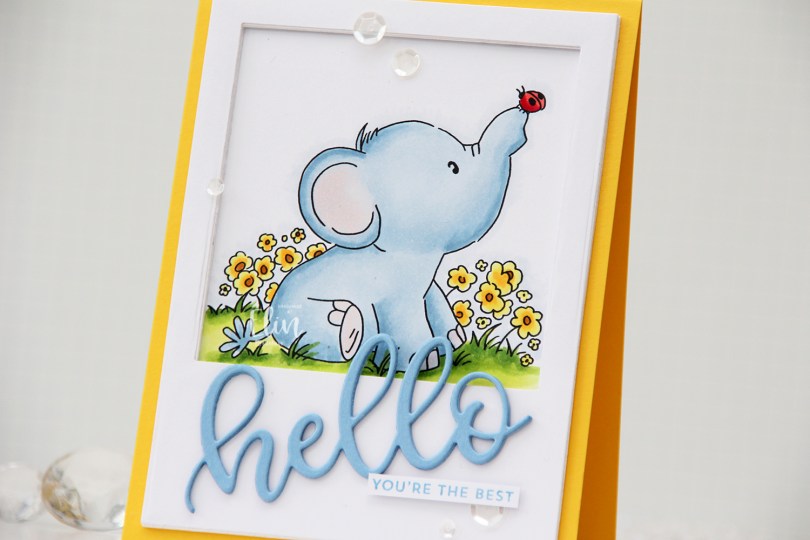
 Once I colored the first of these elephant stamps blue, I just couldn’t stop, so here’s another blue one for you. I chose a very similar color palette to what I’ve used for my other cards with this set, but this time, I opted for a yellow card, creating a top fold card base from Bright Buttercup cardstock from Papertrey Ink.
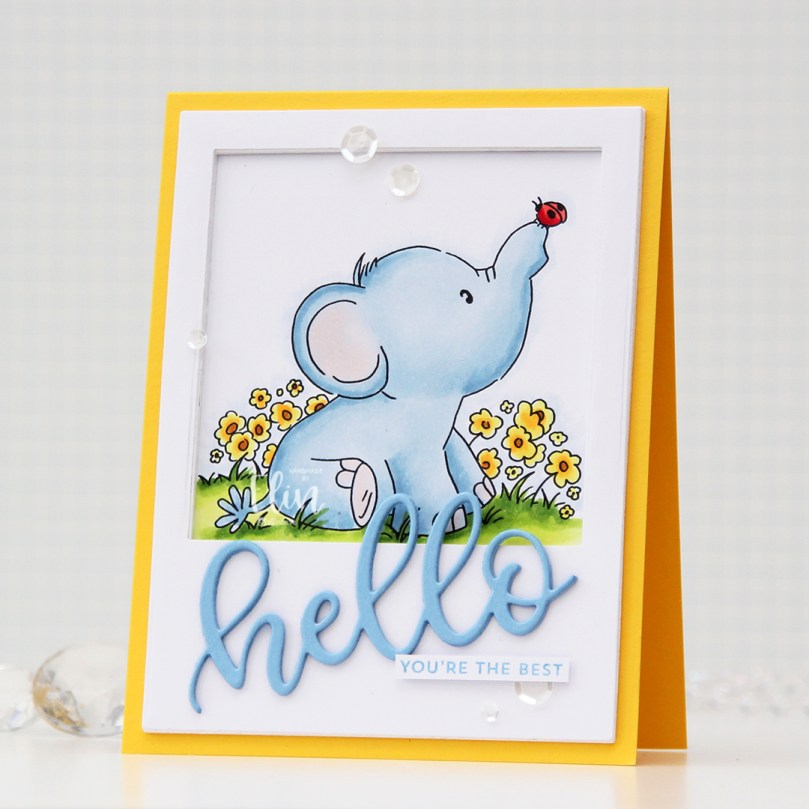 I colored the image with Copics, and created a large polaroid frame using a rectangle die from Waffle Flower, as well as a square die from Lifestyle Crafts. I taped the two dies together and die cut several layers of white cardstock that I stacked for a dimensional look. I love dimension on my cards. I used the Sweet hello die from My Favorite Things to die cut three layers of Periwinkle cardstock from Hero Arts, which I also stacked. I added the die cut at an angle and paired it with a sub sentiment from the Itty Bitty Basics stamp set from My Favorite Things, stamped in Blue Yonder ink, also from My Favorite Things. I finished off the card with a visual triangle of sequins from the White Orchid sequin mix from Little Things from Lucy’s Cards.
 Like I said initially: similar color palette to the ones I’ve used for the previous elephant cards. I also used B90, which is a color I’ve created myself.
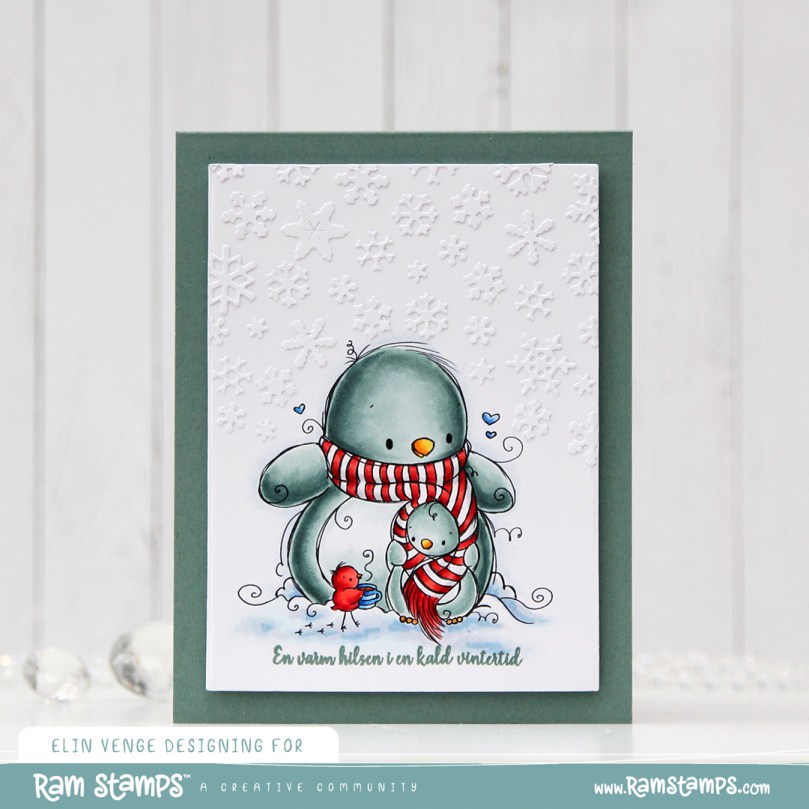 This
This  I colored my image with Copics, stamped a sentiment from Mathia Design using Ocean Tides ink from Papertrey Ink, before die cutting a bunch of white snowflakes from the same cardstock (X-Press It blending card) that I use to color on, so my whites would match. I used the Snowflake Confetti fancy die from Hero Arts, along with the CR1335 die from Marianne Design to die cut all my snowflakes. Both these dies cut lots of snowflakes at once, and the snowflakes are fairly small, making them ideal for a background like this. I adhered lots of snowflakes above the penguin’s head, then used a rectangle die from Waffle Flower to die cut my panel. I mounted it on foam tape onto a card base I created from Ocean Tides cardstock from Papertrey Ink, and my card was complete. Another Christmas card done for 2023.
 Fairly minimalist color palette. I also used B90 and BG71, which are colors I’ve created myself.
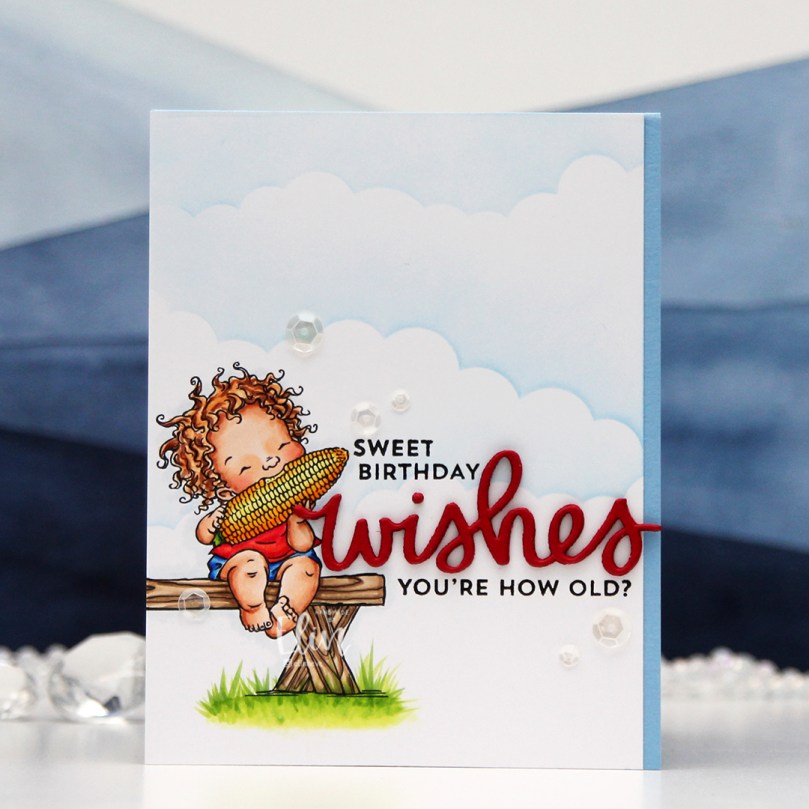 I printed the image near the bottom left of my panel and colored it up with my Copics, before trimming off a little bit on one side. I used the Slimline Cloud Edges stencil from My Favorite Things, along with Eastern Sky ink from Altenew, to softly ink blend the clouds in the background.
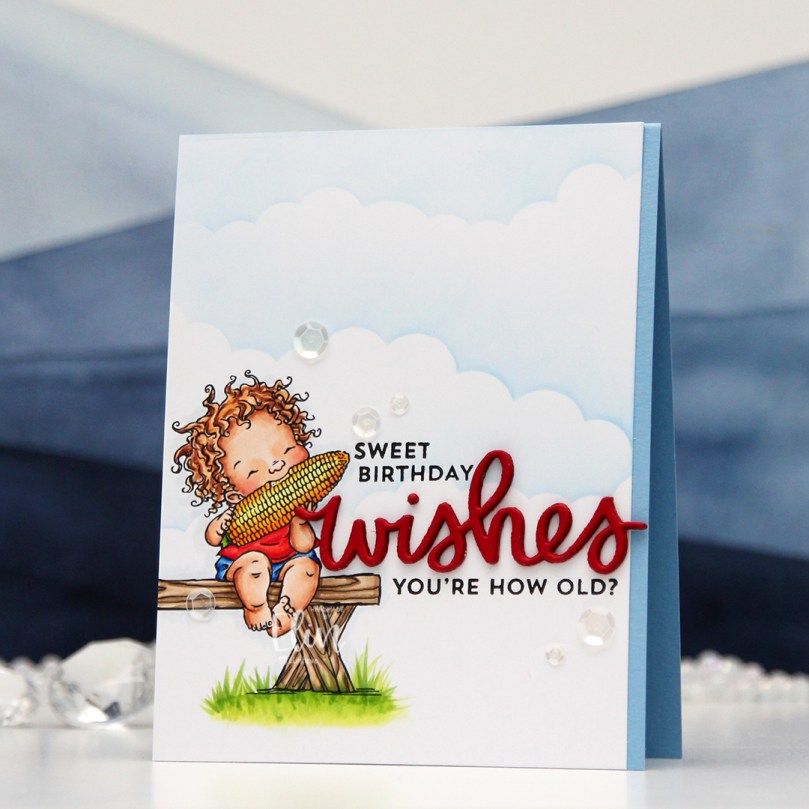 I stamped a couple of sentiments from the Bitty Birthday Wishes stamp set from My Favorite Things using Obsidian ink from Altenew. I adhered my panel directly to an A2 card base I created from Periwinkle cardstock from Hero Arts. I then used a scripty die from Mama Elephant to die cut the word wishes four times from Amarena Cherry cardstock from My Favorite Things. I stacked them together and added the word to the card, nestled in between the stamped sentiments, before finishing off the card with a few sequins from the White Orchid sequin mix from Little Things from Lucy’s Cards.
 Some vivid colors for this one.
 My last holiday card was blue, so I needed a new color. Green to the rescue, with a little bit of “gold” and a touch of pink. Somehow, I think it works.
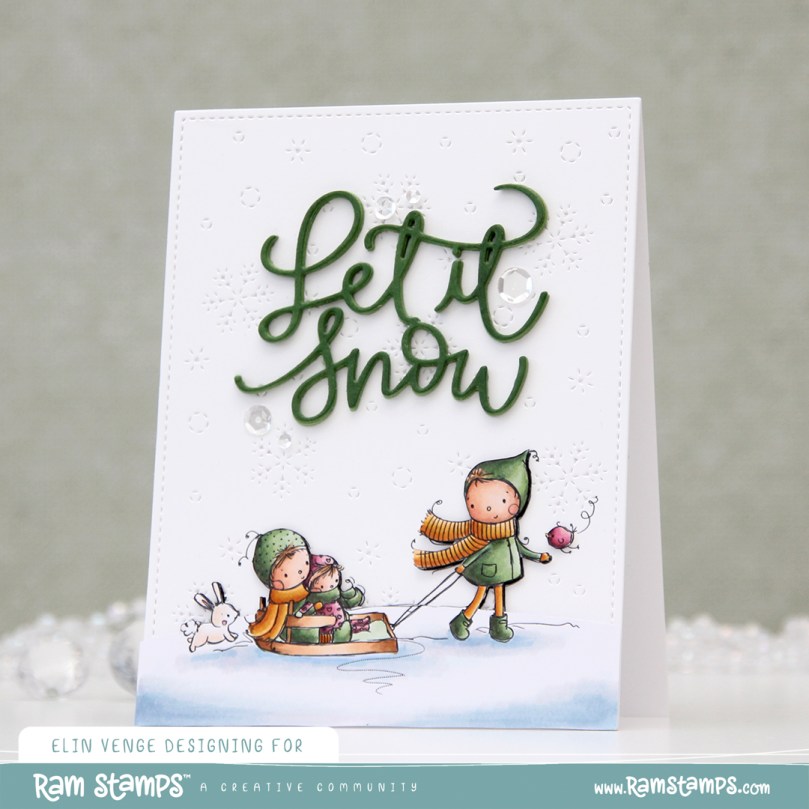 I printed the image twice: once onto X-Press It blending card, which is what I use for all my Copic coloring, and once onto Stamper’s Select White cardstock from Papertrey Ink. I wanted to fussy cut my colored image right up against the lines, but Rachelle’s images come with these great squiggly lines that I didn’t want to lose, they add such a unique look. By printing twice, I could mount my colored piece onto the other one and maintain the wonderful linework.
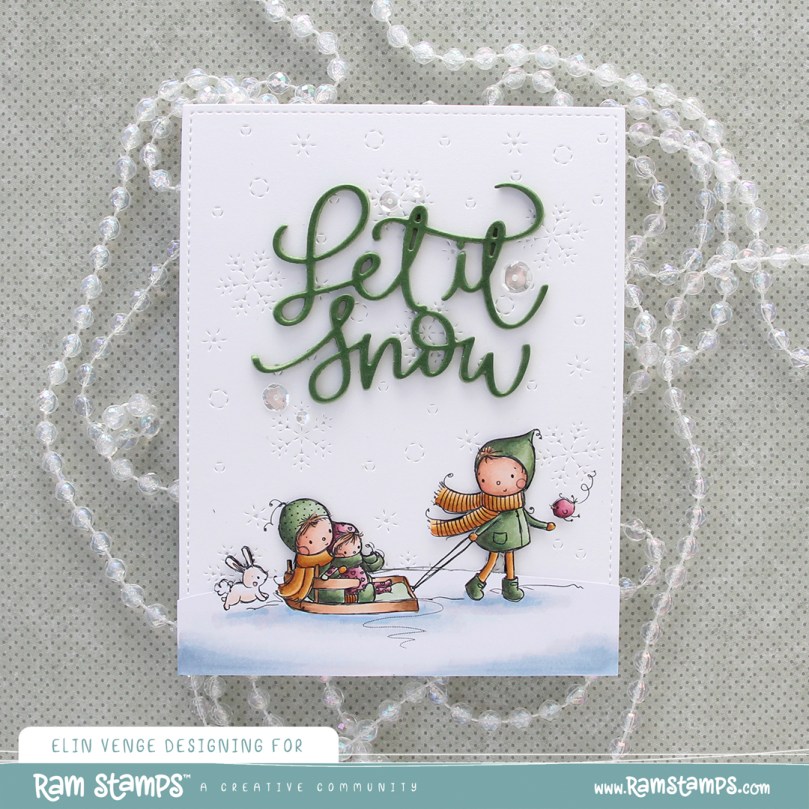 For the background, I ran my printed white cardstock through my die cutting machine using the Magic Snow Cover die from Mama Elephant, which adds a nice faux stitch snow flurry look. I used an embossing mat to make the details stand out even more, then adhered my white panel to a white cardbase and mounted the colored image using 1 mm foam squares – I wanted a little bit of lift, but not too much dimension.
 I then used the sentiment from the Let It Snow die set from Mama Elephant to die cut 5 times from Meadow cardstock from Hero Arts. Before die cutting, I colored one of the pieces with my G46 Copic marker to better match my coloring, stacked the five layers together with the colored one on top and added the stacked die cut sentiment to the card.
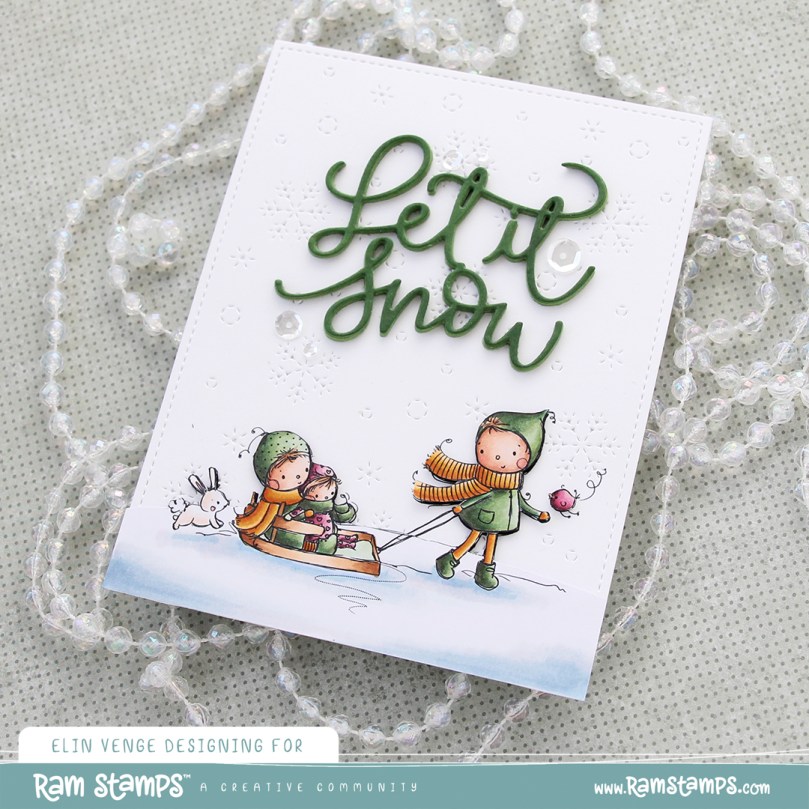 I finished off the card with a few sequins. These are a mix of Sparkling Clear sequins from Pretty Pink Posh and select sequins from the Sea Glass mix from Simon Says Stamp.
 I used my favorite green combo AND my favorite “holiday pink” combo for this card. I hope they inspire you.
 I colored my snowman with Copics and fussy cut him leaving a thin white border. I put him aside while I worked on the rest of the tag. Onto some white cardstock (Stamper’s Select White from Papertrey Ink), I ink blended distress inks in the colors Picked Raspberry, Spiced Marmalade and Scattered Straw for a soft background. I then used a die set from Hero Arts (Snowflake and Ornament) to die cut the ornament from my background and the snowflake circle twice from white cardstock. I adhered the two white die cuts together for a smidge of dimension, before adhering them to the base.
 I mounted the snowman on foam tape and white heat embossed a sentiment from Norsk Stempelblad AS onto a strip of Enchanted Evening cardstock from Papertrey Ink, mounted that on foam tape and added diamonds from Kort & Godt to the centers of the snowflakes, before finishing off the tag with a piece of ribbon, some thread and a couple of bells from UiT Hobby.
 Super simple color palette for this one.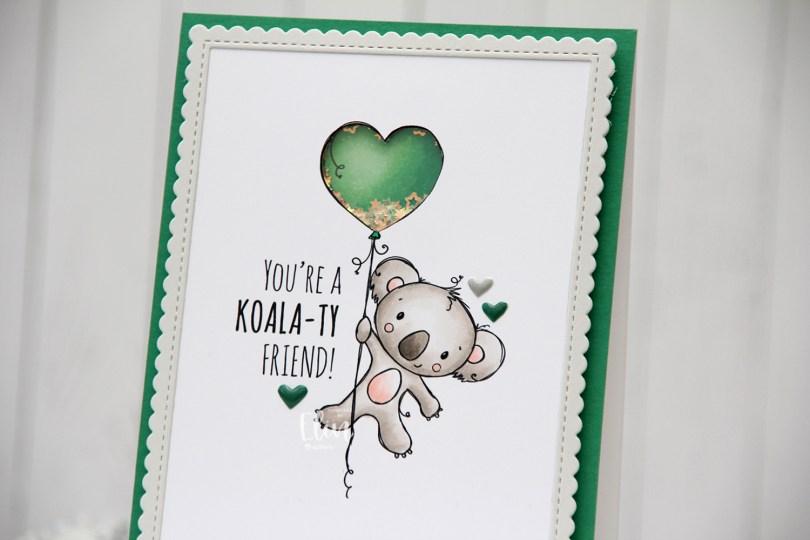
 I’m using the new
  I adopted Laura Bassen’s new coloring motto for 2023 for this card: “no muss no fuss coloring”. This was very simple, a few grays and a little bit of pink for the cheeks, the inner ears and the belly. I used a craft knife to cut out the interior of the balloon and printed another panel with just the balloon in the same size. I colored that balloon in green (thanks for the color suggestion, Liz) and added foam strips along the outer edge of the balloon, before filling it with tiny iridescent stars from the Icicle sequin mix from Hero Arts. I then added a piece of acetate on top to complete my shaker, and adhered the koala panel to the shaker, making sure to line up the window with my shaker heart balloon as best I could.
 I added foam tape on the back of the rest of the panel and adhered it to a top fold card base. The card base is actually Stamper’s Select White cardstock from Papertrey Ink, but I adhered a panel of Clover cardstock from Concord & 9th on top to create the green front. The color matched with my green balloon, but I don’t have unlimited amounts of Concord & 9th cardstock, so I’m trying not to use it all at once. Also, it’s a thinner cardstock, and not sturdy enough on its own to hold the weight of lots of foam tape and a shaker.
 Using the largest of the dies in the Stitched Rectangle Scallop Edge Frames die set from My Favorite Things, I die cut a frame from Soft Stone cardstock from Papertrey Ink. This is such a perfect soft grey, I love it. I finished off the card with a few enamel hearts from Altenew, from the Green Fields pack and the Rock Collection.
 The iridescent stars inside the shaker heart really catch the light nicely.
 Super simple color palette, as I mentioned.
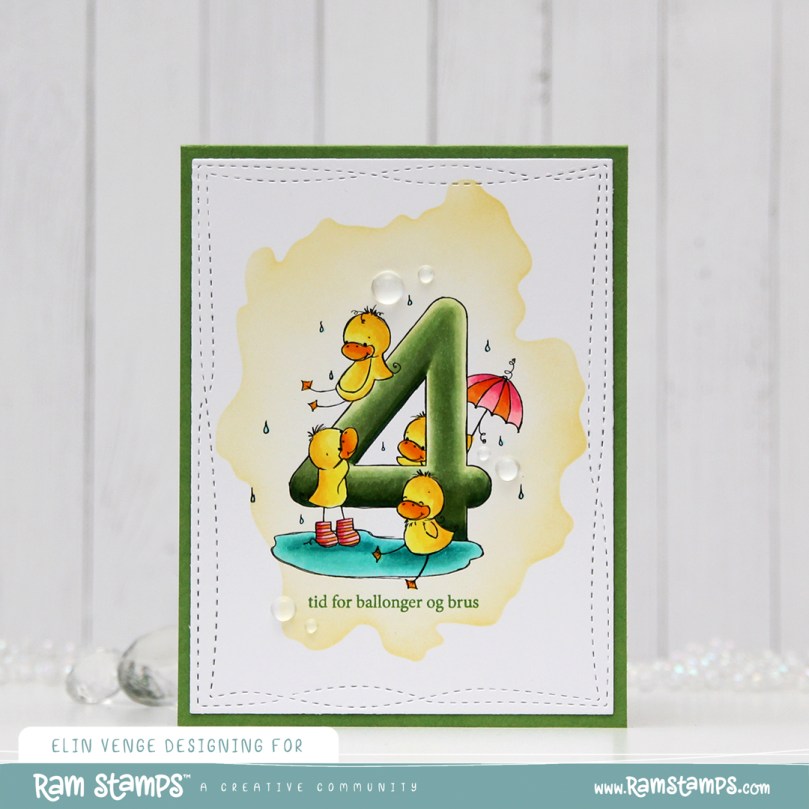 I love these animal number images from Rachelle, and these ducks are sooo cute. Perfect for a birthday card, I think. I colored the image with my Copics, before temporarily adhering the Watercolor Wash Free Form stencil from My Favorite Things and ink blending with Harvest Gold ink from Papertrey Ink. I then stamped a sentiment from the A06 stamp set from Norsk Stempelblad AS using Shadow Creek ink from Altenew.
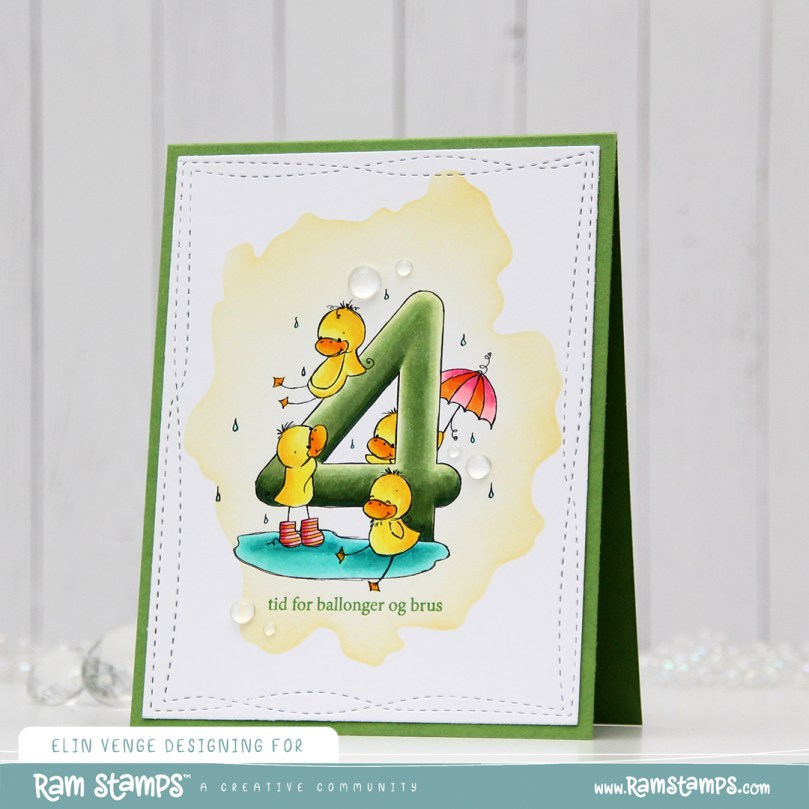 I used the largest of the Wonky Stitched Rectangle STAX dies from My Favorite Things to create a quirky faux stitch interest around the edge and adhered my panel to a top fold card base I created from Meadow cardstock from Hero Arts.
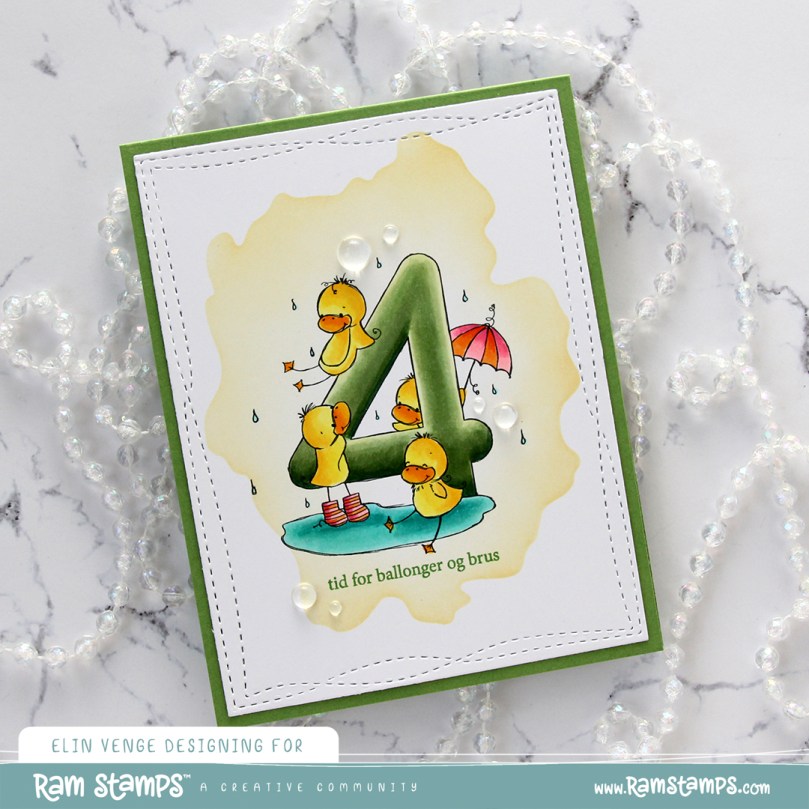 To finish off the card I added a few raindrops from Little Things from Lucy’s Cards, I thought they fit well with the water theme in the image.
 Simple, yet bright color palette for this one 🙂
