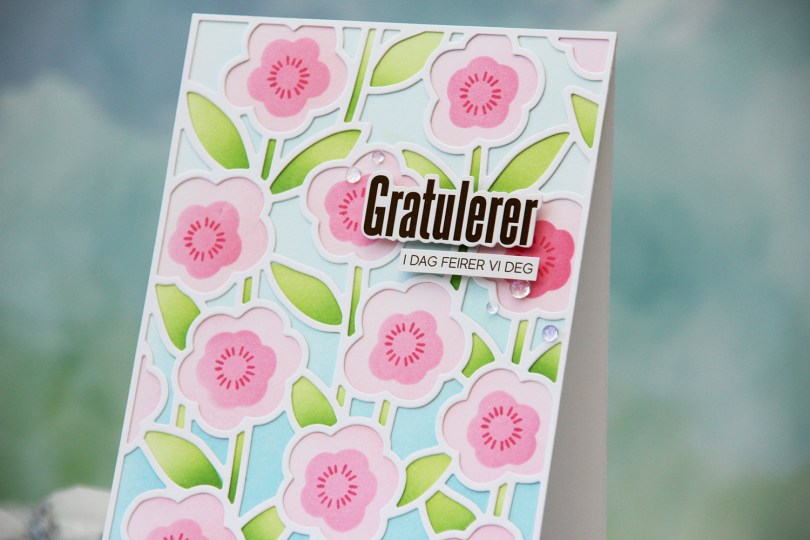
Hi, crafty friends! I’m back today with a card I created for the Papiria blog, featuring the Sweet Stems bundle from Concord & 9th. There’s a die set, a stamp set and a stencil set that all coordinate. I’ve made a card previously where I focused on the dies, but today’s card is all about those stencils (though I did use both the die set and the stamp set as well).
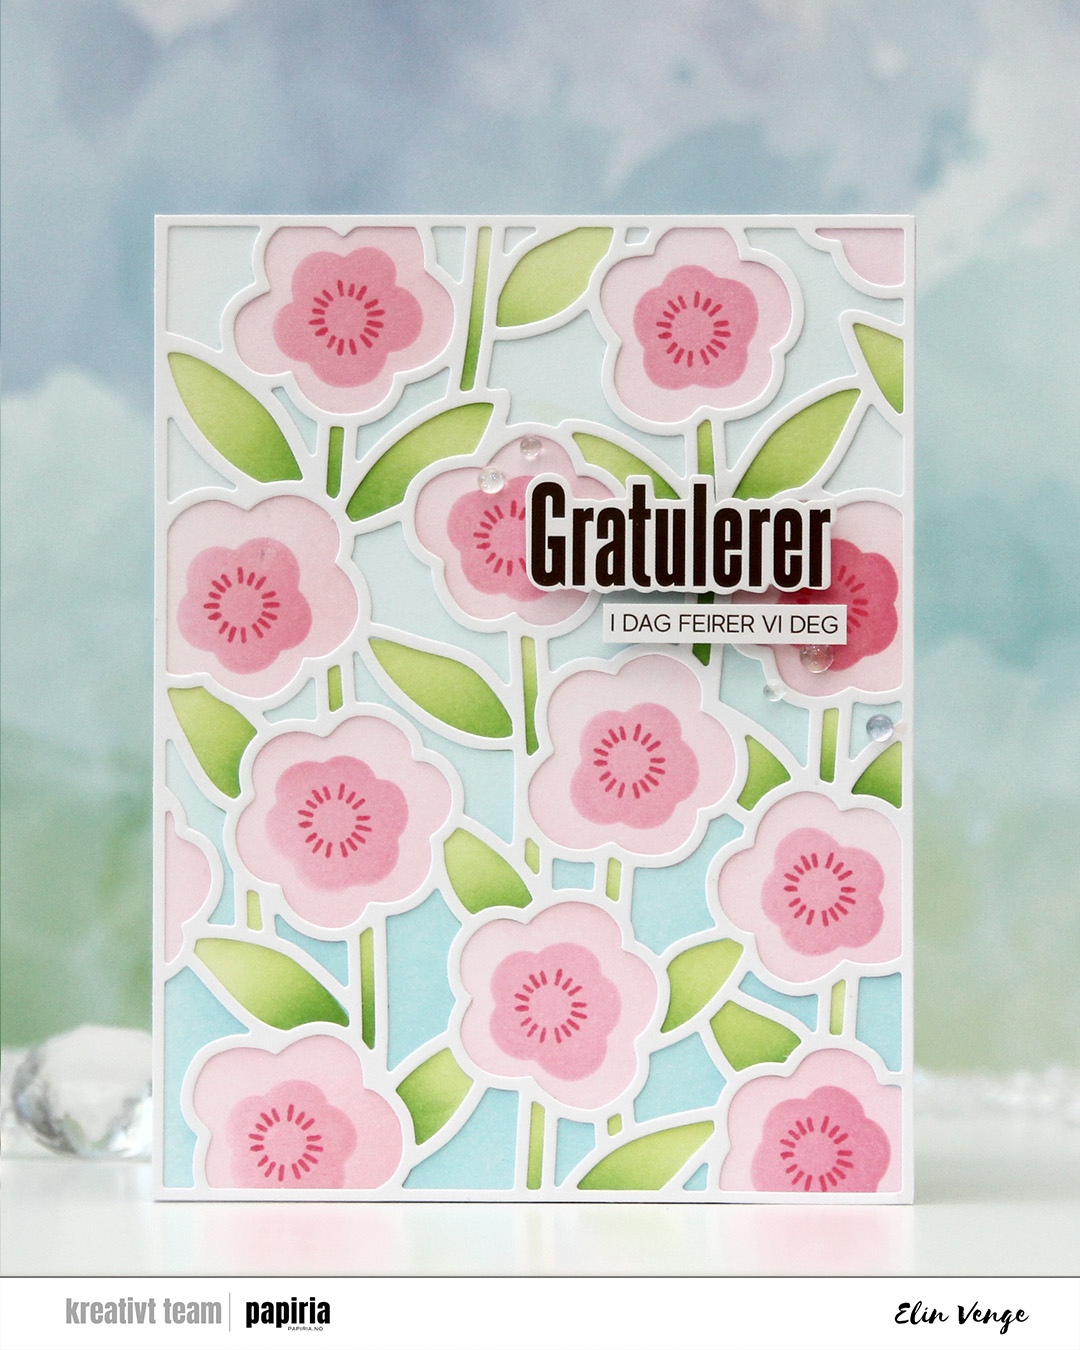 I started with a panel of white cardstock. I put down the first stencil, which is for the background, and used Harbor and Powder inks. The second stencil does the stems and leaves, and I used Sprout with a bit of Parsley at the base for those. For the large part of the flowers, I used Ballet Slipper and for the fourth and final stencil, which is for the smaller part of the flower, I used Honeysuckle. I also used the small circle burst stamp in the stamp set to add a little more detail. I stuck to Honeysuckle ink, and I just love the way these flowers turned out.
 I used the cover die to create a frame from white cardstock that I glued on top of my ink blending. I mounted sentiment sticker strips from Kort & Godt using foam tape and adhered the sentiment in the top third of the card. I rarely add my sentiments to the top right, but I think it works. I finished off very simple with a few iridescent dew drops from Pinkfresh Studio.
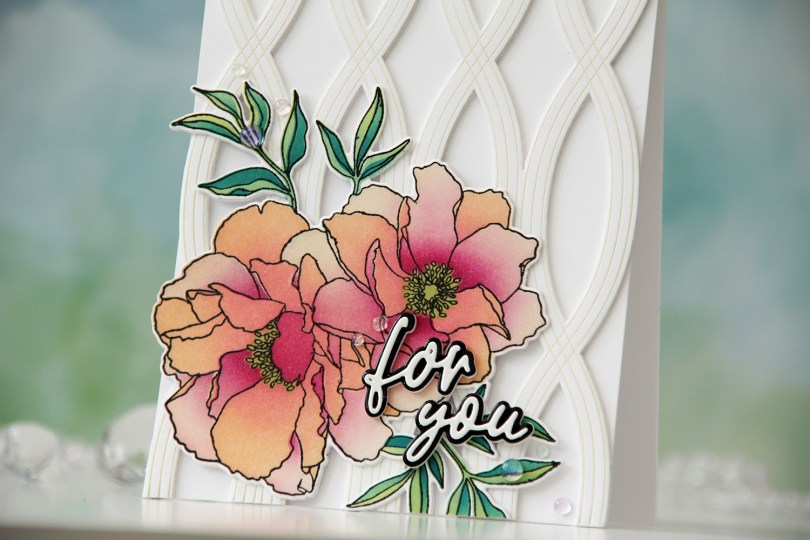
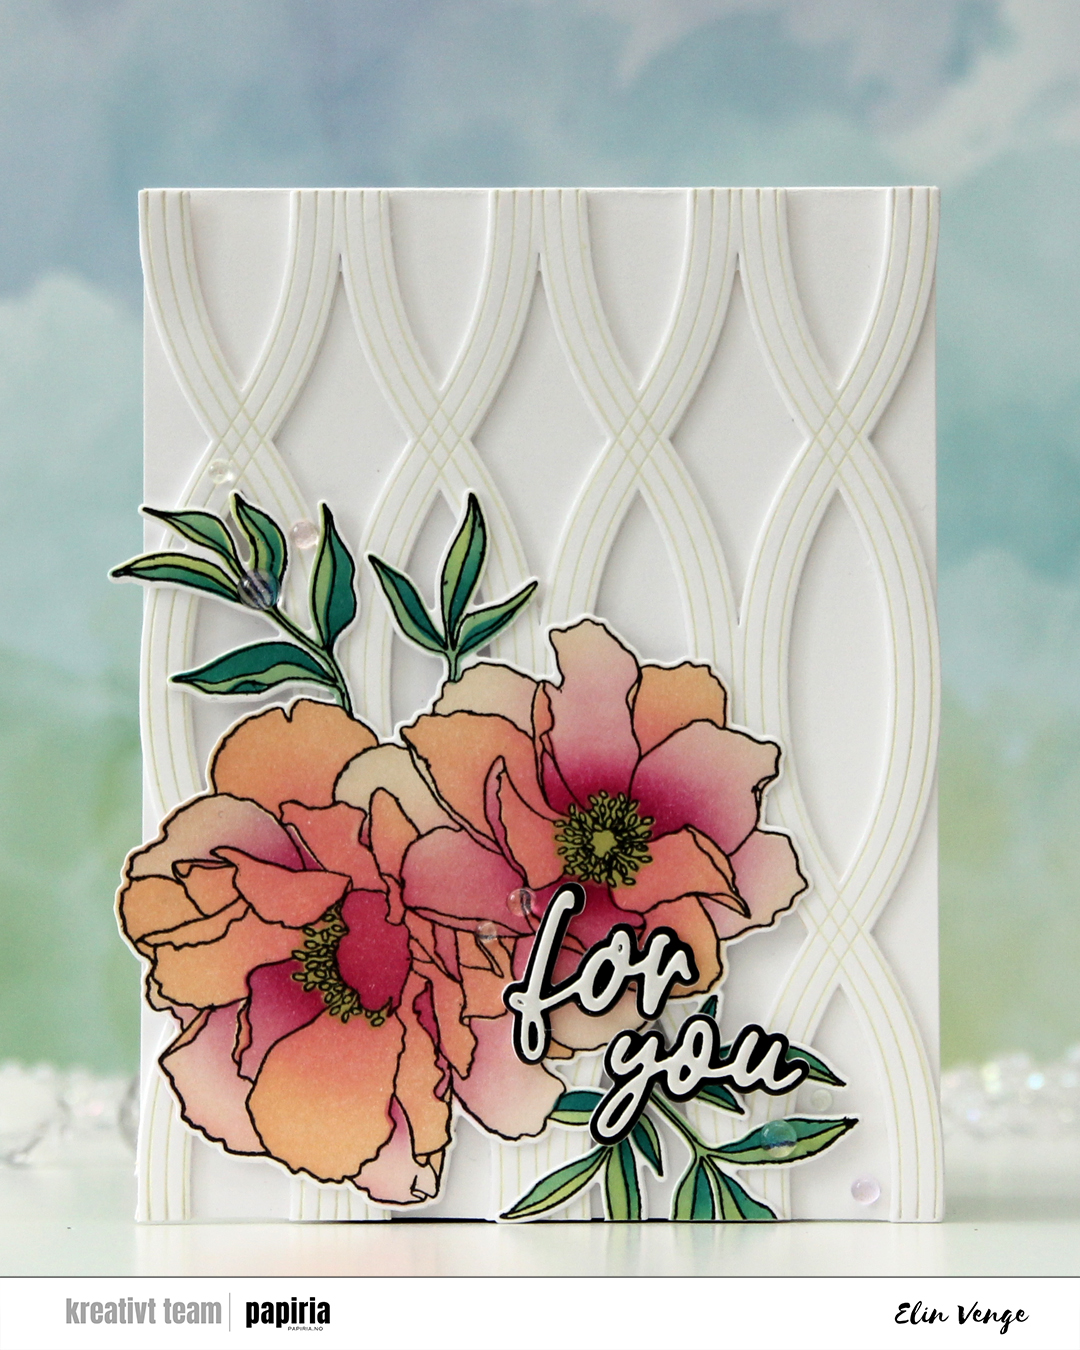 The Blended petals set from Concord & 9th is a very versatile one with a large flower image that you can color up any way you’d like. There are even coordinating stencils that let you add color very easily, which is what I used for my card. As much as I love coloring, stencils make everything go so much faster!
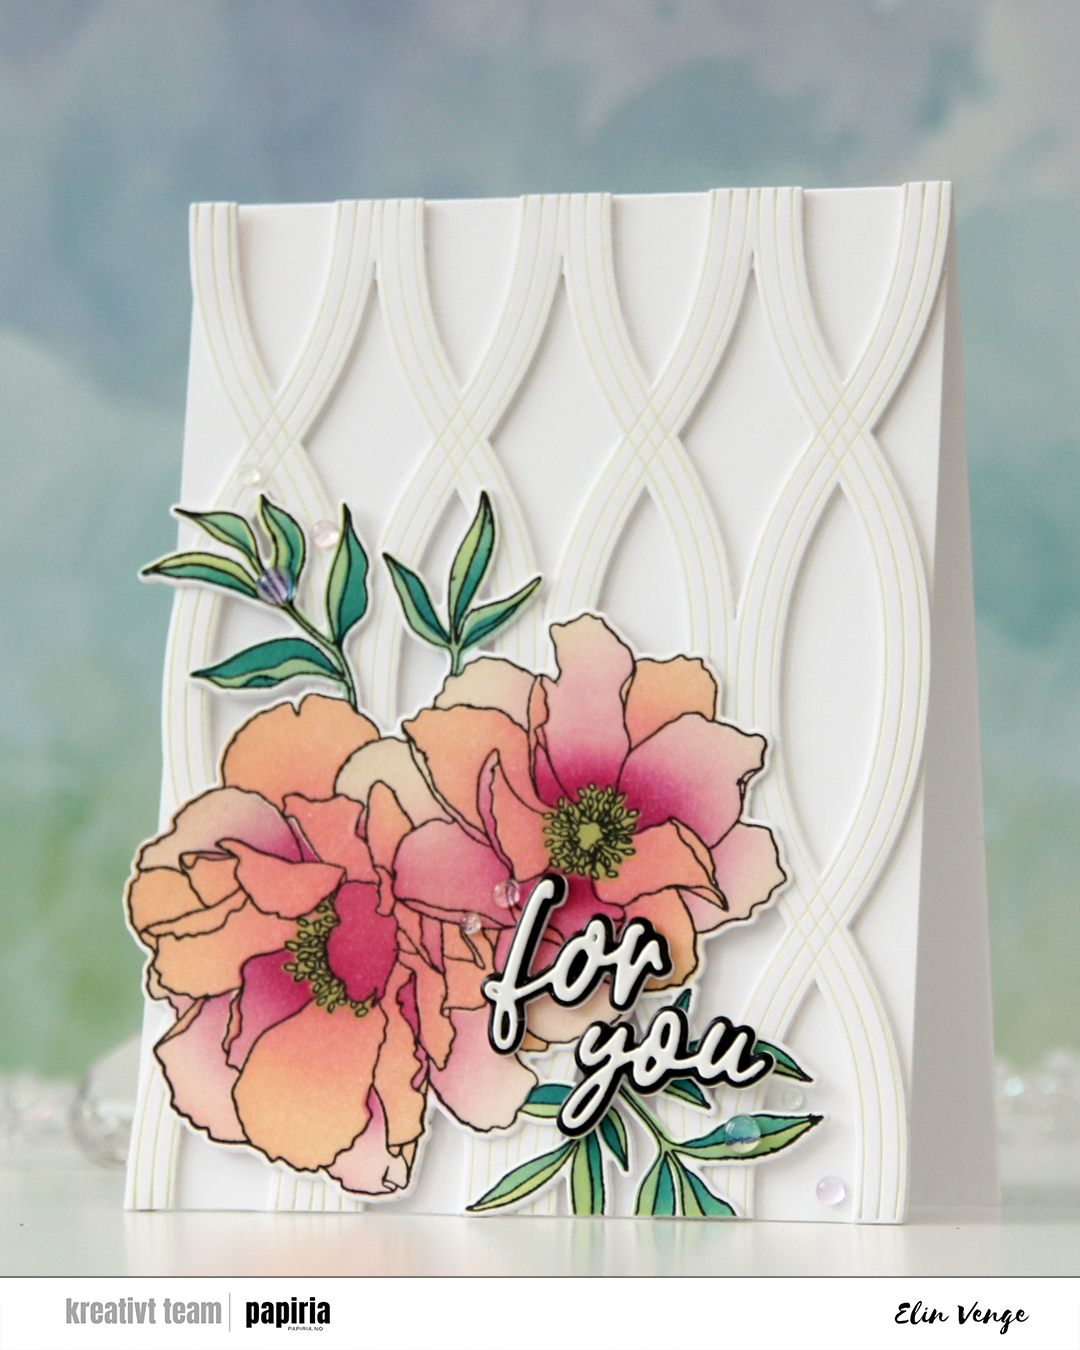 I stamped the image in black ink, let it dry and used the coordinating stencils to color it in using Creamsicle, Sweet Pea, Wildberry, Sprout, Tidepool and Peacock inks, all Concord & 9th colors. I then used the coordinating die to cut out the image, adding a couple of blank die cuts behind it for dimension.
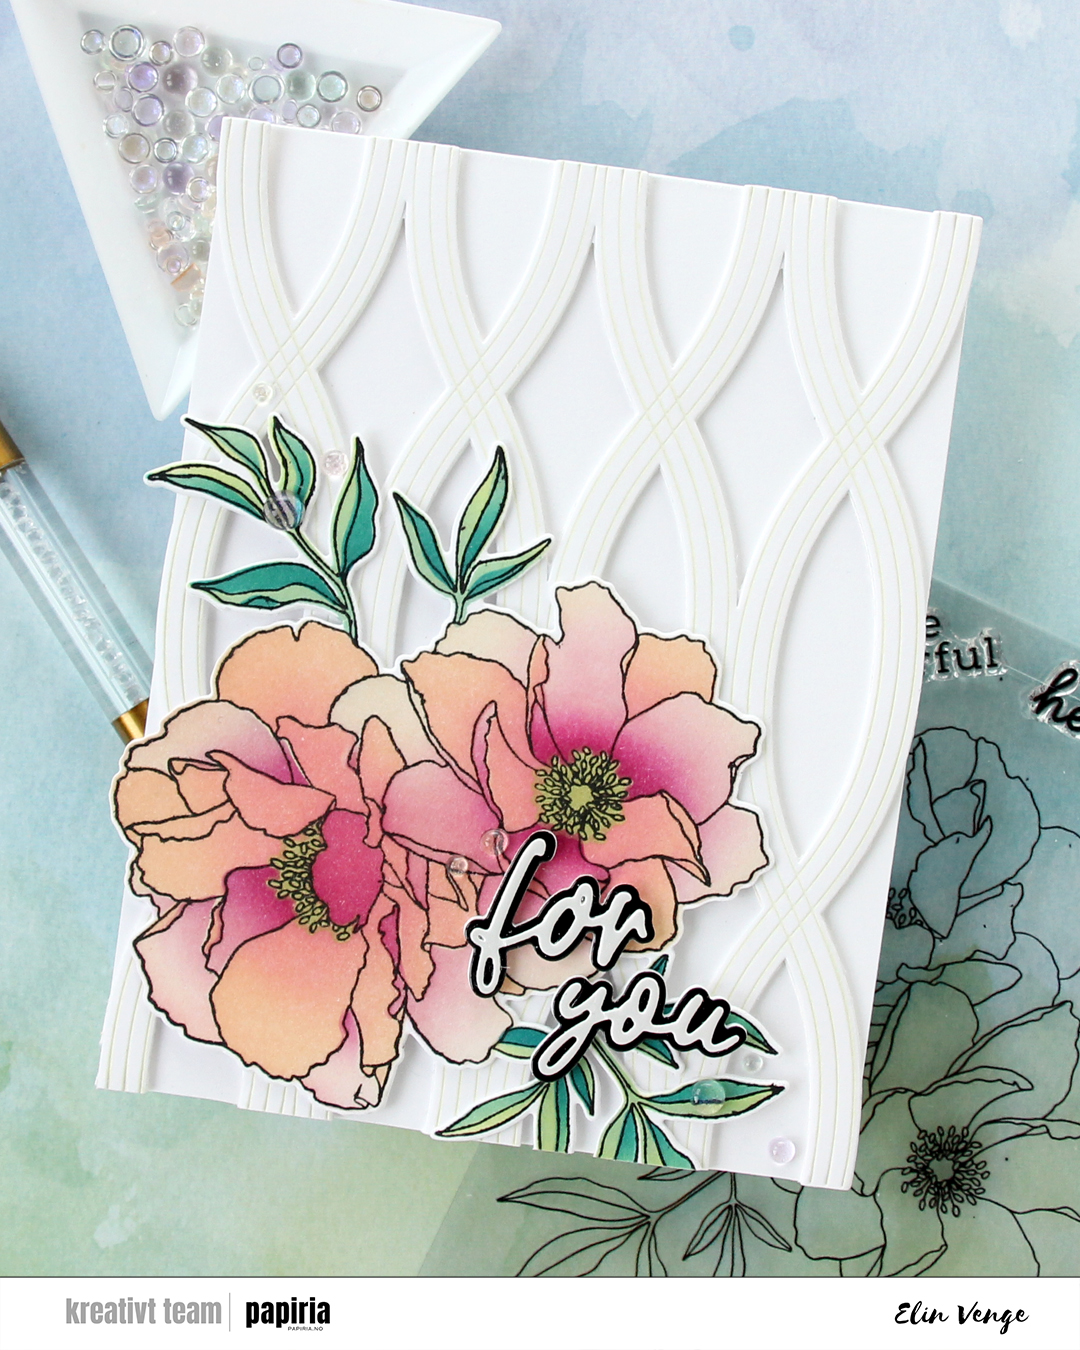 I used the Twist Pattern press plate from Pinkfresh Studio along with some Pistachio Fresh Dye ink from Altenew to create a subtle pattern in the background. I die cut it using the coordinating die and added two more die cuts behind it before adhering it to the front of a top fold card I created from Stamper’s Select White cardstock from Papertrey Ink, which is the same white cardstock I used for everything except the sentiment.
 Speaking of the sentiment – I used the Sweet Sentiments die set from Altenew. The top layer is from white mirror cardstock from Kort & Godt, the black is black mirror cardstock from Kort & Godt, and then I put three additional die cuts of the shadow die behind for dimension. I finished off the card very simply with Iridescent Dew Drops from Pinkfresh Studio.
 I actually decided to watercolor this one with my Zig Clean Color Real Brush markers. I prefer using a paintbrush with water with these, but there’s also a blender that you can use. Marcel is small, but I still used three different browns and a pink for him (064 Oatmeal, 607 Milk Tea, 068 Deep Brown and 200 S. Almond Pink). For Elliot and the die cut letters I used 312 Overcast Sky only. I did use a little pink for the bow on his tail, but for the actual elephant, it was just the one blue. I love the movement you get with watercolor, it’s something you can’t really achieve with Copics.
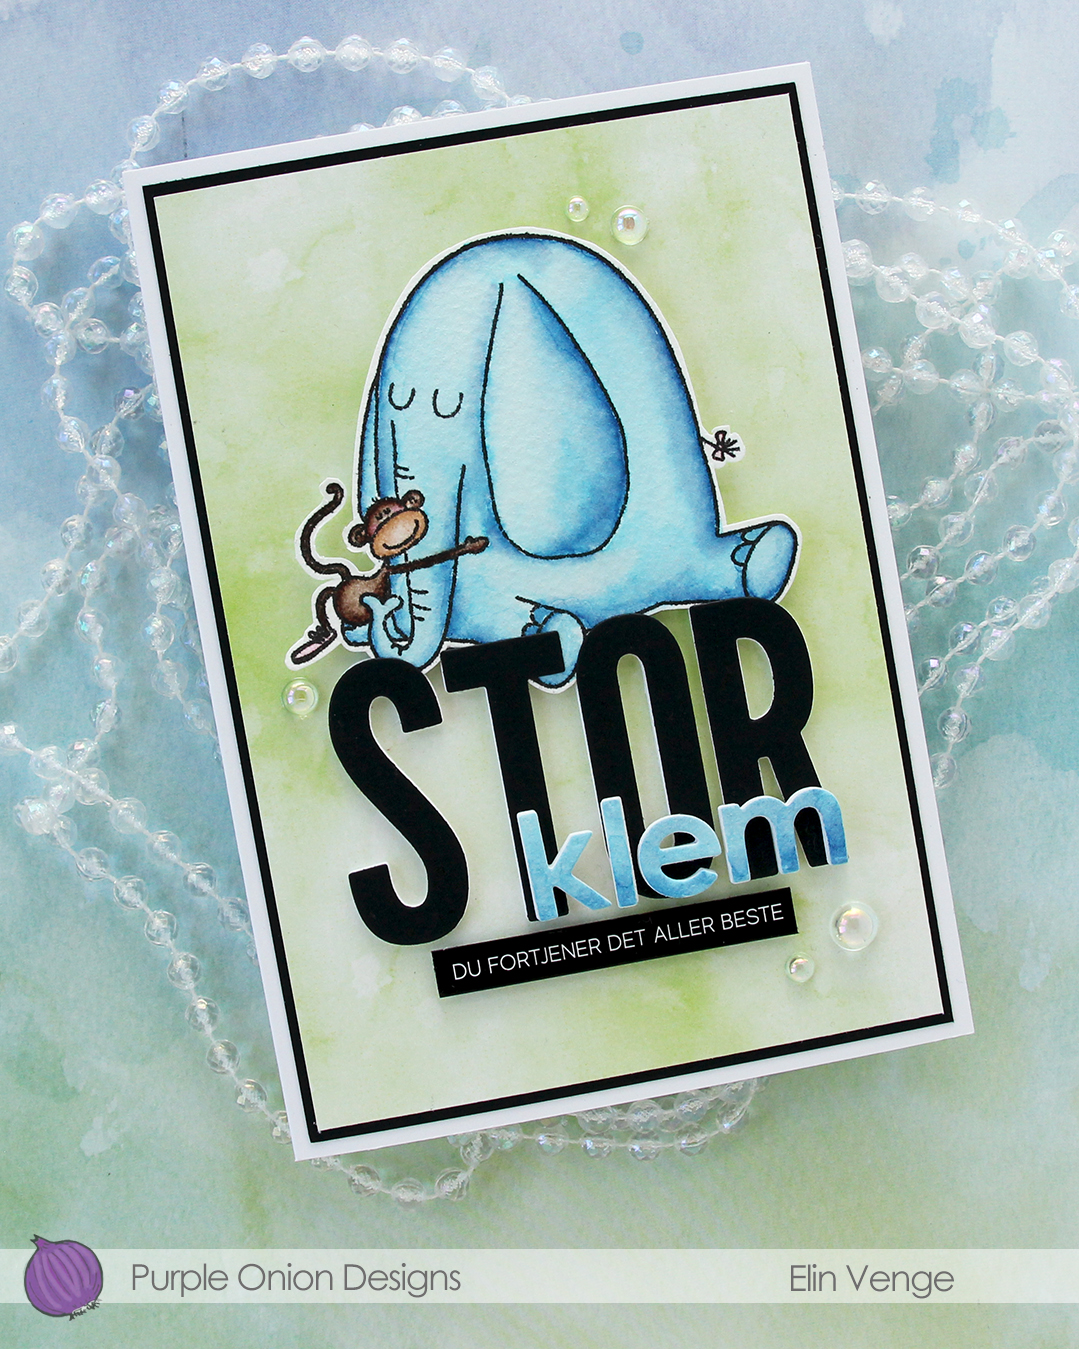 I fussy cut my image, leaving a thin white border. Using the Impact Alphabet die set from My Favorite Things, I die cut the letters to spell out STOR (big) four times from white cardstock and once from Black cardstock from Concord & 9th. I used the Parker lowercase alphabet die set from Memory Box to die cut the letters for klem (hug), again four layers of white, this time topped by a layer of the watercolor paper.
 I stacked my layers, and sandwiched the image between the white and black letters for the large word. I created a black mat on the card front, covered that with a piece of green patterned paper from the Watercolor Wash 6×6″ paper pad from My Favorite Things and mounted the letters and image in the center. I adhered the klem letters directly on top of the larger letters and added a sub sentiment sticker strip from Kort & Godt below it. I popped it up a bit to level it with the black letters, before finishing off with a few dew drops from the Spring Leaves embellishment mix from Little Things from Lucy’s Cards.
 I started by running a panel of white cardstock through my die cut machine with an embossing folder. I chose the Crystal Distortion embossing folder from Simon Says Stamp, which leaves some fun texture in the background without being too distracting.
 I added the tigers to the panel with some foam squares. The texture on the dry embossed panel makes it uneven, and the foam squares help – I also love the dimension it adds. I cut off the parts of the tigers hanging off the edge, trimmed the panel down and mounted it on foam tape to a card base I created from Canyon Clay cardstock from Papertrey Ink.
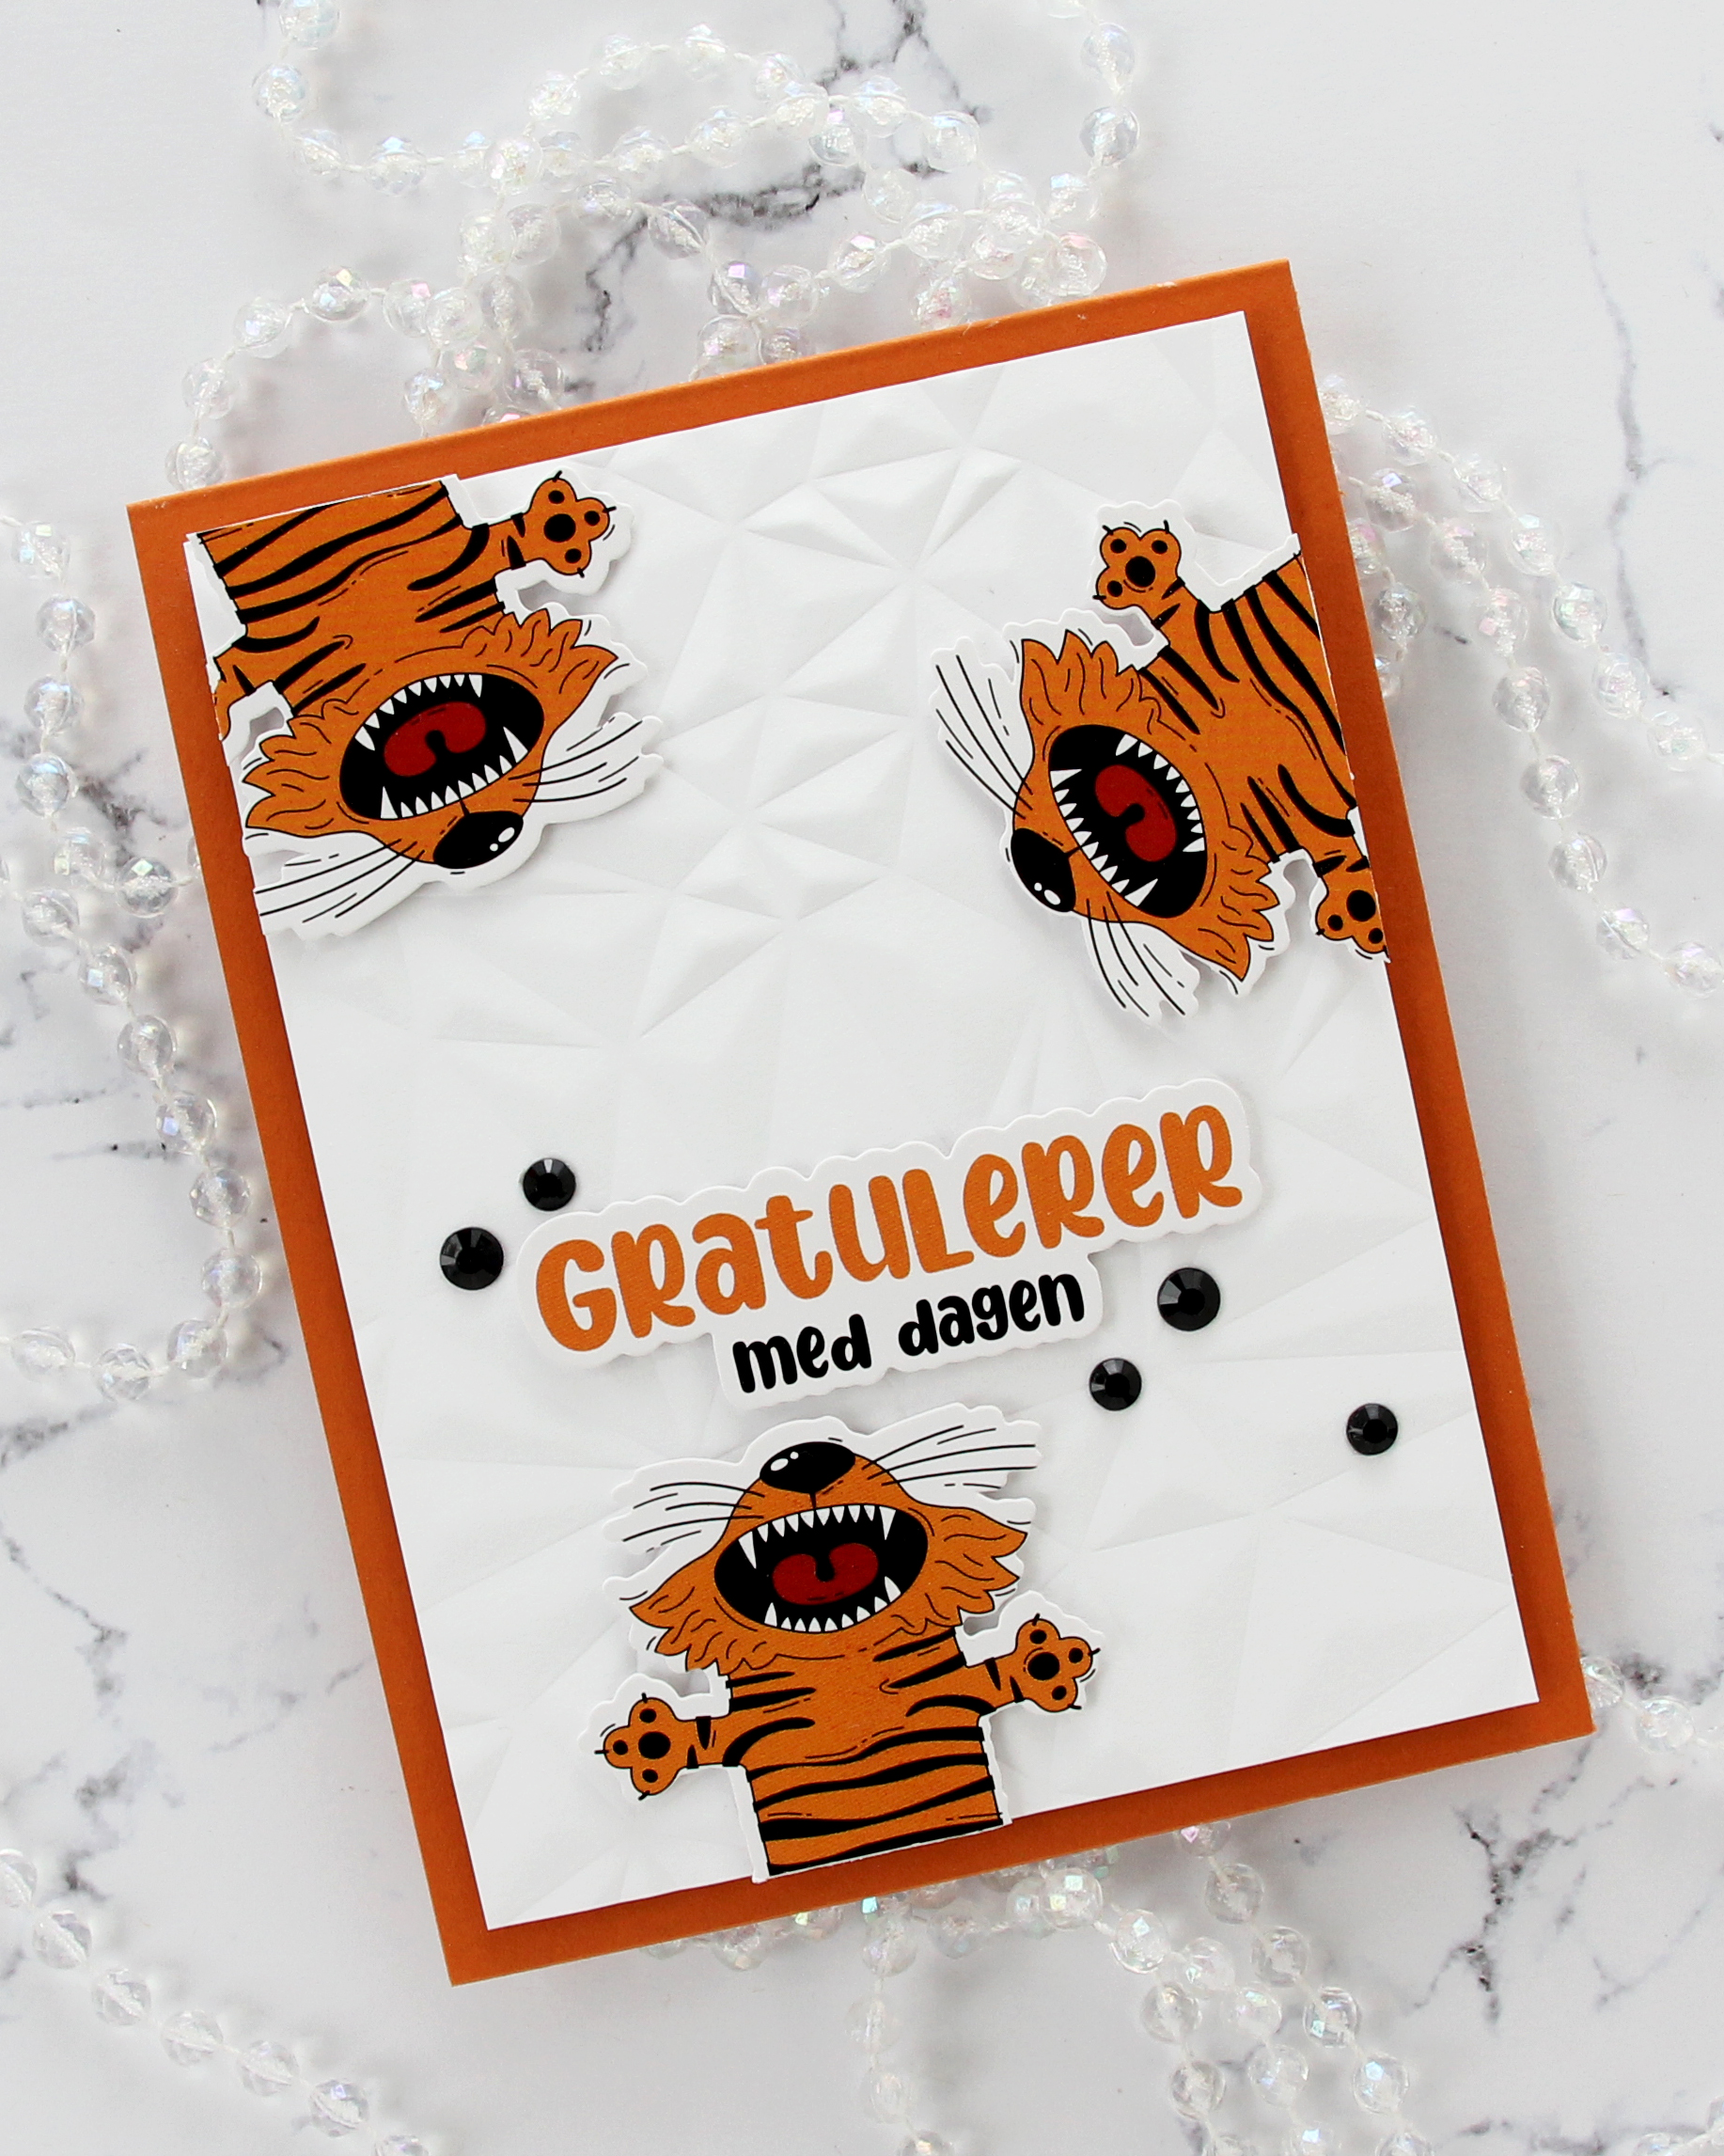 The large sentiment is from the same sheet of stickers as the tigers, which means the colors fit perfectly. I added some foam squares to the back and adhered it above the bottom tiger.
 I added some black bling in a couple of different sizes to finish the card. This is actually the third card I’ve shared in a row without any stamping. I’m sure I’ll use some stamping soon, but it’s fun to use other products and techniques.
 Play really is the right word to use, because this is the Pattern Play die set from Concord & 9th. It’s one of those die sets where you have a large die that creates a road map and several smaller dies that cut out the shapes to go on top of the map. It’s like a puzzle, and I love playing with tiny pieces of paper, so this is right up my alley.
 I die cut the smaller pieces from Pebble, Sprout, Sunflower, Sorbet and Harbor cardstocks, all C9 colors. I stacked the Sprout four layers thick for dimension, the Harbor three layers and the Sorbet two, while gluing the Sunflower and Pebble directly to the map. This creates more movement and interest to the background, and it makes the card very tactile. I cut off 1/4″ from each side, popped the panel onto foam tape and adhered it in the center of my top fold A2 card base.
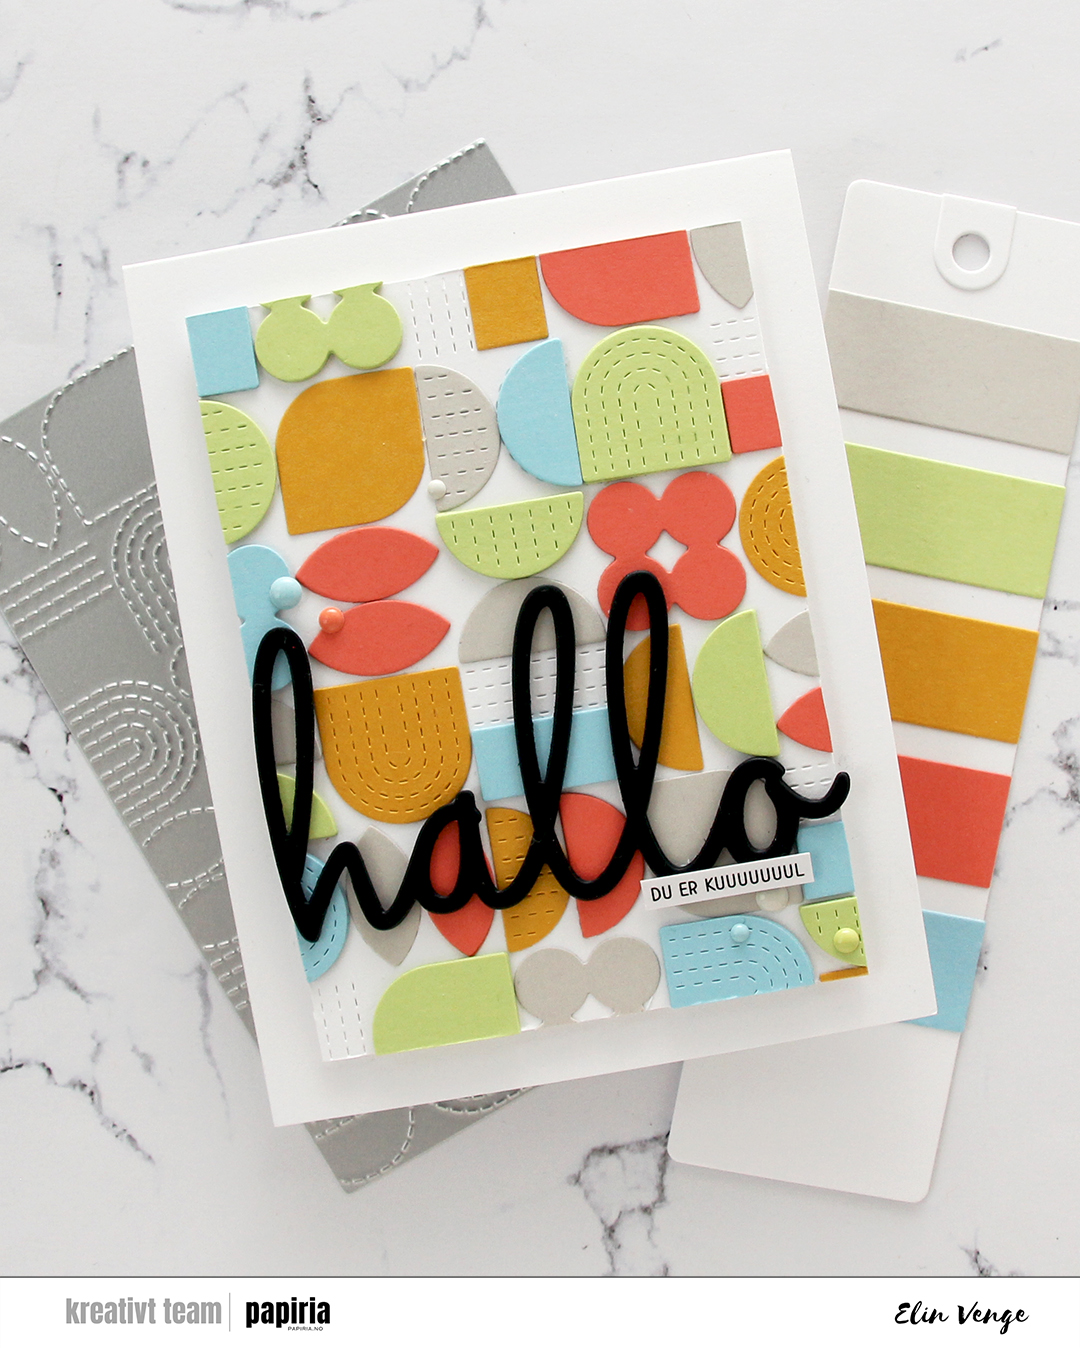 With such a colorful background, I knew I needed a bold black sentiment. I chose this hallo (hello) die from Kort & Godt, which I die cut four times from black cardstock and layered for dimension. I also added a tiny sentiment sticker strip (you are cooooooool) on top of the die cut word.
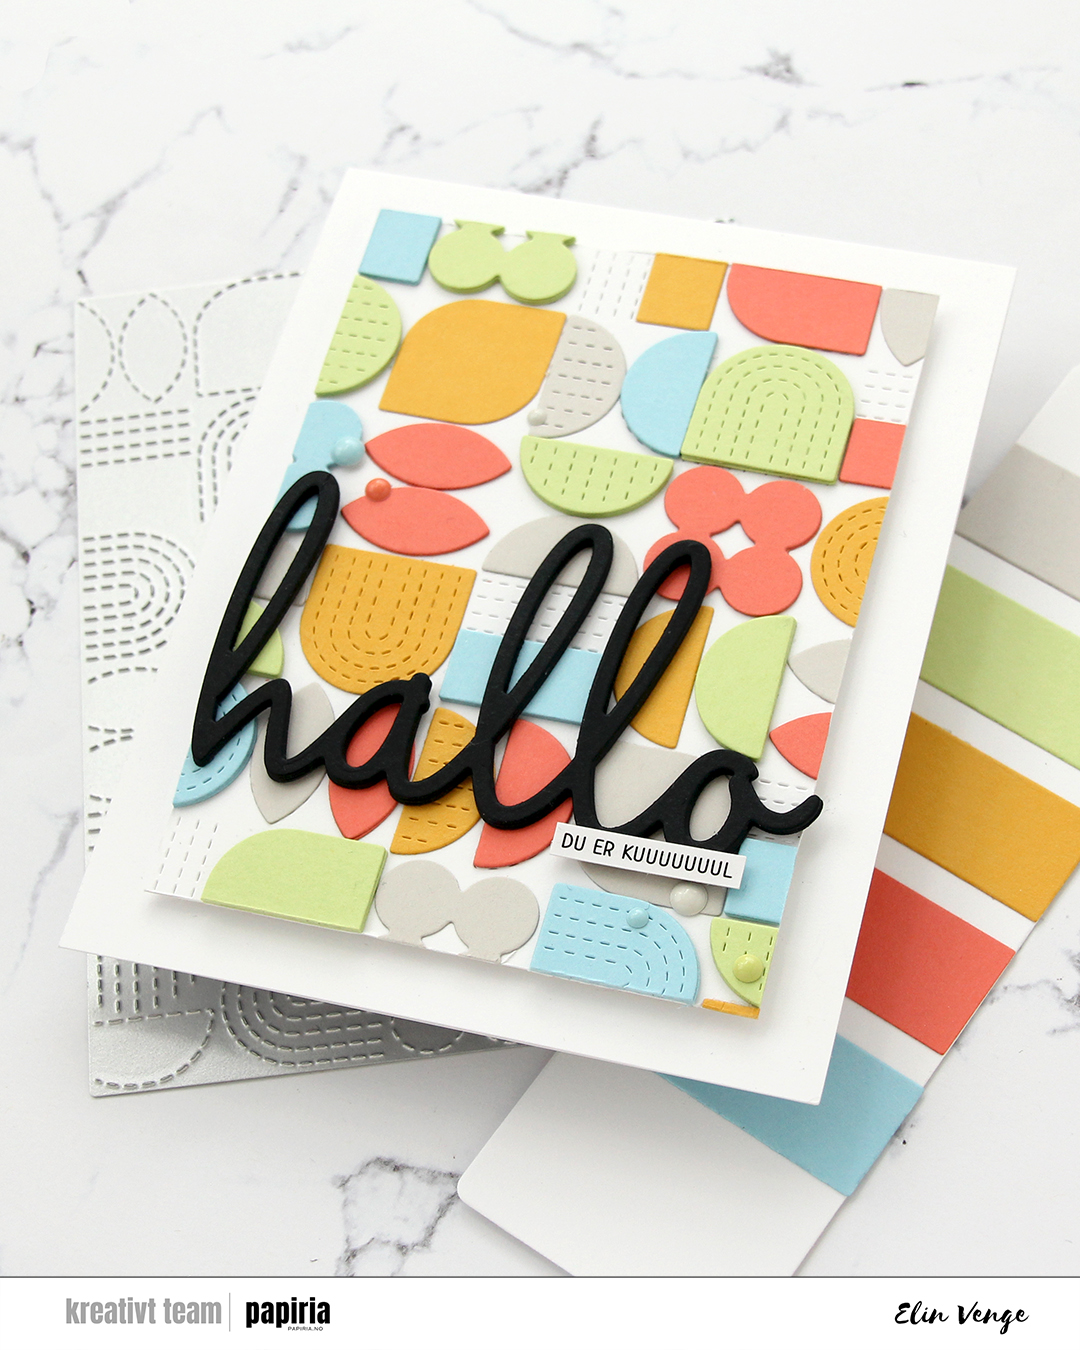 To finish off the card I added enamel dots in colors that match the cardstock. Since they’re the same color as the cardstock behind them, they don’t distract from the sentiment or the background, but they do still add interest to the card.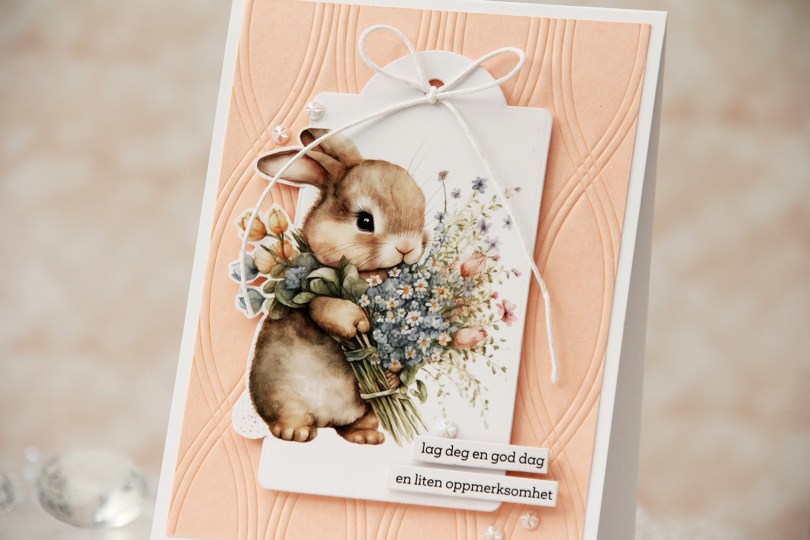

 I used the Twist pattern press plate from Pinkfresh Studio with Nectar ink from Concord & 9th on a piece of Nectar cardstock from Concord & 9th to create a subtle background. I adhered the panel to a top fold card base I created from Stamper’s Select White cardstock from Papertrey Ink.
 I mounted the tag in the center using foam tape and added a bow with white cotton thread from Kort & Godt. I adhered a couple of sentiment sticker strips with foam tape.
 To finish off the card I adhered a few faceted pearls. This card is so simple, and the soft colors really are perfect for spring.
 It’s kind of weird that I, as an avid colorist, really enjoy using images like this, where all the work is done for you and you just have to cut it apart from the other images on the same sheet. I created a 4 bar card this time, so even though the image itself isn’t THAT big, it still takes center stage on this smaller card. I added a thin strip of copper glitter cardstock above and below the image. It gives more definition and it also works really well with the orange balloons in the image.
 I used the Terrazzo press plate from Altenew to create some fun texture in the background. I inked up the press plate with Caribbean Sea ink from My Favorite Things and pressed it onto Caribbean Sea cardstock, also from MFT. I mounted my image on foam tape, added a sticker sentiment that I also popped up and finished off the card with a few faceted pearls. I love these!!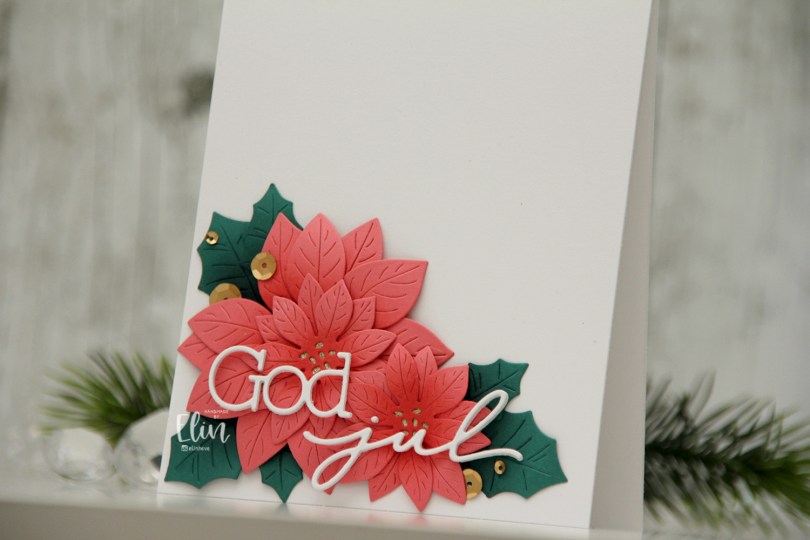
 I actually shared this one on the Papiria blog back in December, but I thought I’d share here, as well. I die cut the parts for the florals from Watermelon cardstock and the leaves from Juniper cardstock, both are C9 colors. I ink blended the petals with Watermelon ink and the leaves with Rainforest ink, which is a darker green than the Juniper color. I curled all the petals and leaves back before assembly, and adhered them all to a white card base. I used gold glitter cardstock from Kort & Godt for the centers of the flowers.
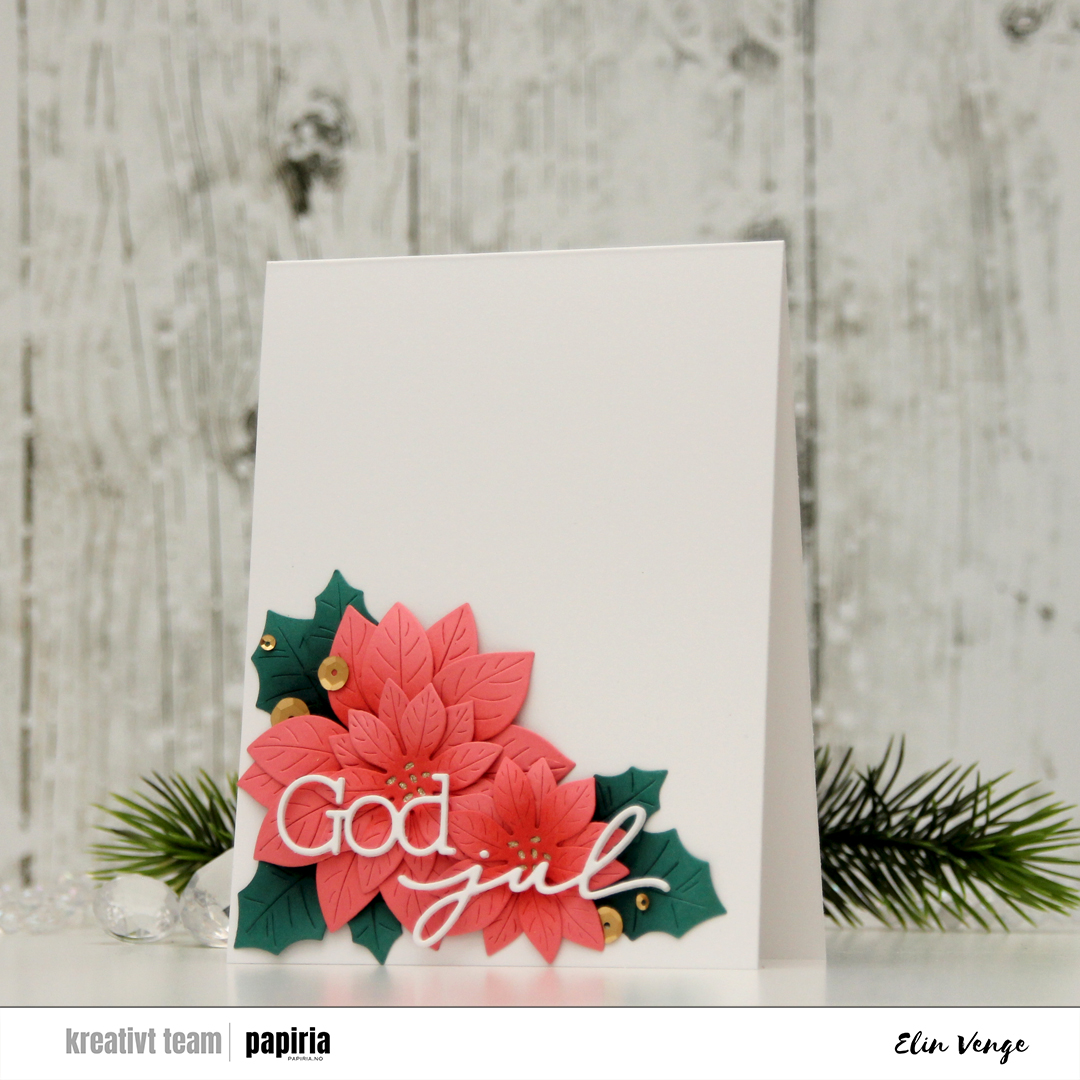 I used a die set from Kort & Godt to create my sentiment. I stacked three of each die cut and used liquid glue to adhere the sentiment to the florals, before finishing off the card with Satin Gold sequins from Altenew. Super simple, and I love all the white space!!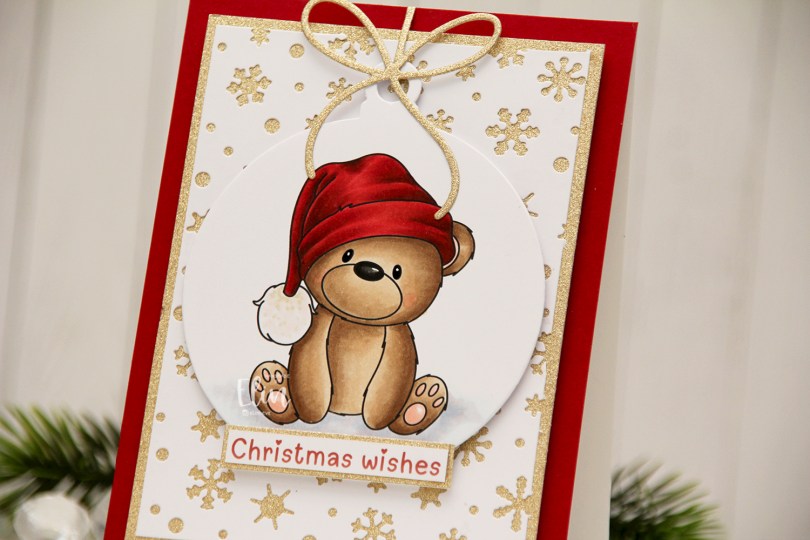
 I colored the bear with Copics and used the Snowflakes and Ornament die set from Hero Arts to turn him into a Christmas ornament. Isn’t he adorable with his head tilted to the side? I covered the card base with a piece of Cranberry cardstock from Concord & 9th. This is the perfect Christmas red, and it goes really well with the colors on his hat, as well as the color I chose for the
 For such a simple image, I sure used a lot of Copics.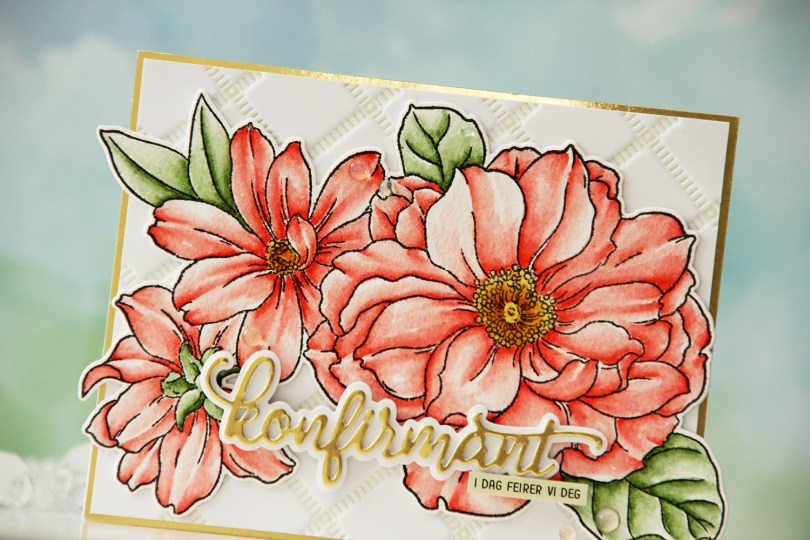
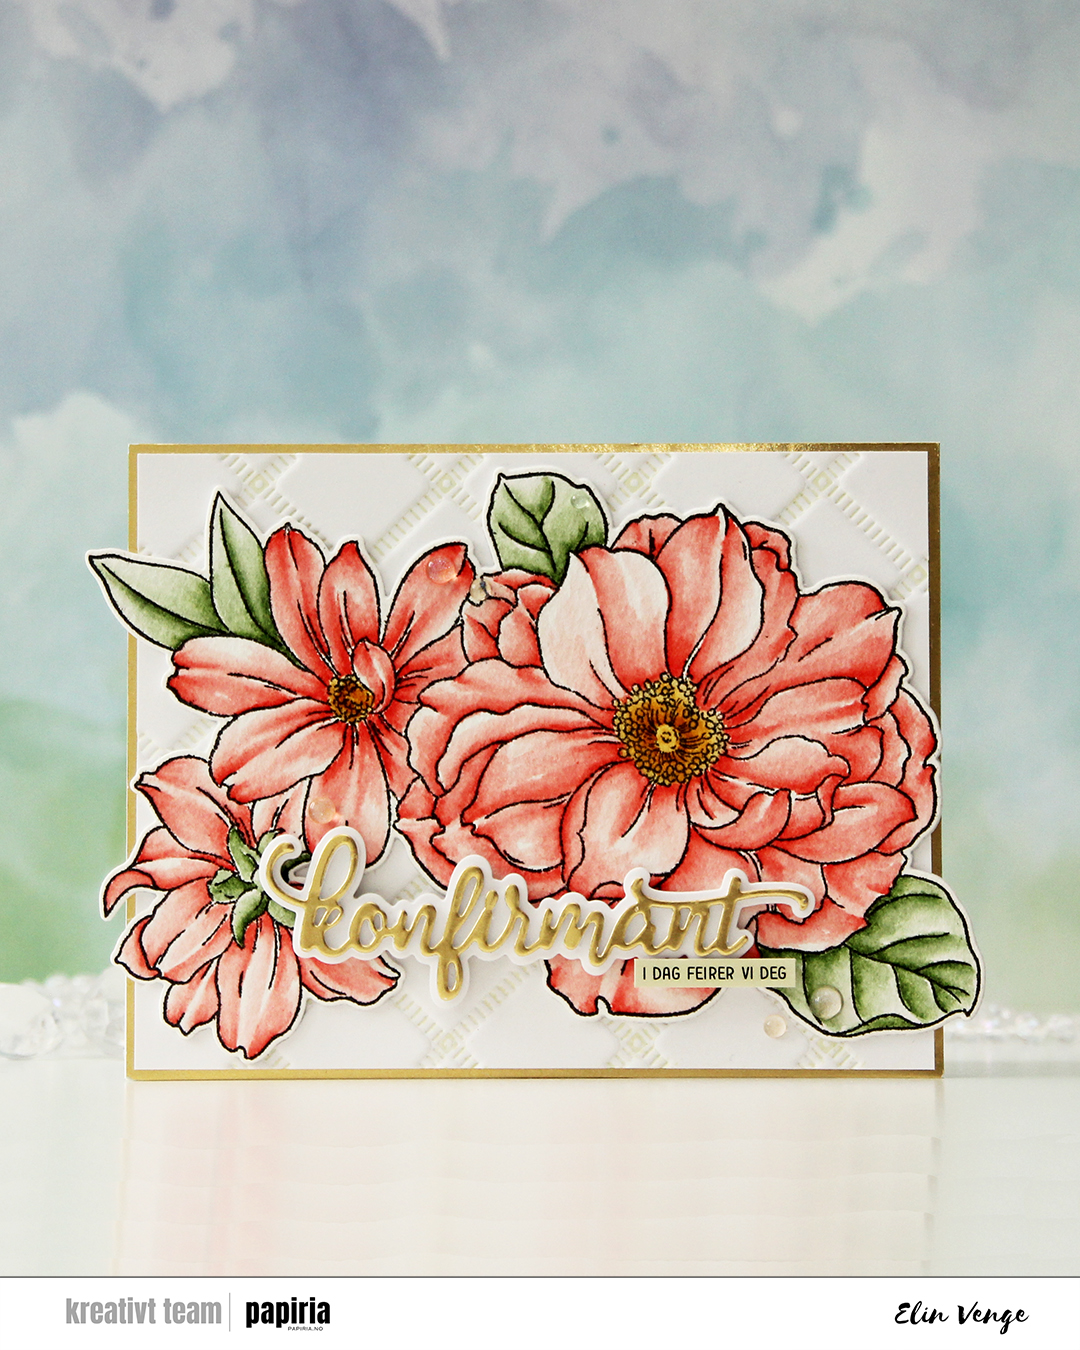 I started by stamping the big floral stamp in the Blooming Delight stamp set from Altewew using Altenew Obsidian ink onto watercolor paper (cold pressed Fabriano Artístico), before coloring with Zig Clean Color Real Brush markers. When my coloring was complete, I die cut the flower with the coordinating die and also cut a few extra from white cardstock to build dimension.
 I used the Stippled Plaid press plate from Pinkfresh Studio with Pistachio ink from Altenew to create a subtle background. I matted it with some gold shine cardstock from My Favorite Things and adhered my florals pretty much in the center. The flowers stick out on both sides, but I just made a larger envelope to accomodate the larger size.
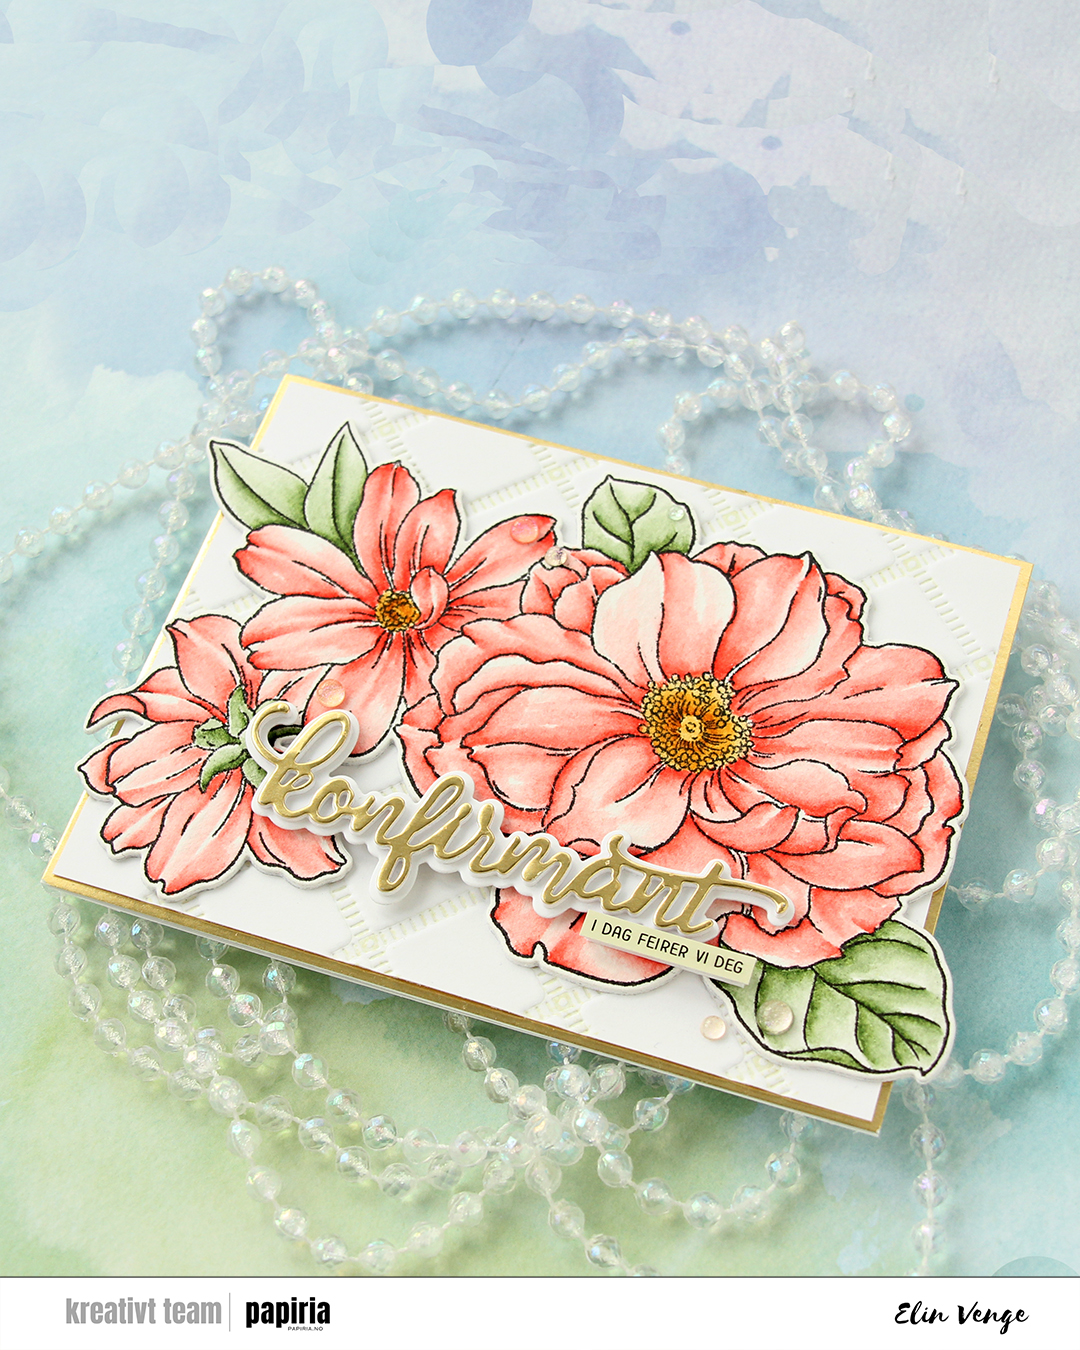 For the sentiment, I used a konfirmant die set from Papirdesign. I die cut the shadow layer from white cardstock and the word itself from the same gold cardstock that I used previously, with a few white die cuts stacked behind it for dimension. I even stacked a few behind the shadow, so it looks like the shadow floats on top of the flowers. For a sub sentiment, I used a sentiment sticker strip from Kort & Godt that I ink blended with Misty Sage ink from Altenew, before finishing off the card with a few Iridescent Dew Drops from Pinkfresh Studio.
