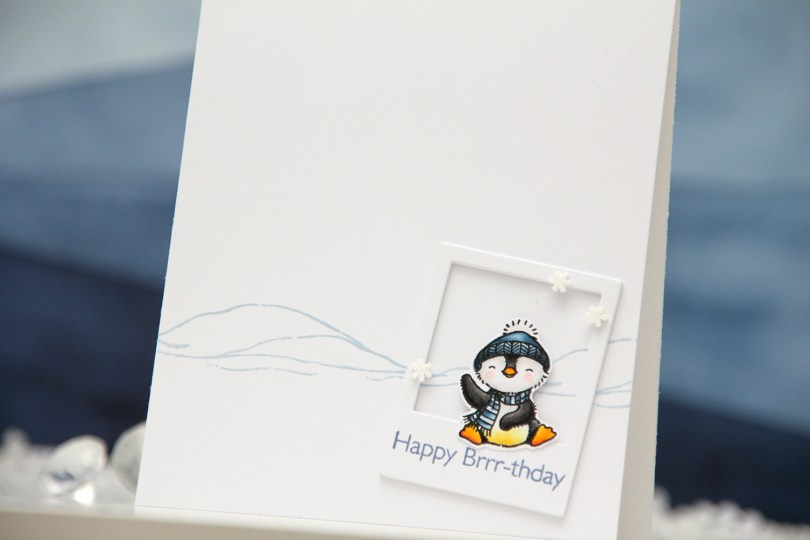
Hi, crafty friends. Very last minute, but early this afternoon, I finally came up with an idea for this year’s Superstar contest over at My Favorite Things. It’s been in the back of my mind for weeks, but I no clue as to what kind of card I’d make or even IF an idea would come to me. I made a penguin card (no surprise there, huh?).
 This is for the Clean and Simple Genius category. I wanted a colored penguin, but also to keep the rest of the card super simple. White space is our friend! I stamped the background landscape in the Polar Opposites stamp set using Icy Water ink from Altenew, and I actually stamped it twice to make it span across the card. I then stamped and colored one of the penguins from the same stamp set, before fussy cutting him. I don’t have the coordinating dies for this stamp set, but this guy was easy enough to fussy cut.
 Using the Precious Polaroids die set, I die cut four polaroid frames and stacked them for a bit of dimension, stamping a sentiment on the top layer using Winter Lake ink from Altenew. I added the stacked frame to the card at an angle, adhered my penguin and finished off the card with a few Snowdrift sprinkles from Little Things from Lucy’s Cards. To me, this is about as CAS as it gets. Whether it’s genius remains to be seen 🙂
 Typical penguin color palette for me, this one.
My Favorite Things products used:
Polar Opposites stamp set
Precious Polaroids die set
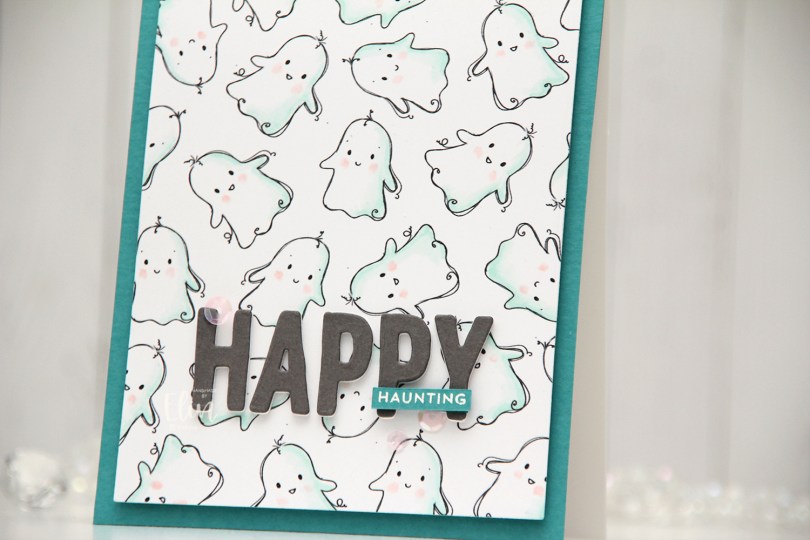
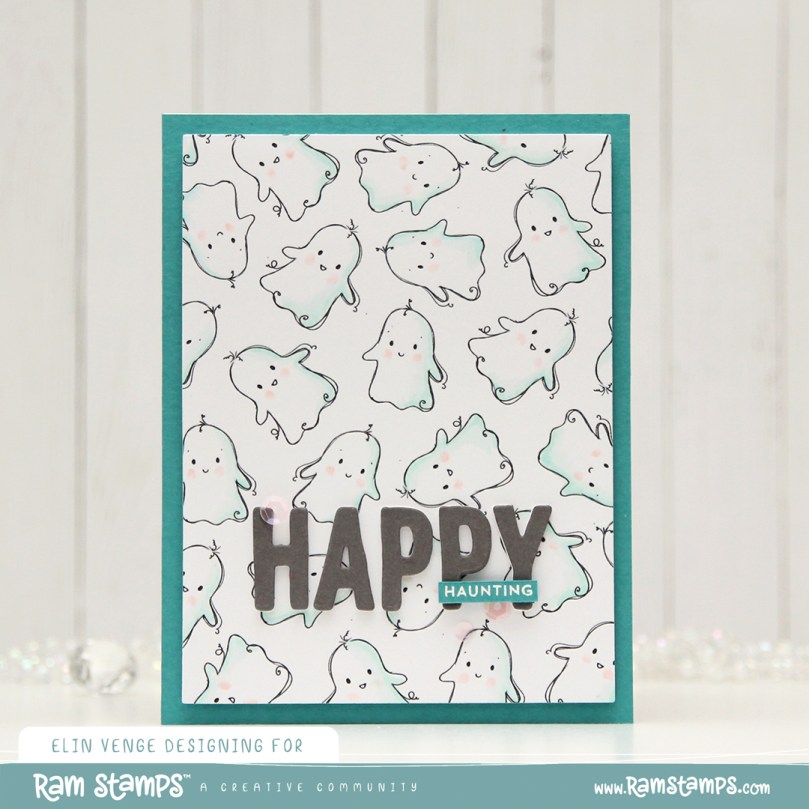 I admit, I don’t make many Halloween cards. Halloween’s not really my thing. I think it might be the costumes that freak me out. I was scared of Santa as a kid (to be honest, Santa still creeps me out) and I never liked dressing up for carnival in kindergarten either. I don’t know what it is, I’m just not a fan. I am, however, a fan of these ghosts, they’re so adorable. In the stamp, the ghosts are holding a banner, but I wanted the ghosts alone, so I removed the banner, did a little bit of stamp surgery in Photoshop to complete their arms (since they’re holding the banner, you don’t see the entire arm on either of these ghosts). I created mirror images of each of the ghosts so I had four different ghosts to work with, and made a few copies of each.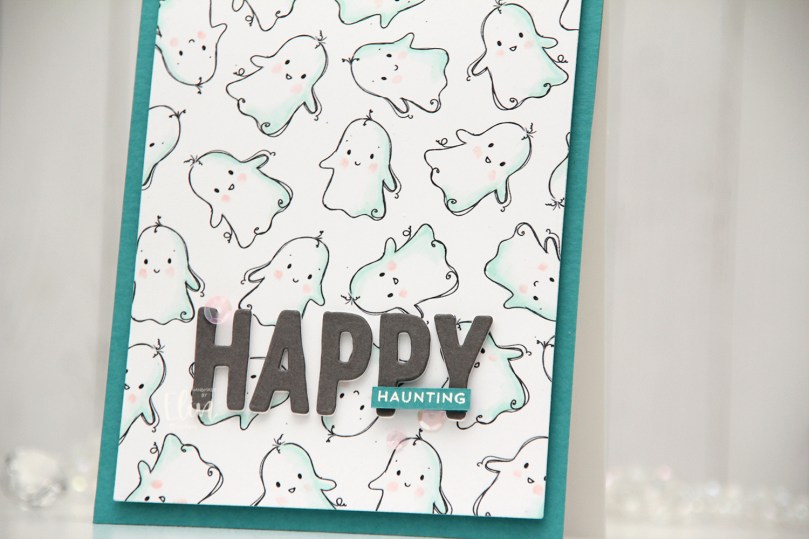
 I did very simple coloring of the ghosts, I just wanted a hint of color and actually only used four markers. I cut down my panel, added foam tape to the back and adhered it to a white card base I’d covered with Caribbean Sea cardstock from My Favorite Things.
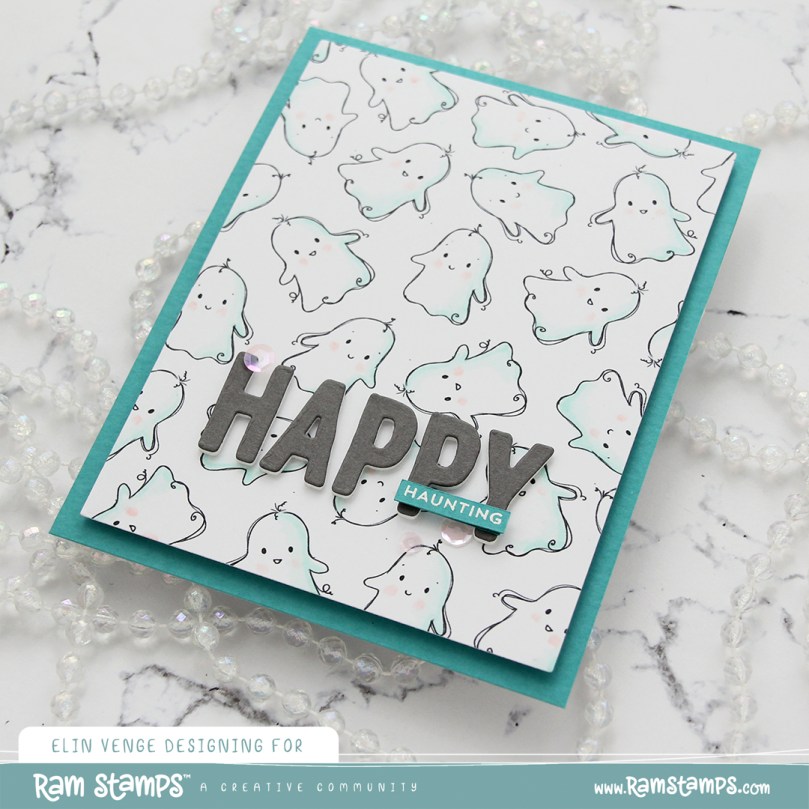 I die cut the letters to spell happy using an alphabet die set from Papirdesign. I die cut each of the letters three times from white cardstock and once from Gravel Gray cardstock from My Favorite Things that I adhered on top of the three white ones for a stacked, dimensional look.
 I white heat embossed a sub sentiment from the Itty Bitty Boos stamp set from My Favorite Things onto a scrap piece of Caribbean Sea cardstock that I cut down to a small strip. I adhered a couple of additional layers of cardstock behind it before I adhered it to my die cut letters. I added a few pink sequins from the Heaven Sent mix from Little Things from Lucy’s Cards, and my card was complete.
 As I mentioned, I only used four markers for the coloring of these ghosts.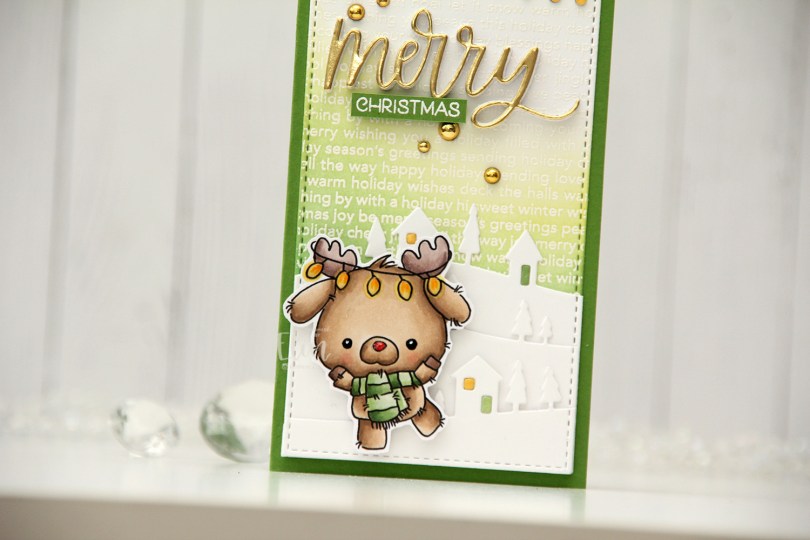
 I colored my reindeer with Copics and fussy cut him leaving a thin white border. I added Glossy Accents to the string of lights and his nose for shine, and used a black Glaze pen and a white Gelly Roll 05 for his eyes.
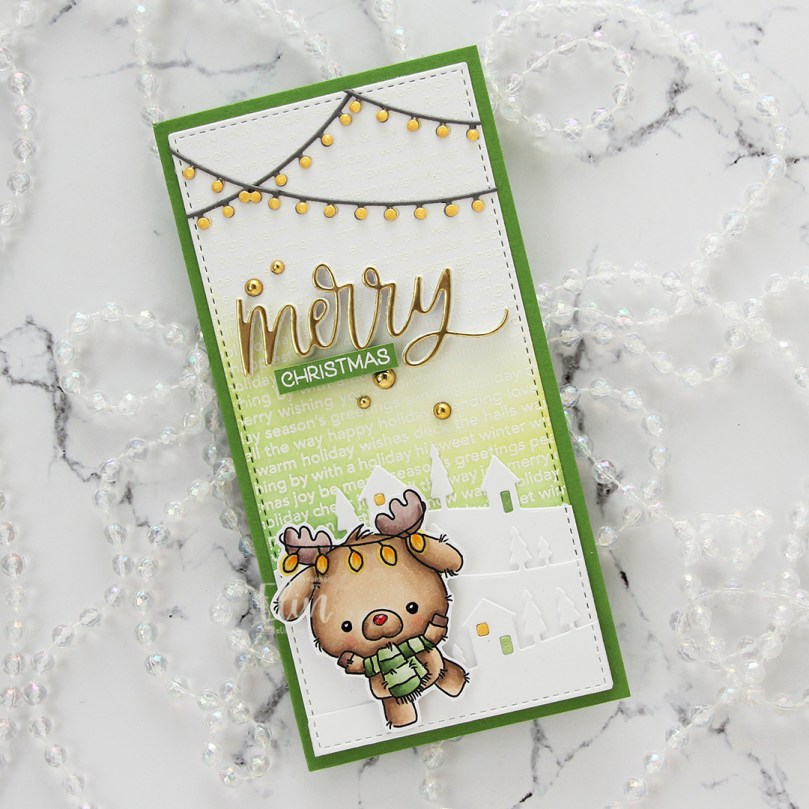 I stamped and white heat embossed the Christmas Background stamp from My Favorite Things on a piece of white cardstock, before using Hunter Green, Forest Glades and Frayed Leaf inks from Altenew, as well as Squeezed Lemonade Distress ink, to ink blend on top. I ten used a die in the Stitched Mini Slimline STAX die set from My Favorite Things to turn it into a nice panel that would fit my card. I used the Country Landscape die from Memory Box to die cut the landscape in the background, and used the same stitching die on the hilly die cuts for a continuous stitching border across the card. I die cut the windows from Buttercup cardstock from Concord & 9th and the doors from white cardstock from Papertrey Ink that I ink blended with the same colors I used for the ink blending in the background.
 I used the Snow Globe Accessories die set from My Favorite Things to die cut the string of lights from a dark gray cardstock and the individual bulbs from Buttercup cardstock once again. I added Glossy Accents on top of the bulbs for extra shine and dimension.
 I die cut the word merry from the Merry Christmas die set from My Favorite Things five times from white cardstock, and once from Gold shine cardstock from My Favorite Things. I stacked them, adding the gold on top, and adhered my chunky die cut to the card. I stamped and white heat embossed a sentiment from the
  I tried using a somewhat limited color palette for this.
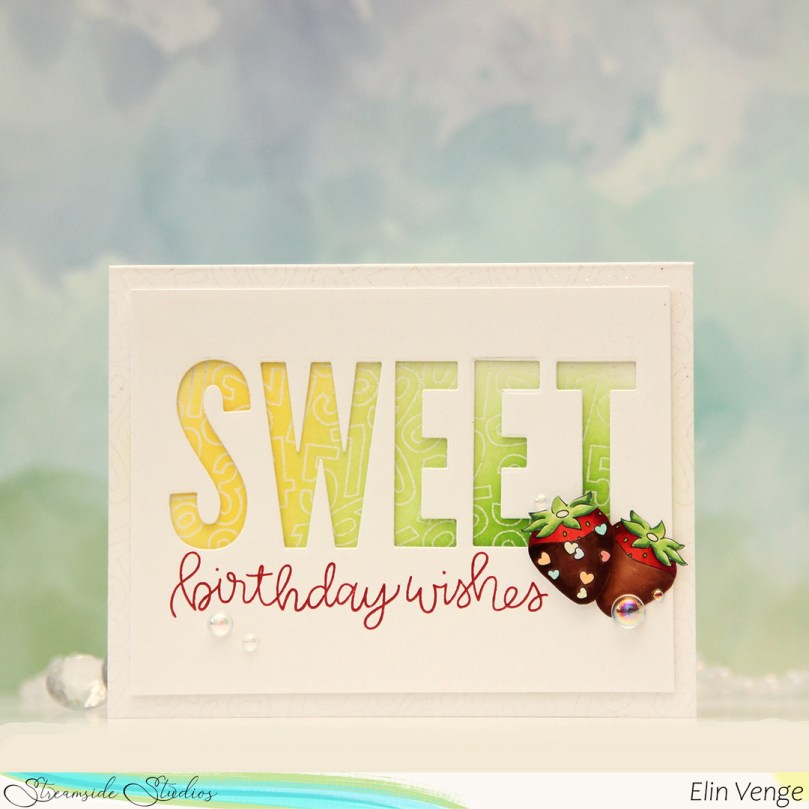 I colored the strawberries and fussy cut them right up against the black lines. I put them aside while I worked on the rest of my card. I created a top fold landscape A2 card from Stamper’s Select White cardstock from Papertrey Ink, used the Number Jumble background stamp from My Favorite Things to stamp on the front with VersaMark ink, then heat embossed using Iridescent Sparkle embossing powder from Judikins. I ink blended on top of the embossing in the center using Grass Field and Limeade inks from Altenew, as well as Squeezed Lemonade Distress Ink from Ranger.
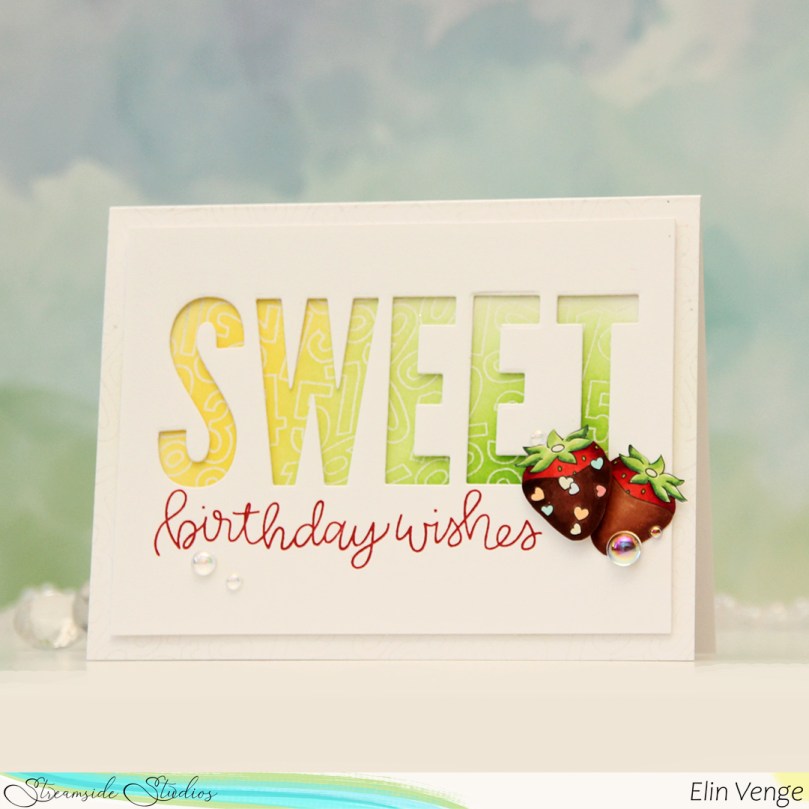 Into a separate panel of white cardstock, I die cut the letters SWEET using the Impact Alphabet dies from My Favorite Things. I stamped a sentiment from the Scripty Bday stamp set from Mama Elephant below using Wild Cherry ink from My Favorite Things. I cut the panel down slightly, added two more layers of cardstock behind it for dimension and adhered it to the card front. I adhered one of the strawberries using liquid glue, popping the other one up using foam tape for dimension, before finishing off the card with a few bubbles from the Festivities mix from Little Things from Lucy’s Cards.
 You wouldn’t think I’d use this many colors on images this small, but that’s kind of what I do.
 I colored the characters with Copics, fussy cut them leaving a white border, then added black glaze to their eyes and then a white dot on top with a Gelly Roll 05. Rudolph got special treatment with a little bit of Glossy Accents on his nose for additional shine.
 I used the Slim Card Basics die set from Mama Elephant to create my window panel. I die cut one from Blueberry Sky cardstock from Papertrey Ink and four white ones that I adhered behind it for dimension. I die cut the bigger scalloped rectangle in the Slim Card Basics set from Spring Rain cardstock, also from Papertrey Ink, and adhered it to a white card base.
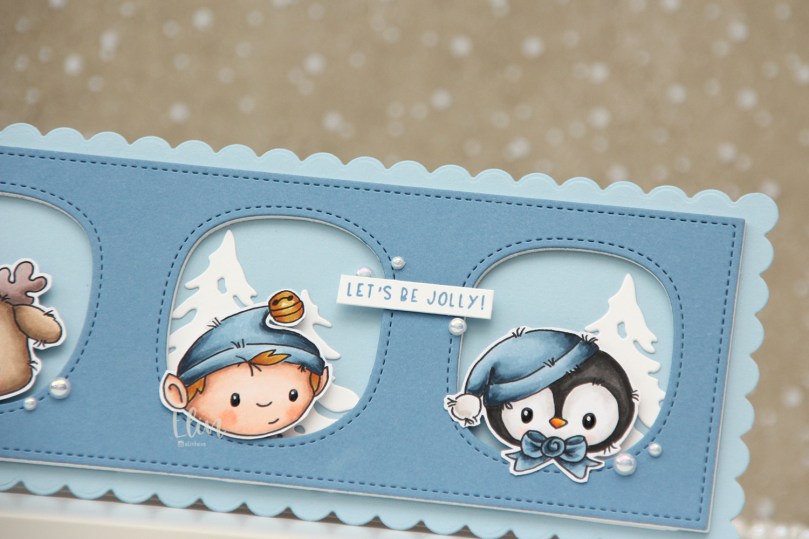 I used the Silhouette Snow Trees die set from Mama Elephant to create white trees to go into the window openings behind my characters.
 I stamped a sentiment from the
  I finished off the card with a few pearls from the Glossy Porcelain mix from Little Things from Lucy’s Cards.
 I love dimension on my cards, and this one certainly has that.
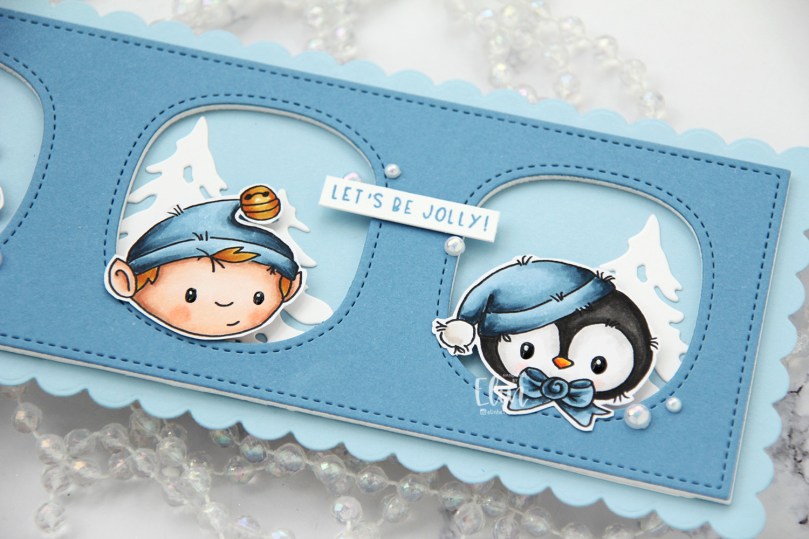 Between the shine on Rudolph’s nose, all the blue and all the dimension, this card makes me happy. I just wish it was easier to photograph slimline cards.
 I used way too many Copics for these three.
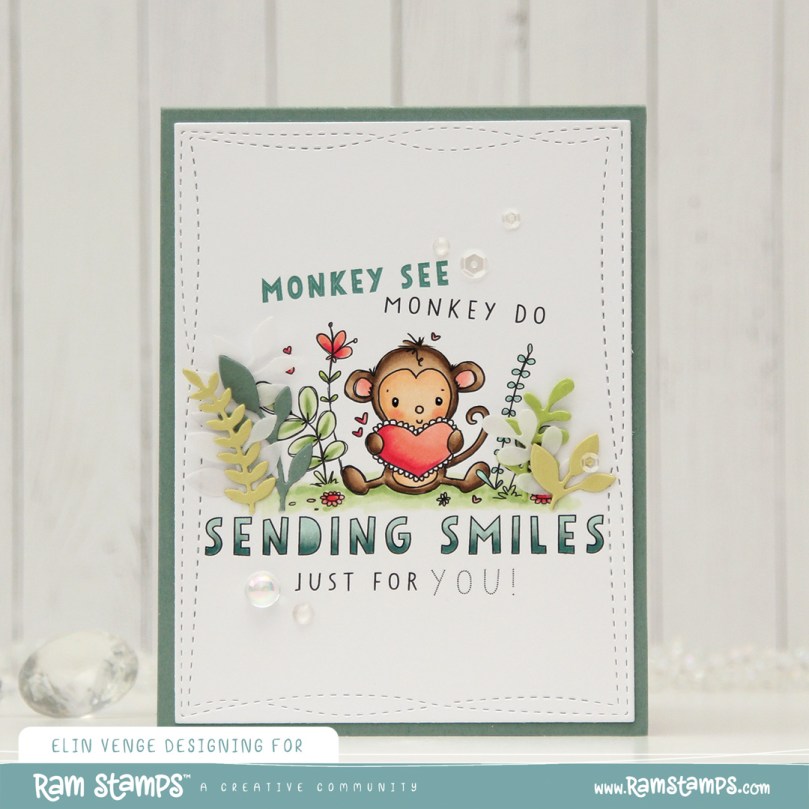 I changed the color of the words monkey see in Photoshop before printing the image. I then colored the image and letters with Copics and used the largest die in the Wonky Stitched Rectangle STAX die set from My Favorite Things to create some interest to the edges, as I was planning on leaving lots of white space.
 I adhered the panel to a top fold A2 card base I created from Ocean Tides cardstock from Papertrey Ink. I love this cardstock color, it’s great for every kind of card.
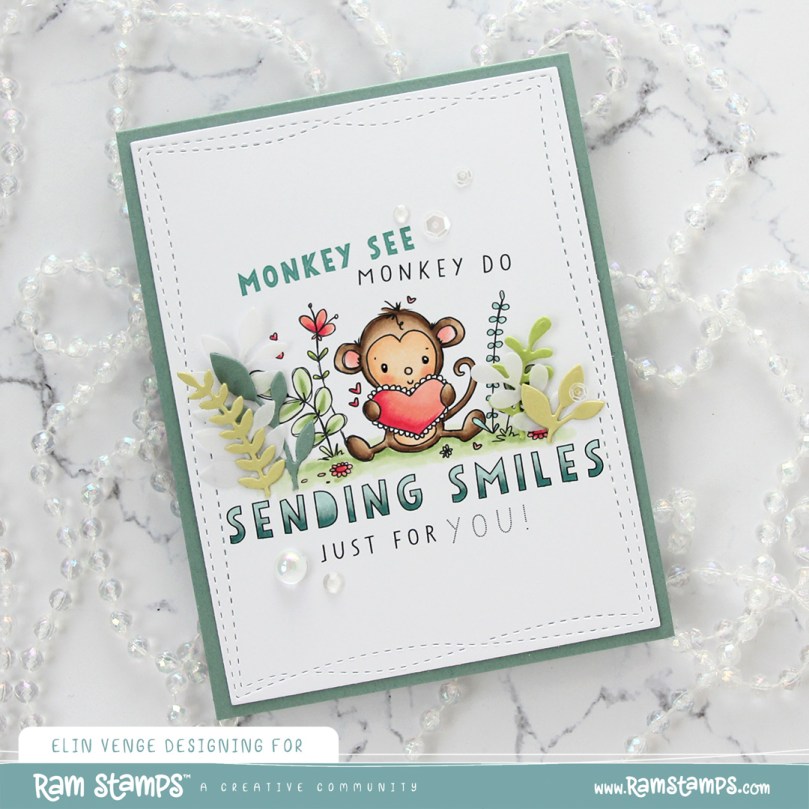 I used the Fab Foliage die set from My Favorite Things to die cut different leaves in different colors of cardstock. I used Ocean Tides (it really works for everything), Green Parakeet and Spring Moss, all from Papertrey Ink. I even threw in some that I die cut from Heavyweight Translucent vellum from My Favorite Things.
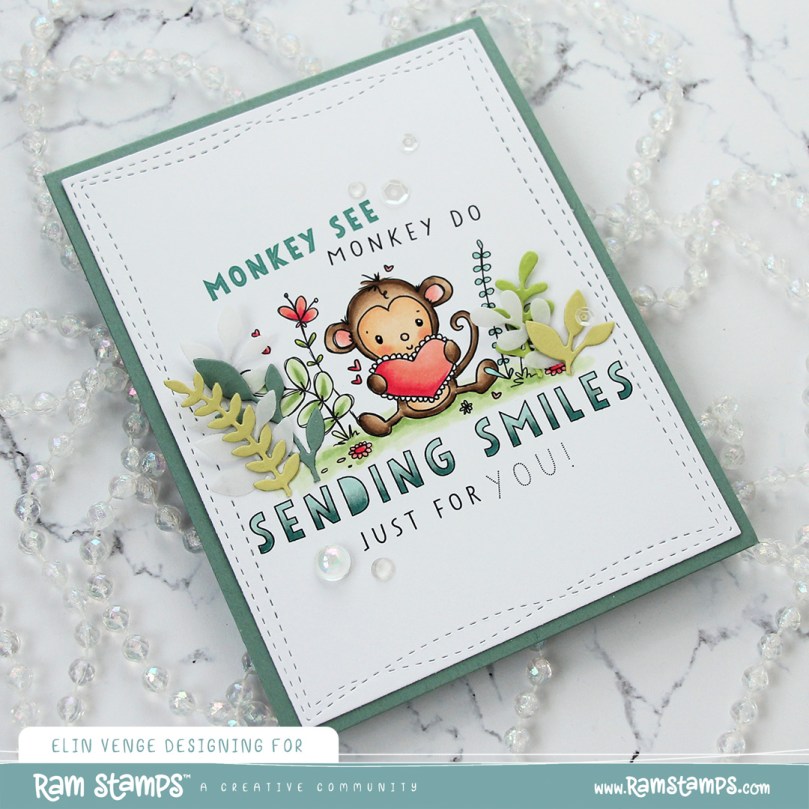 I cut some of the leaves down to fit my card and used a tiny bit of liquid glue at the base of each stem. This way the leaves have a bit of lift off the card, which also adds a little bit of interest.
 I finished off with crystals, sequins and pearls from the Starry Night mix from Little Things from Lucy’s Cards.
 A fairly soft color palette for this one. In addition to BG18 and 72 for the letters, I also used BG71, which is a color I’ve created myself.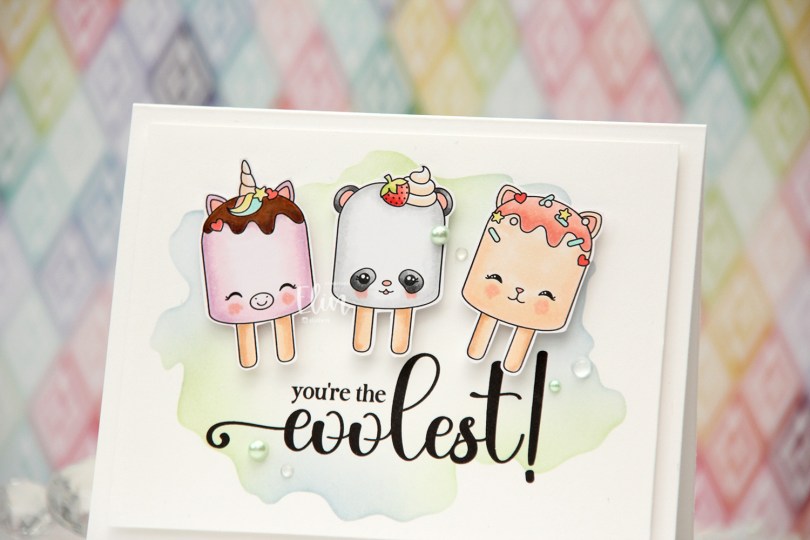
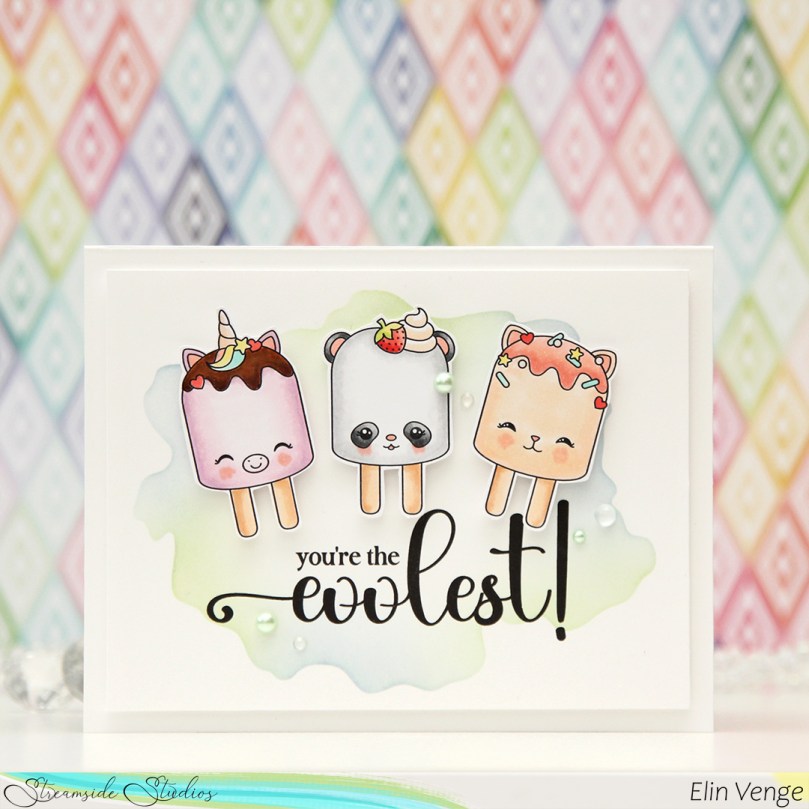 I’ve made a cool card (pun intended) with the
 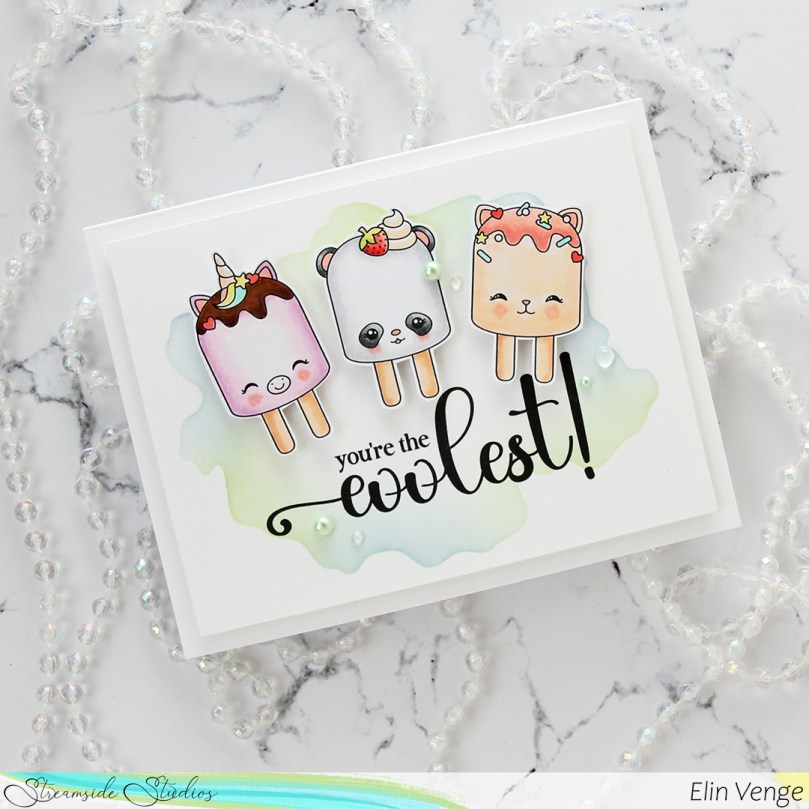 Using the Watercolor Wash Free Form stencil from My Favorite Things along with Icy Water and Frayed Leaf inks from Altenew, I did some very soft ink blending to create a little bit of interest to my background. I then ran the panel through my printer to add the sentiment, chopped off a little on each side of the panel and mounted it onto a top fold card base I created from Stamper’s Select White cardstock from Papertrey Ink.
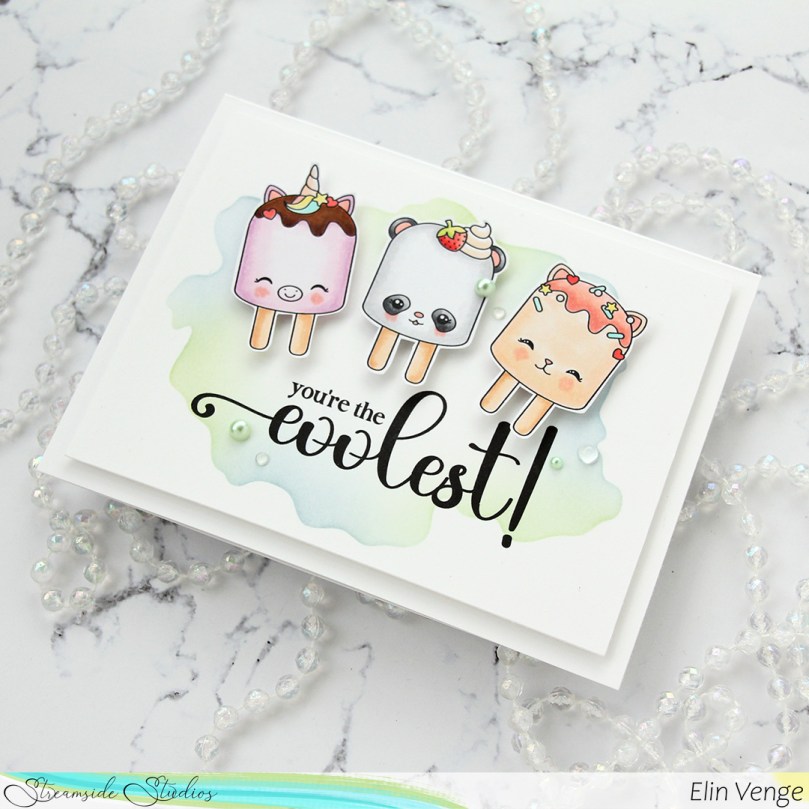 I put foam tape on the back of each of my popsicles and adhered them above the sentiment.
 I finished off the card with pearls, crystals and dew drops from the Fresh Mint mix from Little Things from Lucy’s Cards.
 Soft color palette for this one.
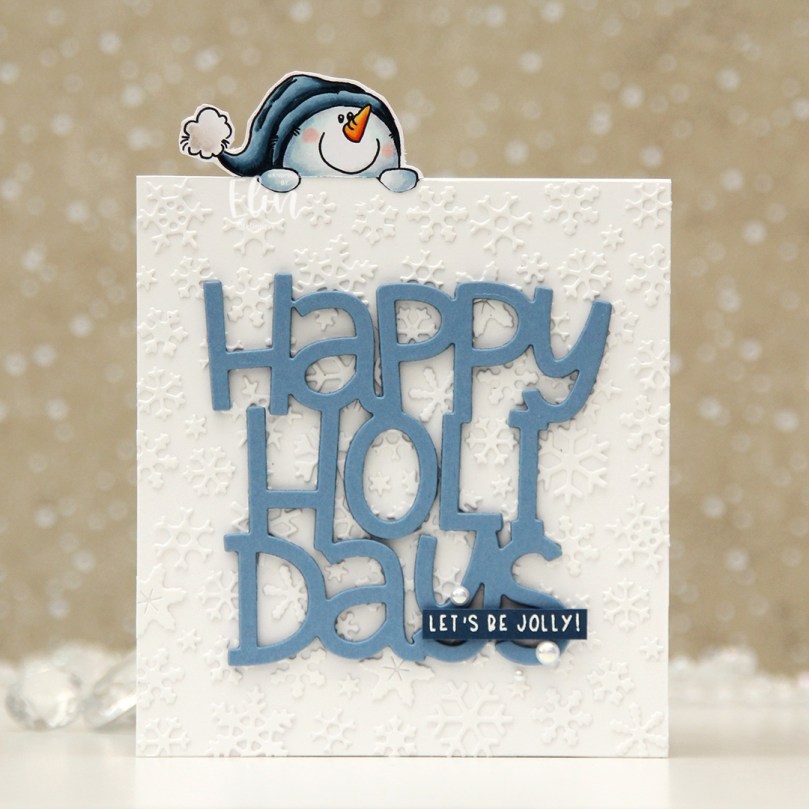 The design of these snowmen peeking out from behind something offers so many possibilities for fun card designs. For my previous card using one of these, I created a tri fold card with the snowman peeking out behind one of the flaps. This time, I have a snowman sticking out above the top of the card.
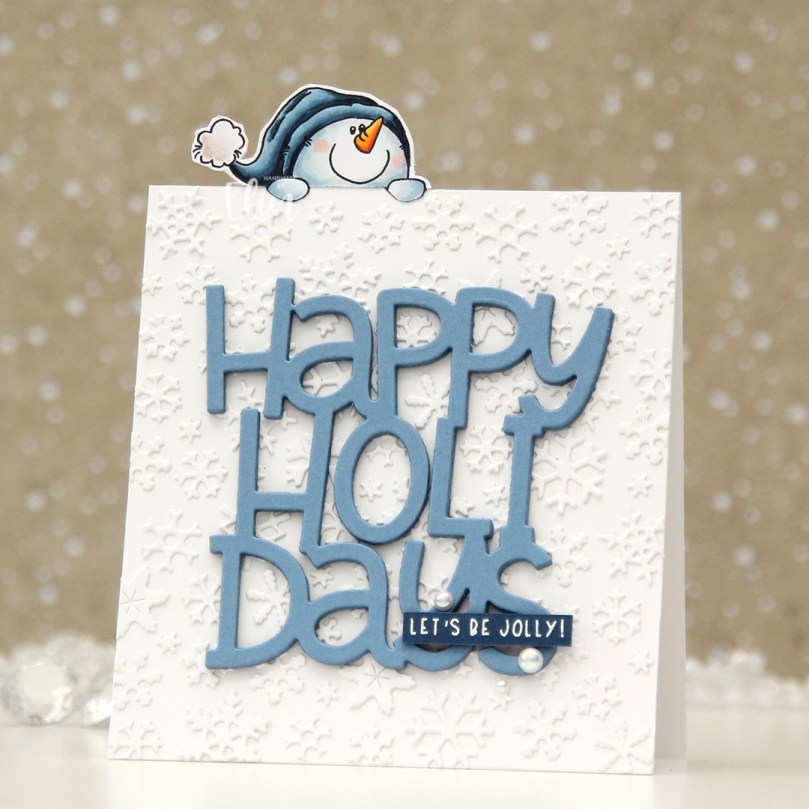 I colored my snowman with Copics, cut away everything below the line in the image and adhered him to the top of a quarter sheet of Stamper’s Select White cardstock from Papertrey Ink, before cutting around him.
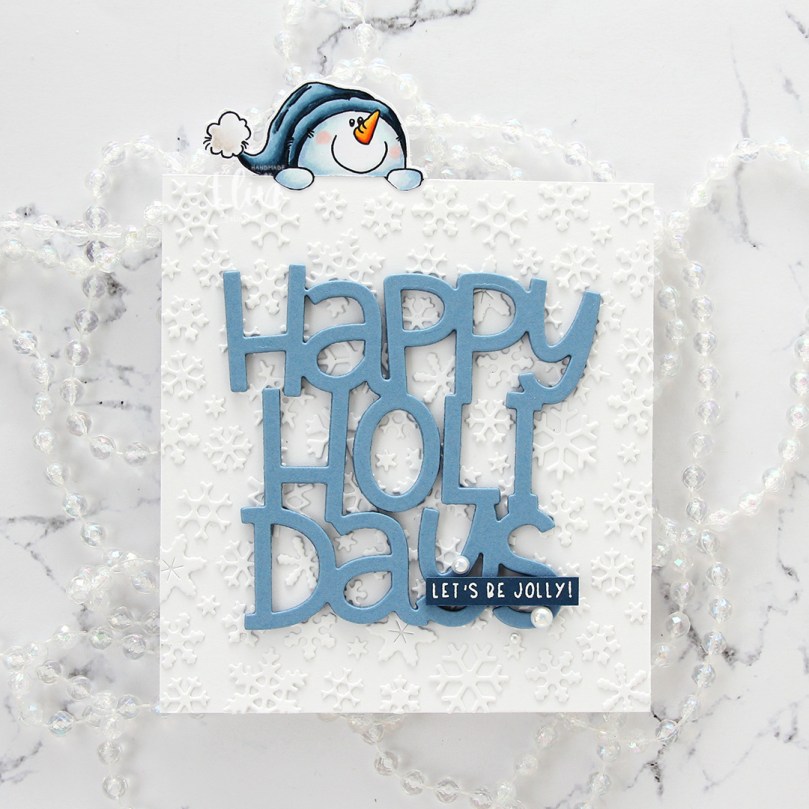 I adhered my panel to a top fold white note card I created from Stamper’s Select White and cut off the bottom of the card, so that it’s 5 1/2″ tall including the snowman.
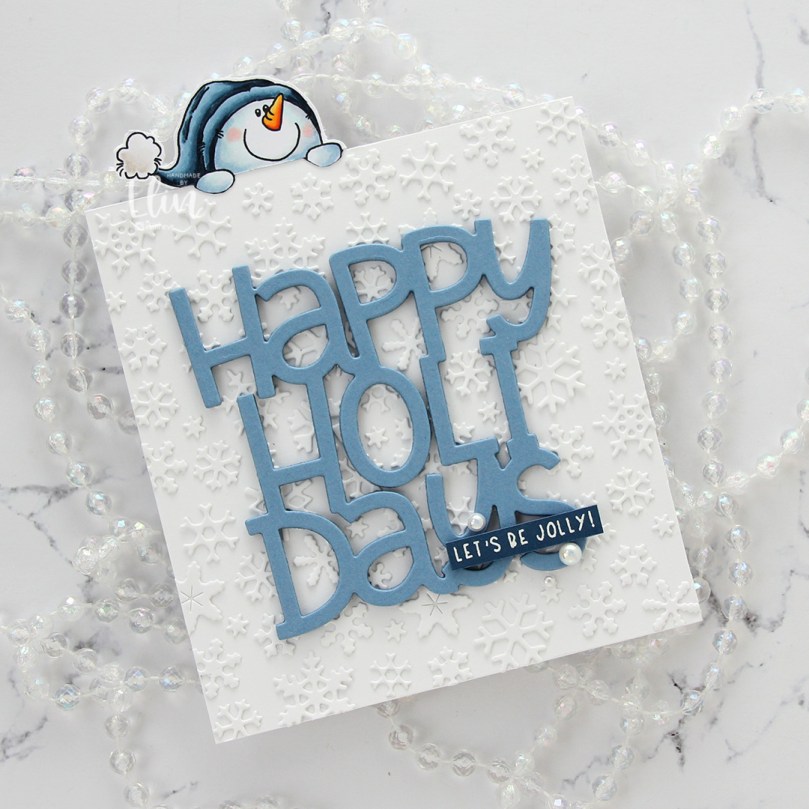 I glued on white snowflakes all across the front. I used the Snowflake Confetti Fancy die from Hero Arts and die CR1335 from Marianne Design to create the snowflakes. I like the white on white look. This adds a tiny bit of dimension and interest to the background.
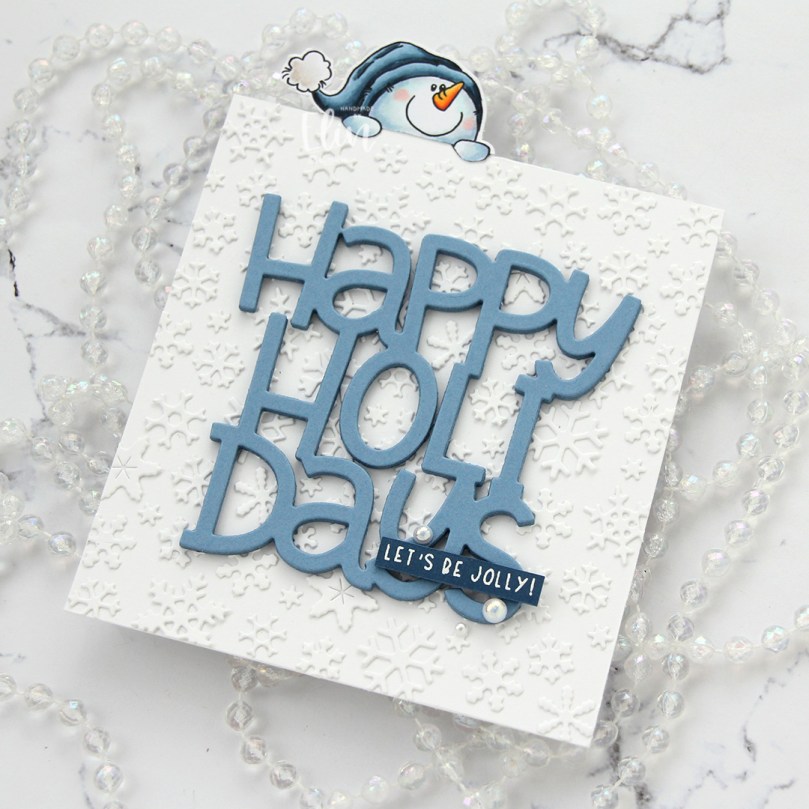 I then used the Big Happy Holidays die from Mama Elephant to die cut five times from Blue Yonder cardstock from My Favorite Things, before stacking them and adhering my chunky die cut in the center of the card.
 I stamped and white heat embossed Let’s be jolly! onto a strip of Enchanted Evening cardstock from Papertrey Ink. The sentiment is from the
  Small image, but as usual, I went overboard when coloring the snow, so there are quite a few Copics used anyway.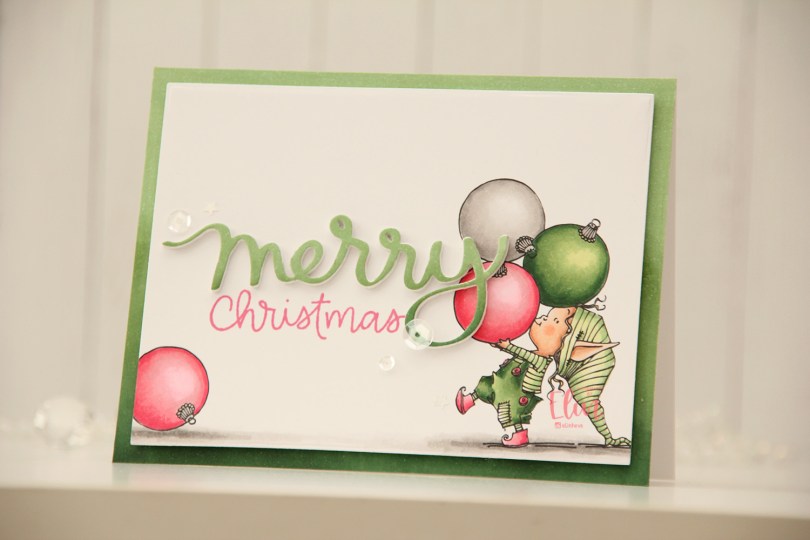
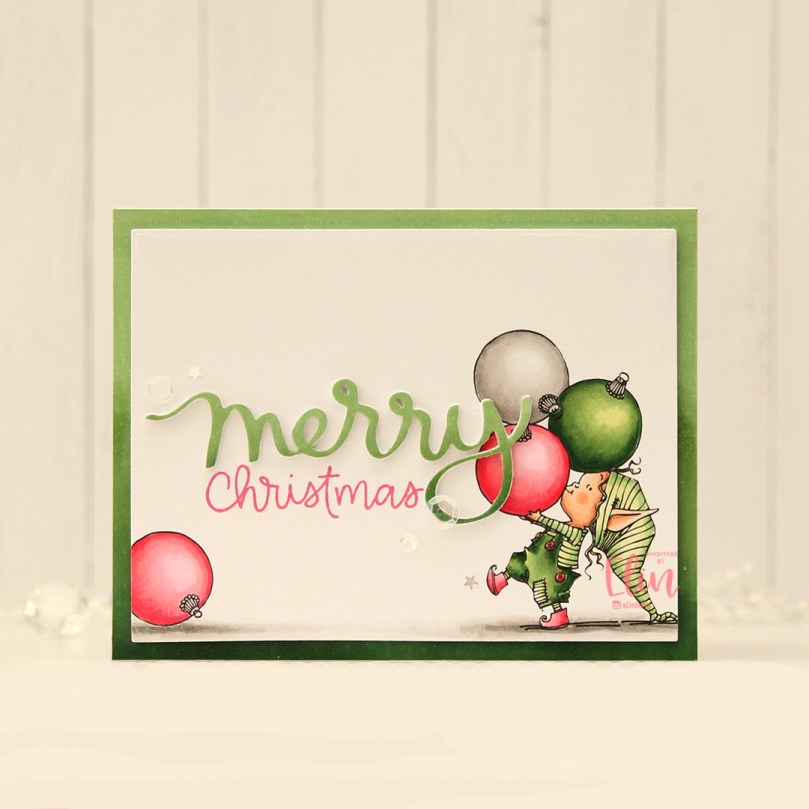 I was planning on coloring this in green with a soft pink. I knew which greens I wanted use, but referred to my Copic color chart for the pink. My color chart is old and Copics fade with time, so the soft pink on my color chart wasn’t as soft in real life once I started coloring. I should color in a new chart, but I LOVE the hot pink with the green, so it all worked out.
 This stamp is what you see on the right. The tip of her hat goes a little further to the right, but I wanted a more dynamic design with her coming in from the edge, so I chopped it off. I copied one of the baubles in her hands and put it on the left of the panel before printing, I thought it added a little bit of extra interest.
 Isn’t she cute carrying those baubles? I love that they’re so big she has to use her forehead to balance them, because her arms just aren’t long enough to carry them on their own.
 I knew I wanted to use this Scripty merry die from Mama Elephant. I tried a pink one and a green one and the green just worked better. I didn’t have any green cardstock that matched my coloring, so I used the colors I’d used on the image to create a piece of green cardstock I could die cut from, which I adhered on top of four white ones that I also die cut. I used the same technique for the base and created an ombré effect going from dark at the base to lighter at the top.
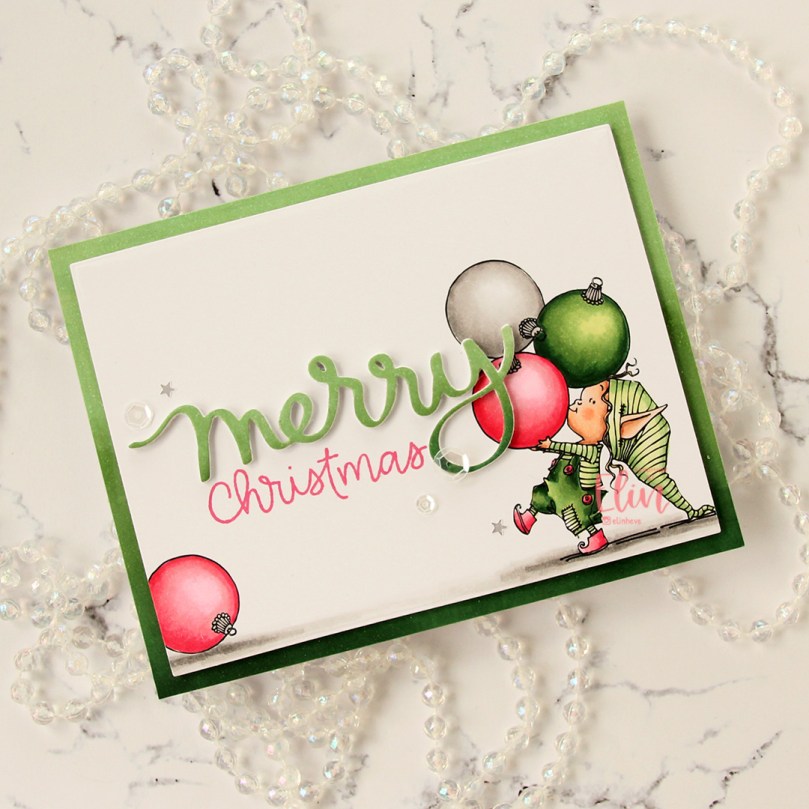 Using the Scripty Xmas stamp set from Mama Elephant, I stamped the word Christmas. The sentiment actually says merry Christmas, but I wanted to use the die cut merry, so I masked off the stamp version and stamped using Picked Raspberry Distress Ink, then stamped again using Worn Lipstick Distress Ink. I didn’t have a pink in that matched my coloring, but these two created the perfect blend.
 I mounted my panel onto the card front using foam tape, adhered the stacked merry die cut to nestle in perfectly with the stamped part of the sentiment and finished off with sequins and confetti from the Starry Night mix from Little Things from Lucy’s Cards.
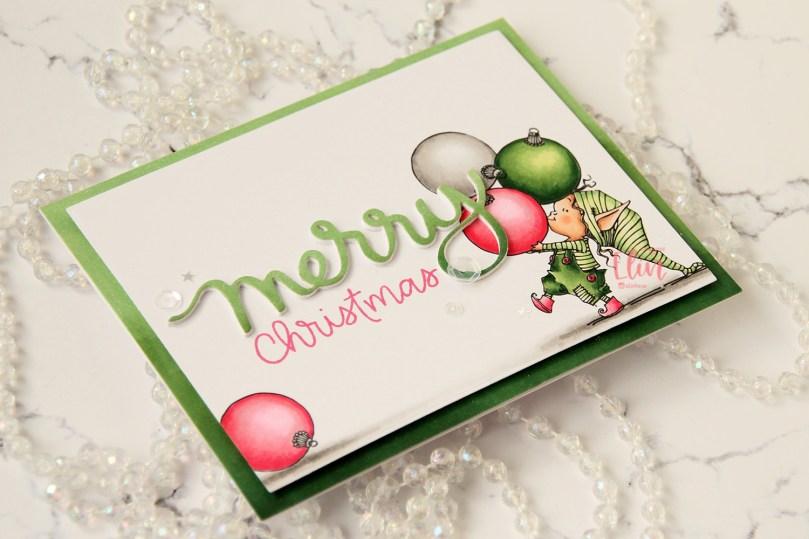 I love the dimension from the popped up panel and the stacked merry, as well as the ombre effect on the base and the die cut. The addition of the pink bauble on the ground gives the card a little bit of balance, not everything is happening on the right hand side of the card.
 Simple, but fun color palette for this one.
 My original plan was to color in their accessories in a peachy pink color and a dark green combo that I love for my Christmas cards. There’s usually a lot of detail to the Lili of the Valley accessories (stripes and dots), making it easy for images to look messy if you choose too many colors. I tend to opt for a lighter and darker version of the same color, which makes it better for the eyes. Once I’d done the peachy pink, I went in with the lighter of the greens, because I didn’t know how dark I wanted it. When the light green was in place, I realized I really liked the light color with the pink, so I decided not to add too much of the darker greens.
 Once the coloring was complete, I used the largest die in the Wonky Stitched Rectangle STAX set from My Favorite Things to turn it into a panel with a fun faux stitch edge. I then used Winter Lake, Icy Water and Polar Bear inks from Altenew to ink blend a soft sky from the top, before sprinkling on Chunky White embossing enamel from Stampendous and melting the granules from the back of the paper with my heat gun.
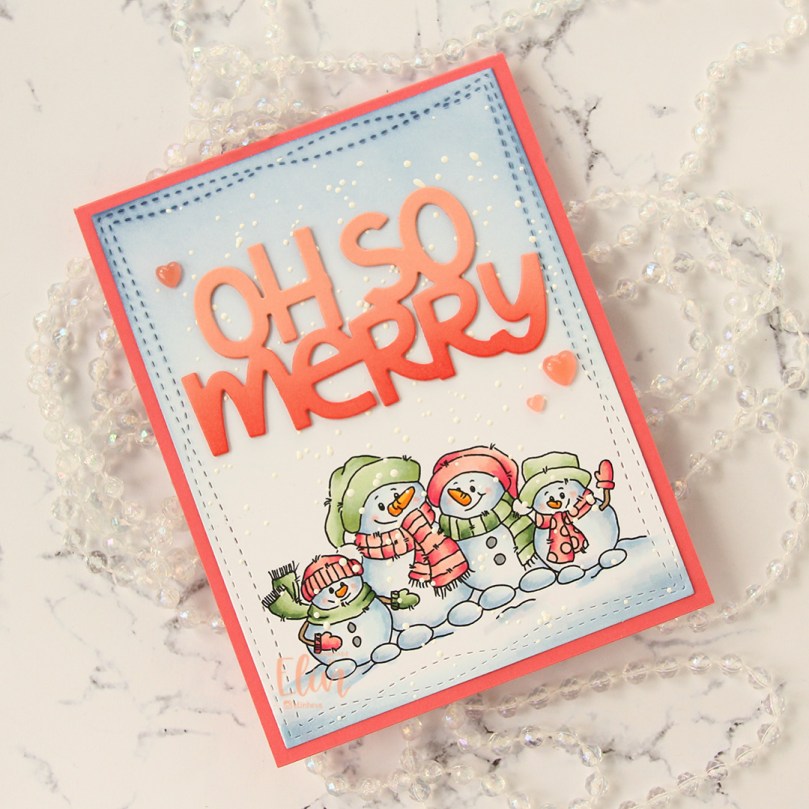 I adhered the panel to a top fold card base I created from Berry Sorbet cardstock from Papertrey Ink. From Grapefruit cardstock from Condord & 9th, I die cut the oh so merry from The Penguin’s Waddle die set from Mama Elephant. I cut three and ink blended on the bottom using Berry Sorbet ink from Papertrey Ink, before stacking them together for a dimensional look and adhering them to the card. I finished the card with a few Coral Heart droplets from Little Things from Lucy’s Cards.
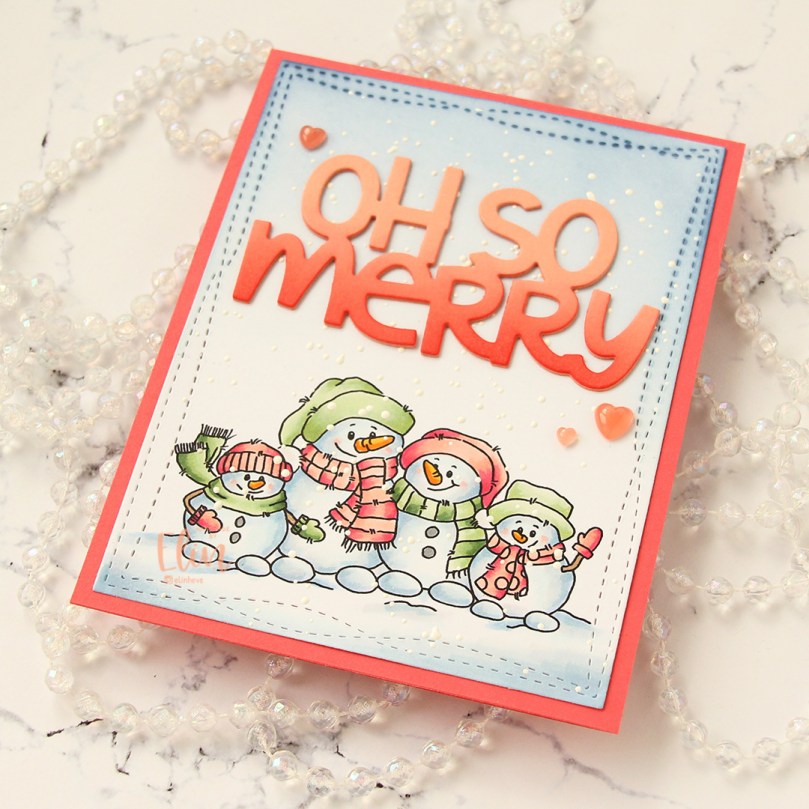 I realize now that the green mitten probably belongs to the snowman on the far left, which means I should have colored it pink. Oh well, next time. The faux stitching, the snow and the ink blend on the letters add a bit of texture and detail to the card without adding bulk. Of course, I love my dimension, so I layered up the die cuts and added the heart droplets, but this card is still fairly mail friendly, I’d say.
 The cardstock from Concord & 9th, which is what I used for my stacked sentiment, is not a very thick cardstock, so it’s great to use if you don’t want too much dimension on your cards. I just really wanted that color, which is why I chose it, but it also die cuts really well.
 Last, but not least, my color palette. I still go overboard when I color snow, I have a feeling that won’t ever change.
