
Hi, everyone!
 I feel like every other day is Wednesday, and today’s another one. Time just goes by so incredibly quickly, it’s hard to keep up and keep track of the weekdays. I colored up Mona from Mo’s Digital Pencil on Saturday, that much I know. I’ve now turned her into a happy card. I diecut a panel with my image as I often do using the largest of the Stitched Rectangle STAX Set 2 dies from My Favorite Things, it’s probably the one die I use the most out of all the dies I own. I used double sided tape to glue it to a cardbase, which I made from Ocean Tides cardstock from Papertrey Ink.
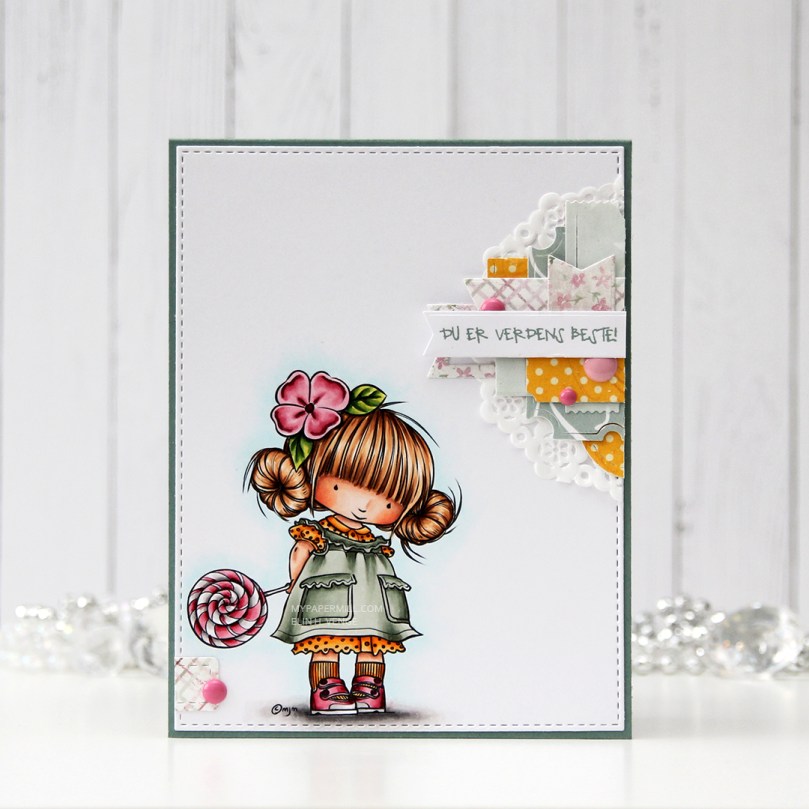 I haven’t made one of my cluster cards in quite some time, but I really enjoy the process of putting these clusters together, so I decided to do it for this card. It’s a great way to use some patterned paper scraps, and one of these patterned papers is actually from 2007! It’s from Autumn Leaves. Remember them? I think it’s been a while since they ceased to exist. Now, when you go to autumleaves.com, you get to a site for assisted living communities for those with dementia. It’s a Texas based company, and definitely not a maker of pretty patterned paper. The other papers I’ve used are also what we’d call old in the card making world, the yellow one is from My Mind’s Eye and was released in 2011, and the remaining two were both released in 2013, they’re from Maja Design and Inkido, respectively.
 I use a couple of different dies to make these clusters, I make the banners using the Fishtail Flag Frames set from My Favorite Things, and I use the Happy Days Ticket Stubs die from Xcut for all those tickets. It’s one die that cuts nine different tickets, and I love that I get that many from one run through my diecutting machine. I mounted some of my diecut pieces on 1 mm foam tape, and glued others down using just double sided tape. Behind the whole thing I put half a mini paper doily from Doodlebug Design. I used the other half for the card I posted yesterday. On top I added a sentiment from Norsk Stempelblad AS stamped in Ocean Tides ink from Papertrey Ink. I mounted that on foam squares, and tripled up the foam squares on the left side of the banner. Finished off with a few pink dots from Papirdesign.

I have so many tickets left over, and with this kind of cluster you don’t even use whole pieces for all of it, so I have the off cuts from some of these also. I added half a ticket in the bottom left corner, too, and glued another dot on top. And that finishes my card for today.
 I leave you with the colors I used for the adorable little girl. Not too many today.
 “Elin goes overboard with coloring” is a common theme around here, and I used 50 Copic colors to create this little scene. I wanted to keep the focus on the colorful image, so I used a stitched rectangle die from My Favorite Things to diecut my panel and mounted it on Smokey Shadow cardstock from Papertrey Ink. I added a couple of pieces of a mini doily from Doodlebug to opposite corners to soften the look a little bit, before popping up a sentiment from the stamp set onto black foam tape from Gina K.
 All I did for embellishments was add a couple of sparkling clear sequins from Pretty Pink Posh, and my card was complete.
 These are 49 of the 50 Copics I used to color my image. I also used BG71, which is a color I’ve made myself.
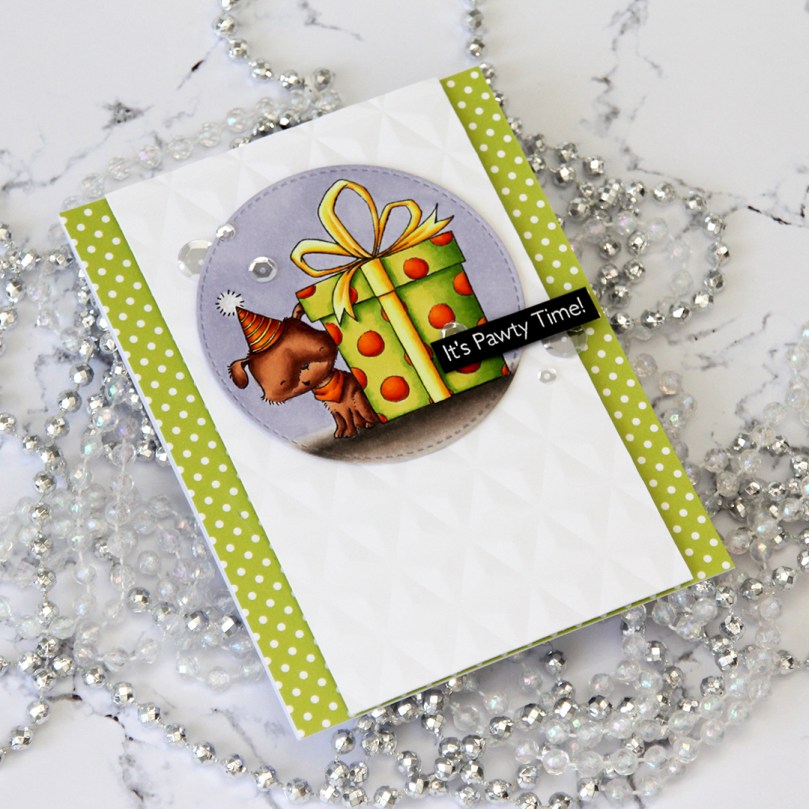 I colored up this
  I ran a white cardstock panel through my Gemini Jr with an embossing folder from We R Memory Keepers to create some texture in the background. I mounted it on foam tape and centered it on my card front, before adding my colored image with some 1 mm foam squares for even more dimension.
 I white heat embossed a sentiment from the same stamp set onto True Black cardstock from Papertrey Ink, mounted that on more foam tape and added some sparkling clear sequins from Pretty Pink Posh for a finishing touch.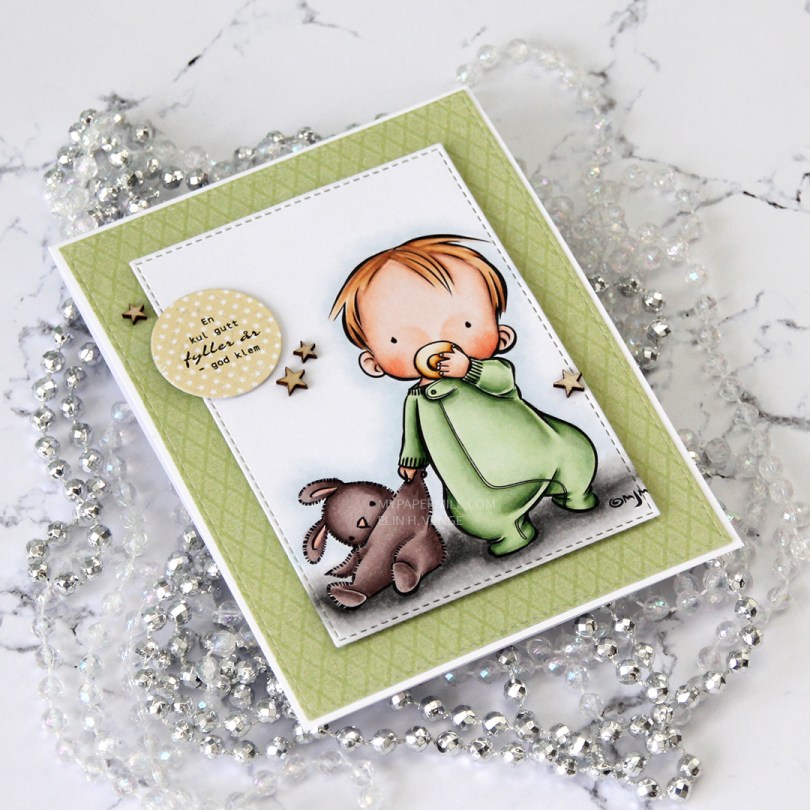
 I’m doing my best to make my pile of patterned paper scraps shrink and not grow. My biggest problem with that is that most of my cards are fairly simple without a lot of patterned paper, and my scrap pile feels endless. Still I keep chipping away at it, hoping it’ll be visibly smaller one of these days. For this card I used an old green scrap from Pion Design and a yellow one from Papirdesign. I diecut both, the green using the largest of the stitched rectangle dies from My Favorite Things, and the yellow one using a super old Quickutz die.
 I also diecut the image using a smaller stitched rectangle die from MFT, and popped the panel up on foam tape centered on my card. I used some 1 mm foam squares to adhere my circle diecut with a stamped sentiment from Norsk Stempelblad AS.
 I finished off the card by scattering veneer stars from Studio Calico at a diagonal across.
 These are the colors I used to color the image. I also used B40, which is a color I’ve made myself.
 I colored up
  I used the largest of the faux stitch rectangle dies from My Favorite Things to create a nice edge for my panel. I mounted it to a cardbase I made from Soft Stone cardstock from Papertrey Ink.
 I dug through my scrap stash of Christmas themed patterned paper and got really lucky with part of a diecut ticket and some pine branches.
 I made a little cluster starting with half a Doodlebug mini paper doily, then the partial ticket stub and the pine branches. I found a fitting sentiment on the bottom of a piece of patterned paper from Papirdesign, so I cut that bit out and added foam tape behind it. I finished the card with a few snowflake sprinkles from Little Things from Lucy’s Cards.
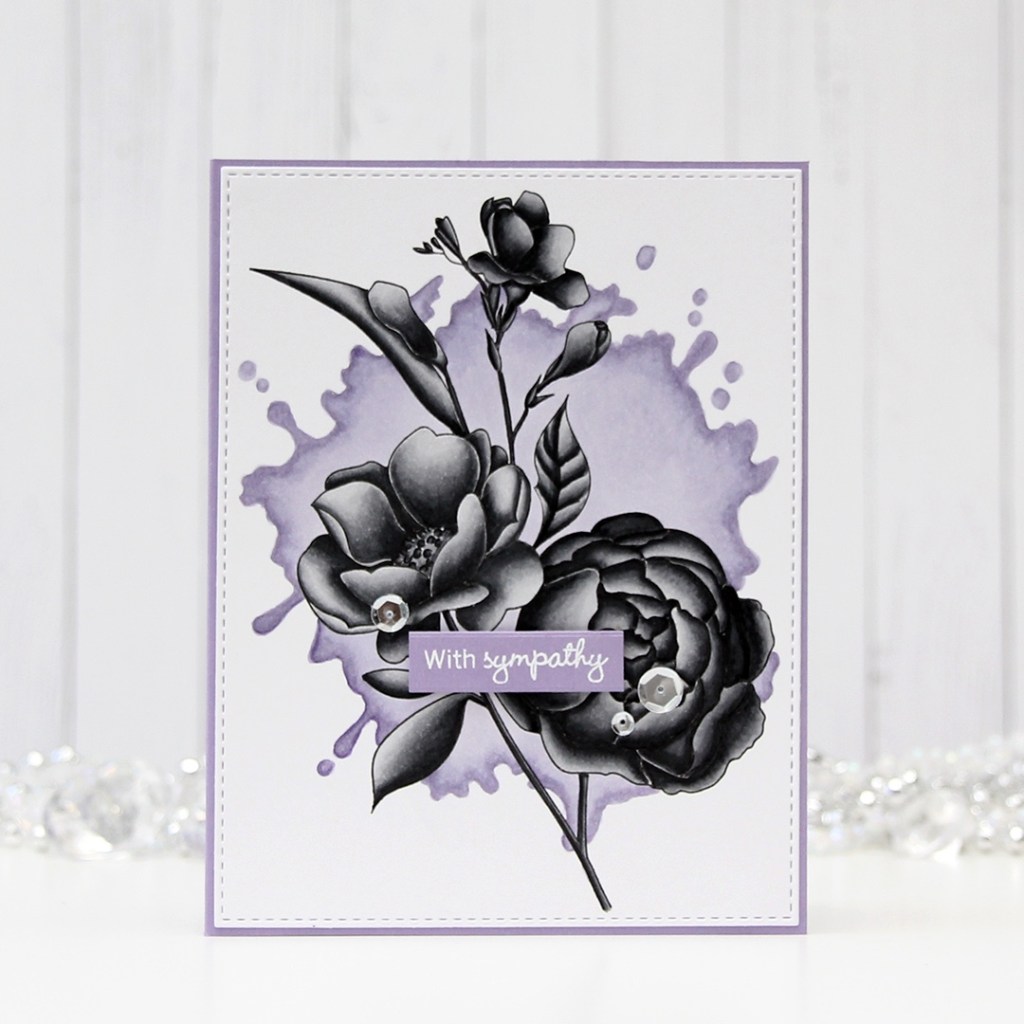


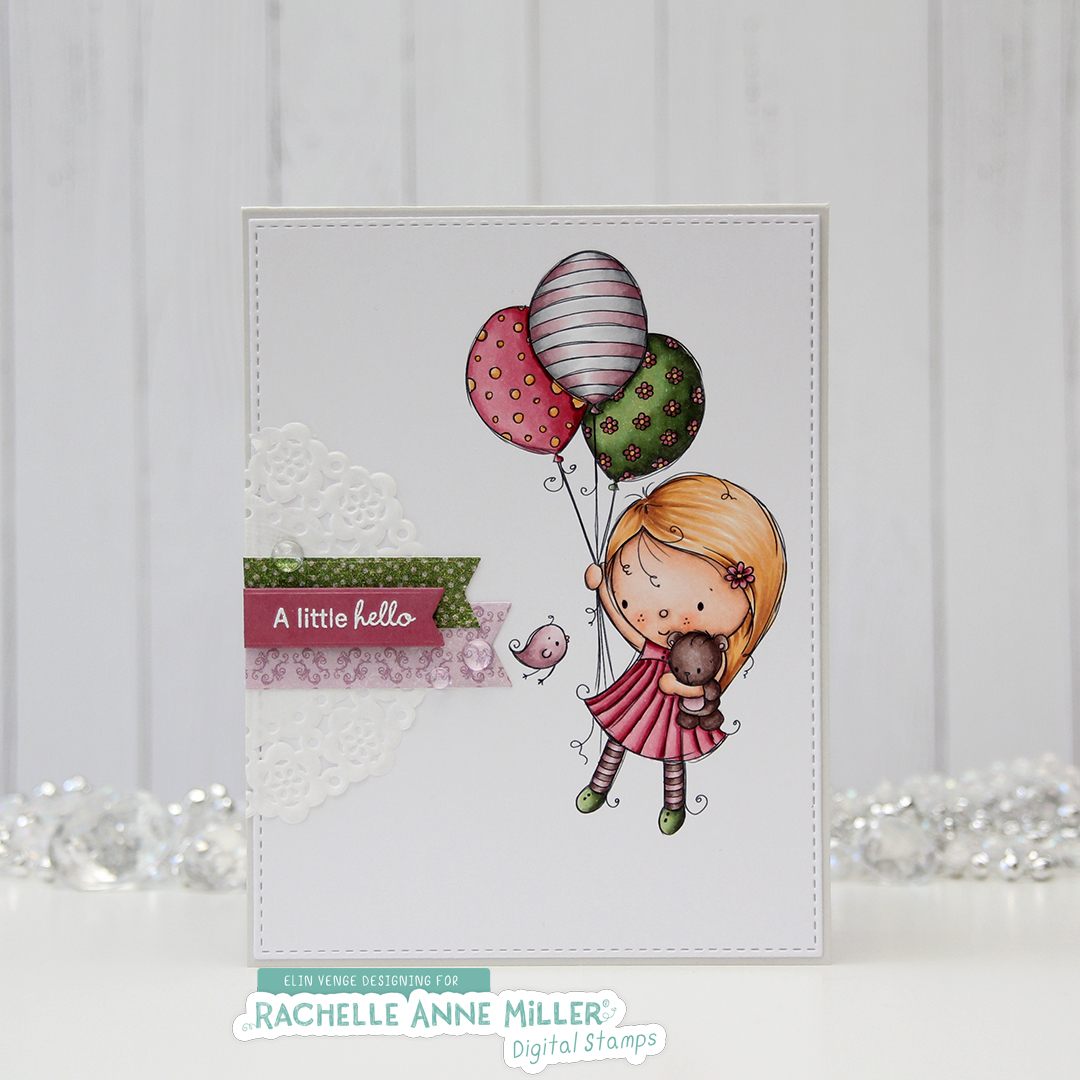
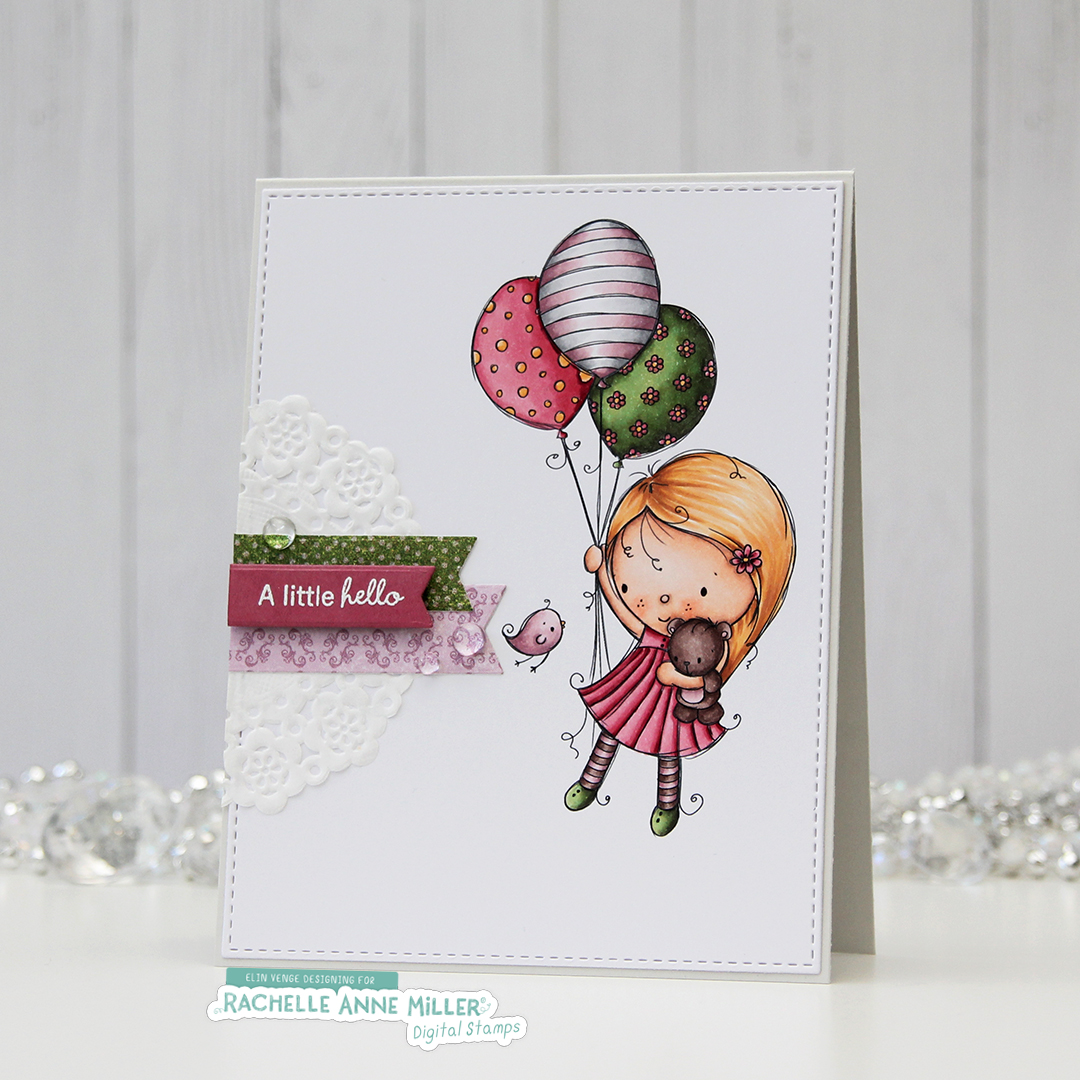 I diecut the panel with the image using the largest of the faux stitch rectangle dies from My Favorite Things. I glued it straight to a cardbase I created from Soft Stone cardstock from Papertrey Ink.
 I added half a Doodlebug Nini doily, some diecut scraps of patterned paper (Papirdesign and Basic Grey, btw) and a white heat embossed Inky Wings sentiment on Papertrey Ink Autumn Rose cardstock. A few raindrops from Little Things from Lucy’s Cards, and my card was finished.
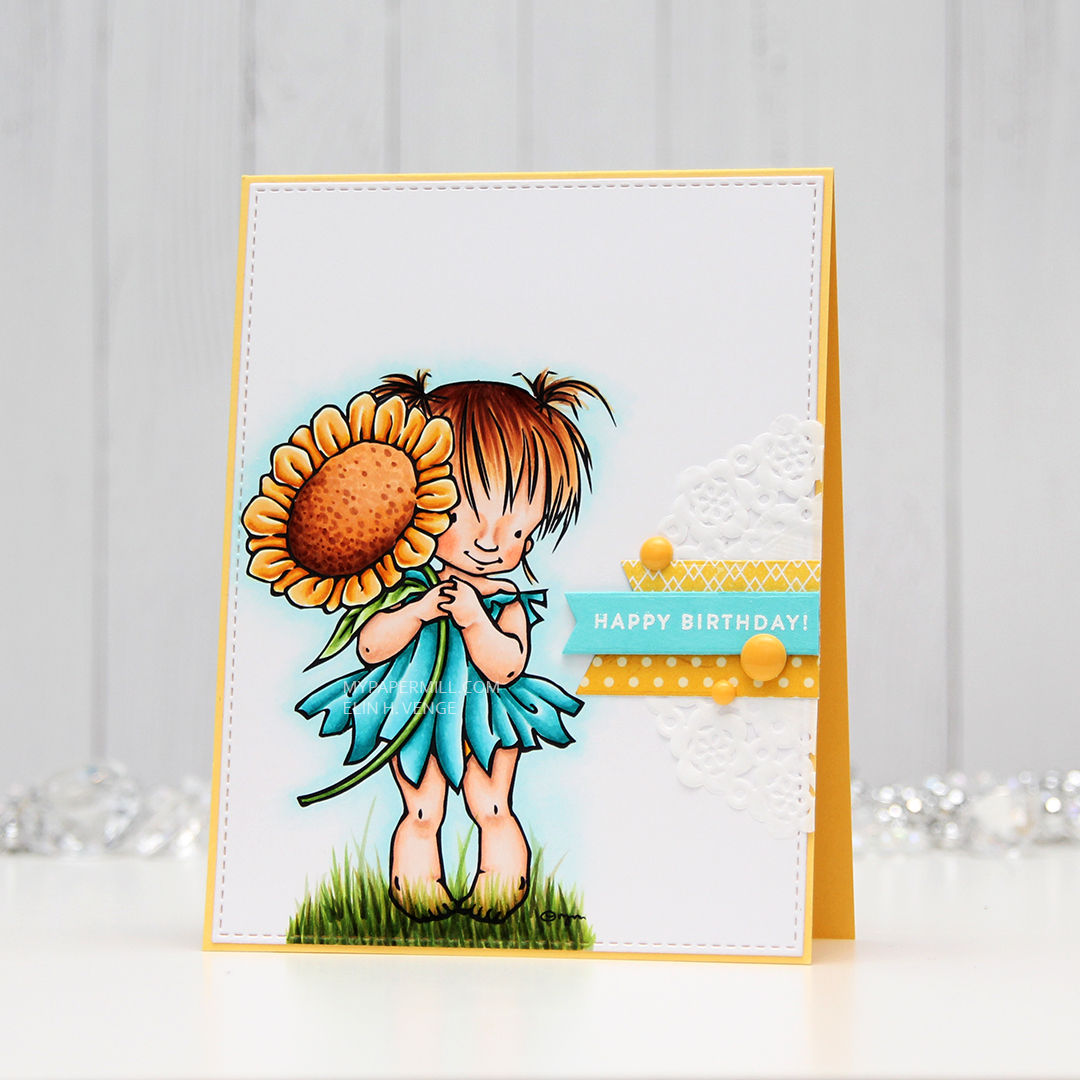 I colored up
 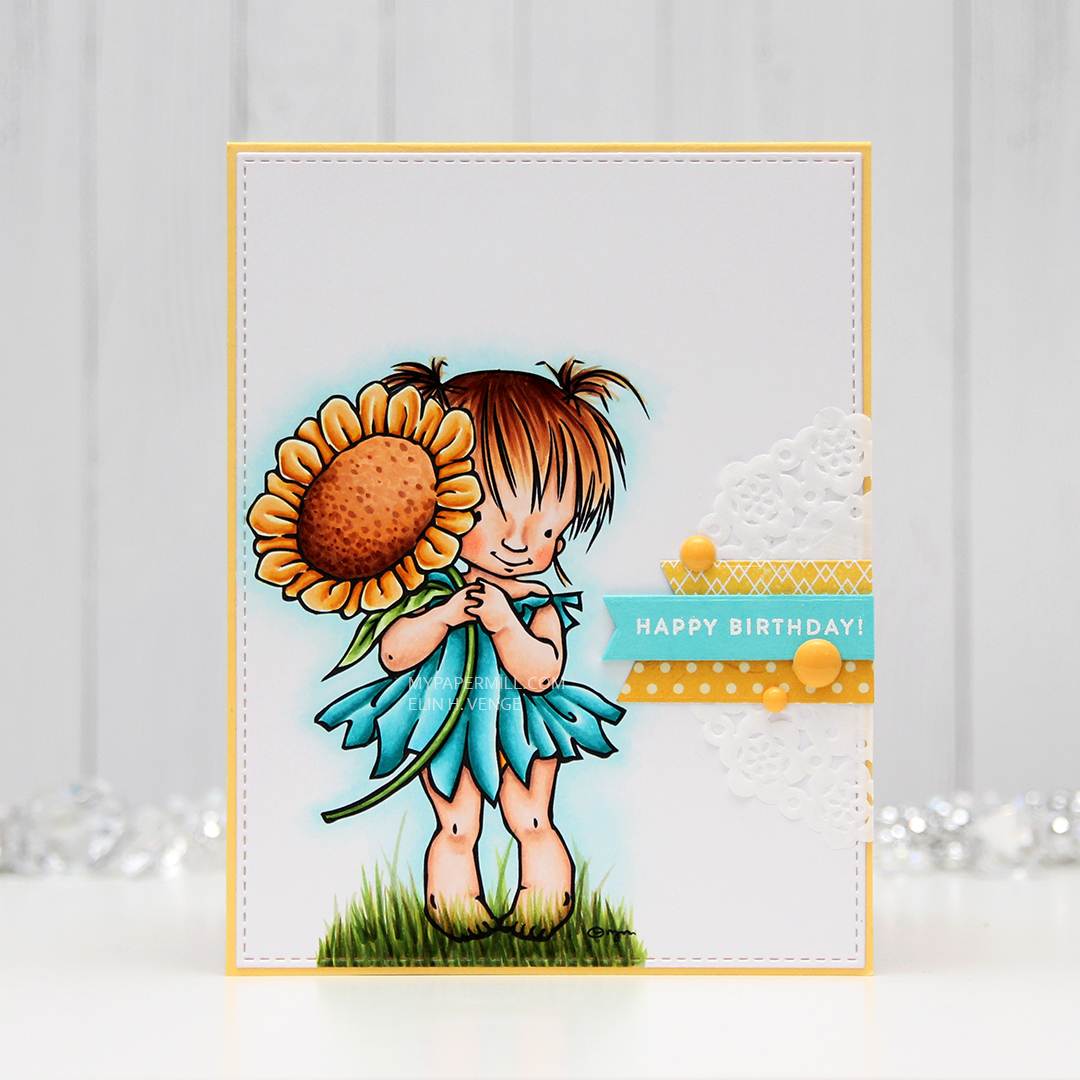 This type of card has become my signature card style. I haven’t however, used those Doodlebug mini doilies in a while, so it was good to pull out half of one (a little less than half, actually) for this card. I used the Fishtail Flag Frames dies from My Favorite Things to diecut a couple of banners from yellow scraps of patterned paper. The bottom one is from My Mind’s Eye, the top one from Papirdesign. I also diecut the sentiment strip after stamping and heat embossing a sentiment from an old Papertrey Ink stamp set on that piece of Hawaiian Shores cardstock, also from Papertrey Ink. I added to more layers of cardstock behind my sentiment to make it a little more dimensional.
 The last little piece of business was adding some enamel dots. I hardly ever make cards without enamel dots or sequins, and I tend to always place them near the sentiment, it draws in the eyes. Nice little trick for’ya.
 For this card I chose a tealy green/blue watercolor splash background and a penguin with a camera in his hand. I knew I had to use this one as soon as I saw it, and an idea formed in my mind as to how my card would look in the end. The files are in png format, so they’re good quality and very easy to use together. I simply added my penguin to the splash background in Photoshop and printed. It couldn’t be easier. I love that I now have a watercolor look, but the paper is bright white, smooth and perfect for Copic coloring.
 I diecut my panel with a faux stitch rectangle die from My Favorite Things, and glued it to a cardbase made from Tropical Teal cardstock from Papertrey Ink. I used a polaroid die, also from My Favorite Things, to diecut the frame four times out of that same Tropical Teal color and once from the same white cardstock I used for the rest (X-Press It blending card, btw). I stacked them all on top of each other for dimension. “Dimension is life”, as
  A side look at that frame. You can see the colored cardstock from the sides, which gives such a fun look to a panel that is predominantly white.
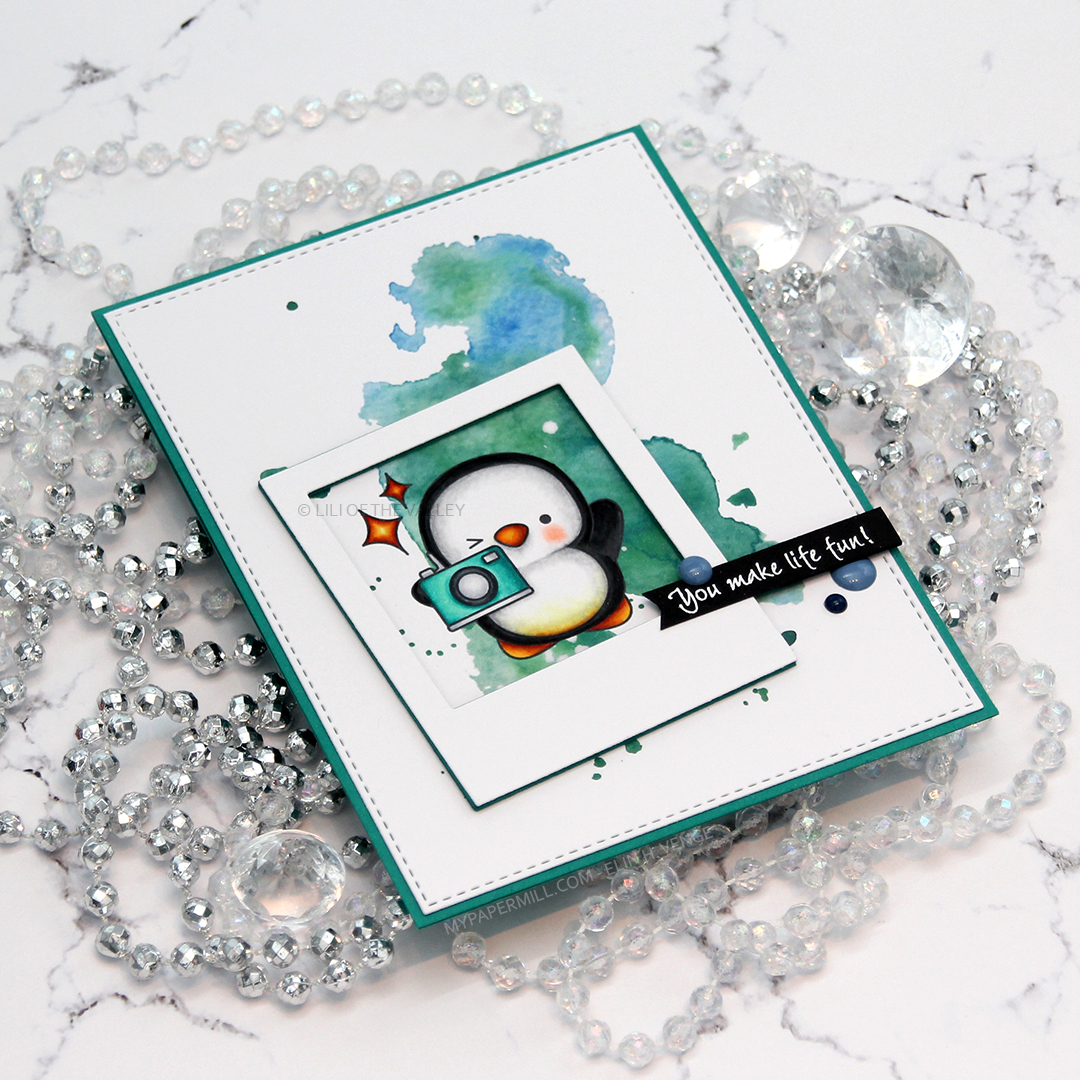 I finished off my card with a white heat embossed Inky Wings sentiment on black cardstock. I also popped that up, because dimension really IS life. A few blue enamel dots from Papirdesign to get a tiny more blue in there to embellish.
 There are two bundle packs with penguins. One has
  There were also five different packs of watercolor backgrounds released. I used the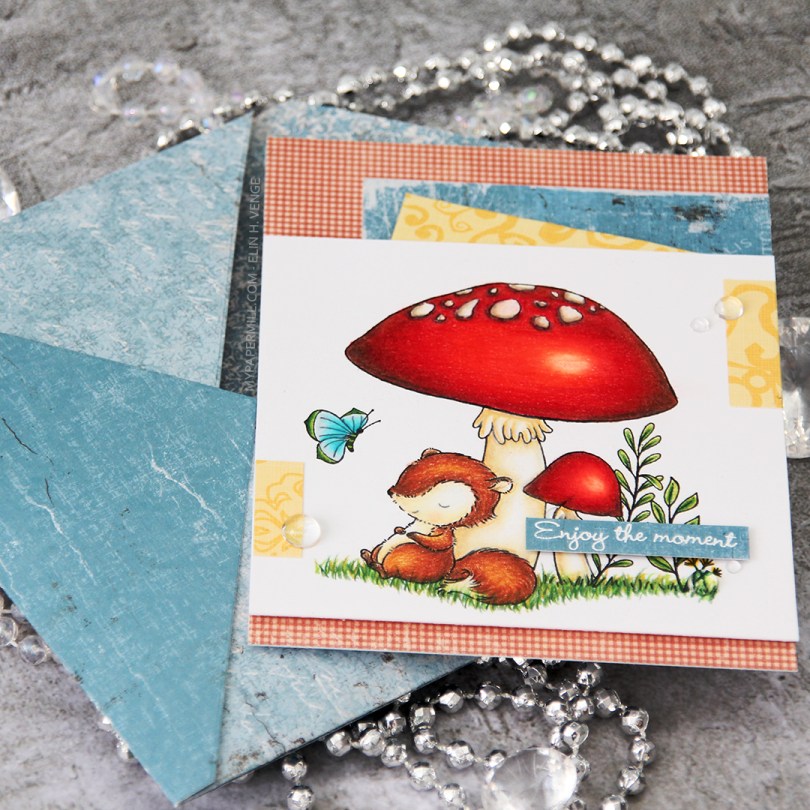
 This little fox scene is from the Always Bring a Smile set, designed for My Favorite Things by Stacey Yacula. I really love her characters, they’re so full of life, and this little guy looks like he’s taking a well deserved nap against the stem of that big mushroom. I actually stamped this on Stamper’s Select White cardstock from Papertrey Ink and pulled out my Prismacolor pencils to color him in for day 2 of the current round of Kathy Racoosin’s 30 day coloring challenge.
 I found some scraps of patterned paper in my stash (the red is from Pion Design, the tealy blue from Maja Design and the yellow from Chatterbox) and added them here and there on my card, before propping my panel with the cute fox onto the card front using foam tape. Lots of foam tape, I wasn’t shy! I stamped and white heat embossed a
  I added a few raindrops from Little Things from Lucy’s Cards around my sentiment and near those small yellow bits, and called it done. I had enough of those Maja Design scraps to make a matching envelope using the A2 V flap envelope dies from Simon Says Stamp.
 I don’t usually do anything to the back of my clean and simple (it’s somewhat clean and simple, this one?), but I recently bought this
