Hei og hopp! Dagens kort er nok et kort fra Inpirert av-artikkelen i Ett trykk fra april, der jeg lot meg inspirere av Alice Wertz. Det første kortet hadde ett motiv fra Mo Manning, her har jeg sju bittesmå bjørner fra et stempelsett fra My Favorite Things.
Hi everyone! My card for today is another one from the Inspired by article in Ett trykk from April. I chose Alice Wertz as my inspiration. My first card had one image from Mo Manning, this one has seven tiny bears from a My Favorite Things stamp set.
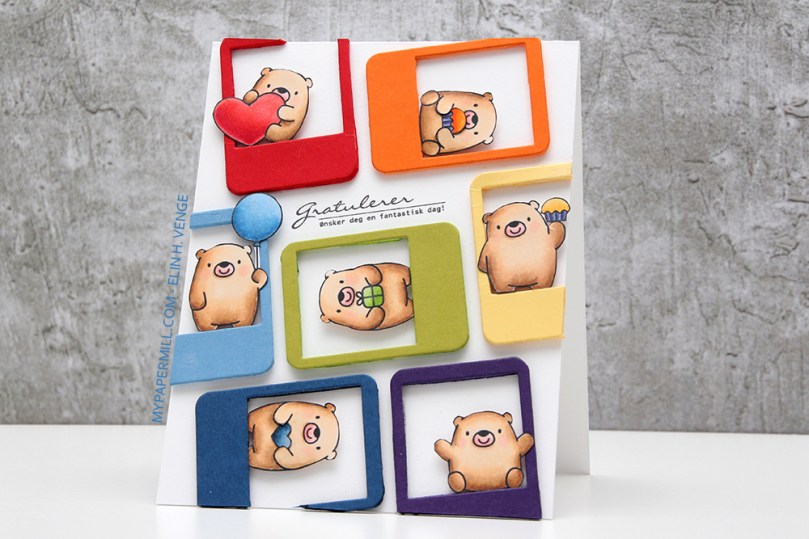 Jeg har fargelagt bjørnene mine med Copics, klippet dem ut og satt dem i hver sin polaroidramme stanset ut med en die fra Papertrey Ink. Alle rammene er stanset ut i hver sin farge kartong fra PTI (Pure Poppy, Orange Zest, Harvest Gold, Simply Chartreuse, Blueberry Sky, Enchanted Evening og Royal Velvet), og fargene på pakker, ballonger, muffins og hjerter matcher fargene på rammene de er i.
I colored my bears with Copics, fussy cut them and put them in polaroid frames diecut with a Papertrey Ink die. I’ve diecut all the frames in differend colors of Papertrey Ink cardstock (Pure Poppy, Orange Zest, Harvest Gold, Simply Chartreuse, Blueberry Sky, Enchanted Evening, and Royal Velvet), and the colors of the gifts, ballooons, muffins and hearts match the colors of the individual frames.
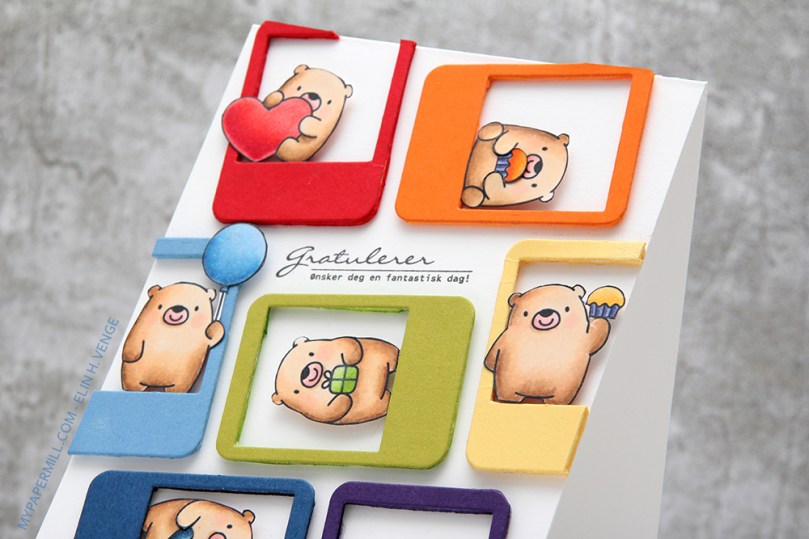 Måten jeg har stablet rammene på gjorde at jeg hadde et lite tomrom et stykke opp på kortet. Plassen var i akkurat passe størrelse til å stemple en tekst, og stempelet jeg valgte fra Grattis-platen til Norsk Stempelblad AS passet PERFEKT.
The way I organized my frames on my card made a little bit of room for a sentiment towards the top of the card. It was just the right size for a sentiment, and the stamp I chose from the Grattis stamp set from Norsk Stempelblad AS was the PERFECT fit.
 Både bjørnene og rammene er proppet opp fra basen for dimensjon. Bjørnene er satt på 3D-teip, mens jeg har stanset ut mosegummi bak rammene. Da slapp jeg å klippe 3D-teip i småbiter, det smaleste på rammene er nemlig bare 3 mm bredt. Med mosegummi ser det også mye penere ut fra siden. Jeg har farget kanten på mosegummien med farge som matcher kartongen. Et lurt lite triks, da ser det nemlig ut som jeg har mange farger med mosegummi, selv om jeg stort sett bare har brukt hvit mosegummi (av en eller annen grunn hadde jeg oransje mosegummi også, så det er brukt bak den oransje og den røde ramma).
The bears and the frames are popped up from the card base for dimension. I put the bears on foam tape, and diecut fun foam to put behind the frames. That way I didn’t have to cut foam tape into tiny strips, the narrowest part of the frames is only 3mm wide. With fun foam it also looks much better from the sides. I colored the edge of the fun foam with colors that coordinate with the cardstock. A clever little trick, that way it looks like I have lots of colors of fun foam, even though I’ve mostly used white (for some reason I had orange fun foam, too, so I used that for the orange and red frames).

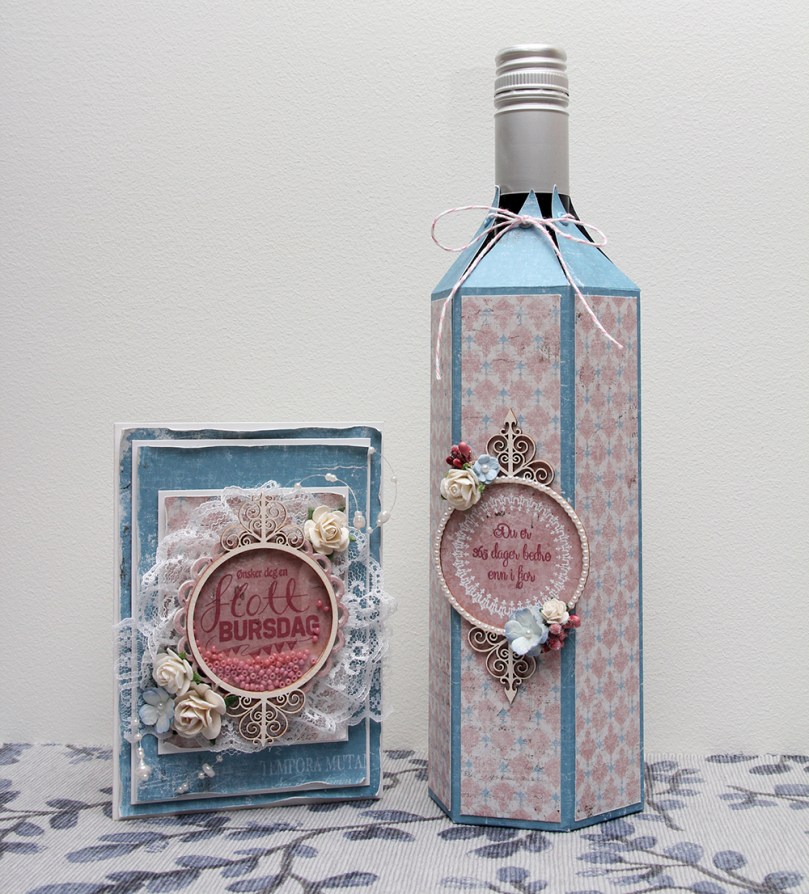 Jeg bestemte meg for at jeg skulle lage disse som et sett, så de matcher. Jeg har brukt mønsterark fra Vintage Summer Basics-serien til Maja Design på begge to, samme stempelpute og også en del av pynten er lik. I hver spiss på vinskjuleren har jeg satt en malje fra Making Memories for å forsterke hullene som tråden skal gjennom. På rammen har jeg limt 2mm perler fra Kort & Godt tett i tett rundt hele ringen for å pynte opp litt ekstra.
 Kortet har jeg laget litt lag på lag. Jeg har brukt den samme rammen her som på vinskjuleren, og stemplet en tekst fra Norsk Stempelblad AS med Papertrey Ink Autumn Rose blekk rett på det ene mønsterarket. Jeg har pyntet enkelt med blomster og en perlestreng og lagt en tynn blonde bak som en slags ekstra ramme.
 Jeg har laget hovedfokuset på kortet som en shakerboks, med glassperler inni. Disse perlene er kjempegamle, min bestemor kjøpte dem på bokhandelen på Åndalsnes en gang på åttitallet, men de matcher jo mønsterarket HELT perfekt.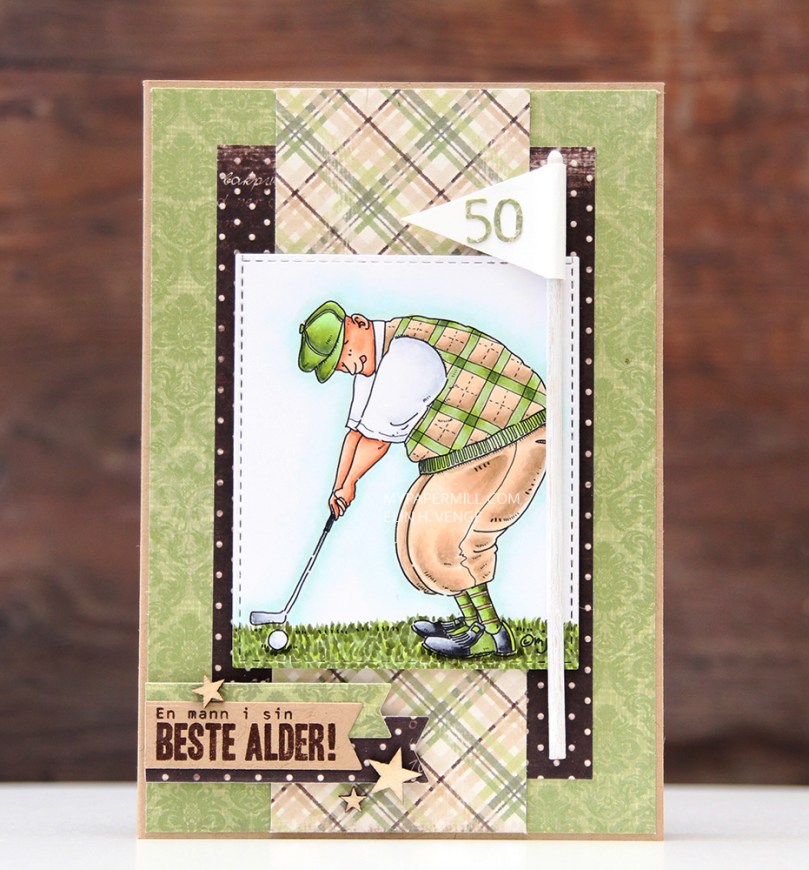
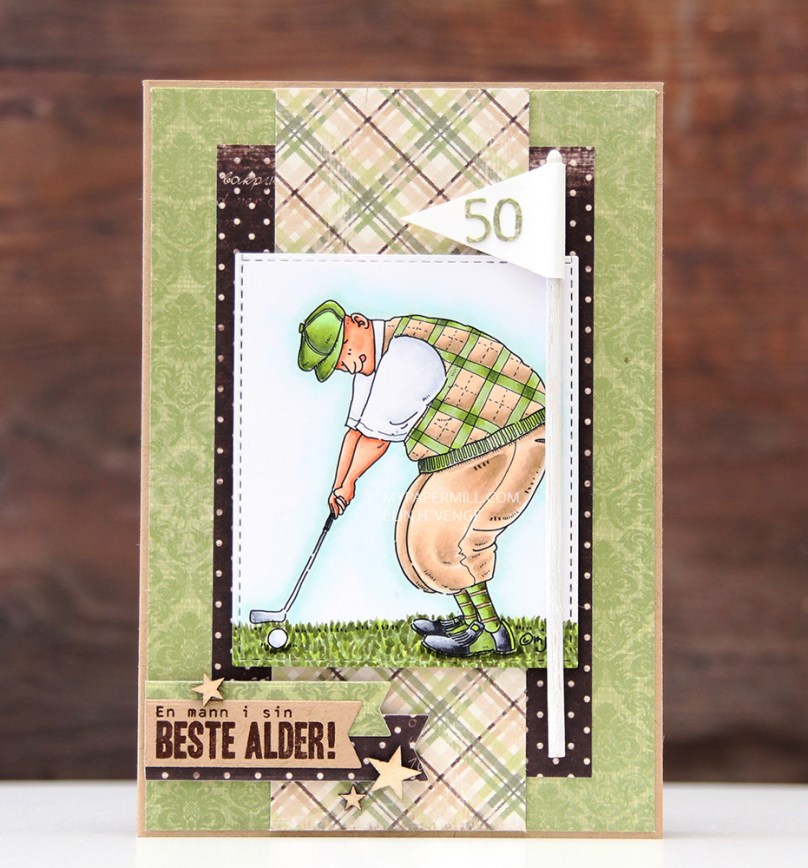 I found some scraps of mostly green patterned paper from Maja Design. I had no idea that the club he plays at is named Green Joy, so that was pure luck. I added his age on a flag, thought it was fitting. Not that there’s 50 holes on a course (that much I know), but I’m guessing he gets it anyway.
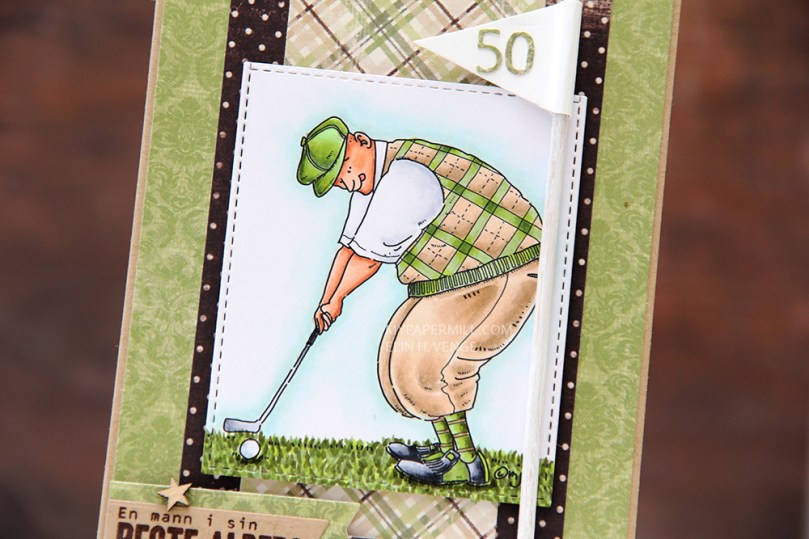 I colored up my golfer to fit my papers and added a bit of green below his feet and the ball. I love his tongue sticking out, he’s SO focused on making that put!
 I added a little cluster of banners in the lower left corner, with a sentiment on one of them. It says “a man at his best age” in Norwegian. I stamped it in Papertrey Ink Dark Chocolate ink and added a few veneer stars from Studio Calico as accents.
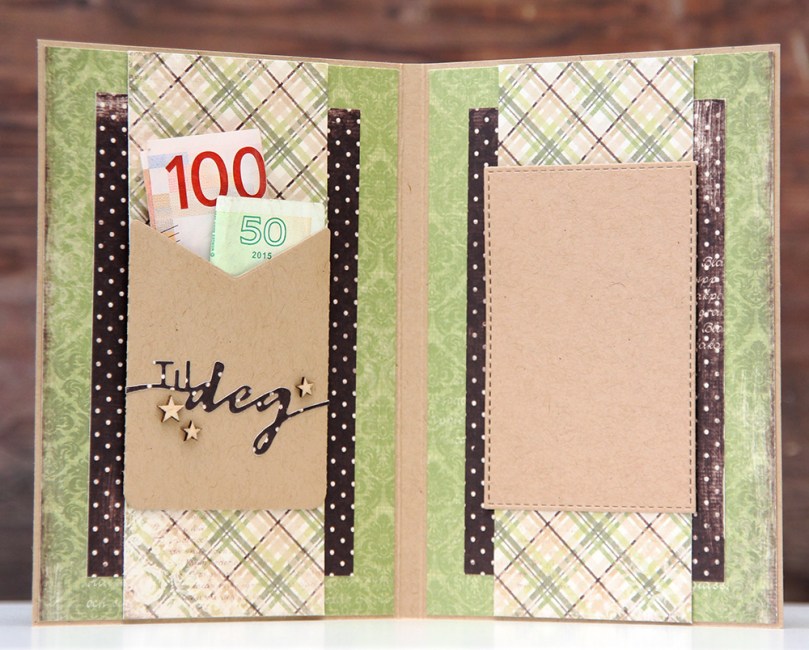 The inside basically has the same design. I made a pocket for some cash on the left side, with a diecut sentiment and some more stars.
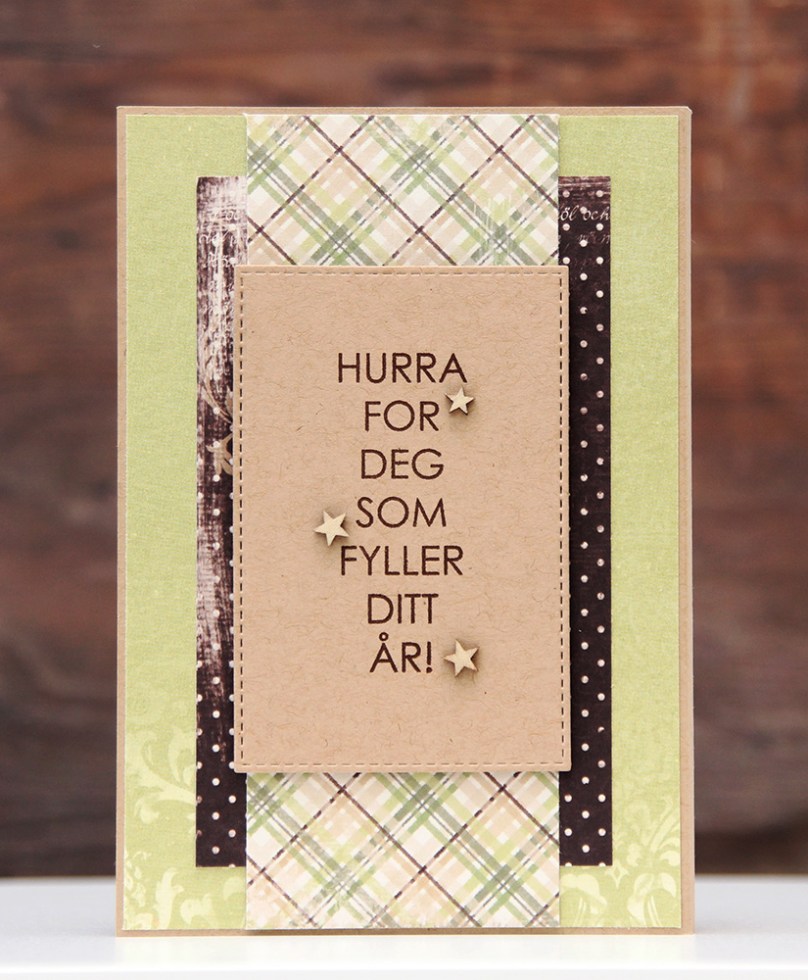 The back is also pretty simple, the first line of a Norwegian birthday song stamped in the same dark brown color that I used for the sentiment on the front of the card. I scattered a few stars here, as well.

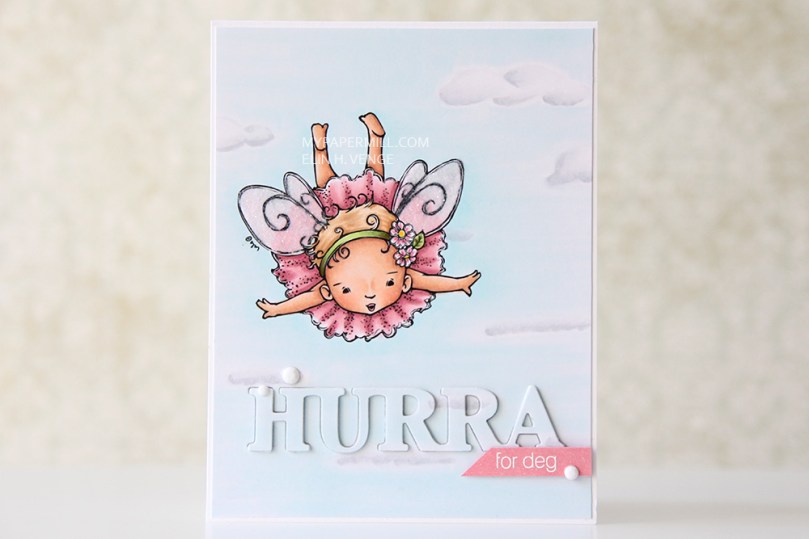 I used a word die from Kort & Godt on the bottom of my colored piece, diecut it a second time in craft foam, and glued the two diecuts in place, making sure to keep the center pieces of the Rs and the A, so I could pop them back in.
 The card is a standard top folding A2 card made from Papertrey Ink Stamper’s Select White cardstock. It’s my favorite white cardstock of all the different ones I have tried. It’s bright white, heavy weight and folds beautifully. What more could a girl ask for?
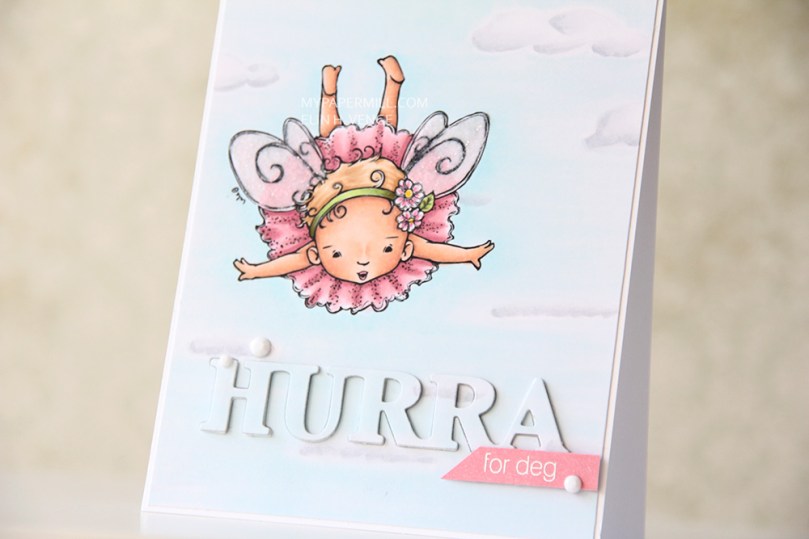 I stamped and white heat embossed part of a Norsk Stempelblad AS sentiment on a small strip of X-Press It. Before stamping, I colored my strip with one of the pink markers from my image, so my pinks would match. I finished the card off with a few white crystals from Papirdesign.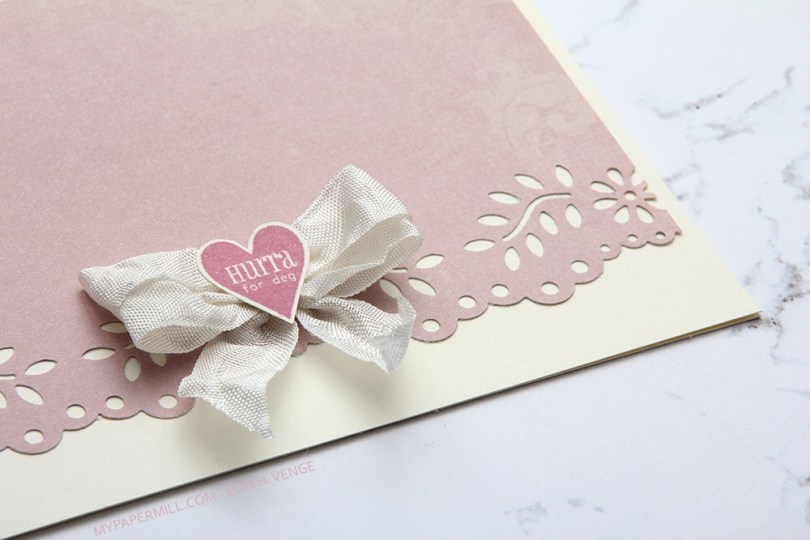


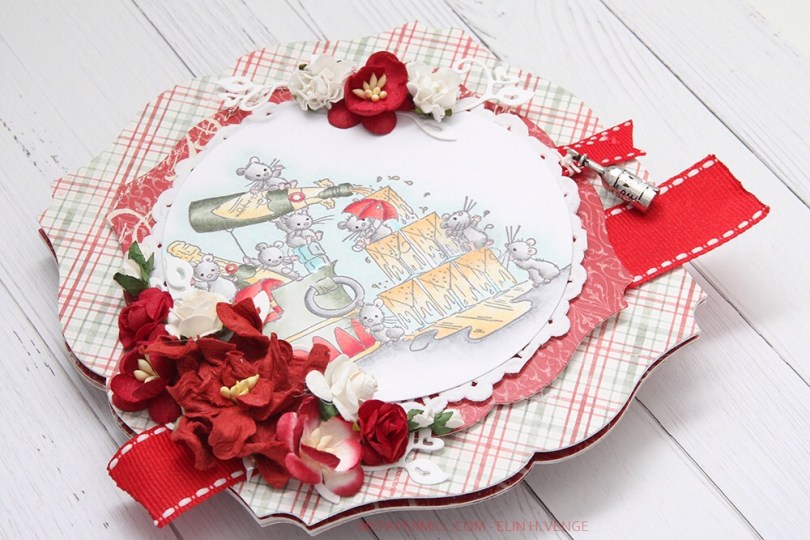


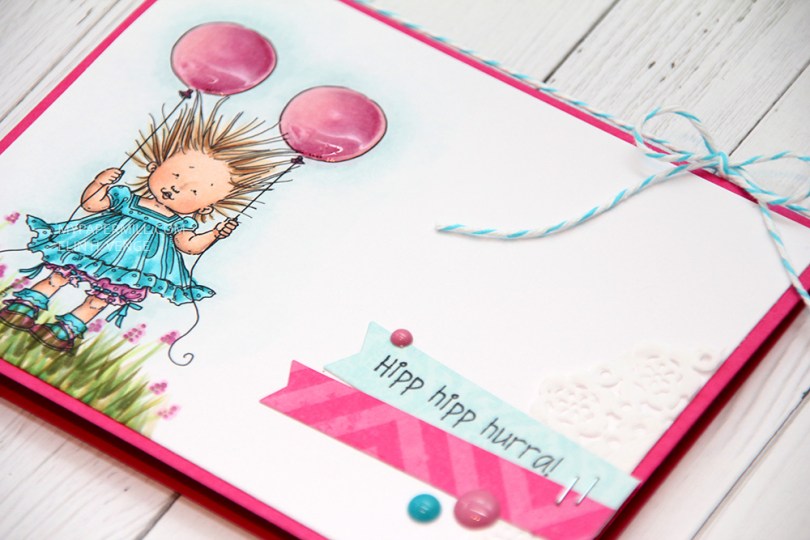
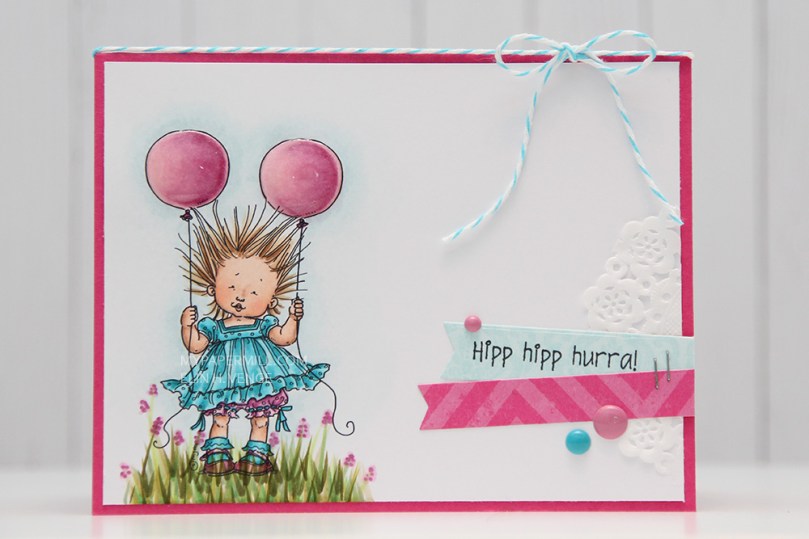 Back to the card. I colored up my image with Copics and added some grass and a few freehand flowers to ground her. I added tons of Glossy Accents to the balloons, making them super shiny.
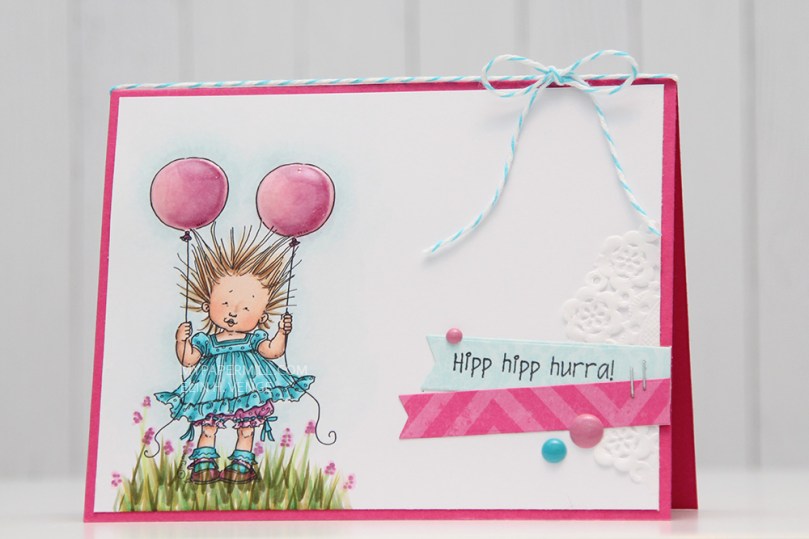 I like making my cards simple, so I put her on a standard A2 sized card base made from Raspberry Fizz cardstock from Papertrey Ink, before adding a scrap of a tiny Doodlebug doily, a couple of strips of patterned paper from Maja Design and Papirdesign diecut with dies from My Favorite Things and a couple of tiny staples.
 The sentiment is from a stamp set from Norsk Stempelblad AS, stamped with Memento Tuxedo Black. I added a couple of enamel dots, the pink ones are from Papirdesign, the teal from My Mind’s Eye. I added some divine twine and tied it in a bow as my last finishing touch. And that’s my card for today.
 I like plenty of white space on my cards, so I kept most of the card pretty simple. I colored my image with Copics, and I must admit, the colors blend very easily on this cardstock, maybe even too easily. It was kind of difficult to get any real contrast, even though I used some very dark and very light colors to get as much contrast as I could. I would also say that the colors look very different on this cardstock compared to the X-Press It blending card I normally use. The skin tones, in particular, look a lot more blue on this one – not really the look I was going for, I didn’t want her looking sick. I used a lot of E13, but it really doesn’t look that way. Just something to be aware of, I guess.
 Since my plan to do a one layer card really didn’t work, I decided to go all out and add an embellishment cluster. I found patterned paper scraps in colors that coordinated well with my image and went to town. I also added a few pieces that I had left over on the inside.
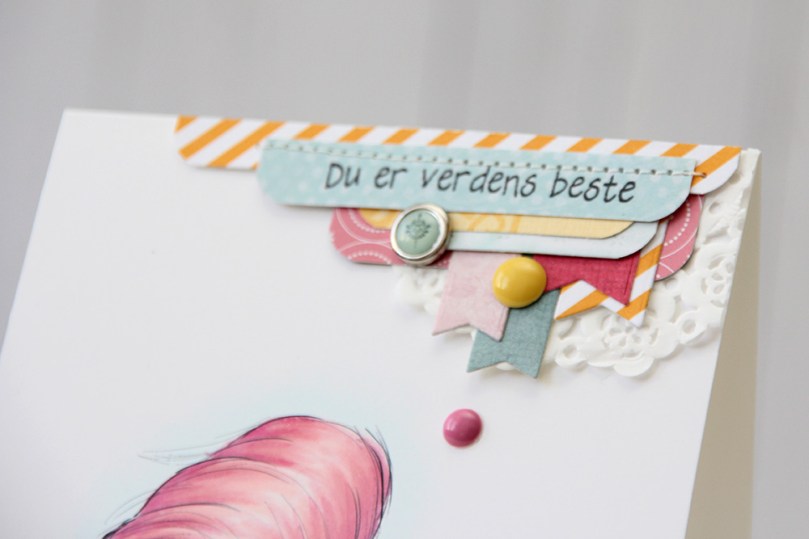 There’s plenty of manufacturers represented in that tiny cluster. The patterned paper with the sentiment (“You’re the world’s best” in Norwegian, stamp from Norsk Stempelblad AS) is from Melissa Frances, the yellow one below it is from Chatterbox, the light blue underneath that is from Inkido, and the pink one that you see a little bit of on either side of the banners is from American Crafts. Two of the banners are scraps from Pion Design, the pale pink is from Maja Design, and the one with the yellow stripes is the same digital Project Life paper that I used at the bottom. I’ve also used a brad from Kaisercraft, a yellow enamel dot from My Mind’s Eye and a pink enamel dot from Papirdesign, in addition to a small paper doily from Doodlebug Design. In other words – a real mishmash, but I think it kind of works. Oh, and I brought out my sewing machine for that stitching detail at the top.


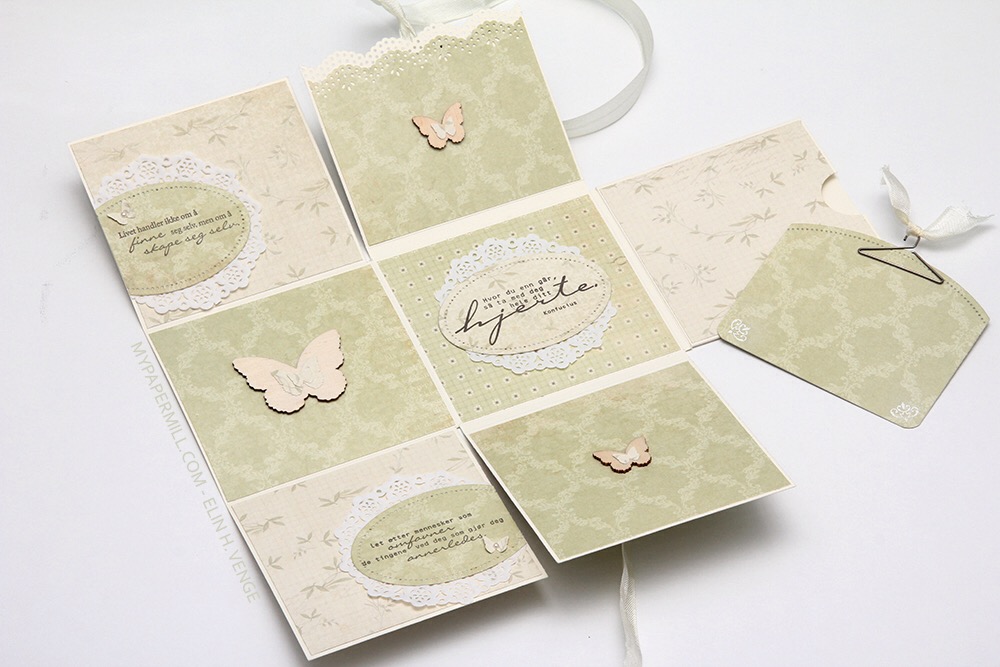
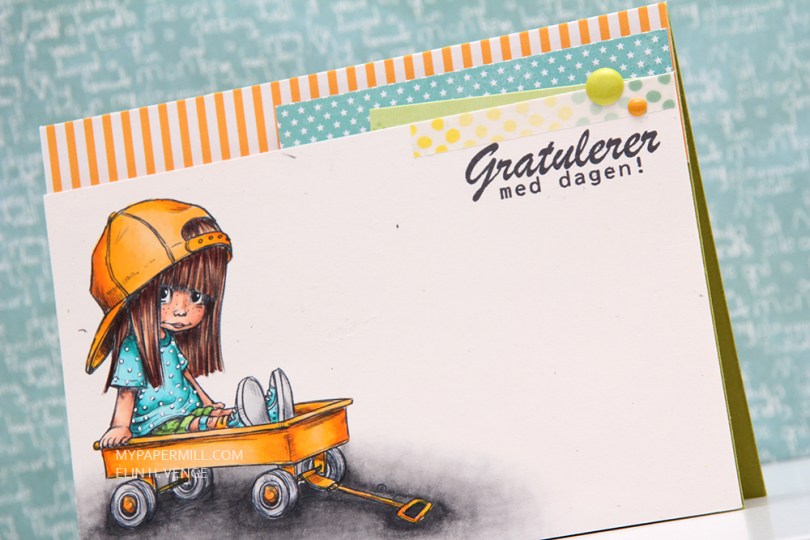
 Hei og hopp! Dagens kort er publisert i aprilnummeret av Ett trykk, i Inspirert av-artikkelen som vi har begynt med i år. Jeg lot meg inspirere av
 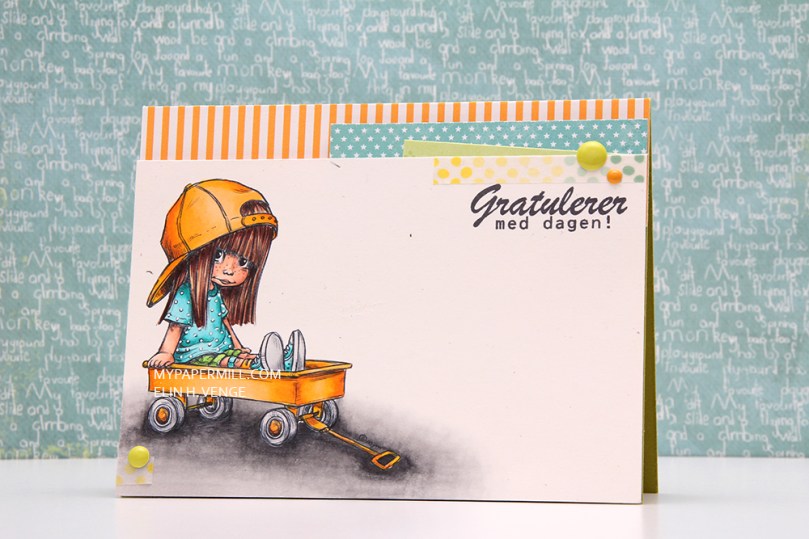 Motivet jeg har brukt er
  Jeg har satt panelet med det fargelagte motivet på 3D-teip, og pyntet bak med mønsterark. Det stripete gule er et digitalt Project Life-ark, det turkise med stjerner på er fra Papirdesign og det grønne er fra Imaginisce. Dottene jeg har satt på kommer også fra Papirdesign.
