Hi, everyone! I have a few cards to share today, all of them using just a few products. The Happy Birthday collection from P13 has some great images that are perfect for quick, easy birthday cards.
 I’m starting with this bear, ready for a party! The papers in the P13 collections don’t have individual names, they just have numbers, and I fussy cut this bear from 05. I die cut a piece of 01 using a die from Papirdesign, tearing the edges for an uneven look and glued it straight onto my 4 bar top fold card base, before adding the bear with foam tape for dimension.
 03 in this collection from P13 has wide, diagonal stripes in different colors. I cut it down to strips, and used them to emboss my sentiments to get the perfect color matches. The sentiment on this card is from the Bitty Bears stamp set from My Favorite Things. I added the sentiment strip using foam tape, and finished off the card with some sequins from the White Orchid Sequin mix from Little Things from Lucy’s Cards.
 For my second card I covered the entire card front with the back of the 05 sheet. Most of the papers in this collection have lots of images on the front, and are more plain on the back, of course with colors that coordinate. The little mouse on a unicycle is from the 02 sheet, and again I used 03 to stamp my sentiment on. This sentiment is also from My Favorite Things, it’s from the Pawty Time stamp set.
 I die cut a chevron pattern from white card stock using a die from Papirdesign and adhered it directly to my patterned paper card front, before popping up the image on foam tape, and the sentiment on even more foam tape. Again I added sequins from the White Orchid Sequin mix to finish the card.
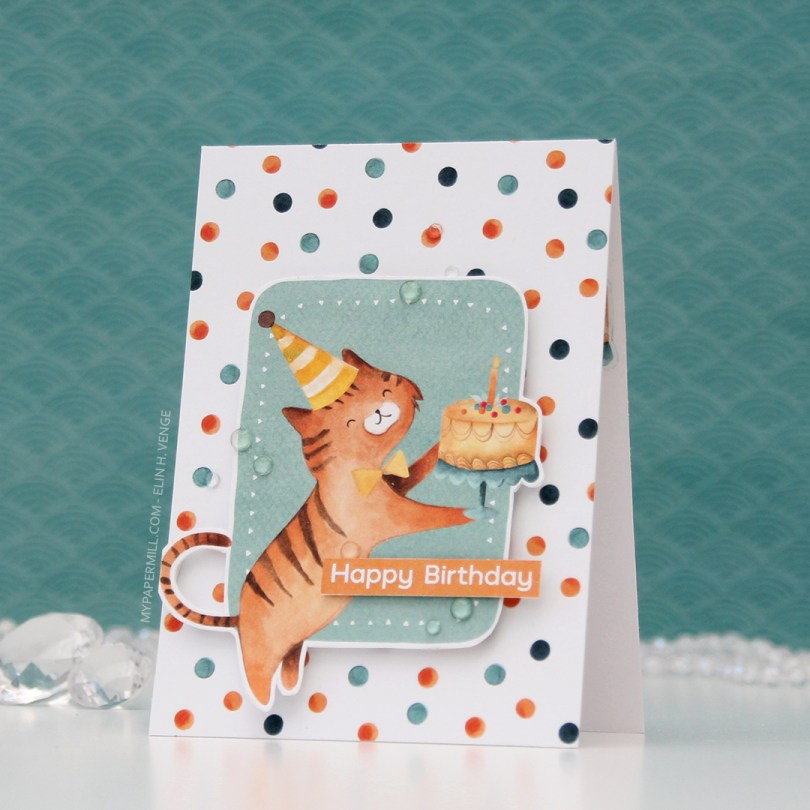
 Card number 3. Now, I’m not sure whether this is a cat or a tiger, but whatever he is, he’s definitely ready to party. I fussy cut him from the 02 sheet, and I used the back of the same sheet to cover the card front. Once again, I popped the image on foam tape for dimension.
 I used the Happy Birthday sentiment from the Bitty Bears stamp set again, and this time I used some clear gems from the Crystal Glass collection from Little Things from Lucy’s Cards to embellish.
 I made the last card for today very simple. I die cut the same hole pattern as I used for the first card, only this time in white card stock for a bit of textured interest in the background. The cat is from the 05 sheet, which I used a lot of for these cards.
 I added the cat using foam tape, the sentiment using more foam tape and those white sequins once again. These cards were so much fun to create, and I’ve got more in upcoming posts.
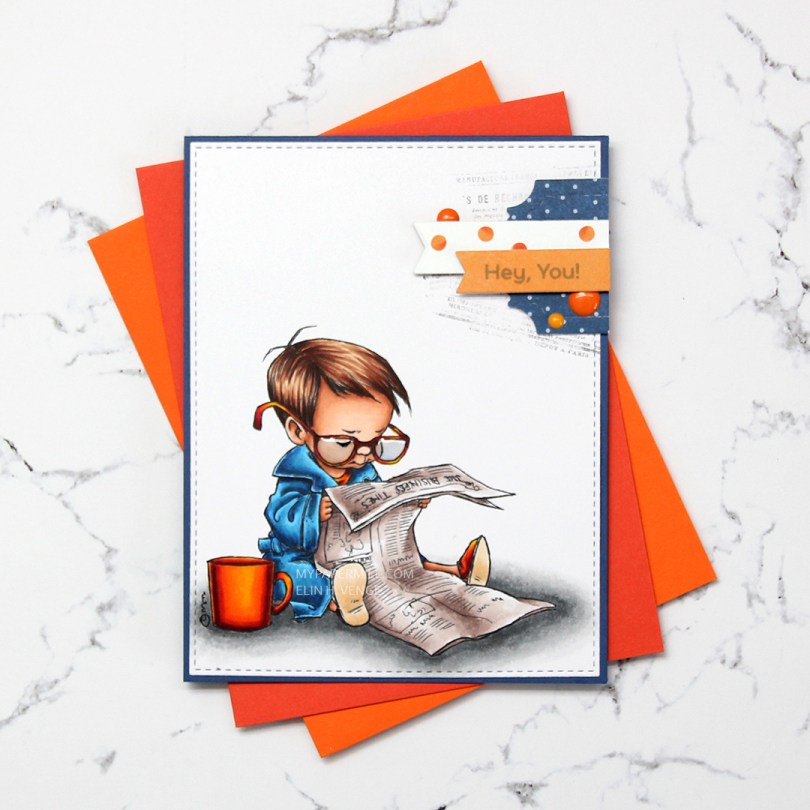
 I colored up the boy version of
  Near the top right corner, I randomly stamped part of an old background stamp from Tim Holtz and Stampers Anonymous. I thought the small text on the stamp would pair well with the newspaper in the image and stamped pieces of it at an angle with Memento Espresso Truffle ink. I didn’t even put the stamp in my Misti or on an acrylic block, I bunched it in my hand and stamped, giving it less of a rigid feel, since the stamping is uneven. I added my colored and stamped panel onto a card base made from Blueberry card stock from My Favorite Things, and a small cluster on top of my stamping.
 I die cut some patterned paper scraps with a couple of dies from XCut and My Favorite Things to create my cluster. The blue piece is from Papirdesign, the other two from the Happy Birthday collection from P13. I stamped a sentiment from the Bitty Bears stamp set from My Favorite Things onto the orange banner using Hero Arts Soft Granite ink. I finished off with three enamel dots from Papirdesign and added Glossy Accents to the boy’s glasses.
 Not a huge amount of colors. For the soles of his slippers I actually used the two lightest colors that I used for his hair (E31 and 30).
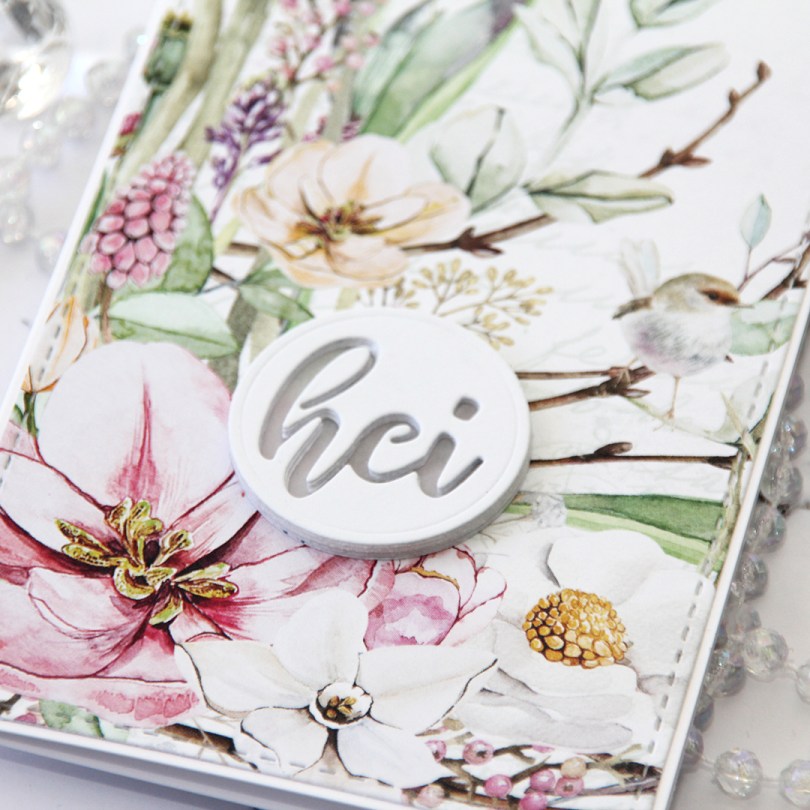
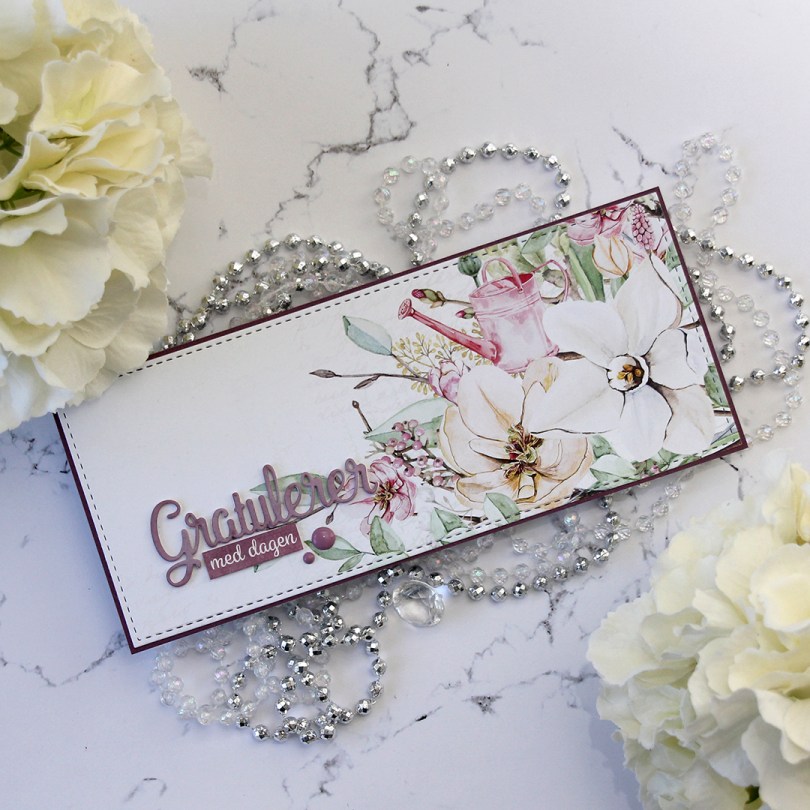
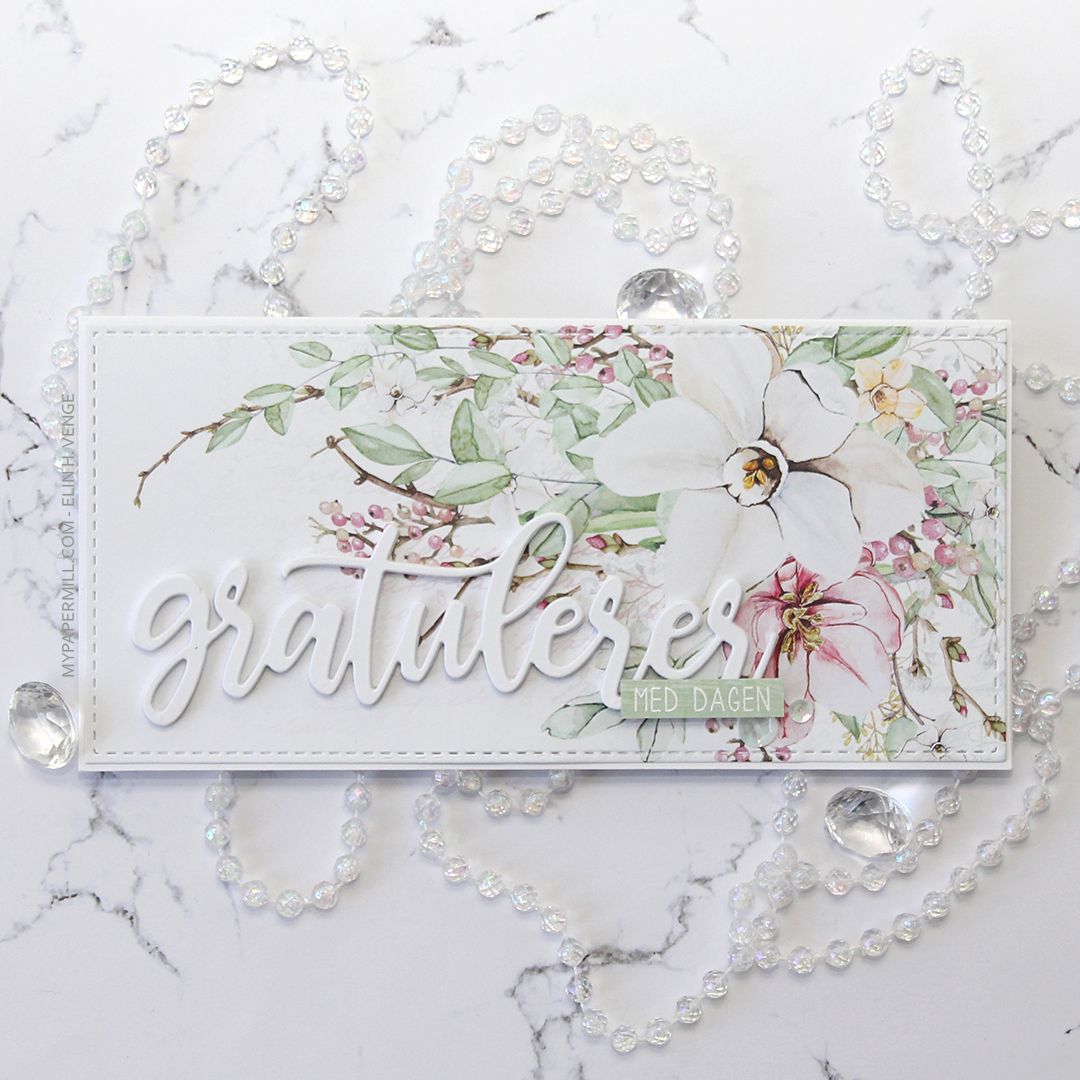 This first one might not even technically be a proper slimline card. It’s about 7-3/4 x 3-3/4″. I’ve used beautiful patterned paper from P13 for both my cards. I wanted the paper to be the hero, so I didn’t do too much to it. The sheet I used for this card is
  I used a
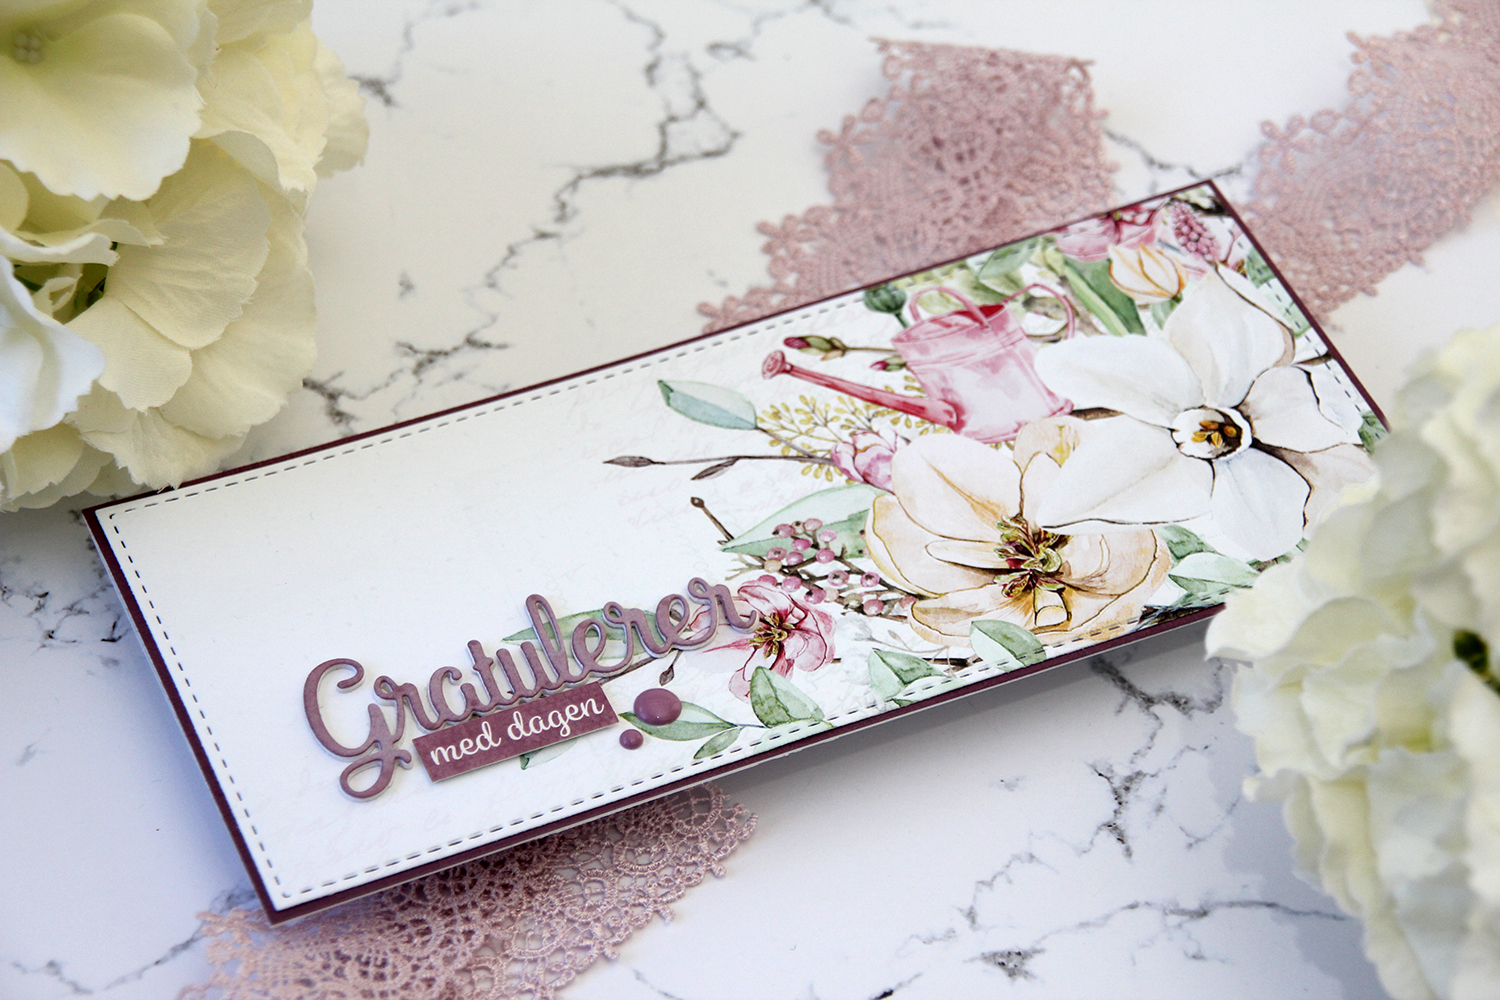
 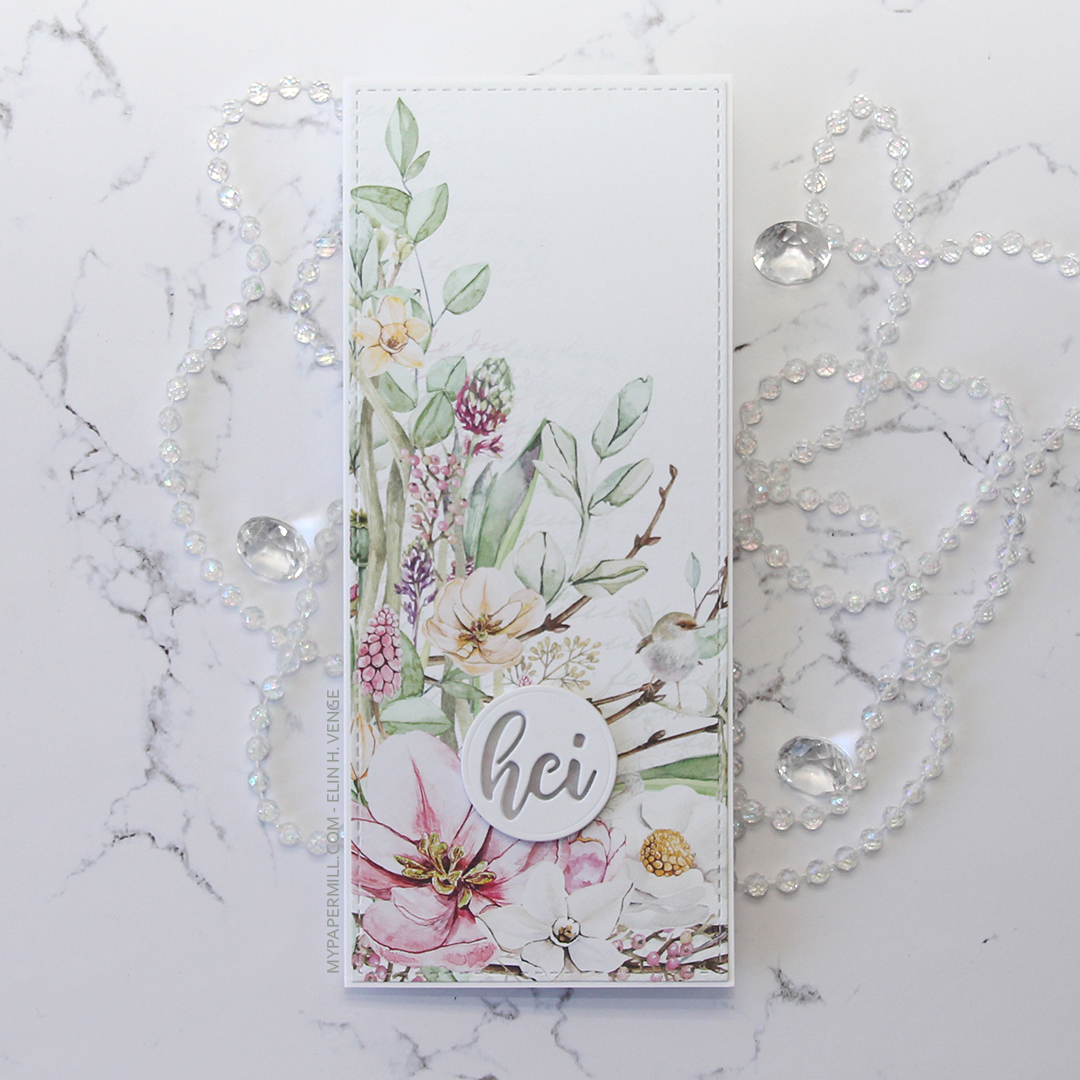 My second card uses a different part of that same sheet of patterned paper, as well as the same slimline die from Pinkfresh Studio. The sentiment is even die cut using a die from the same set as the sentiment on my first card.
 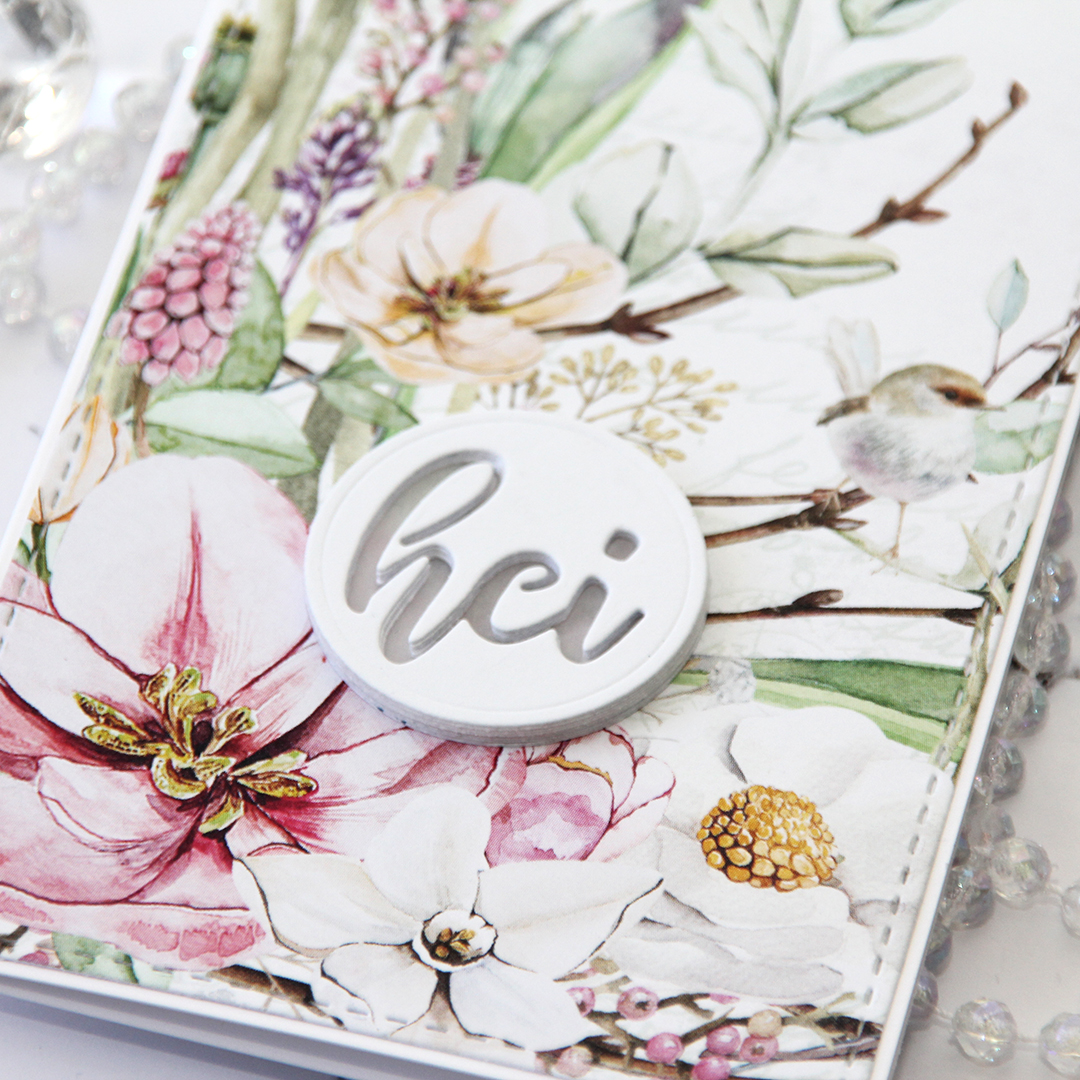 On this one I have four layers stacked on top of each other, then a vellum circle, then another four layers of the negative word die, making this sentiment really stand out as a statement on my card.
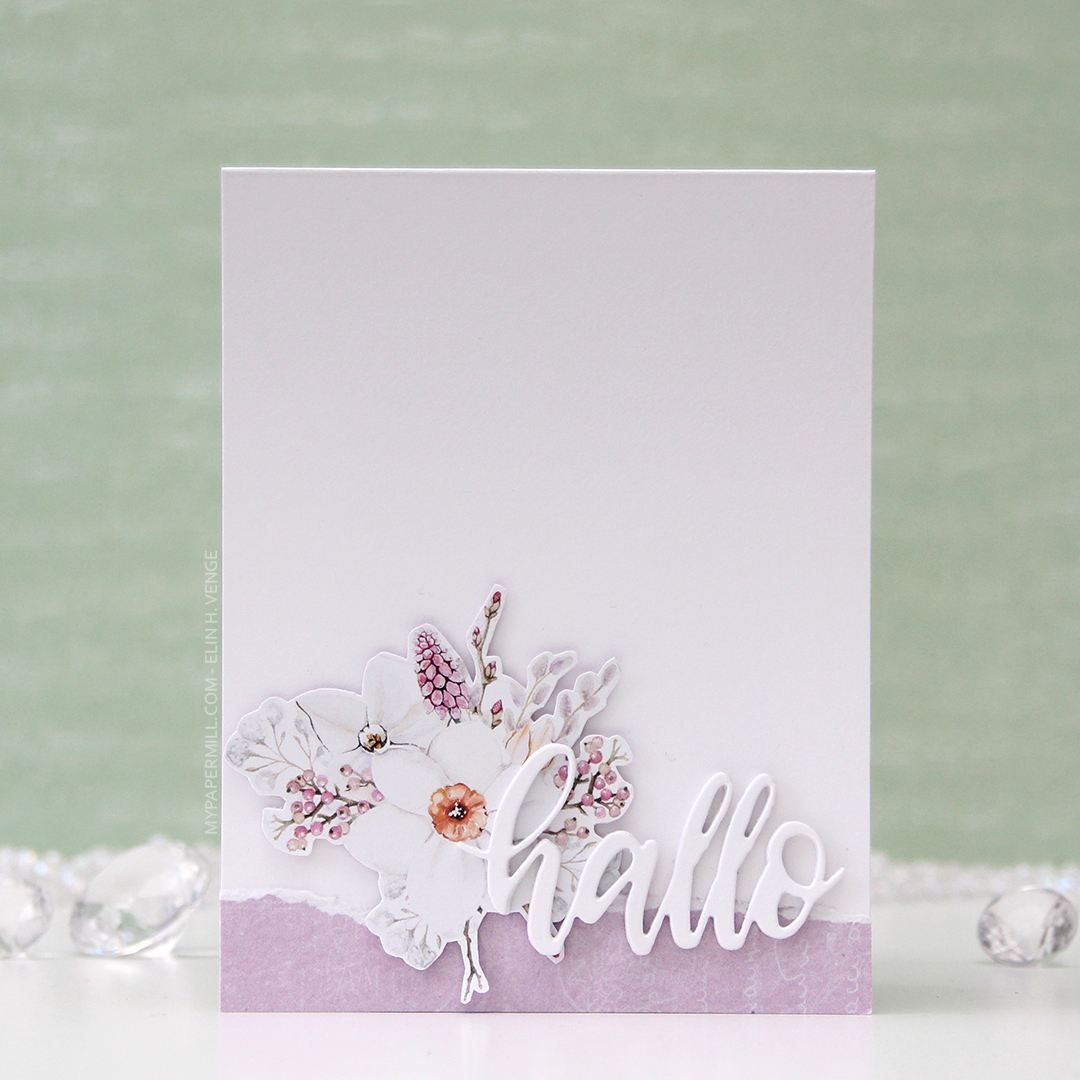 Let’s talk for a minute about P13. They’re a Polish company, and they make beautiful, thick patterned paper. That’s really all you need to know, because it’s all I know. When I say thick, I mean thick. I don’t know their exact weight, but it’s close to card stock weight! I’m telling you, these are wonderful. They’re double sided, and the little strip you see at the bottom here with the torn edge is the back of that very same sheet (
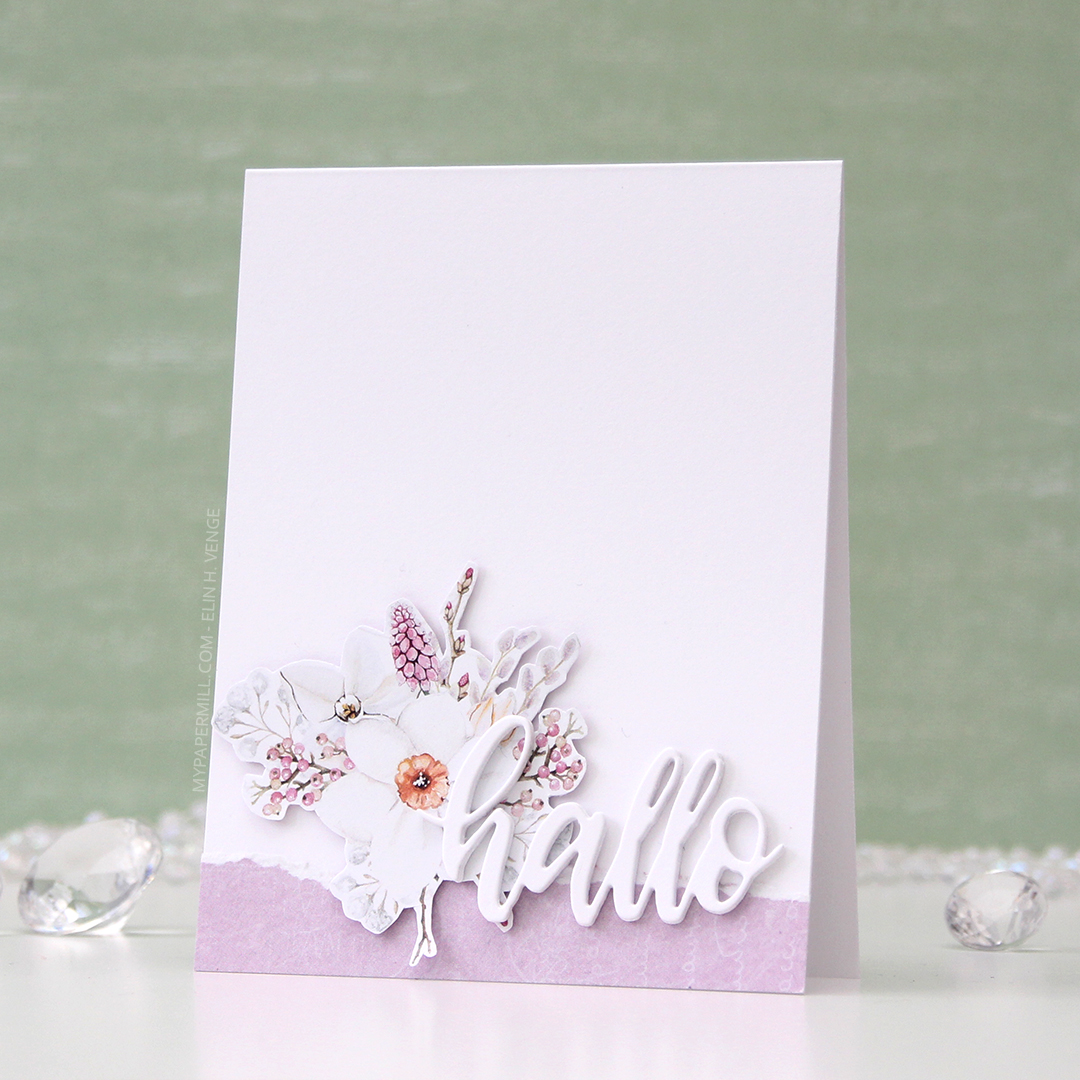
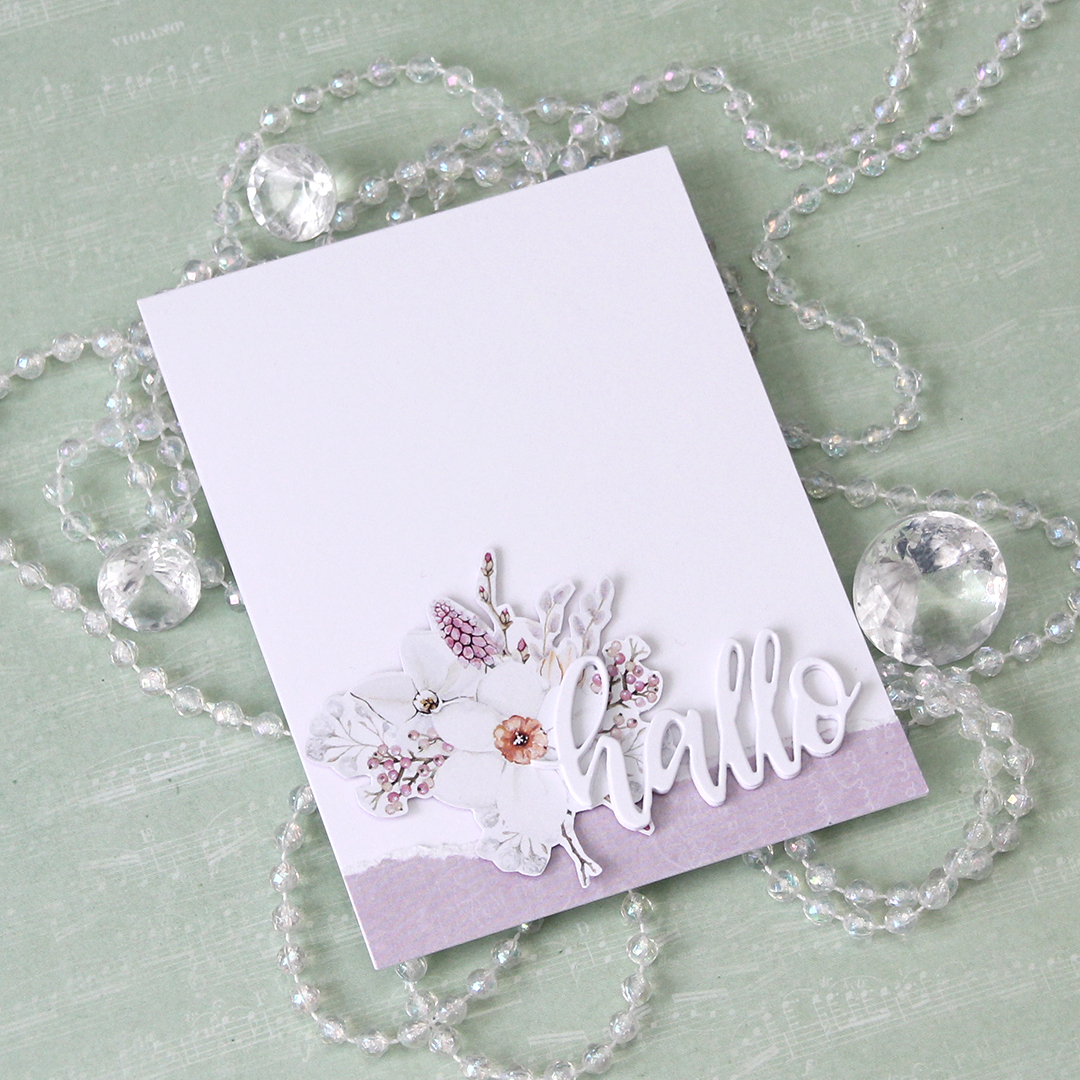 I have tons of floral clusters left over from the patterned paper, and one of the wonderful things about the P13 papers is that the design isn’t repetitive. This specific sheet of patterned paper had plenty of florals on the front, but they were all a little different, which means creating different cards from them will be a breeze.
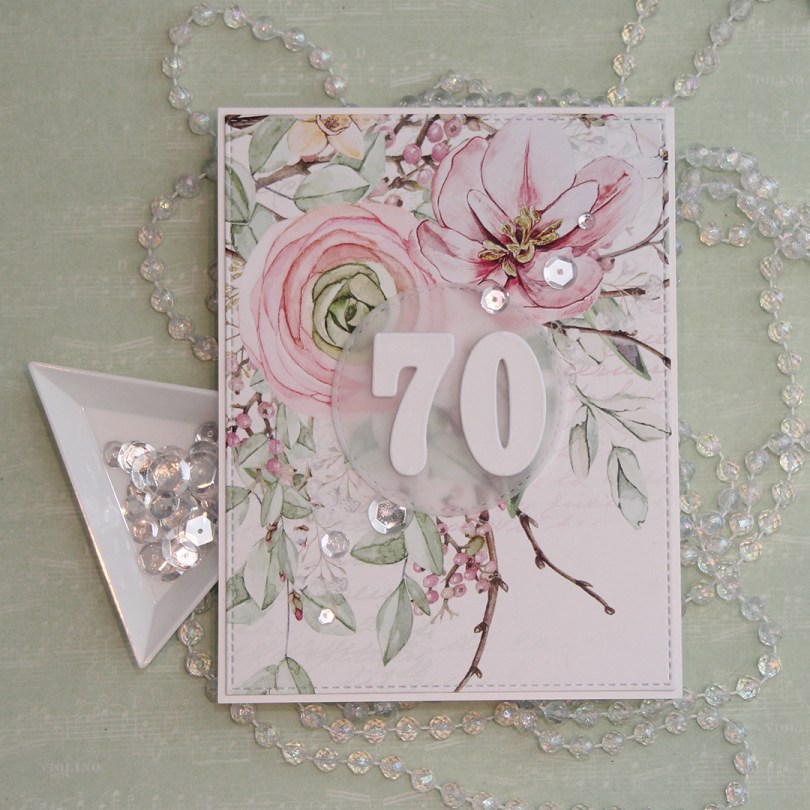
 For this card, I used the largest die in the Stitched Rectangles STAX 2 set from My Favorite Things. You can find set 1
 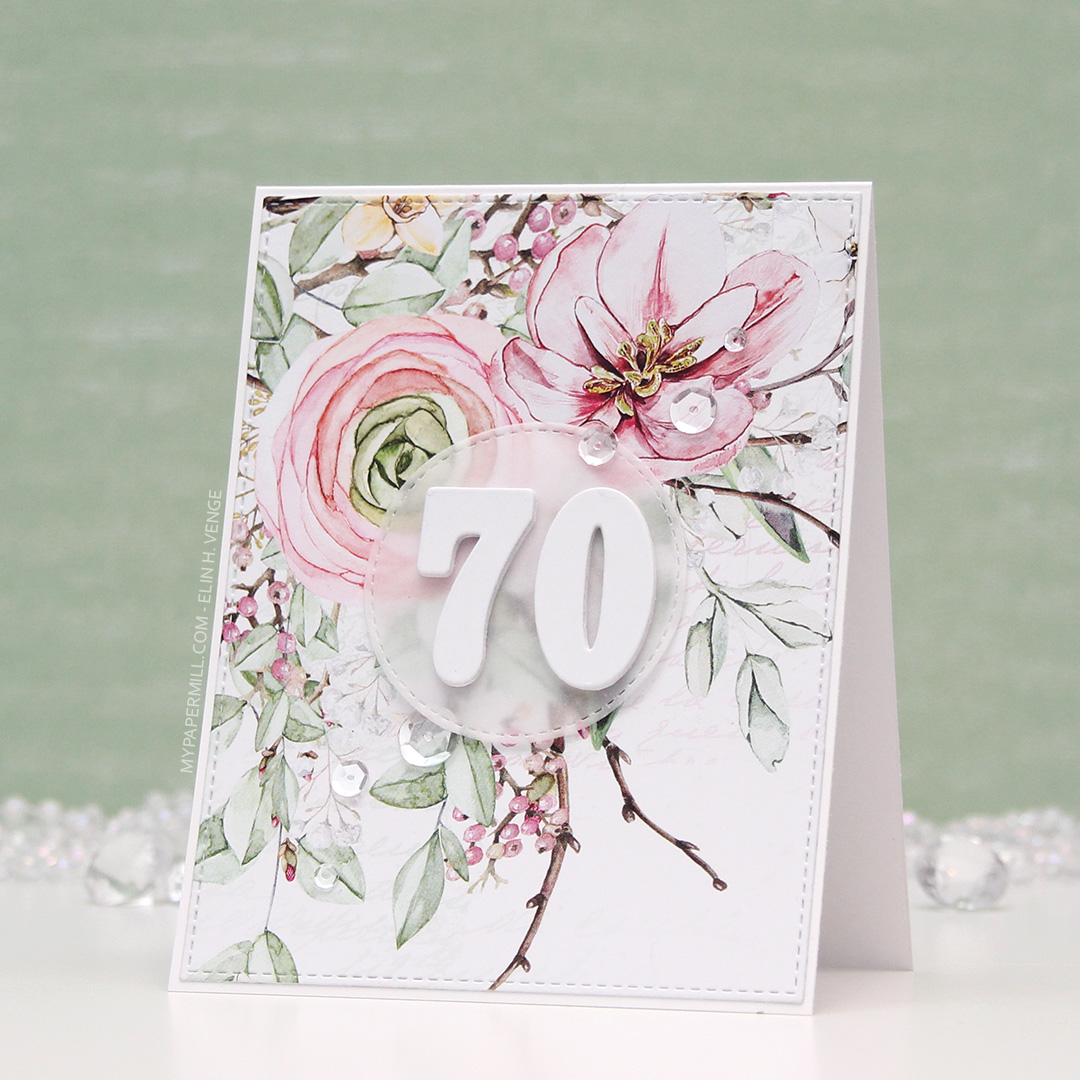 I glued my die cut panel onto a cardbase made from Stamper’s Select White cardstock from Papertrey Ink. I die cut a circle from vellum using a circle die from the Stitched Circle STAX set, also from My Favorite Things. It matches nicely with the stitching around the edge of my floral panel.
 I also die cut a bunch of numbers using a die set from Papirdesign. I made most of them from white card stock, but the top numbers from a piece of that same patterned paper. It might not look like patterned paper, but there’s a lot of white space on this sheet, and I used some of that for my numbers. It makes the whites match, which I really love. I put a 3 layers of my numbers underneath the vellum, and the remaining four layers on top. It makes the vellum stand out a bit from the background, which makes the number show up a little better and not get lost in that busy background.
 I finished off the card by gluing on some sparkling clear sequins from Pretty Pink Posh.