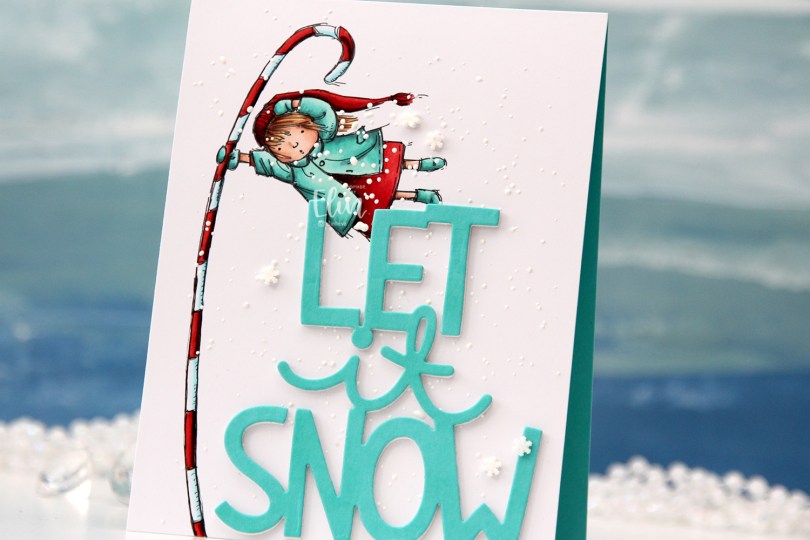
Hi, crafty friends. It’s been a while, but I have a simple Christmas card to share today, featuring Season’s Greetings from Mo’s Digital Pencil. This is an older image of hers, but I love the playfulness of the girl hanging on to the candy cane and couldn’t resist.
 I printed the image on a piece of X-Press It blending card, extending the candy cane so it would run along the entire left side of my card front. The line style of the image is somewhat sketchy, which means you can’t really mess up creating an additional couple of lines. I colored the image with Copics and sprinkled on lots of chunky white embossing enamel, before melting the granules from the back of the cardstock.
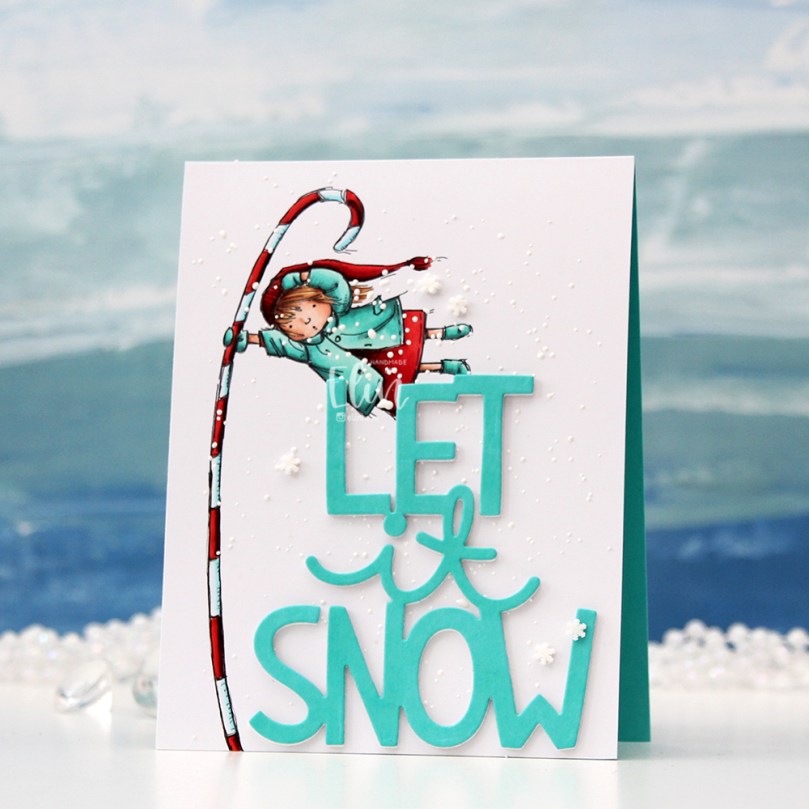 I wanted a big sentiment for this card, and chose the Let It Snow die from Lawn Fawn to create it. I cut once from Hawaiian Shores cardstock from Papertrey Ink, and three times from white cardstock, also from PTI, to create a chipboard like element that adds dimension to my card. I finished off with a few snowflake sprinkles from Little Things from Lucy’s Cards.
 Simple color palette. I would never pair red with green for a Christmas card (I’m not a fan of complementary colors), but red and teal works sooo well.
 I used the
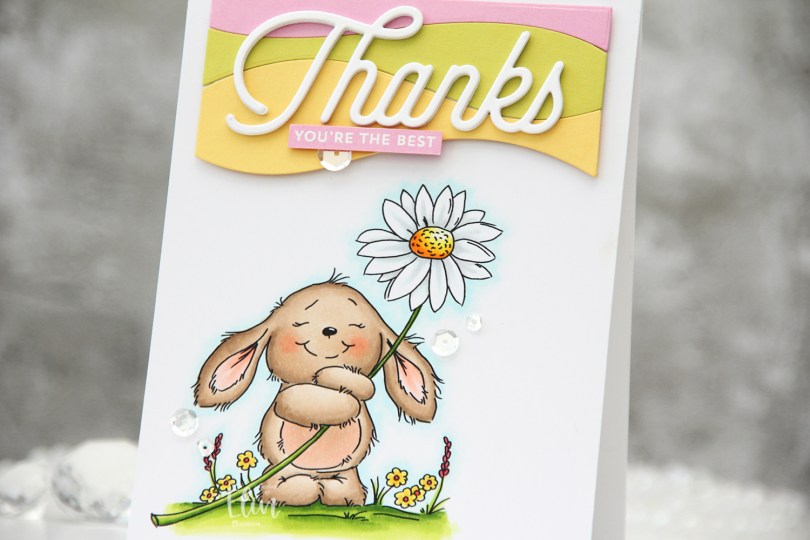
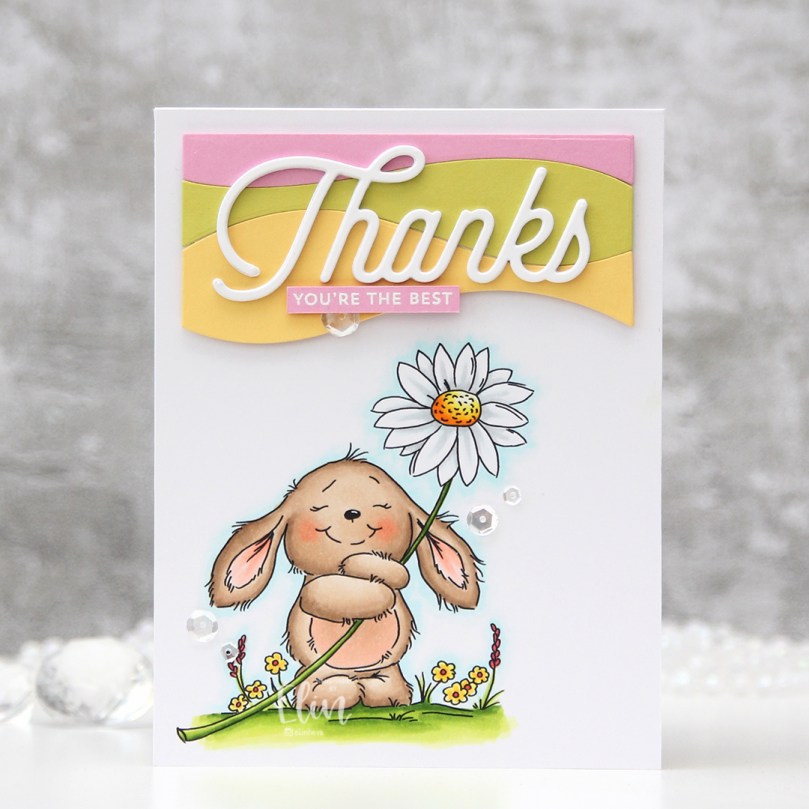
  Once my coloring was done, I adhered it to a top fold A2 card base I created from white cardstock. Using the Snow Drifts Cover-Up die from My Favorite Things, I die cut three wavy pieces from solid colors Of cardstock to go towards the top of my card. I used Limeade Ice, Lovely Lady and Harvest Gold, all from Papertrey Ink. I butted them right up against each other, added them to a backer so I could handle one piece instead of three and mounted them on foam tape. I then die cut the Thanks from the Twice the Thanks die set from My Favorite Things four times from white cardstock from PTI. I love the cardstock from Papertrey Ink, it’s my favorite!! Onto a strip of Lovely Lady cardstock, I white heat embossed a sub sentiment from the Itty Bitty Basics stamp set from My Favorite Things and mounted it below my stacked Thanks die cut. To finish I added a few Sparkling Clear Sequins from Pretty Pink Posh.
 Soft, simple color palette for this one.
 The stamp is called Coco Loco, the name’s even funny. And also very fitting. I printed it near the bottom left of my panel of X-Press It blending card and printed my sentiment near the top right corner.
 I did some very simple Copic coloring of the palm tree, the beach and also colored a pale blue halo around it to give the illusion of some sort of sky around it. I prefer the look of this light blue on the outside of the actual image instead of the bright white of the paper, I think it looks more finished this way.
 I used the largest die in the A2 Stitched Rectangles STAX 1 die set from My Favorite Things to trim down my panel slightly and add faux stitching around the edge, before I adhered it to a card base I created from New Leaf cardstock from Papertrey Ink.
 I added some brown enamel dots from Papirdesign near the sentiment and also a couple near the image itself to embellish a tiny bit. I love enamel dots!
 To enhance the nuttiness of this image, I colored the cheeks pink and added Glossy Accents to what was already crazy looking eyes for a bit of extra fun.
 Simple image equals simple color palette.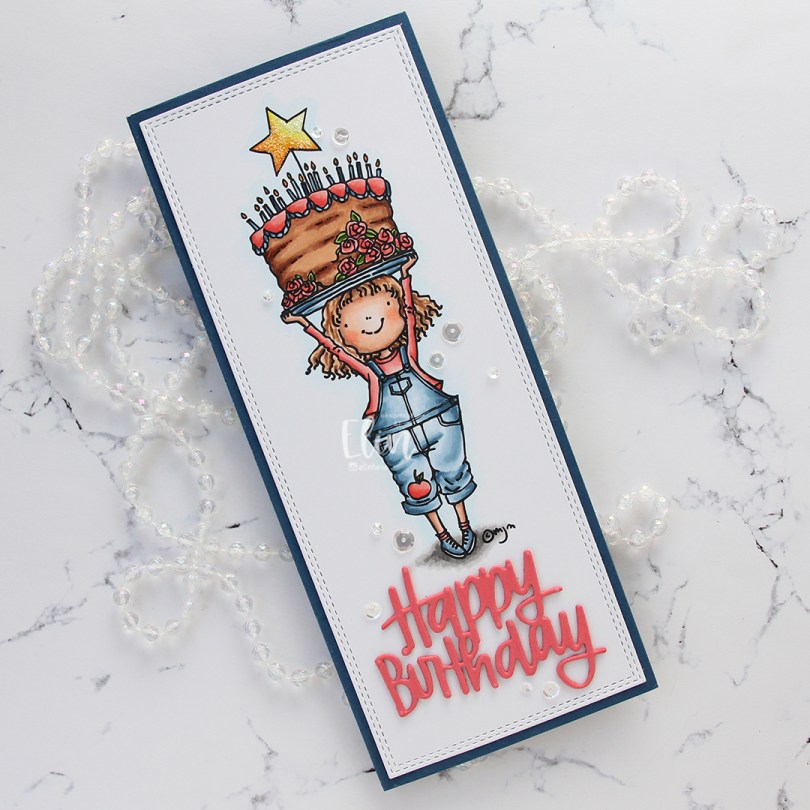
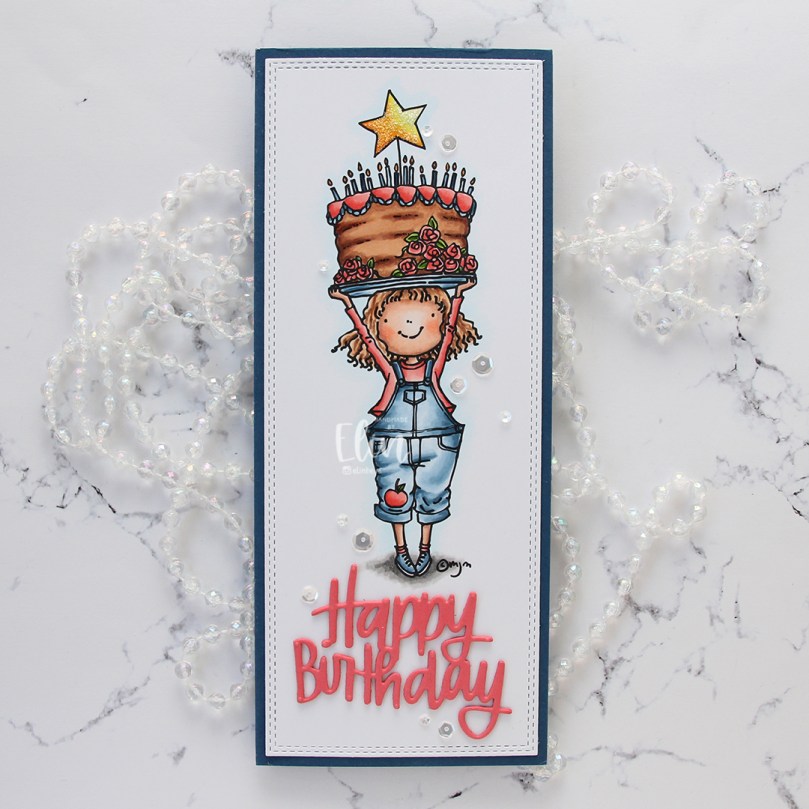 I colored the image with Copics and used the largest die in the Slimline Double Stitched Rectangle STAX die set from My Favorite Things to cut it down to the perfect size panel to go onto a slimline card. I adhered it directly onto a card base I created from Enchanted Evening cardstock from Papertrey Ink.
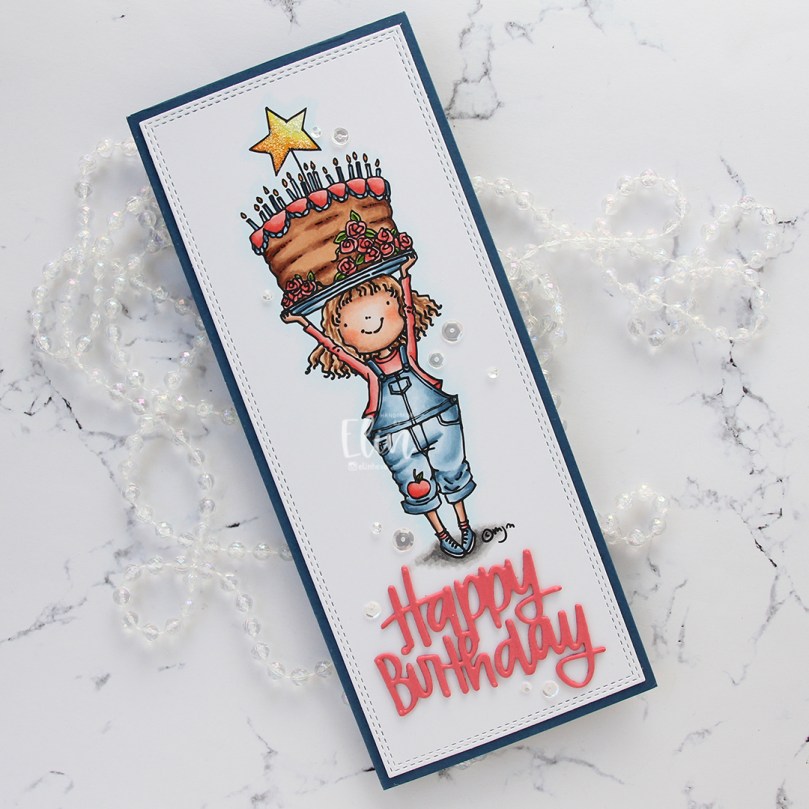 From Berry Sorbet cardstock from Papertrey Ink, I die cut the Happy Birthday Brush Script die from Simon Says Stamp three times and stacked the diecuts for a dimensional look, before adhering them below the image on my card. I added a layer of Frosted Lace Stickles to the star on top of the cake and scattered a few chosen sequins from the Seaglass mix of sequins from Simon Says Stamp to finish the card.
 Lots of Copics for this one.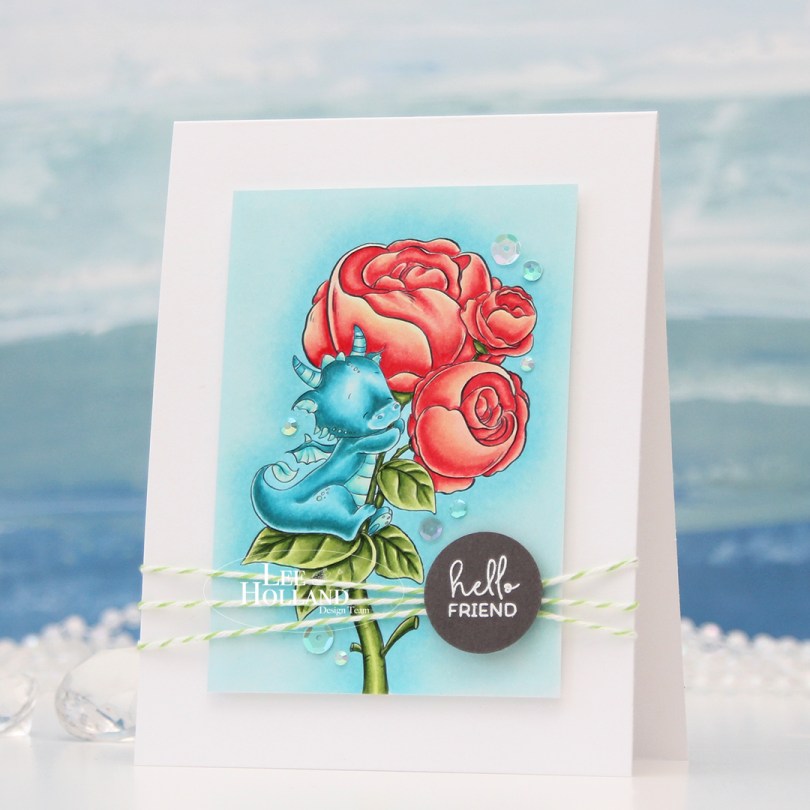
 I printed the image onto X-Press It blending card and colored it with my Copics, before trimming it down. I mounted it on foam tape to a top fold white card base I created from Stamper’s Select White cardstock from Papertrey Ink.
 I felt the need to add a design element that would break the rigidity of the rectangular panels, and decided to add some twine going across. I wrapped Green Apple Divine Twine around the card front three times and tied a knot. The green goes well with the green in the image.
 Onto a piece of Eiffel Tower cardstock from My Favorite Things, I stamped and white heat embossed a sentiment from the Mini messages stamp set from Mama Elephant, before using a 1″ circle punch from EK Success to create a quick circle from it. I added strategically placed pieces of foam tape on the back of it and adhered it directly onto the knot I had tied on the front of the card.
 To finish off the card, I added sequins and gems from the Urban Chic mix from Little Things from Lucy’s Cards. They’re kind of scattered in a trail going from the bottom left to the top right of the image.
 The card is simple, but has lots of dimension, and that dragon hugging his peonies will always steal the show.
 Mostly analogous color palette, with a little bit of pink and yellow (!) for the peonies.
 I decided to create a full card shaker this time. They’re fun to make, and a lot easier than you’d think. Even easier (and way faster) than regular shaker cards! At least they are to me.
 This is the
 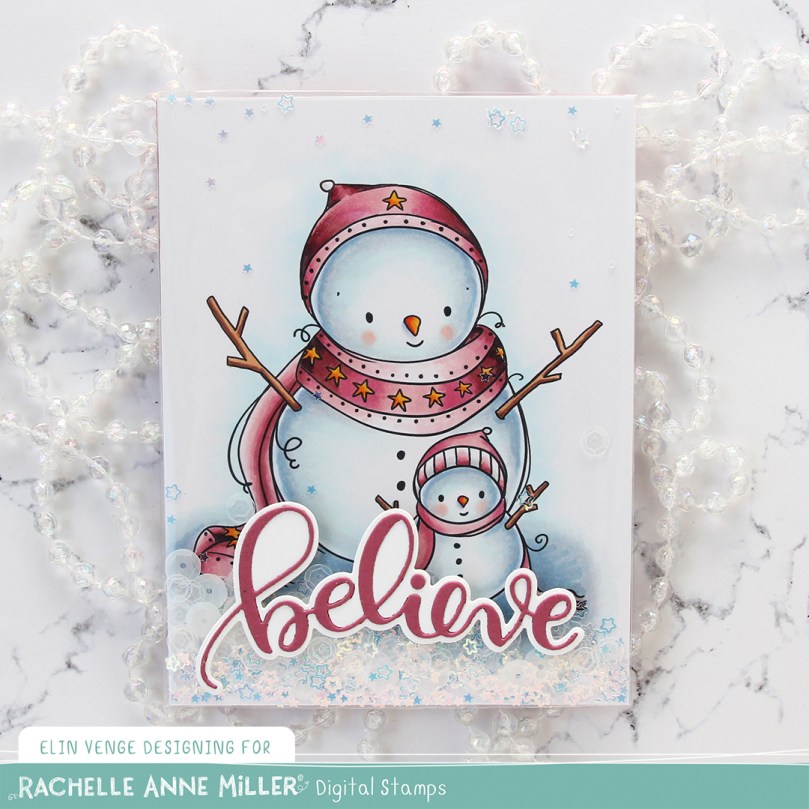 This cool, deep pink is so much fun to use for Christmas cards, it’s unexpected and fun, and matches the Autumn Rose color cardstock from Papertrey Ink sooo well.
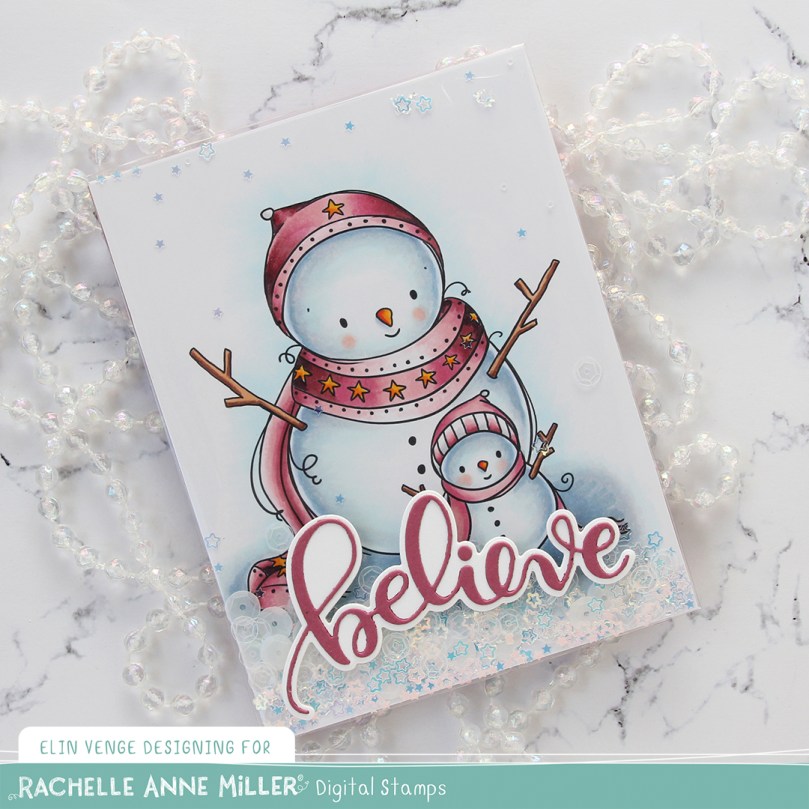 I created my shaker pocket from half a stamp storage pocket from Avery Elle. I created score lines and folded so my panel would fit inside, used score tape on the back of the bottom and sides of the pocket and filled it before folding over the top flap and sealing it shut.
 I used the Icicle Sequin mix from Hero Arts to fill my pocket. This mix has clear sequins, matte white sequins and iridescent star confetti, just enough to create interest, while not being too distracting. It’s a perfect mix for wintery shaker cards.
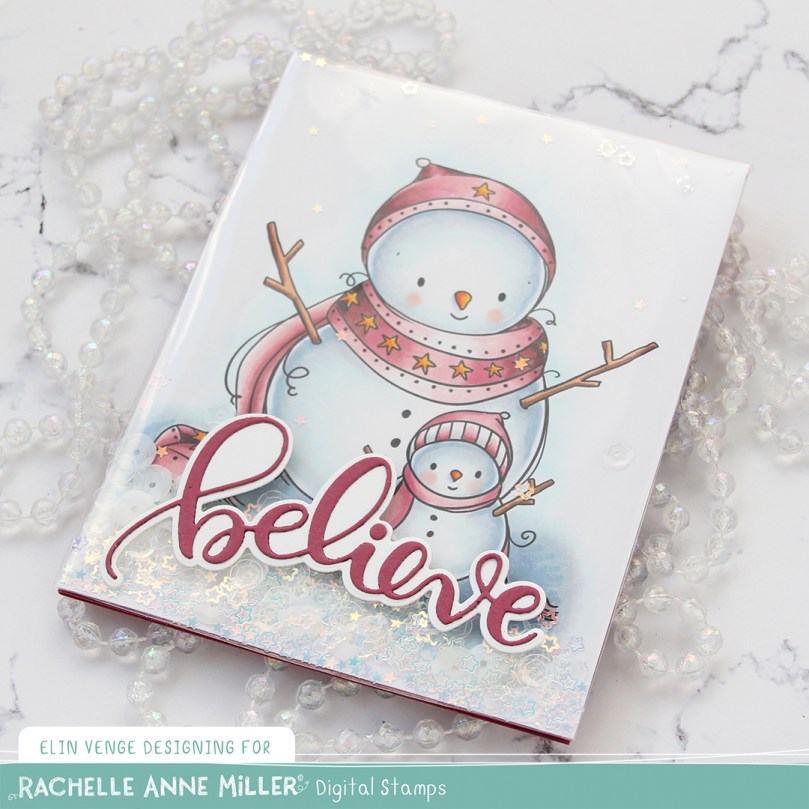 For the die cut word, I used the Believe die set from Simon Says Stamp. I die cut the shadow from Stamper’s Select White cardstock from Papertrey Ink and the word itself from Autumn Rose cardstock, also from Papertrey Ink. I adhered the two together and then directly onto the shaker pocket. If you’ve never created a full card shaker before, I urge you to try, it’s so much fun!
 I tend to go overboard when I color snow. No exception this time 🙂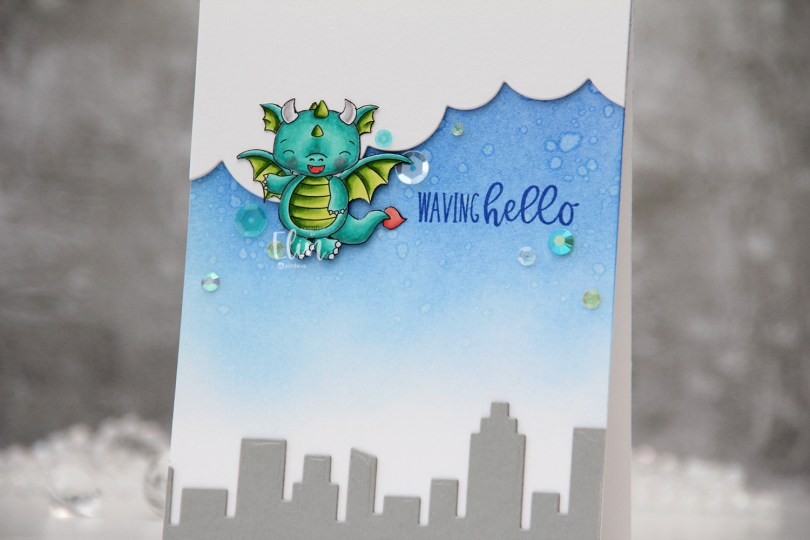
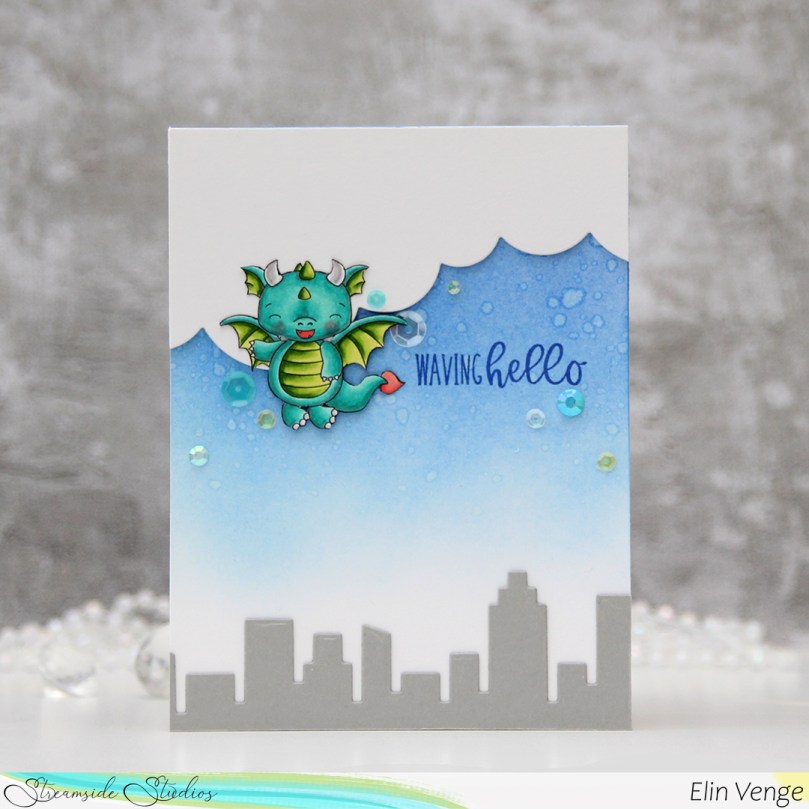 I colored the dragon with my Copics and fussy cut him right up against the black lines of the image. I put him aside while I worked on the rest of the card.
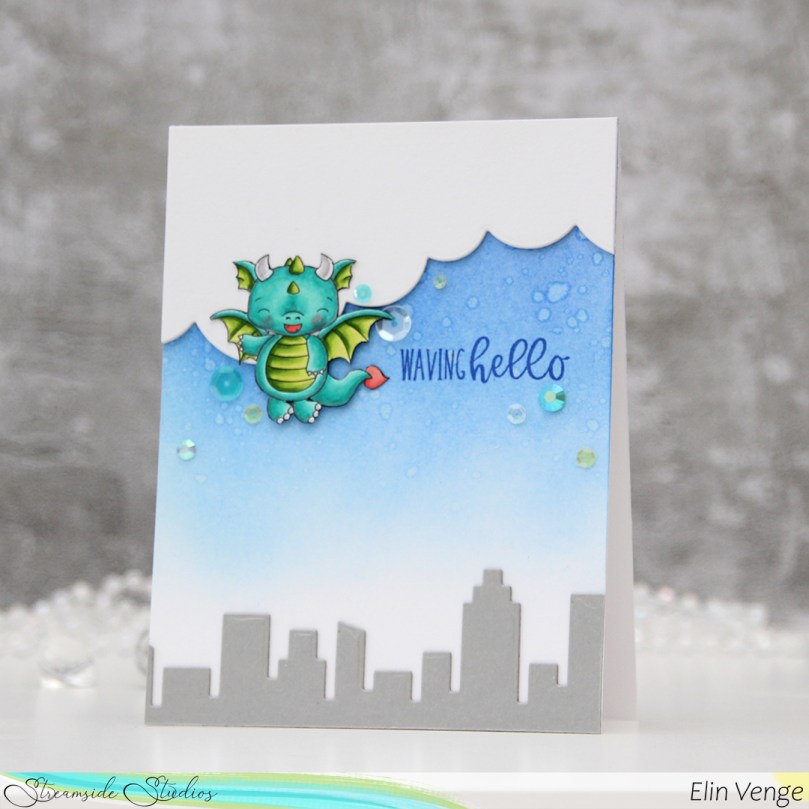 Onto a top fold white A2 card base I created from Stamper’s Select White cardstock from Papertrey Ink, I ink blended Azurite, Ultramarine and Eastern Sky inks (all from Altenew) towards the top of the card, fading to white near the bottom. I splashed some water droplets on top for a cool effect. Dye inks are water based and react with water, so this works with most inks you probably have. The darker the color, the bigger the impact.
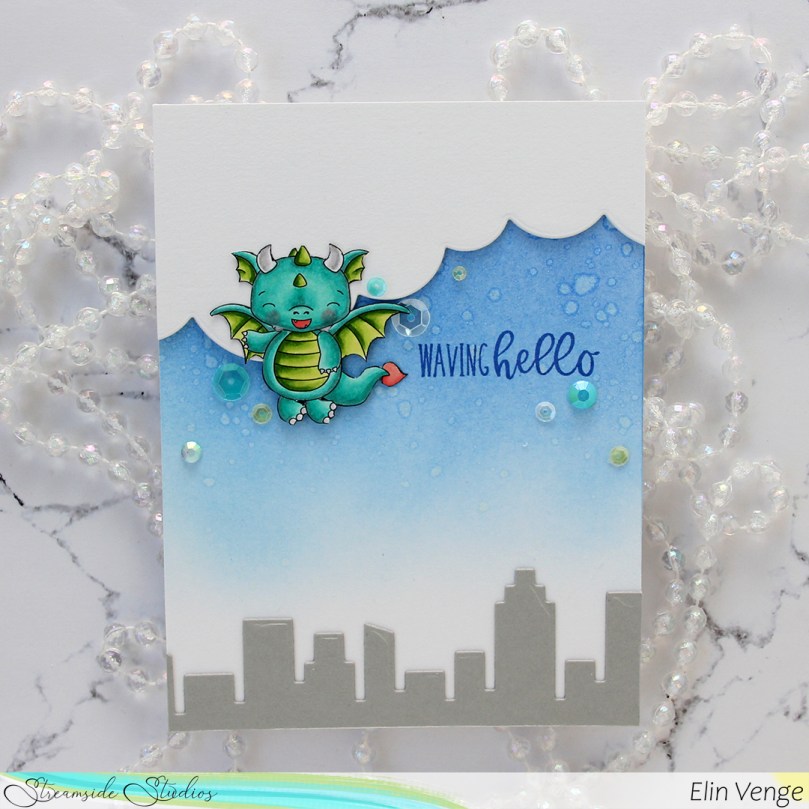 From Cement Gray cardstock from My Favorite Things, I die cut two layers of the skyscraper skyline in the Slim Film City die set from Mama Elephant and adhered them at the bottom of my card. Using the cloud die in the Slim Basics die set, also from Mama Elephant, I die cut the cloud shape three times from Stamper’s Select White cardstock, stacked them and adhered them to the top of the card.
 Onto the card base, I stamped a sentiment from the
  I adhered the dragon partially on top of the clouds, using foam squares behind the parts hanging off the clouds for even dimension, and sprinkled a few gems and sequins from the Seashore mix from Little Things from Lucy’s Cards around the dragon and sentiment to finish the card.
 Suuuuper simple color palette for this dragon.
 The image is called Bunny & Guinea: Snowman, and you’ll find it over in
  I used the Mega Snowflakes Cover die from Mama Elephant to die cut my frame. I stacked three for dimension and adhered it to my colored image, then adhered the whole thing to a top fold card base I created from Stamper’s Select White cardstock from Papertrey Ink.
 Using the Merry Script die from Mama Elephant, I die cut three from Hawaiian Shores cardstock from Papertrey Ink, and another three from the same white cardstock that I used elsewhere on the card. I stacked the colored die cuts and the white ones separately so that I could put the white ones behind the parts of the colored ones that aren’t on top of the white stacked die cut frame at the bottom.
 Onto a strip of Hawaiian Shores cardstock, I white heat embossed part of a sentiment from Purple Onion Designs and cut it down to fit my card, adding two more strips behind it so that the stamped part of the sentiment would be flush with the die cut part.
 I added a few snowdrift sprinkles from Little Things from Lucy’s Cards to finish the card.
 Simple color palette.

 I wanted to add a little bit of interest to my flowers and did some simple ink blending. I used Mustard Seed and Spiced Marmalade Distress inks for the yellow, Fresh Leaf ink from Altenew for the green and Vintage Timber from My Favorite Things for the brown. I also added additional diecuts to build dimension and interest to these flowers.
 Onto a white card base I created from Stamper’s Select White cardstock from Papertrey Ink, I stamped a sentiment from the
  This is a very simple card, and in hindsight I kind of wish I’d used a different color for my card base, or even ink blended a gradient blue with on the card base, but the white makes the yellow pop and is very clean, which is usually my preference on simple cards.
 Here you can see a little bit of the dimension on the card. I used white diecuts behind the the yellow ones (I don’t have a lot of that Buttercup cardstock and wanted to use as little of it as possible), which worked out great. The white almost disappears against the white of the background, making it look like the flowers are floating on the card, it’s such a cool effect!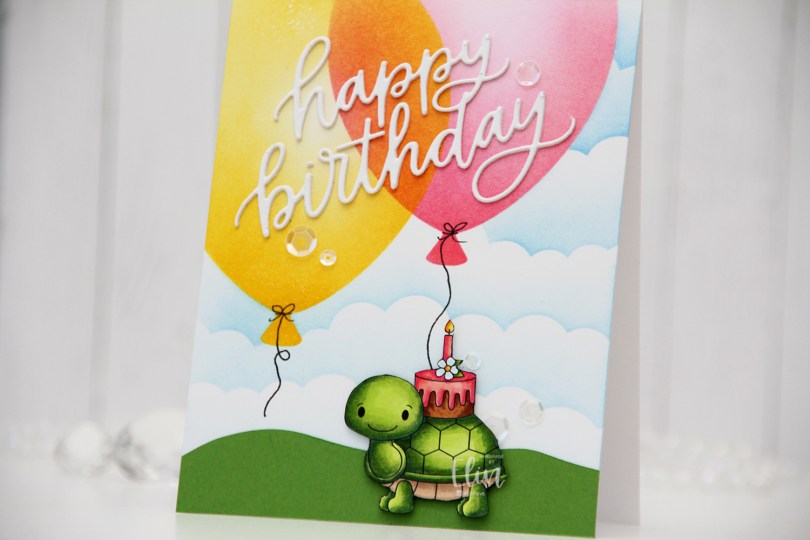
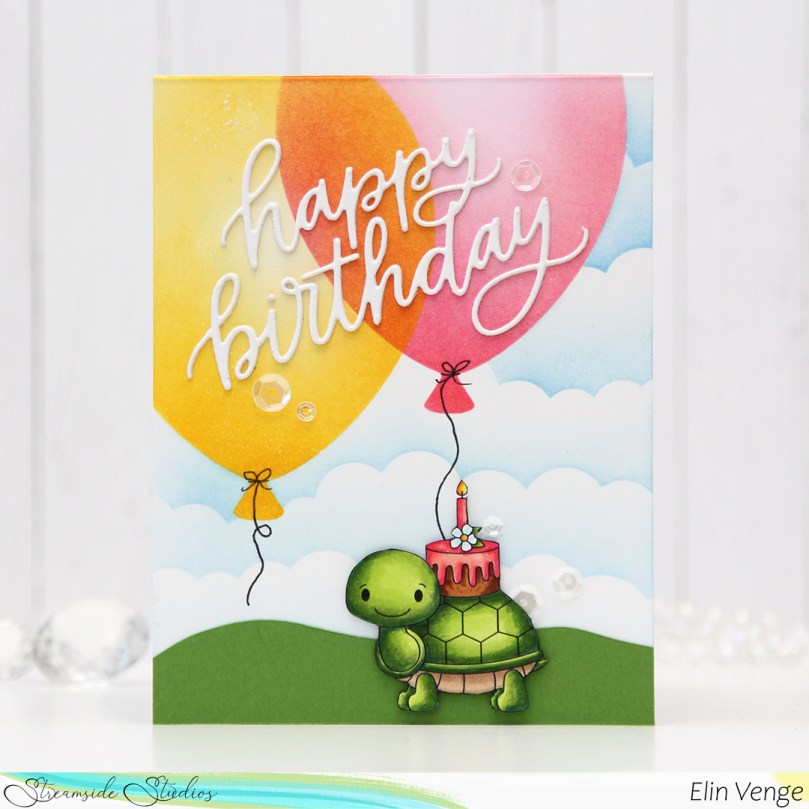 I colored in the image using Copics, before fussy cutting it, right up against the black lines of the image. I put the image aside while I worked on the rest of my card.
 I actually worked directly on the card base for this one. Using the Big Balloon stencil from My Favorite Things, I ink blended two balloons using Distress inks – one using Picked Raspberry, Worn Lipstick and Abandoned Coral; the other using Mustard Seed and Squeezed Lemonade. And in the words of Laura Bassen – the magic’s in the overlap.
 Once the balloons were done, I used the mask in the Big Balloon stencil set to mask off the balloons while I used the Slimline Cloud Edges stencil, also from MFT, to create the illusion of clouds in the distance. I used Eastern Sky ink near the top of the card, Iceberg ink towards the bottom, both are gorgeous colors from Altenew.
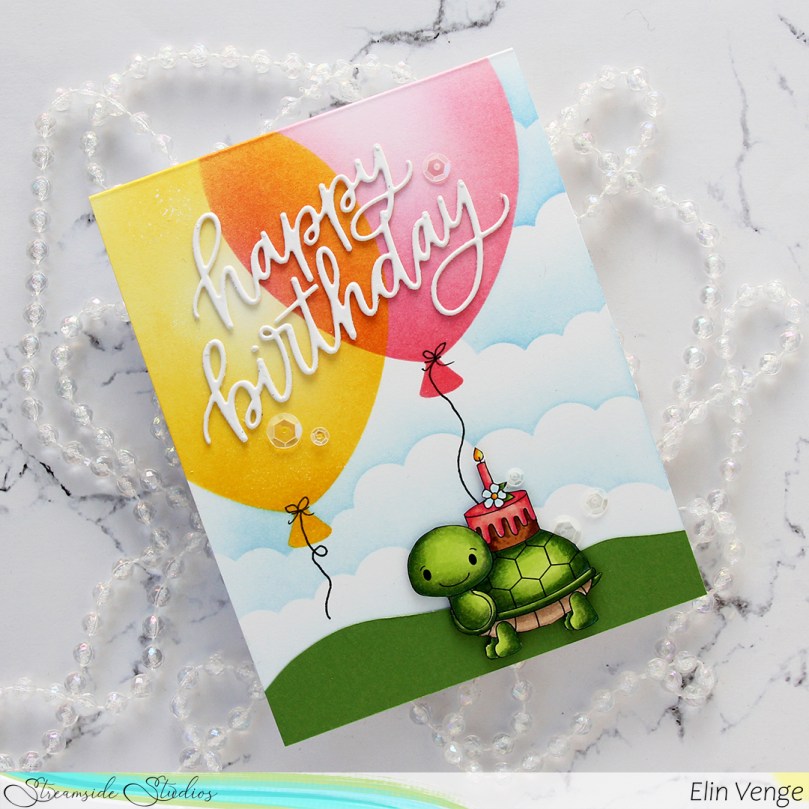 I free hand cut a grassy hill from Parsley cardstock from Concord & 9th and adhered it to the bottom of my card. I die cut the Happy Birthday die from My Favorite Things twice using white cardstock from Papertrey Ink (same cardstock as my card base) and adhered the two layers together for a tiny bit of dimension and adhered my layered die cut on top of the balloons.
 To finish off the card, I drew in balloon strings using a 0.35 Copic Multiliner, popped the tortoise (I can’t bring myself to write the word “turtle” when this is clearly a tortoise) up using some 1/16″ foam squares and added sequins from the White Orchid sequin mix from Little Things From Lucy’s Cards for a bit of sparkle and shine.
 Simple color palette for this small image.
