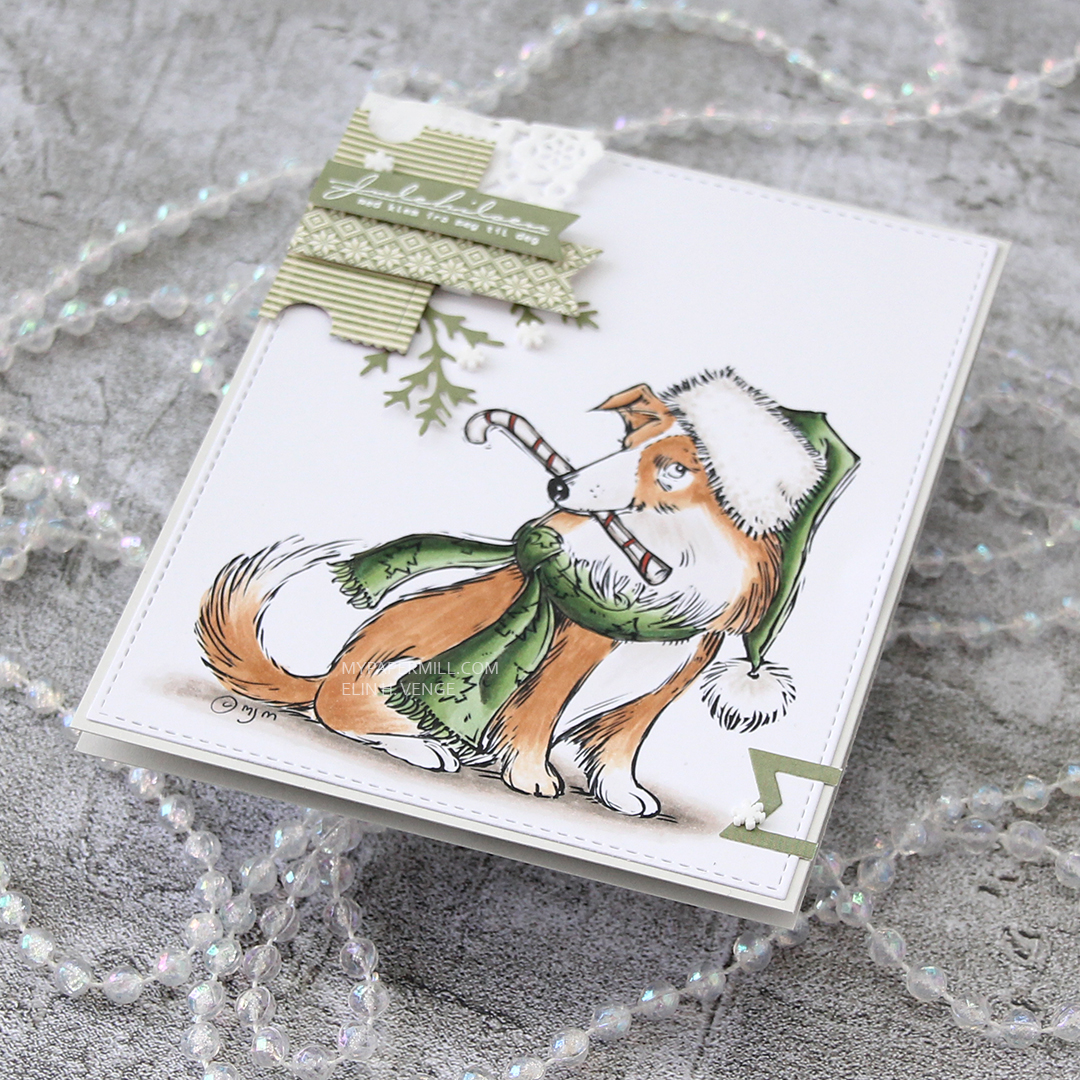
Hi, there! It’s Wednesday again, and you know what that means. Time for another Mo Manning creation around here. This time, I’ve kind of gone back to my roots, but not really. It’s a layered card, which used to be the norm for me, but the image is fussy cut, which most certainly has never been my signature.

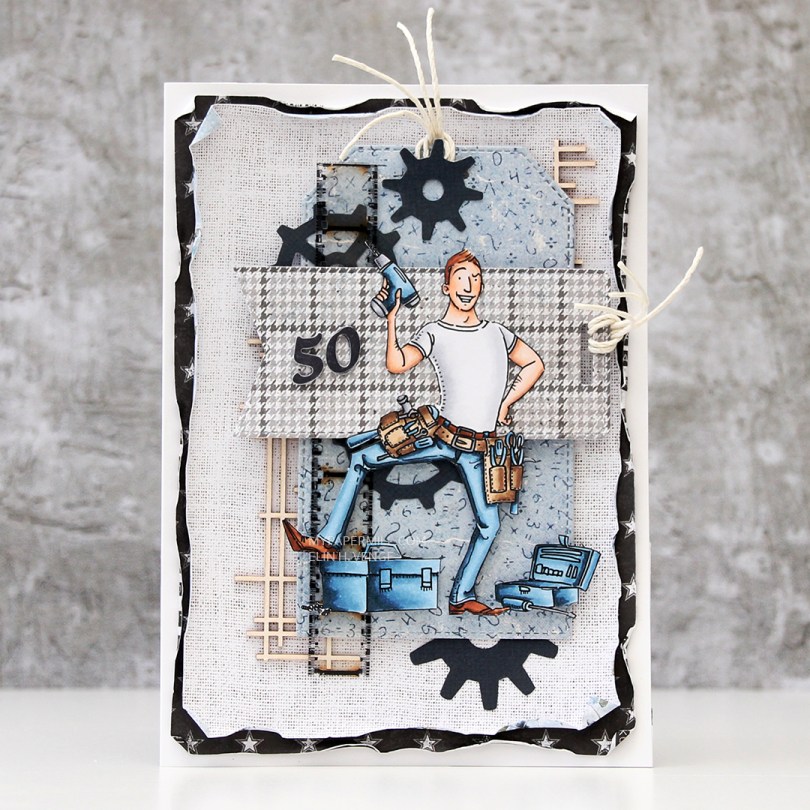
I received an order for a 50th birthday card for an electrician. The card needed to be “messy”, which is kind of difficult for me. My usual style is pared back and very simple, I just don’t have enough elements on my cards to be able to make a mess of any kind. Thus going back to my roots of using lots of patterned paper. I colored up Mr. Fixit in my favorite colors and fussy cut him.
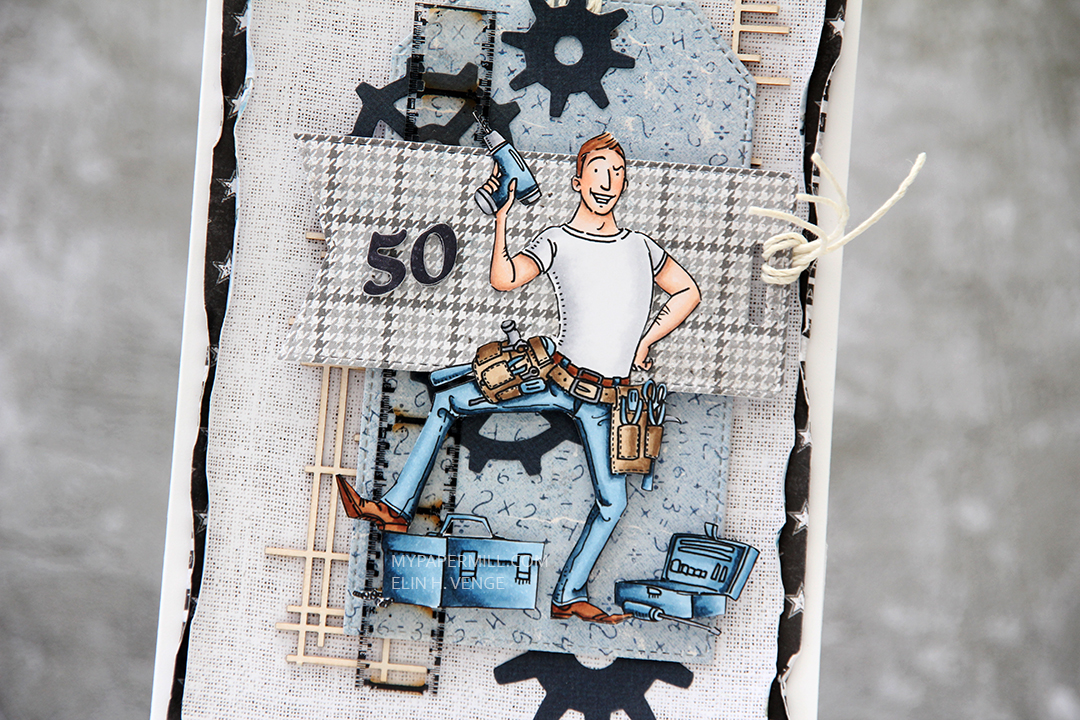
I had to go looking for inspiration online. The last “old style” card I made was in June of last year, which means I’m rusty. I found a card I liked and used it as a guide to create this one, which is actually an A7 card (5×7″). I dug through my patterned papers, both 12×12″ sheets and scraps, and found a few from Papirdesign, Maja Design and a small scrap from My Mind’s Eye that I used to die cut the gears and numbers. I arranged all the elements on my card, some using foam tape and others adhered straight down, and wound up with this. I used old dies from Sizzix for the gears, forcing me to pull my BigShot out of retirement for a few minutes. Those dies are too thick for my Gemini Jr., which is the machine I use for nearly all my die cutting. The last time I used my BigShot was over two years ago, so there’s a reason it’s retired in the closet. I added a piece of Snip Art chipboard and a film strip piece from Tim Holtz for a little bit of added interest and something that wasn’t just made of paper.

On the inside, I adhered left over pieces of the gears, just to use it all, and stamped a sentiment from Norsk Stempelblad AS using Dark Indigo ink from Papertrey Ink. There’s plenty of room on the right for a personal message, this is a side fold card (another anomaly from me, I prefer top fold).

On the back of the card, I repeated a lot of the elements that I used on the front. The tag dies I used are from My Favorite Things, and I used my recently acquired personal stamp from Create a Smile on one of the die cut tags, stamped in Dark Indigo ink.

Not a lot of Copics used for this one, I mostly stuck to blues.


 Not a whole lot of Copics used for this image, it IS simple, after all. I also used V97, which is a color I’ve made myself.

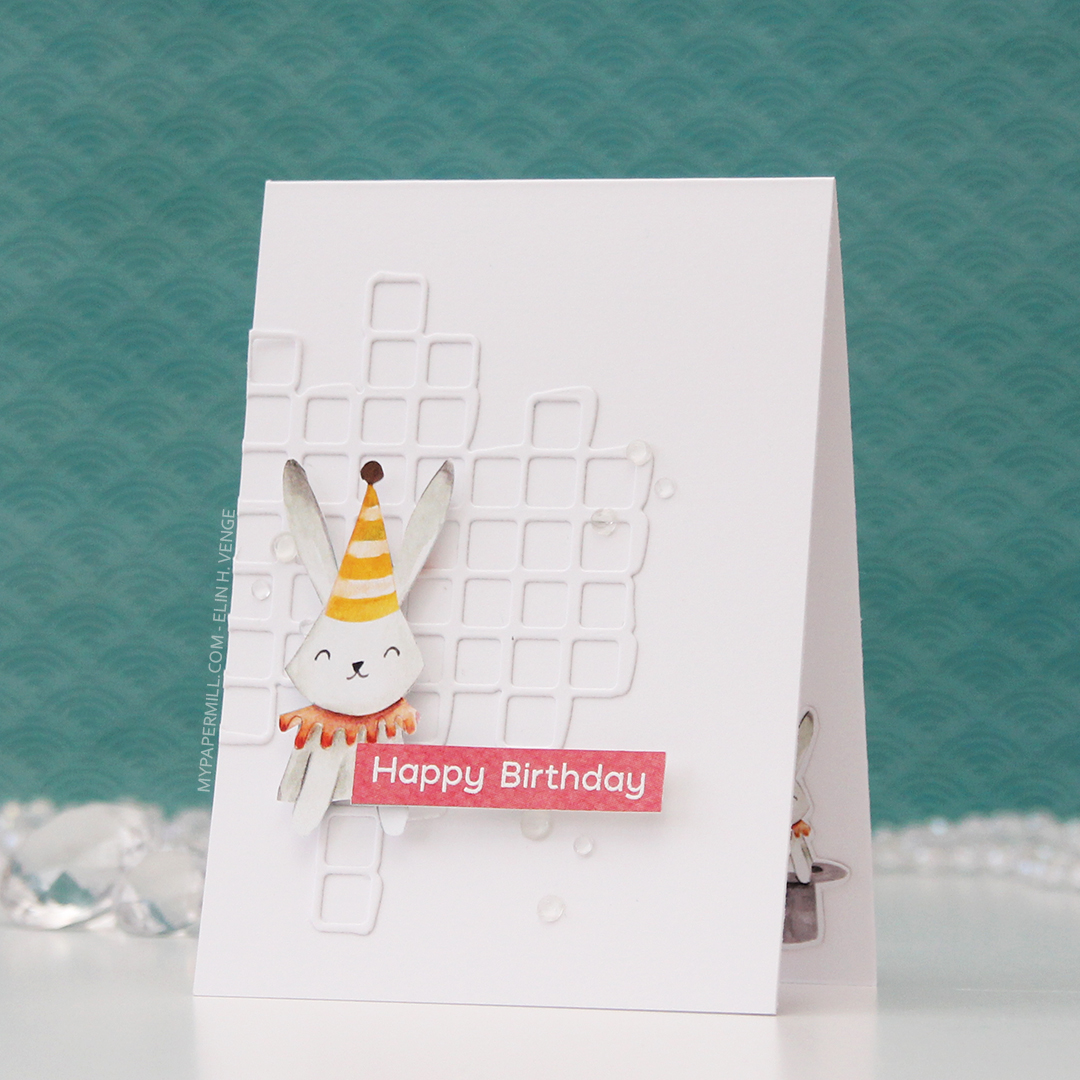
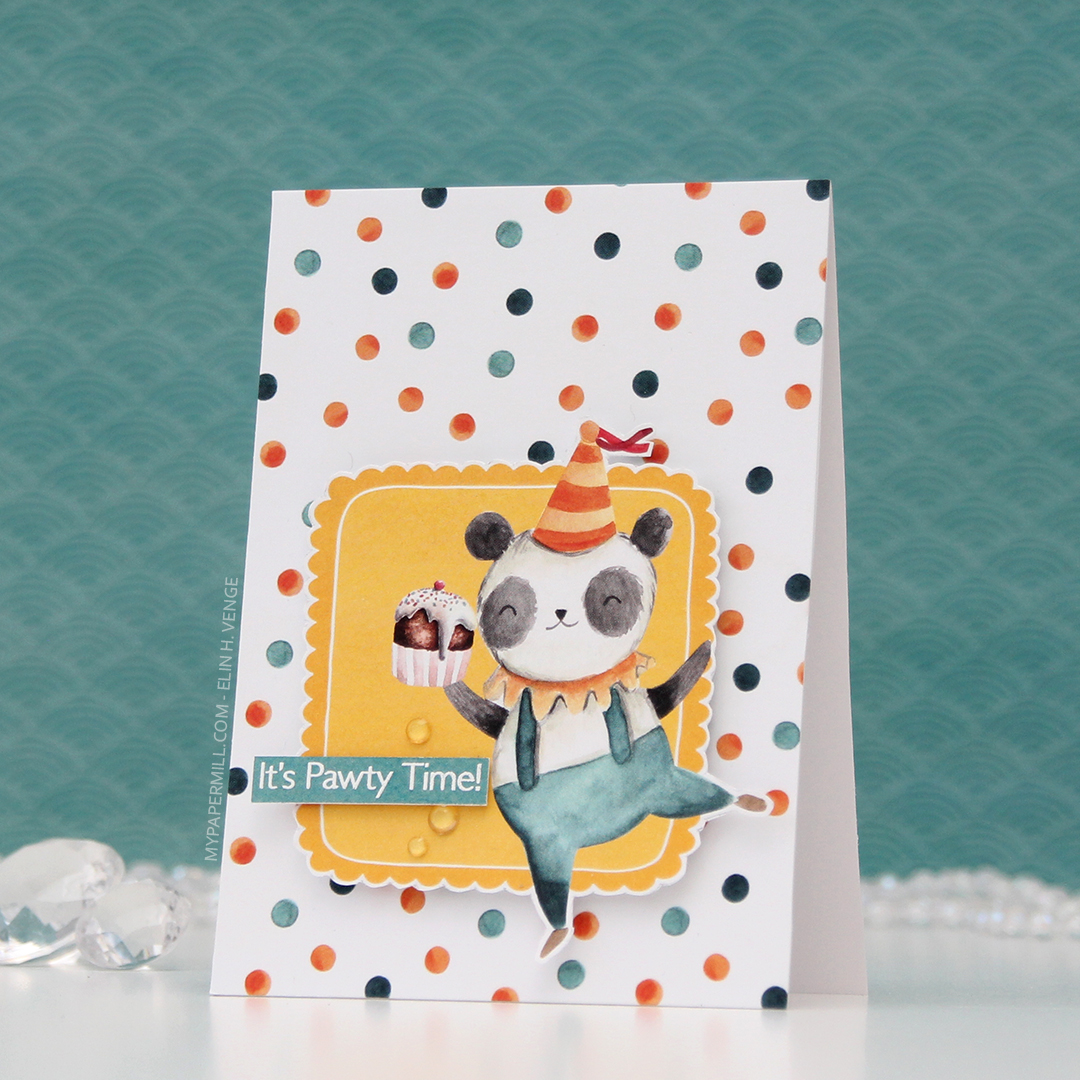
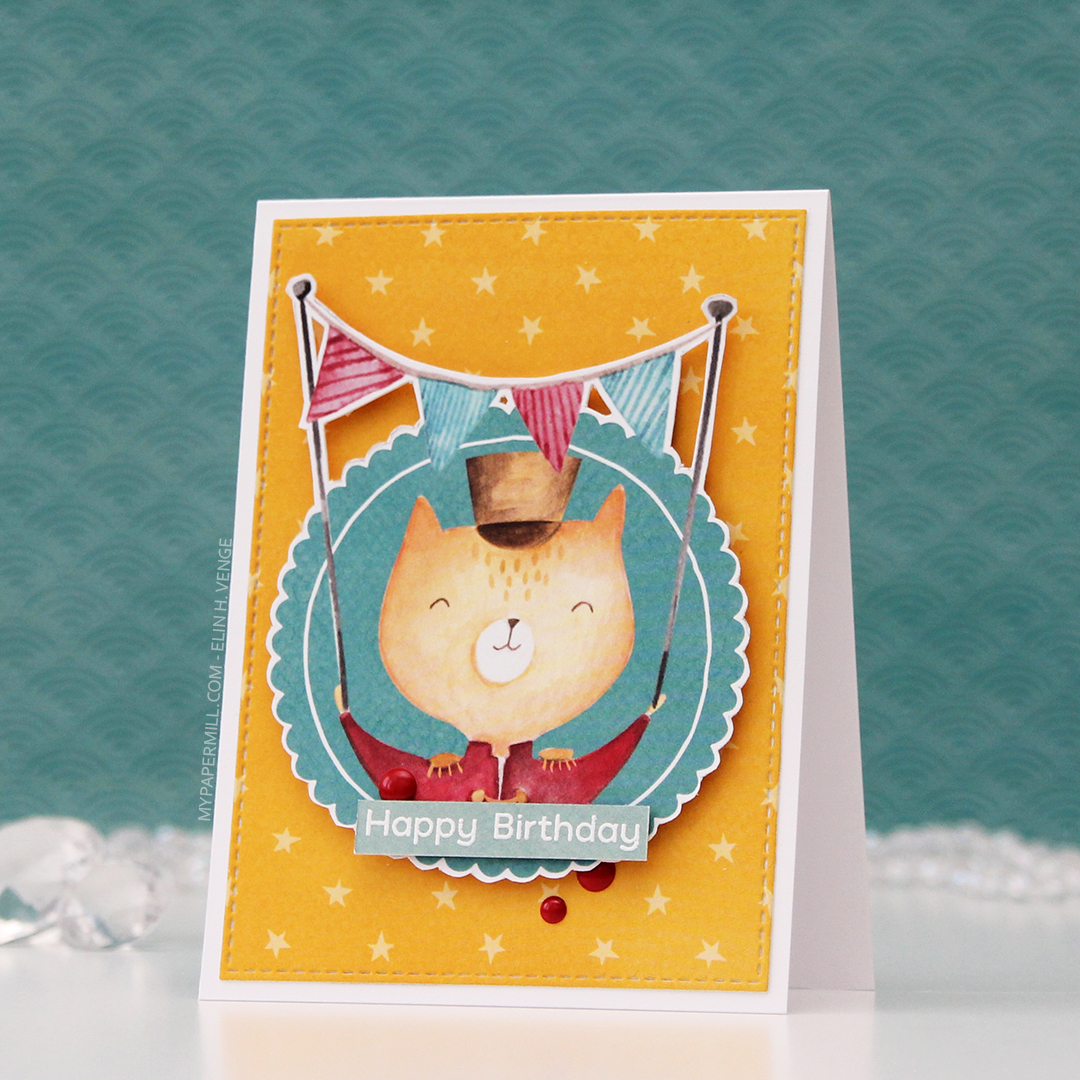
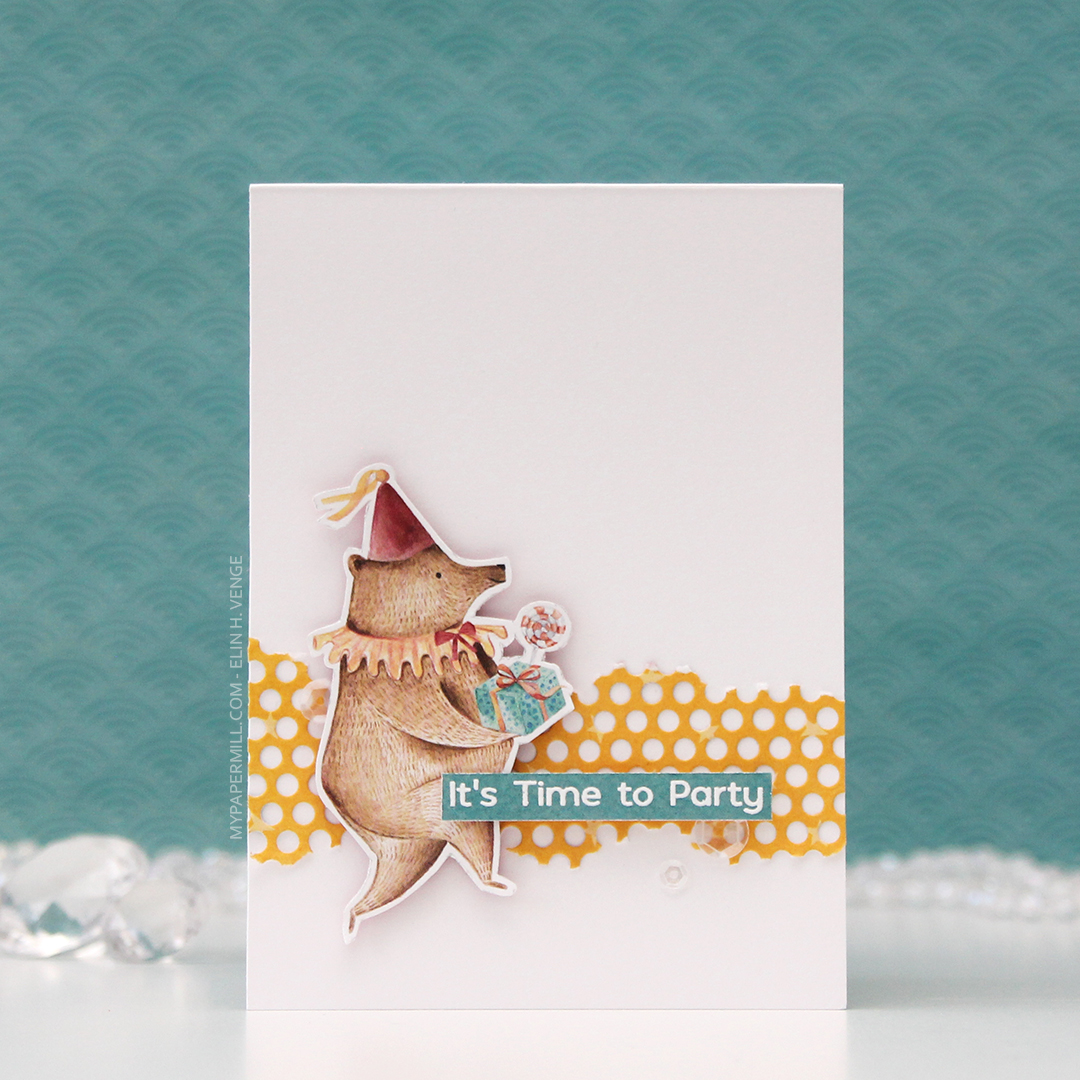 I’m starting with this bear, ready for a party! The papers in the P13 collections don’t have individual names, they just have numbers, and I fussy cut this bear from 05. I die cut a piece of 01 using a die from Papirdesign, tearing the edges for an uneven look and glued it straight onto my 4 bar top fold card base, before adding the bear with foam tape for dimension.
 03 in this collection from P13 has wide, diagonal stripes in different colors. I cut it down to strips, and used them to emboss my sentiments to get the perfect color matches. The sentiment on this card is from the Bitty Bears stamp set from My Favorite Things. I added the sentiment strip using foam tape, and finished off the card with some sequins from the White Orchid Sequin mix from Little Things from Lucy’s Cards.
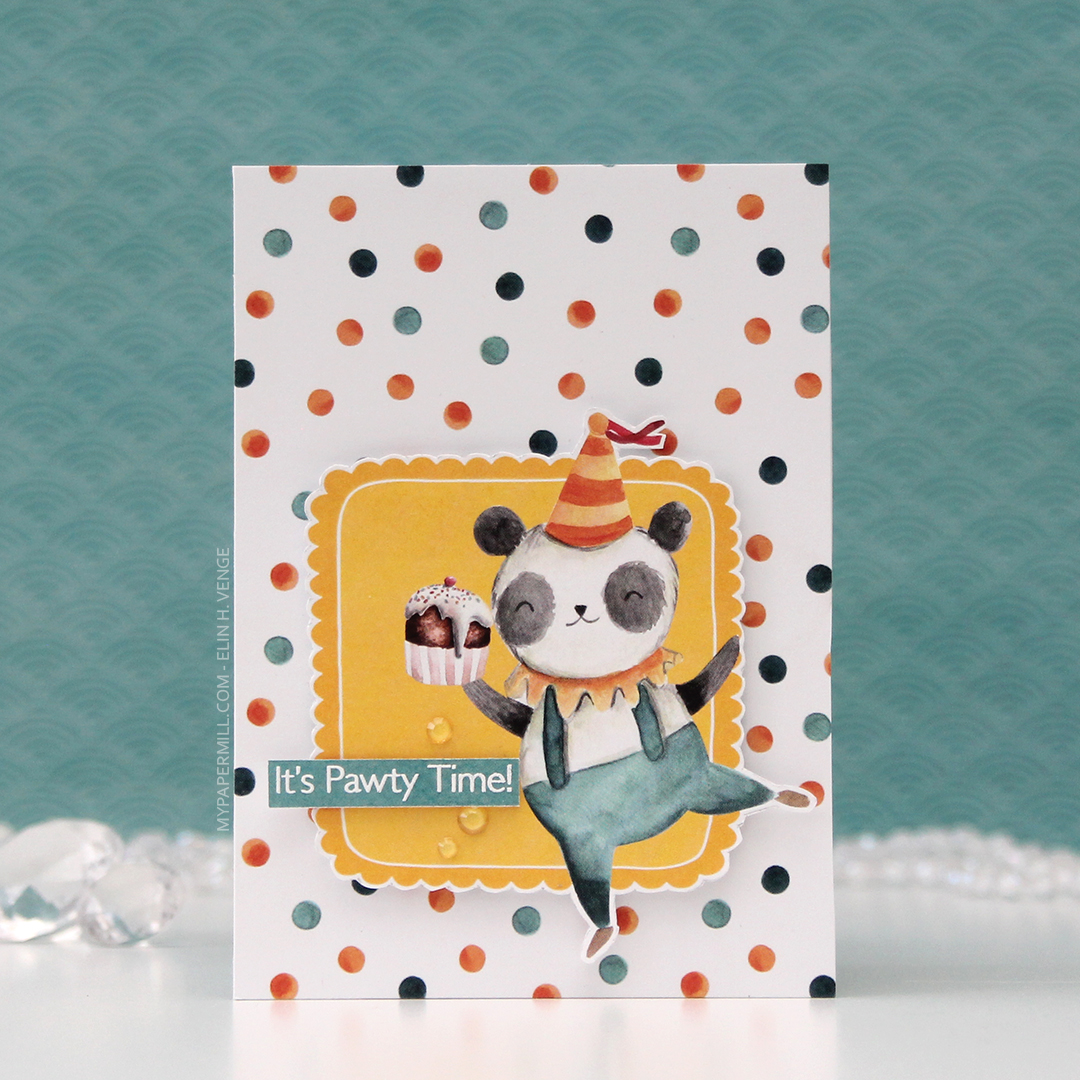
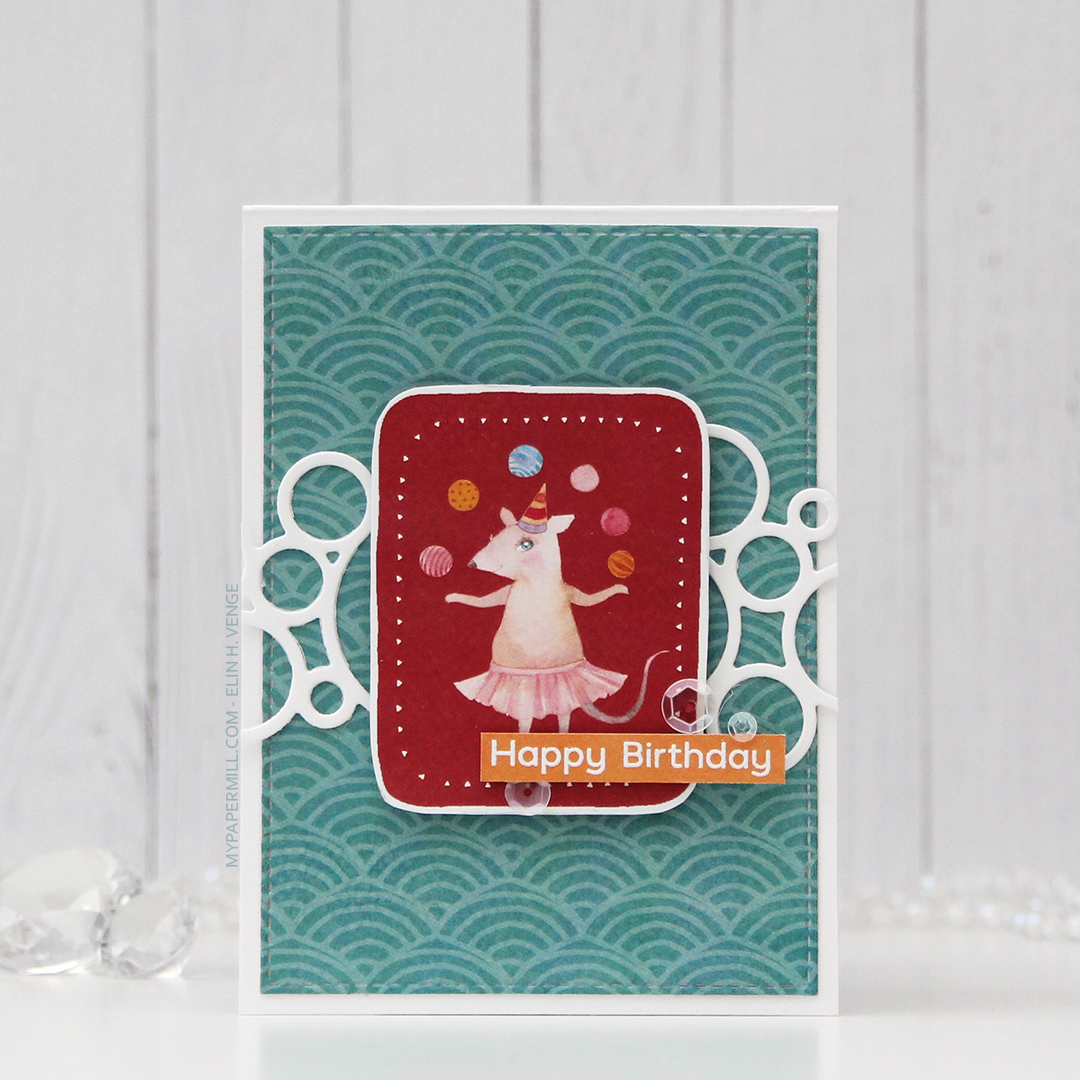
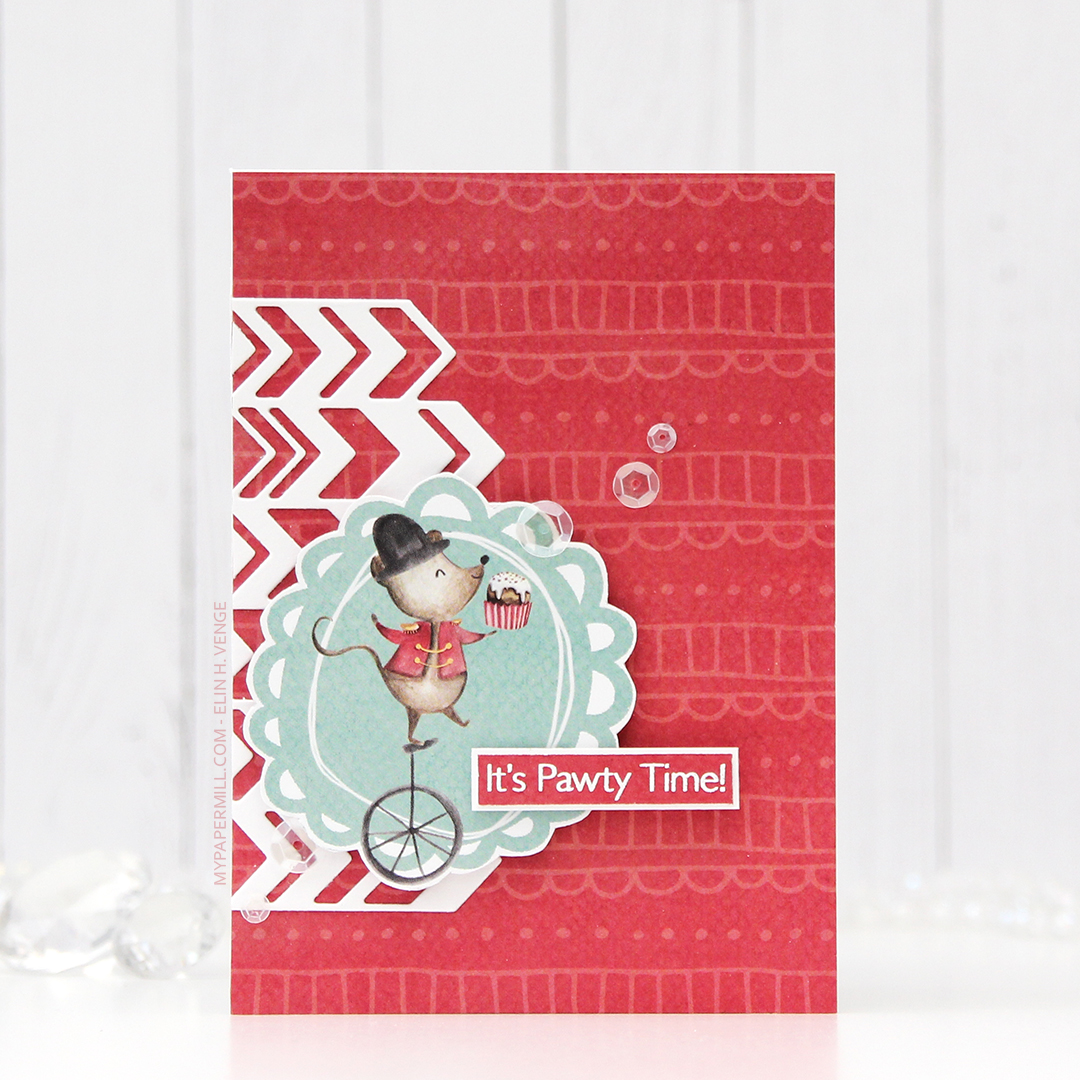 For my second card I covered the entire card front with the back of the 05 sheet. Most of the papers in this collection have lots of images on the front, and are more plain on the back, of course with colors that coordinate. The little mouse on a unicycle is from the 02 sheet, and again I used 03 to stamp my sentiment on. This sentiment is also from My Favorite Things, it’s from the Pawty Time stamp set.
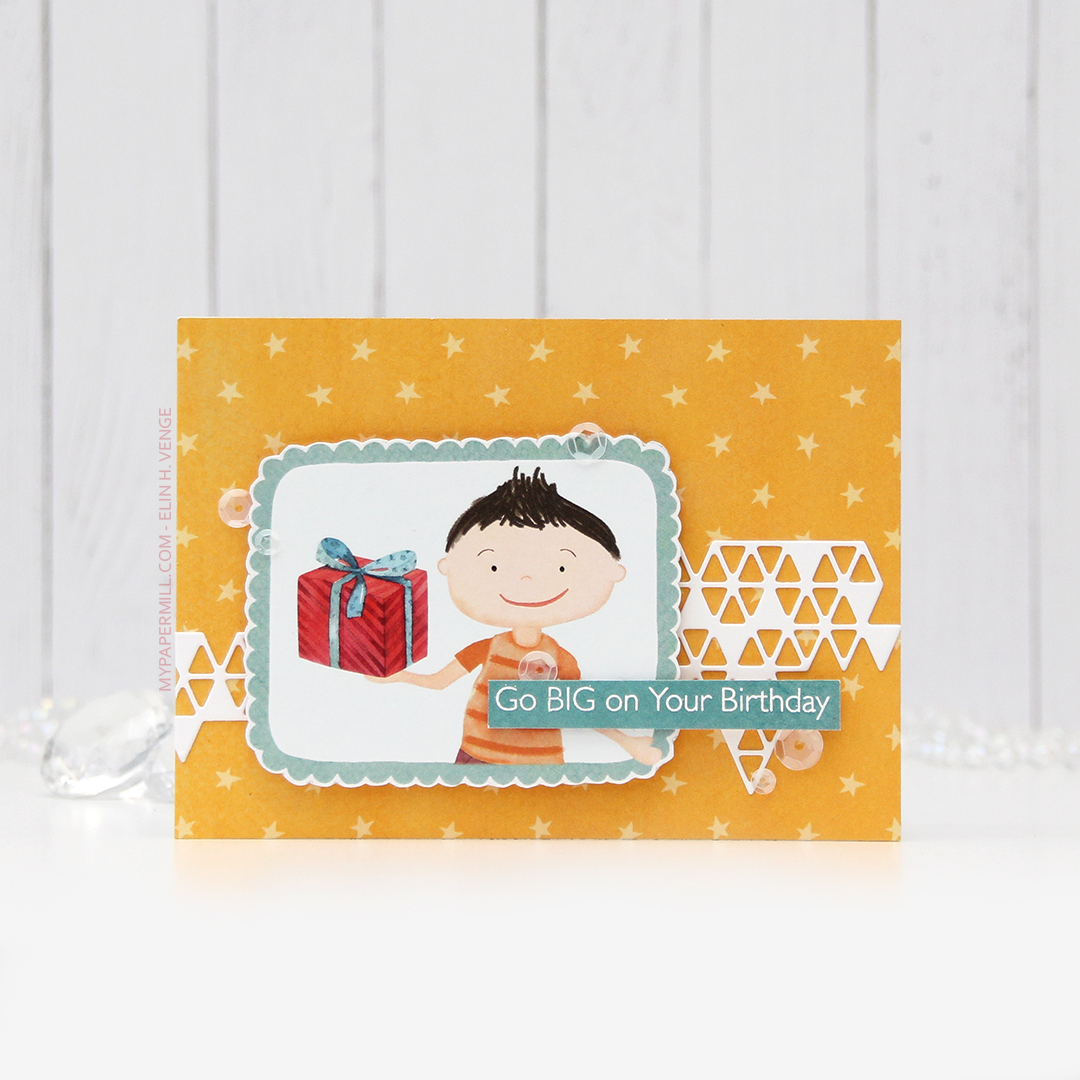
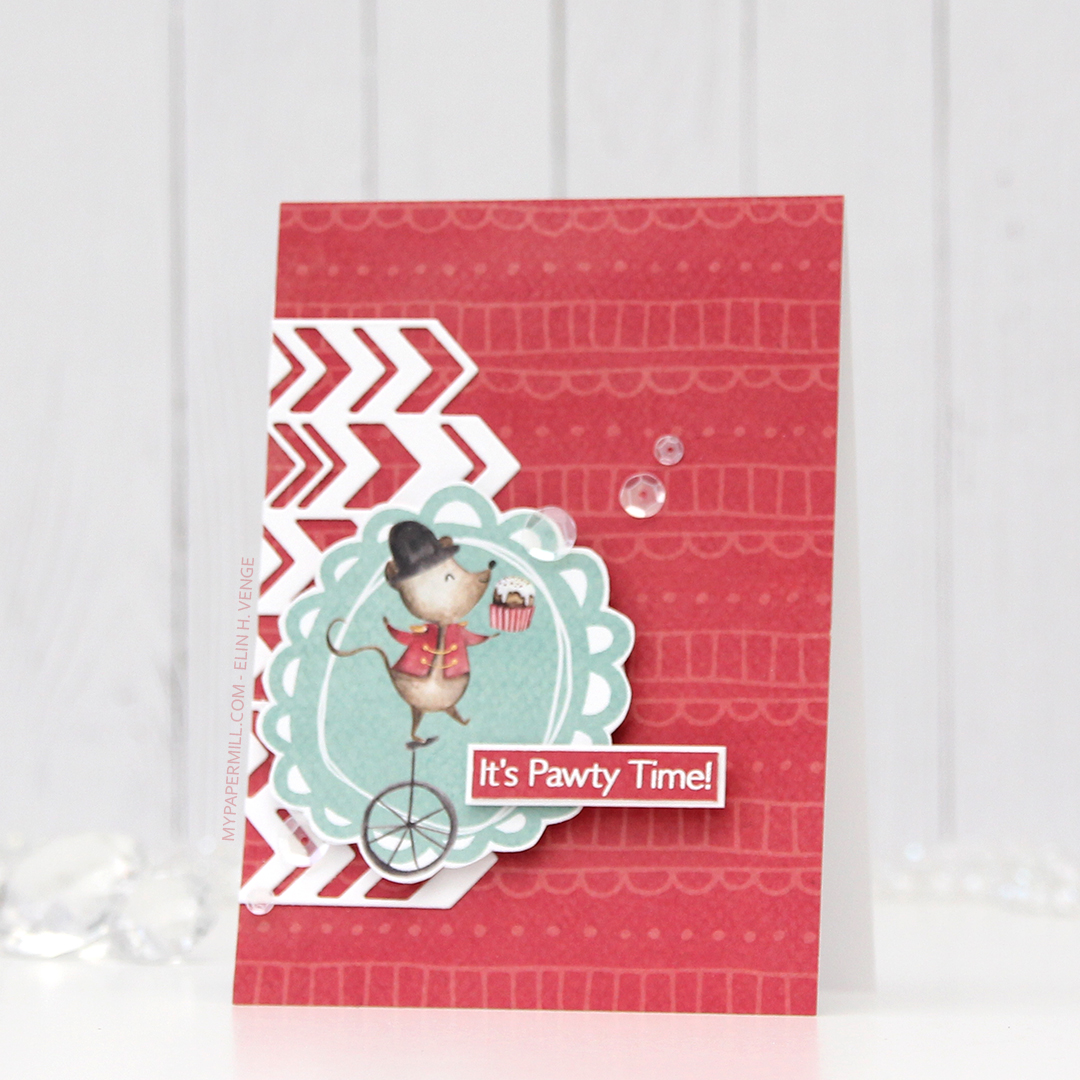 I die cut a chevron pattern from white card stock using a die from Papirdesign and adhered it directly to my patterned paper card front, before popping up the image on foam tape, and the sentiment on even more foam tape. Again I added sequins from the White Orchid Sequin mix to finish the card.
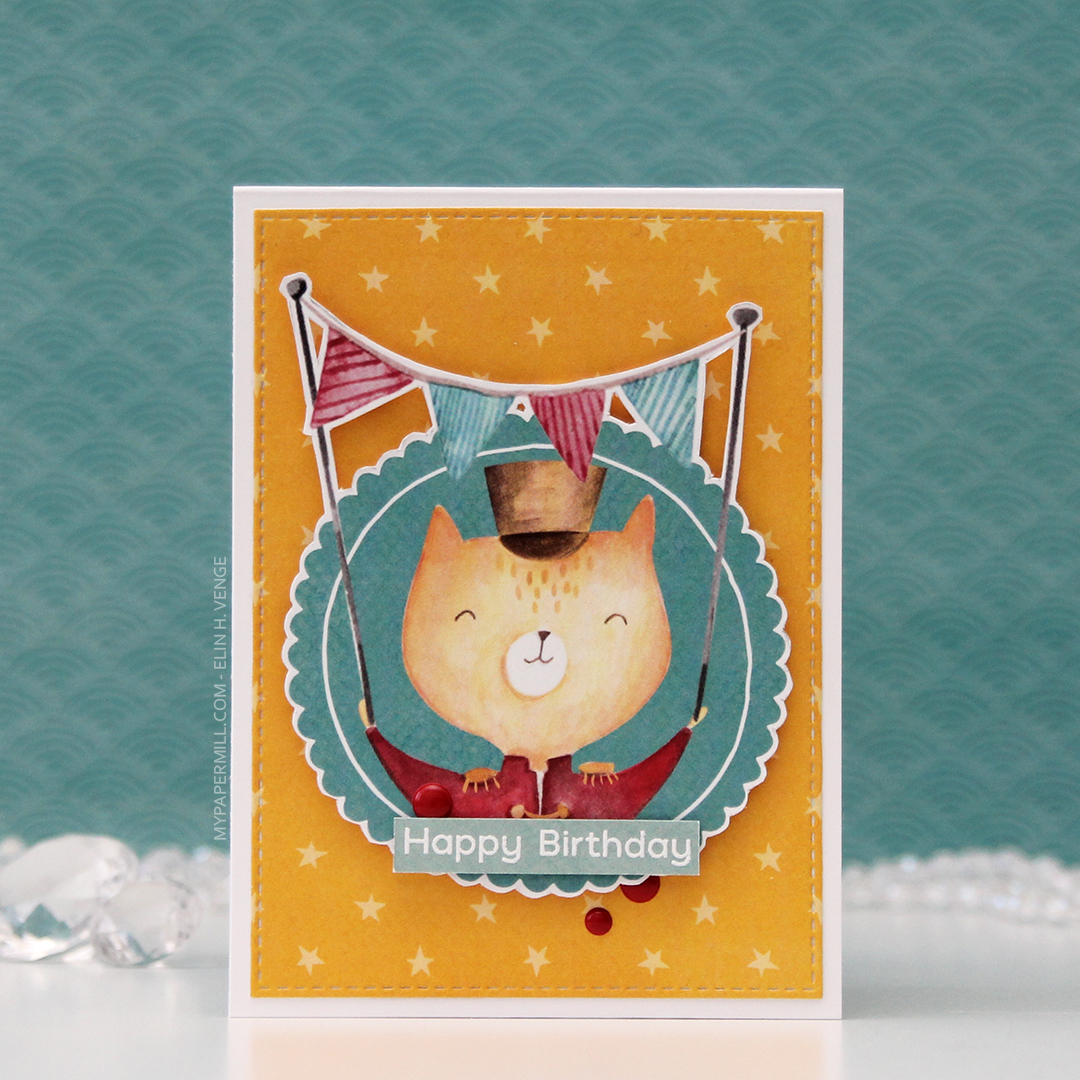
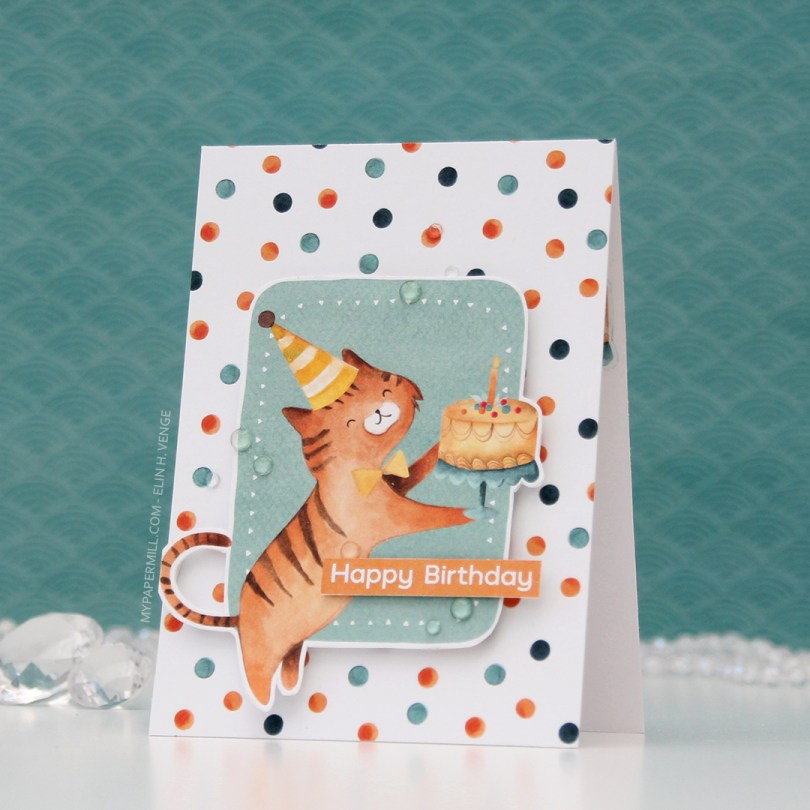
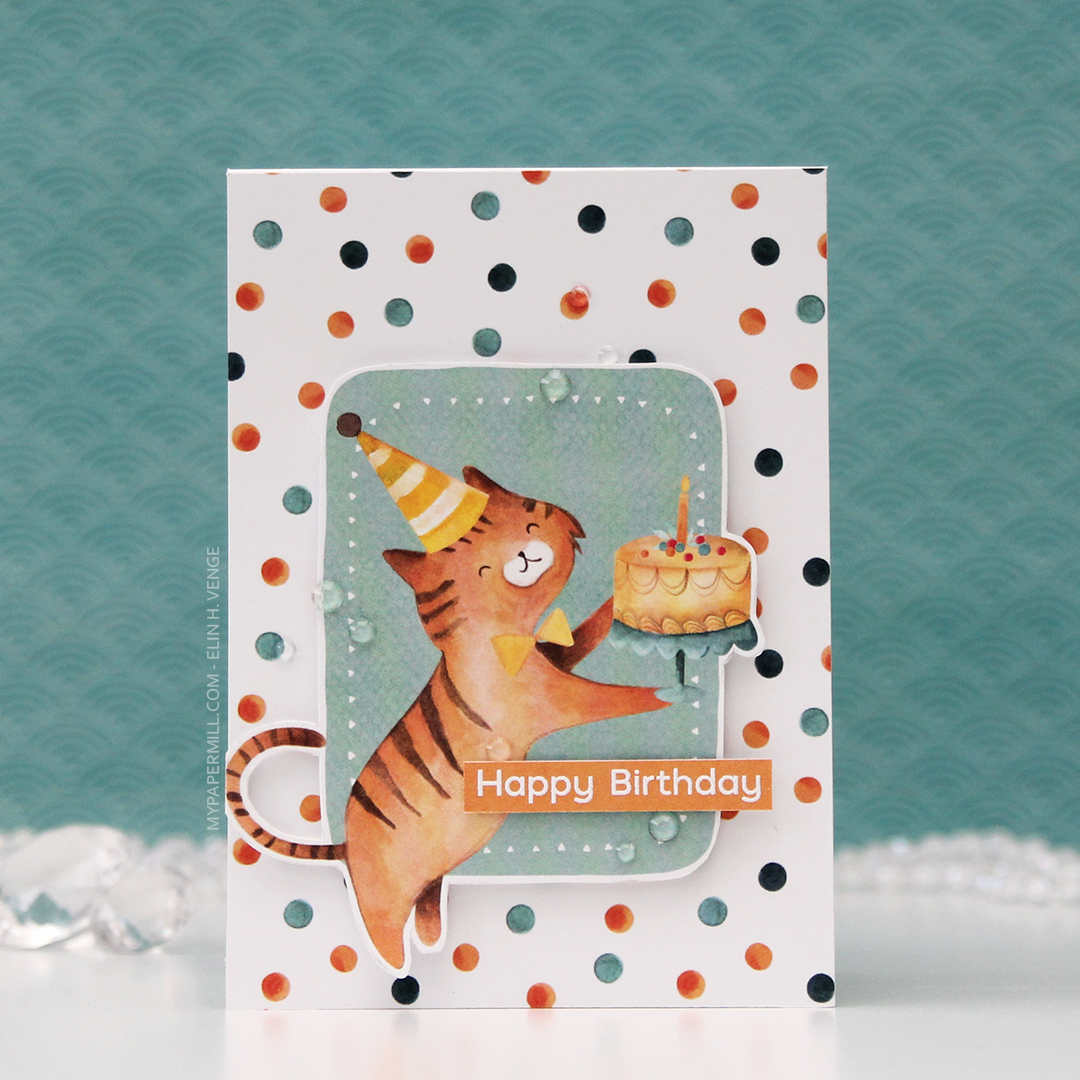 Card number 3. Now, I’m not sure whether this is a cat or a tiger, but whatever he is, he’s definitely ready to party. I fussy cut him from the 02 sheet, and I used the back of the same sheet to cover the card front. Once again, I popped the image on foam tape for dimension.
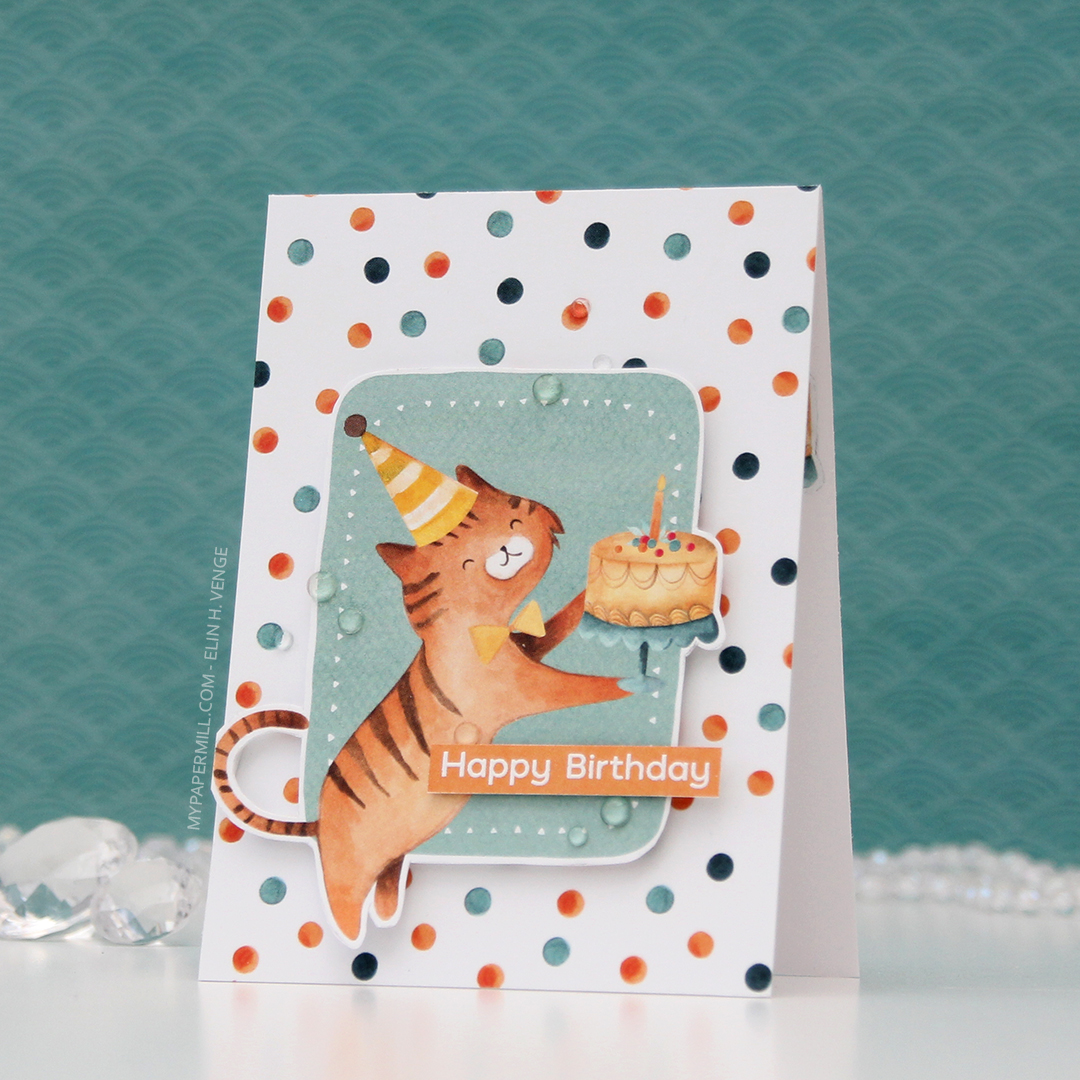 I used the Happy Birthday sentiment from the Bitty Bears stamp set again, and this time I used some clear gems from the Crystal Glass collection from Little Things from Lucy’s Cards to embellish.
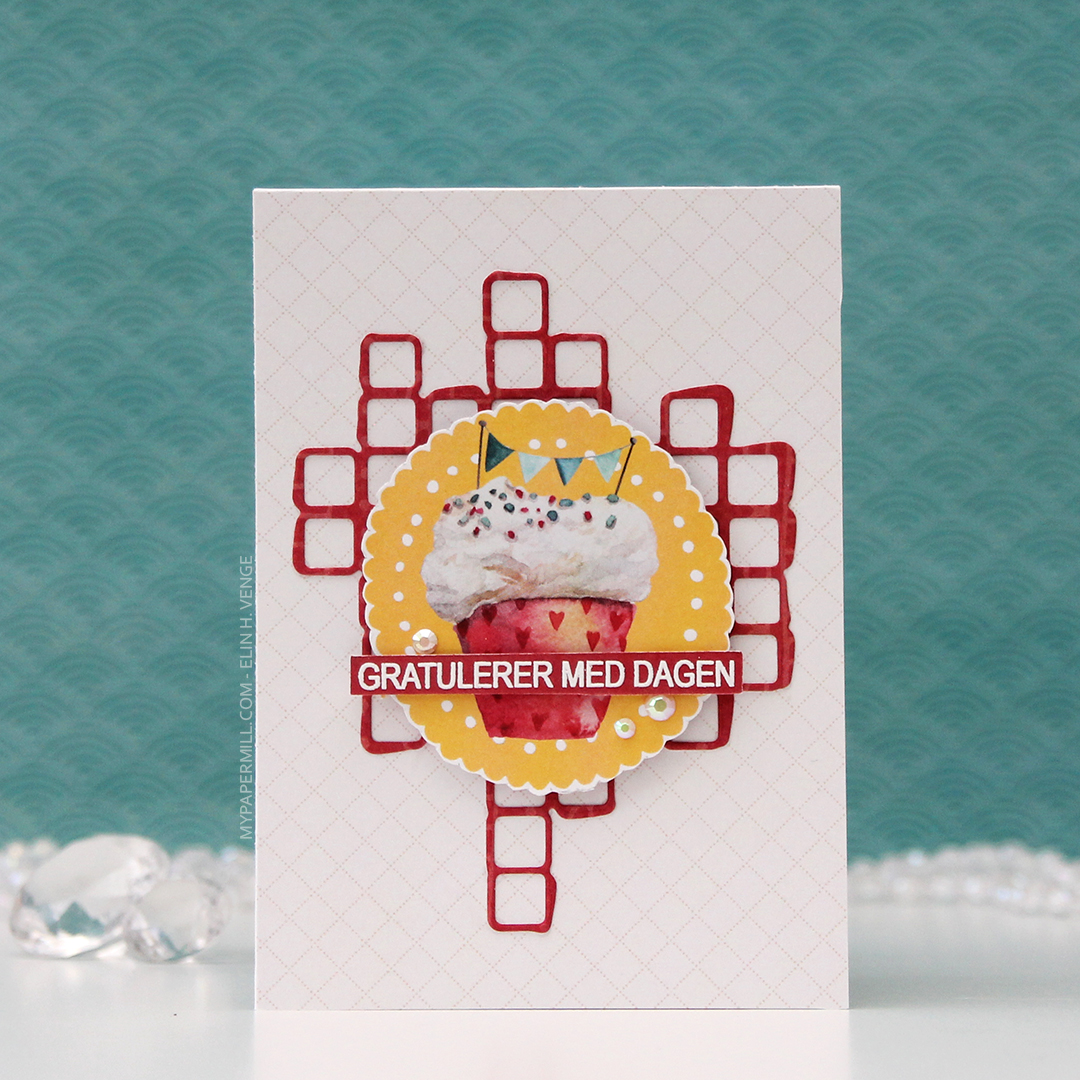
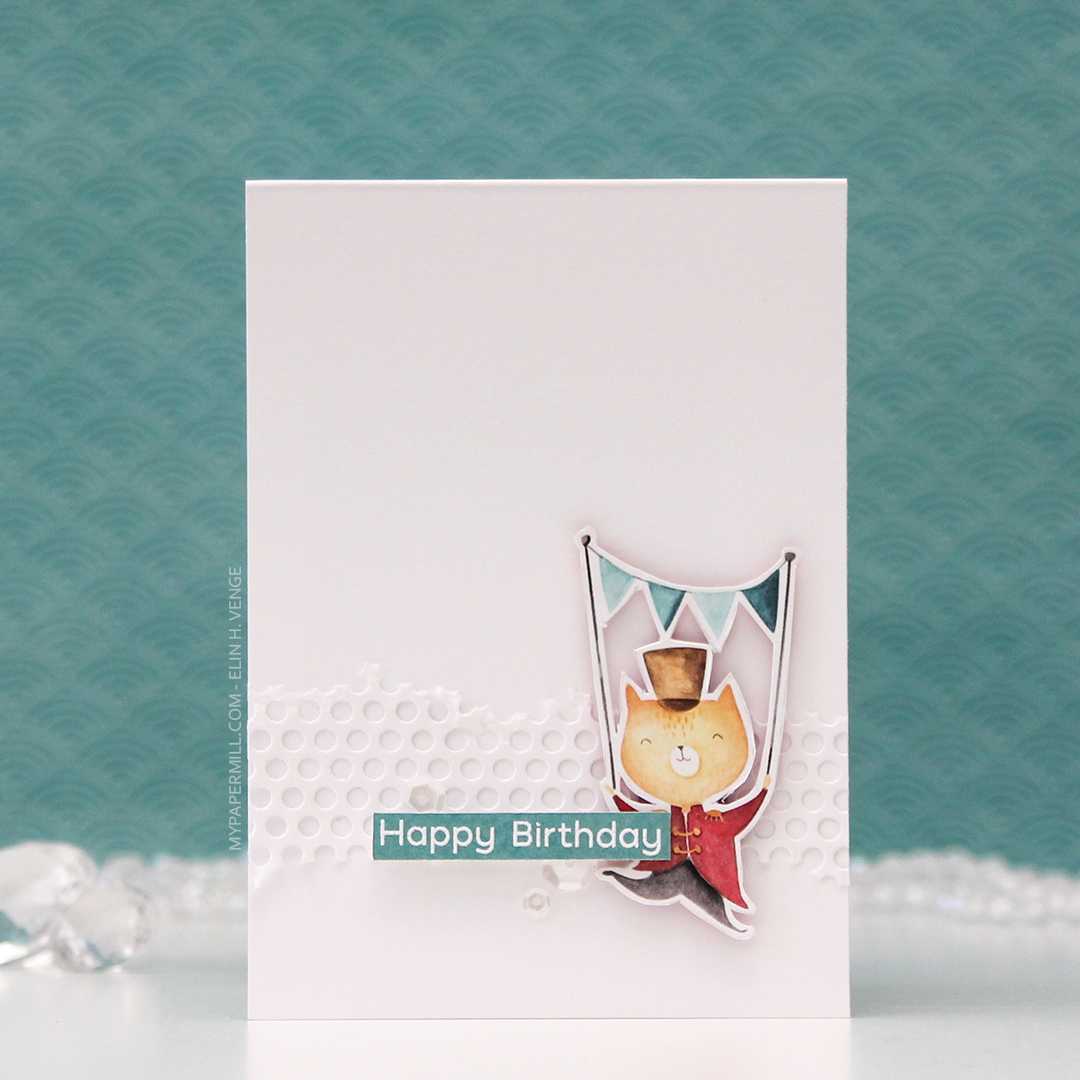 I made the last card for today very simple. I die cut the same hole pattern as I used for the first card, only this time in white card stock for a bit of textured interest in the background. The cat is from the 05 sheet, which I used a lot of for these cards.
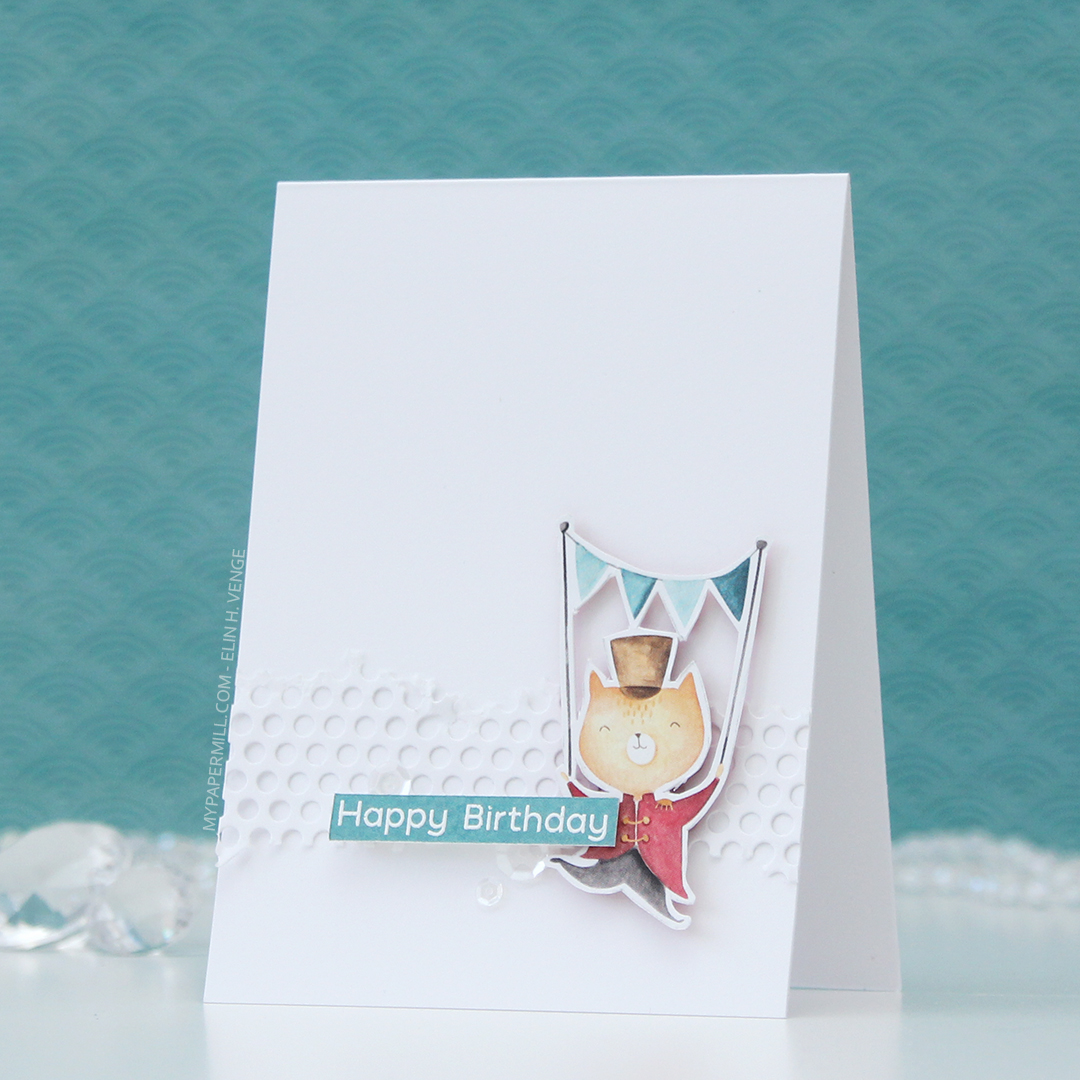 I added the cat using foam tape, the sentiment using more foam tape and those white sequins once again. These cards were so much fun to create, and I’ve got more in upcoming posts.
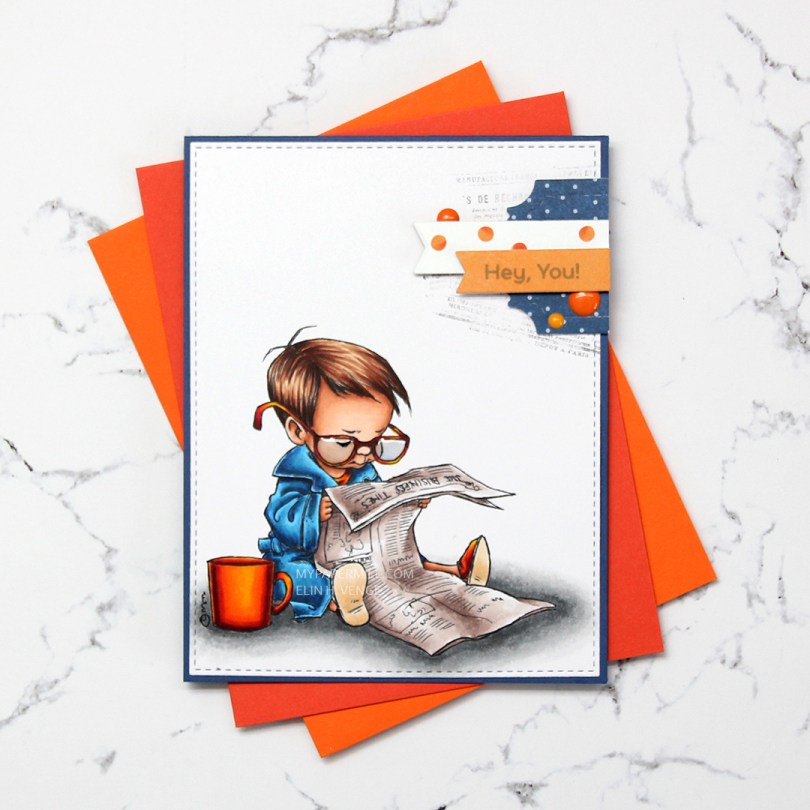
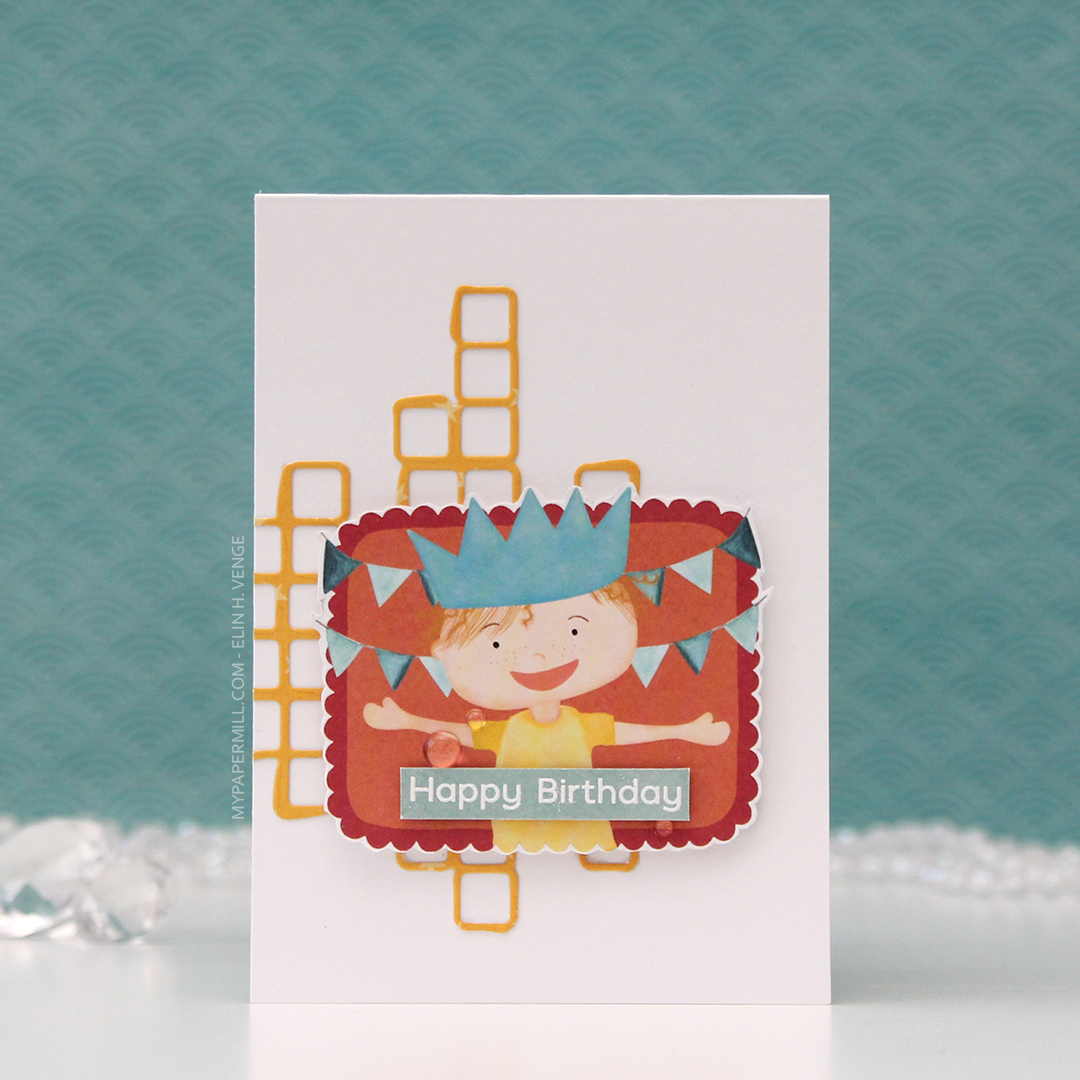
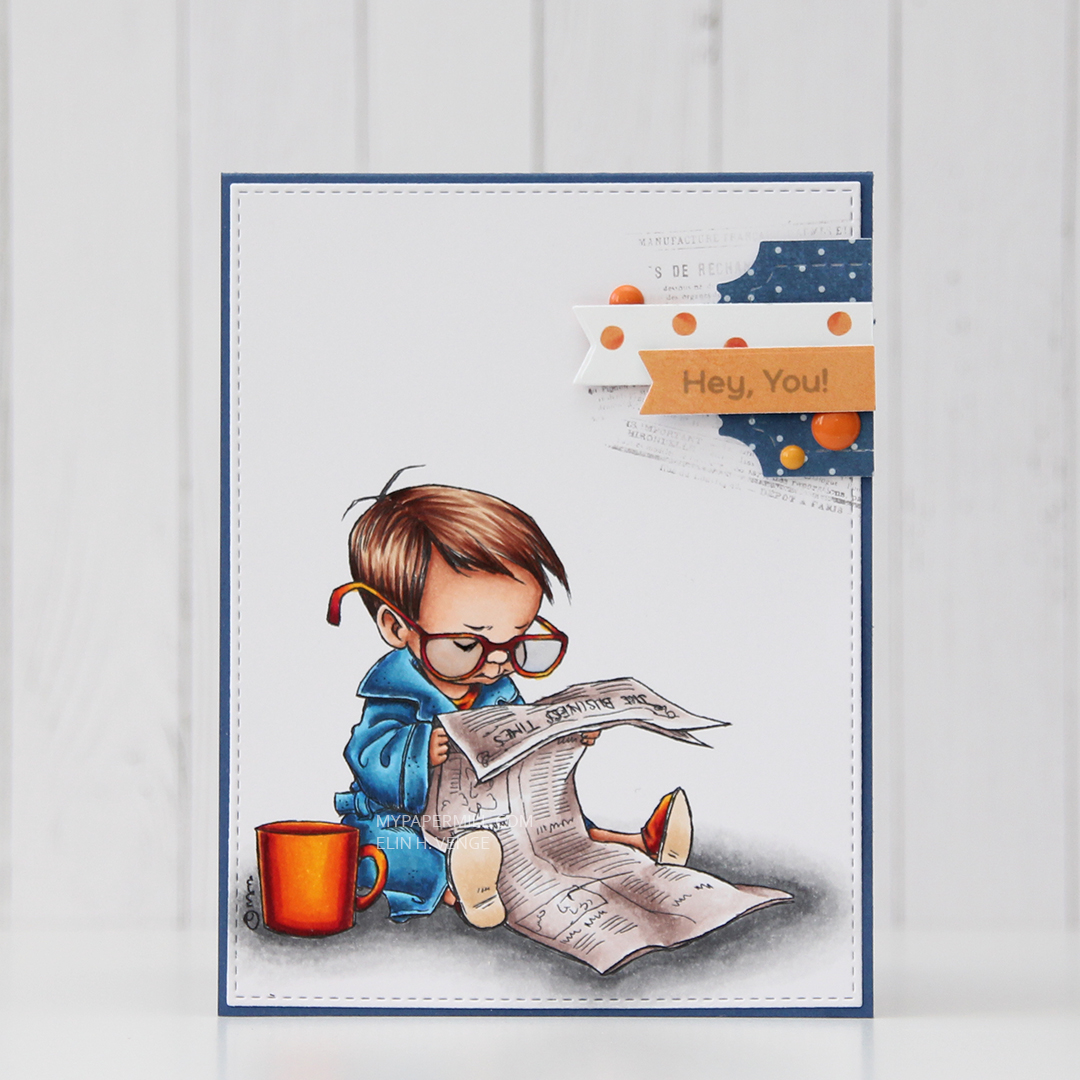 I colored up the boy version of
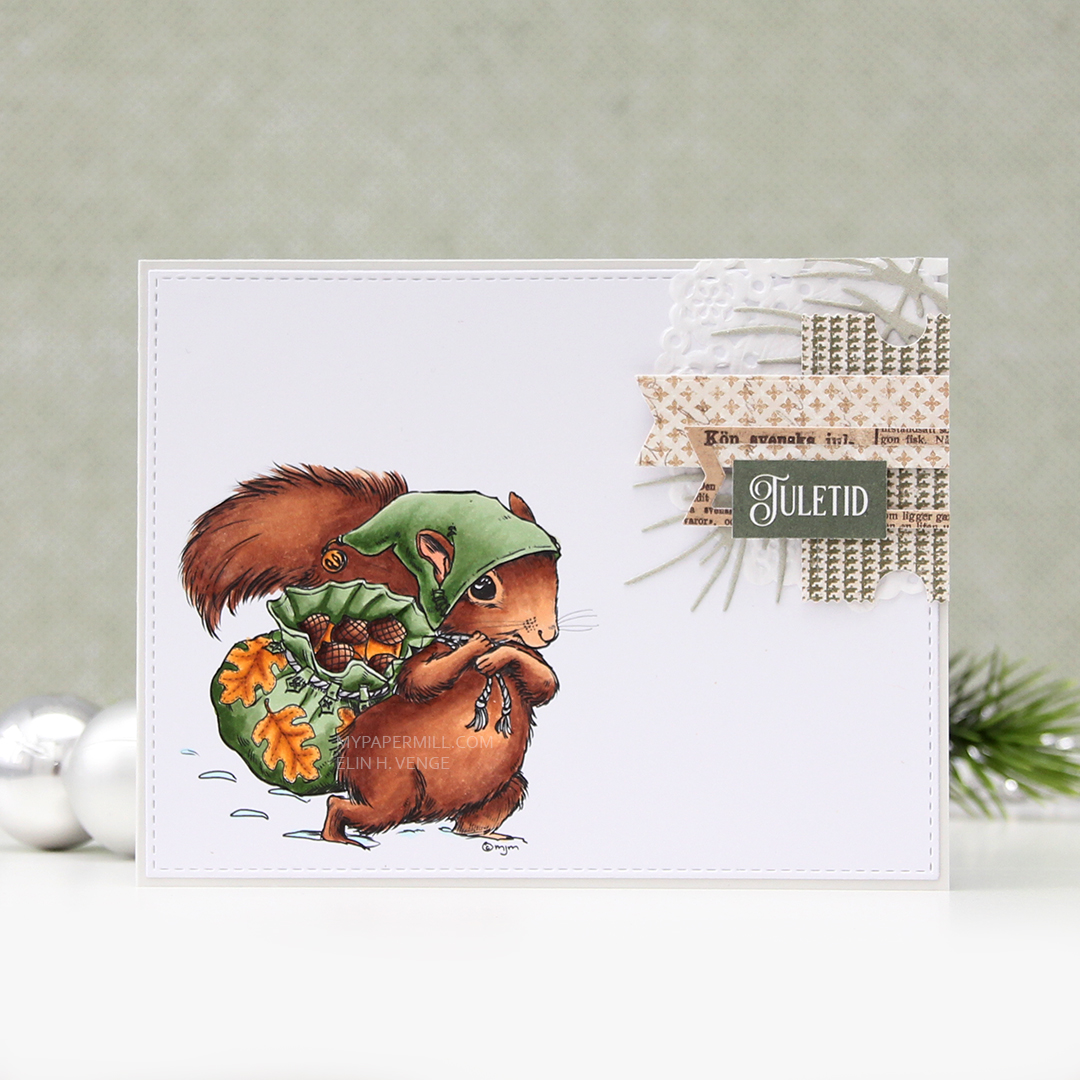
  Near the top right corner, I randomly stamped part of an old background stamp from Tim Holtz and Stampers Anonymous. I thought the small text on the stamp would pair well with the newspaper in the image and stamped pieces of it at an angle with Memento Espresso Truffle ink. I didn’t even put the stamp in my Misti or on an acrylic block, I bunched it in my hand and stamped, giving it less of a rigid feel, since the stamping is uneven. I added my colored and stamped panel onto a card base made from Blueberry card stock from My Favorite Things, and a small cluster on top of my stamping.
 I die cut some patterned paper scraps with a couple of dies from XCut and My Favorite Things to create my cluster. The blue piece is from Papirdesign, the other two from the Happy Birthday collection from P13. I stamped a sentiment from the Bitty Bears stamp set from My Favorite Things onto the orange banner using Hero Arts Soft Granite ink. I finished off with three enamel dots from Papirdesign and added Glossy Accents to the boy’s glasses.
 Not a huge amount of colors. For the soles of his slippers I actually used the two lightest colors that I used for his hair (E31 and 30).
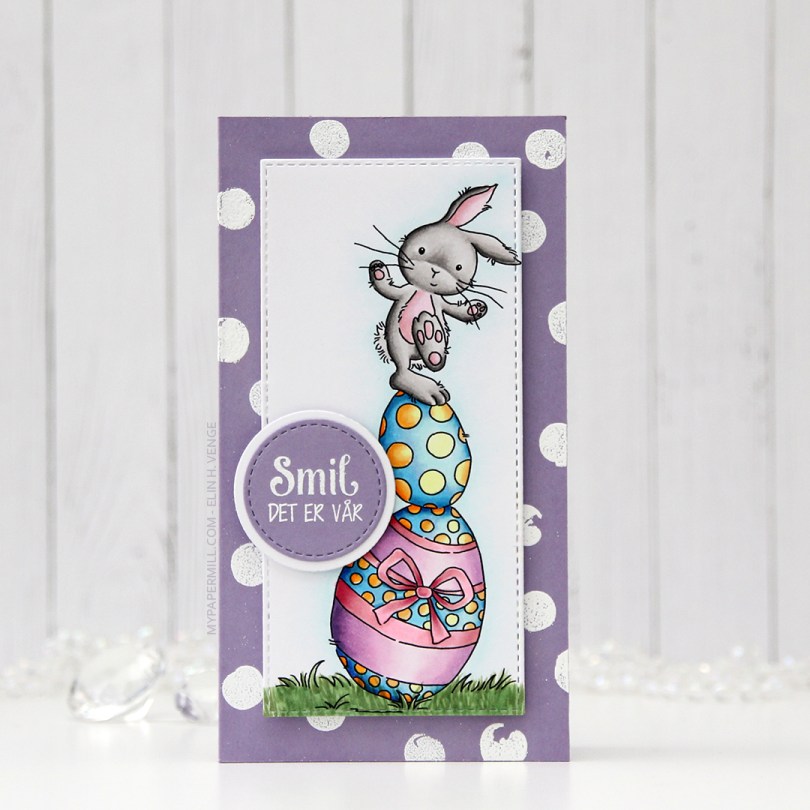
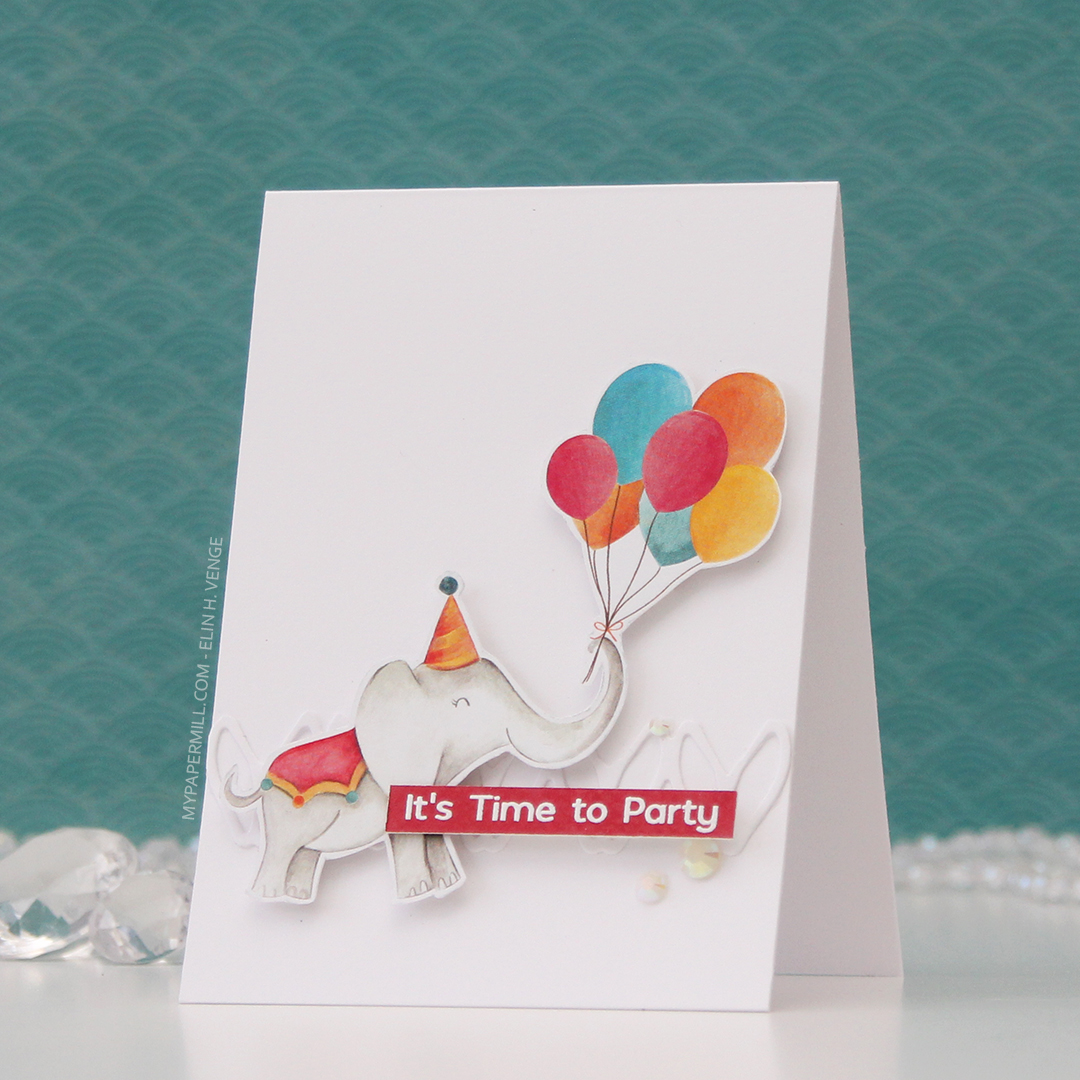
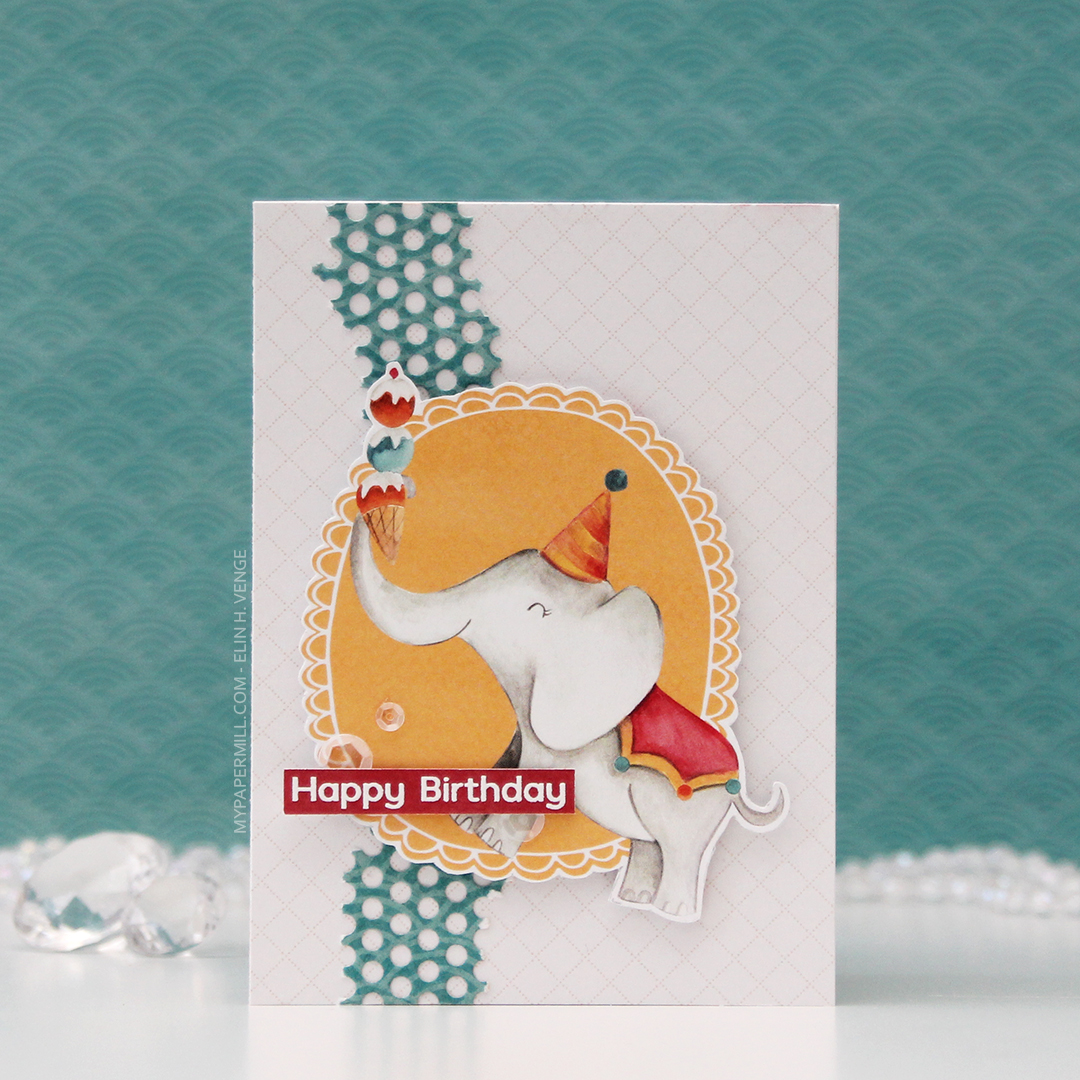
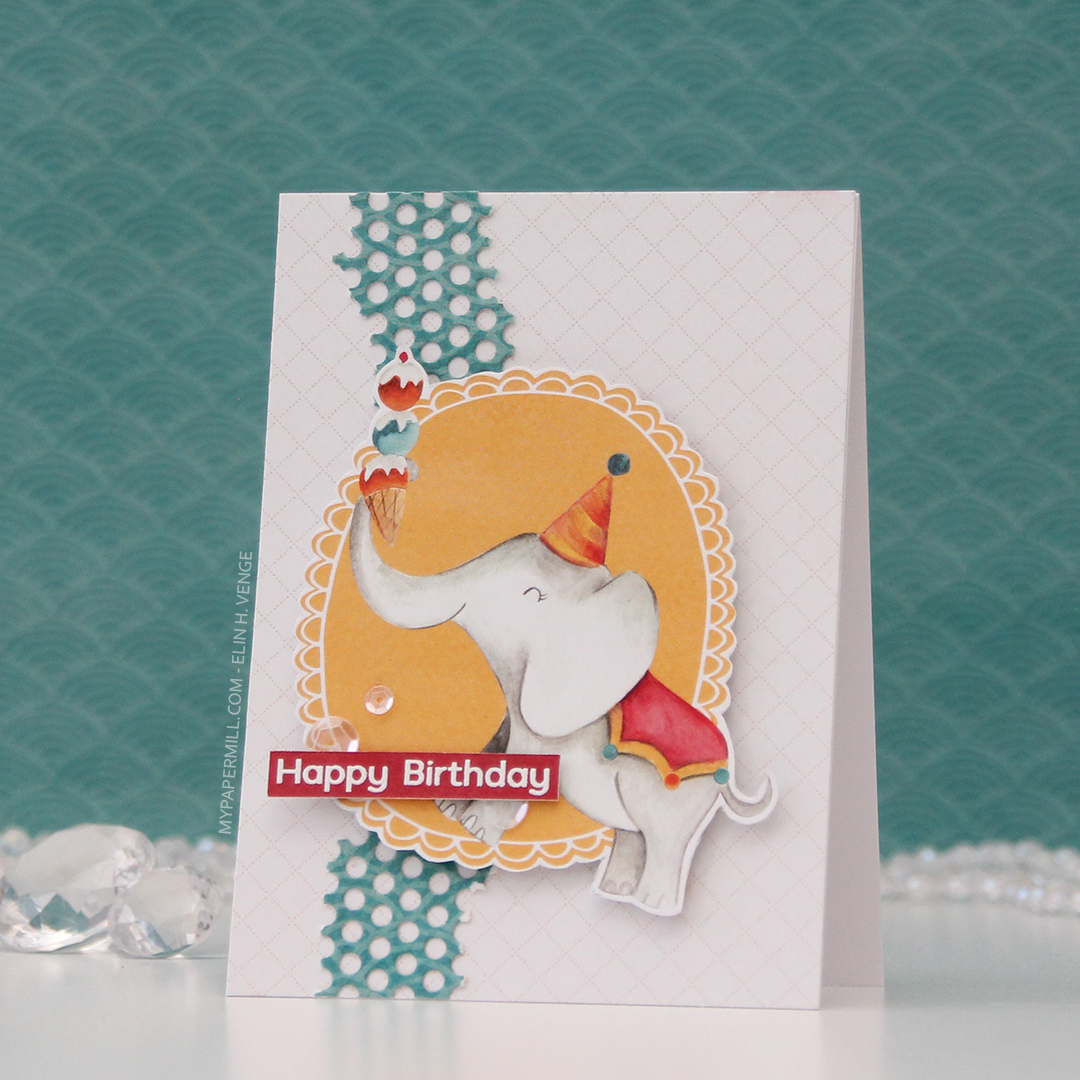
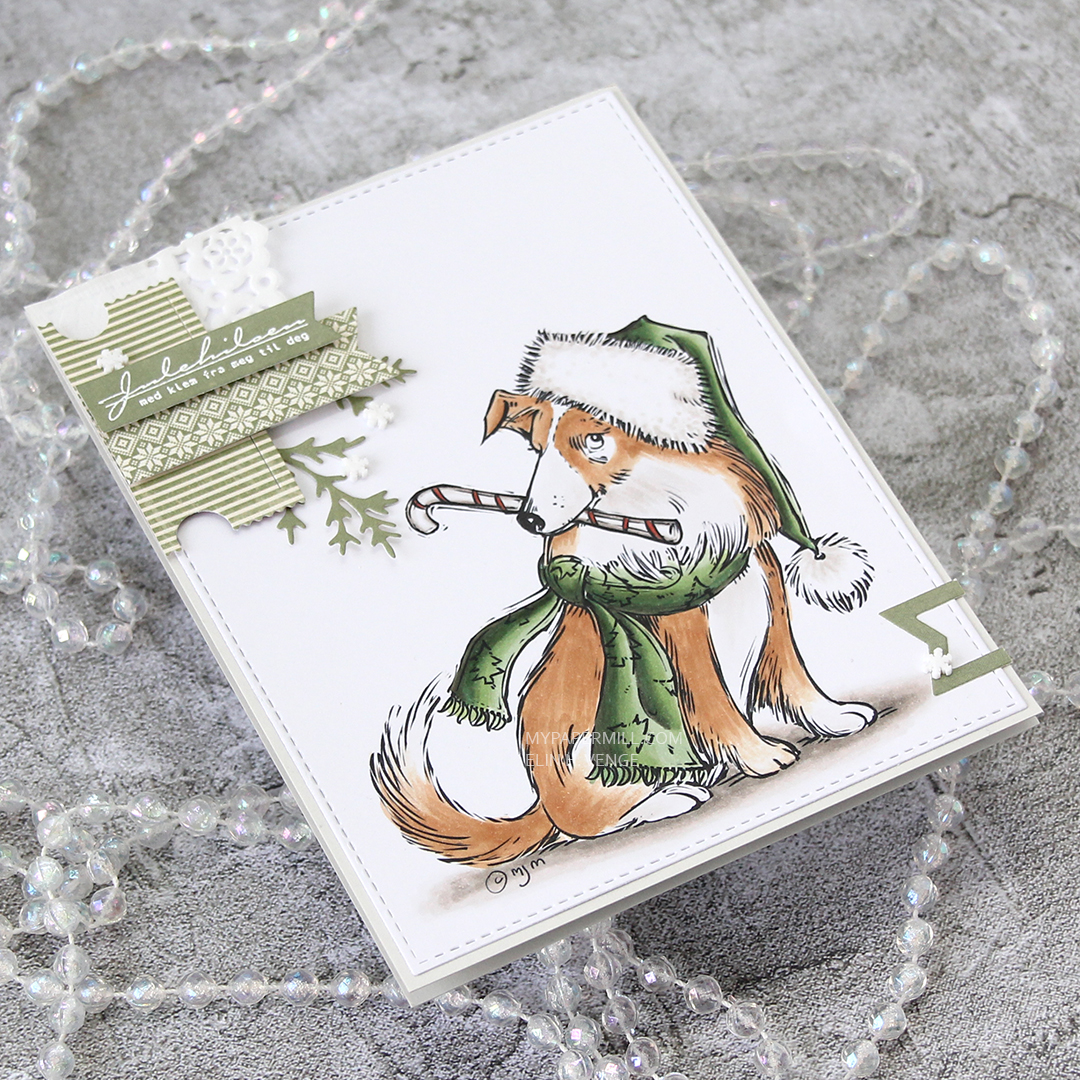
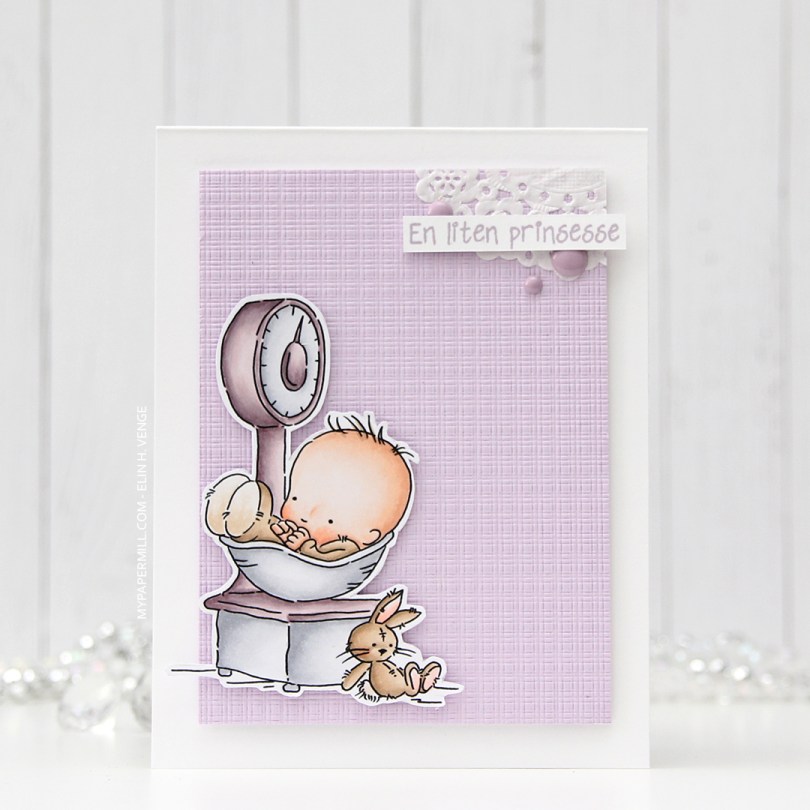
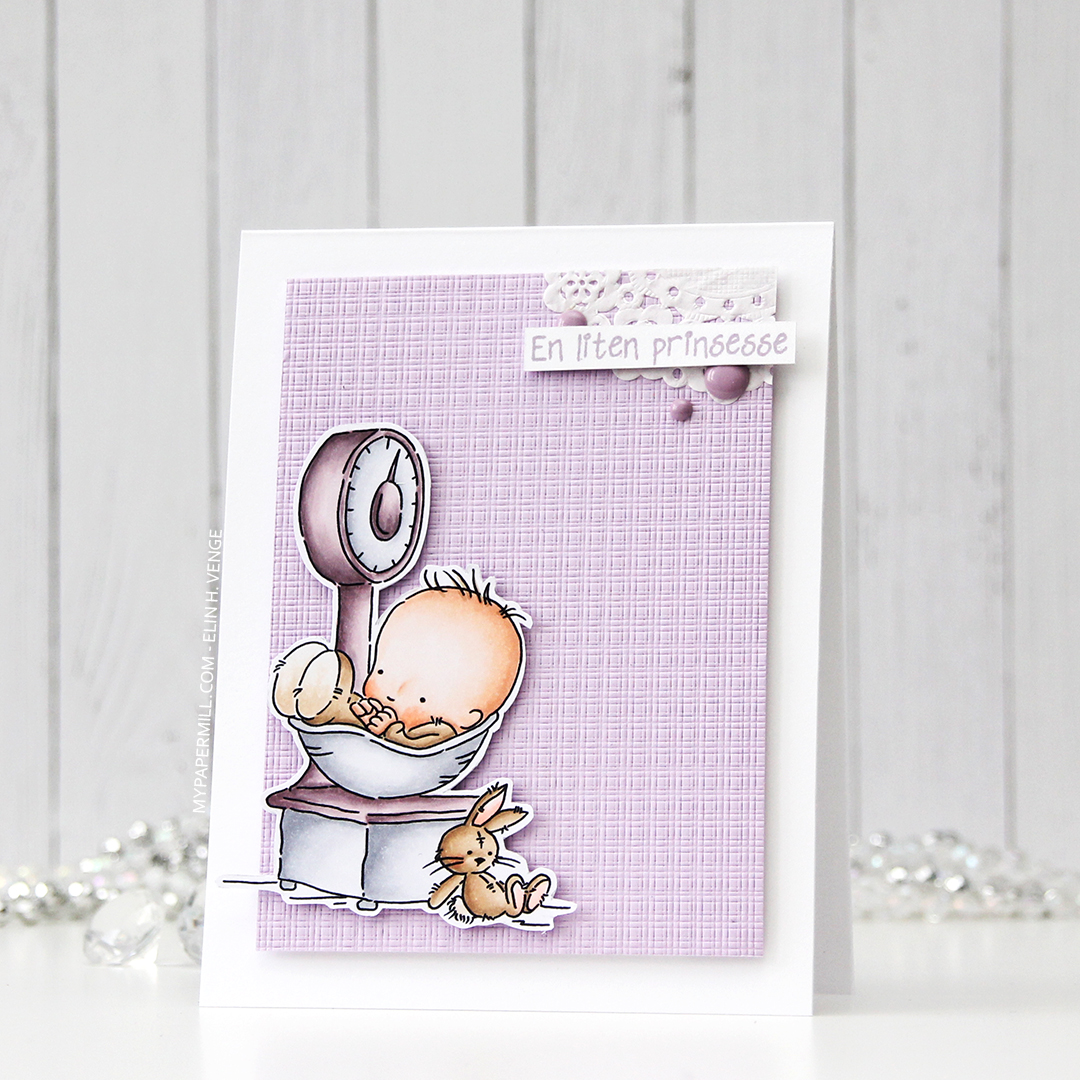
 I colored the image in with my Copics and used partial die cutting with a die from My Favorite Things to turn it into a tall, slim panel. I stamped and white heat embossed a stamp from the Pinstripe stamp set from Altenew repeatedly on a card base I made out of Winter Wisteria card stock from Papertrey Ink, and added my colored piece in the center using foam tape. I stamped and white heat embossed a sentiment from Papirdesign onto a scrap piece of card stock, die cut it and matted it with a white circle, before using 1 mm foam squares to pop it off the colored piece just a bit. And that finished the card for today. Super simple.
 Lots of colors used for this one, for some reason.