
Hi, crafty friends. I have a simple card to share today, featuring this I like you image from Mo Manning. It’s an image that is quick and easy to color. I wasn’t sure what colors to use for her clothing, I thought about teal, but then I googled the image and remembered I’d already used a teal(ish) color on a previous card I made with the same image (blog post here), so I was kind of stuck for color ideas. My color buddy Lisabeth came to my rescue, suggesting green and white, so that’s what I wound up with. Thanks, Liz!!
 I printed the image near the bottom left corner of a panel of X-Press It blending card, before coloring it with Copics and using the largest die in the A2 Double Stitched Rectangle STAX die set from My Favorite Things to create a finished look with the nice faux stitching details that I love to add to my cards. I adhered it to a cardbase I created from Jalapeño Popper cardstock, also from MFT, and I had my base ready for some play with scraps.
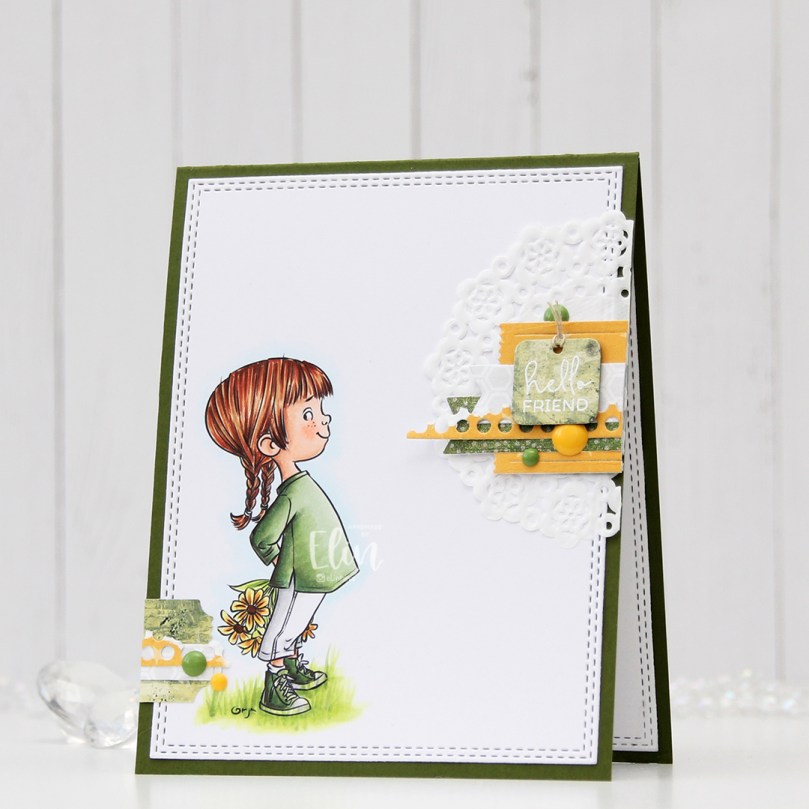 I love creating these clusters of die cut scraps on my cards, and I have stamp storage pockets with little die cut patterned paper scraps sorted by color. That way I can rummage through these when I create my cards instead of having to find lots of patterned paper to match my card, then die cut it. It usually takes several different patterned papers of one color to create the dynamic look I want for my cards, but for this one, I actually kept it simple with one yellow (P13), one white and gray (Sunny Studio) and only two green ones (Basic Grey and Karen Foster Design). They’re all different shapes, which still keeps it interesting. Some are glued directly to the card, some with foam tape for a little bit of dimension. Using VersaMark ink, I stamped a sentiment from the Mini Messages stamp set from Mama Elephant onto one of these die cut pieces (it happened to be a tag) and heat embossed it using Super Fine Detail embossing powder from Ranger. I used part of a mini paper doily from Doodlebug Design behind my main cluster, and added a few enamel dots (green from Papirdesign, yellow from Altenew) to embellish.
 Lots of green for this color palette.

 These snowmen from the
 I have lots of layers on these, and used a whole bunch of Christmas scraps from old collections by Pion Design, as well as some sentiment stamps and other stamps from Inkido and Norsk Stempelblad AS.
 More scraps on the back. I love this way of creating, and I hope to do more of it this year!

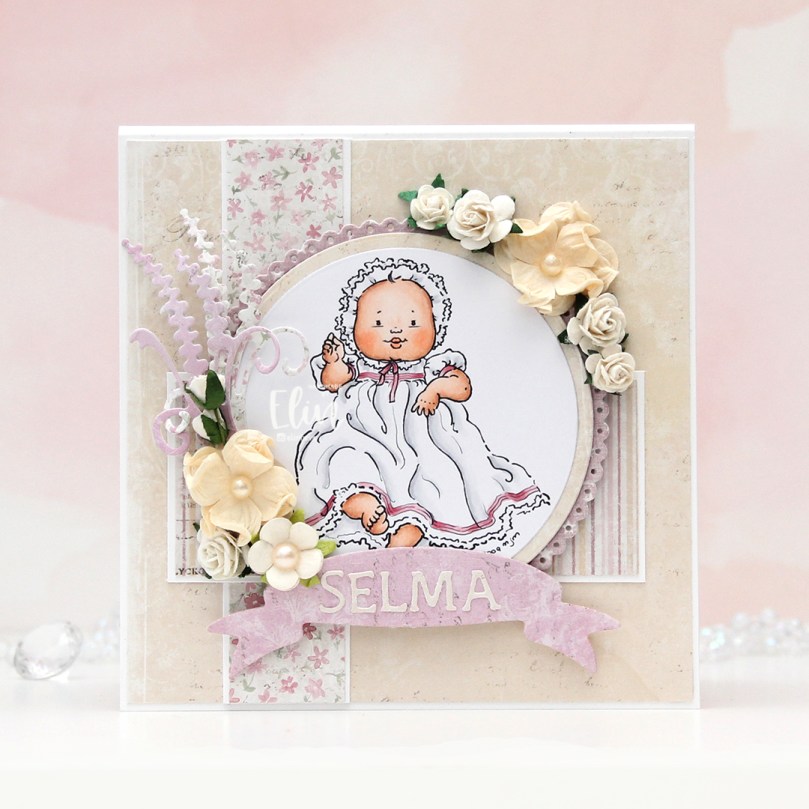 This
 I used 3 different collections of patterned paper from Maja Design for this card. One of the benefits of using their papers is that their collections usually match pretty well. Vintage Basics Summer, Vintage Baby and Sofiero are the collections I used for this card, and they all match. I used older dies from Lifestyle Crafts, Cottage Cutz, Scrapmagasinet, Marianne Design and Spellbinders, as well as flowers from Wild Orchid Crafts and Papirdesign.
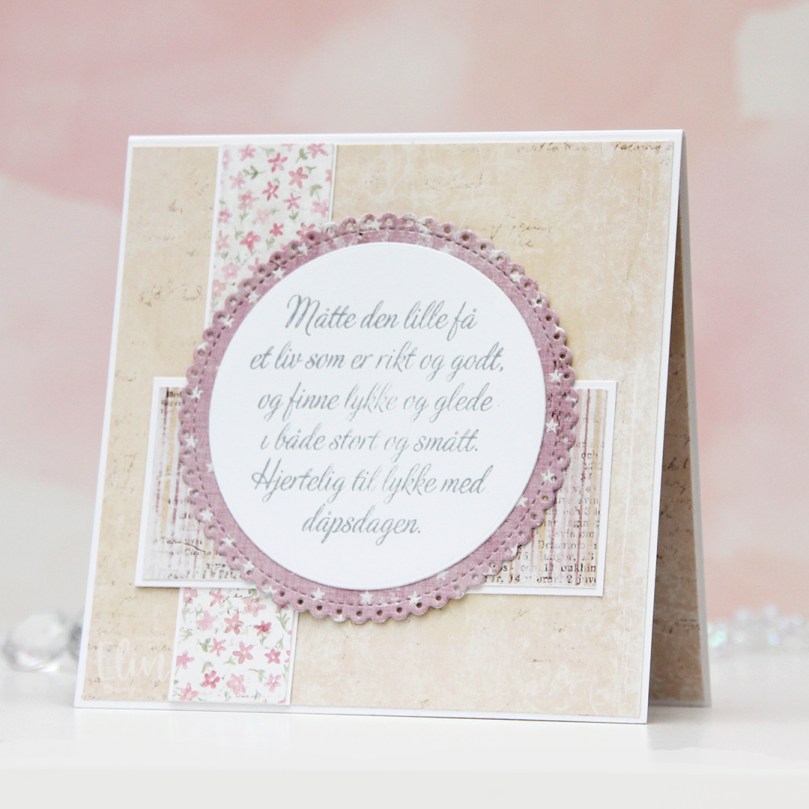 The insides of the card have a very similar layout, and so does the back. Onto a white circular panel, I stamped a christening stamp from North Star Design using Soft Granite ink from Hero Arts.
 The card was too thick to fit inside a regular envelope, so I created a box envelope using a punch board from We R Memory Keepers. Onto a diecut eyelet circle I stamped a Norsk Stempelblad AS sentiment and adhered it to the box envelope.
 This image is so quick to color and doesn’t require a ton of markers. Easy peasy!
 I colored the gingerbread cookies with my Copics and used a circle die to turn it into a circle. I die cut another circle from patterned paper from Papirdesign and used a die from the Glassic Snow Globe die set from My Favorite Things to cut a window from the same piece. I stamped and white heat embossed a sentiment from Norsk Stempelblad AS below the window and added a shaker pouch from My Favorite Things that I filled with the Icicle Sequin mix from Hero Arts.
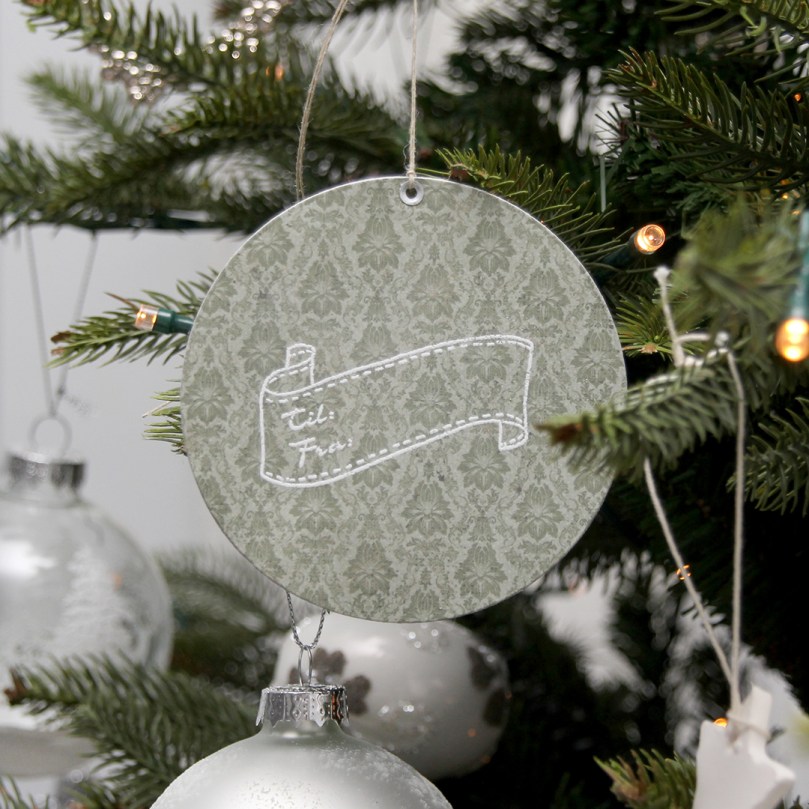 I die cut another circle from the same patterned paper that I used on the front and white heat embossed a to/from stamp from Norsk Stempelblad AS in the center. After adhering all the pieces together, I cut a hole at the top, reinforcing it with an eyelet before pulling string through. This shaker gift tag can definitely be used as an ornament too, and I’m hoping that’s what will happen.
 Simple image and simple colors for this one.
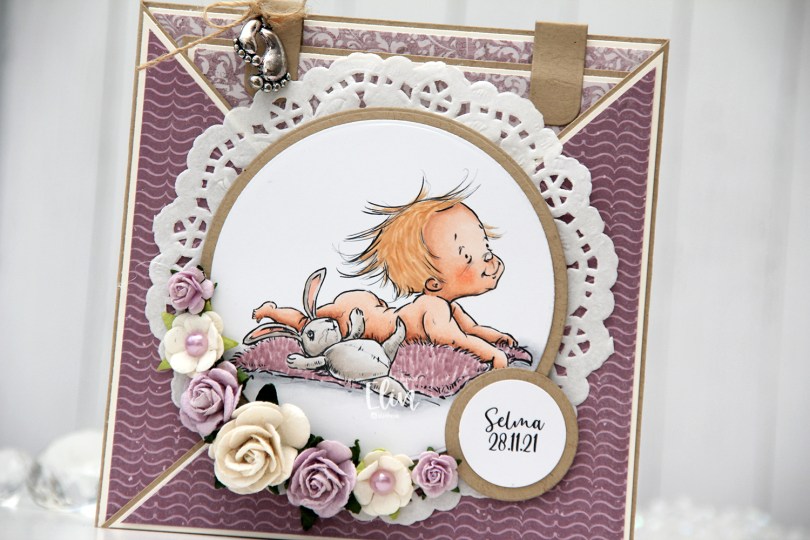
 This card was created for a little girl whose christening was this past Sunday. I think the
 I die cut the image using a circle die from Lifestyle Crafts and matted it with kraft cardstock. I also printed the name and date on a piece of white cardstock that I also matted with kraft. I put a doily from Helz Cuppelditch behind my image and added flowers using a hot glue gun. I took out the yellow centers of two of the flowers and replaced them with Lavender pearls from Kaisercraft.
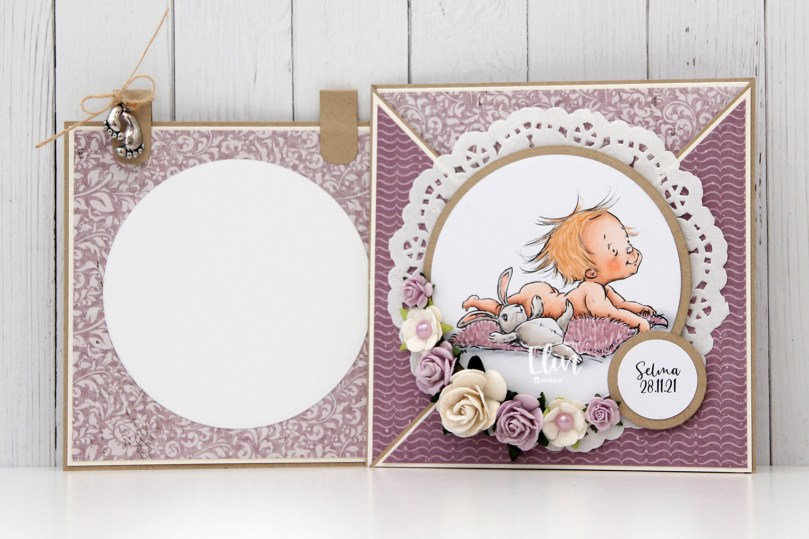 On the inside tag I added a circle diecut made from white cardstock for a space to write a personal message. I used the Labels Trio die set from Spellbinders to create two “handles” from kraft cardstock. I tied a bow and attached a charm to one of them for a little added interest.
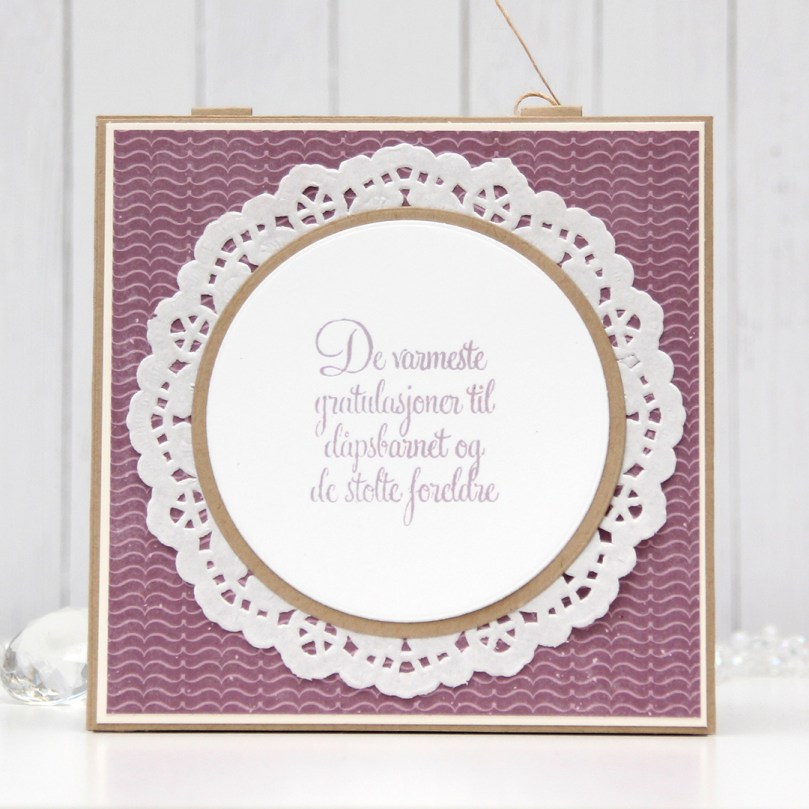 On the back of the card I stamped a sentiment from North Star Design using Amethyst ink from Altenew.
 The card isn’t very big, it only measures 5×5″, but it’s quite dimensional and doesn’t fit in a regular envelope, so I decided it was best to create a box envelope.
 I rummaged through my 12×12″ cardstock and found a color that matched pretty well, and used my Envelope Punch Board from We R Memory Keepers to create the box. I added another Helz Cuppelditch doily for cohesion, as well as more of the patterned paper that I die cut using the Impact alphabet die set from My Favorite Things.
 Not a whole lot of Copics used for this.
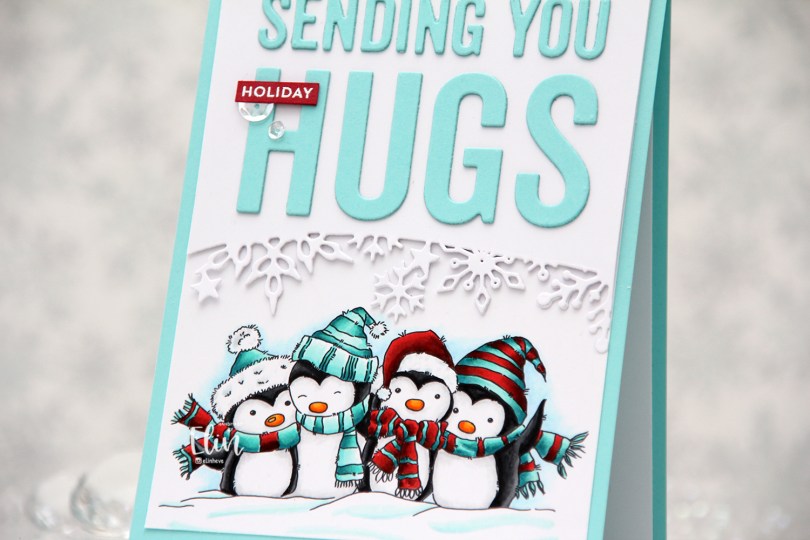
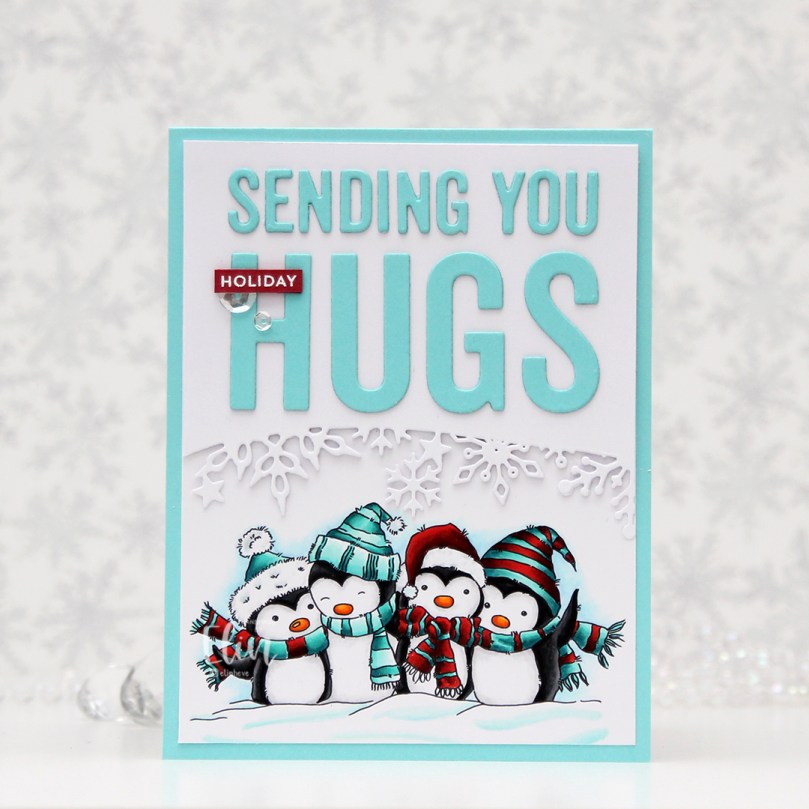 I colored up my penguins with Copics, using a combo of red and teal for their hats and scarves. I’m not a fan of complementary colors, and I do my best to avoid using green with red, but teals, blues and greys all work well.
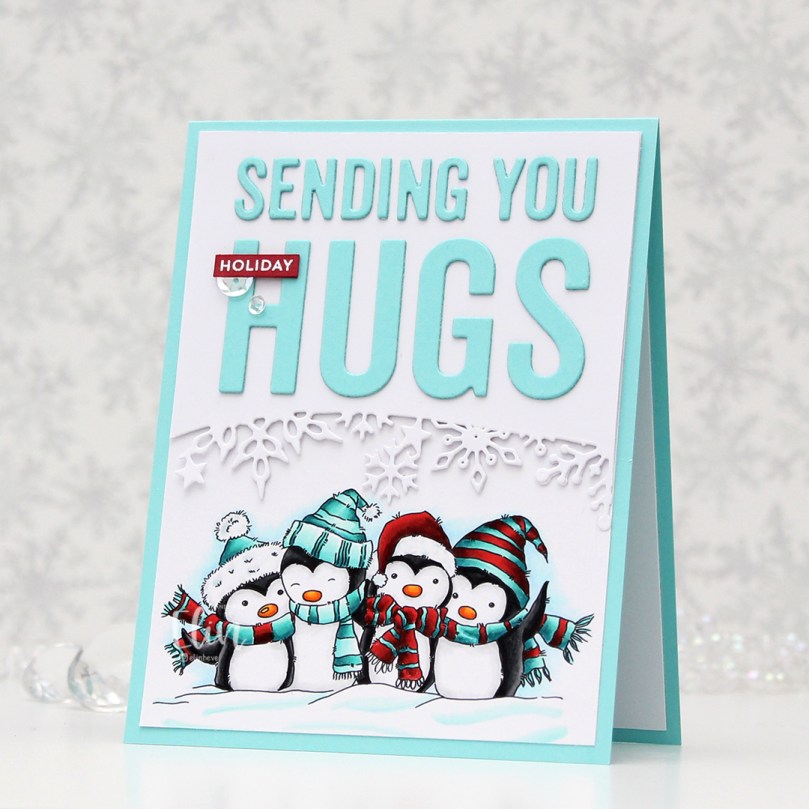 I didn’t really have a card idea in mind when I printed my image, but I printed it towards the bottom of a 4 1/4 x 5 1/2″ piece of X-Press It blending card. Once I sat down with my colored panel to actually create the card, an idea formed straight away. It doesn’t always happen like that, but I’m grateful every time it does. I created a card base from Summer Splash cardstock from My Favorite Things, cut down my panel to 4 x 5 1/4″ and adhered it to the card base.
 Using a snowflake border die from Papirdesign, I die cut a snowflake border above their heads. I used the same X-Press It blending card for this as I wanted the whites to match. I die cut an additional two pieces, and glued them together for a stacked look. The die is actually meant for slimline cards, but it worked really well for this.
 I used the Sending You Hugs die from My Favorite Things to die cut my sentiment twice from Summer Splash cardstock. I used the negative piece of the die cut for placement, and layered my letters together for a little bit of dimension. On a piece of Amarena Cherry cardstock from My Favorite Things, I stamped and white heat embossed the word holiday from the Itty Bitty Holiday stamp set, also from MFT. I cut it down to a thin strip, added another layer of Amarena Cherry cardstock behind it for a bit of dimension and stability, and glued my little strip to the H in hugs, before finishing off the card with a couple of sequins from the Sparkling Clear mix from Pretty Pink Posh.
 I could have gone crazy with tons of colors for the accessories on these cute penguins, but I limited my color palette by keeping the coloring simple.
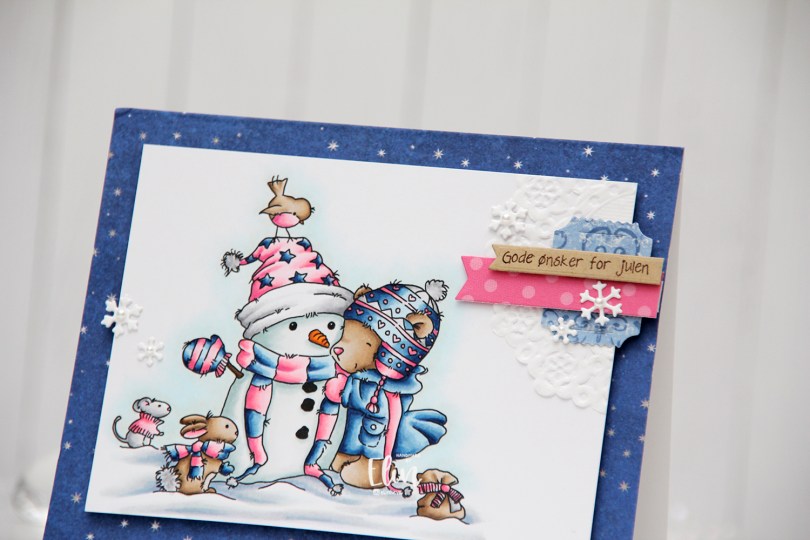
 I cut down my panel of X-Press It blending card significantly when my coloring was done, and mounted it on foam tape onto the cardbase, which I’d covered with a scrap piece of patterned paper from the Hjem til jul collection from Papirdesign.
 I added a small cluster towards the top right corner of the card, using a mini doily from Doodlebug, as well as some die cut scraps of patterned paper from Maja Design and Sunny Studio. I stamped a sentiment from Norsk Stempelblad AS using Dark Chocolate ink from Papertrey Ink onto Classic Kraft cardstock, also from Papertrey Ink. The dies I used in my cluster are a combination of My Favorite Things (Fishtail Flag Frames and Itty Bitty Strips) and X-Cut (Happy Days Ticket Stubs). I also used the Hero Arts Snowflake Confetti fancy die to die cut snowflakes that I scattered across the card, and I put a white pearl from Kort & Godt in the center of each snowflake to finish the card.
 This color combination of blue and bright pink sure was fun, and these are brighter blues than the ones I normally use. I also used a ton of colors for the snow in this little scene. I just can’t help myself.

 This image is so quirky and playful, and the look of that cat just puts a smile on my face! This card actually came together pretty quickly and easily. I’d colored all my images for this release over a couple of days, and I spent a couple of hours fussy cutting all the images I wanted to have fussy cut, so when it was time for assembly, this one was a cinch.
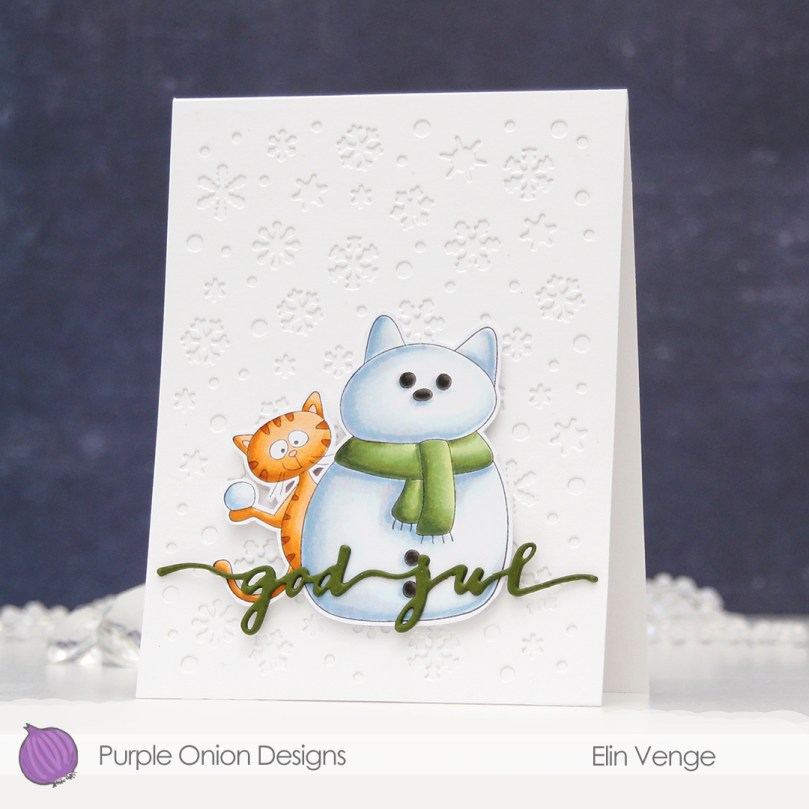 Onto a top fold white card base I added a panel of white cardstock that I die cut using the Snowflake Confetti Fancy die from Hero Arts. I love this die, I’ve had it for years, and it’s great for die cutting lots of tiny snowflakes to put on cards, which is what I usually use for. I do, however, keep the bigger die cut pieces in the packaging with the die, and for this card I just pulled one out and adhered it to the card base. Super simple when the die cutting job is done in advance. I like the subtle texture the tone on tone die cut gives. It adds a little bit of interest, but doesn’t steal the show from the focal point of the card.
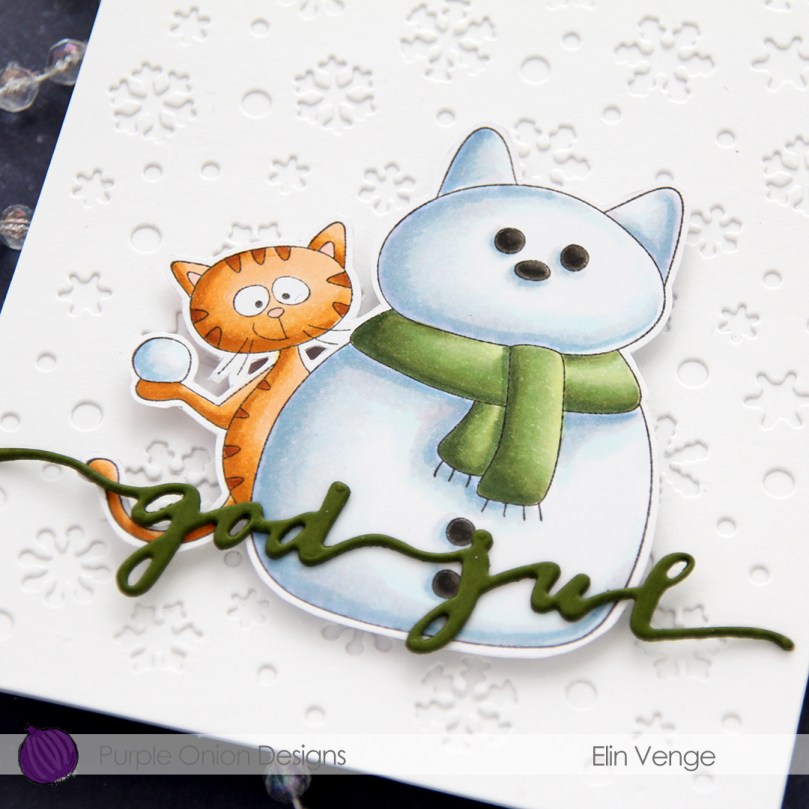 Seriously, look at that cat. He’s so funny and quirky and awesome!! As I’m writing this blog post, I’m realizing that I’ve kind of colored him to look like Garfield. Totally unintentional, but I’ll just run with it! Now that I think about it, it’s not a him, it’s a her, her name’s Felicia.

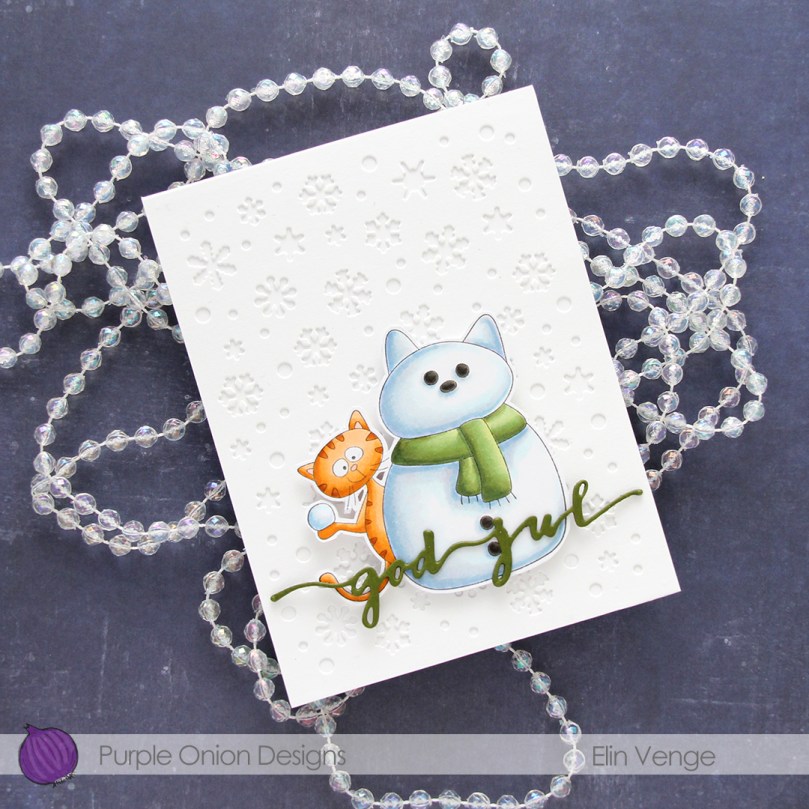 I die cut the words god jul (Merry Christmas in Norwegian) twice from Jalapeño Popper cardstock from My Favorite Things using a die from Papirdesign. I glued the two layers together and adhered them on top of my colored image, and my card was complete.
 Very limited amount of colors for this one.

 This is a tall, narrow tree, so it’s perfect for a slimline card. Using the largest die in the Slimline Double Stitched Rectangle STAX die set from My Favorite Things, I quickly turned it into a panel perfect for a slimline card. I adhered it to a cardbase I created from Blue Breeze cardstock from My Favorite Things.
 I used a die from Papirdesign for my sentiment and die cut that in Stamper’s Select White cardstock from Papertrey Ink before matting it with a small piece of that same blue cardstock that I used for the cardbase. I pulled out a matching slimline envelope and white heat embossed an image from the Santa Stationery stamp set from Papertrey Ink on the flap of the envelope. I love this stamp!! No graphic today for the Copics I used. I colored this three years ago, and there were no scribbled notes on the back of it, nor a post-it to tell me what colors I used.
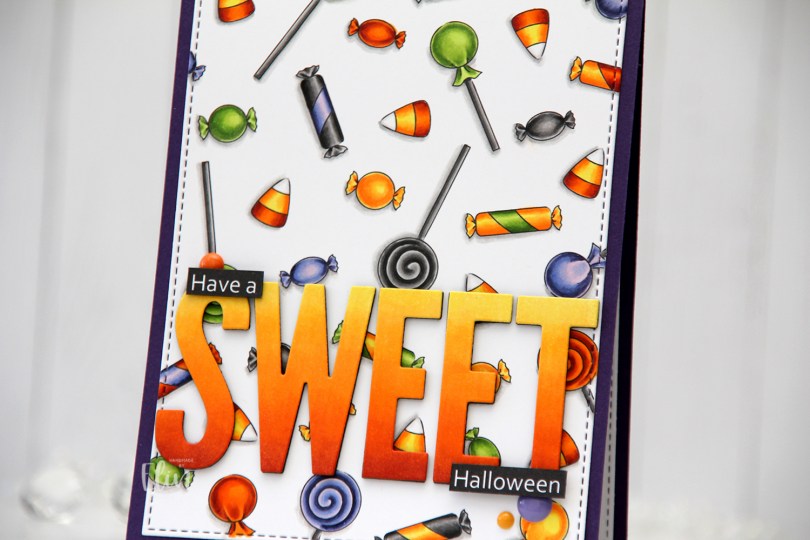
 In the stamp set, there are three fairies, a few ghosts, an adorable bat (yes, it’s adorable) and various accessories. Among them are different candies. I created a panel of these candies, and colored them in with my Copics using very Halloween-y colors. That was last year.
 I wasn’t sure what to do with my colored background, but I didn’t want to cover too much of it, and opted for a very simple design. Using the largest die from the A2 Stitched Rectangles STAX 2 set from My Favorite Things, I turned my colored piece into a panel with a nice faux stitched edge. I love these faux stitch dies from MFT and use them for nearly every card I make. It adds such a wonderful detail. It’s all in the details, to paraphrase a famous German architect.
 I adhered my die cut panel onto a card base I created from Royal Velvet cardstock from Papertrey Ink. It’s a deep purple that goes well with the coloring.

 I created the remainder of my sentiment in Photoshop and printed it, cut it down to two strips and added them on top of the letters with an extra strip of black cardstock behind for a little added dimension and stability. I added three enamel dots from Papirdesign (yellow and orange) and Altenew (purple) to finish my card.
 Not a lot of colors for this one, and yet they’re very Halloween-y.

