Hi. I’m back with another Mo Manning creation. This time I colored up Tall Cake using my Prismacolor pencils and created a fairly simple birthday card. This is one of my most used images from Mo. It’s so fun with those cake layers and it’s easy and pretty quick to color, even for a slow colorer like me.
 I actually colored this in May last year. I keep my colored image in stamp storage sleeves from Tim Holtz. They’re super sturdy and you can put a lot of colored images in one pocket. They come five in a pack, which is perfect for me, that way I can dedicate each sleeve to one design team, since I’m currently on five design teams. Sometimes, I just want to color without having to turn it into a card right away, and sometimes I just want to make a card, but don’t feel like coloring, or simply don’t have time to do both. Compartmental crafting for the win.
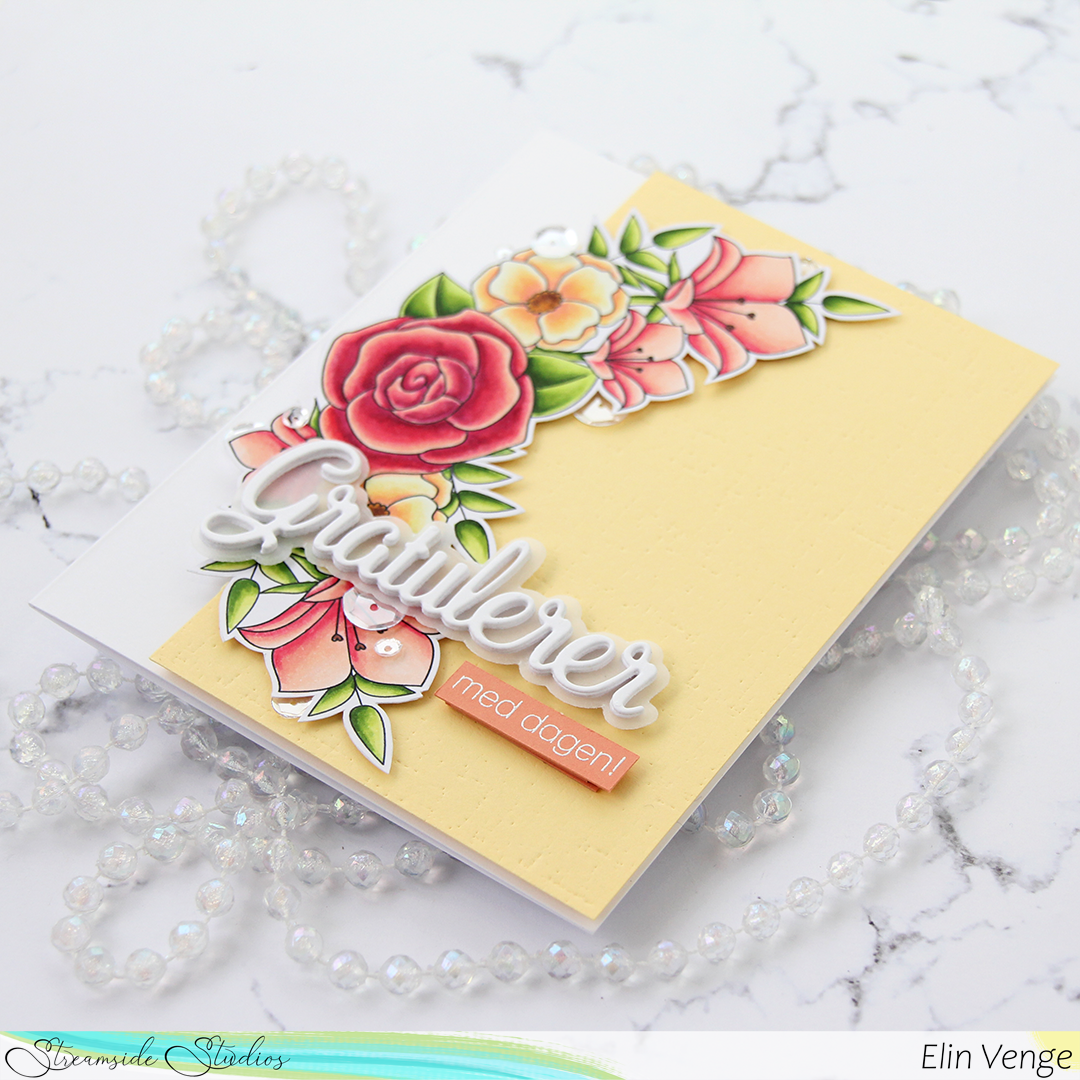
Onto a piece of Blueberry Sky cardstock from Papertrey Ink, I stamped the Happy Birthday Background stamp from My Favorite Things using VersaMark ink and dusted it with Perfect Pearls powder, before misting it with water to fix the powder to the cardstock. It doesn’t really show in the photos, but it has a wonderful shine when you tilt it in the light. I used a double stitch rectangle die from My Favorite Things to turn it into a nice panel and adhered it onto a cardbase made from Stamper’s Select White cardstock from Papertrey Ink.
 I mounted my colored panel using foam tape and adhered it to the center of the card. I felt like it was missing something and needed a little bit extra. Mini paper doilies from Doodlebug Design to the rescue. I love these mini doilies, I use them often. And you don’t need the whole doily, either, I just used two small pieces for this card, and there are 75 doilies in one pack, they last forever. Onto a piece of Blue Breeze cardstock from MFT I stamped a Norsk Stempelblad AS sentiment using Blueberry Sky ink from Papertrey Ink. I cut it down to a 1″ circle using a circle punch from EK Success, added it to my card using foam tape and finished the card with a few pink enamel dots from Papirdesign.

 This cute vampire is from the My Little Pet Ghost stamp set. There’s also a witch in the same set that I used for a similar treat bag, which you can read all about in
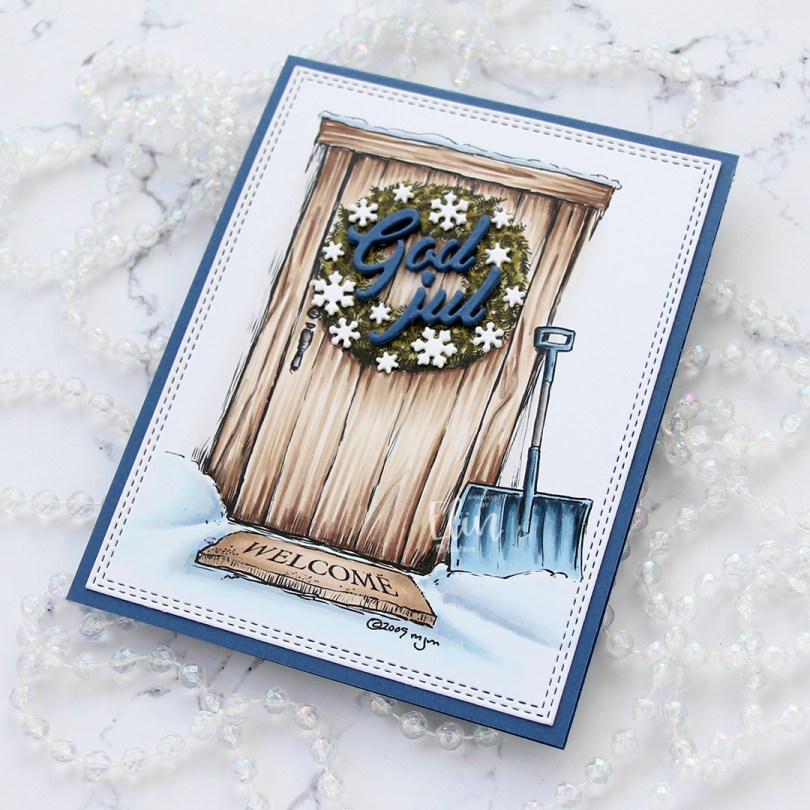
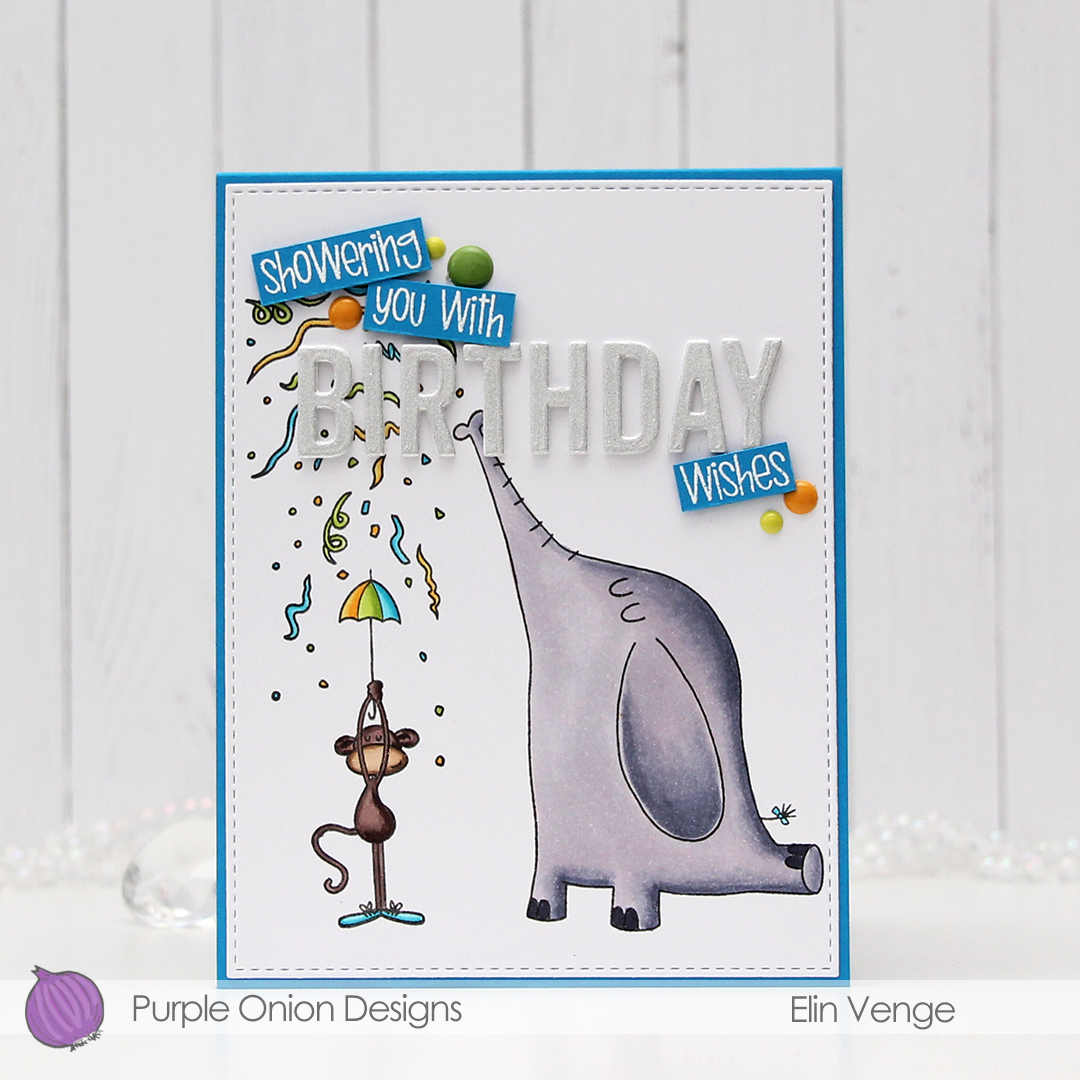
 This card took me an hour and a half to make from start to finish, including coloring and the stacked die cuts. That’s so fast for me, I don’t know what happened.
 I printed the image center on a 1/4 sheet of X-Press It blending card before coloring with Copics. I didn’t use many colors, and it was pretty quick to come together.
 Using the largest of the dies in the A2 Double Stitched Rectangle STAX die set from My Favorite Things, I turned my colored piece into a panel with a nice faux stitch edge and adhered it to a cardbase I created from Blueberry cardstock from My Favorite Things.
 I stacked five God jul die cuts and adhered the layered die cuts to the wreath. The die I used is from Papirdesign. It’s actually a heart with the letters inside, I just skipped the heart and used the letters by themselves. I adhered tiny white snowflakes on the wreath, and I used a die from Hero Arts to die cut those. I stacked these too, but only two layers. And that’s the whole card, super simple.
 I colored in my image using the no line technique. Before printing, I made all the lines in the image light gray except for the eyes and eyebrows, which I kept black. This is a great trick to color no line without having to worry about drawing things back in with a black pen and potentially getting things wonky and weird. I’ve done that once, starting over isn’t fun, so I’ve learned to get around it.
 I cut my colored piece down using a stitched rectangle die from My Favorite Things. I covered the card base with patterned paper from the Forever Green collection paper pack from ModaScrap and mounted my colored panel onto that using lots of foam tape.
 I cut a couple of strips of patterned paper from that same paper pack from ModaScrap and added them onto my colored panel. Using a green marker, I created a green colored cardstock piece to match my dragon, stamped my Norsk Stempelblad AS sentiment onto it, heat embossed it and used a circle punch to get it to a perfect 1″ circle, before adding an epoxy sticker on top for a little shine and dimension.
 To finish off my card I added a few enamel dots. The brown ones and the white are from Papirdesign, the green ones from Altenew.
 Not a whole heap of colors for this one.
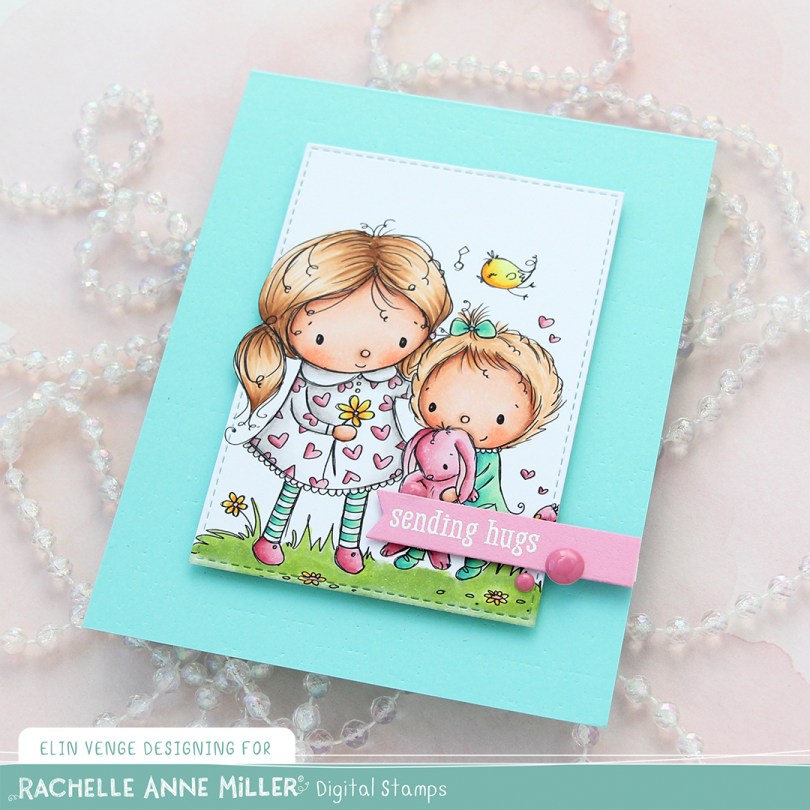
 I printed the image onto X-Press It blending card, which is my go to paper for Copic coloring. It’s bright white and can handle a lot of layers without bleeding.
 Once my image was colored, I used a die in the A2 Stitched Rectangles STAX 1 set from My Favorite Things to turn it into a finished panel of 2 7/8 x 4 1/8″. I’d printed the image a little too big for my die, so I did some fussy cutting on the side of the big sister’s head before die cutting.
 I created a card base from Summer Splash Prestige cardstock from My Favorite Things and used an impression plate from Papertrey Ink to create some subtle texture in the background. I mounted my colored, die cut panel to the center of the card front using lots of foam tape.
 Onto a piece of Cotton Candy Heavyweight cardstock from My Favorite Things, I stamped and white heat embossed a sentiment from the Monster Hugs stamp set from Simon Says Stamp and Concord & 9th, which is a collaboration set from 2018. It has a cute monster image and lots of great sentiments. I die cut my sentiment using the smallest of the dies in the Fishtail Flag Frames set from My Favorite Things and added it to the card using foam tape and 1 mm foam squares, to make it pop up slightly from the image.
 I finished off the card by adding three pink enamel dots from Papirdesign.
 Fairly simple color palette. I even experimented a little with a new teal/green combo on the little sister, and I kind of like the color combination, so I might use it again one day soon!
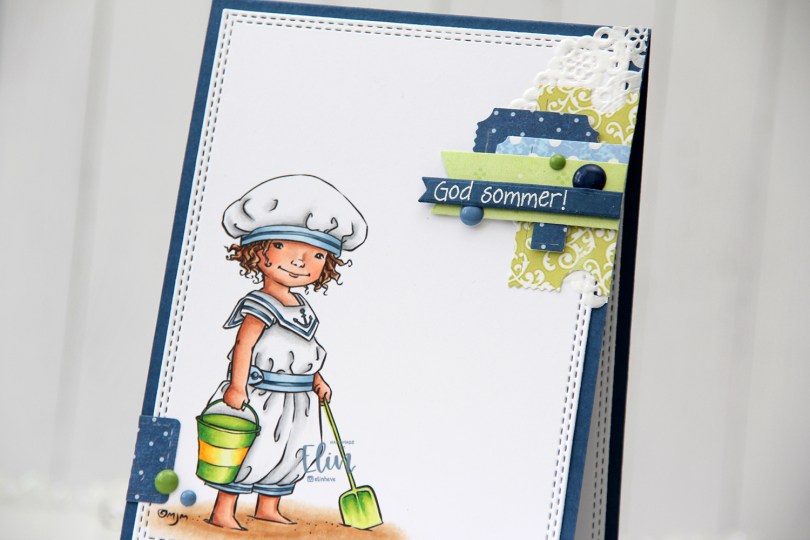
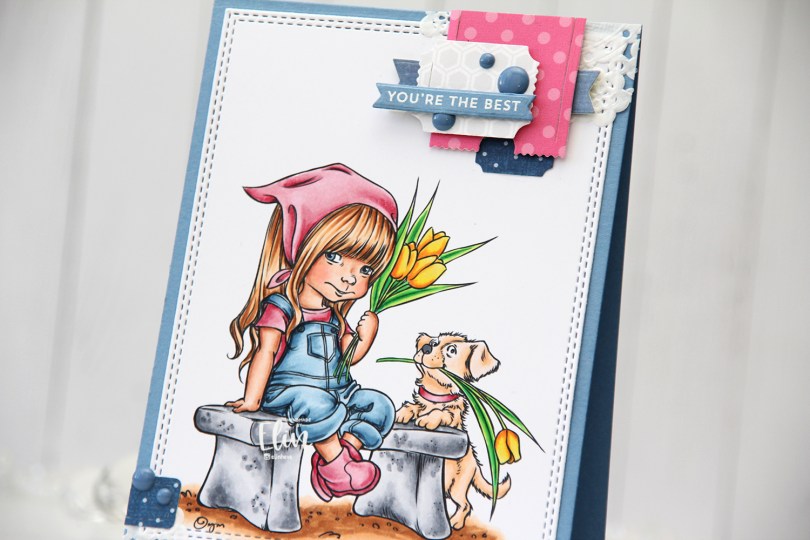
 Technically, I should have made this card at the beginning of the summer, but it’s a recent image from Mo and I couldn’t NOT make a summer card using it. The air is definitely getting cooler here, and I’m very well aware of the fact that summer officially ends in two weeks. I kind of want to go back to June and warmer temps, I don’t like the cold.
 Onto the card. I colored the image with Copics and used a double stitch rectangle die from My Favorite Things to turn it into a nice panel, before adhering it to a top fold card base I made out of Enchanted Evening cardstock from Papertrey Ink. I love their cardstocks.
 When I don’t have a clear idea for a card, I turn to embellishment clusters of patterned paper scraps. These are so easy to put together and a great way to add SOMETHING when I’m out of ideas and my mojo’s low.
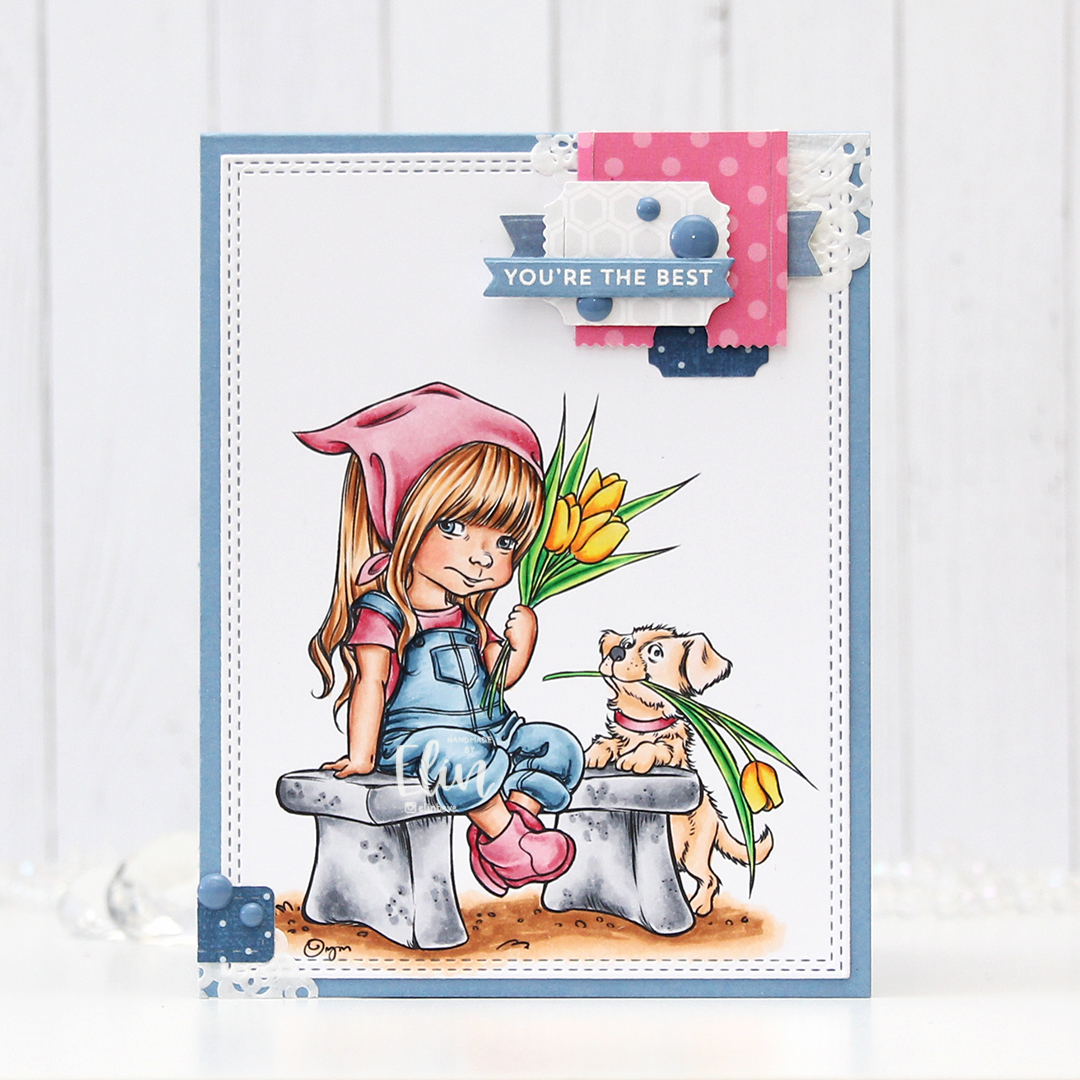
 I’ve sorted my die cut patterned paper scraps by color, so I pull out colors that will match my card and just start playing. I used patterned paper from 3ndypapir, Papirdesign, Kaisercraft and Imaginisce for this card, and the dies I used to cut them out are from XCut and My Favorite Things.
 I white heat embossed a sentiment from Norsk Stempelblad AS onto a scrap piece of Enchanted Evening cardstock and used one of the Itty Bitty Strips dies from My Favorite Things to diecut it, before using 1 mm foam squares to mount it onto my cluster. I added a few enamel dots from Papirdesign to finish my card.
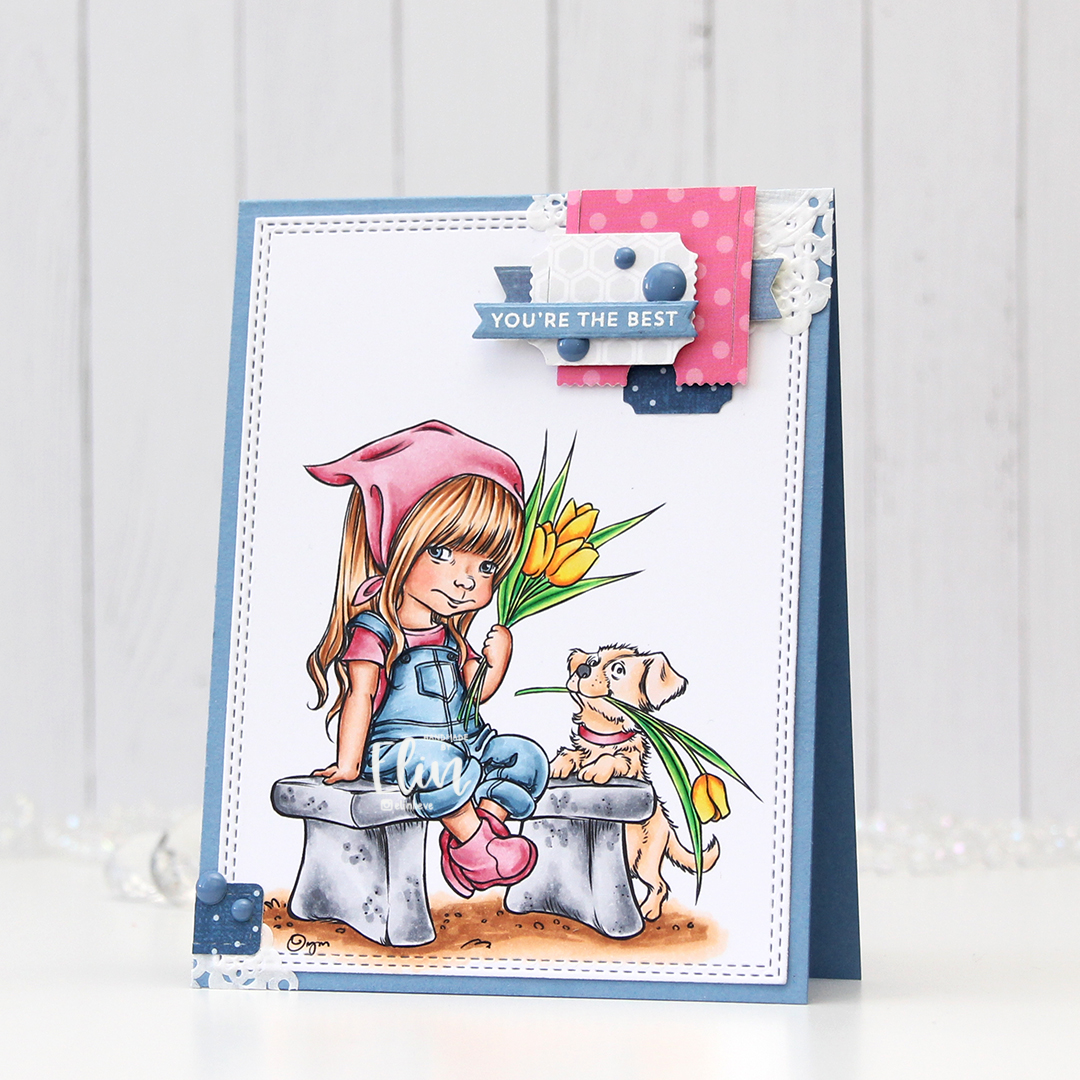
 Fairly limited color palette for this one.
 You can actually get the image I used for FREE if you spend $20 or more during Mo’s summer sale, which ends today, so you’d better be quick.