Hi, crafty friends! Today’s a massive day over at Purple Onion Designs, it’s release day for three brand new holiday/winter collections; one from Stacey Yacula and two from Shari Bresciani. I’ve made a lot of cards with these wonderful images, and I have even more colored and planned for future projects.
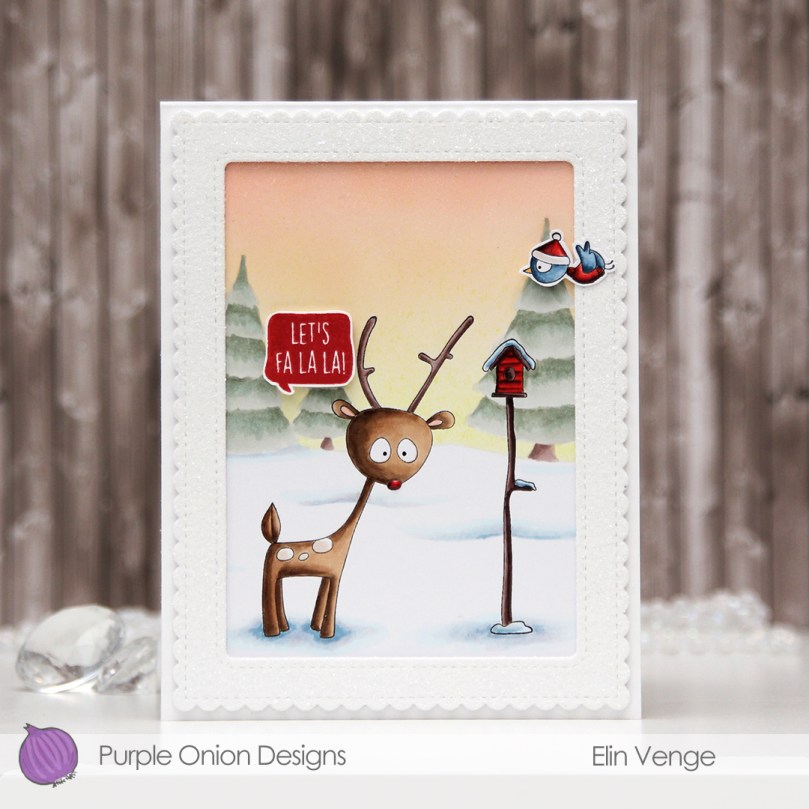 Shari’s images are funny, whimsical and quirky, and they make for very playful cards. For this card I colored up Darla the deer, as well as Feathers & Birdhouse (these two come together). After coloring, I masked off both Darla and the birdhouse before stamping the Pine Tree Farm from an older collection from Stacey Yacula using fadeout ink from Inkon3 for a soft, no line look. I then masked the trees and airbrushed a soft winter sunset.
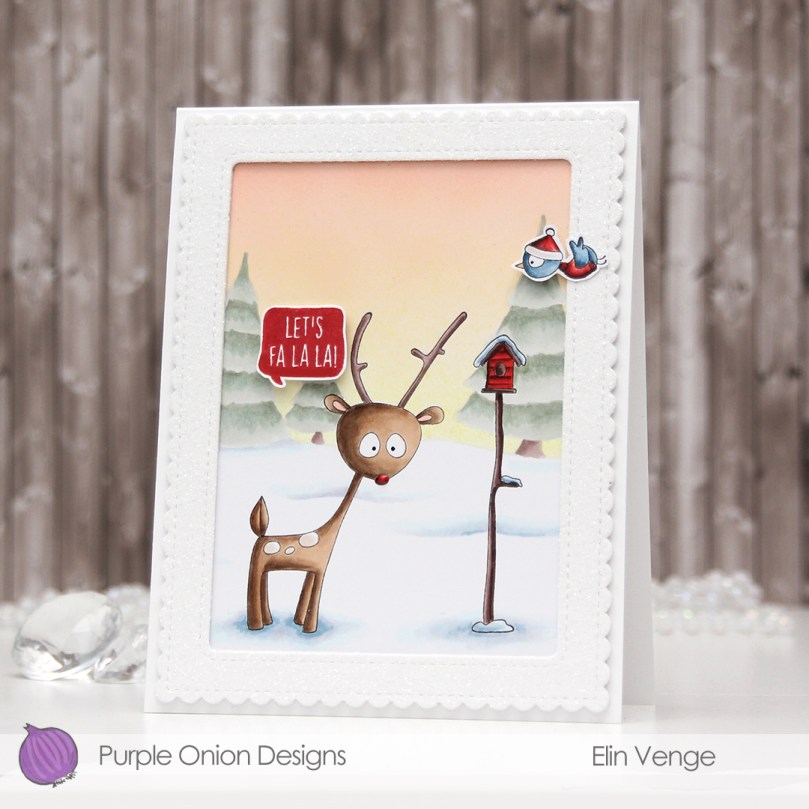 Once my sunset was in place, I colored the trees. I usually like a bit of contrast in the coloring, but for this one I really restrained myself. It’s a background element, and I didn’t want it to take any attention away from the foreground with the new stamps, so I only used BG93 and BG90 for the green, and E71 and E70 for the tree trunks.
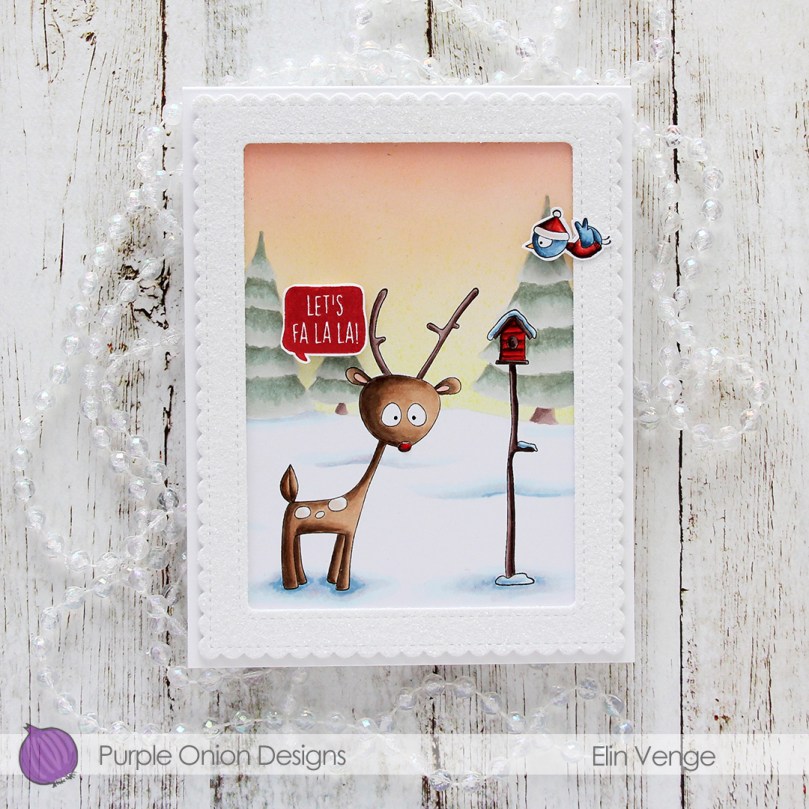 Using the Madison Avenue die set from Mama Elephant, I die cut a frame three times from Stamper’s Select White cardstock from Papertrey Ink. To one of the cardstock pieces, I added Stick It adhesive before die cutting. I glued the three frames together, putting the one with the adhesive sheet at the top of the stack. I removed the backer sheet and sprinkled on Rock Candy distress glitter, before putting the backer sheet back over the top and burnished with a bone folder to make the glitter really stick to the adhesive and not fall off.
 I trimmed down the scene slightly to make it fit inside my frame, and adhered both the scene and the stacked die cut frame onto a top fold card base I created from more of that Stamper’s Select White cardstock. It’s my favorite white cardstock, I still haven’t been able to find a good quality cardstock that’s whiter than this.
 I fussy cut Feathers the bird leaving a small white trim and glued him down to the frame using liquid glue. His head’s sticking out into the scene, so I put a small piece of foam tape behind it. I also stamped a speech bubble from the Holiday Blurbs I stamp set using Wild Cherry ink from My Favorite Things, fussy cut and mounted it on foam tape to my scene. I added dots of black to the eyes of my critters using a Glaze pen, and added Glossy Accents to the deer’s nose, and my card was finished.
 I did my best to limit the amount of Copics I used for this card. The five marker colors that come after the gap on the bottom row are the ones I used to airbrush the sky.
For a limited time (through November 12th), these collections can be purchased as bundles at a 30% discount from the regular price.
I’ll Be Home For The Holidays (Stacey Yacula) – 21 stamps & The Home For the Holidays Stamp Set – $128.00
Snow Much Fun (Shari Bresciani) – 19 stamps & the Snow Much Fun Sentiment Set – $90.00
It’s Snowing Cats & Dogs (Shari Bresciani) – 16 stamps & Furry Friends Sentiment Set – $82.00
There are two smaller bundles from the It’s Snowing Cats & Dogs collection for those who would just like either the dog or cat stamps:
It’s Snowing Dogs (Shari Bresciani) – 8 Dog stamps, Dog House & Christmas Tree – $46.00
It’s Snowing Cats (Shari Bresciani) – 6 Cat stamps & Christmas Tree -$33.00

 Meet Melvin. He’s a tiny, adorable snowman from the latest release from Purple Onion Designs illustrated by Stacey Yacula. The collection’s named I’ll Be Home for the Holidays and features lots of cute wintery holiday images in Stacey’s signature style. The Holiday House background I’ve paired him with is also from this same collection.
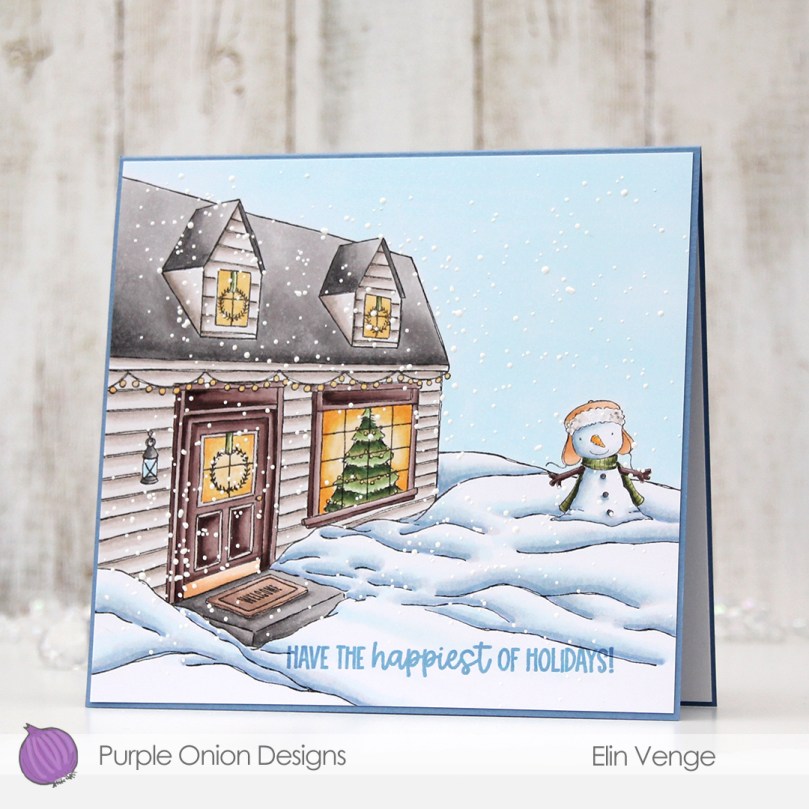 I stamped my images using Extreme Black ink from My Favorite Things, and colored in the scene using my Copics.
 After trimming down the panel, I stamped a sentiment from the Home For The Holidays sentiment set using Blue Yonder ink from My Favorite Things. I then sprinkled on Chunky White embossing enamel from Stampendous, making sure no granules covered the sentiment before I melted the powder from the back of the panel.
 I adhered my colored panel onto a square card base I created from Blue Yonder cardstock from My Favorite Things. When I first started making cards, they were all square; 6×6″ is the standard size for handmade cards in Norway, and I admit it’s a fun size to go back to. This isn’t actually fully square, it measures 5 7/8 x 5 1/2″, but it’s the size that best fit my scene, so I went with it.
 There’s something cozy and serene about this entire scene, and I really like how it turned out.
 Very muted color palette for this one. I see now that I forgot to add the green, but I believe they were BG99, G46, 43, YG61 and G20.
 This image is so quirky and playful, and the look of that cat just puts a smile on my face! This card actually came together pretty quickly and easily. I’d colored all my images for this release over a couple of days, and I spent a couple of hours fussy cutting all the images I wanted to have fussy cut, so when it was time for assembly, this one was a cinch.
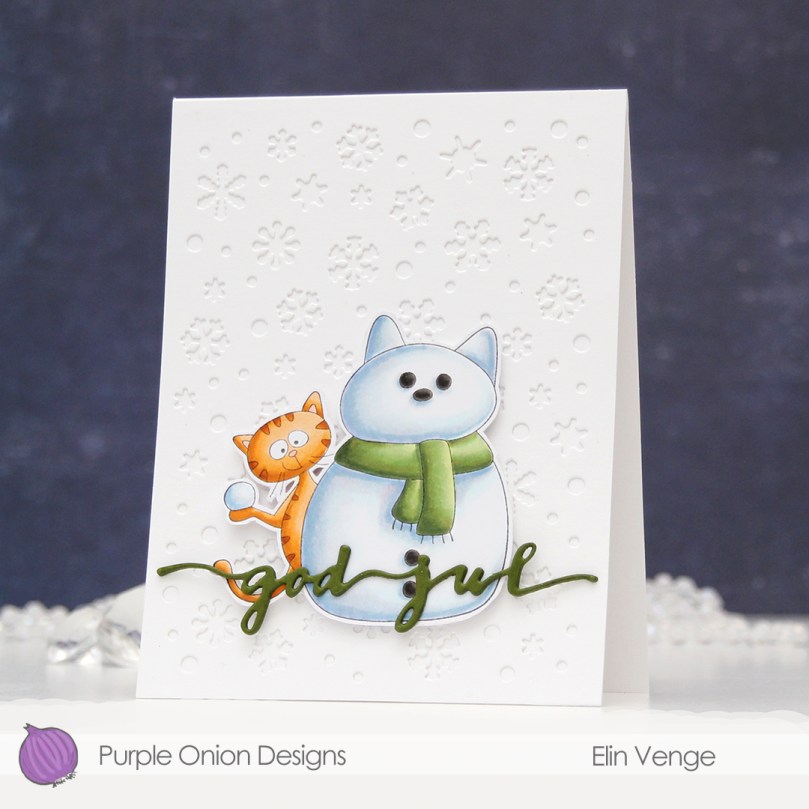 Onto a top fold white card base I added a panel of white cardstock that I die cut using the Snowflake Confetti Fancy die from Hero Arts. I love this die, I’ve had it for years, and it’s great for die cutting lots of tiny snowflakes to put on cards, which is what I usually use for. I do, however, keep the bigger die cut pieces in the packaging with the die, and for this card I just pulled one out and adhered it to the card base. Super simple when the die cutting job is done in advance. I like the subtle texture the tone on tone die cut gives. It adds a little bit of interest, but doesn’t steal the show from the focal point of the card.
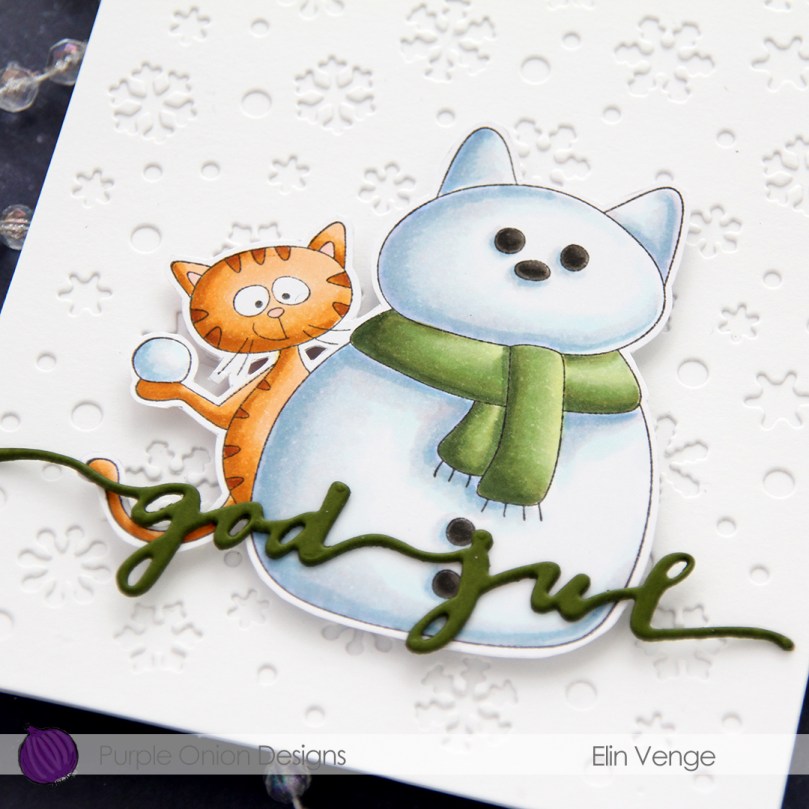 Seriously, look at that cat. He’s so funny and quirky and awesome!! As I’m writing this blog post, I’m realizing that I’ve kind of colored him to look like Garfield. Totally unintentional, but I’ll just run with it! Now that I think about it, it’s not a him, it’s a her, her name’s Felicia.
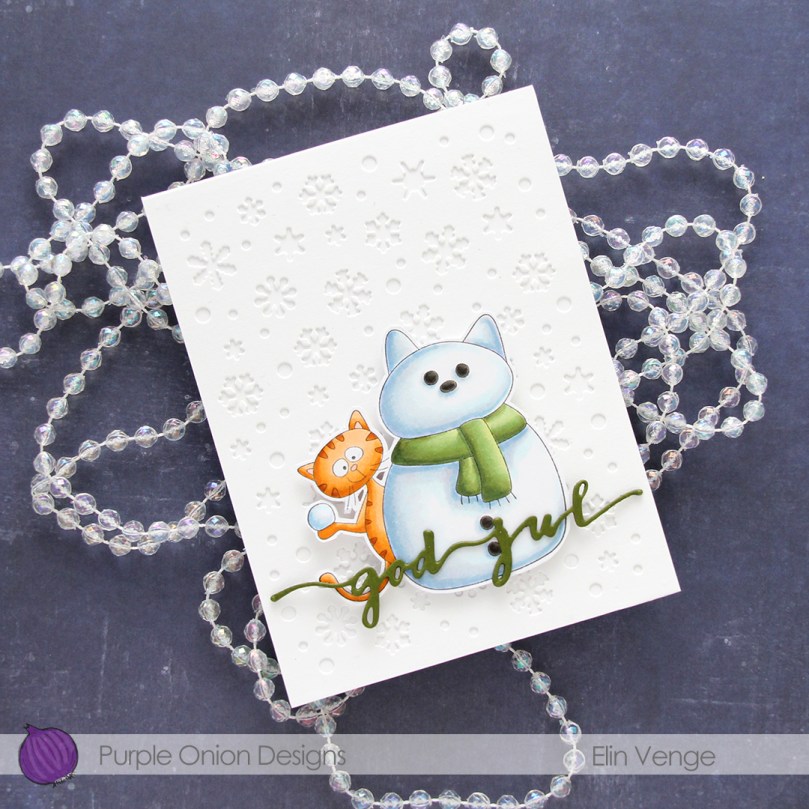 I die cut the words god jul (Merry Christmas in Norwegian) twice from Jalapeño Popper cardstock from My Favorite Things using a die from Papirdesign. I glued the two layers together and adhered them on top of my colored image, and my card was complete.
 Very limited amount of colors for this one.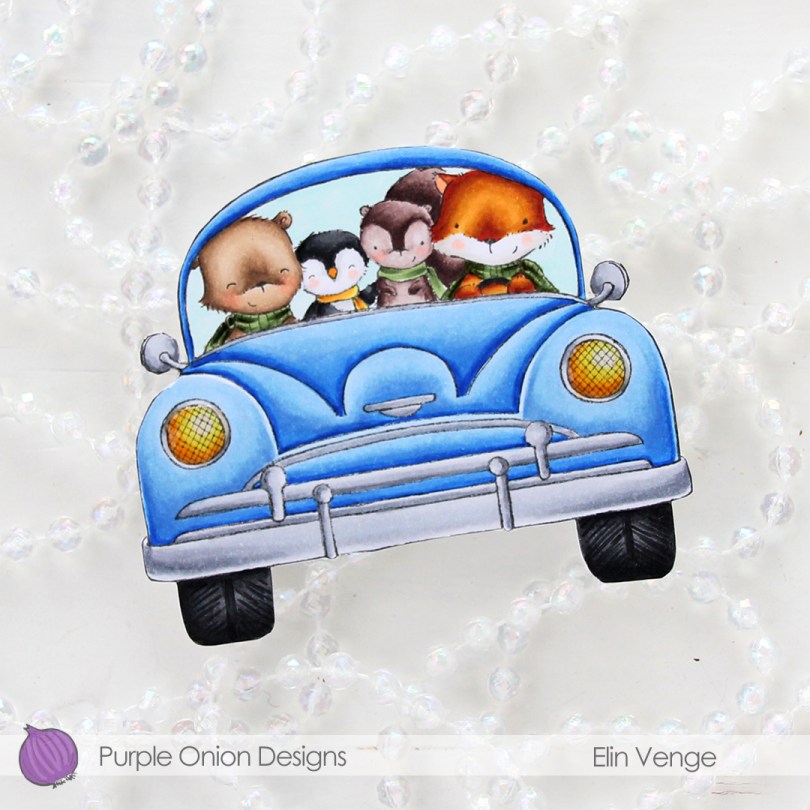
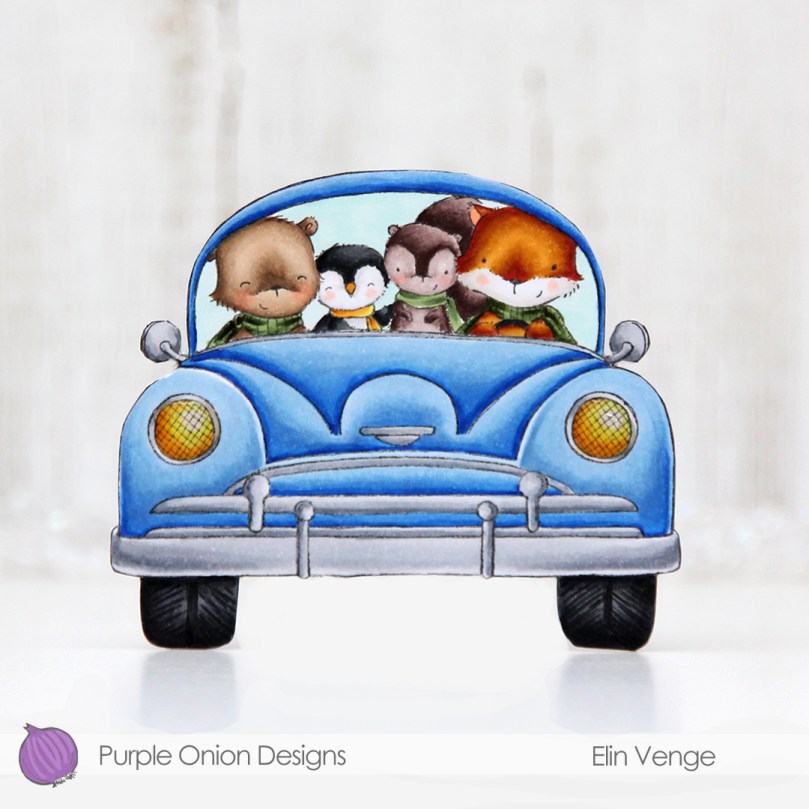 The shape of the car actually dictated the shape of the card. I love shaped cards, and aside from the side mirrors, this one was pretty easy to fussy cut.
 I colored in the car with the critters using my Copics, fussy cut right up against the black lines and added the car onto a top fold white cardbase. I then fussy cut that, making sure to temporarily glue the card shut for the cutting to be a little bit easier. Those side mirrors are fussy, but the rest was a cinch.
 To create a truly one layer card would have been easier than having to fussy cut the car, adhere it to the card base and then fussy cutting again, but I didn’t think of it when I stamped my image, so I did it the hard way. Simon Says Stamp has a 120 lb cardstock that’s great for one layer cards with Copic coloring. Copics bleed through on most cardstocks, but the 120 lb from Simon doesn’t and would have been perfect for this card if I’d only thought of it before I was finished. Onto the headlights I put a thick layer of Glossy Accents for shine, and my tiny car card was finished.
 Not a whole lot of colors used for this one. I’m loving the green combo I used for this, it’s giving me life. The entire collection can be purchased as a discounted bundle for a limited time, the offer is available until Friday, November 12th, and you can read all about it on the Purple Onion Designs blog

 I wasn’t sure initially what colors to use on this, so I asked a friend for suggestions.
 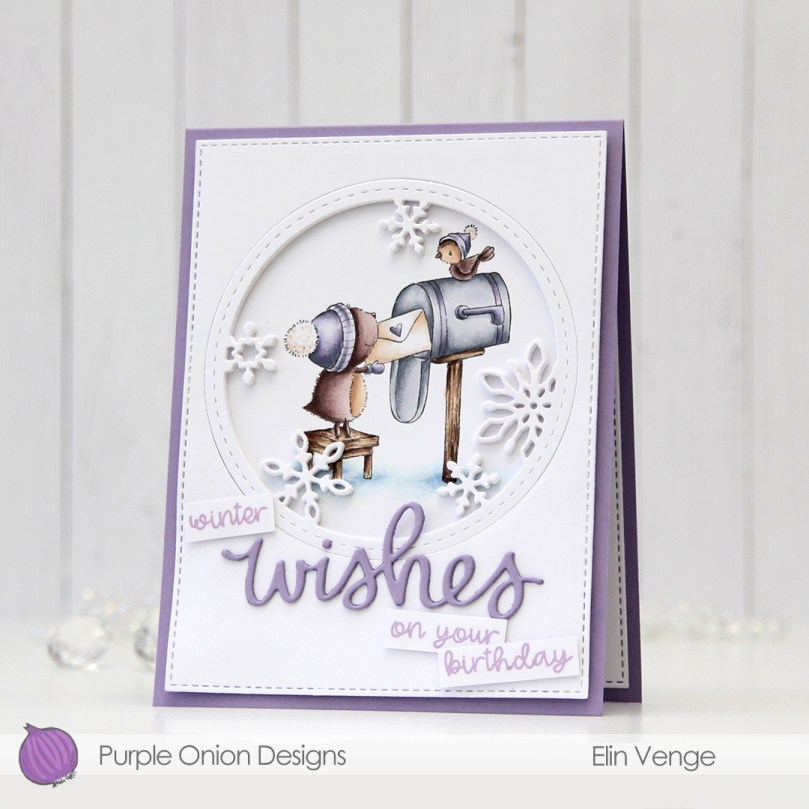 She suggested purple. She knows I don’t color a lot with purple. It’s not that I don’t like purple, I think purple’s pretty, it’s just soooo hard to photograph well, so I tend to avoid it for that reason. This time I didn’t, though. I listened to her and chose a V combo with my Copics I thought worked well.
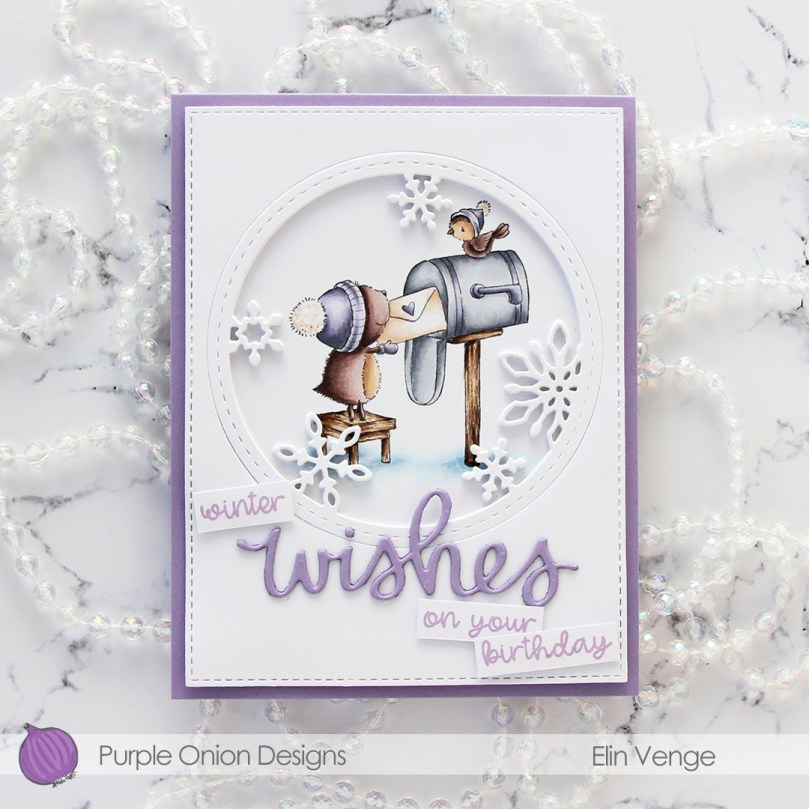 Once my coloring was complete, I die cut the Stitched Snowflake Circle Frame from Memory Box five times from white cardstock. I wanted to make a shaker card, and I find that stacking layers works better than foam tape. I eventually ditched my shaker idea, but still kept my stacked die cut window for a dimensional frame. I did layering of cardstock to the outside of the frame too, making the entire white front panel flush. I added more stitching detail using the largest die in the A2 Stitched Rectangles STAX 2 set from My Favorite Things and adhered all my layers onto a card base I created from Winter Wisteria cardstock from Papertrey Ink.
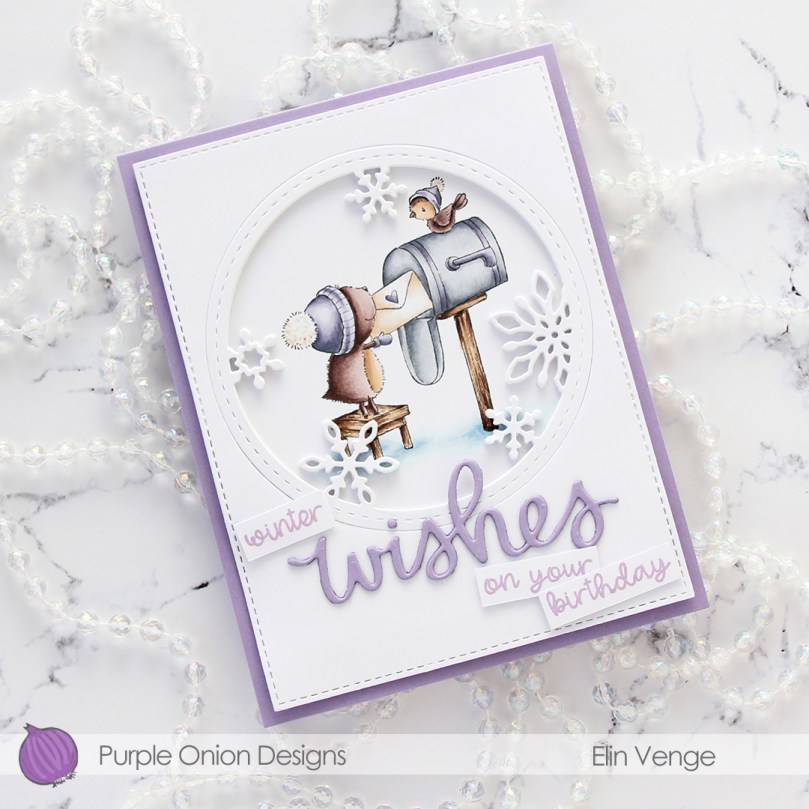 For my sentiment I die cut the wishes die from Mama Elephant twice from the same purple cardstock I used for my base, before stamping a sentiment from the
  Very muted color palette for this one, but wintery cards tend to be somewhat muted.
 I love
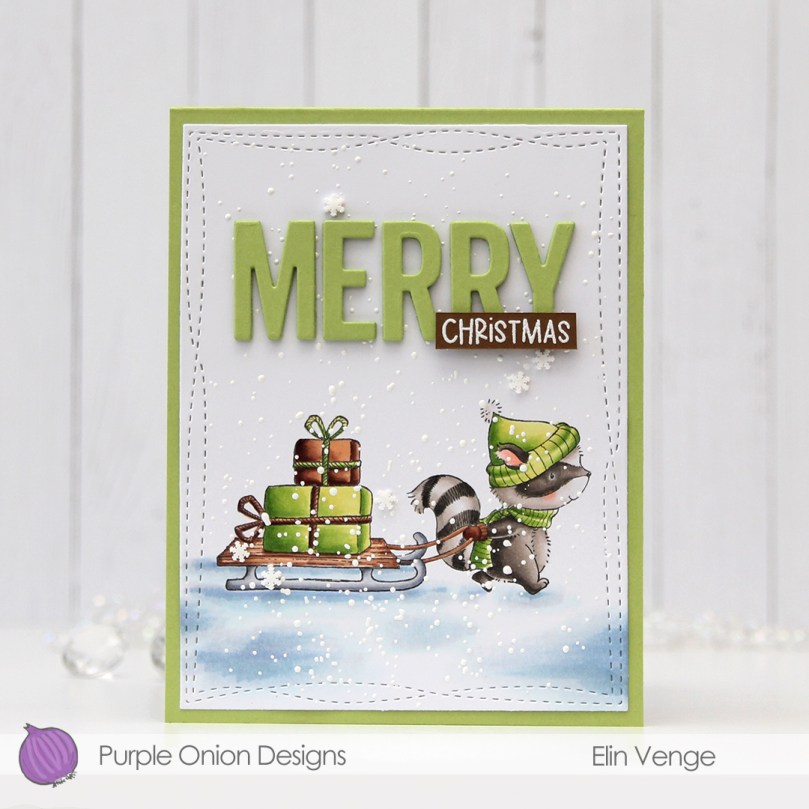
  I stamped Flannel using Extreme Black ink from My Favorite Things onto X-Press It blending card. It’s my favorite cardstock for coloring. It’s super bright white and the Copics blend very well on it. It’s no surprise, though, the paper is made especially for Copic use.
 I die cut the panel using the largest of the dies in the Wonky Stitched Rectangles STAX set from My Favorite Things, which is one of the many things I purchased with the $250 gift card I won in this year’s Superstar contest. I love my MFT faux stitch dies, and this wonky one is a fun change from my regular faux stitched rectangles. I sprinkled on chunky white embossing enamel from Stampendous and melted the granules from the back of the cardstock, before adhering it to an A2 card base I created from Green Parakeet cardstock from Papertrey Ink.
 Using the Very Merry and Bright die from My Favorite Things, I die cut the letters for the word Merry five times from the same green cardstock that I used for the card base. I glued them together for a stacked, dimensional look and adhered them to my colored panel using liquid glue. Onto a small strip of Cocoa Bean cardstock from Papertrey Ink, I stamped and white heat embossed part of a sentiment from the
  To finish off the card I added a few Snowdrift sprinkles from Little Things from Lucy’s Cards for a little bit of extra interest and dimension. I love these tiny clay snowflakes, I use them all the time.
 Simple color palette. That bright green really is fun!
 I bought a 36 tube set of Mijello Mission Gold watercolors last September, and they’ve been sitting in their palette scaring me, but I’ve recently started dabbling a little bit. Images like this with big open areas are great for practice, and this is my third proper watercolor piece. Yes, I’m keeping track, haha. The previous two attempts were both noline. One was a background, and the other a digital stamp. My printer ink doesn’t play well (or at all, really) with water, so I had to opt for the noline look to prevent visible bleeding. I dove right into the deep end, hoping I could pull it off.
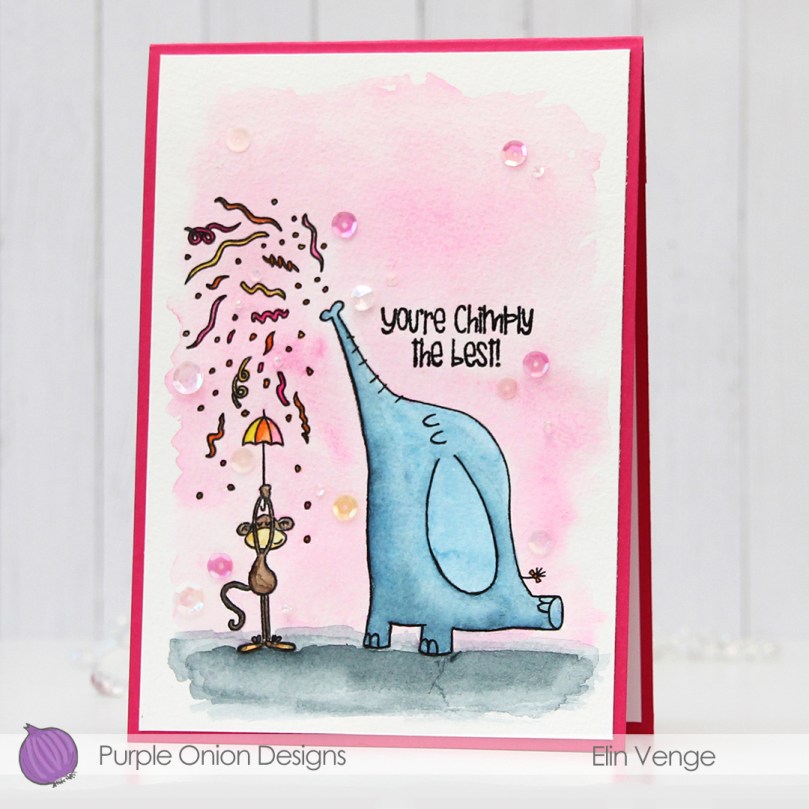 I stamped the image onto Fabriano Artistico Extra White watercolor paper using VersaFine Onyx Black ink. I’ve created a birthday card with these two once before (blog post
  For my last card with this image, I used my Copic BV20 series for a purply gray elephant. This time, I went for a bluer version to get a nice contrast. I actually decided to mute my pink a little before painting with it. The Bright Opera color from Mijello is a super bright pink, and I added a tiny bit of Hooker’s Green to dull it a little, it was just too bright a pink straight from the palette for what I wanted.
 Once I’d painted my scene, I went back over with a black pen to trace the lines of the image. I would have restamped if I could, but I stamped the image weeks before I painted it and removed the stamp from my MISTI in the meantime. Black pen to the rescue. I just wanted crisp black lines. I stamped a sentiment from the stamp set using VersaFine Onyx Black ink and heat embossed that using clear embossing powder.
 I cut down my colored panel slightly and adhered it to an A7 top fold card base I created from two pieces of Poppin’ Pink cardstock from Papertrey Ink. To finish the card I adhered sequins, beads, confetti and other various little bits from the Sweet Shop mix from Little Things from Lucy’s Cards. I don’t usually put this many sequins on my cards and scatter them like this, but I wanted to really keep the party vibe from these two going across the entire card front.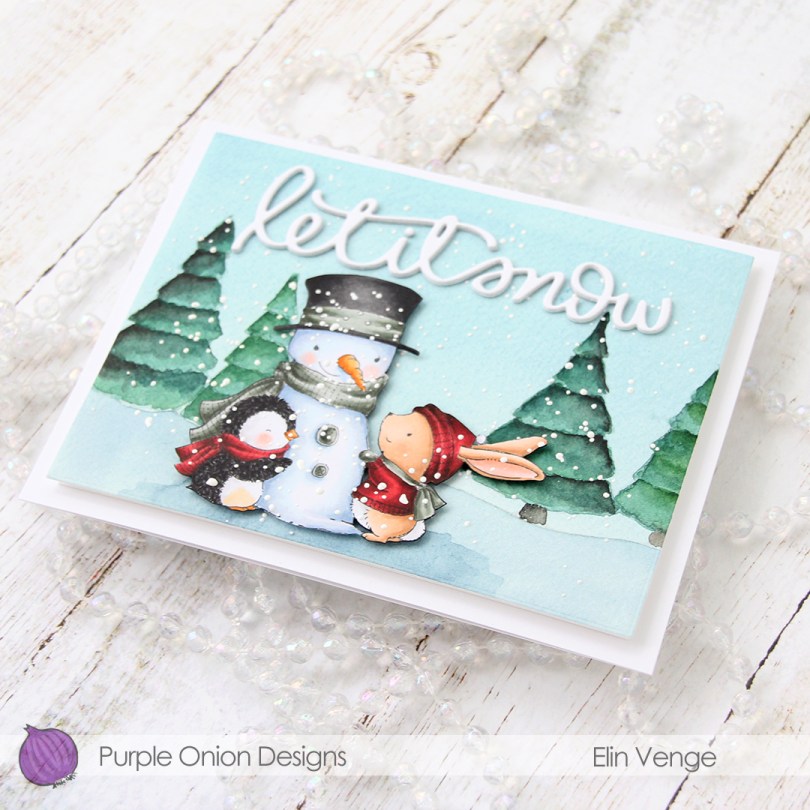
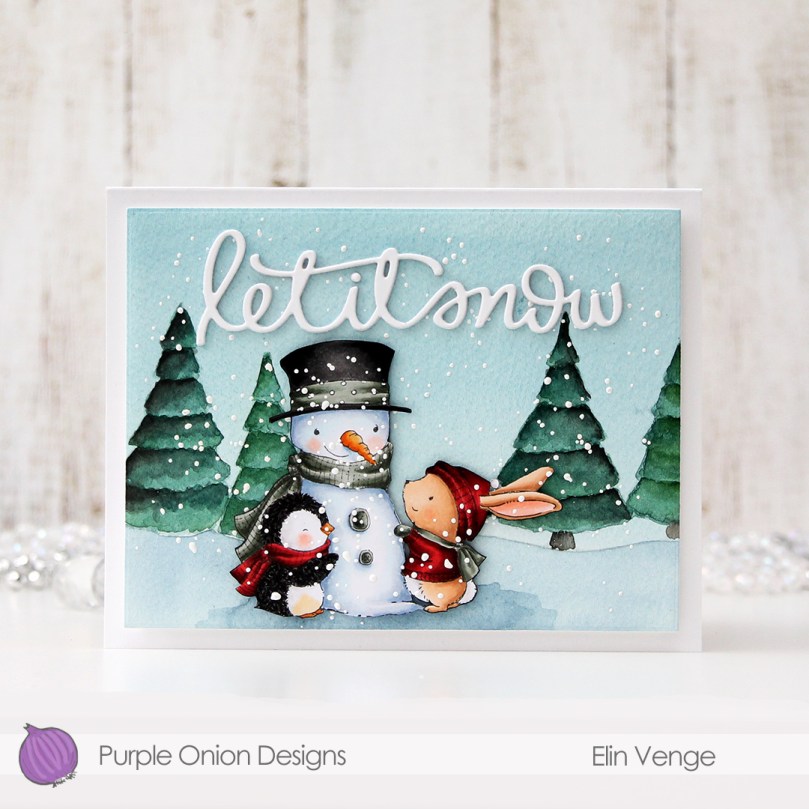 I did something a little different for this card. Exactly one year ago, with helpful advice and a gentle nudge from
  I stamped the
  I used a die from Waffle Flower to cut my panel down to a rectangle that would fit my card, which also helped flatten it out a bit, it was a little bit warped. I sprinkled on Chunky White embossing enamel from Stampendous and melted the granules from the back, before mounting the panel on foam tape and adhering it to the front of my top fold landscape A2 card.
 Using My Favorite Things Extreme Black ink, I stamped the
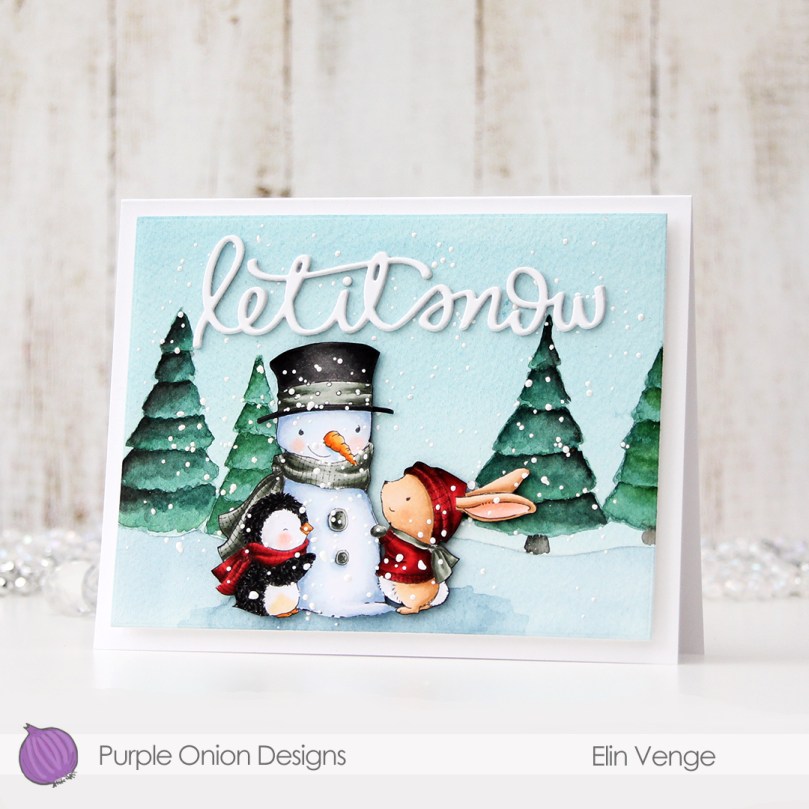
  I die cut the words let it snow three times from white cardstock using a die from Mama Elephant, stacked them for a dimensional sentiment and adhered it to my scene to finish the card.
 The Copics I used for the cute critters and snowman.
 I colored the image using a very soft color palette with my Copics. I didn’t write the colors down, so unfortunately, I have no fancy graphic to show you at the end of this post. I wish I did, though, because I really like the colors I used for this.
 I used the largest of the A2 Stitched Rectangles STAX 2 dies to turn my colored piece into a nice panel with the faux stitch edge I love so much. I decided to adhere it directly to my top fold card base, that I made from Berry Sorbet cardstock from Papertrey Ink. The color matches the darkest parts of her dress very well.
 Onto a separate piece of Berry Sorbet, I stamped and white heat embossed part of a sentiment in the
  I die cut part the word wish using a die from Mama Elephant. The die actually die cuts the word wishes, but I cut off the tail end of the word so I was left with just wish. I die cut four more from Grapefruit cardstock from Concord & 9th, and added them behind the top die cut for dimension. This makes the word lighter (and it makes it match the lighter parts of the dress) from the sides. I did the same with the sentiment strips above, making the strip and the stacked die cut flush.
 I finished off the card by adding a few sparkling clear sequins from Pretty Pink Posh. I used my scissors to cut the largest sequin in half to tuck it behind the sentiment strip.

 Papirmølla