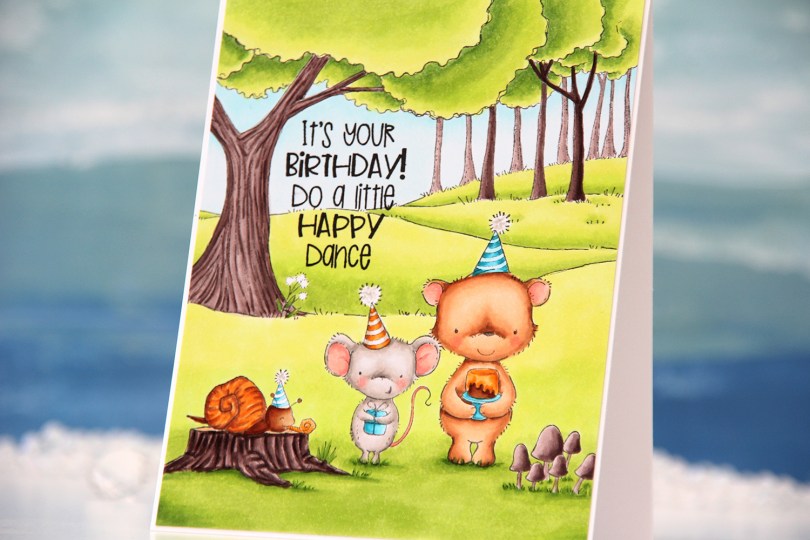
Hi, crafty friends. It’s time for a happy dance, because there’s a new stamp collection out from Purple Onion Designs, illustrated by Stacey Yacula. You know how much I love Stacey’s style, and she’s been illustrating stamps for Purple Onion for 10 years, which is reason to celebrate. A Special Day is a collection of stamps focusing on celebrations and milestones. If you have an occasion that needs to be celebrated, this is the collection for you.
 My first card with images from the release is this one. I love creating birthday cards, so this collection is right up my alley!! Using Extreme Black ink from My Favorite Things, I stamped and masked Hugh (snail), Sage (mouse) and Dylan (bear) before stamping the mushrooms and the tree stump from the woodland floor set, as well as the woodland background. I colored in my scene using Copics, then stamped the sentiment from the Let’s Celebrate sentiment set using VersaFine Onyx Black ink. The stamp was perfect to nestle into the clearing between the trees.
 I cut down my colored panel ever so slightly and adhered it to a top fold A2 card base I created from Stamper’s Select White cardstock from Papertrey Ink. I love that little 1/16″ border around the edge.
 I kind of thought I’d use a whole lot more Copics for a full panel card, but I admit I love the orange color with the teal and the bright green, it’s such a classic color combo for a reason.
For a limited time, you can purchase this collection as a bundle with a 30% discount for $130.00. The “A Special Day” bundle consists of all 28 stamps/stamp sets & the coordinating “Let’s Celebrate” sentiment set.
In celebration of Stacey’s 10th year illustrating stamps for Purple Onion Designs, the entire “A Special Day” collection will be 10% off when purchased individually. The bundle will not receive the additional 10% off since it is already discounted 30%.
The special bundle price and the 10% birthday discount will run for 2 weeks and end on Wednesday, June 8, 2022.

 This time, I have a fun slimline card to share featuring
 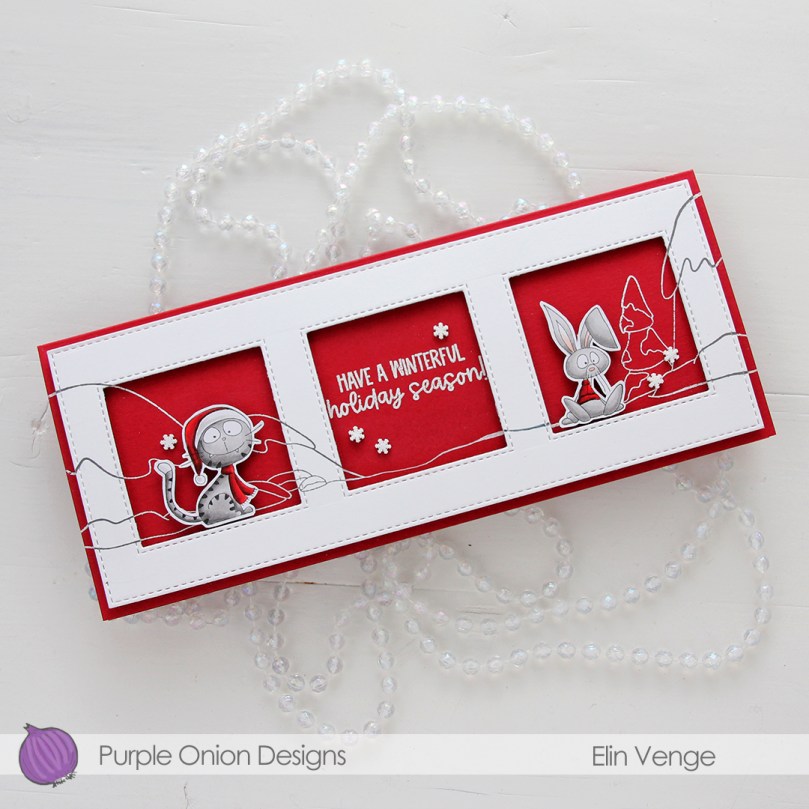 I used a couple of dies from My Favorite Things to create the window openings and the faux stitch edge around the white cardstock. I stamped the
 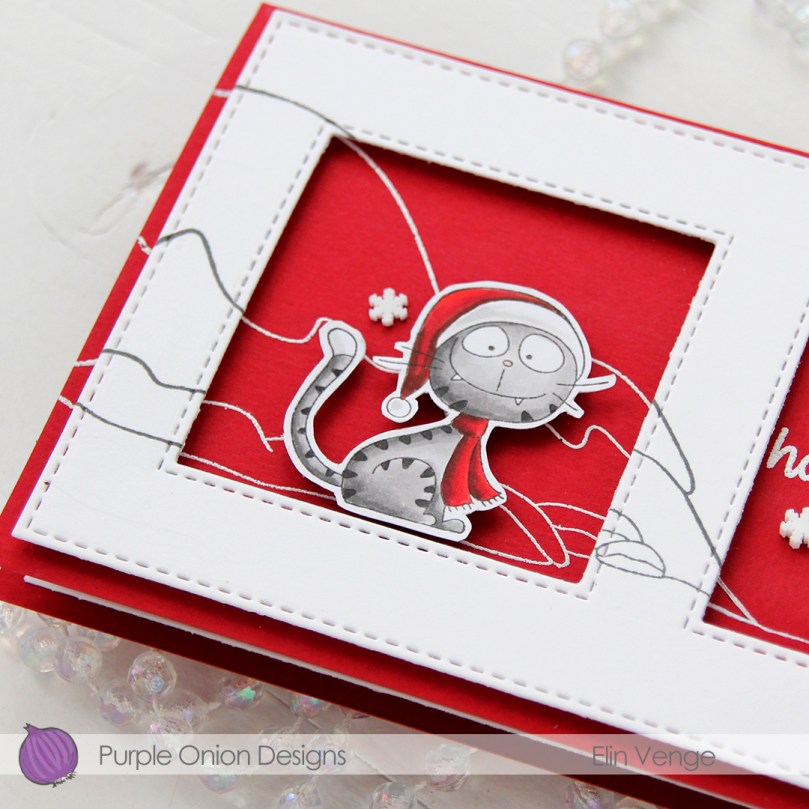 I colored both the images in greys and reds and mounted the white panel with the window openings using foam tape for dimension. This cat is like a grey version of Garfield, it’s too funny.
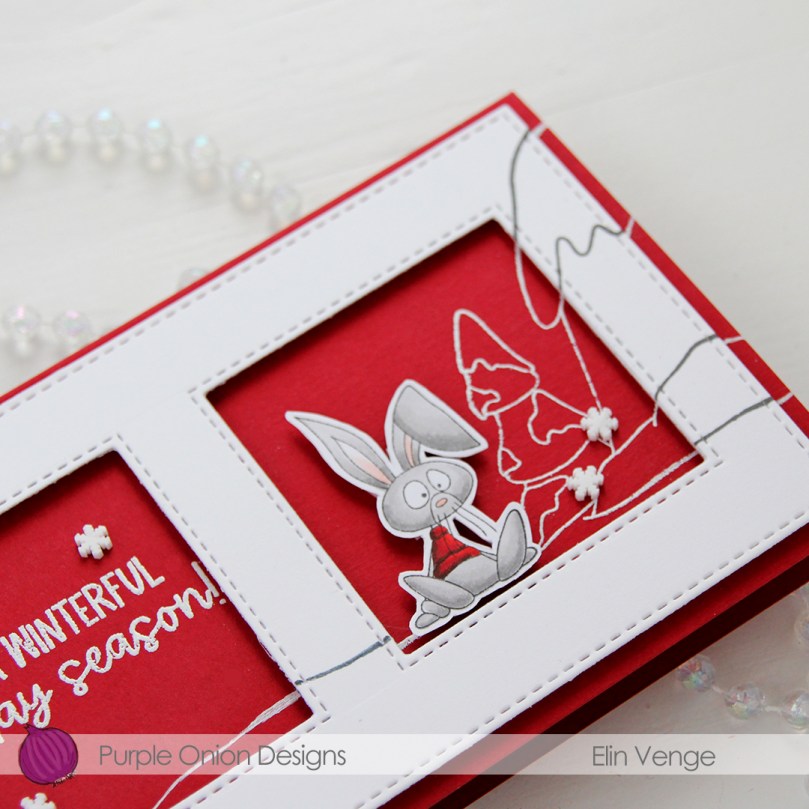 Fiona looks like she’s kind of done with Christmas, Shari creates so much personality in each of her critters.
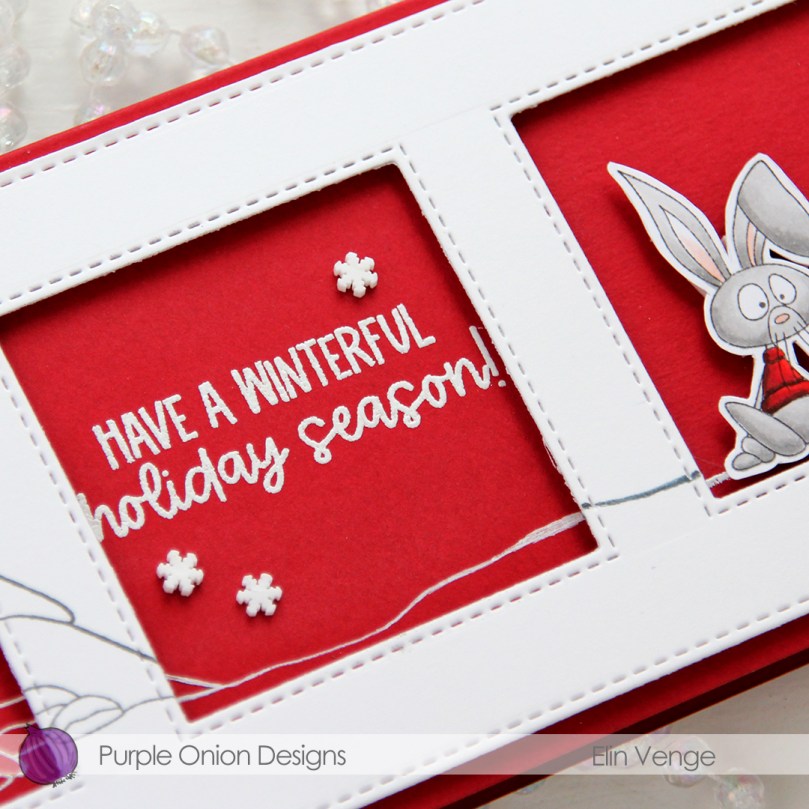 I kept the card very simple, but did add a few snowdrift sprinkles from Little Things from Lucy’s Cards.
 I colored and fussy cut
  For the background I used the largest die in the Stitched Traditional Tag STAX die set from My Favorite Things and die cut two of these from Blue Breeze cardstock from My Favorite Things, before gluing them back to back. On the back I simply stamped a To/From stamp and on the front, I used the Falling Snow stencil from Simon Says Stamp along with some paste for a subtle snowy effect in the background.
 I used quite a few colors for the fur on the squirrel, but the rest of the colors are pretty basic.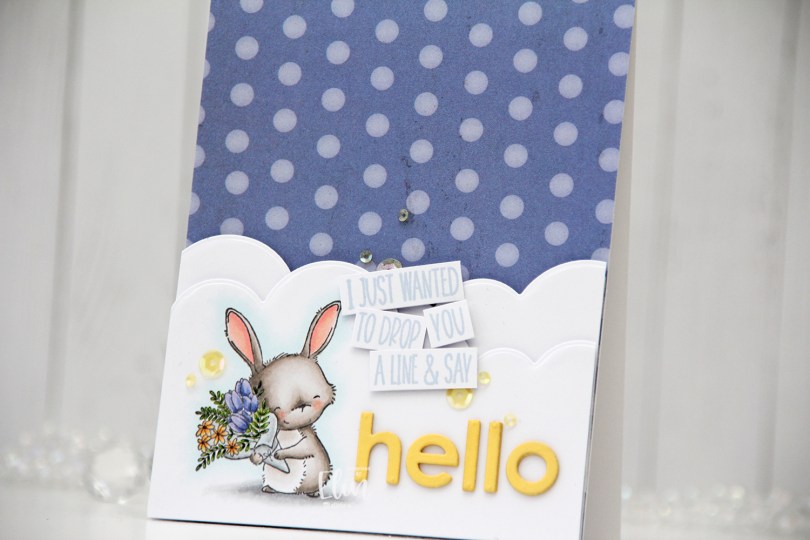
 I stamped the image using Extreme Black ink from My Favorite Things, before coloring with my Copics. I love love love the way rubber stamps stamp even the thinnest lines. It’s great for details, and Stacey Yacula’s illustration style gets to shine. Her line work is very delicate, which pairs so well with rubber stamping, because you’re able to easily stamp all the little details.
 I used a die in the Slim Card Basics die set from Mama Elephant to create a cloud border above my stamped and colored image, and used the same die on a separate piece of cardstock. I found a scrap piece of patterned paper from Scenic Route that I added to my card base, then added my cloud pieces on top using foam tape.
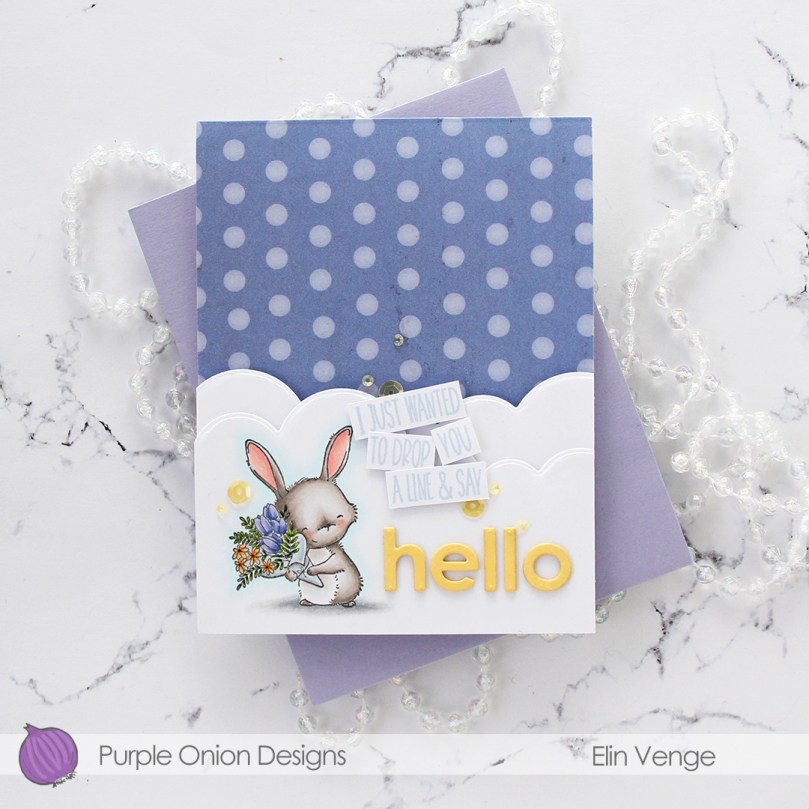 I used two sentiments from the
  Using the lower case Parker alphabet die set from Memory Box, I die cut each letter three times from Harvest Gold cardstock from Papertrey Ink to spell the word hello. I stacked my die cuts and adhered them to the right of Junie using liquid glue.
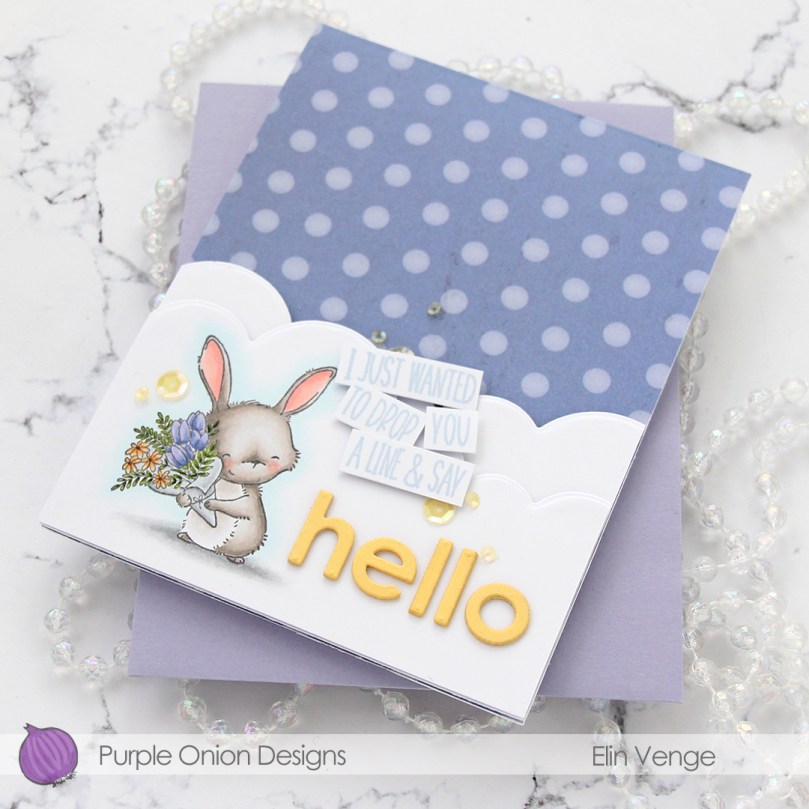 To finish the card I added a few yellow sequins from Little Things from Lucy’s Cards. These are actually from the Candy Corn mix; a Halloween mix with orange, yellow and clear sequins and gems which even has a few tiny ghosts made from acetate thrown in. It’s a fun mix.
 Simple color palette for this one.
 As soon as I saw this train, I immediately thought of the movie The Polar Express, which happens to be my favorite animated Christmas movie. I colored my train in similar colors to the one in the movie, and I put a mask on top when my coloring was done and airbrushed the sky, moon and glow coming from the headlight.
 My best friend and I have a tradition where we sit down and watch this movie every year, and I thought the sentiment from the
 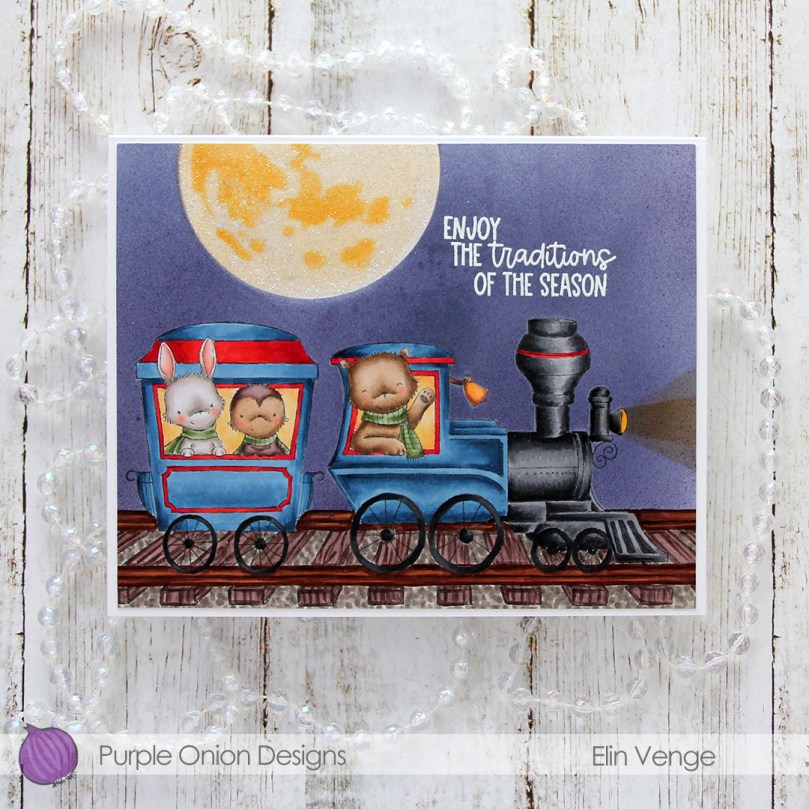 The sentiment is actually one long line, but I did some masking to create a staggered one, which I thought fit my card better. I stamped the sentiment in VersaMark ink and heat embossed it in white using Super fine detail embossing powder from Ranger.
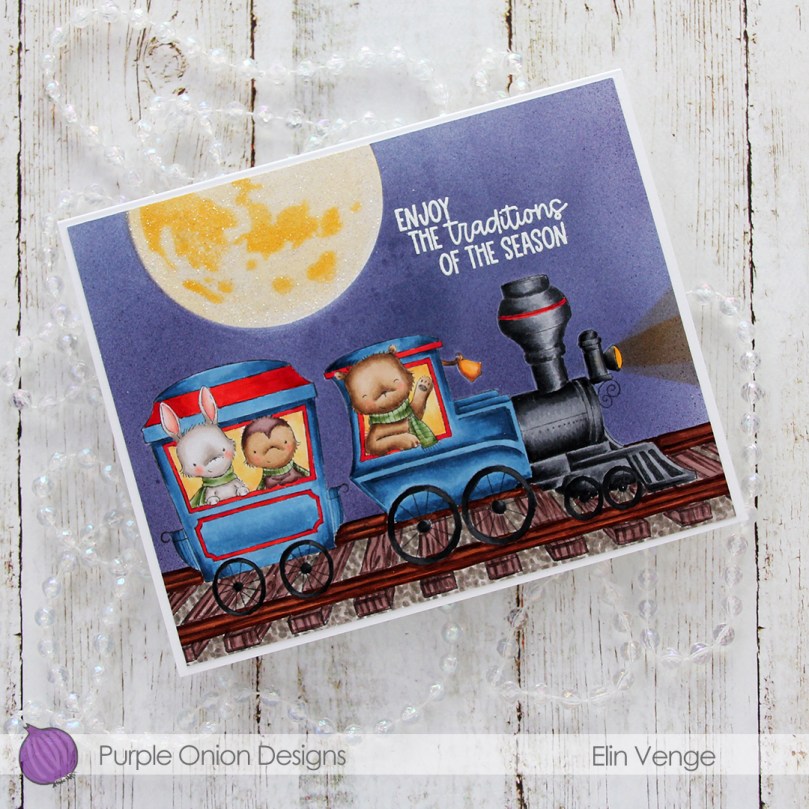 I created the moon by first masking off a circle as I airbrushed the sky, then I used the moon mask that was part of the Tim Holtz/Simon Says Stamp collaboration set for Stamptember 2021 to create my moon.
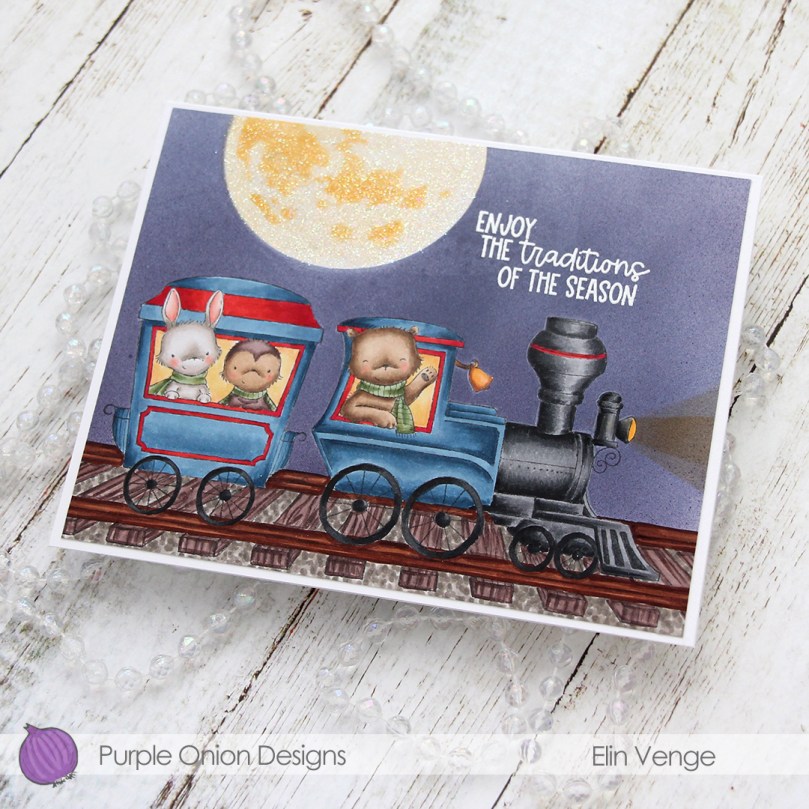 Once I’d created my moon I covered the circle opening again with VersaMark ink and sprinkled on Iridescent Sparkle embossing powder from Judikins, which I then melted. It gives the moon a nice sparkly glow. I thought that would be a nice detail to add to what is otherwise a very simple card. I adhered the colored scene to a white top fold card base and decided not to embellish, I wanted the image to be the focal point on this card.
 Lots of Copics for this one. The ones after the white gap are the ones I used to airbrush the sky, moon and the glow from the headlight.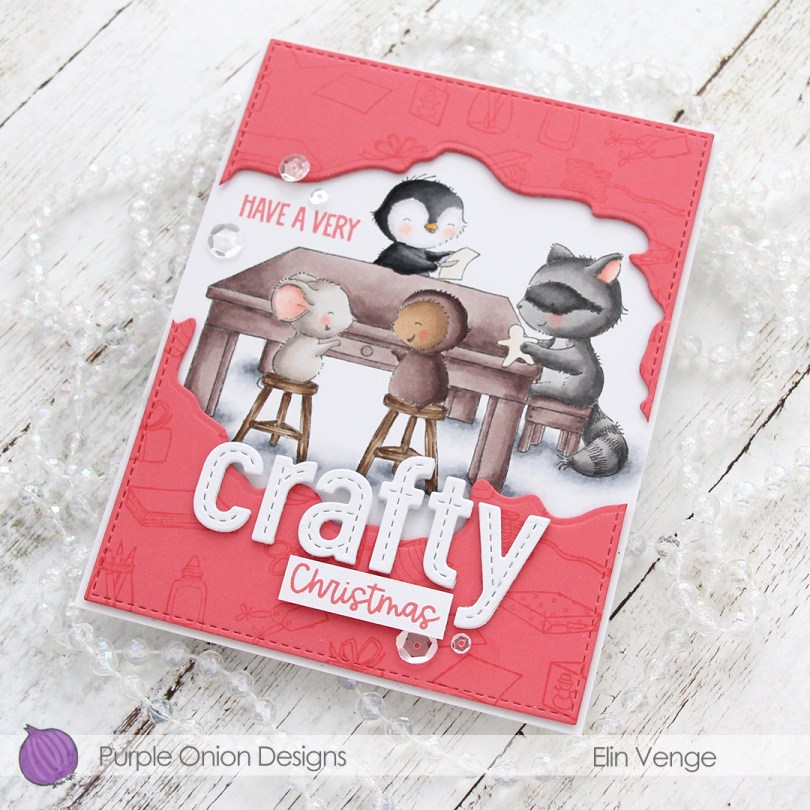
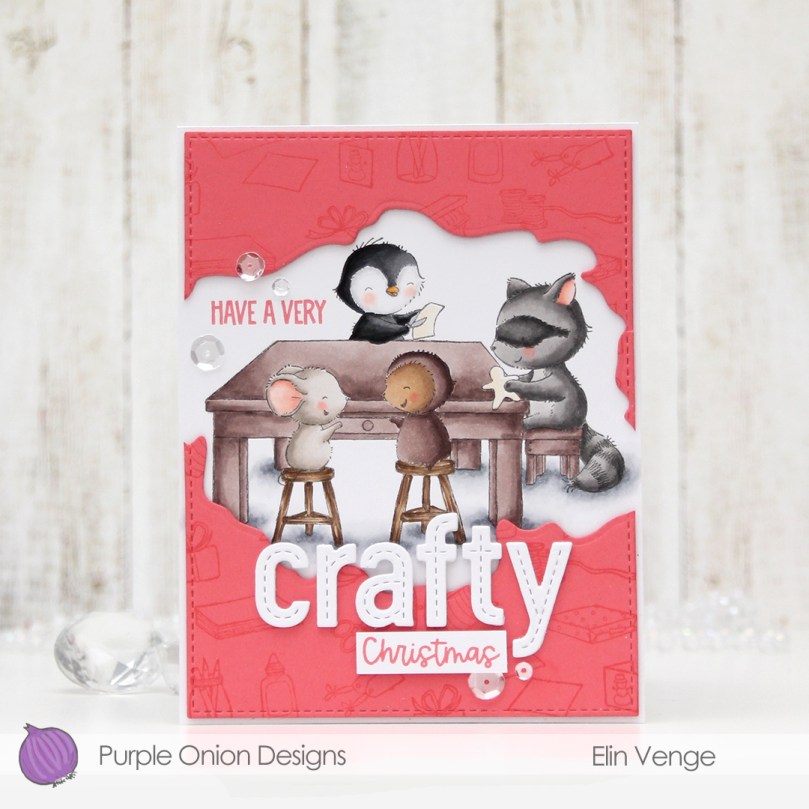 I stamped and masked
 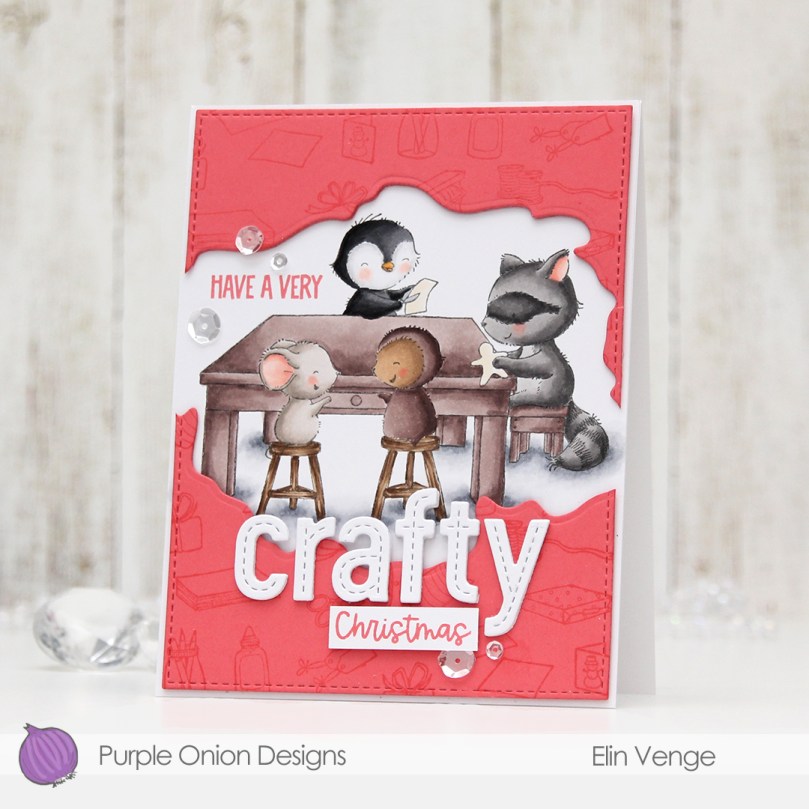 I colored in the scene using my Copics, and I actually used all the gray families for this, something that rarely happens. I tend to stick to one or maaaaybe two, but using all four made sense for this card.
 On a piece of Berry Sorbet cardstock from Papertrey Ink, I stamped the
  The sentiment is a mix of a stamp from the
 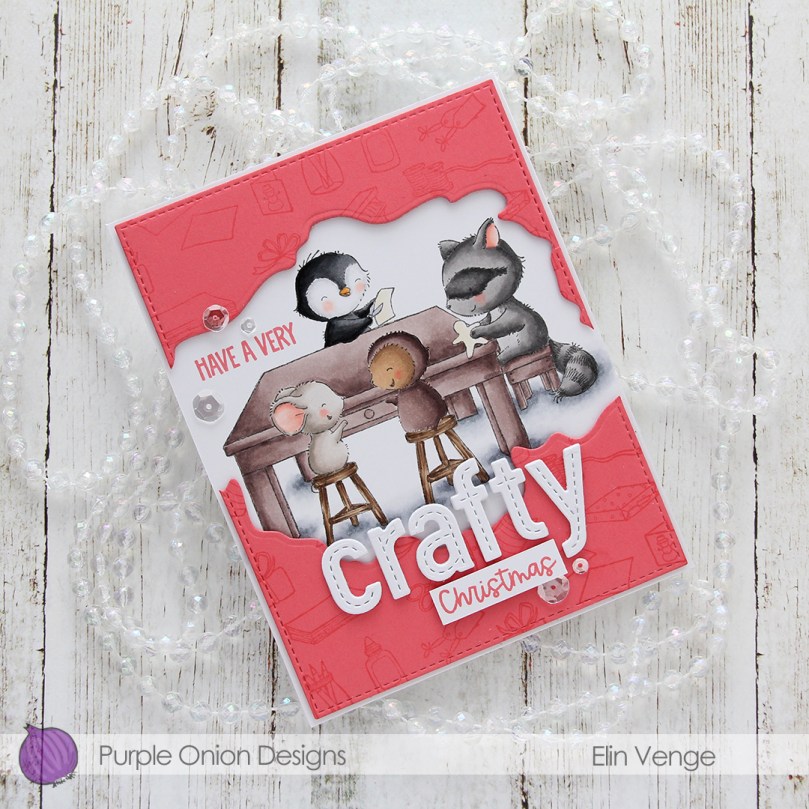 To finish the card I added a few Sparkling Clear sequins from Pretty Pink Posh around the sentiment.
 Lots of Copics for this one, but not a lot of color. Like I mentioned, I used all the gray families for this card.
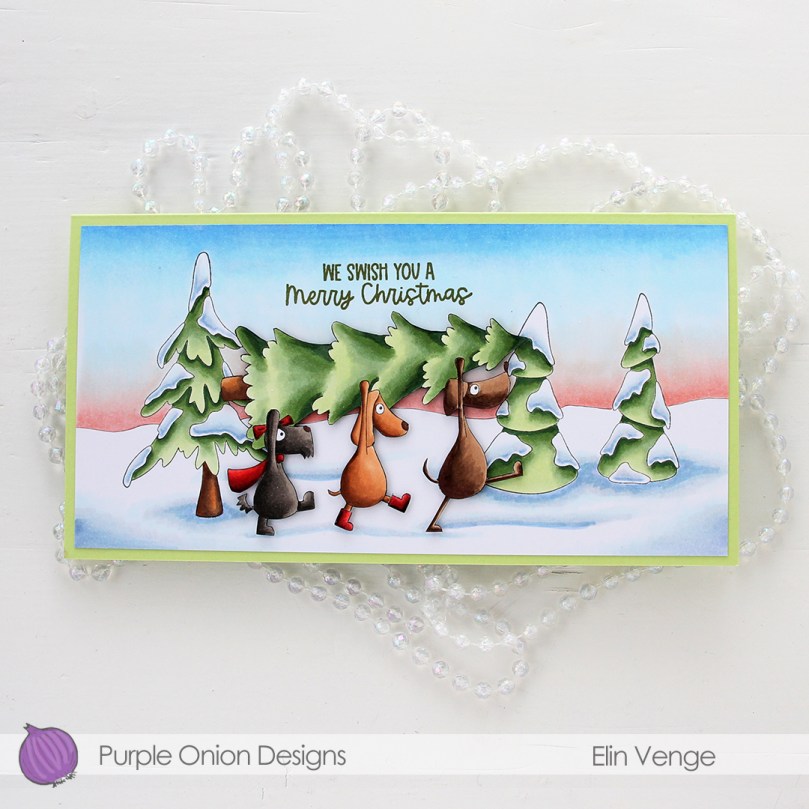 For this slightly larger than normal slimline card, I stamped the
  I cut down my background so that it would fit on my cardbase, which I created from Sprout cardstock from Concord & 9th. I stamped a sentiment from the
 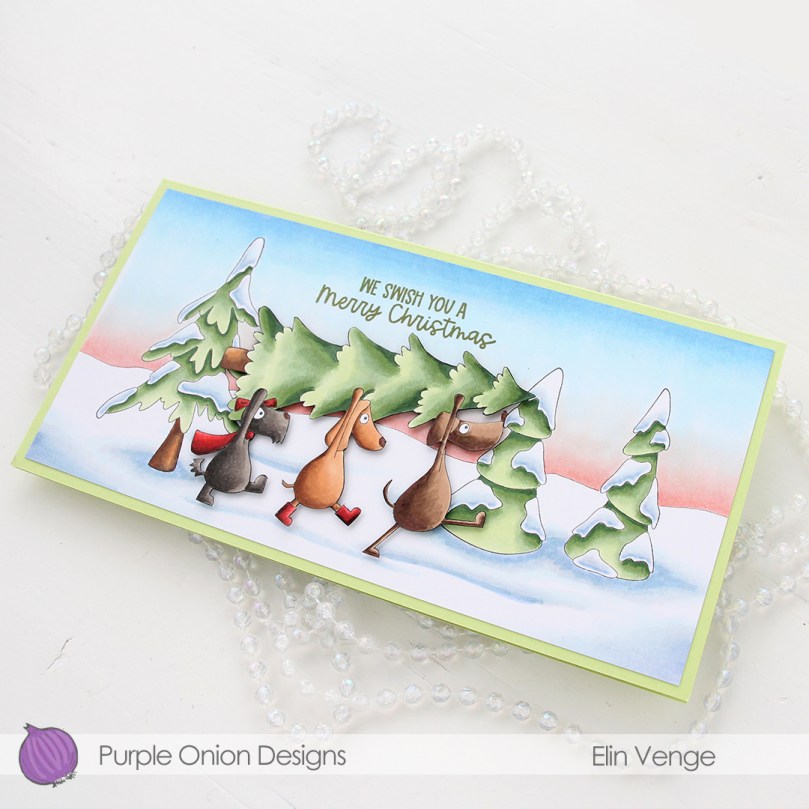 It shows better in this photo that the dogs are slightly raised off the background. It adds a fun detail to an otherwise very simple card. This is the point where I’d normally share the Copics I used, but I seem to have misplaced my post-it note where I’d written it down. Things were kind of hectic before the holidays when I made this.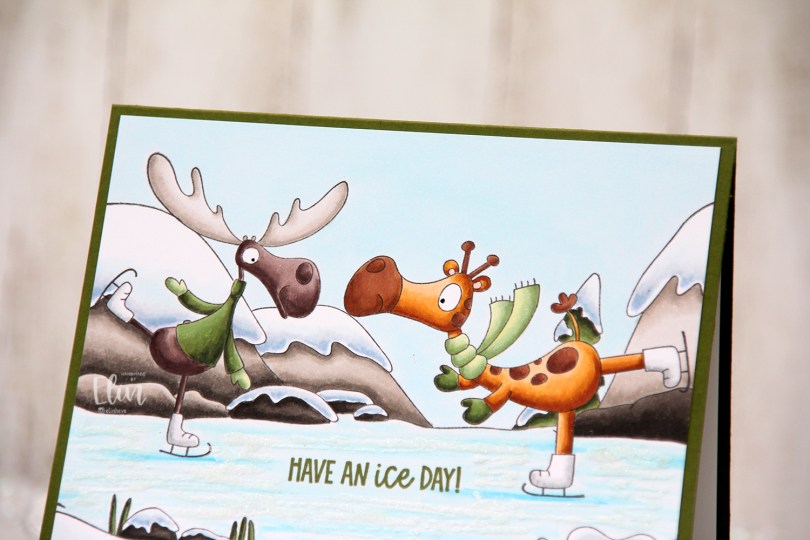
 Meet
Meet 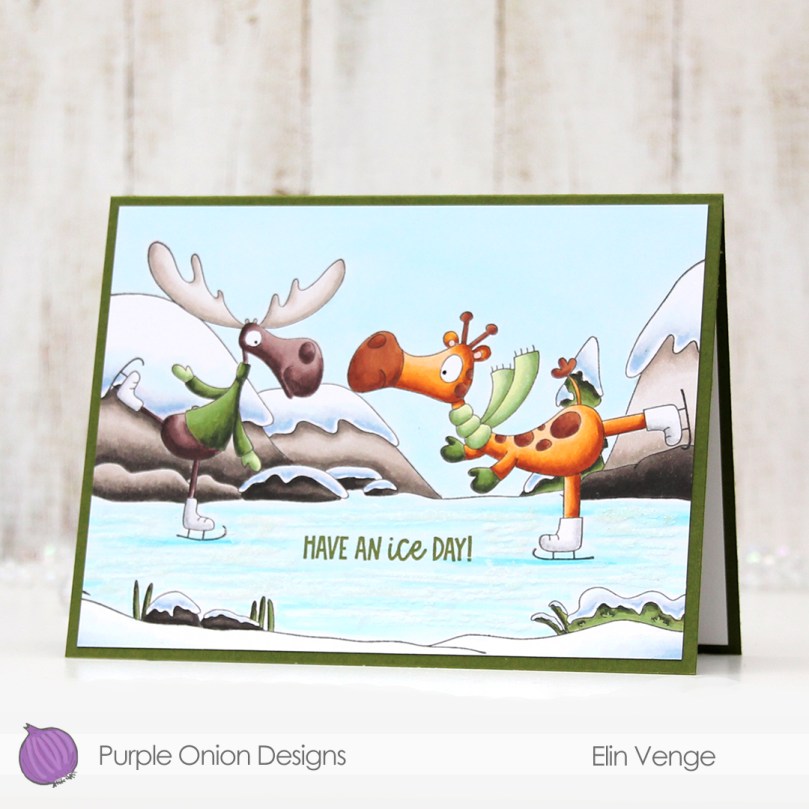 I’ve probably mentioned this in a previous post, but I love the quality of rubber stamps and their ability to include very thin, detailed linework. The lines in these images are all very thin, and they stamp so beautifully in a way only rubber can. I love it.
 I colored my scene with Copics, then stamped a sentiment from the
  I wanted some sparkle to my ice, and added Stickles. I didn’t like the look of the Stickles, so I scraped most of it off and switched to liquid glue with a sprinkling of Distress Glitter Rock Candy instead. I made sure not to spread it perfectly, but to create streaks to emphasize the streaky look of the ice I created with my markers.
 I added a dot of a black glaze pen to their eyes to make them pop, and I love that this card is versatile enough to work as a general card in the winter months or even a birthday card. It’s a bit of an odd size, about 5 7/8 x 4 1/2″, but I made the size of the card fit my scene, not the other way around. I’ll create a custom envelope for this, and it’ll be good to go in the mail.
 Lots of Copics used for this one!
 Every year I seem to create just enough Christmas cards by making them all year, but I tend to neglect gift tags and scramble last minute to get them done as I wrap presents. This time I was a little more ahead, and this gift tag was one of the early ones I made, featuring
  Through the hole at the top, I looped a bit of tinsel and tied a bow around it using Purple Plum divine twine from Whisker Graphics. I also die cut a letter tag using the Personalized Tags die set from My Favorite Things from some Winter Wisteria cardstock from Papertrey Ink. My niece loves purple, so I thought it fit nicely. I also added a charm with a pair of mittens, I just couldn’t help myself. This tag doesn’t even have to be a holiday tag, it’d be perfect for someone born in the winter months (not my niece, though, her birthday’s in June).
 On the back of the tag I used a piece of patterned paper from the Forever Green paper pack from Moda Scrap. I die cut it using that same stitched tag die from MFT that I used on the front and stamped a to/from stamp from the B06 stamp set from Norsk Stempelblad AS using Milk Chocolate ink from MFT. I love their inks, they stamp so well!
 You wouldn’t think I’d use this many colors for such a small image, but I did. I even airbrushed the sky in the background using B93, 91 and 90 (a color I’ve made myself), and used BG93 and BG90 with a tip to tip technique on the trees in the background for just a hint of color. I wanted the main focus to be on the cat in the foreground, so I chose very soft colors for the background.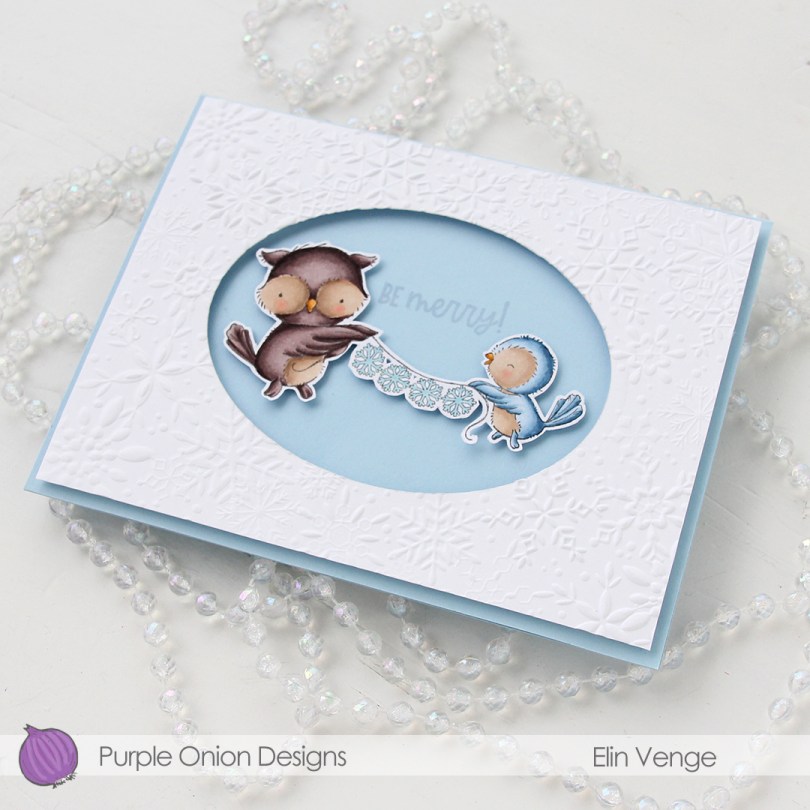
 Today I’m sharing a simple one, featuring
  I stamped the image with Extreme Black ink from My Favorite Things onto X-Press It blending card, colored the image with Copics and fussy cut, leaving a thin, white border. I prefer cutting right up against the stamped lines when I fussy cut, but with the snowflake garland, that just wasn’t an option.
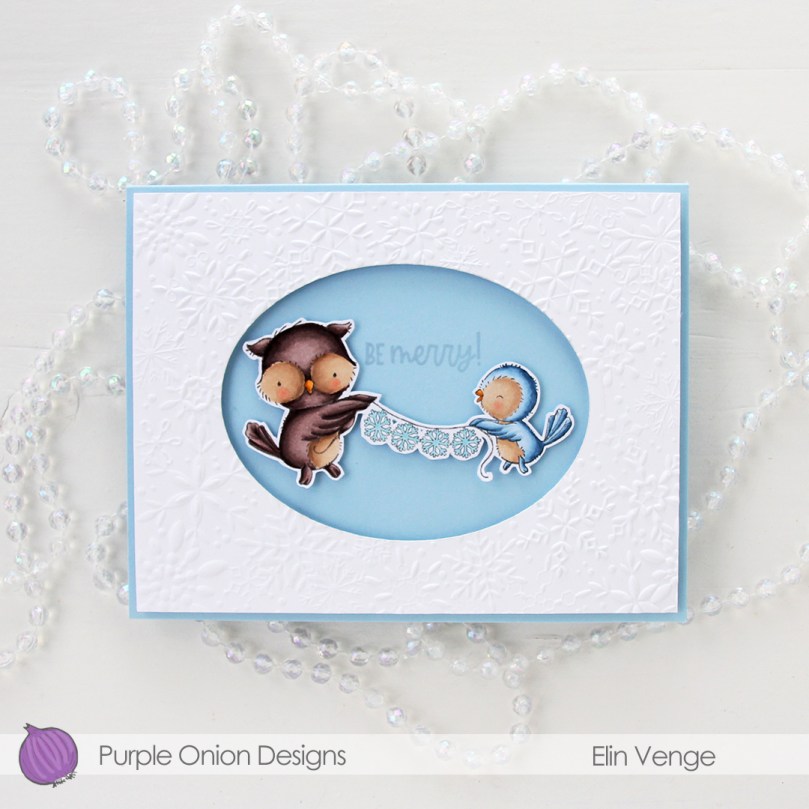 I used an oval die from Spellbinders to cut a window into a white cardstock panel. I then used the Snowflake Oval Frame embossing folder from Simon Says Stamp to create a little bit of texture to my plain white cardstock. This embossing folder has an oval in the center that doesn’t emboss (where you can stamp a sentiment), but I wanted a window for my card and cut out an oval before using the embossing folder.
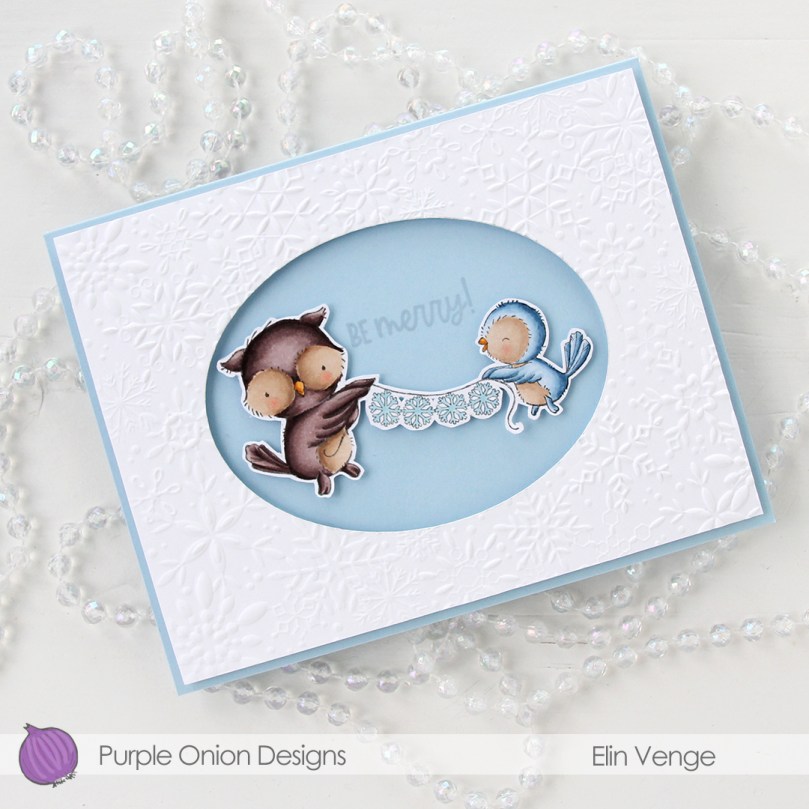 I created a card base from Spring Rain cardstock from Papertrey Ink and stamped part of a sentiment from the
 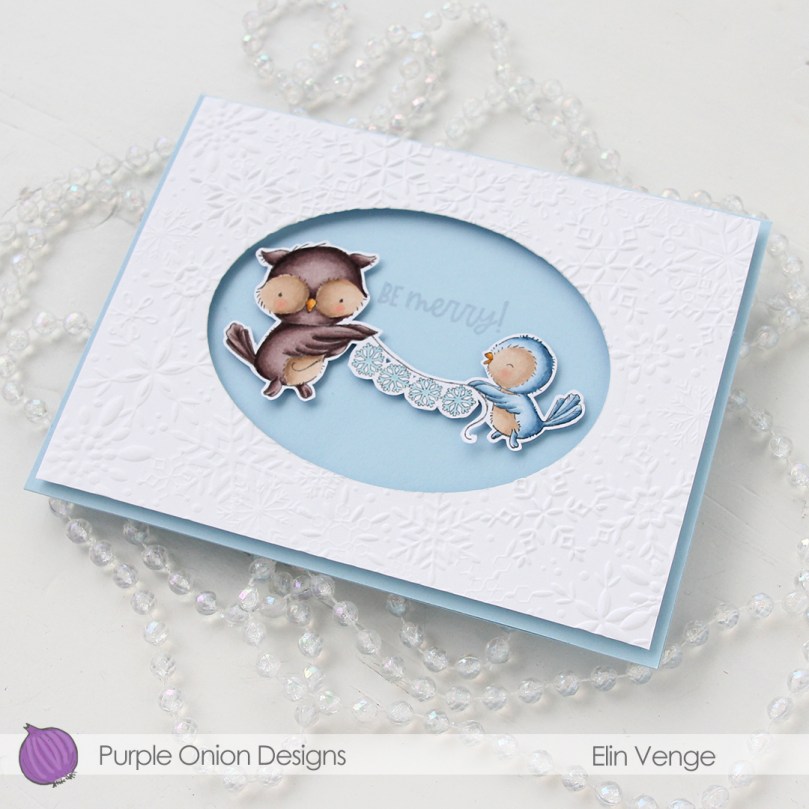 I put lots of foam tape on the back of the white cardstock with the dry embossed snowflakes and adhered that to my card, and then added foam tape behind my colored image and placed it in the center of the card.
 Simple color palette for this card.
