Hi, everyone!
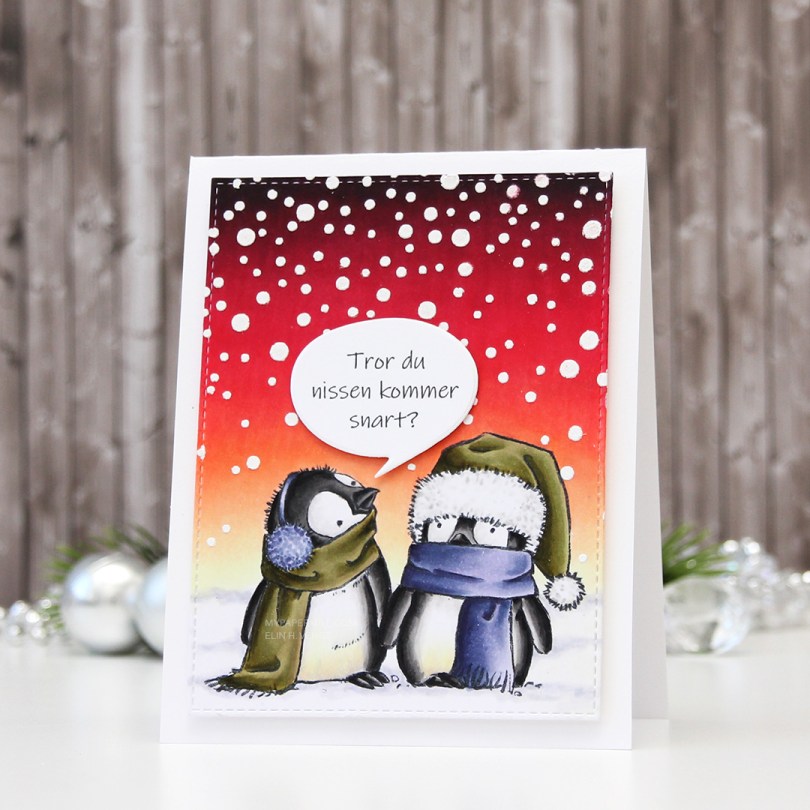
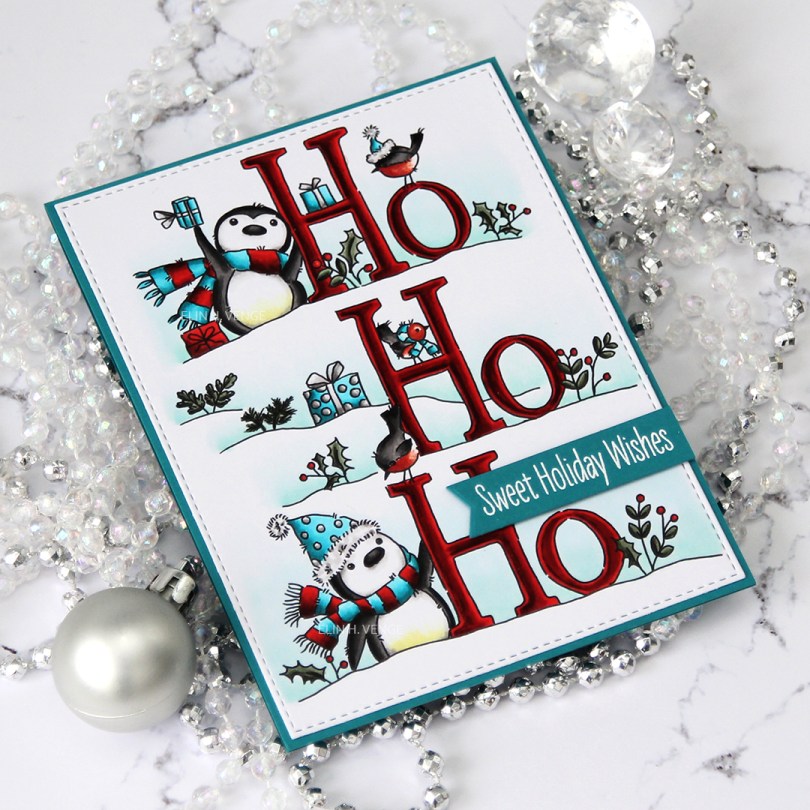
I’m still working on my holiday card, and this time it’s all about penguins AND a snowman.
 This image was part of the Christmas release from Lili of the Valley that came out a few weeks ago, you can find the stamp here on Etsy. There’s a new release coming tomorrow, and it’s full of more Christmas goodness. And they’re png, which makes them so easy to mask and layer. I’ve shared my coloring of one of the new images over on Instagram. It was a polar bear, I couldn’t help myself. For this one, however, I colored up my little scene with my Copics and added white flock to the hats of the penguins for a little bit of fluffy texture.

I diecut my panel using the largest die from the second of the two sets of Stitched rectangles from My Favorite Things and glued my card to a top folding card base I made from Enchanted Evening cardstock from Papertrey Ink. It’s my favorite dark blue cardstock, and that was the last little bit that I had, I’m now out of pieces large enough for cardbases. I used scraps of the same color cardstock to diecut my sentiment three times and stack them. The die I used is from Papirdesign. I added a stamped sub sentiment stamped in the same color ink and finished off my card with a few diecut snowflakes that I made using a die from Marianne Design.

And last, but not least, the Copics I used on this image. I’ve also made myself a BG71 that I used on the snowman in addition to the BG70.


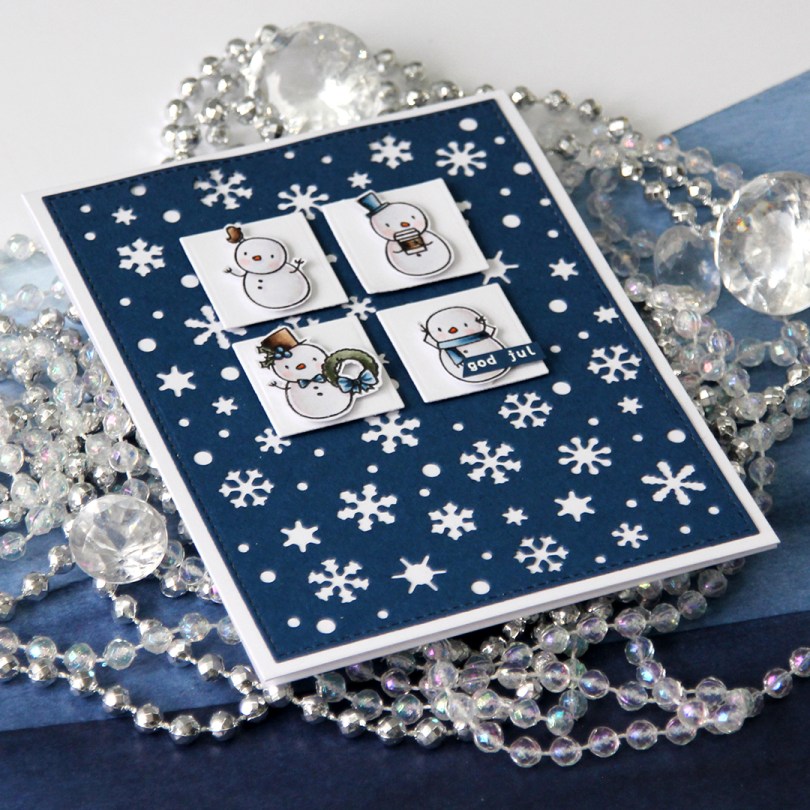

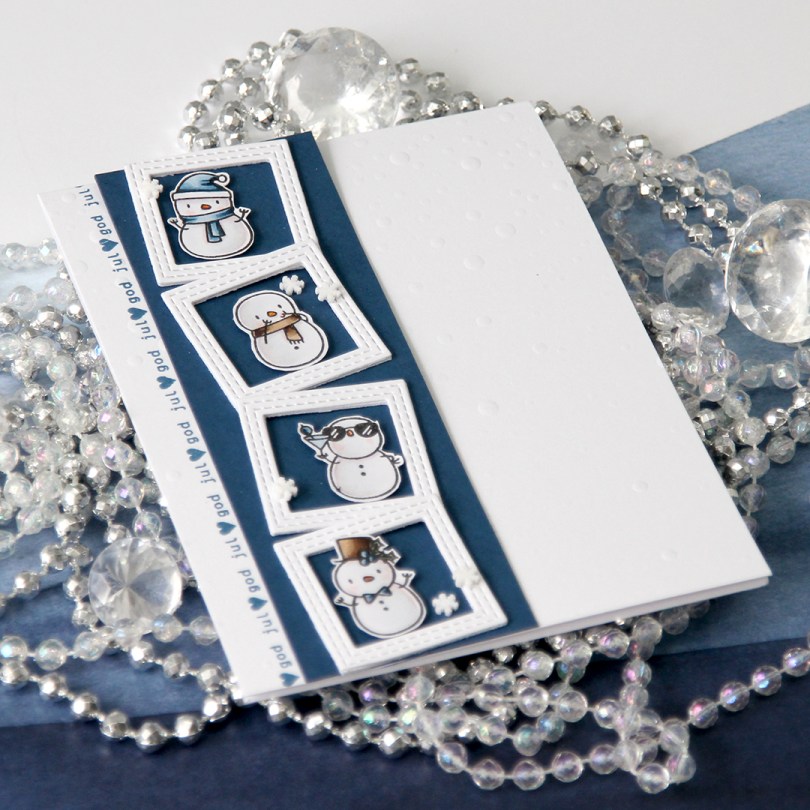
 I had loads of diecut squares left over from my previous card, they were the interior pieces of the stacked frames I used. Instead of letting them go to waste, I thought I’d put them to good use. I took four squares and mounted them to my blue snowflake panel using 1 mm foam squares. Believe it or not, but this was the part that took the longest. Getting them centered perfectly near the top with equal spacing between them all and equal distances to both sides and the top of the panel took…. well, it felt like forever. With this kind of design, though, you have to get it just right, or it’ll throw off the balance of the entire card. They’re equally distanced down to 1/32″, that’s about as good as it gets.


 I colored my image with Copics on X-Press It blending card and added
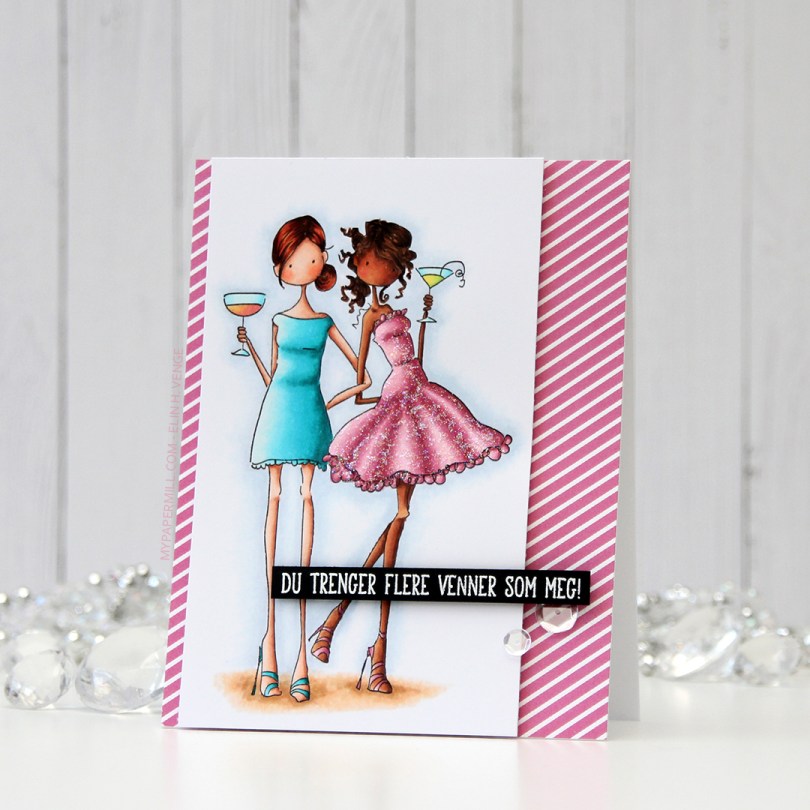
  I put a piece of patterned paper from the Party Patterns paper pad from My Favorite Things on the card front, and mounted the image on foam tape. Lots of foam tape, I was not shy!
 I stamped and white heat embossed a


 I feel like every other day is Wednesday, and today’s another one. Time just goes by so incredibly quickly, it’s hard to keep up and keep track of the weekdays. I colored up
  I haven’t made one of my cluster cards in quite some time, but I really enjoy the process of putting these clusters together, so I decided to do it for this card. It’s a great way to use some patterned paper scraps, and one of these patterned papers is actually from 2007! It’s from Autumn Leaves. Remember them? I think it’s been a while since they ceased to exist. Now, when you go to autumleaves.com, you get to a site for assisted living communities for those with dementia. It’s a Texas based company, and definitely not a maker of pretty patterned paper. The other papers I’ve used are also what we’d call old in the card making world, the yellow one is from My Mind’s Eye and was released in 2011, and the remaining two were both released in 2013, they’re from Maja Design and Inkido, respectively.
 I use a couple of different dies to make these clusters, I make the banners using the Fishtail Flag Frames set from My Favorite Things, and I use the Happy Days Ticket Stubs die from Xcut for all those tickets. It’s one die that cuts nine different tickets, and I love that I get that many from one run through my diecutting machine. I mounted some of my diecut pieces on 1 mm foam tape, and glued others down using just double sided tape. Behind the whole thing I put half a mini paper doily from Doodlebug Design. I used the other half for the card I posted yesterday. On top I added a sentiment from Norsk Stempelblad AS stamped in Ocean Tides ink from Papertrey Ink. I mounted that on foam squares, and tripled up the foam squares on the left side of the banner. Finished off with a few pink dots from Papirdesign.
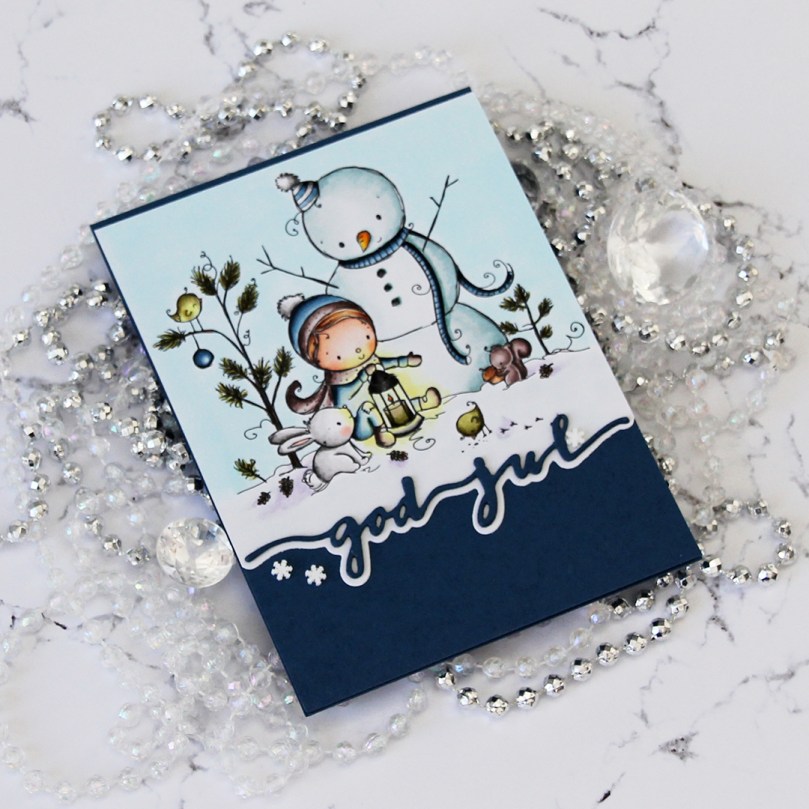
 I leave you with the colors I used for the adorable little girl. Not too many today.
 “Elin goes overboard with coloring” is a common theme around here, and I used 50 Copic colors to create this little scene. I wanted to keep the focus on the colorful image, so I used a stitched rectangle die from My Favorite Things to diecut my panel and mounted it on Smokey Shadow cardstock from Papertrey Ink. I added a couple of pieces of a mini doily from Doodlebug to opposite corners to soften the look a little bit, before popping up a sentiment from the stamp set onto black foam tape from Gina K.
 All I did for embellishments was add a couple of sparkling clear sequins from Pretty Pink Posh, and my card was complete.
 These are 49 of the 50 Copics I used to color my image. I also used BG71, which is a color I’ve made myself.