
Hi, crafty friends. I’m back with the card I made for the second blog hop for the Alex Syberia Kickstarter Campaign. We had our first blog hop mid September, which you can find here, and our first IG hop about a week later. My blog post for that is here. For the first two cards I featured a sentiment set and one of the beautiful floral stamp sets. This time, I’m focusing on critters – penguins, more specifically. ONE penguin, to be perfectly accurate.
 I thought this guy from the Smile and Wave stamp set was too cool not to use, so I colored him with my Copics and did some fussy cutting, leaving a white border around the edge. I wanted him to stand out and to make a super simple card.
 I created a mask with some 2″ post-It tape by cutting a sloping hill with a craft knife. This is easy to do free hand, but you can use a curved die if you’d like.
 I wanted this guy to really stand out against the background and decided to ink blend using distress inks. I used Abandoned Coral, Worn Lipstick, Spiced Marmalade, Mustard Seed and Scattered Straw for the sky. The yellow and orange tones pick up the colors from his belly, beak and feet and really stand out against the blue of his hat. For the ground I used a little bit of Tumbled Glass Distress Ink near the horizon, fading into white near the bottom.
 I sprinkled on Chunky White embossing enamel to the background, making sure no granules covered my stamped sentiment before melting the granules from the back. I mounted the panel onto the white top fold card base using foam tape for dimension.
 I mounted the penguin onto foam tape and used some clear iridescent crystals from the Crystal Collection (Glass) from Little Thing from Lucy’s Cards to finish off this very simple card.
 Simple color palette.
Did you know that Kickstarter is all or nothing? That means that Alex Syberia Designs need to reach their funding goal to be able to go ahead and manufacture this beautiful collection, so please, help them! You can back them on their Kickstarter Campaign and you can help them spread the word about it!
Remember that you have some fantastic discounts, which are only available through their Kickstarter Campaign.
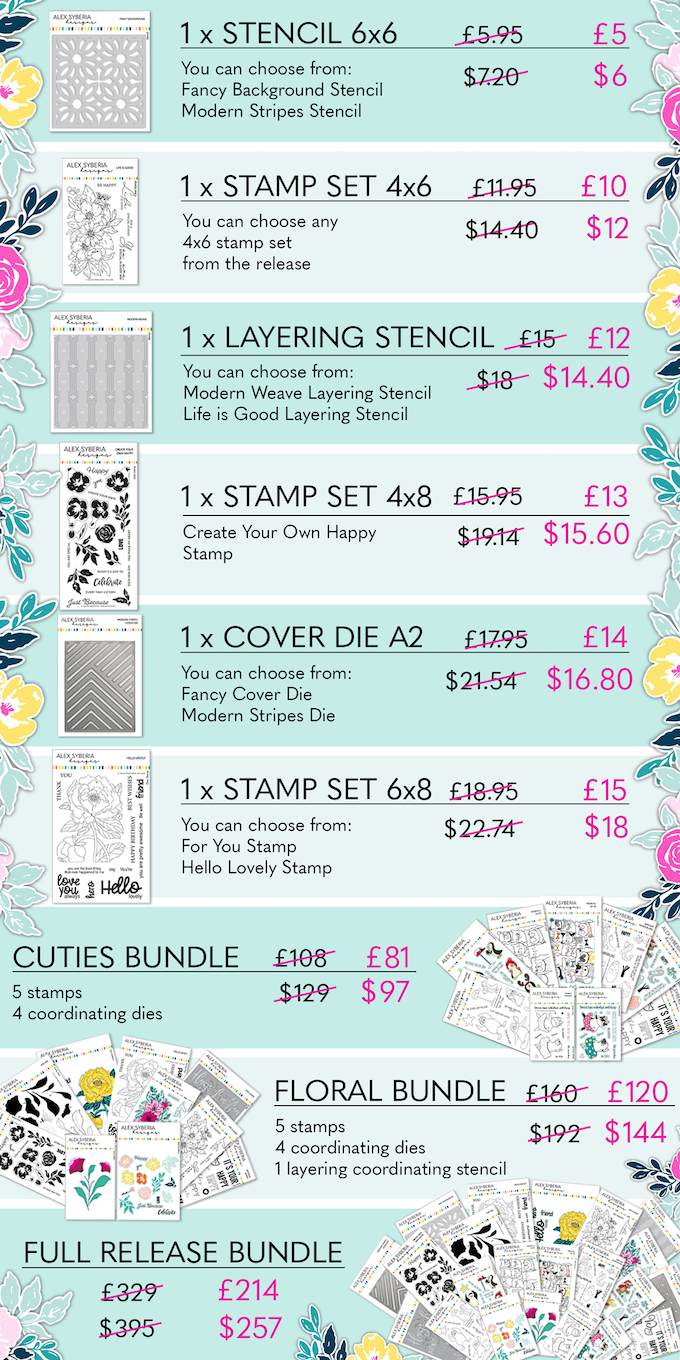
GIVEAWAY PRIZES | OVER £1000/$1200 IN TOTAL
- Alex Syberia Designs:
- Full September Release Bundle (worth £329/$395)
- Two bundles to choose from: Floral Bundle (worth £160/$192) or Cuties Bundle (worth £108/$129) *
- Artcreatiu – 25€ Gift Card
- Bearly Art – $50 Gift Card (open to US participants only)
- Catherine Pooler Designs – $30 Gift Card
- Crafty Purple Frog – £25 Gift Card
- Kit & Clowder – 30$ Gift Card
- La papelería de Lola – 25€ Gift Card
- Organizemore – $50 Gift Card
- Picket Fence Studios – $75 Gift Card
- Seize the Stamp – CHF 50
- The Gray Muse – $50 Gift Card
- Tonic Studios – £100/$100 Gift Card
- Wow! Embossing powder – £20/$20 Gift Card
* Check the Kickstarter Campaign for more info
That’s a total of 15 prizes for 15 lucky winners! To be in with a chance to win one of these amazing prizes all you have to do is play along with each of the four hops! Alex Syberia Designs will draw winners from those entrants that have played along the hops by 16th October 2022.
To enter, leave a comment on this blog post as well as those of all other amazing designers. You can see the full list, with links to each blog, below.
Winners will be announced on the Alex Syberia Designs blog on the 23rd October 2022.
BLOG HOP 2 | DESIGNERS LIST
- Alex Syberia Designs
- Bonnie Crane
- Brenda Noelke
- Carly Tee
- Cheryl Espie
- Colleen Balija
- Elin Venge <- You are here
- Erica
- Hannelie Bester
- Ilda
- Jessica Frost-Ballas
- Jo Herbert
- Jo Laverty
- Laura Fadora
- LauraJane
- Lien Leysen
- Liz
- Michelle Short
- Mindy
- Natasha Vacca
- Nicoletta
- Raquel Arribas
- Sandhya
- Seeka
- Tasha
- Tina Wilstrup
- Yasmin Diaz
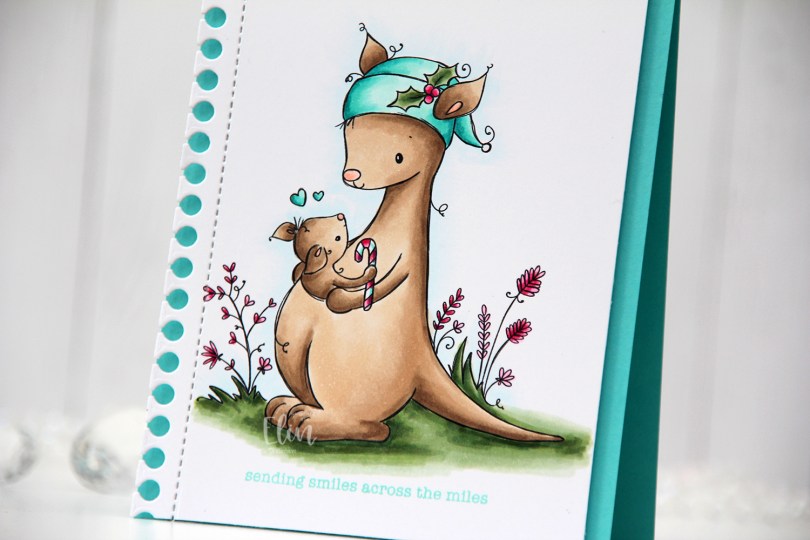
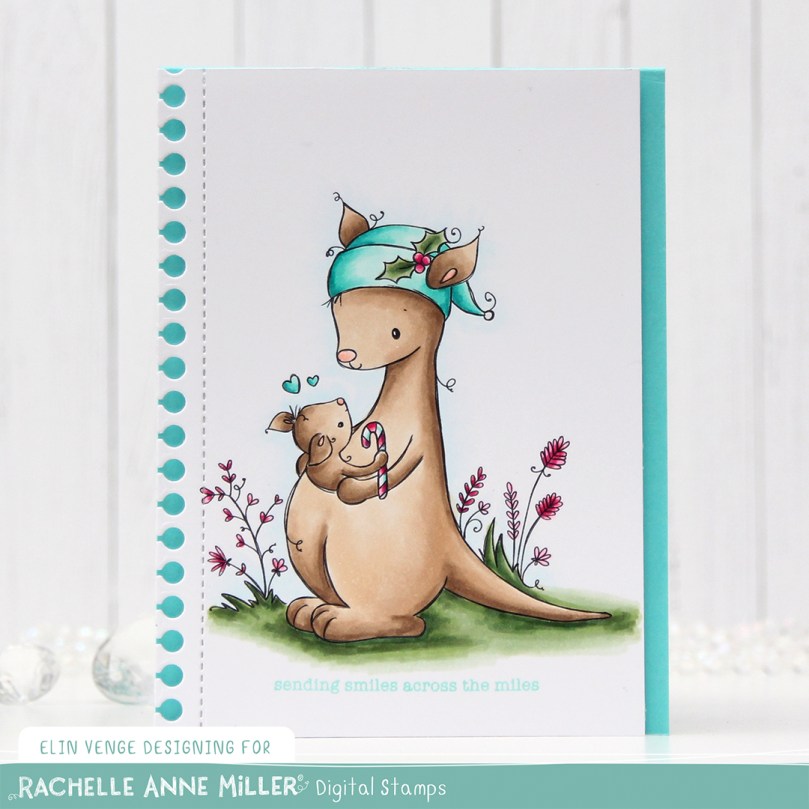 I love teal for Christmas cards. I actually love teal for anything, but it’s the perfect color to pair with the dreaded traditional red. I’m not a fan of complementary colors, so red and green don’t really work for me, but red and teal totally do. As does red and light blue, or red and grey, but that’s pretty much my entire list for what goes with red at Christmas. I’m weird, I know.

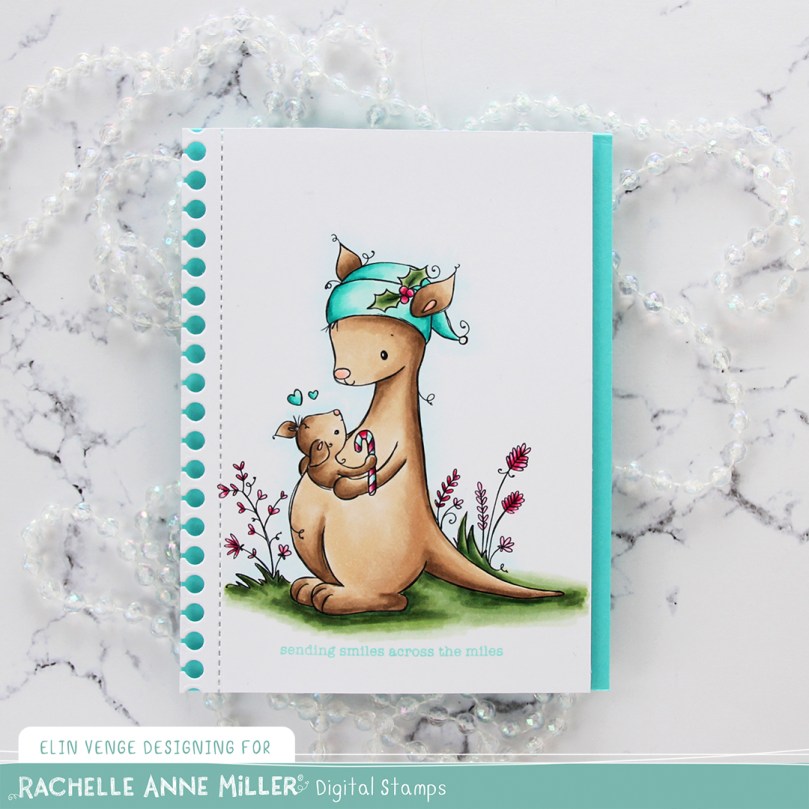 Once my coloring was done I used the Notebook Edge die from My Favorite Things to die cut from the left hand side of the panel. Below the image, I stamped a sentiment from the Holiday Messages stamp set from Mama Elephant using Hawaiian Shores Ink from Papertrey Ink.
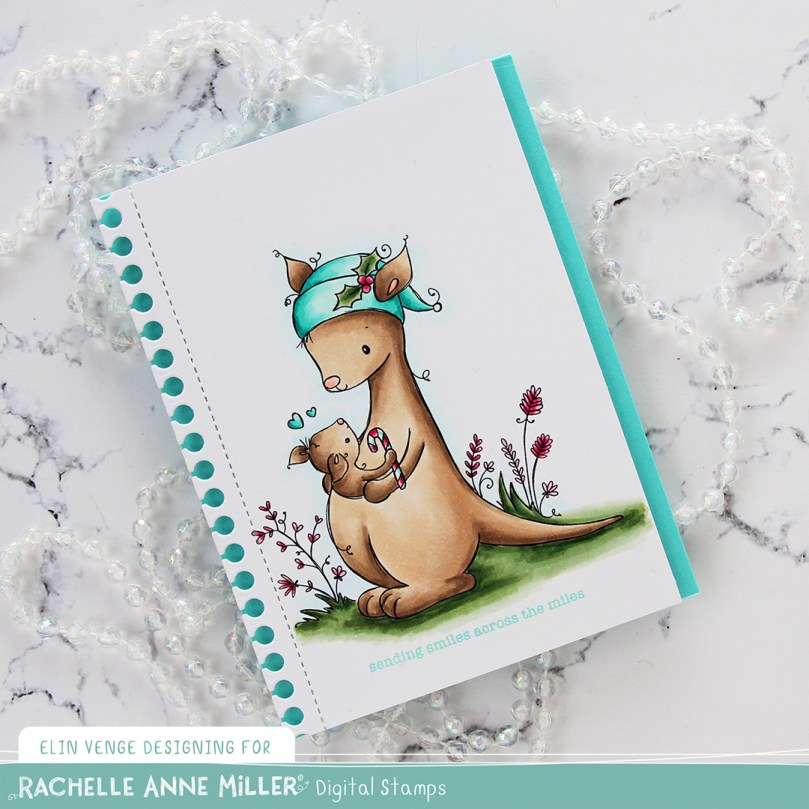
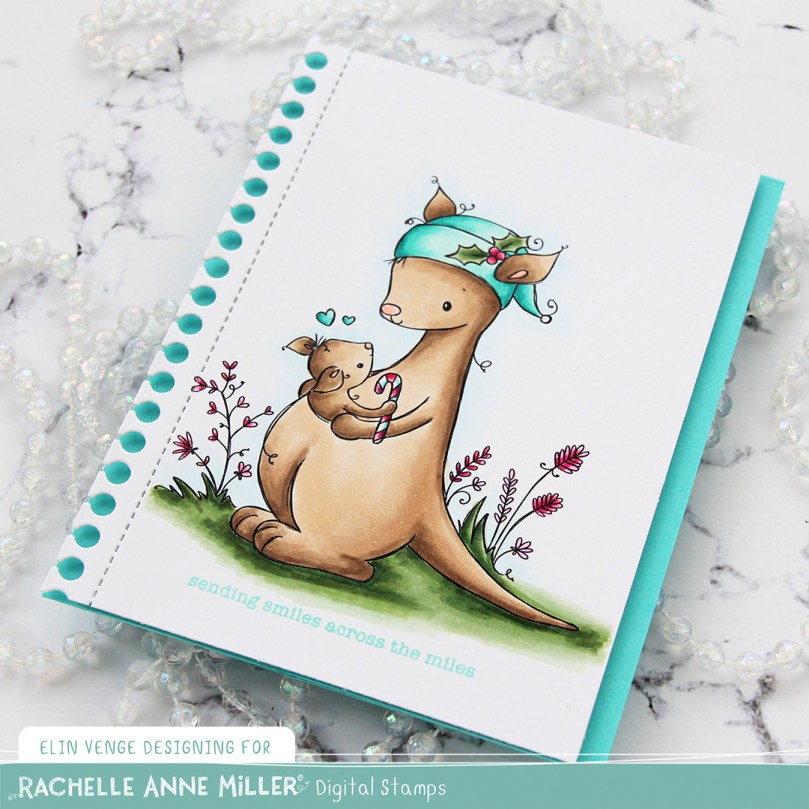 I thought about adding some sort of embellishment to the card, but in the end, I decided to keep it simple.
 Not a whole heap of Copics used for this one.
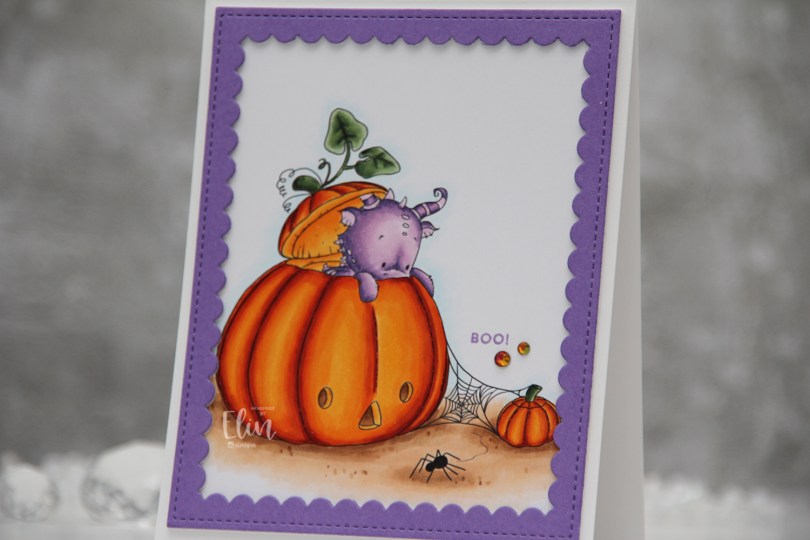
 Halloween isn’t really a big thing in Norway, but this image was so cute I just couldn’t resist. I colored up the ground, pumpkins and leaves before asking my “twin” Liz for a color suggestion for the actual dragon, thinking in my mind “please don’t say purple”. What did she choose? It was inevitable, I knew she’d say purple, she even said which purples to use. I actually think he’s cute in purple, and I don’t think I’ve colored one of Lee’s dragons purple before, so I guess it was about time.
 Once I finished coloring, I embraced the purple, stamping the Boo! sentiment from the Itty Bitty Boos stamp set from My Favorite Things using Deep Iris ink from Altenew. I then die cut the largest frame in the Scallop Frames die set from Pretty Pink Posh from Amethyst Allure cardstock from Papertrey Ink, adding two additional white die cuts behind it for dimension.
 The outside dimensions of the die cut frame are 4 x 5″, so I cut 1/4″ off the height of my card base, making it 4 1/4 x 5 1/4″ instead of the normal A2 size to get an even white border on the outside of it.
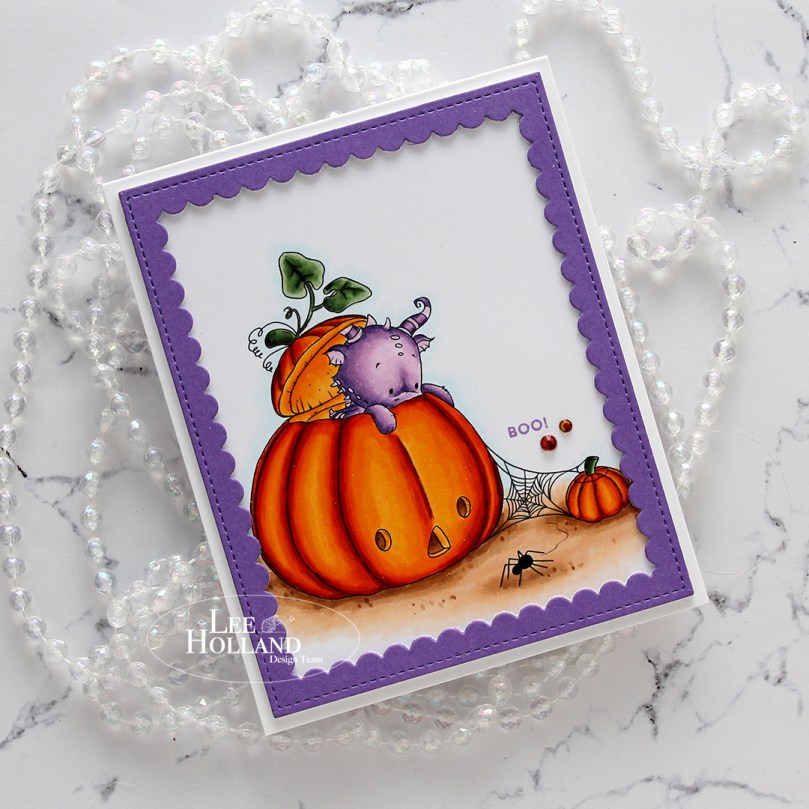 The sentiment is tiny, and to draw the eye to it I decided to add a couple of gems. These are from the Meraki Sparkle Red Illusion jar. They’re color changing glass rhinestones, and this color was perfect for this card.
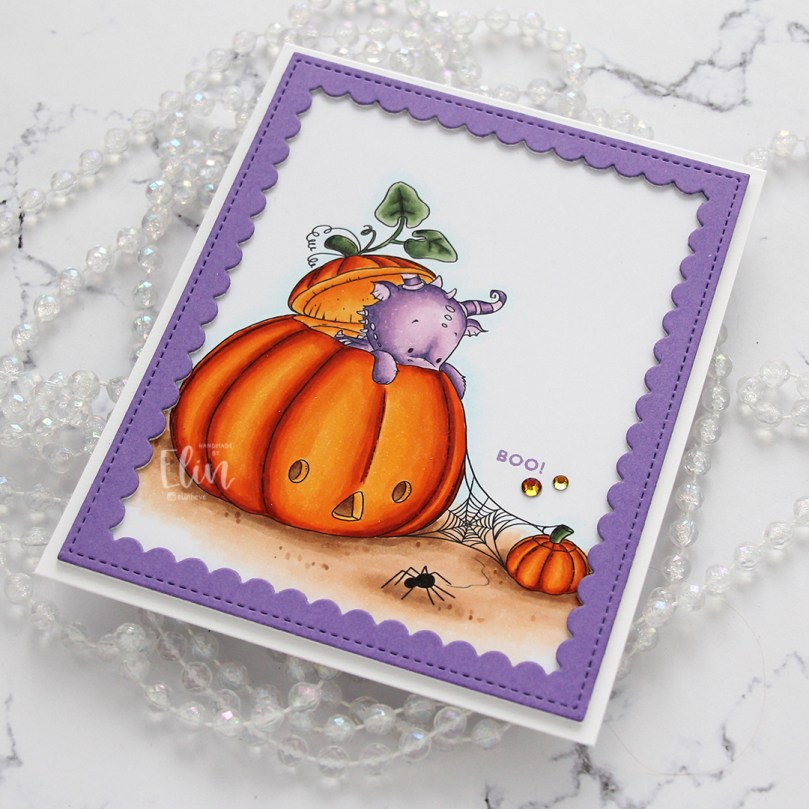 If you look at the various photos in this post, you’ll see that these rhinestones appear to have different colors depending on how the light hits them, it’s a really cool effect. In this photo, you can also see the dimension added by using stacked die cuts.
 Fairly simple color palette for this card. It was a pretty quick image to color too!

 I created a very simple scene for this card, stamping the snowman in Fadeout ink from Inkon3 before adding a mask, then stamping the
 Every once in a while, I break out my airbrush system. I actually keep it out on my desk, but I have a big desk and don’t usually sit close to it. I love the airbrush system, it’s such an awesome way to get a layer of color quickly. Coloring an entire nighttime sky with Copics takes a while, airbrushing it is faster. Use colors that are darker than what you think you want, and make sure there’s enough ink in the marker before starting. I used B99 and B97 for this sky, and it’s wonderfully dark and the perfect backdrop for the lighter colors of the snowy scene in front.
 Once I finished the airbrushing, I carefully removed the masks and did no line coloring of the rest of the scene. At this point, I’ve colored snow so often, I can do it in my sleep. This snowman is pretty easy to color too, most of the areas are pretty big surfaces, so it’s a very forgiving image.
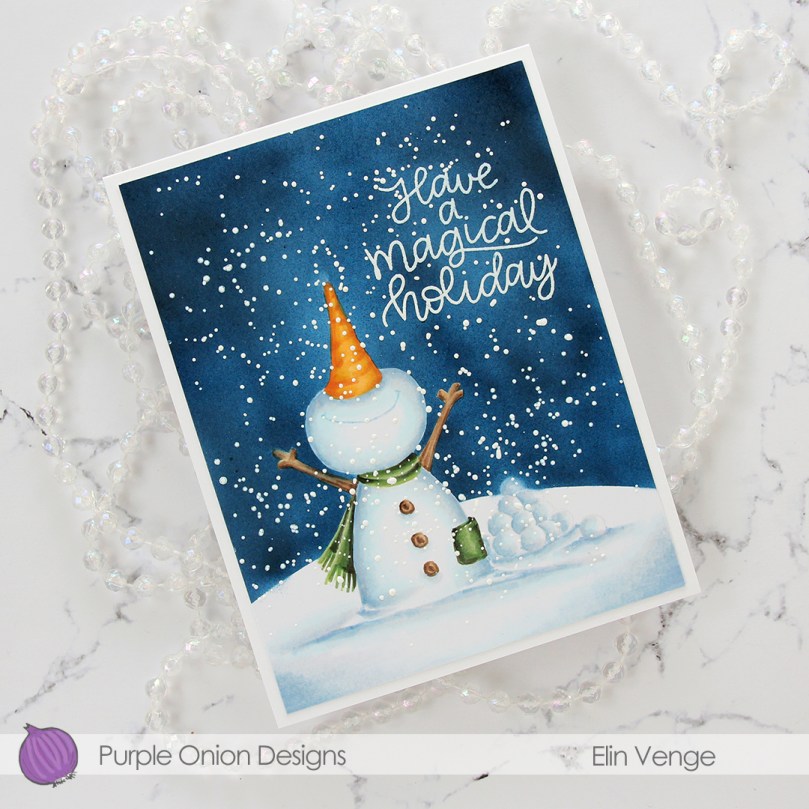 After I finished my coloring, I stamped and white heat embossed a sentiment in the sky. The sentiment is actually from the Scripty Xmas stamp set from Mama Elephant, I kind of forgot for a second that I was creating a Purple Onion card, I was a little lost in a creative zone. After heat embossing the sentiment, I sprinkled on chunky white embossing enamel from Stampendous to create my super snowy scene, making sure to remove any granules that landed on top of the embossed letters before melting the granules from the back.
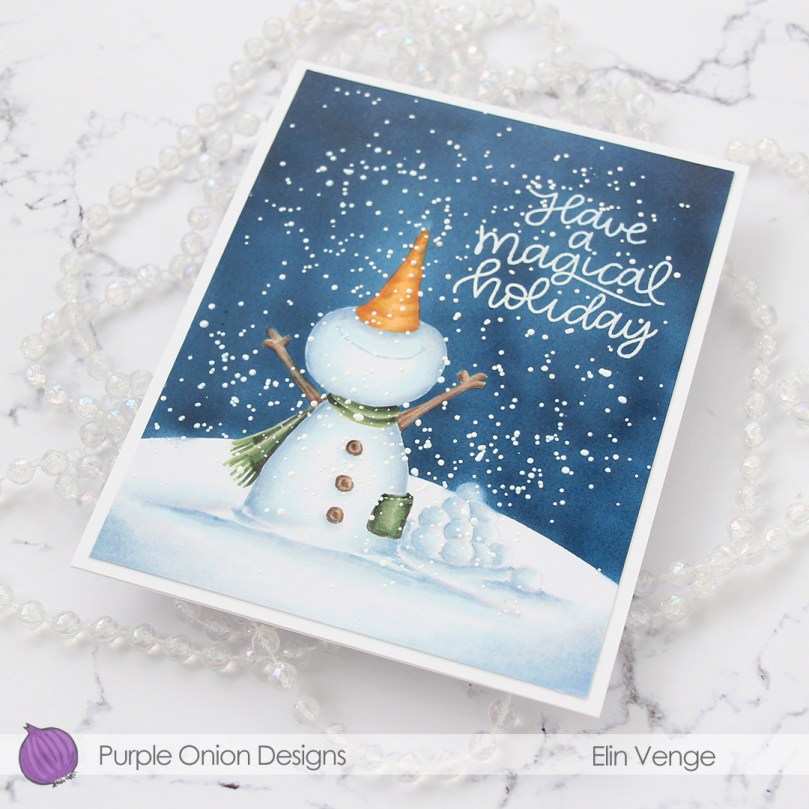 I trimmed 1/8″ off each side of my scene and adhered it to a white card base I created from white cardstock from Papertrey Ink, deciding not to add any embellishments. I figured there was enough going on already with all the snow.
 As usual – lots of colors used for the snow. The two blues at the very bottom after the break are the colors I used for the airbrushed sky.

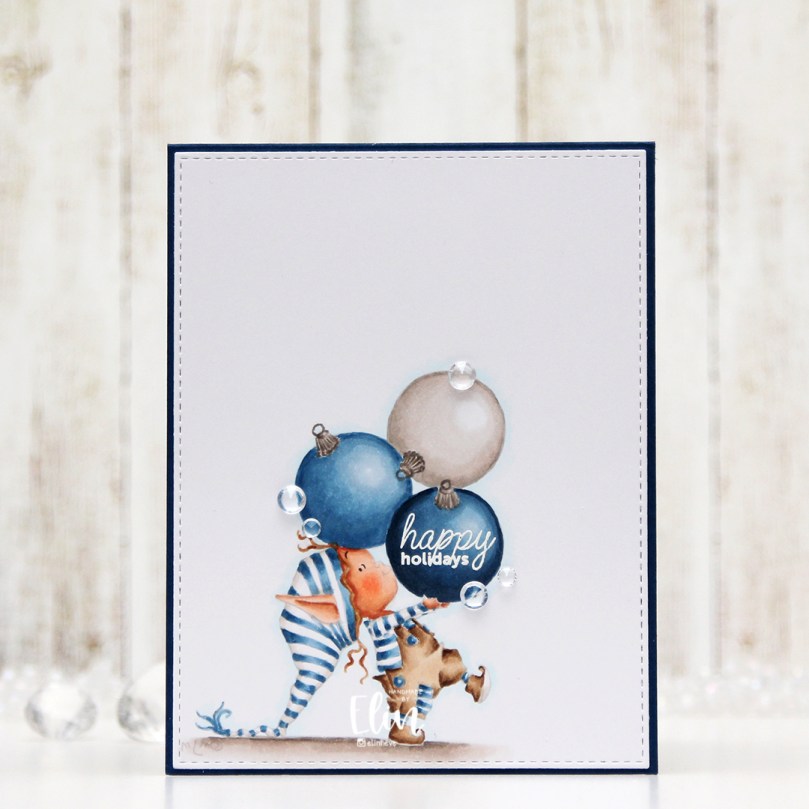 I love Mo’s elves, and this is
 Once the image was colored, I used the largest die in the A2 Stitched Rectangles STAX 1 set from My Favorite Things to create a faux stitch border. I then white heat embossed a sentiment from the Mini Messages stamp set from Mama Elephant in the center of the darkest bauble, before adhering the panel onto a top fold card base I created from Enchanted Evening cardstock from Papertrey Ink. I added a few diamonds from the Urban Chic mix from Little Things from Lucy’s Cards to finish off the card.
 Simple color palette for this one. It was super fast to color too, which isn’t usually the case with no line coloring.

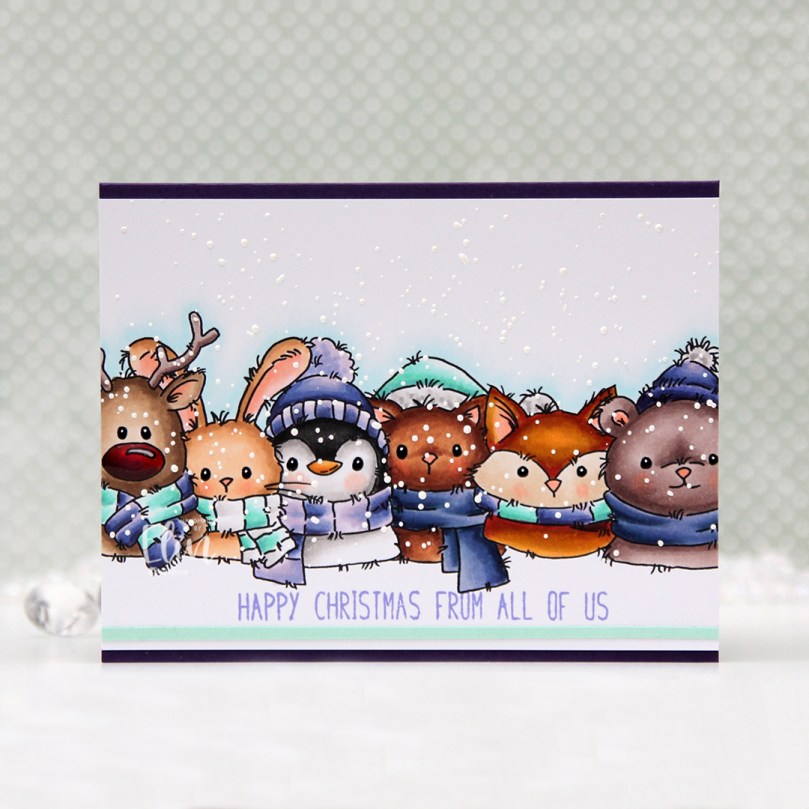 I didn’t know what color scheme to go for, and my color buddy Liz suggested purple, knowing I’d kind of hate her for it. 😉 I struggle with purple. It’s not my favorite color to begin with, it’s tricky to photograph well, and also difficult to find good matches with ink and cardstock for. AND it’s even hard to find colors that pair well with it. It’s not something I’d normally use for a Christmas card, but I love a good challenge, so I grabbed a bunch of purple Copics and started coloring.
 I kind of tried to chicken out a bit by asking Liz if it’d be okay if I added some aqua tones. “Only if purple is the dominant color,” was her answer. With no chance to weasel my way out of purple and into something I’m more comfortable with, there was only one thing to do… keep coloring purple.
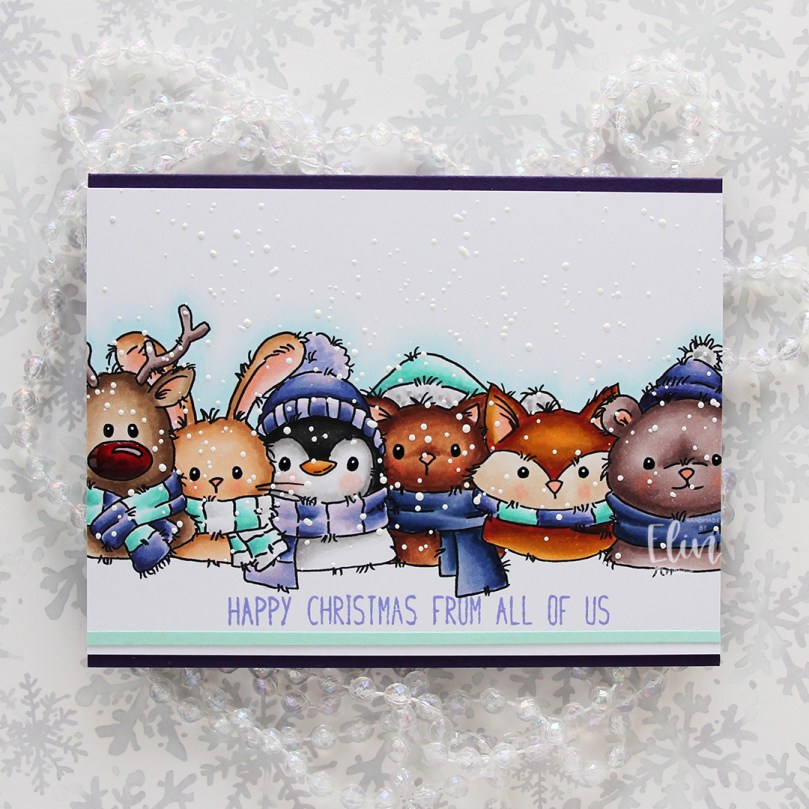 I did add a little bit of aqua to not have everything purple. I even tried some blue, but that didn’t really work and I actually covered up the blue… with more purple. Once I finished my coloring, I added a sentiment from the
 I used a black glaze pen to get their eyes extra black and shiny, added a tiny white dot to each eye using the 05 white Gelly Roll, and covered Rudolph’s nose with Glossy Accents. Once dry, I sprinkled on lots of chunky white embossing enamel from Stampendous and melted the granules from the back of the panel for a snowy look.
 I adhered my colored panel to a top fold landscape card base I created from Royal Velvet cardstock from Papertrey Ink, and added a thin strip of Sea Glass cardstock from Concord & 9th below the sentiment for an additional element that wasn’t purple.
 I used so many colors for this, it’s ridiculous. I used different colors for all the animals, only keeping cheeks, noses and inner ears the same throughout.

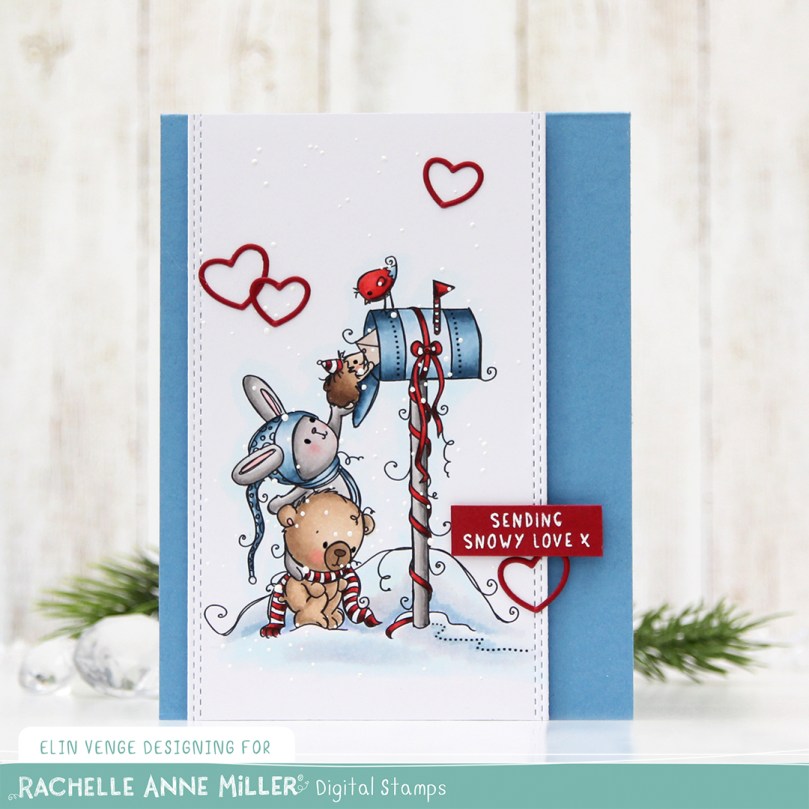 I colored up the scene using Copics, then used the largest die in the Slimline Double Stitched Rectangle STAX die set from My Favorite Things to add faux stitching to both sides. There’s no reason you can’t use slimline dies for an A2 sized card, and this worked out really well, the die was the perfect width for my image.
 I used a black glaze pen from Sakura to get some shine and dimension into the eyes of these cute critters (you can see it in real life when you tilt the card in the light, I promise), then sprinkled on Stampendous chunky white embossing enamel that I melted from the back of the panel.
 Using lots of foam tape, I adhered my panel to a top fold card base I created from Blueberry Sky cardstock from Papertrey Ink. This blue is gorgeous, and it’s perfect for the B90 Copic family.
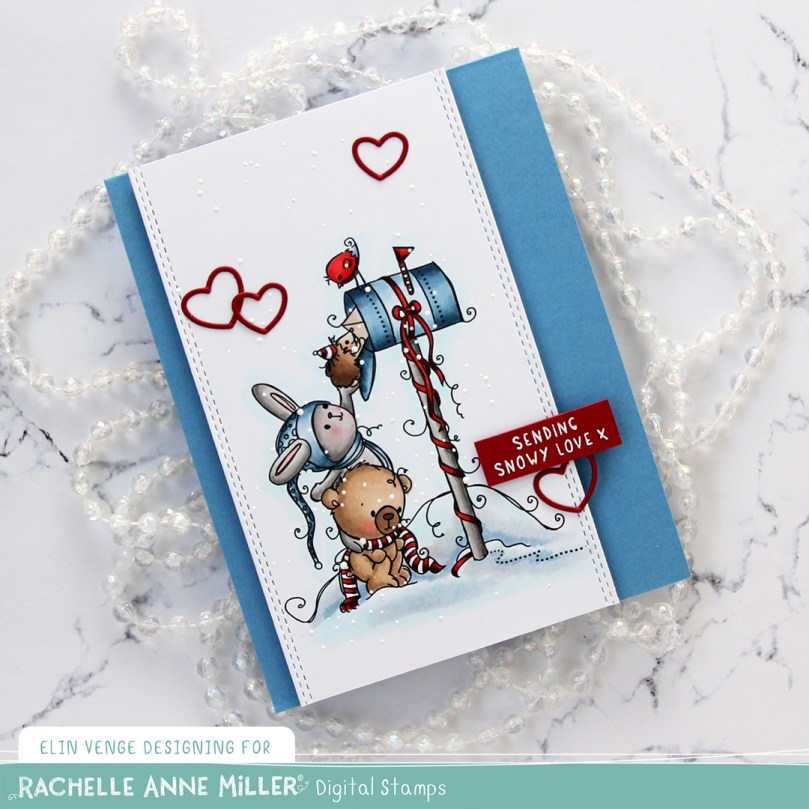 I white heat embossed a sentiment from the Christmas Greetings stamp set from Lili of the Valley onto a piece of Amarena Cherry cardstock from My Favorite Things. I cut the sentiment down to a strip and added it to the card using foam tape.
 To finish off the card I added a few die cut heart outlines. These are from the Wax Seals die set from Waffle Flower. There are two different sized hearts in the die set, I used both for this card and cut them from Amarena Cherry cardstock before adhering them to the card.
 Simple color palette for this one. Lots of colors used for the snow, that’s pretty much a given when I color snow.

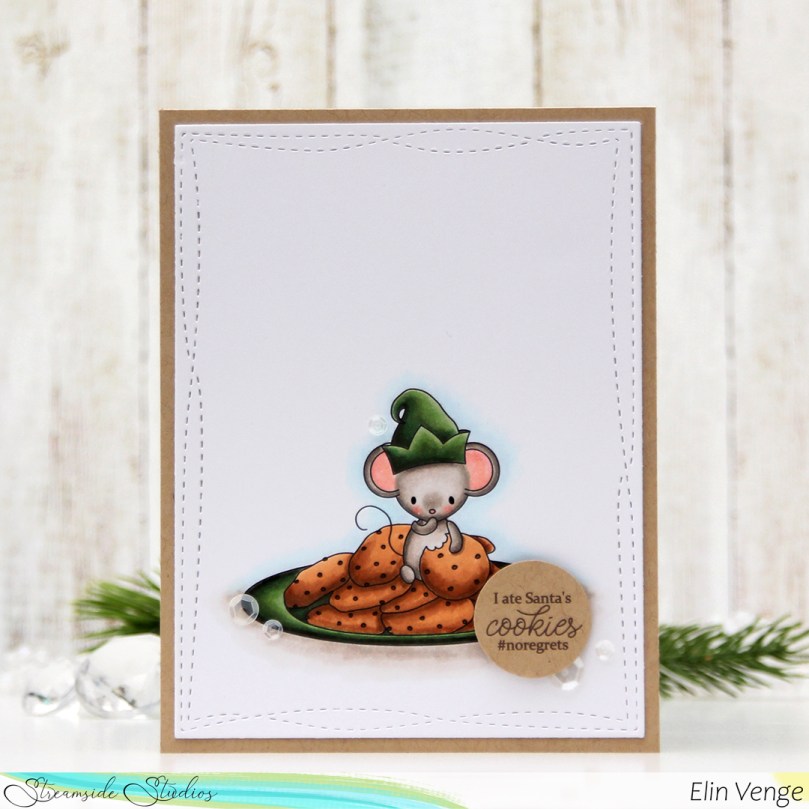 I colored up the image yesterday, actually, while watching Tim Holtz’ live on Instagram. Once the coloring was complete, I used the largest of the dies in the Wonky Stitched Rectangle STAX die set from My Favorite Things to give it a nice faux stitch edge.
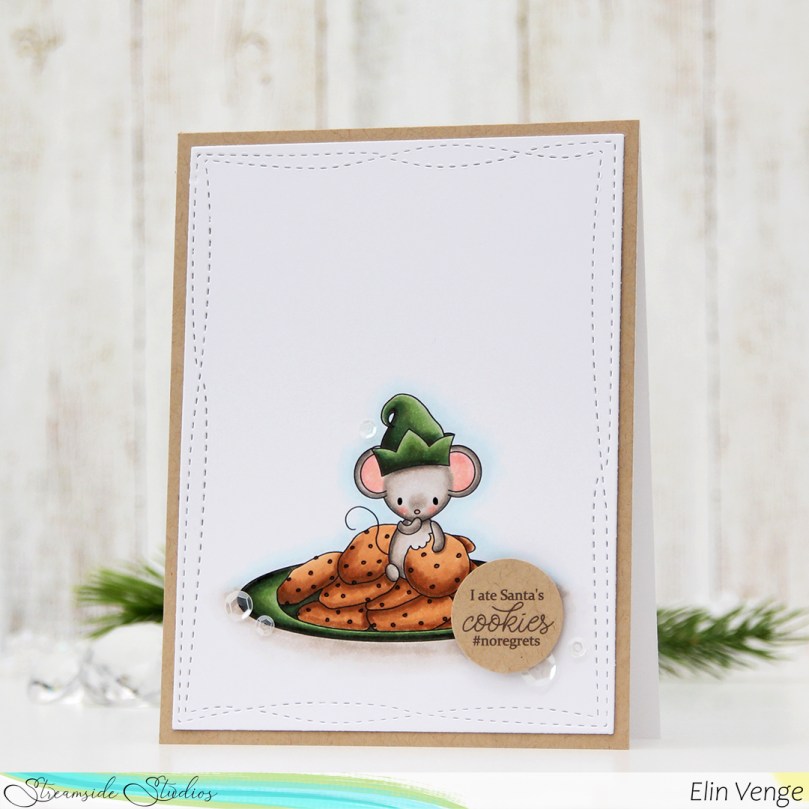 I adhered my colored and die cut panel to a quarter piece of Classic Kraft cardstock from Papertrey Ink, then adhered it all to a top fold note card I created from white cardstock, also from Papertrey Ink.
 I thought the sentiment was perfect for this little image, and decided to print it in brown onto Classic Kraft cardstock. I then used a 1″ circle punch from EK Success to cut it, then added it to the card using foam tape for a little bit of dimension.
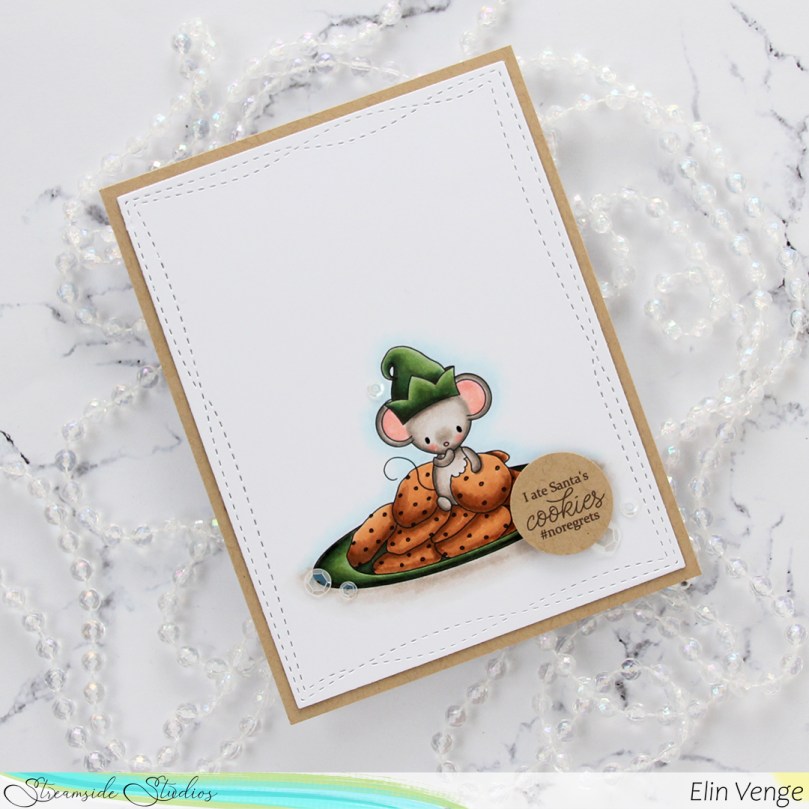 I kept the card very simple and decided to only add a few sequins. I love the sequin mixes from Little Things from Lucy’s Cards and use them very often on my cards. These particular ones are from the White Orchid sequin mix.
 A little bit of a side view shows the dimension and those sequins a little bit better.
 Not a lot of Copics used for this card, this came together really quickly.


 I stamped the word happy repeatedly in a column on a piece of X-Press It blending card, stamped birthday close to the bottom and colored in all the individual happy words using Copics.
 I trimmed my panel down significantly, before adding plenty of foam tape to the back of it and mounting it to a card base I created from Soft Stone cardstock from Papertrey Ink.
 I wanted to add even more dimension by having one of the happy words popped up, but the letters are so narrow, they were too tricky to put foam tape on the back of. I decided to add dimension in another way by covering the green letters with Nuvo Jewel Drops in the color Key Lime. It makes the happy slightly raised and also gives it some shine.
 Clean, simple, colorful – what more could you want from a card?
 Lots of Copics used for this one.

 I’ve created a very simple card this time, featuring this cute little car from the new
 I did some simple no line coloring of the image. I hadn’t done no line in a while when I created this, so opting for this tiny image was perhaps not the most brilliant idea ever. It’s kind of what I do, though, I jump in. I used a grey Copic to give the illusion of someone sitting in the car, used a couple of blues for some simple shading near the tires and kept everything very simple.
 Using four different shades of blue ink (Distress Inks in the colors Chipped Sapphire, Faded Jeans and Stormy Sky, in addition to Iceberg ink from Altenew), I softly ink blended an ombre sky before sprinkling on Chunky White embossing enamel for a snowy effect that I love having on my cards. I heated the panel from the back, melting the granules and adhered the panel onto a top fold card base I created from white cardstock from Papertrey Ink.
 Using the sentiment die from The Penguin’s Waddle die set from Mama Elephant, I created a chunky sentiment by adding several die cuts together for a stacked, dimensional look. I adhered it to the top center of my card and finished it off by placing a few snowdrift sprinkles from Little Things from Lucy’s Cards near the car.
 I love a dimensional die cut sentiment, it kind of says I mean business and adds so much to a simple card!
 Simple color palette for this one. It’s a simple card with a tiny image, so it’s kind of a given.

