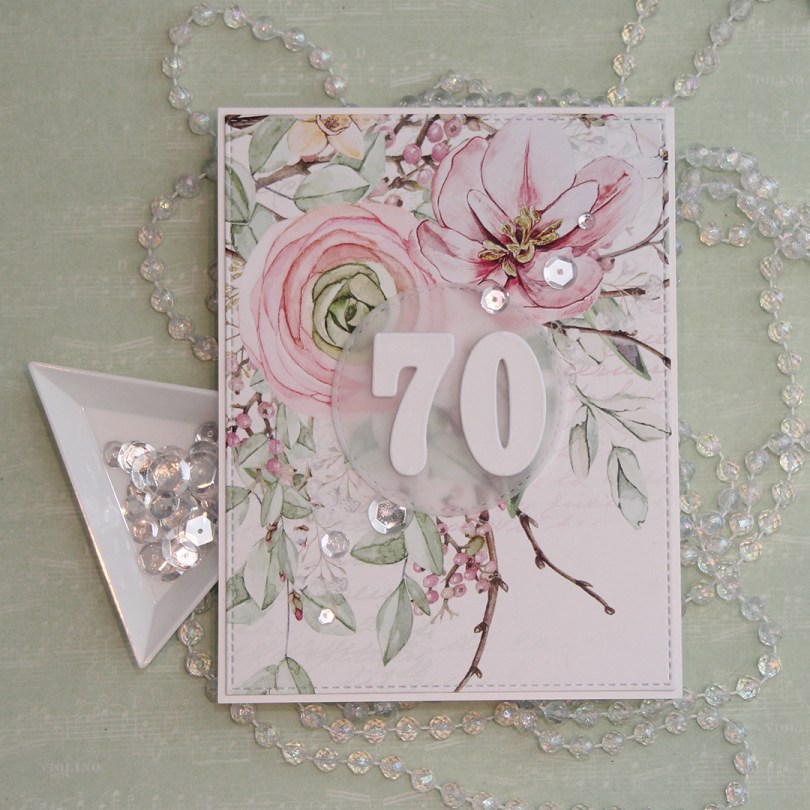
Hi, everyone! My second blog post for today, and it totally shows on my card that I’m longing for spring. Fall is definitely in the air, and I’m feeling colder and colder and colder. I don’t like it one bit! I do, however, like the florals in the Spring collection from P13. These are gorgeous patterned paper, and they’ve got such pretty imagery that I don’t want to cover too much of it up. The paper I used for this card is Spring #05.
 For this card, I used the largest die in the Stitched Rectangles STAX 2 set from My Favorite Things. You can find set 1 here. The dies are a little bit smaller in set 1, but the shape’s the same. I have both sets, I just prefer the 1/16″ border I get by using the largest die in set 2.
 I glued my die cut panel onto a cardbase made from Stamper’s Select White cardstock from Papertrey Ink. I die cut a circle from vellum using a circle die from the Stitched Circle STAX set, also from My Favorite Things. It matches nicely with the stitching around the edge of my floral panel.
 I also die cut a bunch of numbers using a die set from Papirdesign. I made most of them from white card stock, but the top numbers from a piece of that same patterned paper. It might not look like patterned paper, but there’s a lot of white space on this sheet, and I used some of that for my numbers. It makes the whites match, which I really love. I put a 3 layers of my numbers underneath the vellum, and the remaining four layers on top. It makes the vellum stand out a bit from the background, which makes the number show up a little better and not get lost in that busy background.
 I finished off the card by gluing on some sparkling clear sequins from Pretty Pink Posh.


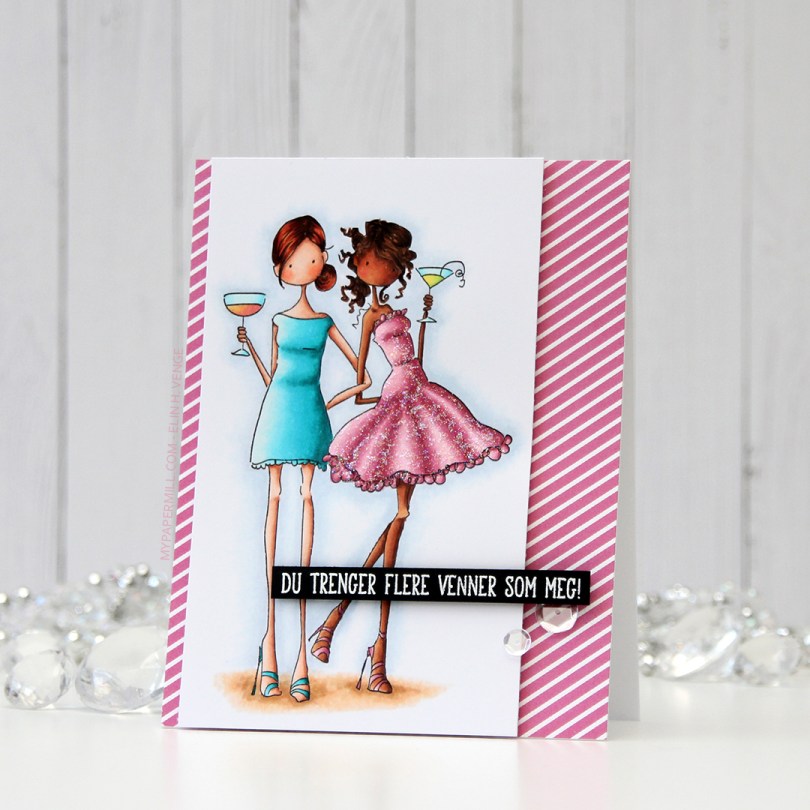
 I colored my image with Copics on X-Press It blending card and added
  I put a piece of patterned paper from the Party Patterns paper pad from My Favorite Things on the card front, and mounted the image on foam tape. Lots of foam tape, I was not shy!
 I stamped and white heat embossed a
 I colored up this
  I ran a white cardstock panel through my Gemini Jr with an embossing folder from We R Memory Keepers to create some texture in the background. I mounted it on foam tape and centered it on my card front, before adding my colored image with some 1 mm foam squares for even more dimension.
 I white heat embossed a sentiment from the same stamp set onto True Black cardstock from Papertrey Ink, mounted that on more foam tape and added some sparkling clear sequins from Pretty Pink Posh for a finishing touch.
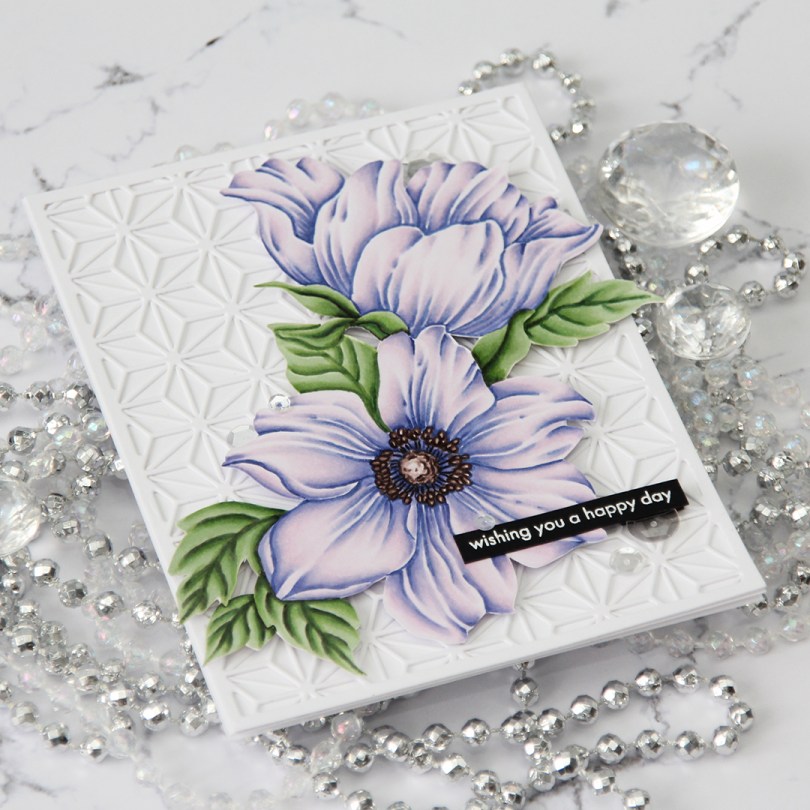
 The
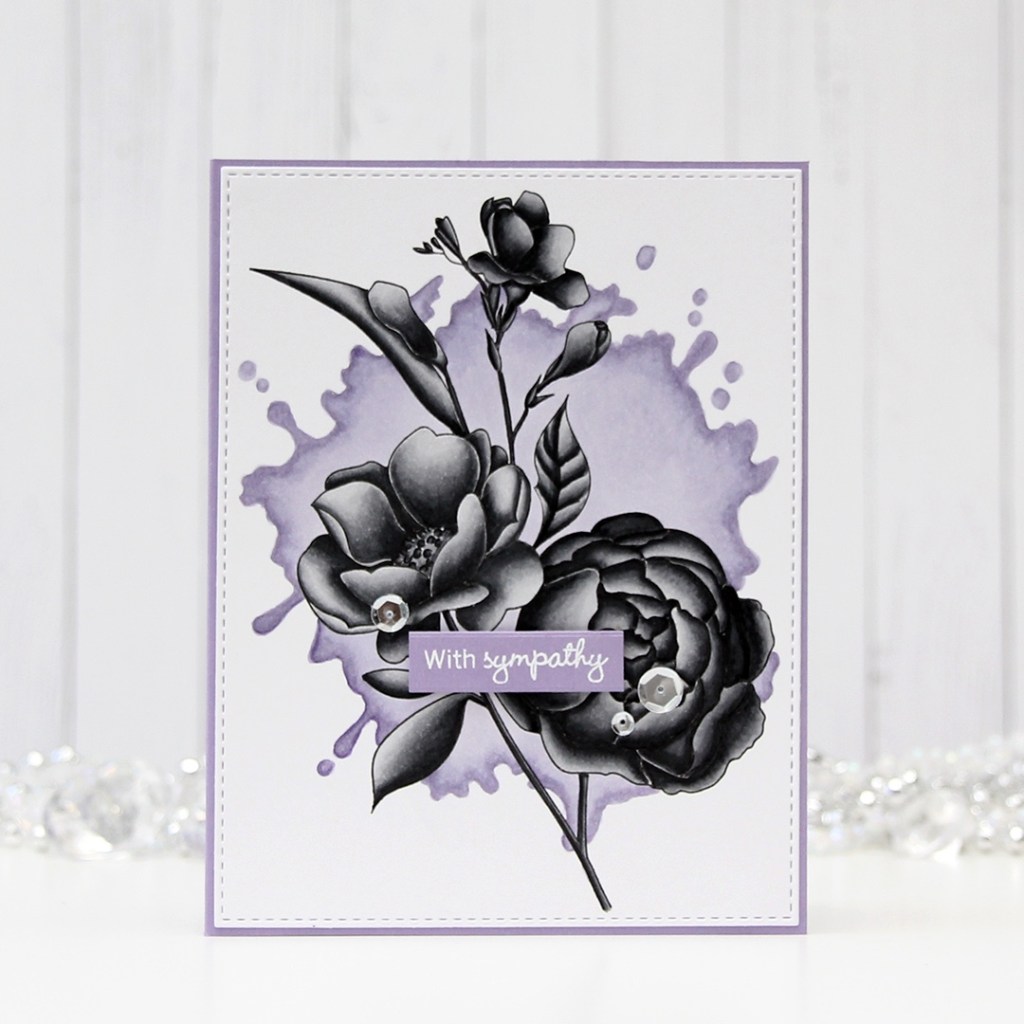
The  I wanted something in the background, but nothing too distracting. White on white is such a classic look, and I diecut both the Layered Snowflake cover dies from Altenew (there’s
  I fussy cut around my colored image and mounted it on foam tape. This image is quite large, and even though there’s a lot of detail in the image, it’s very easy to fussy cut. I mounted it on a bit of an angle, making the leaves stick out from both sides of the card. I also white heat embossed a sentiment from the same stamps set on black cardstock and added that to my design.
 My last finishing touch was a few sparkling clear sequins from Pretty Pink Posh. Some of them tucked, in true Laura Bassen style, and I even used my scissors on one.


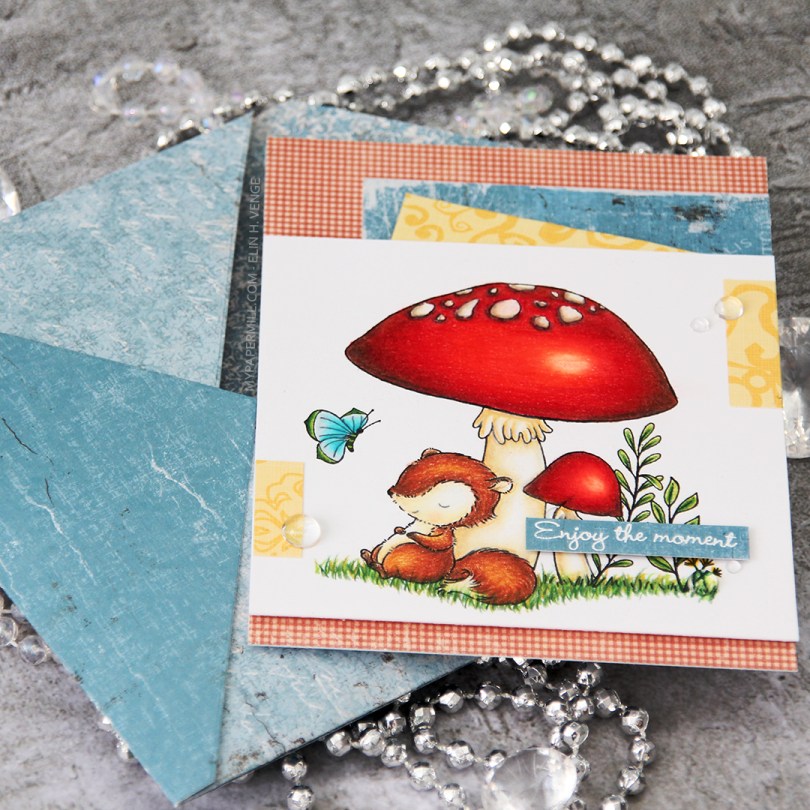
 This little fox scene is from the Always Bring a Smile set, designed for My Favorite Things by Stacey Yacula. I really love her characters, they’re so full of life, and this little guy looks like he’s taking a well deserved nap against the stem of that big mushroom. I actually stamped this on Stamper’s Select White cardstock from Papertrey Ink and pulled out my Prismacolor pencils to color him in for day 2 of the current round of Kathy Racoosin’s 30 day coloring challenge.
 I found some scraps of patterned paper in my stash (the red is from Pion Design, the tealy blue from Maja Design and the yellow from Chatterbox) and added them here and there on my card, before propping my panel with the cute fox onto the card front using foam tape. Lots of foam tape, I wasn’t shy! I stamped and white heat embossed a
  I added a few raindrops from Little Things from Lucy’s Cards around my sentiment and near those small yellow bits, and called it done. I had enough of those Maja Design scraps to make a matching envelope using the A2 V flap envelope dies from Simon Says Stamp.
 I don’t usually do anything to the back of my clean and simple (it’s somewhat clean and simple, this one?), but I recently bought this
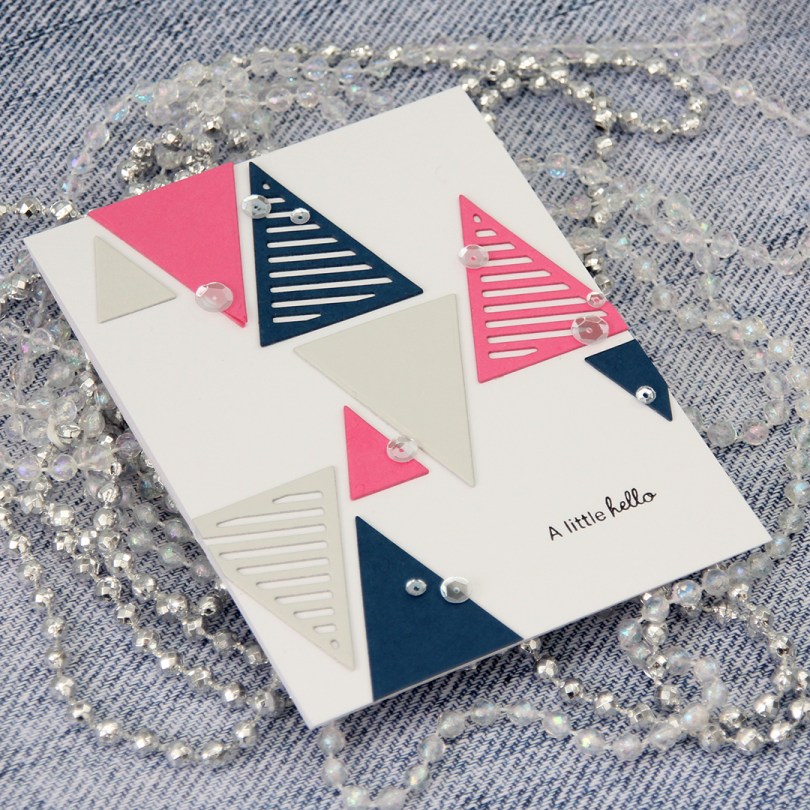
 The die set is
 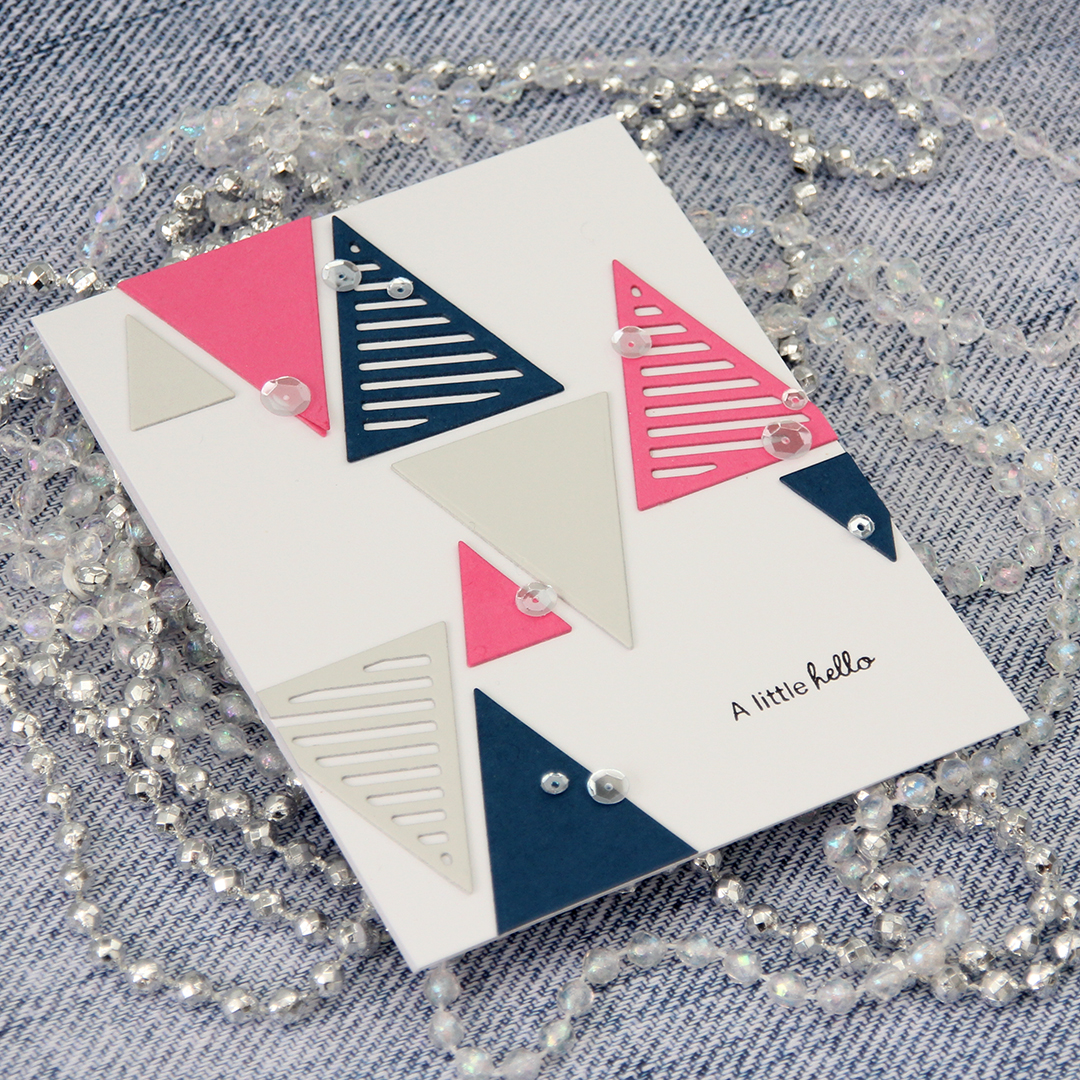 I glued all the triangles to my white cardbase a little haphazardly, added some Pretty Pink Posh sequins to embellish a tiny bit and stamped a sentiment from an Inky Wings stamp set using VersaFine Onyx Black and called it done.
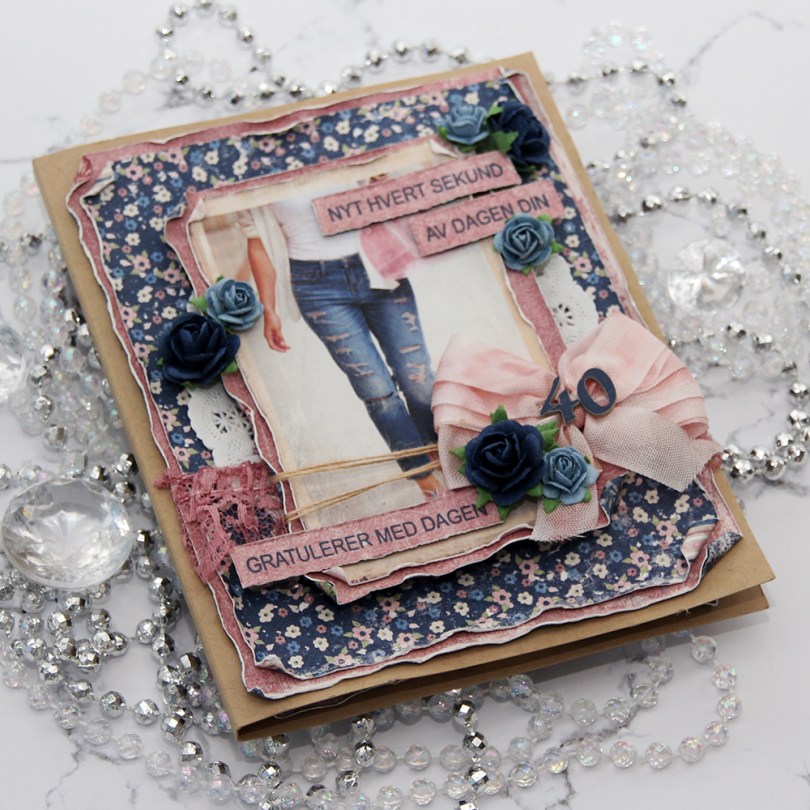
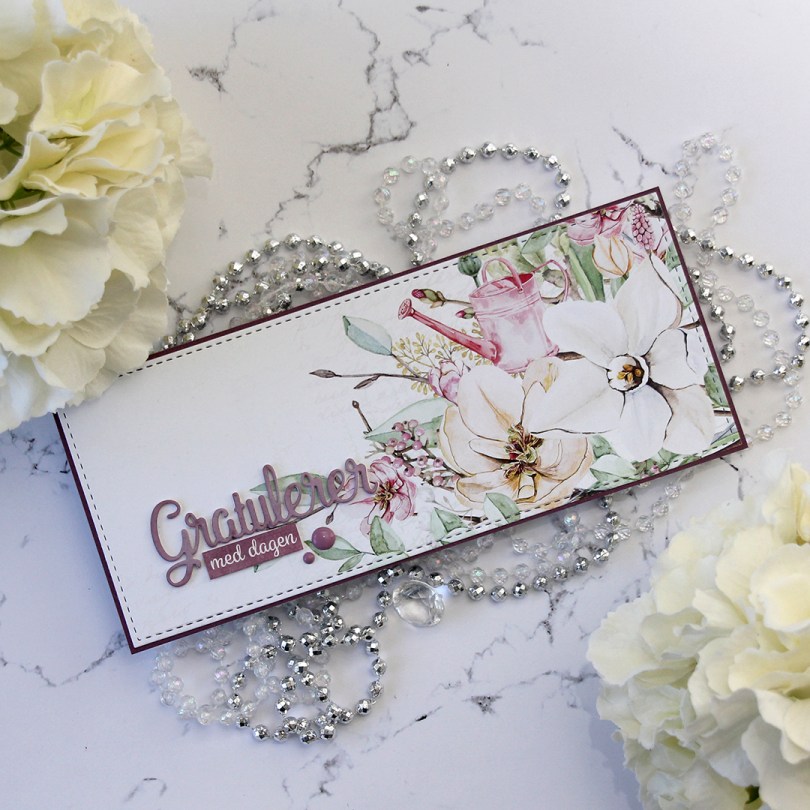
 I was told that the birthday girl likes blue, pink and flowers. I knew just which papers to dig out from my stash. The paper I’ve used here is all from the Denim & Girls collection from Maja Design. I love their collections, the patterns are nice and small and the colors to die for. I mean, look at those blues!!! Amazing!!! I’ve predominantly featured two sheets on this card;
  I started by cutting down the patterned paper to the sizes I wanted, before using a paint brush with clean water to wet all the edges. This makes the paper more pliable, and I can curl the edges with my fingers, giving the paper some dimension and interest. The cool thing is that when it dries, it stays like that, it’s very sturdy. With Maja Design patterned paper it’s extra sturdy, because the paper is so thick you can actually use it for card bases. It’s really nice.
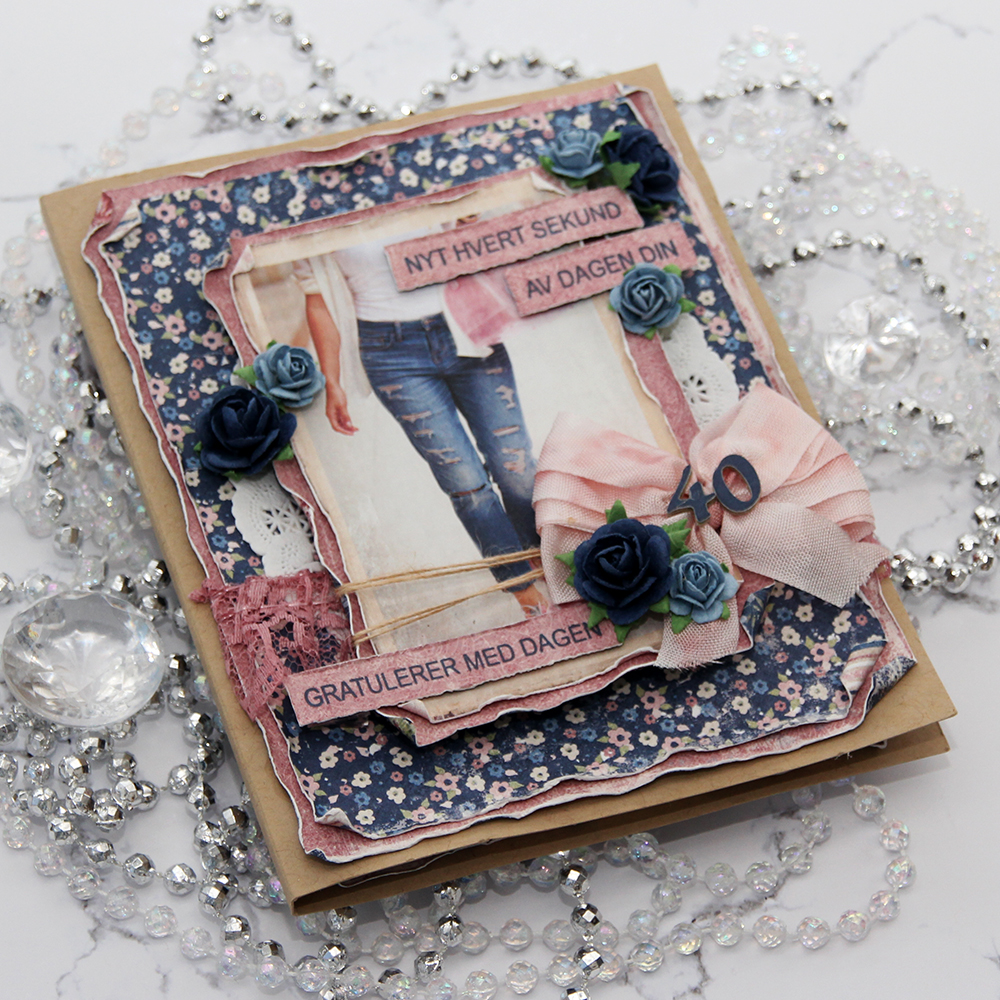
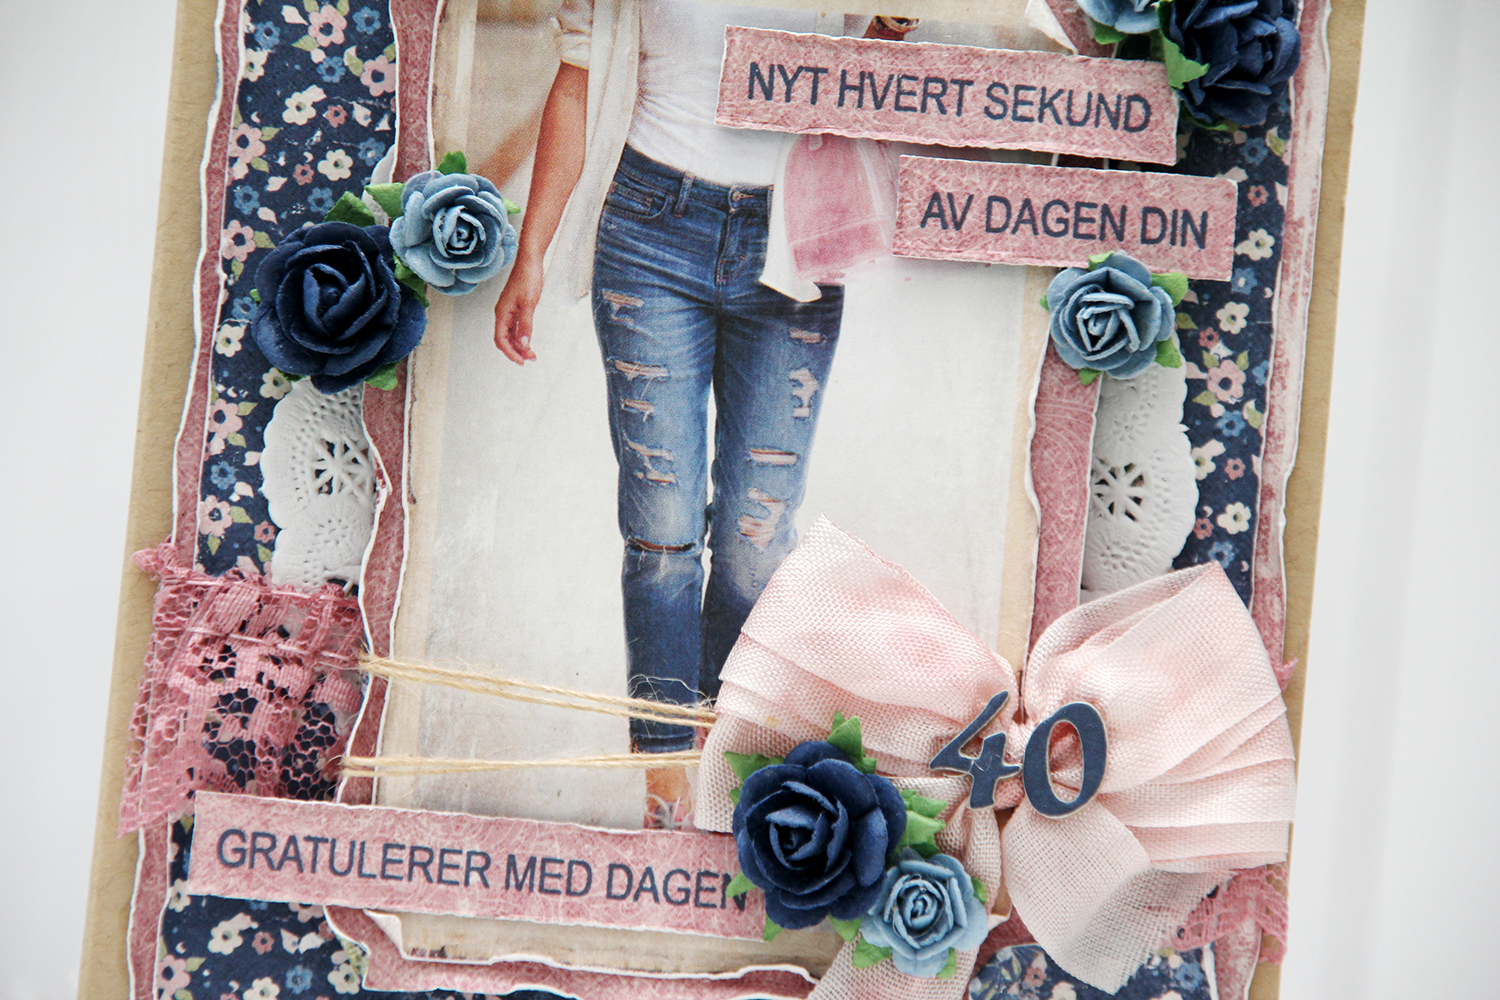 I added a paper doily, some pink lace, some May Arts natural twine, a bow, a couple of diecut numbers and a few paper roses from Papirdesign, in addition to a couple of sentiment strips. I stamped the
 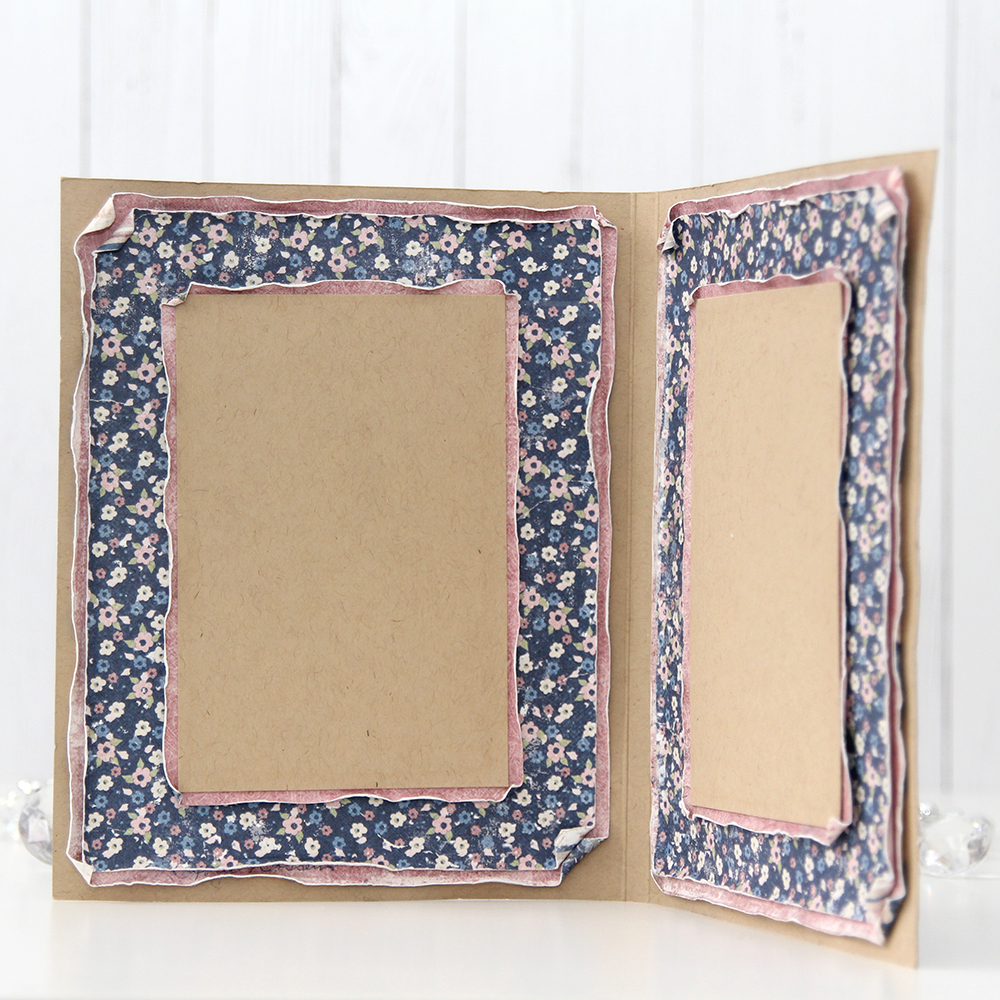 When creating this type of card I go all out and decorate all four sides of my card. I used the same layout on the insides, but skipped all the embellishments. The kraft panels are actually removable. I added double sided tape to the back in generous amounts, but left the release paper on, and glued the panels on using just a glue dot. Glue dots are a nice temporary solution, and it enables you to pull the panels out fairly easily, write your personal message, remove the release paper from the double sided tape and glue the panels back where they belong. It’s a great way to not have to write inside a bulky card.
 I had to decorate the back, too. I just had to. Same basic layout on the back. Not as heavily embellished as the front, also not as bare as the insides. I stamped a birthday sentiment from Norsk Stempelblad AS using the same color ink as the sentiment strips on the front, and added a few blue roses to finish the card.
 With cards this thick, they don’t fit in regular envelopes, so I usually make simple envelope boxes to match. This one is 1″ high, and it actually could have been a little higher, it was a little bulgy when the card went in. I diecut the blue patterned paper with a Simon Says Stamp label die and added pink diecut letters from Scrapmagasinet to spell the name of the birthday girl. I did two layers so the name wouldn’t get completely lost with that busy background.
 This time I used a
 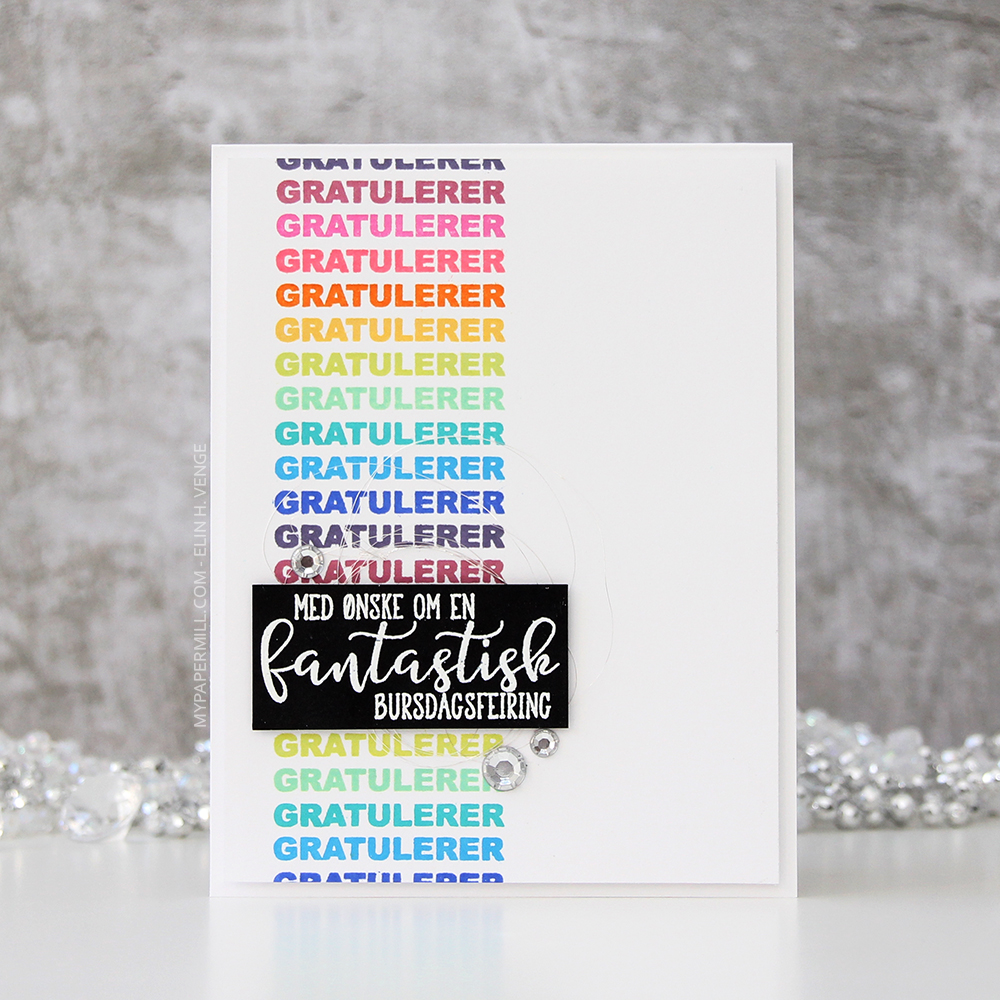 I stamped and white heat embossed a sentiment from another
 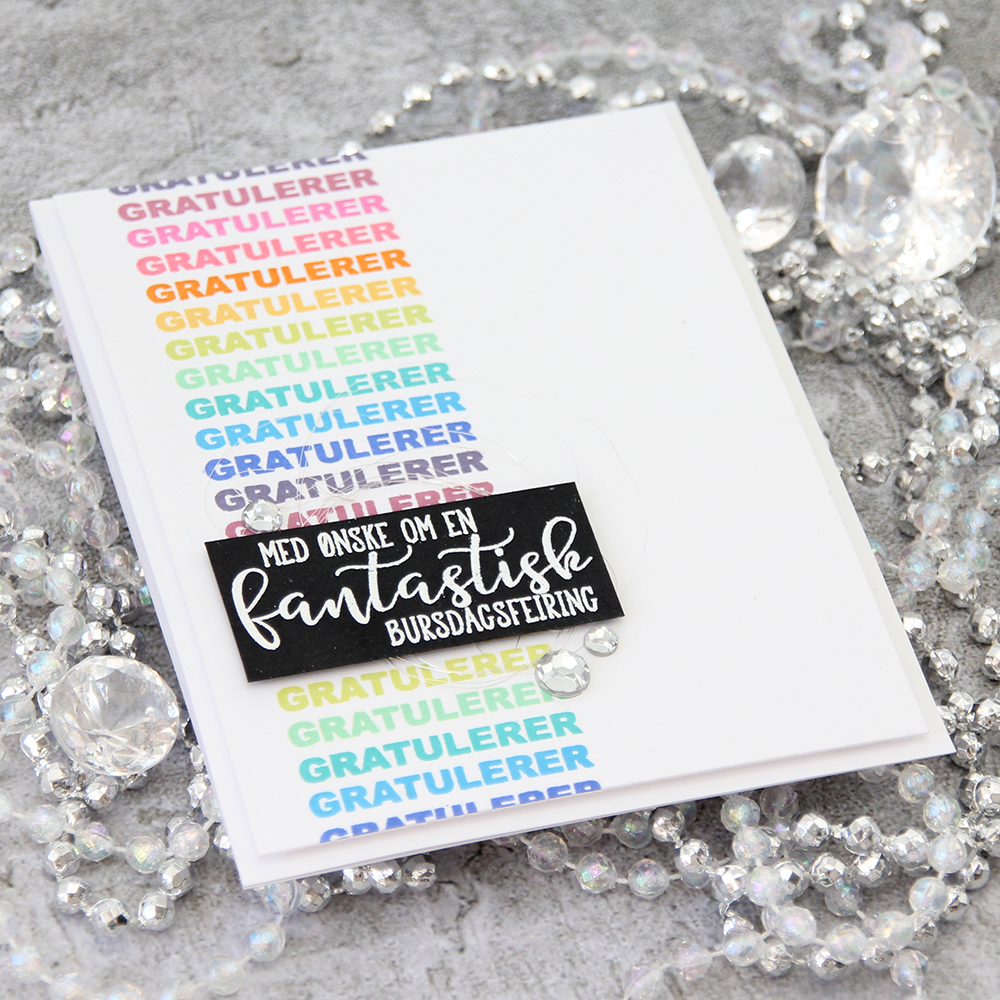 Behind the black cardstock piece I put a nest of angel hair. It’s a very very thin thread, and it has actual silver in it. I buy mine at the flower shop, one bag will last a looooong time. I finished off my card with some crystals of unknown origin. I know the brands of most of the stuff in my craft room, but these are a mystery.