Hi, everyone. I’ve got a birthday card to share with you today, but it’s not in my usual clean and simple style, it’s a more layered card. I used to make this kind of card all the time when I first started making cards, and it’s what I feel I have to go back to whenever I get an order for a card. It’s a good way for me to justify the price I set.
 I was told that the birthday girl likes blue, pink and flowers. I knew just which papers to dig out from my stash. The paper I’ve used here is all from the Denim & Girls collection from Maja Design. I love their collections, the patterns are nice and small and the colors to die for. I mean, look at those blues!!! Amazing!!! I’ve predominantly featured two sheets on this card; Summer outfit (which is the blue with the flowers) and Romantic blouse (the pink one). The image comes from the Snapshots sheet.
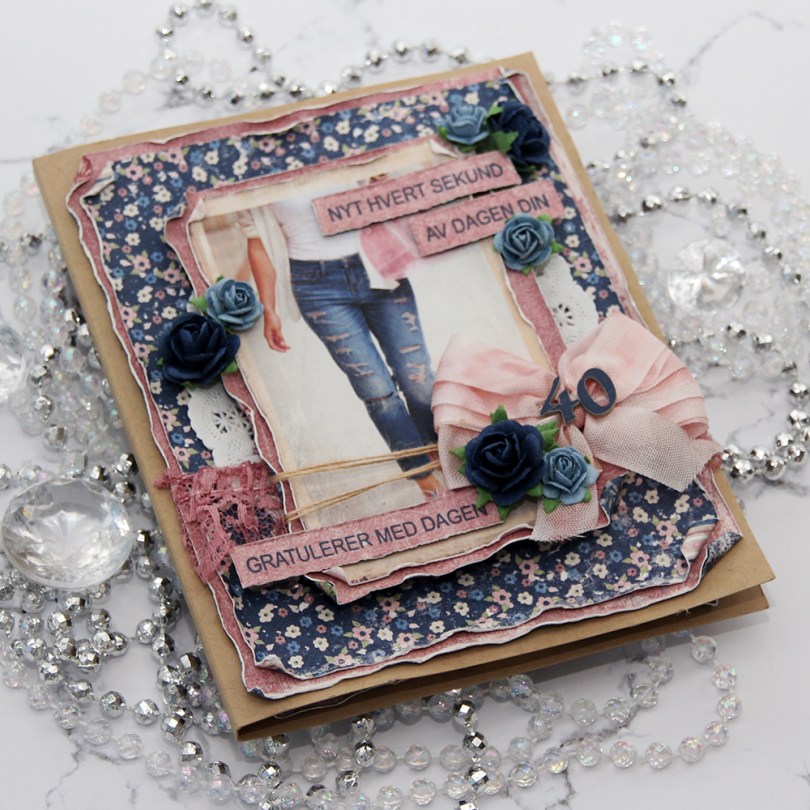
 I started by cutting down the patterned paper to the sizes I wanted, before using a paint brush with clean water to wet all the edges. This makes the paper more pliable, and I can curl the edges with my fingers, giving the paper some dimension and interest. The cool thing is that when it dries, it stays like that, it’s very sturdy. With Maja Design patterned paper it’s extra sturdy, because the paper is so thick you can actually use it for card bases. It’s really nice.
 I added a paper doily, some pink lace, some May Arts natural twine, a bow, a couple of diecut numbers and a few paper roses from Papirdesign, in addition to a couple of sentiment strips. I stamped the Mathia design sentiments straight onto the pink patterned paper using Enchanted Evening ink from Papertrey Ink, distressed the edges of the strips slightly with a finger nail and mounted them on foam tape. The top sentiment translates to “Enjoy every second of your day” and the bottom one says “Happy birthday”.
 When creating this type of card I go all out and decorate all four sides of my card. I used the same layout on the insides, but skipped all the embellishments. The kraft panels are actually removable. I added double sided tape to the back in generous amounts, but left the release paper on, and glued the panels on using just a glue dot. Glue dots are a nice temporary solution, and it enables you to pull the panels out fairly easily, write your personal message, remove the release paper from the double sided tape and glue the panels back where they belong. It’s a great way to not have to write inside a bulky card.
 I had to decorate the back, too. I just had to. Same basic layout on the back. Not as heavily embellished as the front, also not as bare as the insides. I stamped a birthday sentiment from Norsk Stempelblad AS using the same color ink as the sentiment strips on the front, and added a few blue roses to finish the card.
 With cards this thick, they don’t fit in regular envelopes, so I usually make simple envelope boxes to match. This one is 1″ high, and it actually could have been a little higher, it was a little bulgy when the card went in. I diecut the blue patterned paper with a Simon Says Stamp label die and added pink diecut letters from Scrapmagasinet to spell the name of the birthday girl. I did two layers so the name wouldn’t get completely lost with that busy background.
