
Hi, crafty friends! Have you seen the new pandas from Lili of the Valley? There’s an A5 polymer stamp set, as well as a digital version, and they’re just sooo cute with endless possibilities for masking and creating different looks, which is a lot of fun. I used the digital version for my card today.
 I used the panda peeking out from behind a fence or a wall or whatever you’d like it to be, as well as the bamboo. I used the bamboo multiple times to create a “wall” of bamboo behind my panda. I created mirrored versions so they wouldn’t all look the same, and I made sure to make them different heights. I erased the bottom of the bamboo so they’d end at the horizontal lines going out from the paws of the panda. Once I printed my image, I used a 0.35 Copic multiliner to extend the horizontal lines, making it look like a wall. I colored in my image, making sure to use a couple of green combos for the bamboo leaves for a little bit of variety.
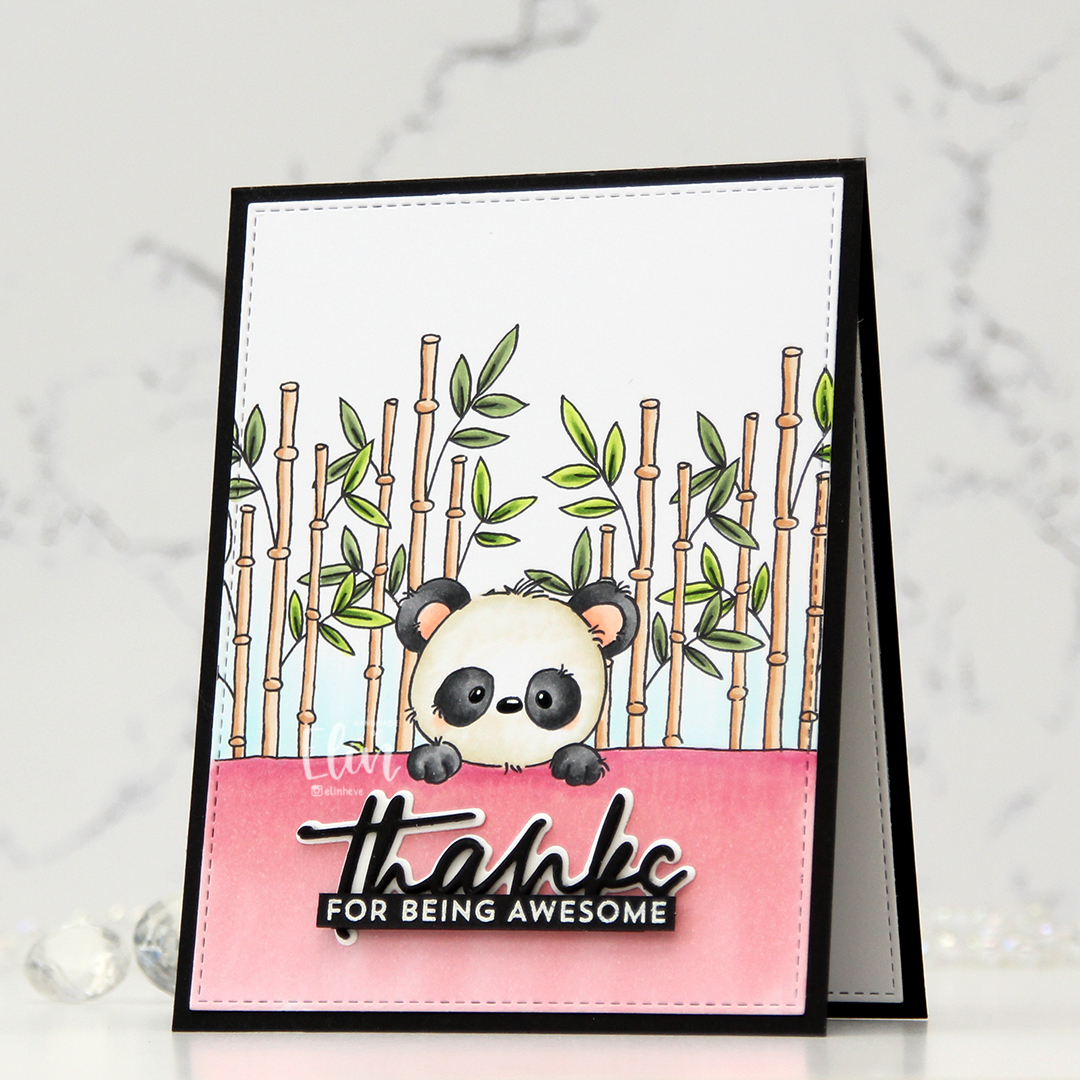 I used the largest die in the A2 Stitched Rectangle STAX Set 2 die set from My Favorite Things to create a nice faux stitch border around the edge, before adhering it to a black card base I created from True Black cardstock from Papertrey Ink. With my pink wall, I felt like I had to make a baby card, but I didn’t want to, so I opted for the black. I used the Sweet Sentiments die set from Altenew to die cut my thanks word. I stacked three black die cuts for dimension and die cut the shadow from Stamper’s Select White cardstock, also from Papertrey Ink. I rarely use shadow dies, but I knew I was going to white heat emboss the rest of the sentiment, so I figured it would work. I also tend to pop up my sentiments, but actually adhered this one flat down onto the card. It still has dimension because of the stacking. I stamped and white heat embossed a sentiment from the Bitty Thanks & Gratitude stamp set from My Favorite Things, cut it down to a strip and adhered it on top of my stacked die cut. I put an extra strip behind it for a little bit of strength. I also added a black glaze pen to the eyes and nose, before going in with a white Gelly Roll 05 on top once the black was dry. This adds some shine to my little panda. I decided not to add any embellishments to this card, which is really rare for me.
 Not a ton of colors used for this one. I used E81 and the blender with the tip to tip technique to color the “white” fur.

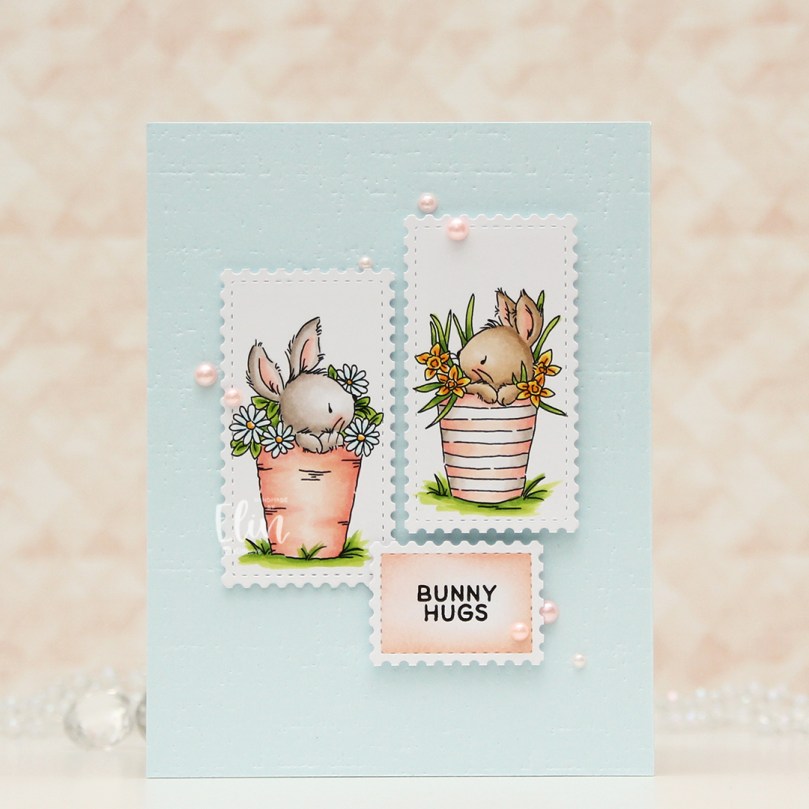 I separated the image into two, so I could create staggered postage stamps on my final card. I colored the images with Copics, and used the Postage Collage die from Waffle Flower to turn them into postage stamps. I also die cut a third postage stamp and stamped the sentiment in the center of it using Obsidian ink from Altenew. The sentiment itself is from the Easter Bunnies stamp set from Simon Hurley. Once I knew the sentiment was dry, I masked off the edges of the postage stamp and ink blended the center rectangle using Grapefruit ink from Concord & 9th.
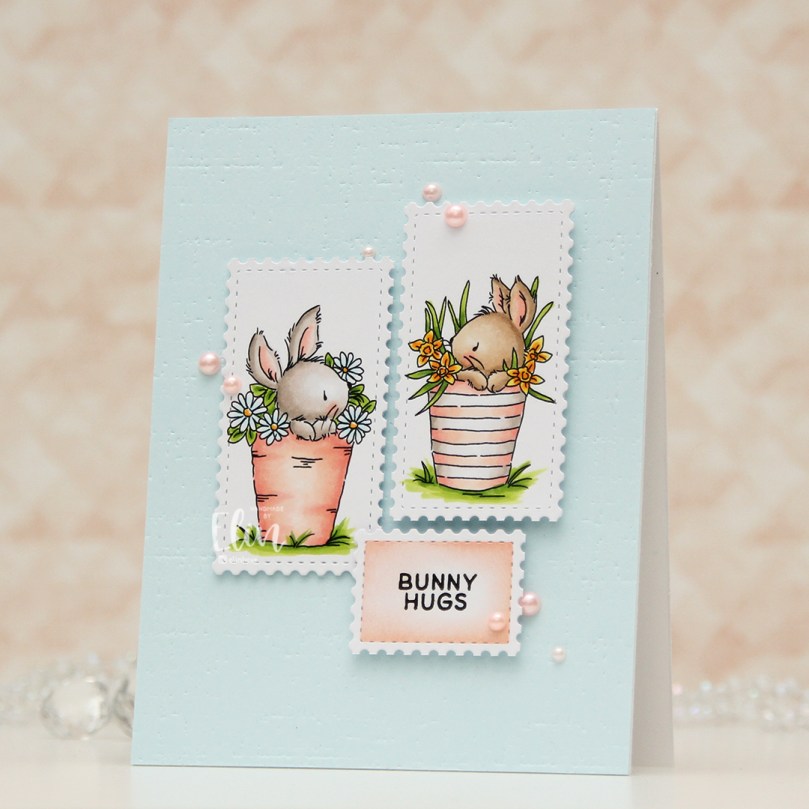 I cut down a sheet of Powder cardstock from Concord & 9th to fit the front of an A2 card, and used the Linen & Canvas impression plate from Papertrey Ink to add some subtle texture to the background. I adhered it to a white top fold card base and arranged my postage stamps, adding various thicknesses of dimension behind each for some interest, before finishing off with a few pearls from Little Things from Lucy’s Cards.
 I realize now that I’m missing a few colors in this graphic. I used RV42, R11 and YR000 for the peachy pink.
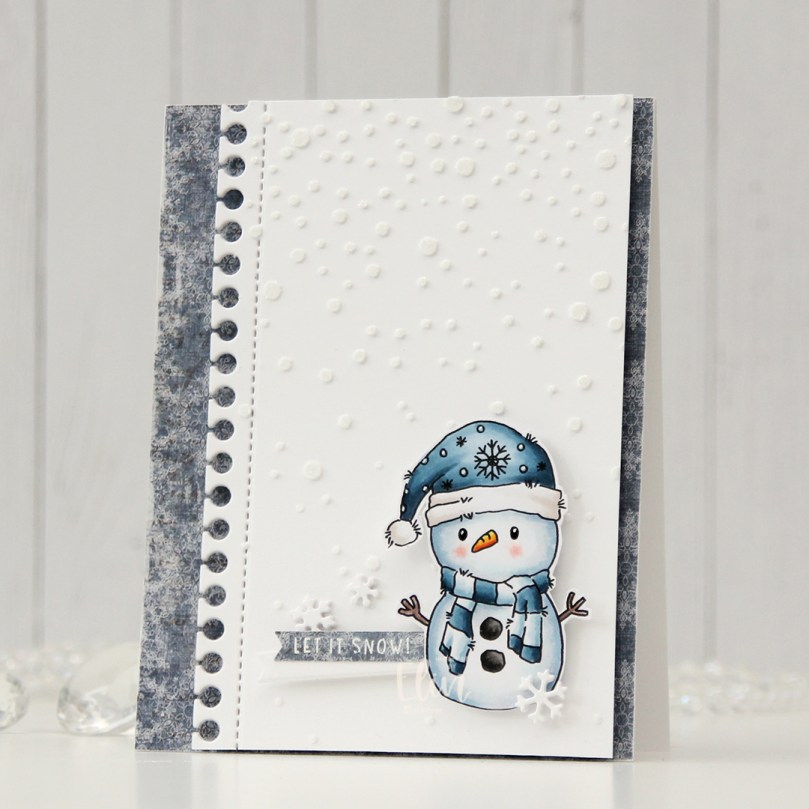
 I colored my snowman with Copics, added black Glaze to his eyes, then a white dot using a Gelly Roll 05 once the black was dry. I also used the white to add the white dots to his hat. I fussy cut my snowman, leaving a thin white trim around him, before putting him to the side to work on the rest of my card. I covered my card base with patterned paper from Maja Design. This frosty blue paper is from the Vintage Frost Basics collection from 2013, the sheet’s called 13th of December. I used the Notebook Edge die from My Favorite Things to create a fun border on a piece of Stamper’s Select White cardstock from Papertrey Ink. I used Light & Fluffy Modeling Paste from The Crafter’s Workshop to create snow through the Falling Snow stencil from Simon Says Stamp. While the paste was still wet, I sprinkled on Rock Candy distress glitter for an even frostier effect, and mounted my white panel with foam tape to my card front.
 I stamped and white heat embossed a sentiment from the
  Simple color palette for this one. Lots of blues.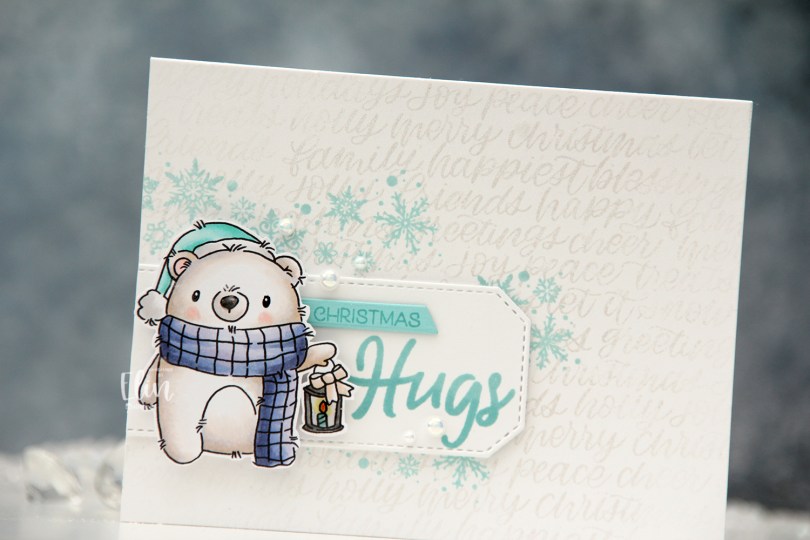
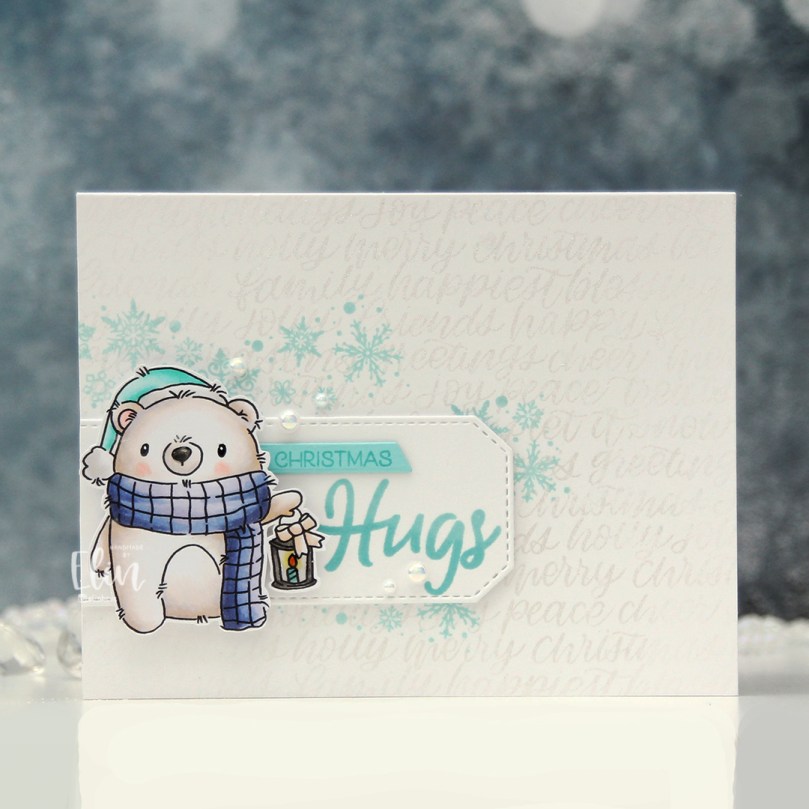 Isn’t he cute holding his little lantern? I went very untraditional with my aqua/purple combo, but I think it works. Onto a top fold landscape A2 card base I created from Stamper’s Select White cardstock from Papertrey Ink, I stamped the Hand-Lettered Holiday background stamp from Simon Says Stamp using VersaMark ink. I then brushed Perfect Pearls powder on top for a shiny, but subtle effect. I stamped the snowflakes from the Wreath & Mulled Wine stamp set from Ciao Bella on top using Sno Cone ink from My Favorite Things.
 I die cut a white tag using a die from the Stitched Trad. Tag STAX die set from My Favorite Things and stamped the word Hugs from the
 As usual, I use way more colors than I anticipate going in.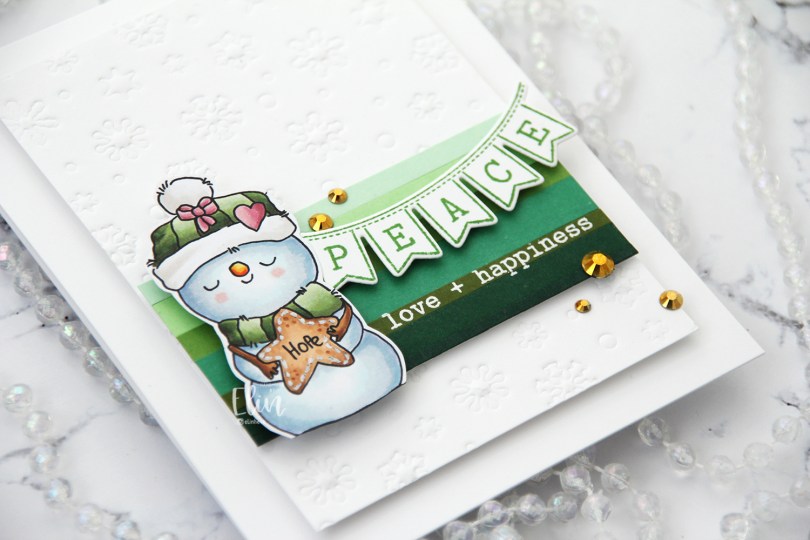
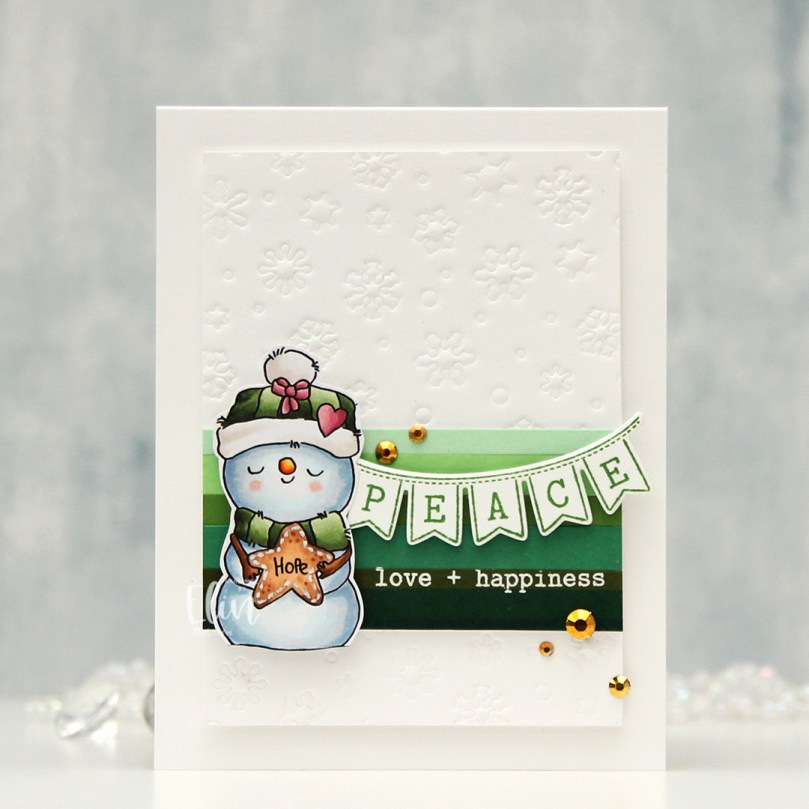
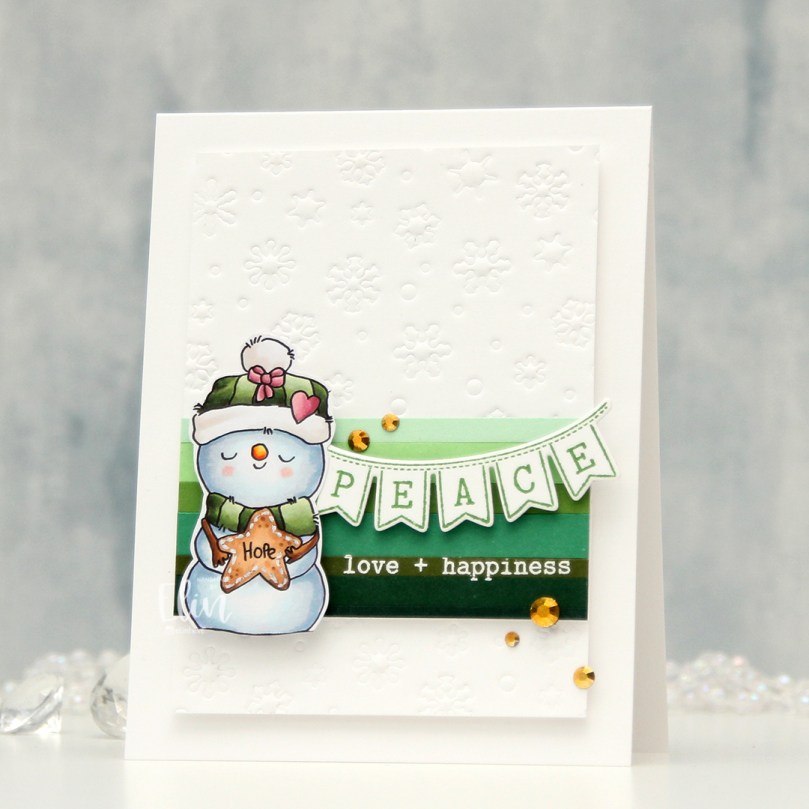 I dry embossed the Snowflake Confetti fancy die from Hero Arts on a piece of Stamper’s Select White cardstock from Papertrey Ink. I cut the panel down and added strips of green cardstock near the bottom. The colors are (bottom to top) Pinefeather (Papertrey Ink), Evergreen (Concord & 9th), Jalapeño Popper (My Favorite Things), Clover (C9), Parsley (C9), Vintage Jadeite (PTI) and Mint Julep (PTI). I white heat embossed a sentiment from the Sentiments from a Yeti stamp set from Mama Elephant and mounted my strips of green with a little bit of dimension behind them.
 I mounted my white dry embossed piece with the green strips onto a top fold white card base using foam tape. Using Shadow Creek Ink from Altenew, I stamped the Peace banner from the Sentiments from a Yeti stamp set from Mama Elephant and die cut it using the Yeti banner die from Mama Elephant, which coordinates. I added foam to the back and adhered it over the white heat embossing to complete my sentiment.
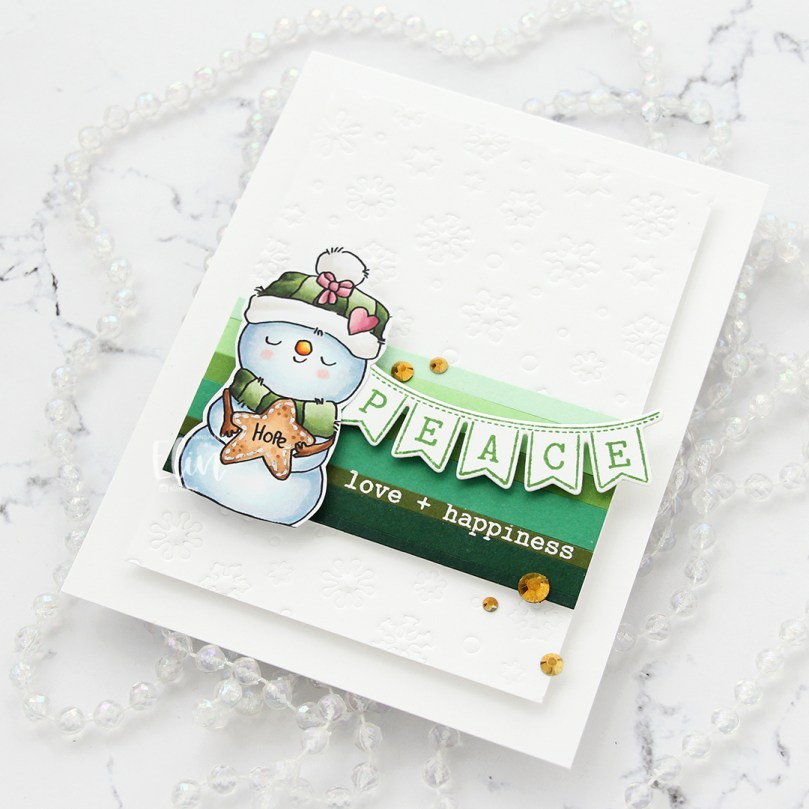 I used foam tape on the back of the snowman too, so this card has a lot of dimension. The dry embossed panel is on fairly thick foam tape, the green strips on a bit thinner foam tape, and the banner and snowman on thicker foam tape. I finished the card with a few gems from the Festivities mix from Little Things from Lucy’s Cards.
 This snowman looks so content, I love it!
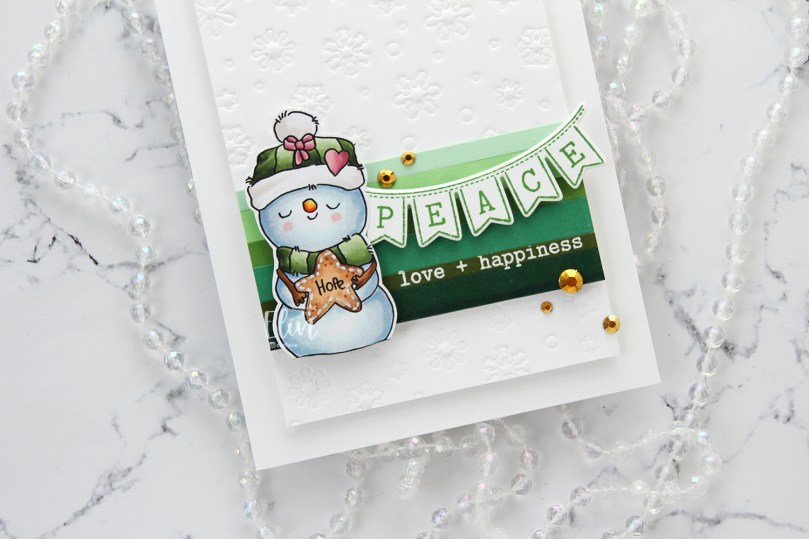 Peace, love + happiness. With a little bit of hope. Sounds like the perfect Christmas to me.
 I’m trying to limit the amount of Copics I use for my cards, but I’m failing miserably. I really don’t mind.
 Today’s card is a super simple one. I colored up this bunny from the
  I used a die from the Additional A2 Layers die set from Waffle Flower to cut a rectangle from Stamper’s Select White cardstock from Papertrey Ink. You can easily cut this with a trimmer, but I had the die set basically at my fingertips and decided to use that. I then ink blended very softly from the top of the panel using Sno Cone ink from My Favorite Things. I wanted a super light background and this was perfect. I matted it on a piece of Autumn Rose cardstock from Papertrey Ink and mounted it to a top fold landscape A2 card base I created from Stamper’s Select White cardstock, once again. It’s my favorite white cardstock, it’s whiter than anything else I’ve tried. I die cut the Silhouette Snow Trees from Mama Elephant from the same white cardstock, layering them up for dimension. I adhered the trees to my ink blended piece, then used foam tape to add the bunny on the side, before finishing off the card with sequins and confetti stars from the Starry Night mix from Little Things from Lucy’s Cards.
 Very simple color palette for this one.
 Today’s the last day of Designer Week at Lili of the Valley! This means you can save 20% on any item on
 I colored my penguin mug with Copics and fussy cut the image right up against the black stamped lines. This image doesn’t have a whole lot of the whispy, perpendicular lines that are so characteristic of Lili of the Valley images, which was the reason I opted not to include a white trim around the edges. There are 3 or 4 lines at the top of his head that I had to cut off, but I was okay with that. I stamped some snowflakes onto a card base using Spring Rain ink from Papertrey Ink. The snowflakes are from an old Tim Holtz stamp set. I mounted the mug on foam tape near the bottom right of the card.
 I die cut a few snowflakes using a couple of die sets from Memory Box. The one at the top, that is partially hidden behind the penguin and speech bubble is from the Stitched Let It Snow Circle Frame die set. The die set comes with a stitched snowflake circle frame and three individual snowflake dies. The snowflakes with the stitching detail are from the Twilight Snowflakes die set. I added some blue diamonds from Kort & Godt to the mug, as well as a heart from the Festivities mix from Little Things from Lucy’s Cards. I stamped a couple of sentiments from the Holiday messages stamp set from Mama Elephant using Lazy Days ink from My Favorite Things and die cut them into speech bubbles using the Say Anything die set from My Favorite Things. I stacked a couple of additional white die cuts behind the speech bubbles for dimension.
 Simple color palette for this one, and I realize now that I forgot to jot down the blue Copics I used for this, but I believe they are B93, B91 and B90, which is a color I’ve made myself.
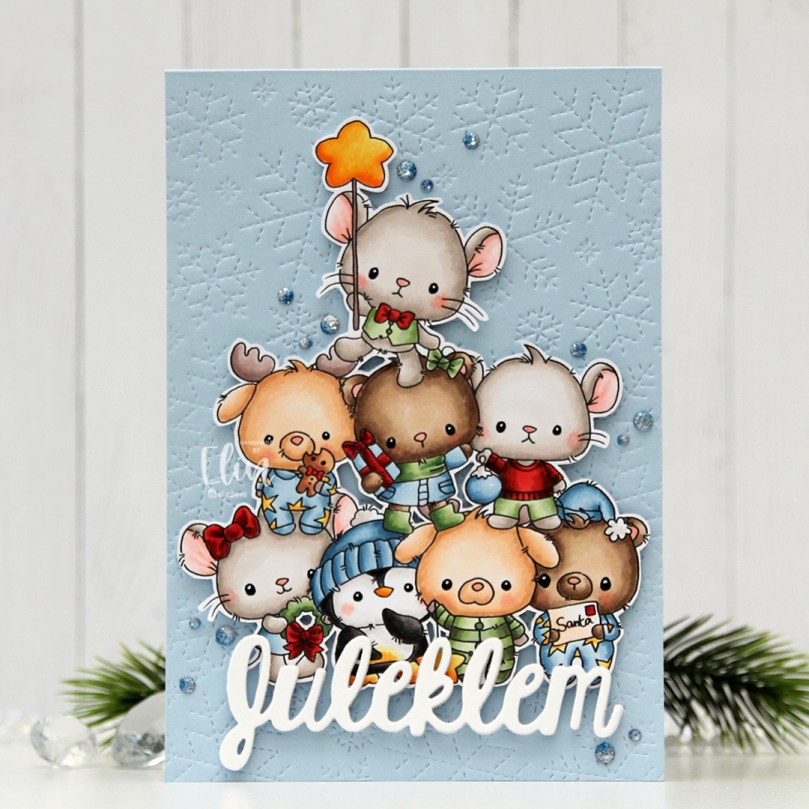 I did a lot of masking for this card, using two stamp sets from the recent release. I’ve got the
  I colored them all with Copics, added black glaze to their eyes for shine, then a dot of white Gelly Roll 05 once the black was dry. I fussy cut my “tree”, added foam tape to the back and mounted it on a card base I created from Blue Breeze cardstock from My Favorite Things.
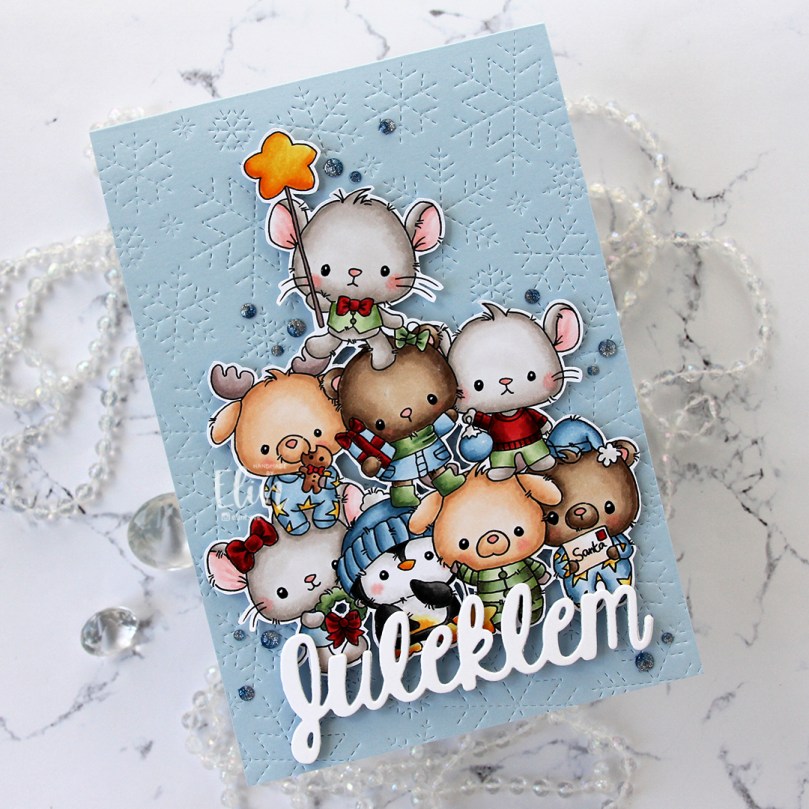 I used the Stitched Snowflake Backdrop die from Lawn Fawn to create some texture on the card base. This card measures 5 x 7 1/4″, so I had to get creative with the die, because it’s a standard A2 size die. I love the subtle texture in the background.
 I used a die from Kort & Godt to create my sentiment (Christmas hug in Norwegian). I stacked four die cuts from white cardstock and adhered the top of the word to the bottom of my critter tree. I used Starry Sky ombré glitter drops from Pinkfresh Studio to finish off. I love the sparkle and shine to these.

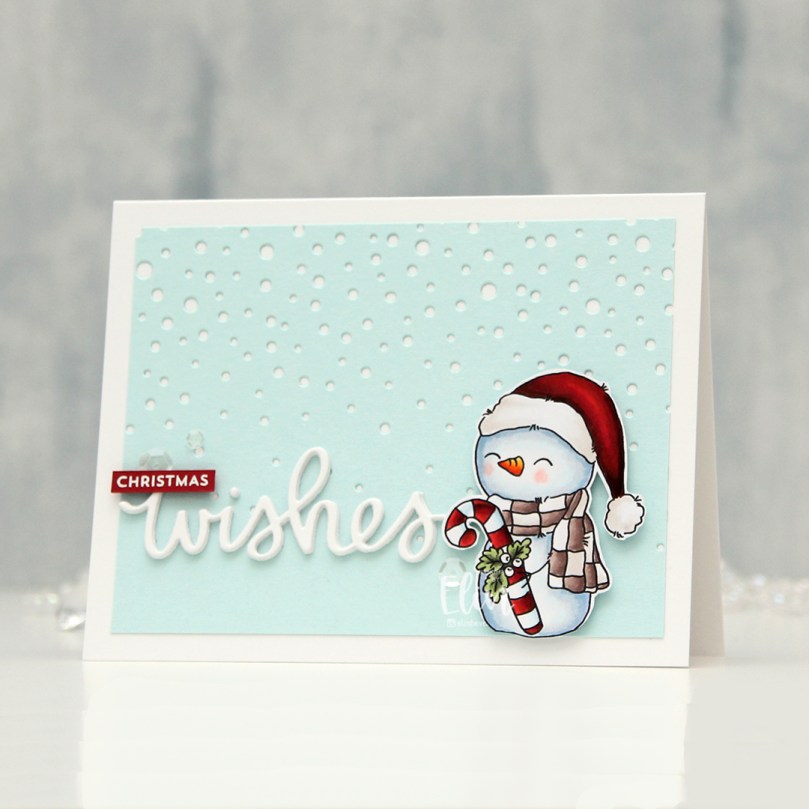
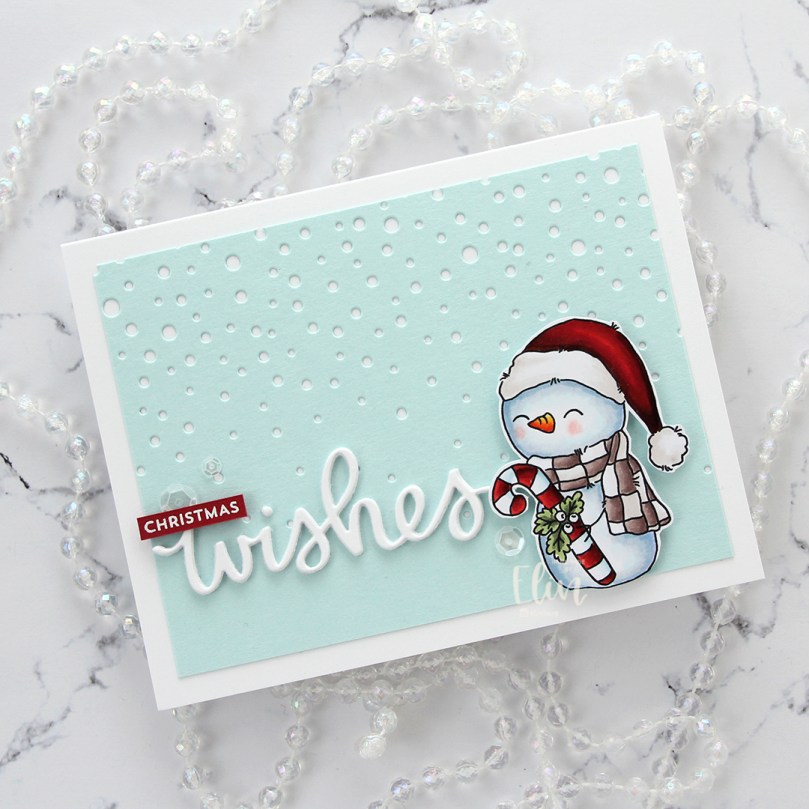
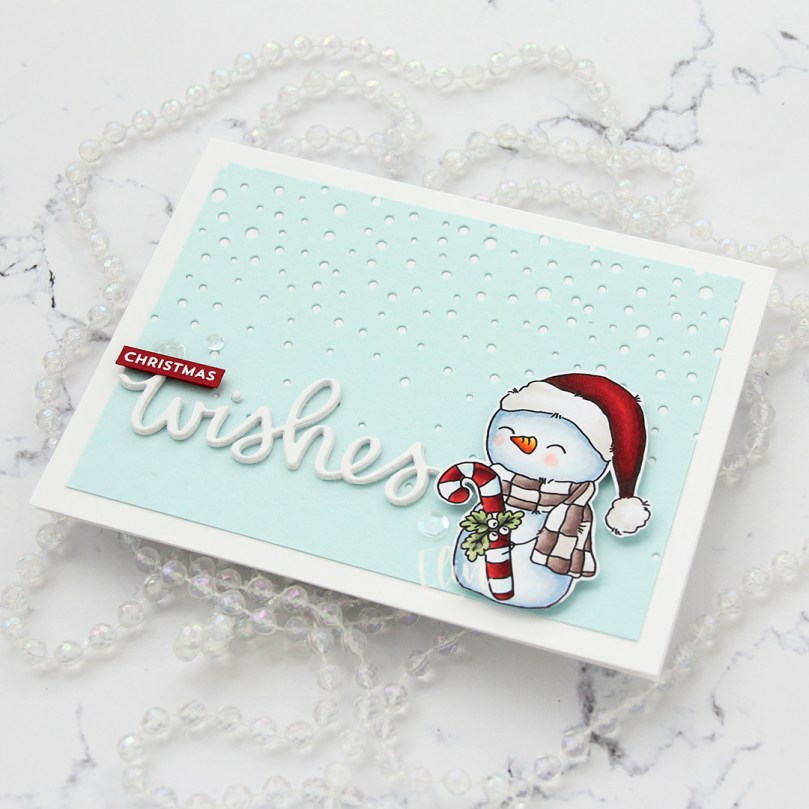 I mounted the snowman on foam tape for dimension, he fits perfectly next to the sentiment. To finish the card I added a few sequins from the Starry Night mix from Little Things from Lucy’s Cards.
 Even though the background is adhered directly to the card base, I love all the dimension in the other elements. And here’s a little secret: I actually like the pops of red. Just don’t tell anyone 😉

 I colored up the reindeer with my Copics and fussy cut him leaving a white trim around the edges. I added Glossy Accents to his nose for shine and put him aside while I worked on the rest of my card.
 I used the Snowflake Confetti Fancy die from Hero Arts to make an impression into a white piece of cardstock. By dry embossing with the die, I add a bit of interest to the background without it being distracting.
 I used partial die cutting with the Stitched Rectangle Scallop Edge Frames die set from My Favorite Things to create my scalloped borders on either side of the dry embossed white cardstock. I used patterned paper from Maja Design for this. The design is called Ornaments and comes from the Happy Christmas collection from 2021. I don’t use a lot of patterned paper on my cards, but I really like this green pattern with some sprigs, leaves and hearts in a darker green, along with some white dots scattered around like snow. The patterned paper from Maja Design has always been my favorite. It’s double sided and very thick. It’s so thick you can even use it for a card base.
 I used the Snowflakes and Ornament die set from Hero Arts to create the ornament for my reindeer to sit in. I die cut the ornament die itself from the same patterned paper that I used for my scalloped borders. I then temporarily taped the two dies in the set together, so I could create an ornament with snowflakes. I cut a few from white cardstock and one from silver glitter cardstock from Kort & Godt, stacking them for dimension. I tied a bow to the top of the ornament using May Arts natural twine and added a few pearls from the Glossy Porcelain mix from Little Things from Lucy’s Cards on top of the knot for additional shine.
 I added Rudolph with his shiny nose to the center of my ornament. I also stamped a sentiment from the Itty Bitty Holiday stamp set from My Favorite Things using Shadow Creek ink from Altenew onto a scrap piece of the patterned paper I’ve used throughout. I added a few strips of white cardstock behind it for dimension and adhered it below the ornament, centered on my white, dry embossed piece.
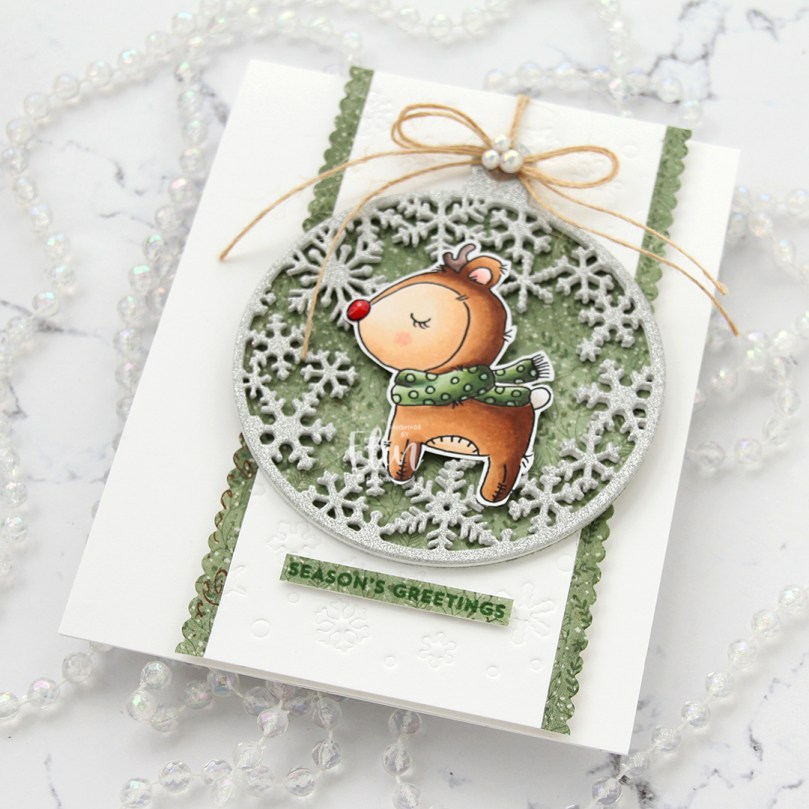 This card wound up very simple looking, but it’s still kind of technique heavy. Partial die cutting, dry embossing with a die and layered die cuts. All the layers make it a very thick card, and it’s not the most mail friendly card I’ve ever made – I love dimension!
 For an image this simple, I sure used a lot of colors!!
