
Hi, crafty friends. It’s time to celebrate, because there’s a brand new release from Rachelle Anne Miller today. It’s Penguin Party! This scene creator set consists of an igloo with a party clad penguin peeking outside as well as five other penguins, a present, some stars and a couple of sentiments. This set has me so excited – I love anything even remotely penguin related, and this is right up my alley.
 I used the igloo with the peeking penguin and only added one small penguin for this simple card. I didn’t even use the entire igloo, I like the look of the design coming in from the side like this. I colored the image with Copics and used a die in the Additional A2 Layers die set from Waffle Flower to turn it into a nice panel and adhered it to a top fold card base I created from Peacock cardstock from Concord & 9th.
 Using the Hooray Script die from Mama Elephant, I cut three die cut layers from Watermelon cardstock from Concord & 9th, which I stacked for a little bit of dimension. I white heat embossed a sentiment from the Birthday messages stamp set from Mama Elephant on a strip of Peacock cardstock. I added a few more layers of cardstock behind it and adhered it below the die cut part of the greeting, before finishing off the card with a few sequins from the Ice Water mix from Little Things from Lucy’s Cards.
 Mostly BGs for this card. I love my BGs.
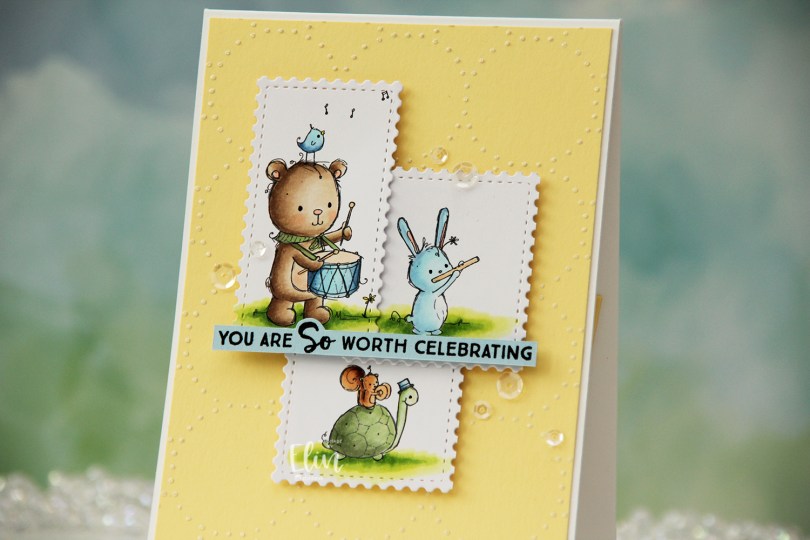
 I colored the images with Copics, then used the Postage Collage die from Waffle Flower to create stamps.
 I added Solar Paste in the Golden Hour color onto Lemon Tart cardstock from Papertrey Ink using the Merry Go Round stencil from Memory Box. I wanted a little bit of interest in the background, but nothing too distracting, and this worked really well. I added the panel to a top fold white card base I created from Stamper’s Select White cardstock from Papertrey Ink.
 I added scraps of cardstock behind my die cuts to give them a little lift off my card and adhered them pretty much in the center of the card.
 I stamped a sentiment from the Anything-but Basic Birthday Wishes stamp set from My Favorite Things onto Spring Rain cardstock from Papertrey Ink using Obsidian ink from Altenew. I cut the sentiment down to a strip and added a few layers of cardstock behind it before adhering it to the card.
 I finished off with a few sequins from the White Orchid Sequin mix from Little Things from Lucy’s Cards.
 Fairly muted color palette for this one.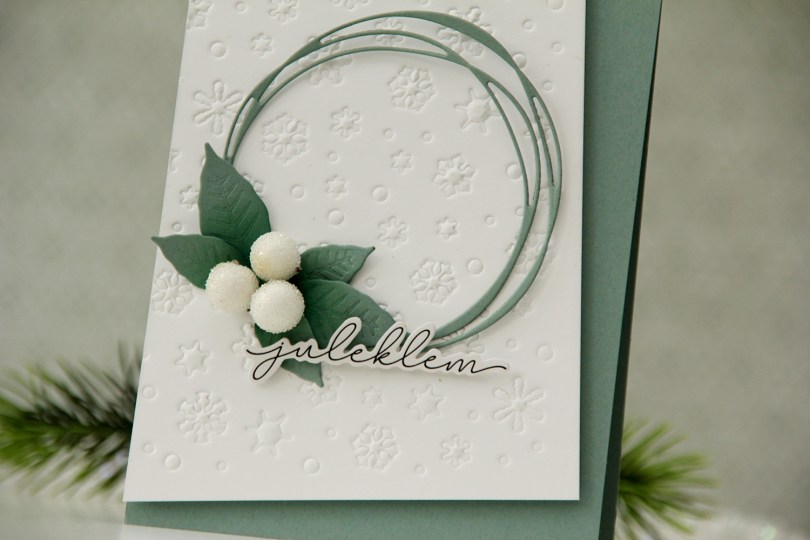
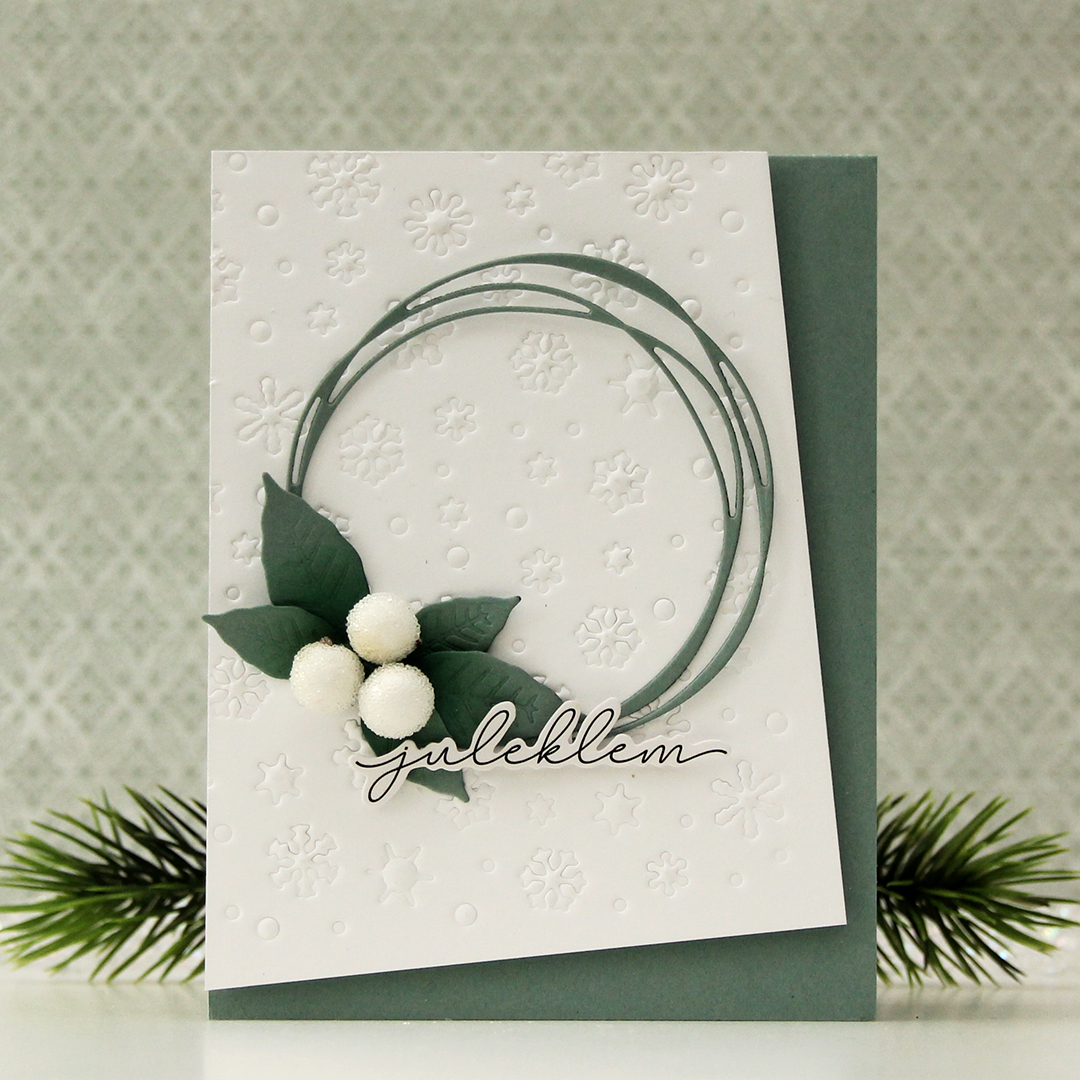 I had a dry embossed white panel in my stash I thought I’d put to good use (I used the Snowflake Confetti fancy die from Hero Arts with an embossing mat to create this texture).
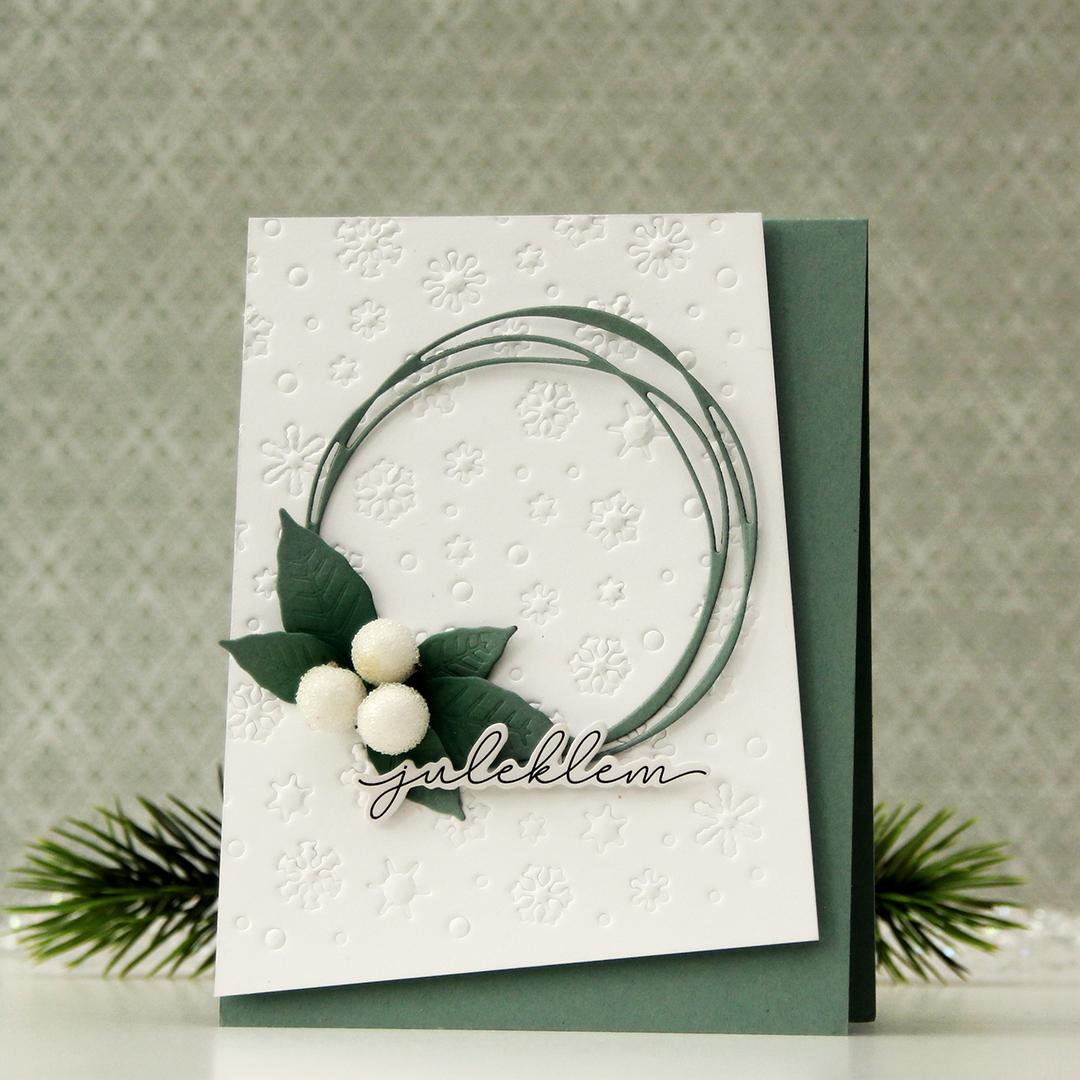 I die cut a scribbled circle and a couple of layers of a poinsettia from Ocean Tides cardstock from Papertrey Ink. I used the same color cardstock to create my card base and mounted my white panel at an angle to create a dynamic design.
 I adhered the circle with a tiny bit of glue where my leaves would cover it, making the rest of the circle float above the rest.
 I cut apart the poinsettia petals to use as leaves and inked over them with Eucalyptus and Rainforest inks from Concord & 9th. I adhered the large ones with a bit of foam behind each leaf for dimension, but glued the smaller ones straight down at the base of the leaves.
 Using liquid glue, I added three large berries to the center of my leaf arrangement before finishing off with a sticker, which I put slivers of foam on the back of for even more lift. I like that it kind of floats above the rest.


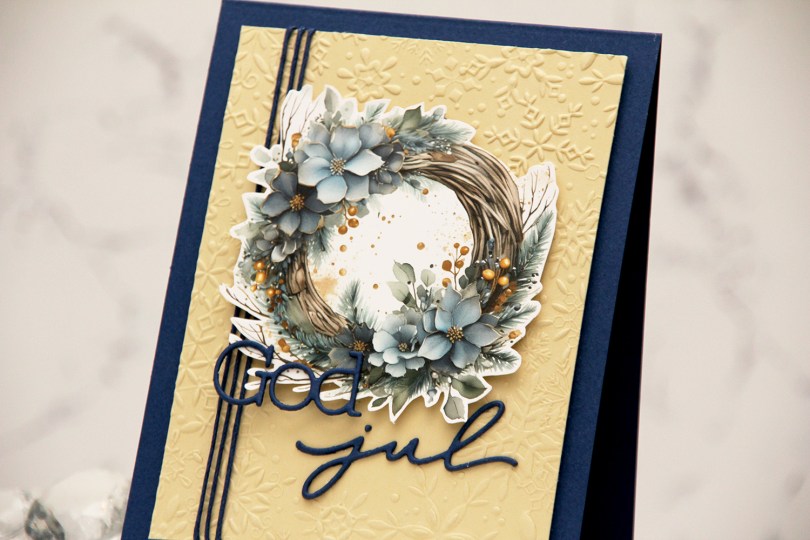
 I love the new image sheets from Kort & Godt, and the Christmas ones they just released are AWESOME! I used one of the blue ones for this card and decided to fussy cut the wreath. This is pretty easy to fussy cut leaving a white border. I used the Snowflake Oval Frame embossing folder from Simon Says Stamp on a piece of Fine Linen cardstock from Papertrey Ink to create some texture to my background. I cropped off quite a bit on the edges and used a blue cotton thread from Kort & Godt to add a little something to the design.
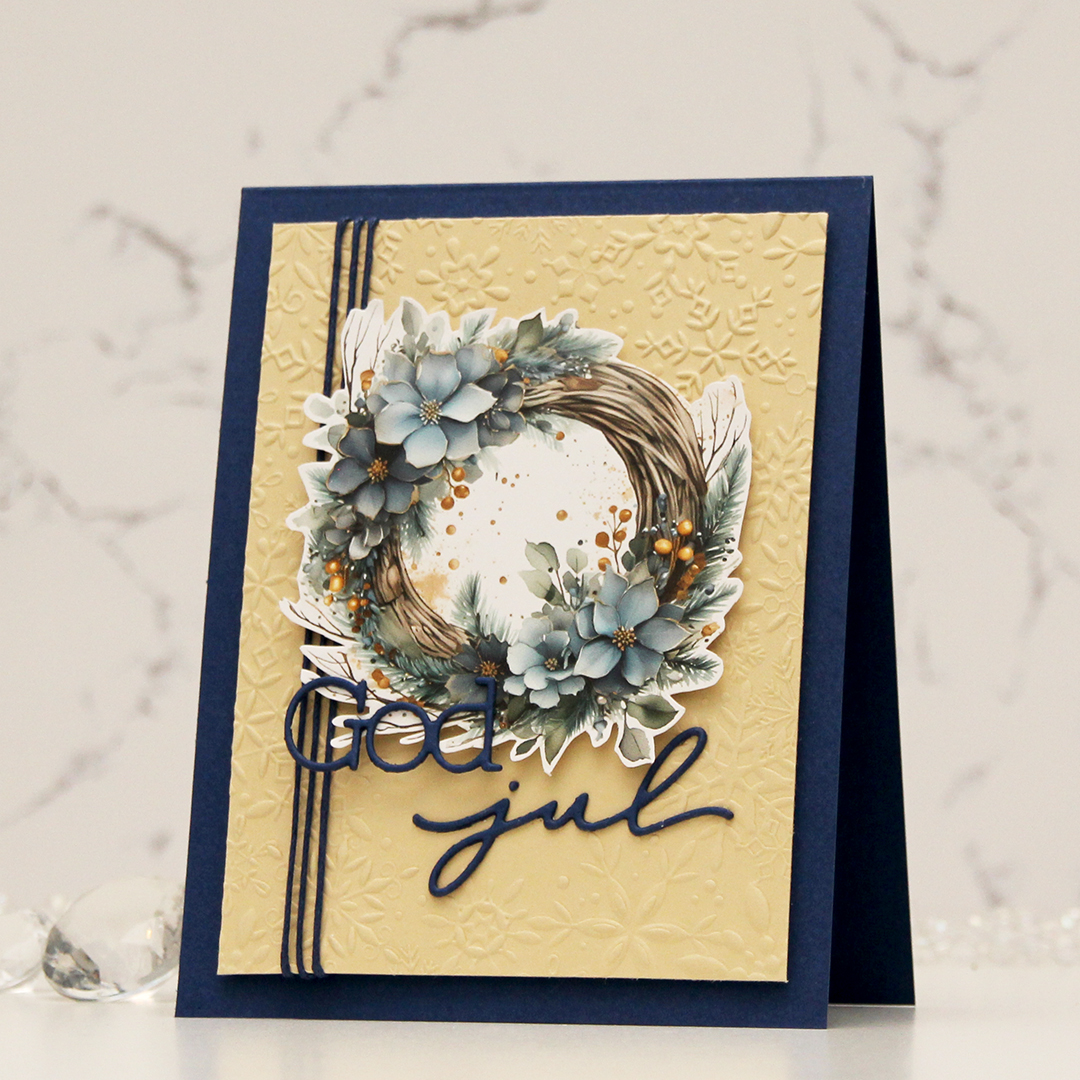 I mounted my embossed panel onto a card base I created from Blue Beyond cardstock from My Favorite Things. I used the same color cardstock to die cut my sentiment. I stacked two, so they would be a little sturdier, mounted the wreath in the top center, adhered God directly to the wreath and jul onto the embossed piece. And that’s it, I didn’t add any embellishments to this.






 I stamped this cute gang onto X-Press It blending card and colored them with Copics, then used the largest die in the A2 Rectangle STAX Set 2 from My Favorite Things to create my standard faux stitch edge. I stamped a sentiment from the
  I covered the critters with a mask, then used the Bokeh Elements Stencil Duo set from Waffle Flower to create some interest to the rest of the panel. I used Pistachio and Misty Sage fresh dye inks from Altenew for the green and started with Peachy Glow, also fresh ink from Altenew, for the smaller yellow dots. I suspect my stencil wasn’t clean from the last project, because the yellow seemed a bit too muddy for the look I was going for, so I went over with Scattered Straw Distress Ink, which helped. I then rotated the stencil 180 degrees and went in with Simon Hurley Solar Paste in the Golden Hour color. This paste goes on so easily and has a lot of shine. Once the paste was dry, I adhered my panel to a top fold card base I created from Sour Apple cardstock from My Favorite Things, and the card was complete.
 The solar paste adds so much shine that I decided not to add any embellishments to this card, making it very mail friendly.
 I didn’t use a ton of colors for this one.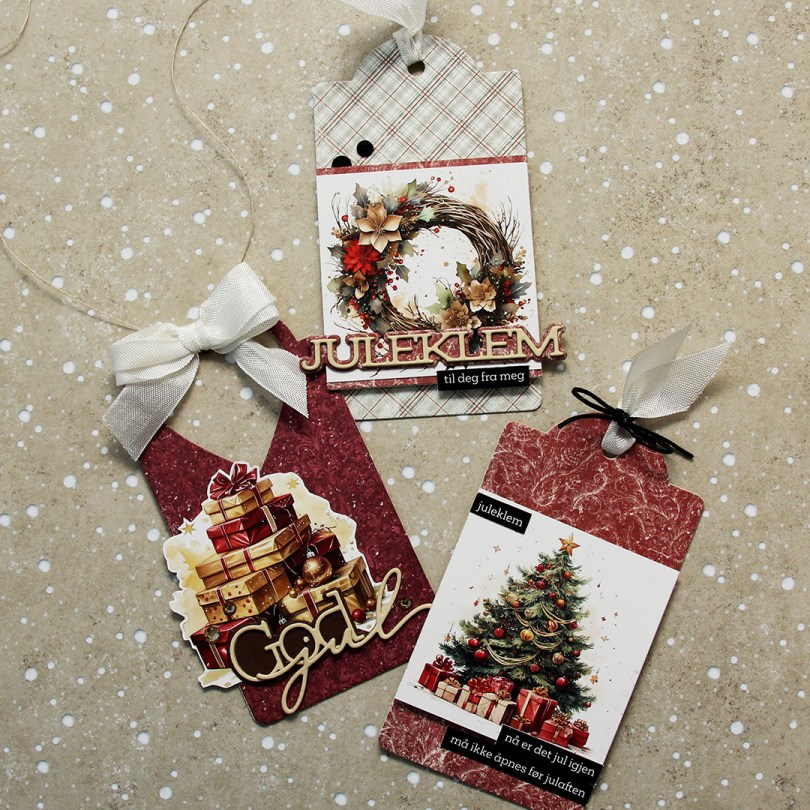
 Kort & Godt just released image sheet with a Christmas theme. There are 11 different image sheets to choose from, and somehow, I started with one of the red ones. I don’t know how that happened when there are gorgeous blue and green ones to choose from, but I don’t always do things that make sense.
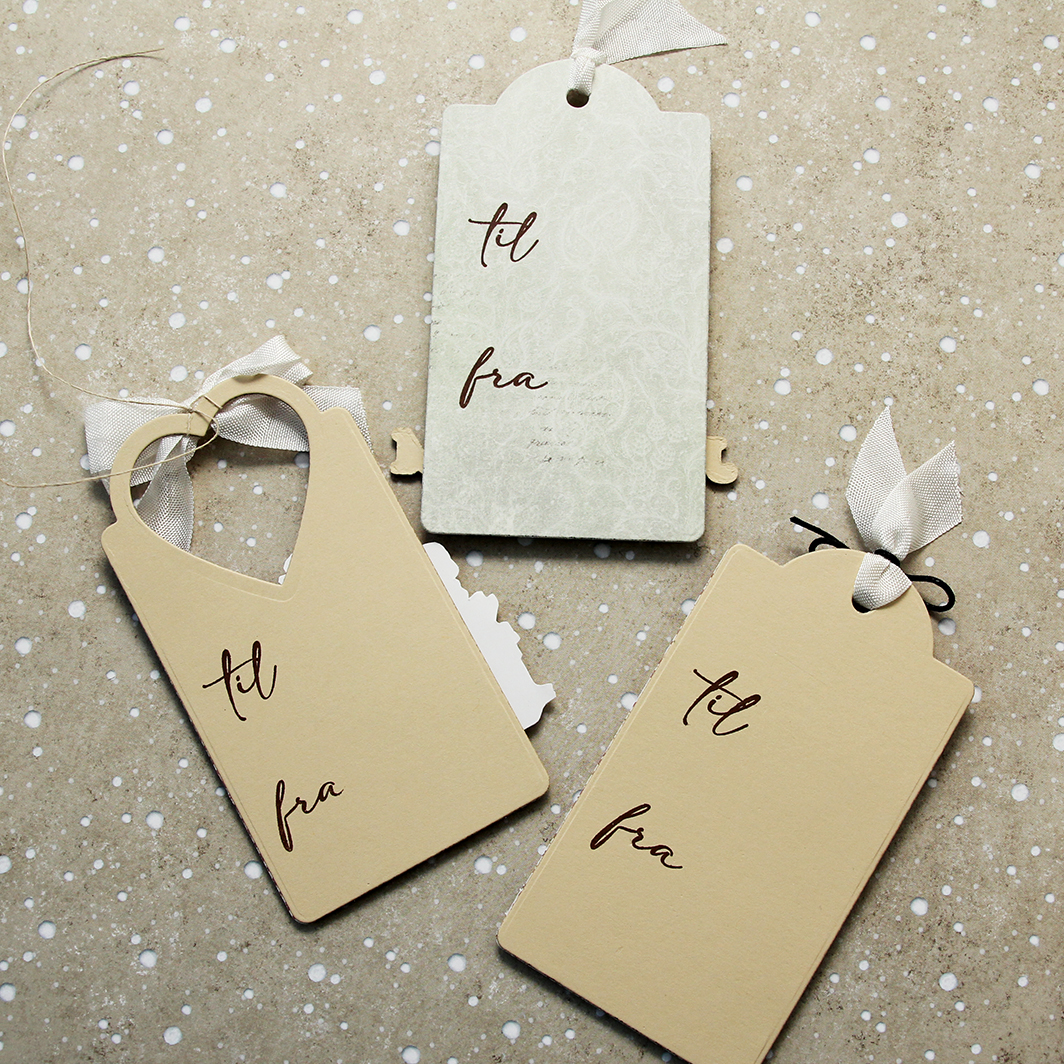 I stamped til/fra on the back of each of the tags using Dark Chocolate ink from Papertrey Ink. The stamps are from M-466.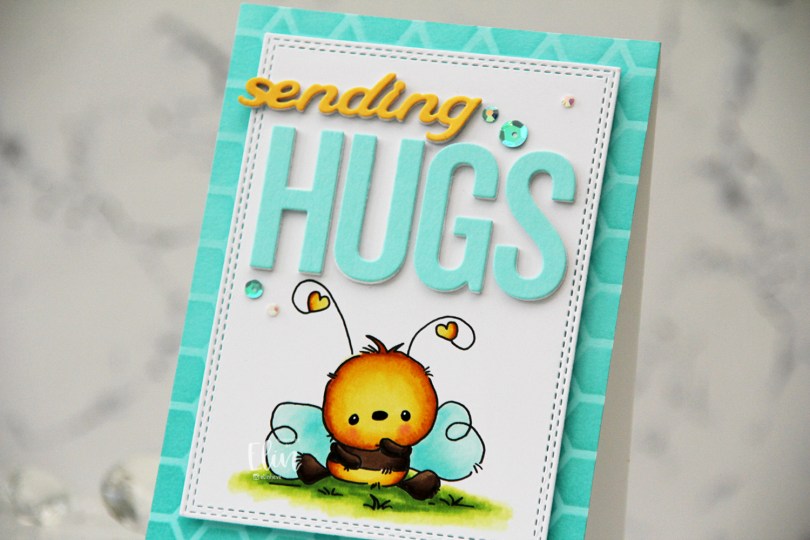
 I stamped the bee on X-Press It blending card and colored it with Copics, before I used a die in the A2 Double Stitched Rectangle STAX die set from My Favorite Things to create a faux stitch border.
 Onto a panel of Aqua Sky cardstock from Concord & 9th, I ink blended Aqua Sky ink through the Geometric Mosaic stencil from My Favorite Things and adhered the panel to a white card base I created from Stamper’s Select White cardstock from Papertrey Ink, then mounted the panel with the bee in the center using foam tape.
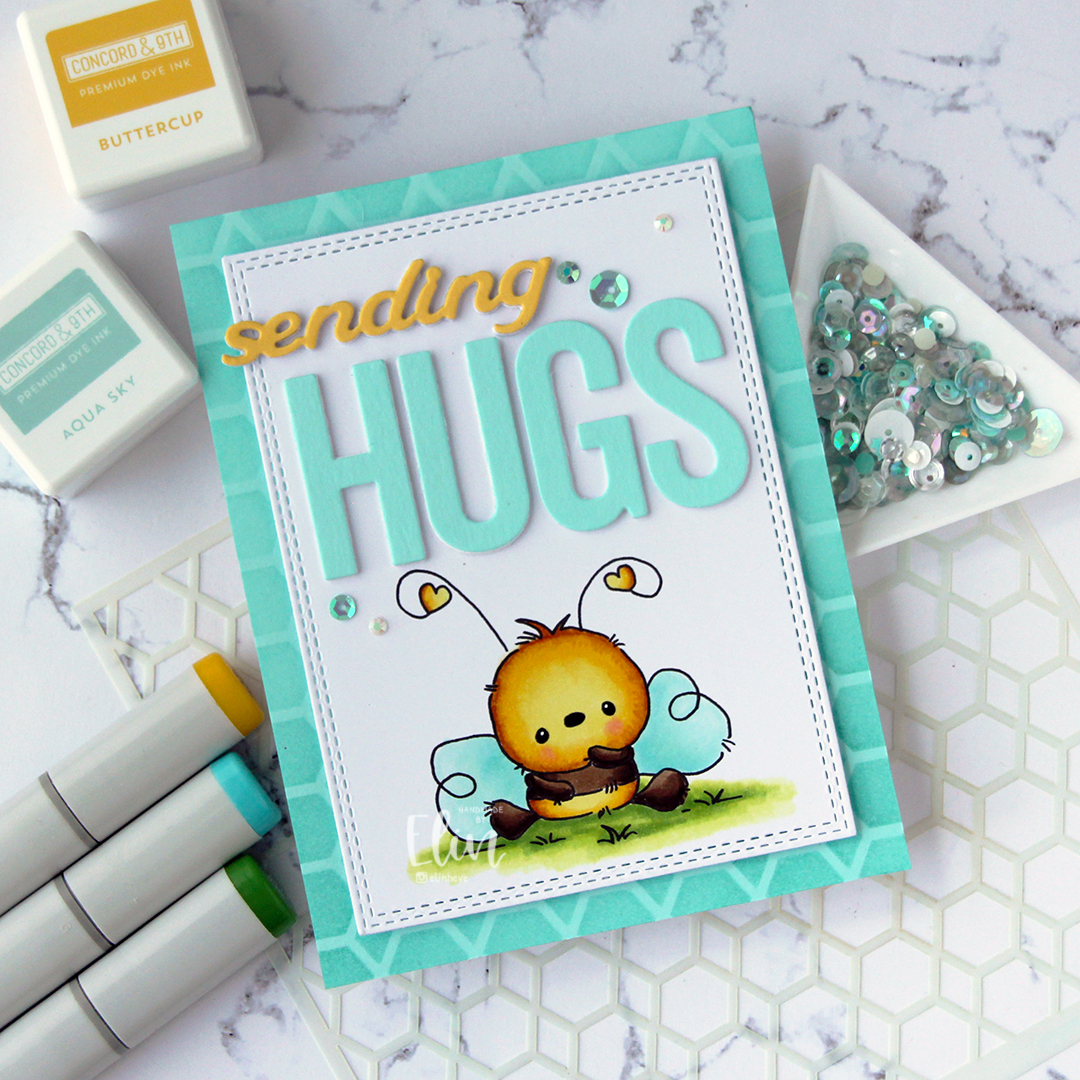 I used the Sending You Hugs die from My Favorite Things to die cut the word HUGS four times. I die cut three white, one from Aqua Sky cardstock and stacked them for dimension. I used the same technique on the sending die from the Blooming Delight die set from Altenew, but switching out the color for the top die cut to Buttercup cardstock from Concord & 9th. I adhered the letters for HUGS above the bee, and the stacked sending above that, letting the s hang from the edge of the panel to break the line in the design.
 I used sequins and gems from the Urban Chic mix from Little Things from Lucy’s Cards to embellish, and I also used my trusted black glaze pen/white Gelly Roll 05 combo for the eyes to give them a little dimension and shine.
 Simple color palette for this one.
 Papirmølla