
Hi, crafty friends. I have an elegant, clean and simple card to share with you today, featuring the Vases of Flowers stamp set from Lili of the Valley. This set came out last week and it’s such a good one!! I chose one of the 13 vase images that comes in the stamp set. I colored it and fussy cut it, before putting it aside to work on the rest of my card.
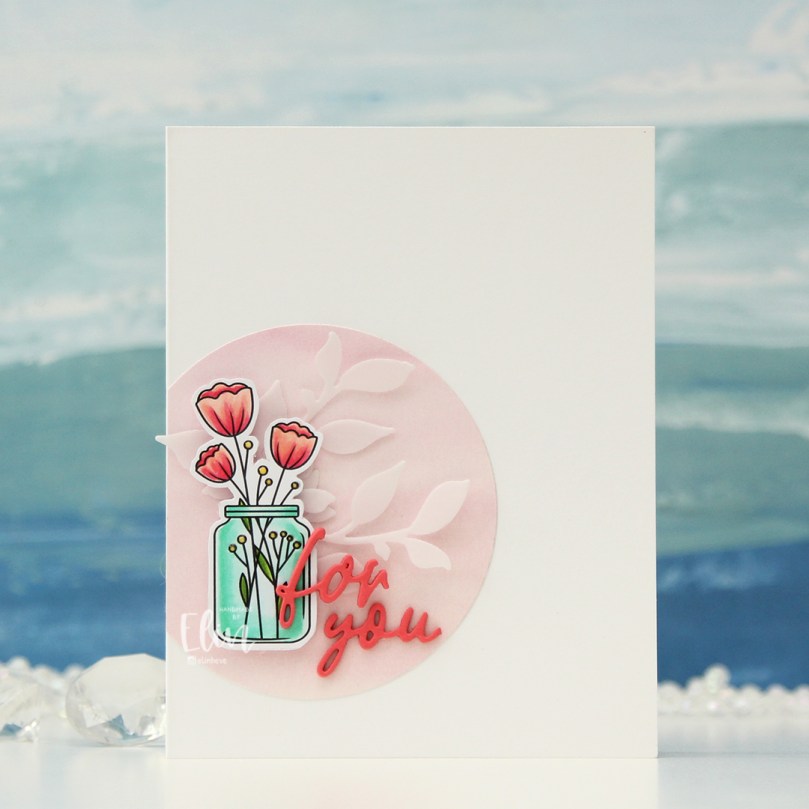 I created a white card base from Stamper’s Select White cardstock from Papertrey Ink, and on the left side of the card, between the center and the bottom, I placed a circle I die cut from the Watercolor Wishes paper pack from Lawn Fawn. I cut off the piece of the circle the left of the fold, I actually created a side fold card this time. I die cut a leaf cluster from heavyweight translucent vellum from My Favorite Things using a die from Kort & Godt, and I also die cut for you from the Sweet Sentiments die set from Altenew from Berry Sorbet cardstock from Papertrey Ink. I stacked four die cuts for each of the words, so they’d stand out on my card. I put foam tape on the back of my colored vase, added the vellum behind it and adhered it to my die cut patterned paper circle. The vellum leaves are only adhered to the card behind the vase, the rest is floating. I added my die cut sentiment and finished off the card by adding Nuvo Jewel Drops in the Limoncello color to the yellow berries in my vase.
 Super simple color palette for this one.
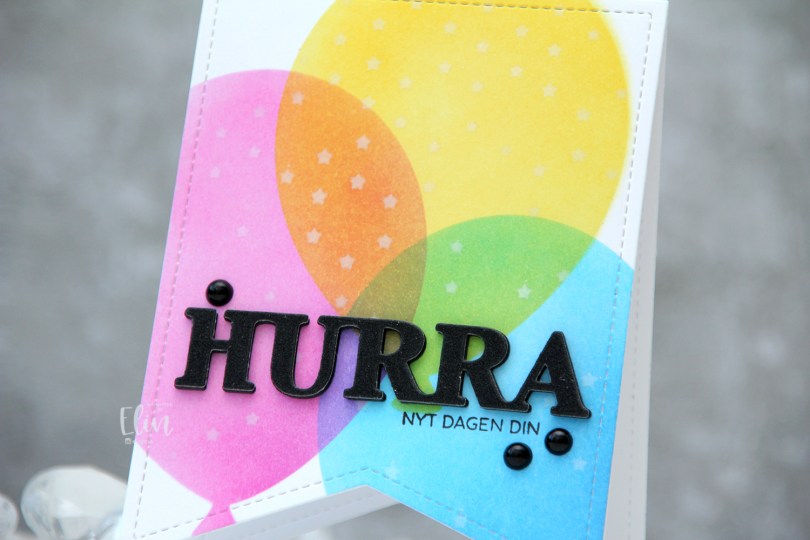
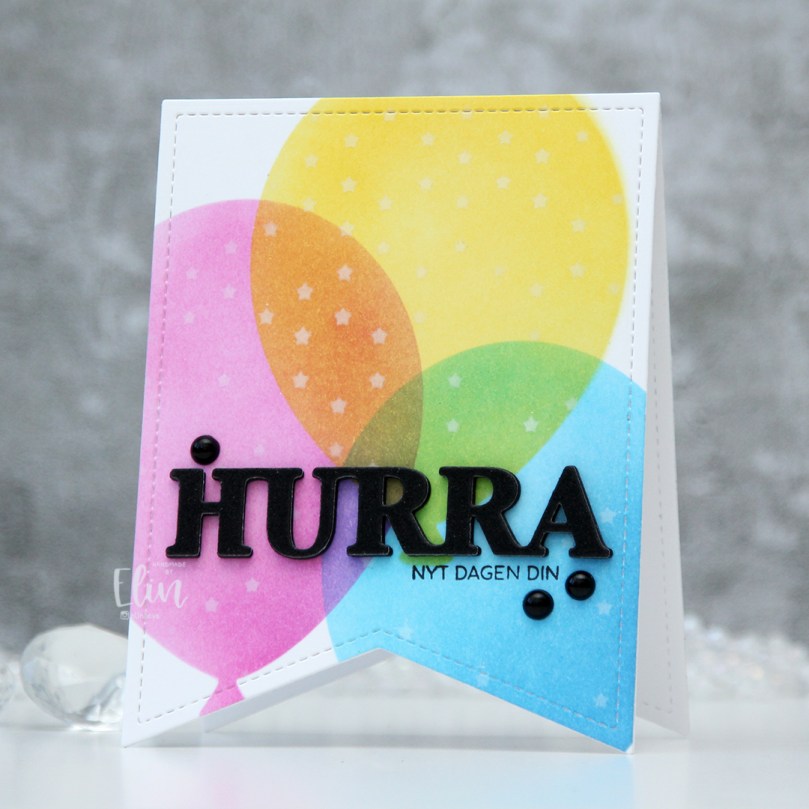 I used a banner die with faux stitching to create a shaped card. This banner die is about 4″ wide, making it the perfect size for a decent size card. I used partial die cutting to create the card base, but die cut a separate piece that I used for my ink blending, which I then adhered to the card base once finished.
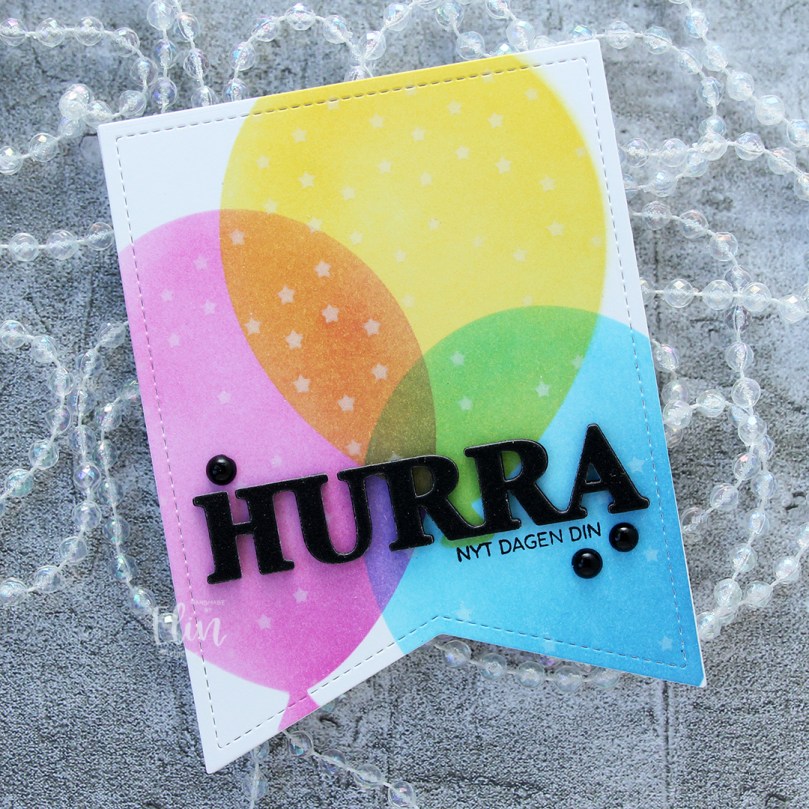 I used the Big Balloon stencil set from My Favorite Things to create my balloons, and used Distress Inks for my ink blending. Faded Jeans, Mermaid Lagoon and Salty Ocean for the blue balloon, Picked Raspberry for the pink balloon and Mustard Seed and Squeezed Lemonade for the yellow balloon. Where they overlap, they create new colors, which is half the fun of ink blending, right? With the balloon stencil still in place, I added the Falling Stars stencil from Simon Says Stamp on top and ink blended white stars onto the balloons using Fresh Snow hybrid ink from Papertrey Ink.
 I stamped a sentiment onto the front using Obsidian ink from Altenew and added a stacked die cut HURRA above it. I layered six black die cuts, before adding this glitter one on top and finished off the card with a few black pearls.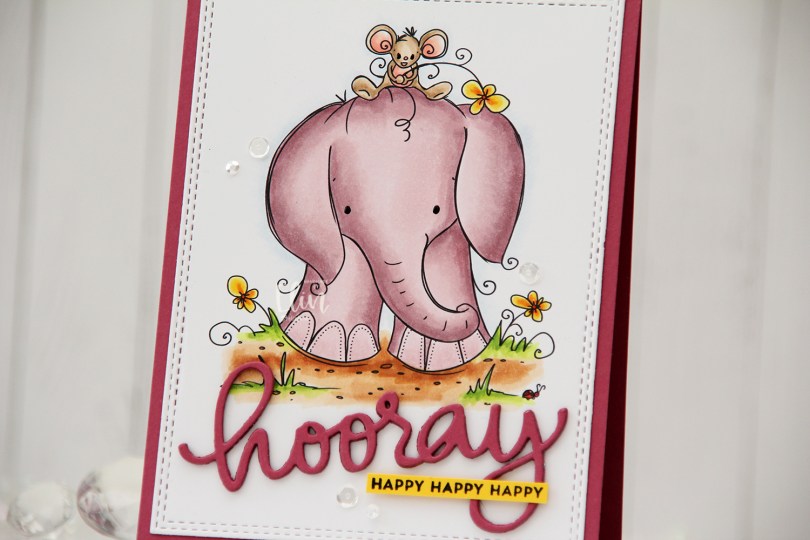
 Aren’t these guys cute? The image is called
 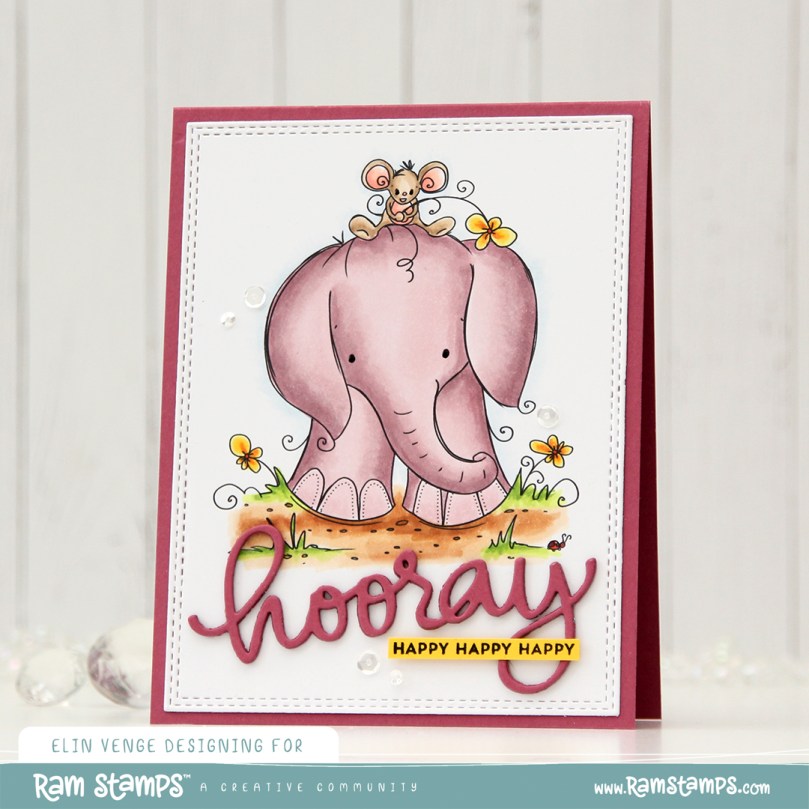 Using the Hooray Script die from Mama Elephant, I die cut the main sentiment from the same color cardstock. I stacked four layers for a dimensional look and stamped a sub sentiment from the Itty Bitty Birthday stamp set from My Favorite Things onto Bright Buttercup cardstock from Papertrey Ink using Obsidian ink from Altenew. To finish off the card I added a few sequins from the Seaglass mix from Simon Says Stamp, as well as a dot of black glaze pen to their eyes.
 A bit of a different color palette for me. Years and years ago, I used the RV90 family a lot, I rarely do anymore. It’s a nice one, though, so I don’t know why I stopped using it. Maybe I should use it more often again.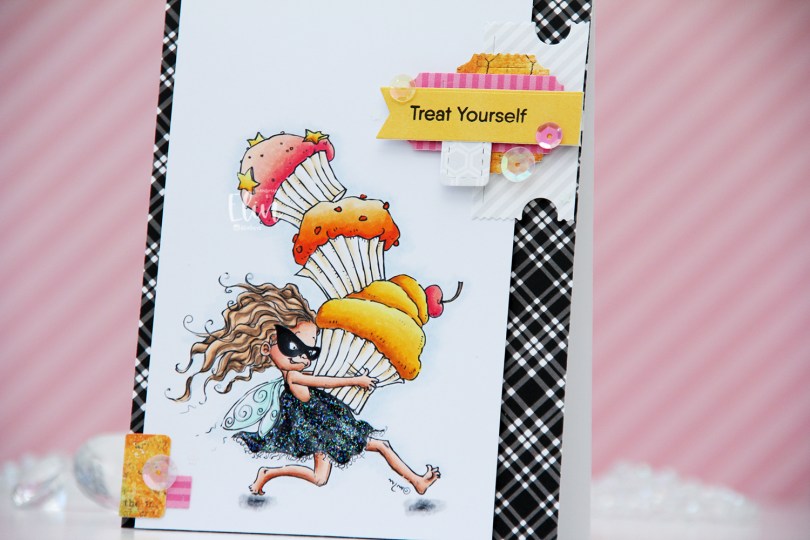
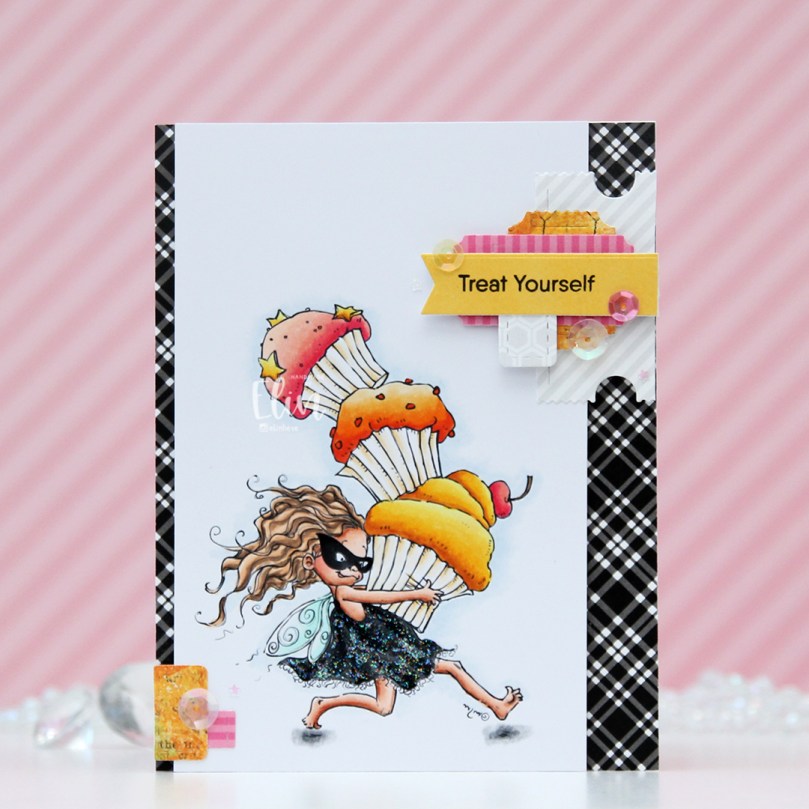 This is Cupcake Thief. I’ve used the image once before. This time, I flipped it so she’s facing right, it’s one of the many advantages of using digital stamps. I colored her with Copics and cut my panel down to a width of 3 1/2″. I put it aside, covered a white card base with the black and white plaid patterned paper from My Favorite Things, then mounted the colored panel on foam tape, leaving a little bit of the patterned paper showing on one side, and more showing on the other.
 On my desk, I keep storage pockets of die cut patterned paper scraps that I use on my cards. I keep them organized by color family, and pulled out the pink, orange and yellow ones for this, as well as a grey/white/neutral one. The great thing about this system is that everything’s already die cut (using the Happy Days Ticket Stubs die from XCut [which cuts 9 different tickets with one die] and the Fishtail Flag Frames die set from My Favorite Things), so I just play with sizes, colors and composition of the different pieces until I’m happy with the result. For this particular card I used a combo of patterned papers from Sunny Studio, P13 and Bo Bunny. Onto one of the die cut banners I stamped a sentiment from the Little Birthday Notes stamp set from My Favorite Things using Obsidian ink from Altenew. I finished off the card with a few sequins from the Sweet Shop mix from Little Things from Lucy’s Cards and some Stardust Stickles to the dress.
 Quite a few Copics for this one. I also used B90, which is a color I’ve made myself, for a subtle hint of a sky.
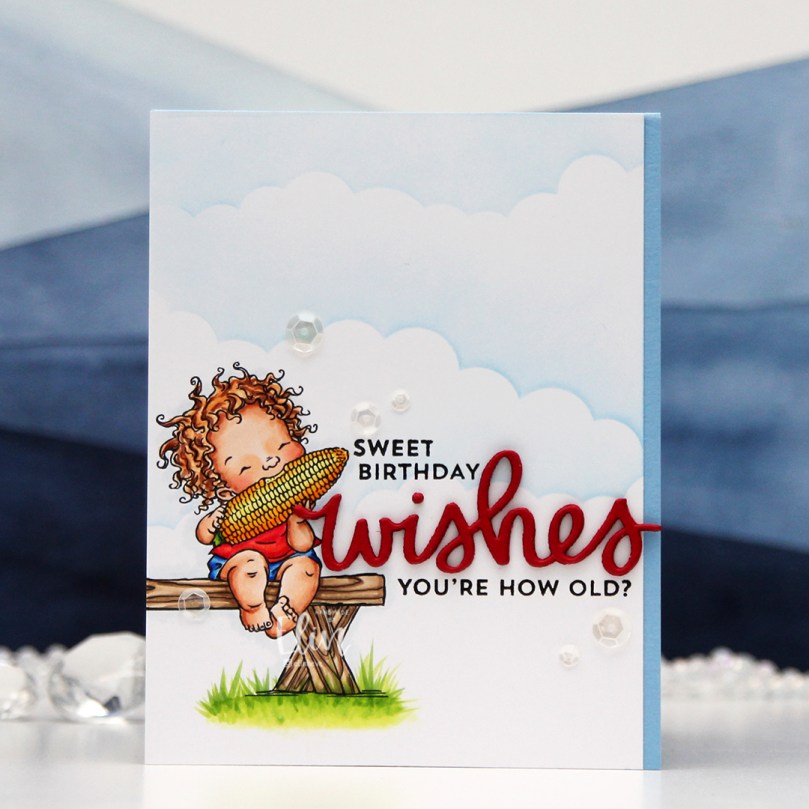 I printed the image near the bottom left of my panel and colored it up with my Copics, before trimming off a little bit on one side. I used the Slimline Cloud Edges stencil from My Favorite Things, along with Eastern Sky ink from Altenew, to softly ink blend the clouds in the background.
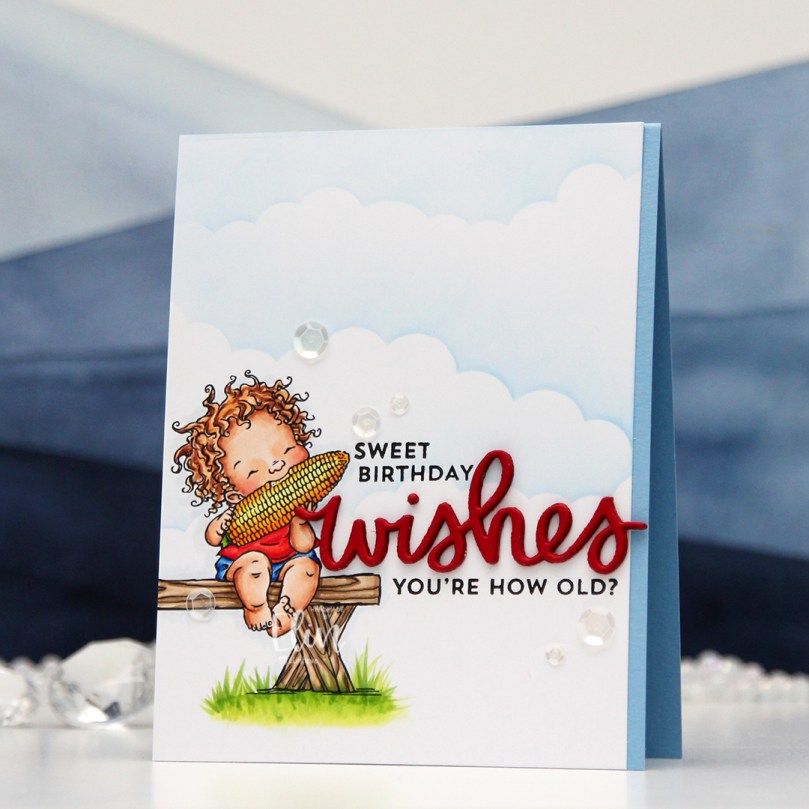 I stamped a couple of sentiments from the Bitty Birthday Wishes stamp set from My Favorite Things using Obsidian ink from Altenew. I adhered my panel directly to an A2 card base I created from Periwinkle cardstock from Hero Arts. I then used a scripty die from Mama Elephant to die cut the word wishes four times from Amarena Cherry cardstock from My Favorite Things. I stacked them together and added the word to the card, nestled in between the stamped sentiments, before finishing off the card with a few sequins from the White Orchid sequin mix from Little Things from Lucy’s Cards.
 Some vivid colors for this one.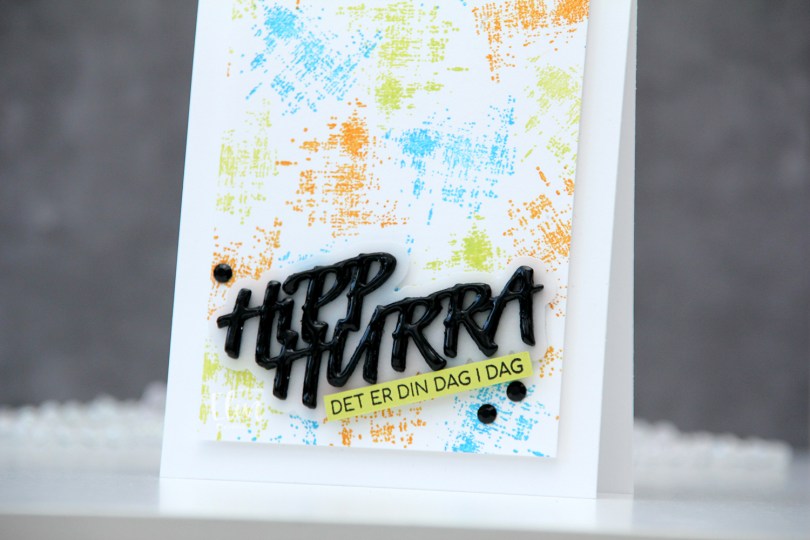
 I started by creating a colorful background. Using one of the stamps in the M479 stamp set, I stamped repeatedly across the background using Distress Oxide inks in the colors Salty Ocean and Twisted Citron, as well as regular Distress ink in Spiced Marmalade. I cut the panel down to be 3 1/2 x 4 7/8″ and mounted it to a white top fold card base using foam tape.
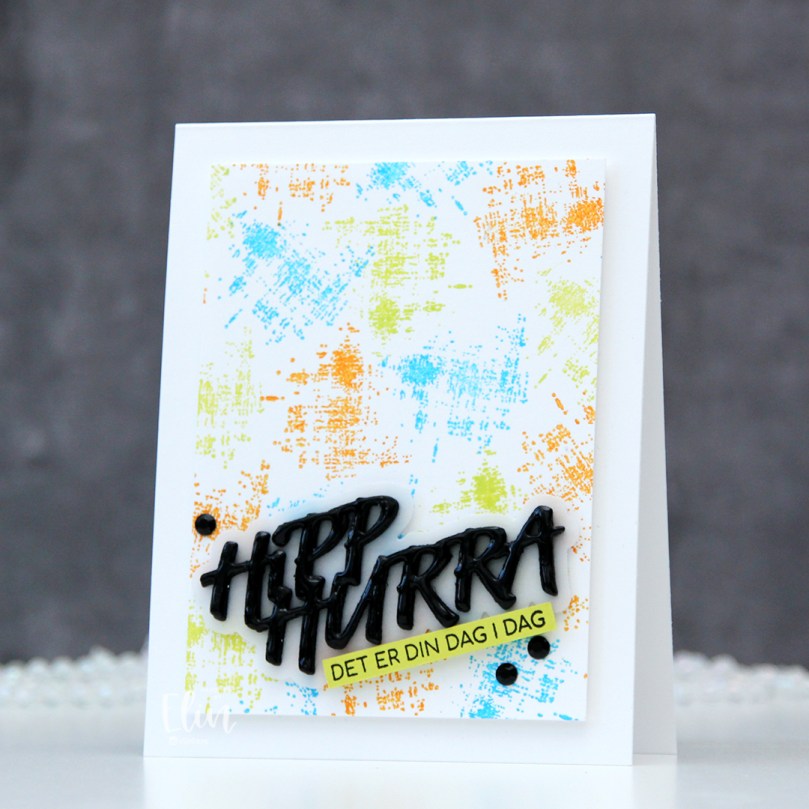 Using the DIE294 die set, I die cut 8 layers of the words from True Black cardstock from Papertrey Ink and one shadow layer using heavyweight translucent vellum from My Favorite Things. I stacked three of the black layers, added the vellum layer on top and then the last five black layers. I even added a coat of Nuvo Crystal Drops in the Ebony Black color to the top layer for extra dimension and shine. On a piece of Limeade Ice cardstock from Papertrey Ink, I stamped a sentiment from the M458 stamp set using Obsidian ink from Altenew, before adhering both the stacked die cut and my stamped sentiment strip at an angle, before finishing off the card with a couple of crystals (BE107). And that’s a wrap for my first DT card for Kort & Godt – I can’t wait to play more, and hope this inspired you.
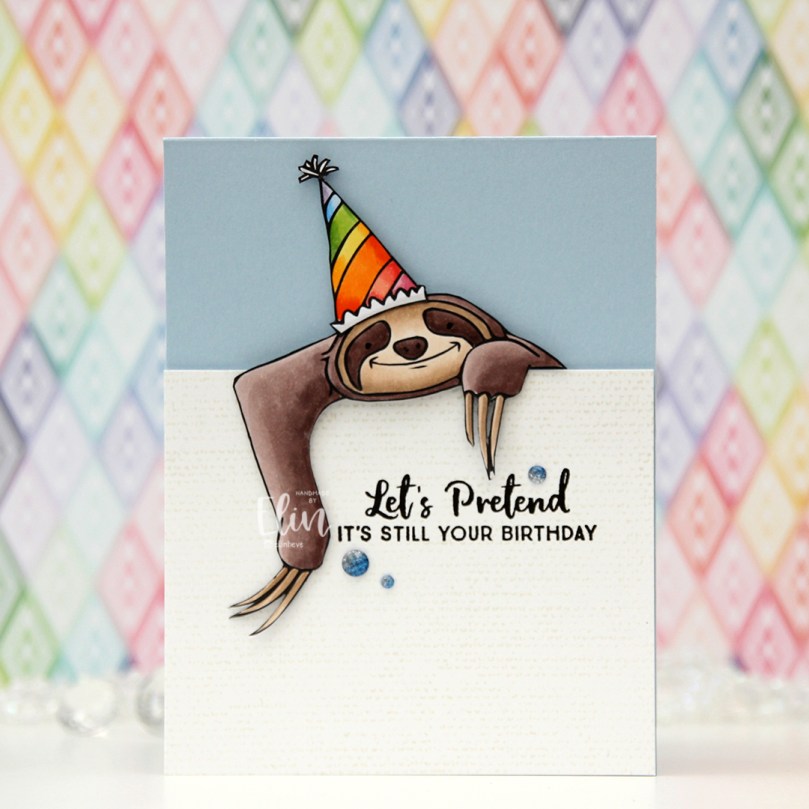 I colored and fussy cut the sloth, colored in the party hat and fussy cut that, before putting both pieces aside while I worked on the rest of my card. I created a card base from Blue Breeze cardstock from My Favorite Things and created a wall for the sloth to hang onto using Stamper’s Select White cardstock from Papertrey Ink. To create a bit of texture to the wall, I stamped the Touch of Texture background stamp from My Favorite Things using Soft Stone ink from Papertrey Ink. It’s subtle, but still adds a little bit of interest.
 I stamped a sentiment from the Anything-but-Basic Birthday Wishes stamp set from My Favorite Things using Obsidian ink from Altenew, before adding the wall to the card base with 1 mm foam squares. I added the sloth using foam tape and finished off the card with a few Starry Sky Ombré Glitter Drops from Pinkfresh Studio. I also added a dot of Black Glaze pen to his eyes for a bit of shine and dimension, which is easy to see in real life, but tricky to photograph.
 This was initially a very muted, very simple color palette. Let’s just say things changed when I decided to add the party hat 🙂
 I stamped and colored my images, before fussy cutting them, leaving a bit of a white border around them all. I put my colored pieces aside and started working on the rest of the card. I decided to do a bit of ink blending with the Paint Strokes stencil from My Favorite Things. I thought the brush strokes would be good for a background for my colored images.
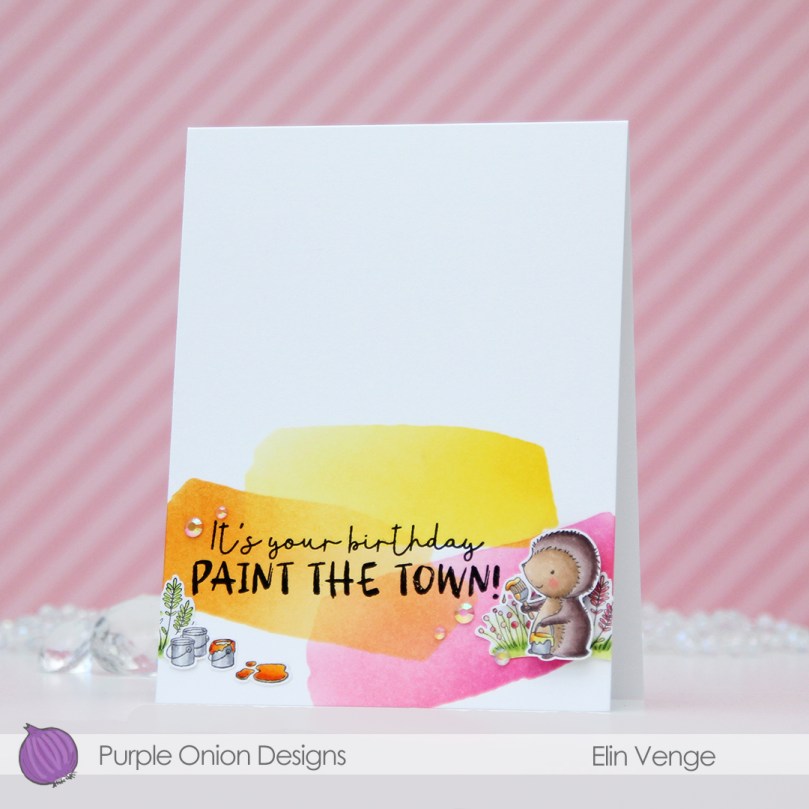 I started out with Coral Bliss and Pink Pearl inks from Altenew for the pink, but wanted a little more oomph and went over them with Picked Raspberry and Worn Lipstick distress inks, which gave it the pink I wanted. On the orange paint stroke, I only used Spiced Marmalade distress ink, and for the yellow, I chose Mustard Seed and Squeezed Lemonade distress inks. I then stamped a sentiment from the
  For such small images, I used a lot of colors for this card.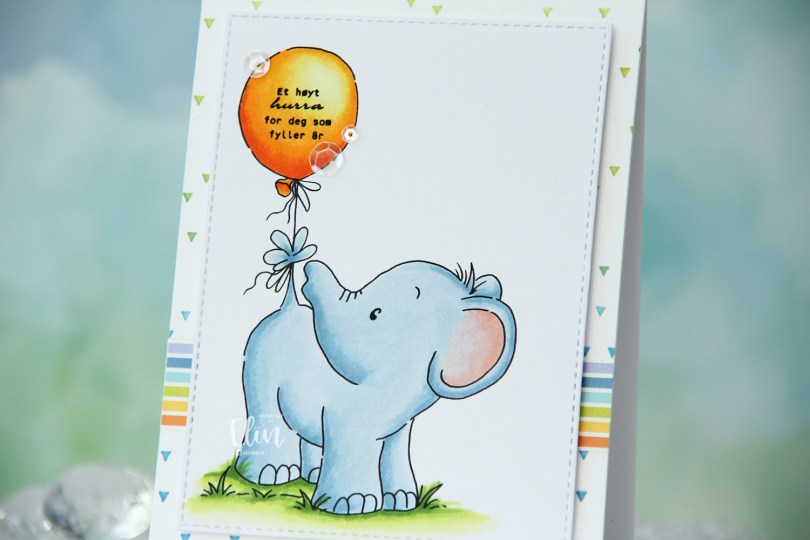
 I colored the elephant with Copics, stamped a Norsk Stempelblad AS sentiment inside the balloon using Altenew Obsidian ink, then used a die from the A2 Stitched Rectangle STAX 1 set from My Favorite Things to turn it into a panel with that nice faux stitch line that I use a lot on my cards. In my stash I had a white card base with a stamped background (the Scattered Triangles Background stamp from My Favorite Things, stamped with Sour Apple and Blue Yonder inks, also from My Favorite Things) on the front that I decided to also make use of. The colors match my elephant nicely. I was actually planning on using this card base for my
  On top of my scattered triangle background, I adhered a strip of a patterned paper from the Party Patterns paper pad from My Favorite Things, mounted my colored panel using foam tape and embellished near the sentiment using the White Orchid Sequin mix from Little Things from Lucy’s Cards.
 Simple card means simple color palette.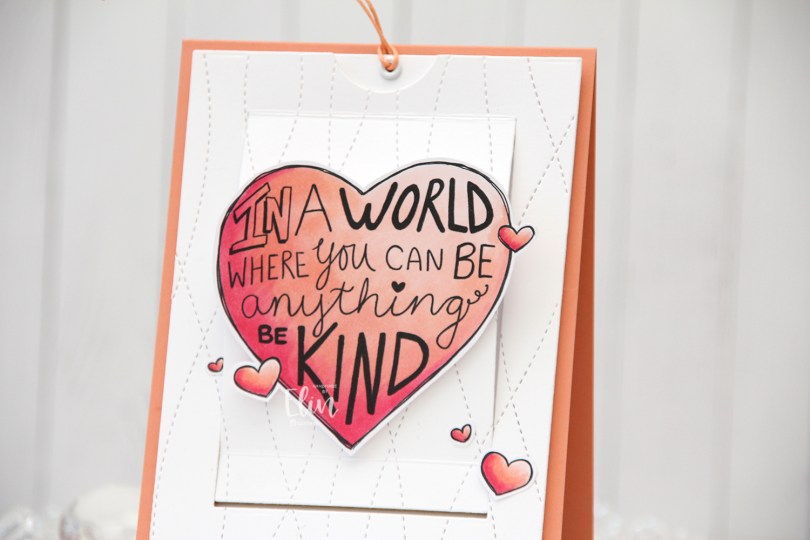
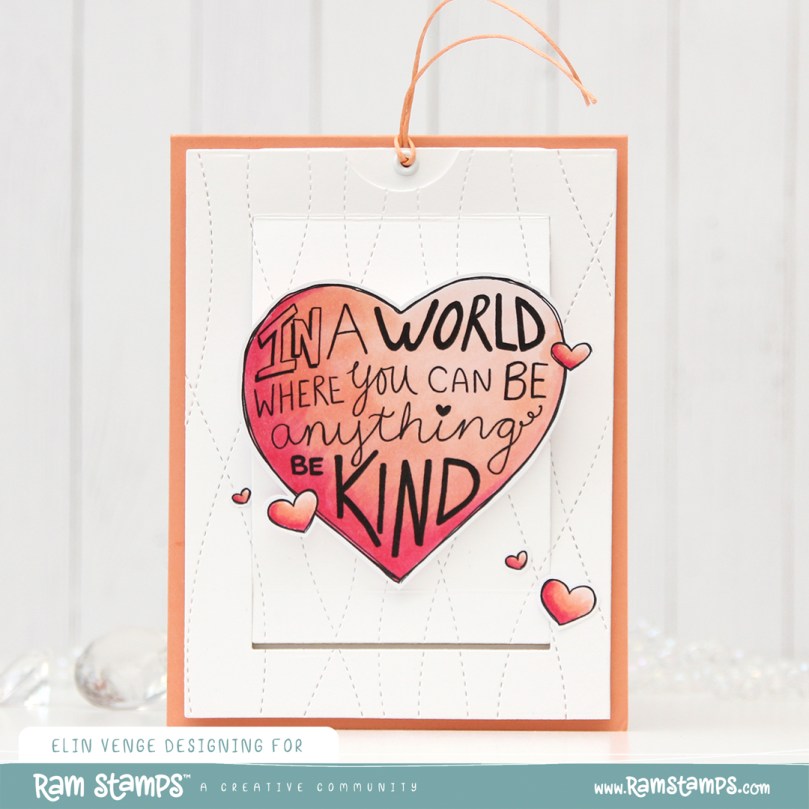 As you might be able to tell from the front, this isn’t a regular card. It’s a slider card. At first I wasn’t sure how to turn this particular stamp into a card, but then I had a lightbulb moment and realized it was perfect for a slider card.
 I colored the images with Copics, did some fussy cutting leaving a think white border and put my pieces aside while I worked on the rest of the card.
 When you pull on the string at the top, these mice from the Be Kind stamp are revealed. Nice little surprise there, huh? The slider mechanism itself is made using the Slider Surprise die set from My Favorite Things, but you could easily do this on your own, it’s not difficult. They’re straight cut lines and just a few score lines.
 I wanted a little texture to my white cardstock, and used the Stitched Ripple Backdrop die from Lawn Fawn, which creates these faux stitch lines across the panel. In hindsight, I realize I probably should have dry embossed it only and not die cut it, because where the stitched lines intersect with the die cut edge of the part that folds up, it kind of snags a little. It’s not a huge deal, but it’s enough to make me think simply dry embossing would have been enough.
 In the opening, I added a piece of Gold Foil Pinstripe washi tape from Altenew for the mice to have a little bit of a grounding element, then adhered the mice using liquid glue. The top die cut panel is mounted on foam tape, and everything adhered to a top fold card base I created from Melon Berry cardstock from Papertrey Ink.
 Probably the simplest color palette I’ve ever used on a card.
 Papirmølla