
Hi, crafty friends. Today I’m sharing with you a card featuring one of the cuties from Mo Manning’s 3 on a bench set. The stamp set includes a bench and three kids, all eating different things – watermelon, ice cream and corn. I’ve used the watermelon one in the past, but this time I’m focusing on the ice cream, still hoping spring will arrive at some point.
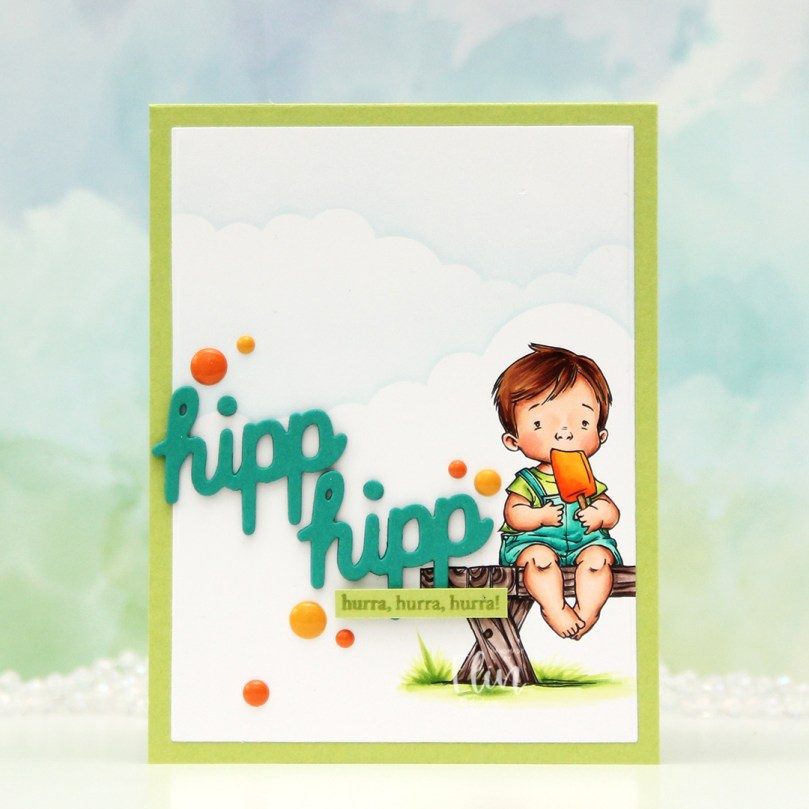 I decided to cut off about half of the bench. Since I’m only using one of the kids, I didn’t need the whole thing. If you want, there’s also a merged version of this set which includes all three kids sitting on the bench, but I love the versatility of the separated versions and tend to opt for those. I chose a summery color palette, colored the image with Copics, then used a die from the Additional A2 Layers die set from Waffle Flower to turn it into a panel that would give me a nice border on an A2 card. Using the Slimline Cloud Edges stencil and the Rolling Clouds stencil, both from My Favorite Things, I ink blended a soft, cloudy background using Polar Bear ink from Altenew.
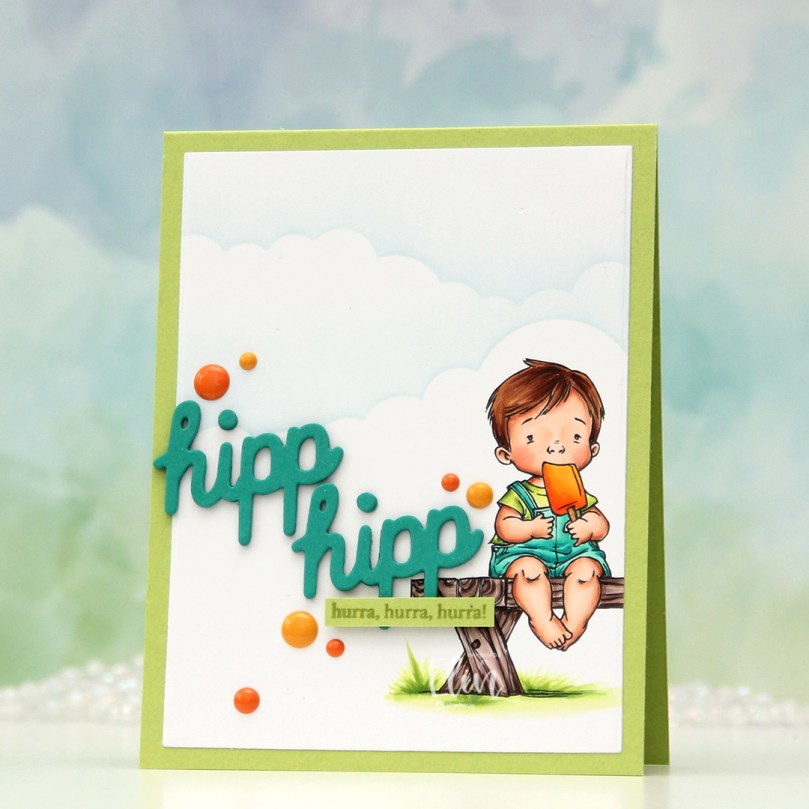 I adhered my panel directly to a card base I created from Green Parakeet cardstock from Papertrey Ink. I stamped a sentiment from Norsk Stempelblad AS onto a strip of the same color cardstock using Green Apple ink from Simon Says Stamp and put the sentiment aside while I worked on the rest of my card.
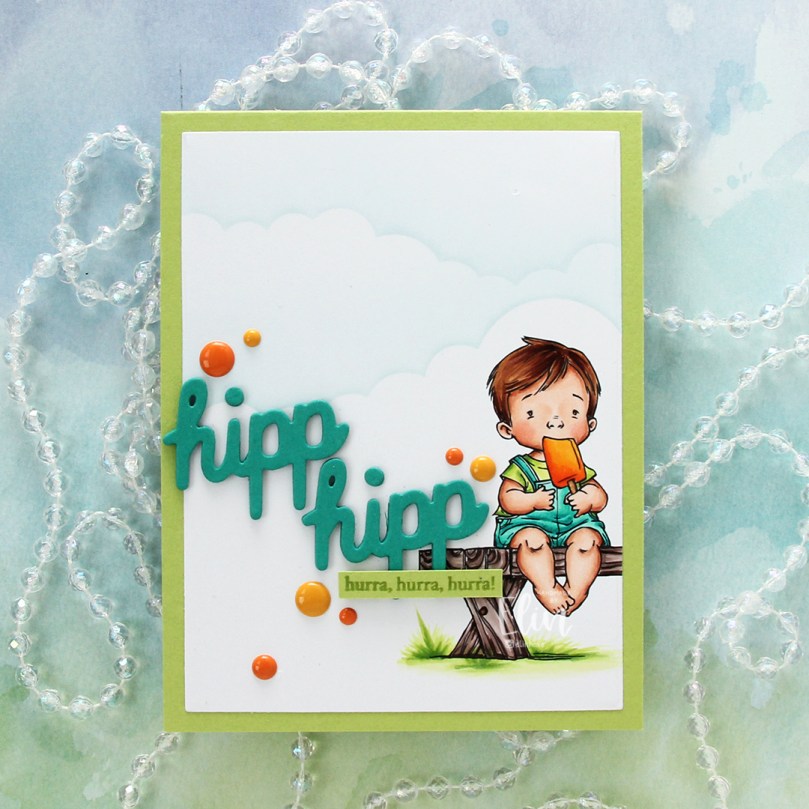 I die cut the word hipp 8 times from Tropical Teal cardstock from Papertrey Ink using a die from Kort og Godt, and created two stacks of four each for a dimensional look. I adhered my stacked die cuts to the card and put the green cardstock strip on top of the bottom hipp.
 To finish off the card I added a few enamel dots from Papirdesign. I decided to go for orange ones to pick up the color from the little boy’s ice cream.
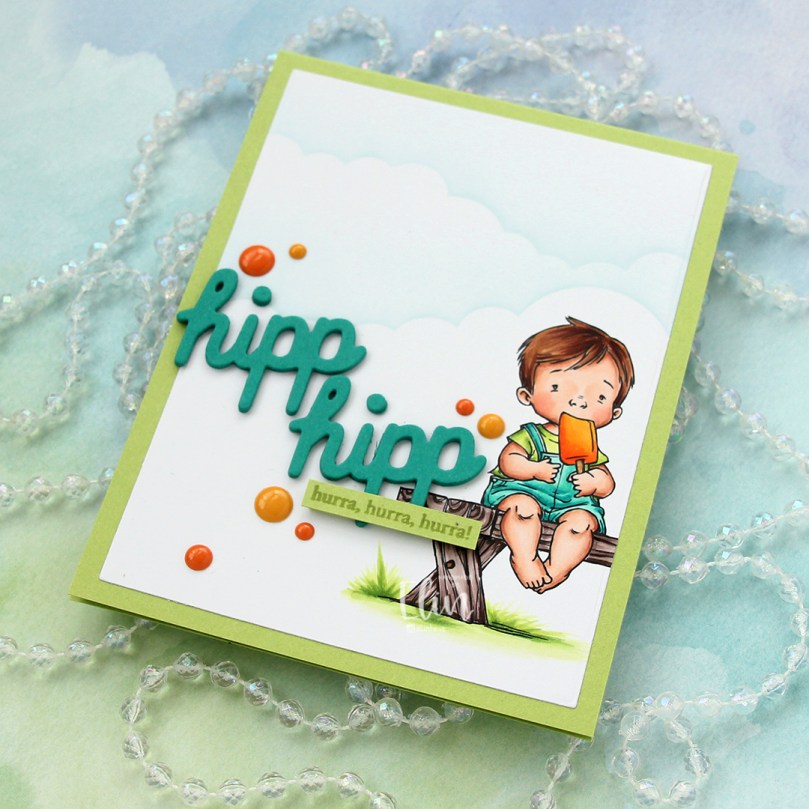 It’s a fairly simple card, but the clouds add a little something to the white space, and the die cuts and dots add dimension.
 For such a small image, I used a lot of colors.

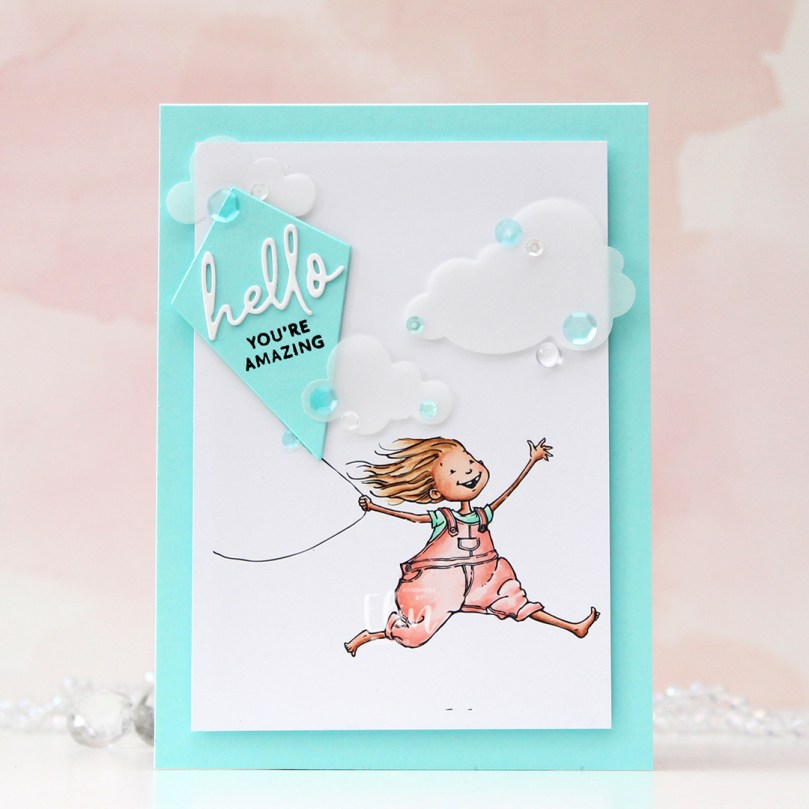 I colored the image in a very pastel color palette, before trimming the panel down to 3 7/8 x 5 1/2″, added foam tape on the back and mounted it on an A6 (4 5/8 x 6 1/4″) top fold white card base that I covered with a piece of Aqua Sky cardstock from Concord & 9th.
 This card was a bit of an evolution. I originally wanted to use a bigger kite and a different sentiment, but the larger kite was too big for my image (AND for my card) and the sentiment I initially wanted to use was too big for this smaller kite, so I had to improvise. I used a die from the kite builder die set from Concord & 9th, and stamped a sentiment from the Kite Strings stamp set, also from Concord & 9th, using VersaFine Onyx Black ink. I then die cut the word hello twice from white cardstock using the Sweet Sentiments die set from Altenew, stacked the two together and added the word above the stamped sentiment and popped the kite on some 1 mm foam squares for a tiny bit of dimension.
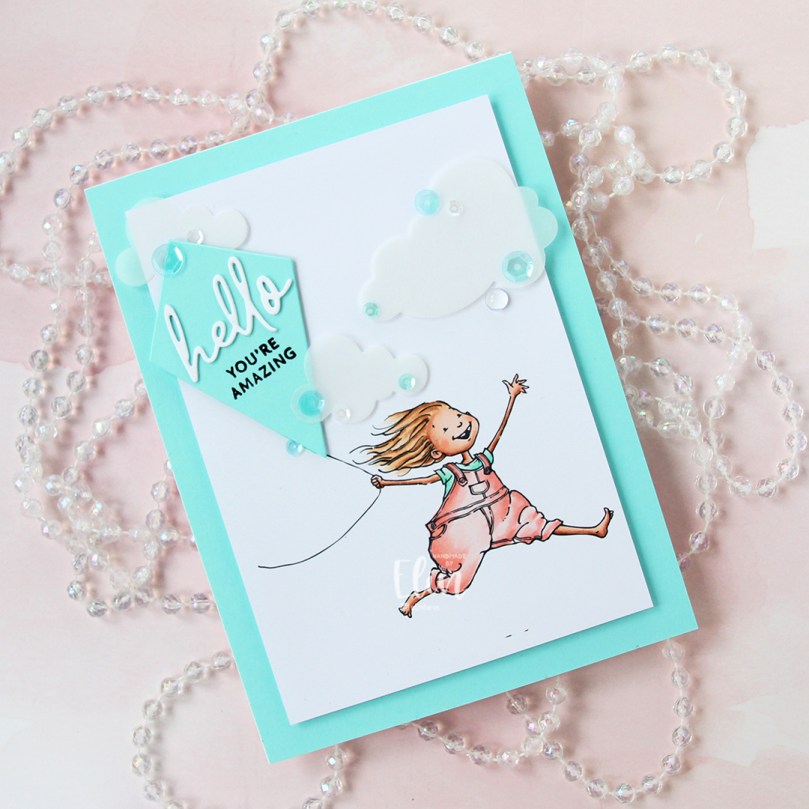 My card felt kind of empty at this point, I had even more white space than I wanted, and I needed a fix. My color buddy and general crafty assistant Liz suggested adding clouds. Using the Cloud 1 & 2 die set from Papertrey Ink, I die cut three clouds from vellum. I tucked one behind the kite and added tiny slivers of 1 mm foam squares behind the other two for a little bit of dimension, before strategically placing sequins from the Ice Water mix from Little Things from Lucy’s Cards to hide the foam squares and finish the card.
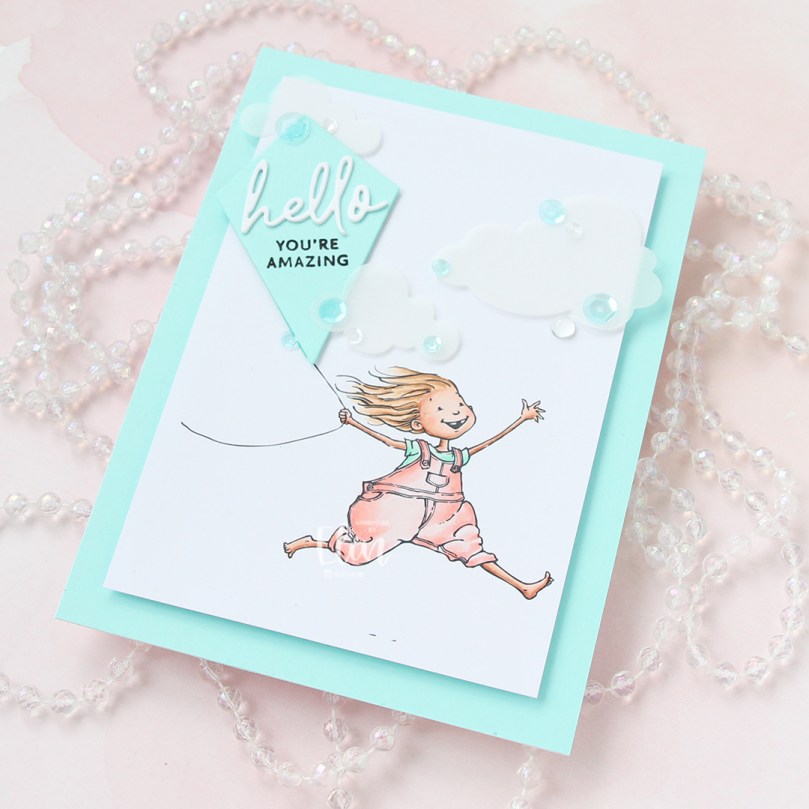 This card didn’t turn out the way I planned, but sometimes, that’s actually a good thing. I like the clouds, the sequins and my other revisions to my original idea. And I will never cease to be amazed at how good clouds always look die cut from vellum. It’s the best!
 I didn’t use a lot of markers for this one.
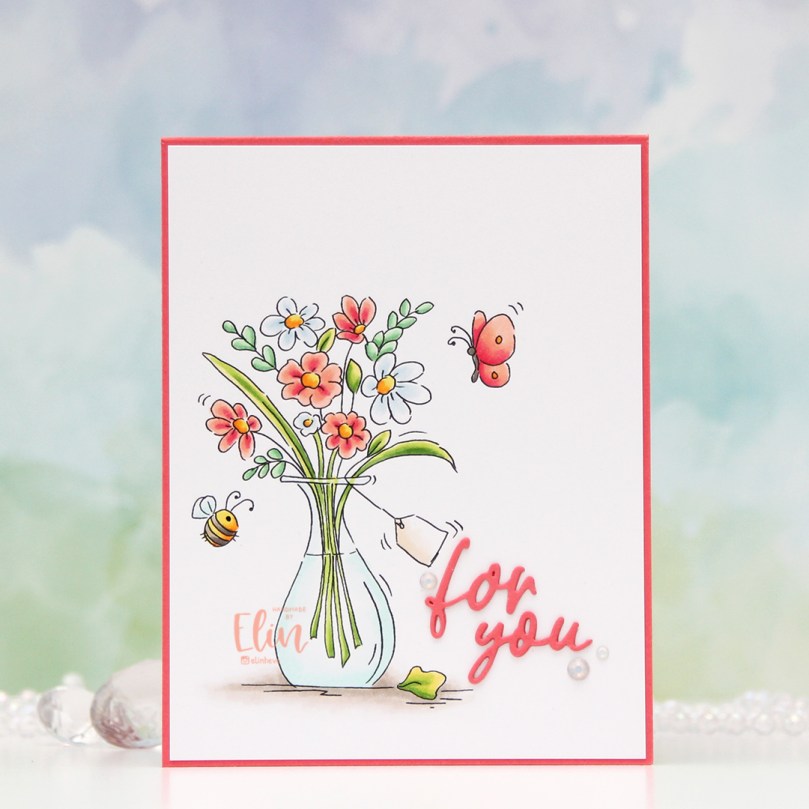 This image was so quick and easy to color up. It’s a digital stamp from Lili of the Valley, entitled
 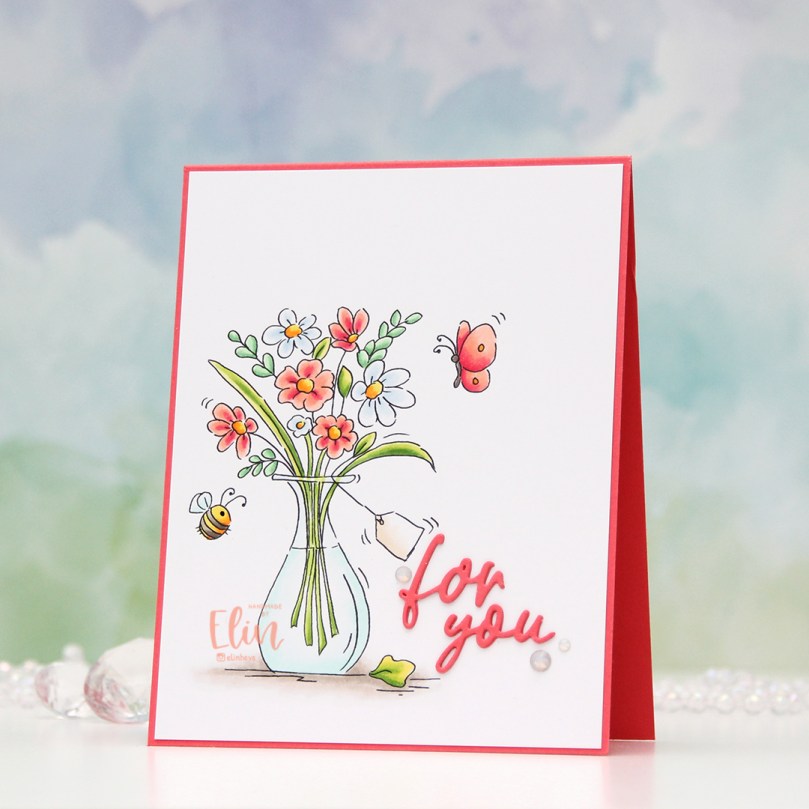 I colored the image with Copics, trimmed a little bit off the edges of my panel and adhered it to a card base I created from Berry Sorbet cardstock from Papertrey Ink. I used the same color cardstock to die cut the words for you using a die in the Sweet Sentiments die set from Altenew. I stacked two on top of each other to give a little bit of dimension, without it being too much, before finishing the card with a gems from a pack of Color Essentials gems (in opal) from Spellbinders. I also added a dot of black Glaze pen to the eye of the little bee for a little bit of shine.
 Simple color palette for this one.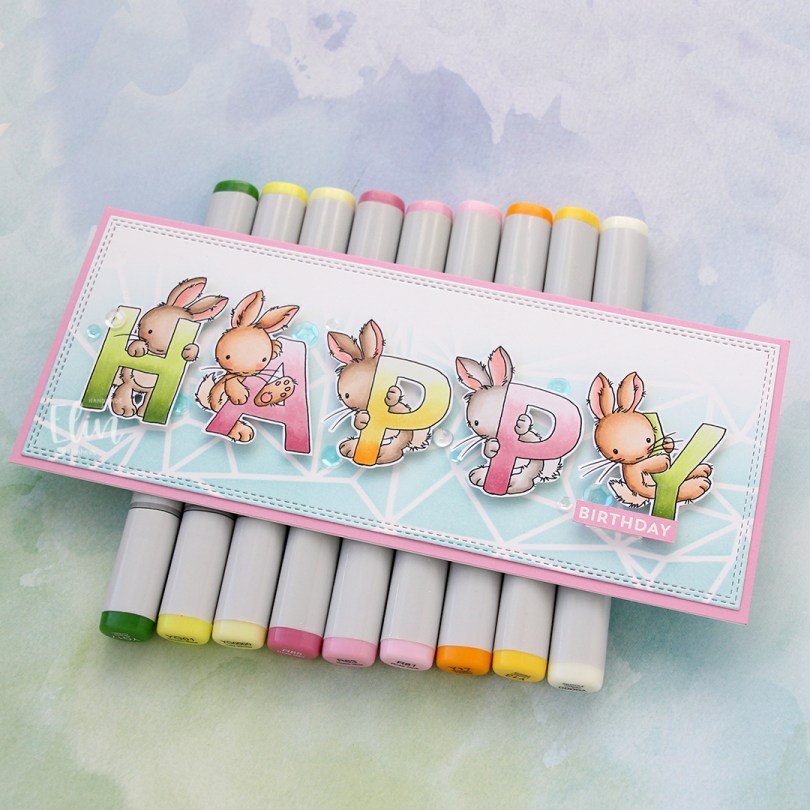
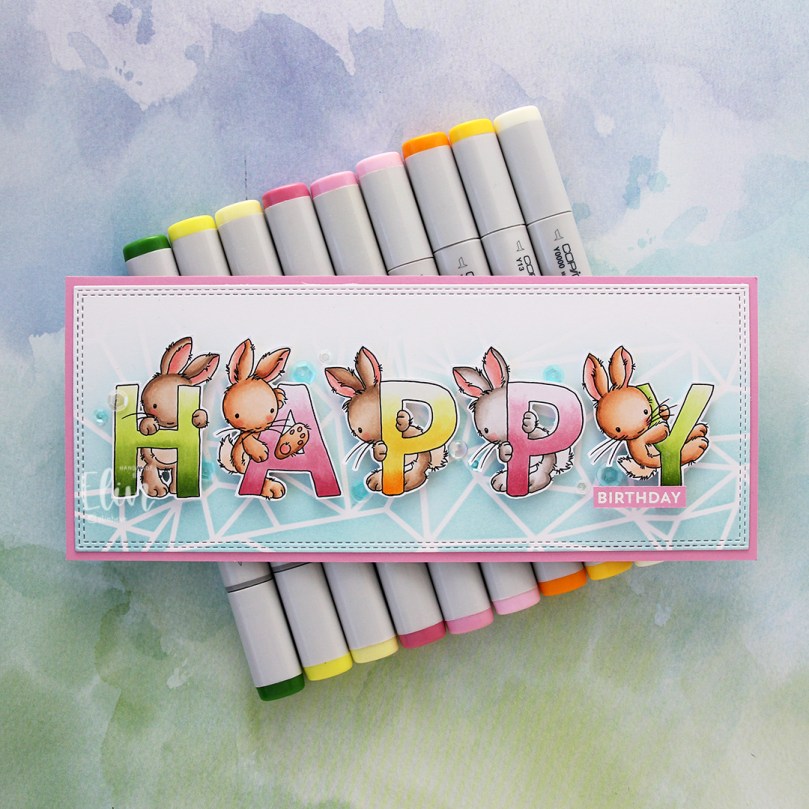 This set offers so many possibilities for customizing your card to suit your needs. I colored the letters to spell happy and fussy cut them, leaving a thin white border and put them aside while I worked on the rest of the card.
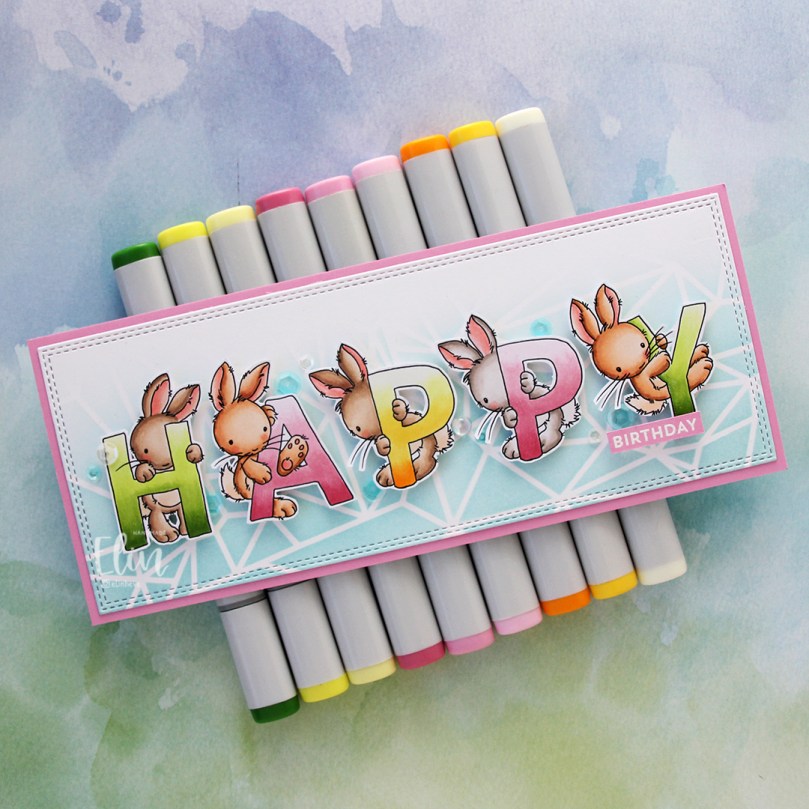 Onto a piece of Stamper’s Select White cardstock from Papertrey Ink, I ink blended Sno Cone ink from My Favorite Things using the Geometric Landscape stencil from Altenew. It’s a 6×6″ stencil, but it was easy to create a longer section with a little bit of masking and moving the stencil. I then diecut the panel using the Slimline Double Stitched Rectangle STAX die set from My Favorite Things and adhered it to a card base made from Cotton Candy cardstock, also from My Favorite Things.
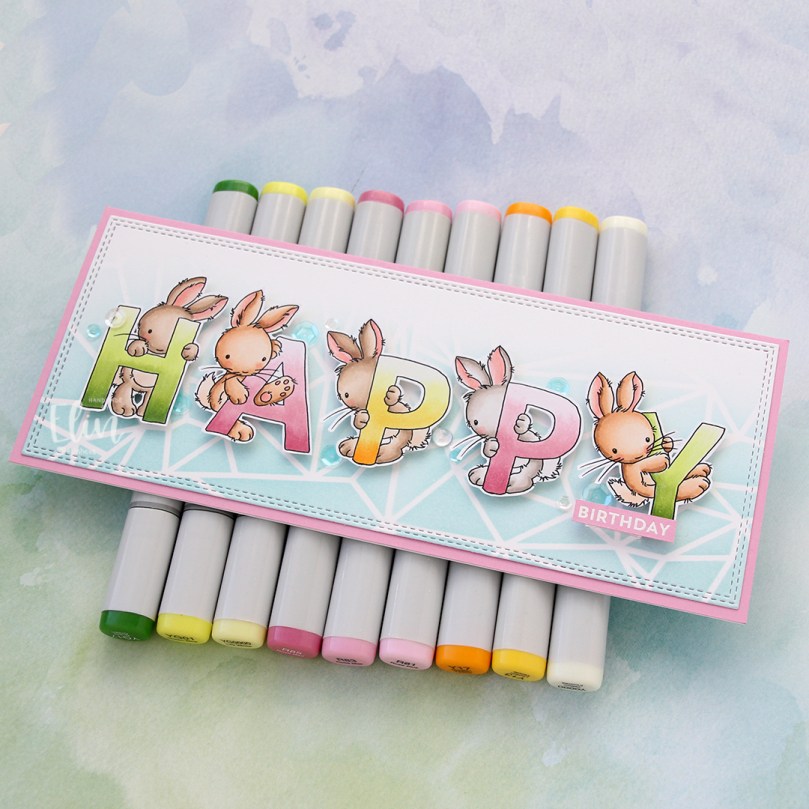 I popped my colored, fussy cut letters on foam tape in the center of the card, heat embossed a sub sentiment from the Bitty Birthday Wishes stamp set from My Favorite Things and finished off the card with drops and sequins from the Ice Water mix from Little Things from Lucy’s Cards.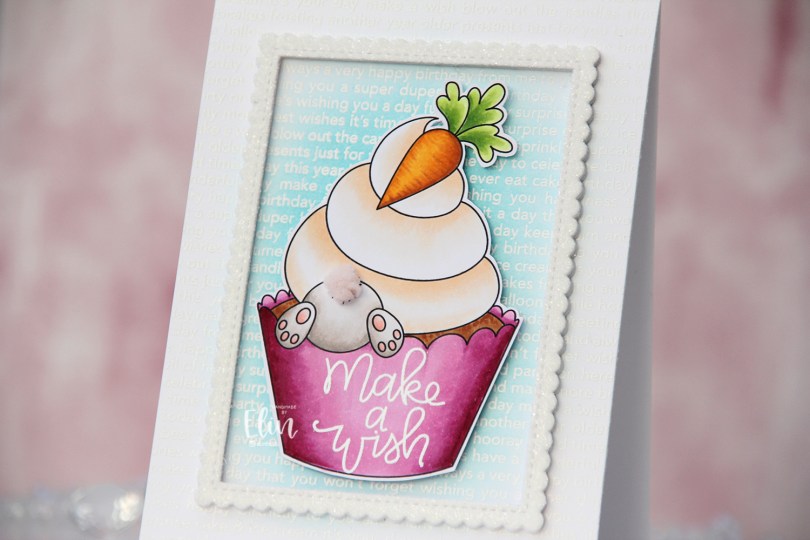
 When I first saw the
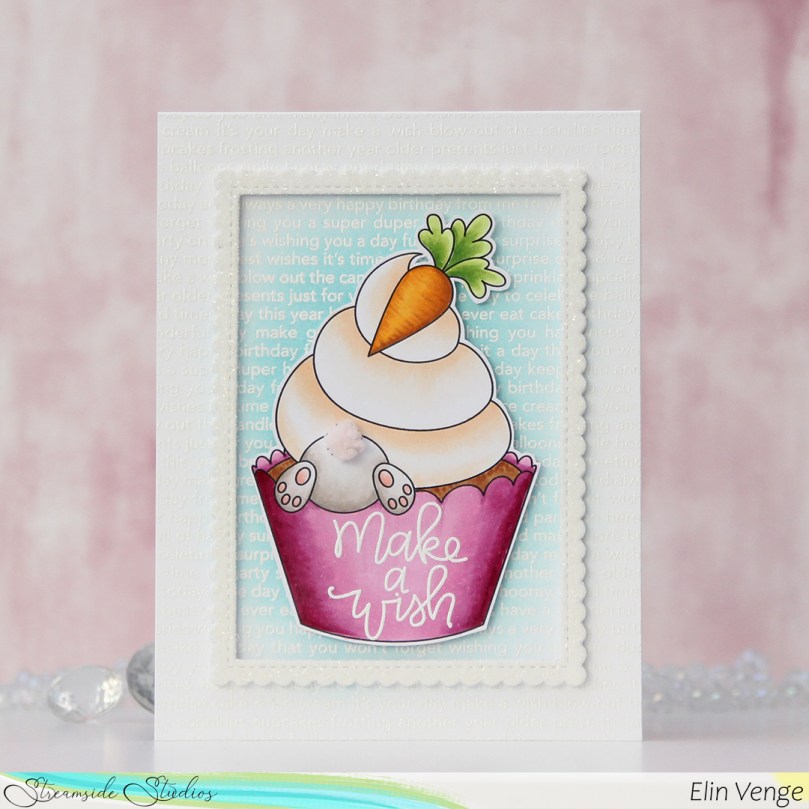
  I just knew this bunny had to be digging for treasure somewhere and decided to pair it with the carrot cupcake. I colored my image with Copics, stamped and white heat embossed a sentiment from the Scripty Bday stamp set from Mama Elephant, before adding a fluffy tail from part of a ribbon from Papirdesign. I felt the soft pink worked with the rest of the image. I fussy cut around my colored piece leaving a thin white border and put it aside while I worked on the rest of the card.
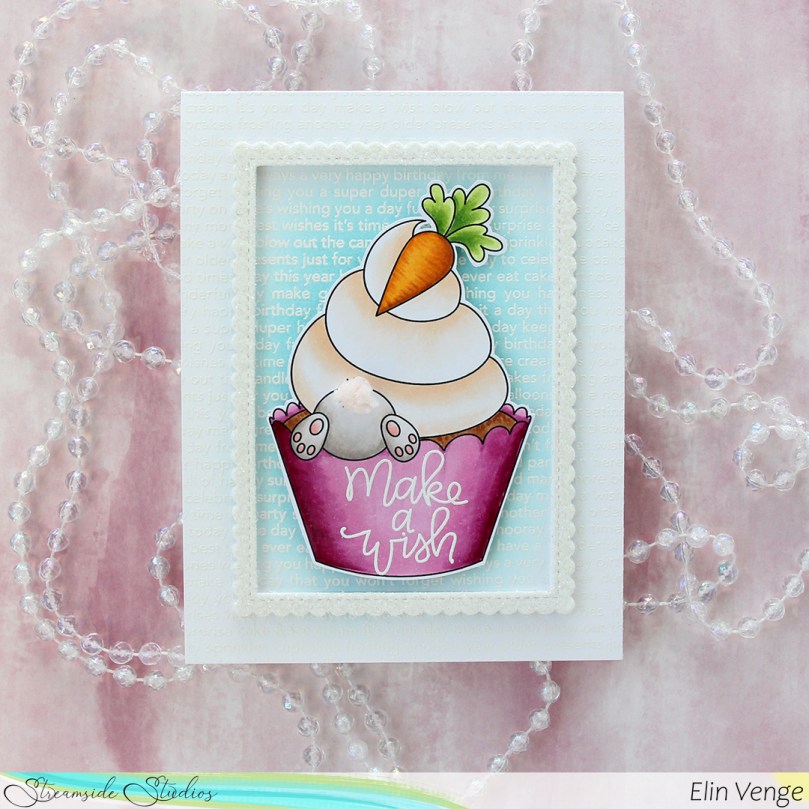 Onto the card base, I stamped and white heat embossed the Happy Birthday background stamp from My Favorite Things, before ink blending in the center with a blender brush and Summer Splash ink, also from My Favorite Things.
 Using a die from the Stitched Rectangle Scallop Edge Frames die set from My Favorite Things, I die cut 5 frames from white cardstock and stacked them for dimension. I covered a sheet of white cardstock with a double sided adhesive sheet from Altenew, before using the same frame die to die cut one more from that. I added it on top of my stacked frames, removed the release paper from the top and covered it with rock candy distress glitter from Ranger for a bit of sparkle.
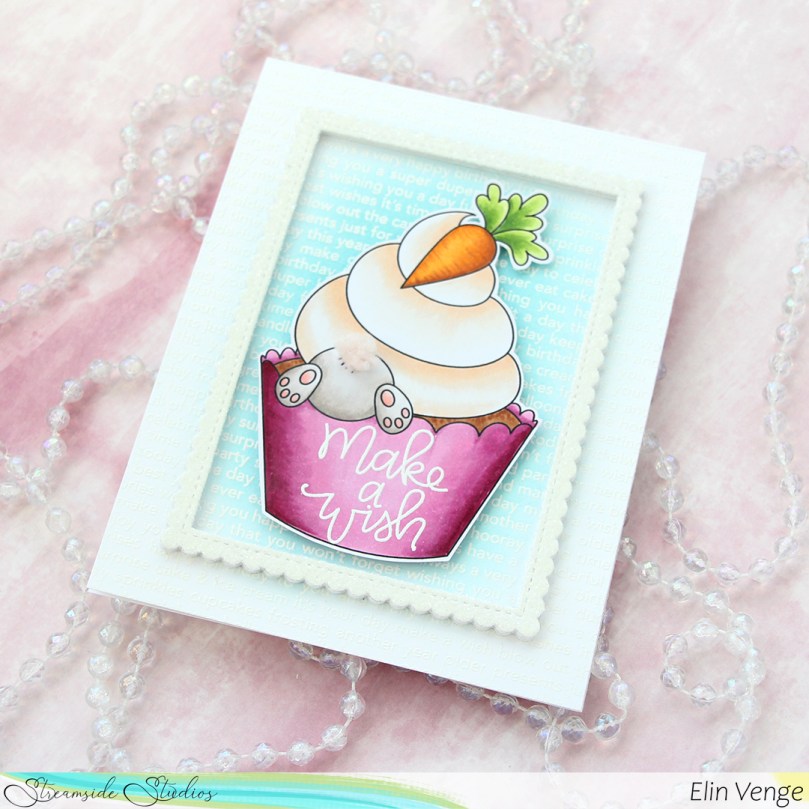 I centered the frame on my card base and added my colored image in the center using foam tape. This card is fairly simple, and that tail totally steals the show.
 Simple color palette for this one.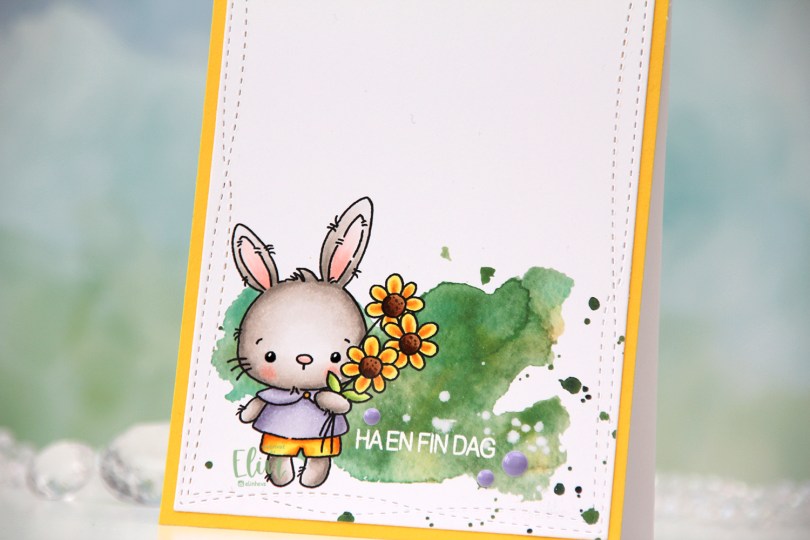
 How adorable is this little bunny holding a bouquet of flowers? I definitely used spring colors for this, and even went complementary with my Copics. I’m not really a fan of complementary colors, so I tend to stay away from them, but it worked for this card. Adding the green watercolor in the background helps too, that way the purple and yellow aren’t competing as much for the attention.
 I die cut my finished panel using the largest die in the Wonky Stitched Rectangle STAX set from My Favorite Things. I then stamped and white heat embossed a sentiment from Huldra Designstudio right onto the green watercolor.
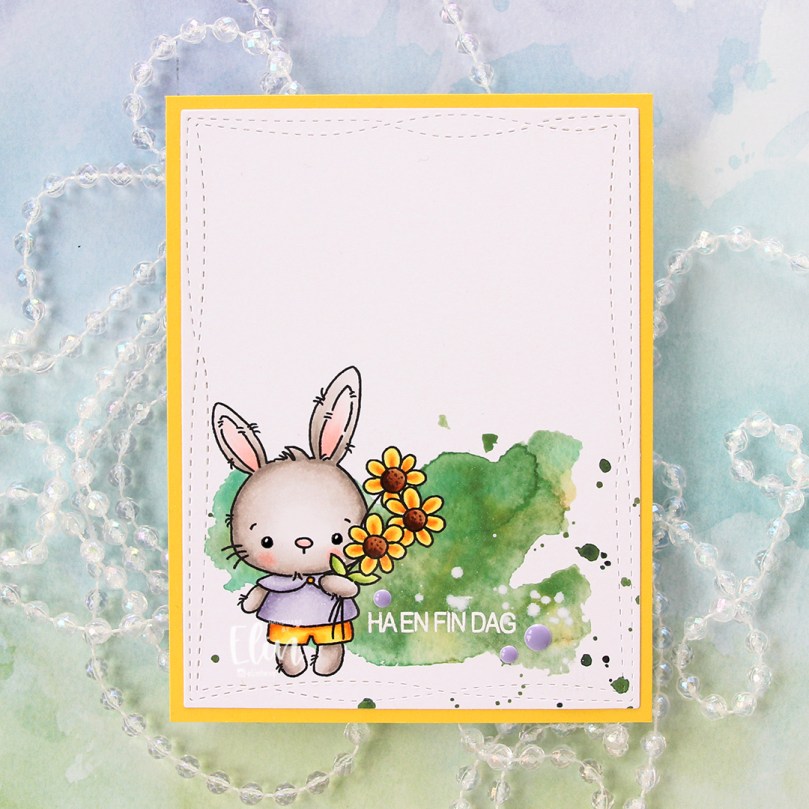 I adhered the panel onto a piece of Bright Buttercup cardstock from Papertrey Ink, and adhered that to a top fold white card base, also created using Papertrey Ink cardstock. They have the best cardstock!
 To finish the card I added a few enamel dots from the Enchanted Garden pack from Altenew, and created shine and a tiny bit of dimension to the bunny’s eyes by first using a black glaze pen, then a white Gelly Roll 05 once the black was dry.
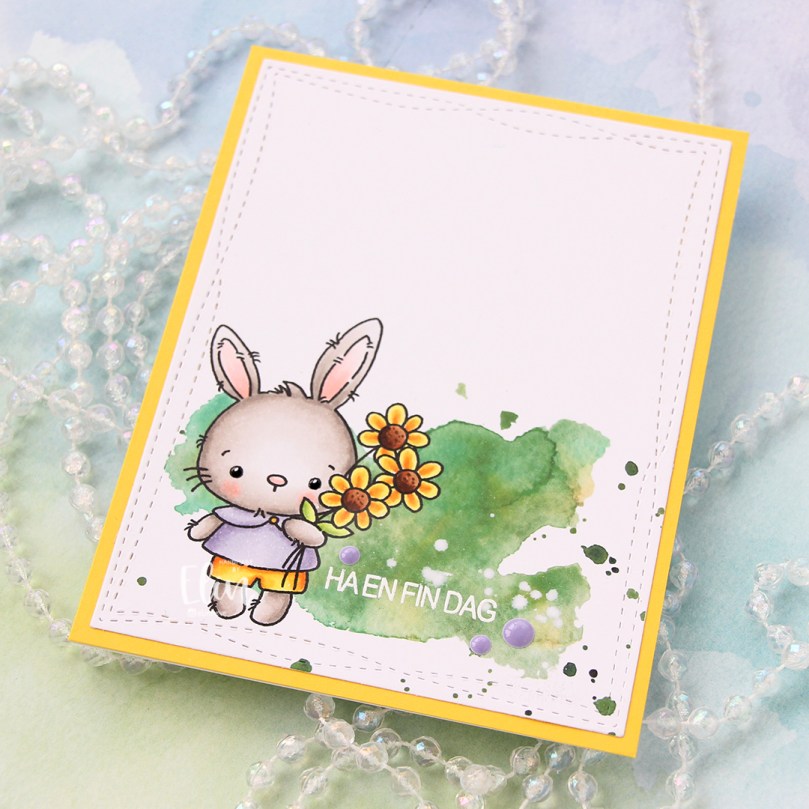 The eyes really shine. I love adding these tiny details, especially on cards that are this simple.
 Simple color palette, too.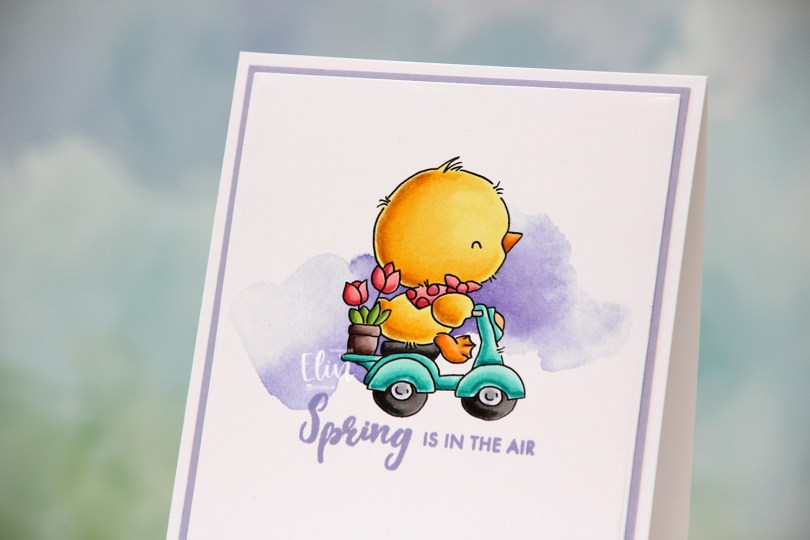
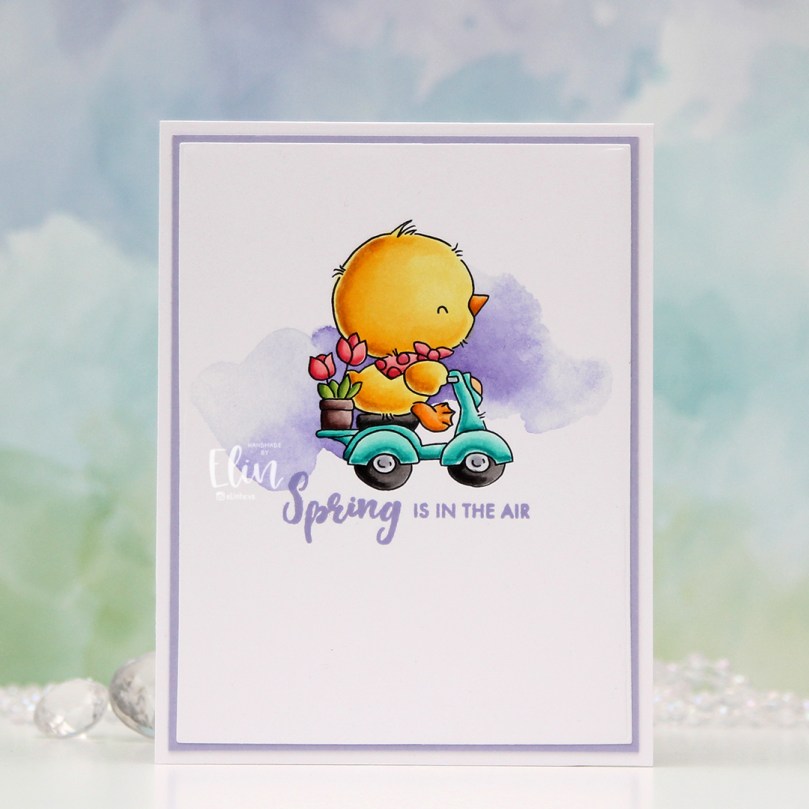
 Just below the image, I decided to stamp a sentiment. This one is from the Paint-A-Flower: Hydrangea stamp set from Altenew, inked up in Wild Wisteria ink from Gina K Designs AND Winter Wisteria ink from Papertrey Ink. The Gina K ink is a little too blue for what I for this card, while the Papertrey Ink color is a little too pink. By stamping them on top of one another, I get the perfect color for my card.
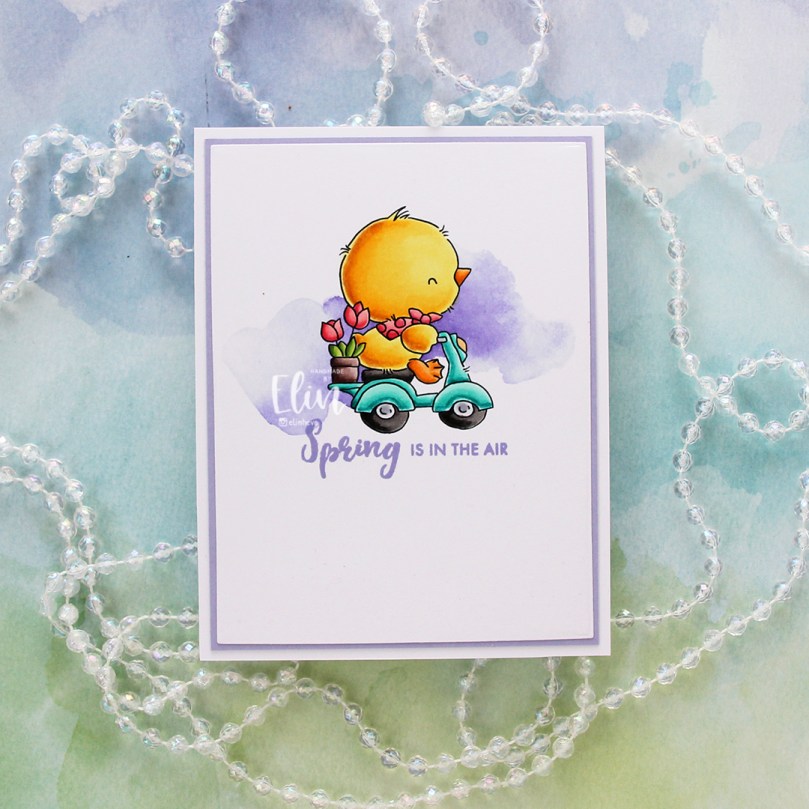 Using the Additional A2 Layers dies from Waffle Flower Crafts, I turned my simple colored piece into a slightly smaller panel, which I adhered to a panel of Wild Wisteria cardstock from My Favorite Things.
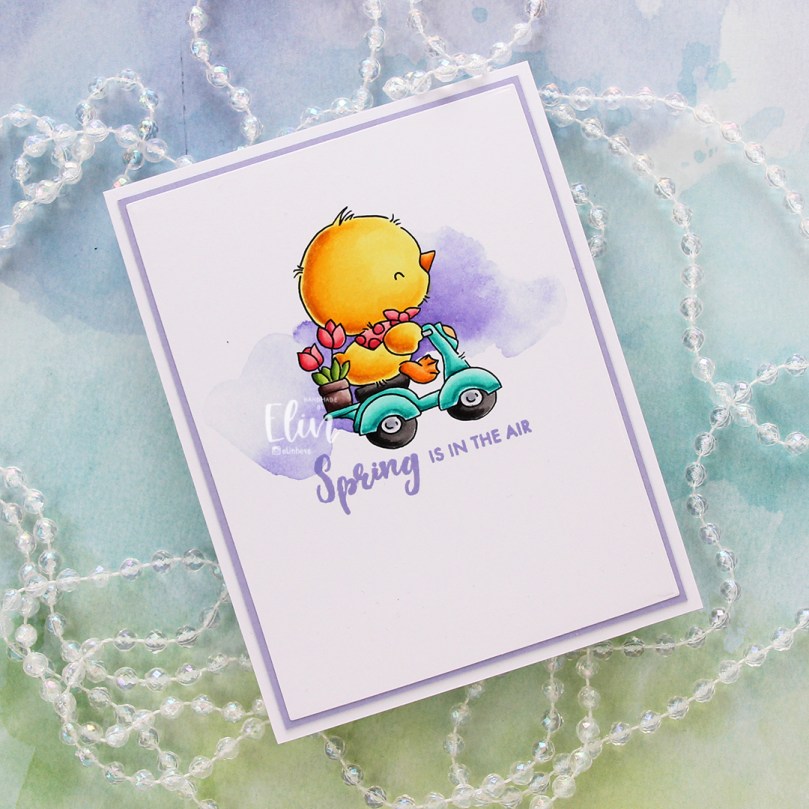 I added my double panel to a white card base, and my card was complete. I wanted my whites to match, and actually covered up the card base with another piece of X-Press It blending card, which is what I use for my Copic coloring.
 This is a very flat, very mail friendly card. I don’t make many of those, but I really wanted the chick to shine.
 Simple, springy color palette, even though it doesn’t really feel like spring. It started snowing Friday night, snowed all through the night and a good chunk of yesterday, before the snow turned into rain, and then later fog. It’s so foggy right now I can barely see the buildings across the street. 18 days into spring, and it feels more like winter than ever before.
 Isn’t this image the sweetest, with mama bear and her two cubs? For some reason, I love coloring polar bears, and to make them look “white” (although real polar bears aren’t really white), I always do no line coloring whenever I create cards with polar bears.
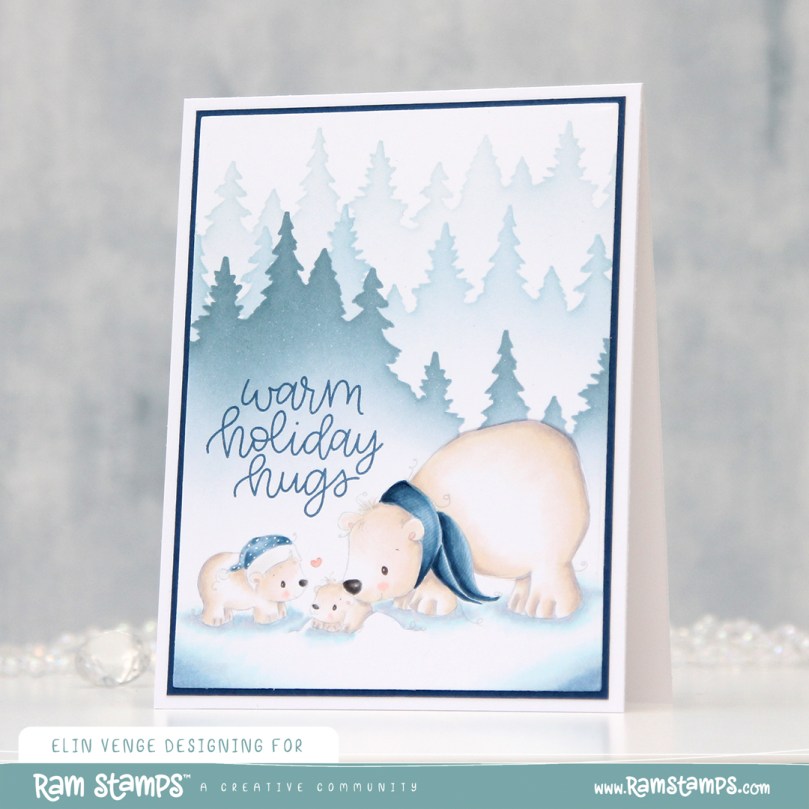 Once my coloring was complete, I made a quick mask from Post-it tape to cover up my polar bears before I used my Wintry Forest stencil set from Pinkfresh Studio along with inks from Altenew (the colors are Misty Morning, Cloudy Sky and Nimbus) to create my background.
 I die cut my panel using the second largest die in the Additional A2 Layers die set from Waffle Flower Crafts, adhered it to a panel of Enchanted Evening cardstock from Papertrey Ink and then onto the card base.
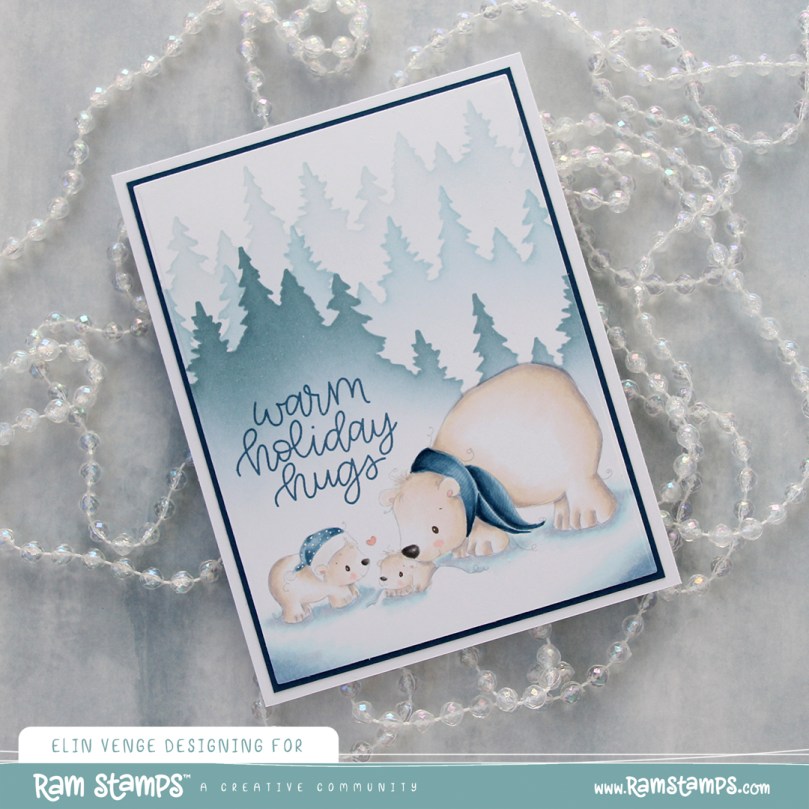 I stamped a sentiment from the Scripty Xmas stamp set from Mama Elephant using Enchanted Evening ink from Papertrey Ink and added some white dots to the cub’s hat with a white Gelly Roll 05 pen. And that finishes the card. I decided not to add any embellishments to it.
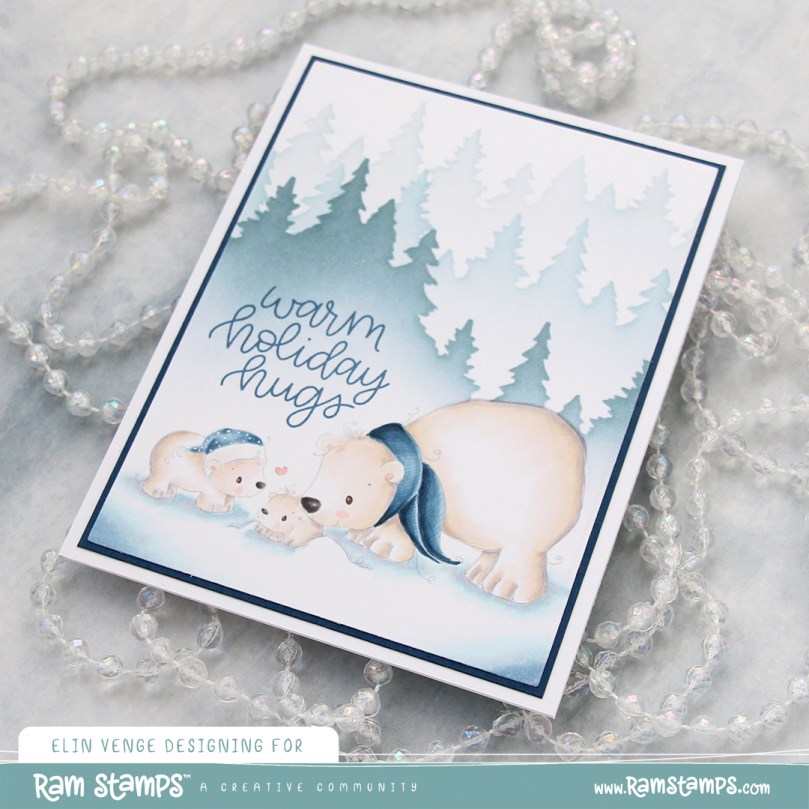 Oh, how I love blue for Christmas cards.
 Naturally, lots of blue for the coloring, too.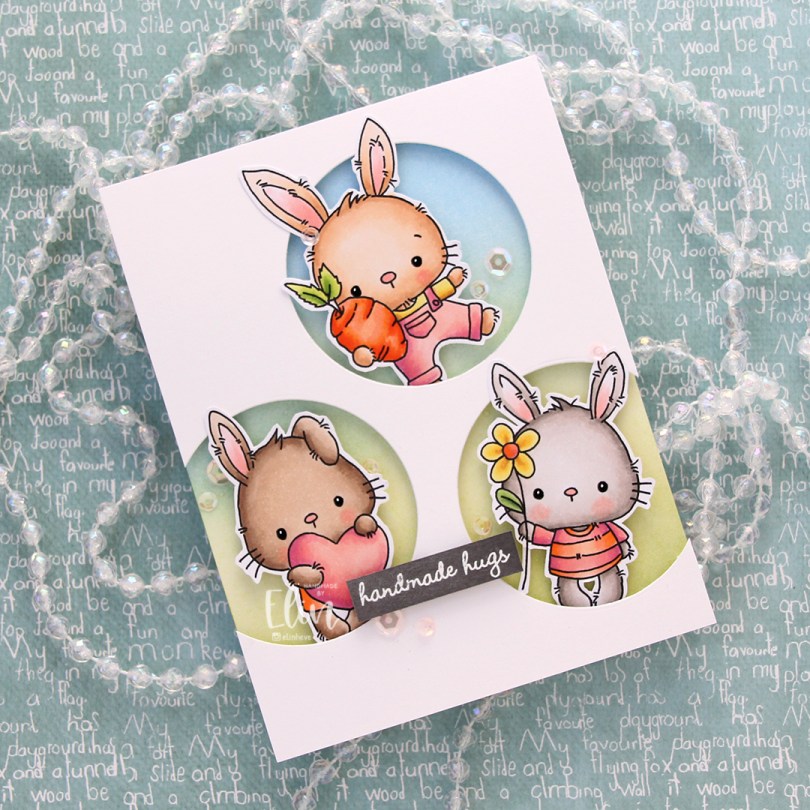
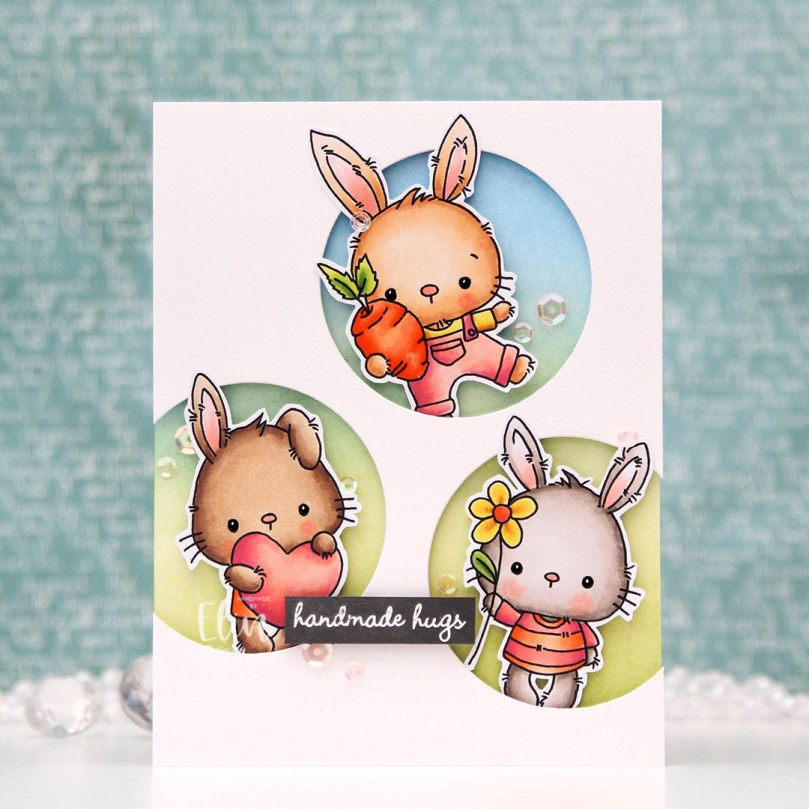 These guys are from the
  Onto the card base, I ink blended Fresh Leaf and Eastern Sky inks from Altenew to create a soft background that went from green to blue. I then added splatters of my sheer shimmer spray from Imagine. It’s not really visible in the photos, but in real life it adds a bit of sparkle.
 I die cut three circle openings in a quarter piece of white cardstock and mounted it with foam tape to the card base.
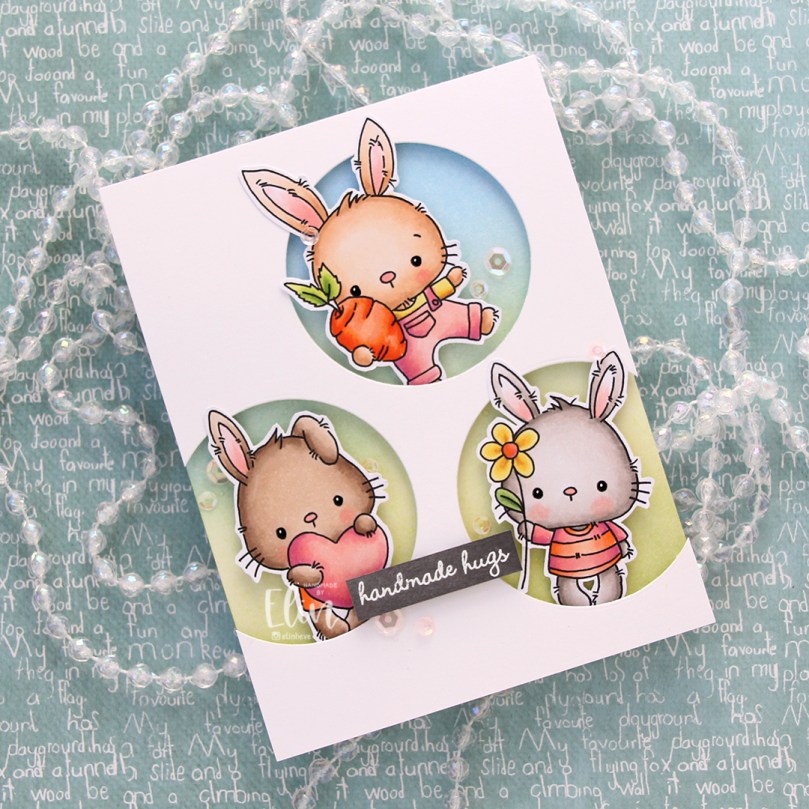 I added foam tape to the back of my critters, popping each of them into the circle openings. I stamped and white heat embossed a sentiment from InkyWings onto a piece of Mushroom cardstock from Concord & 9th, mounted it on foam tape and added it to the card.
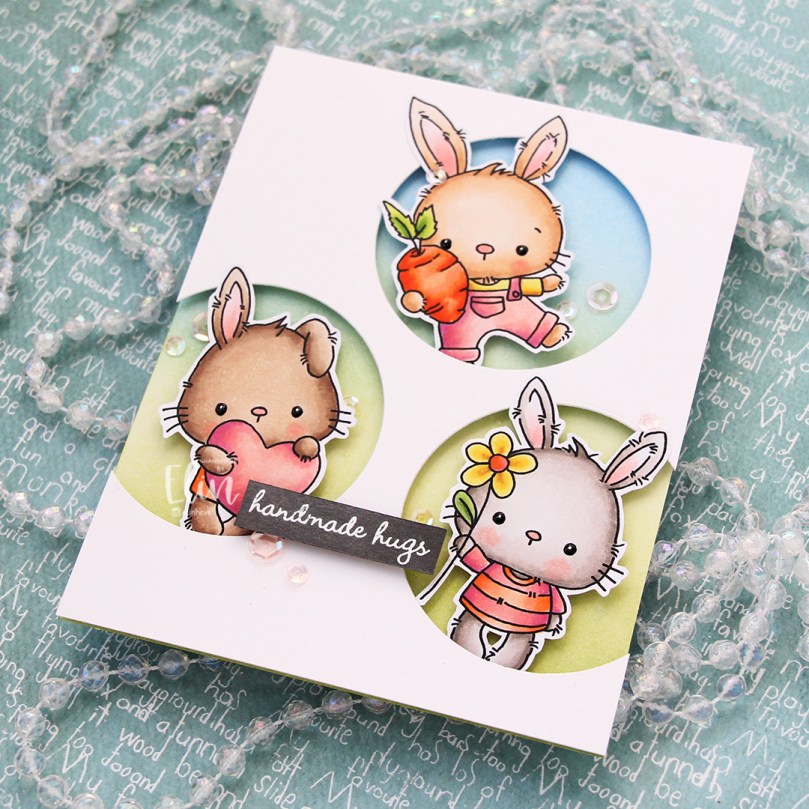 To finish off the card I added sequins from the Rosy Glow mix from Little Things from Lucy’s Cards.
 Such a simple color palette for this one. Aside from the colors of the fur, which differ for each bunny, I used the same colors throughout.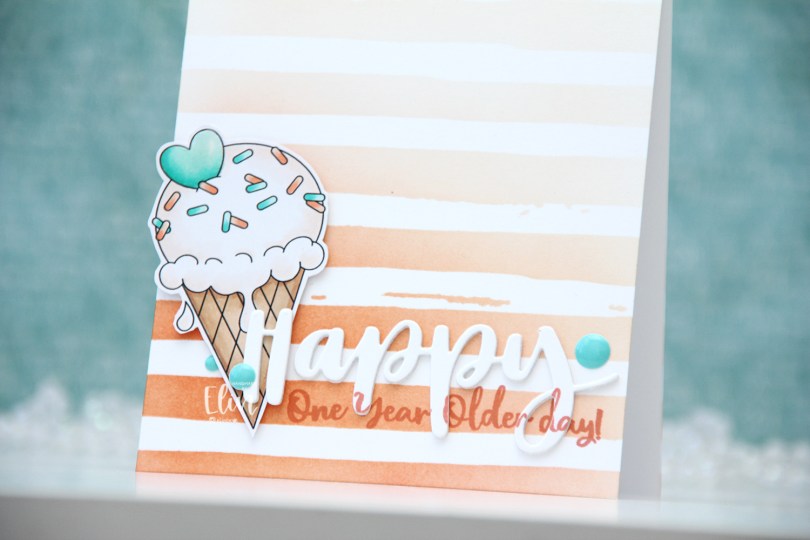
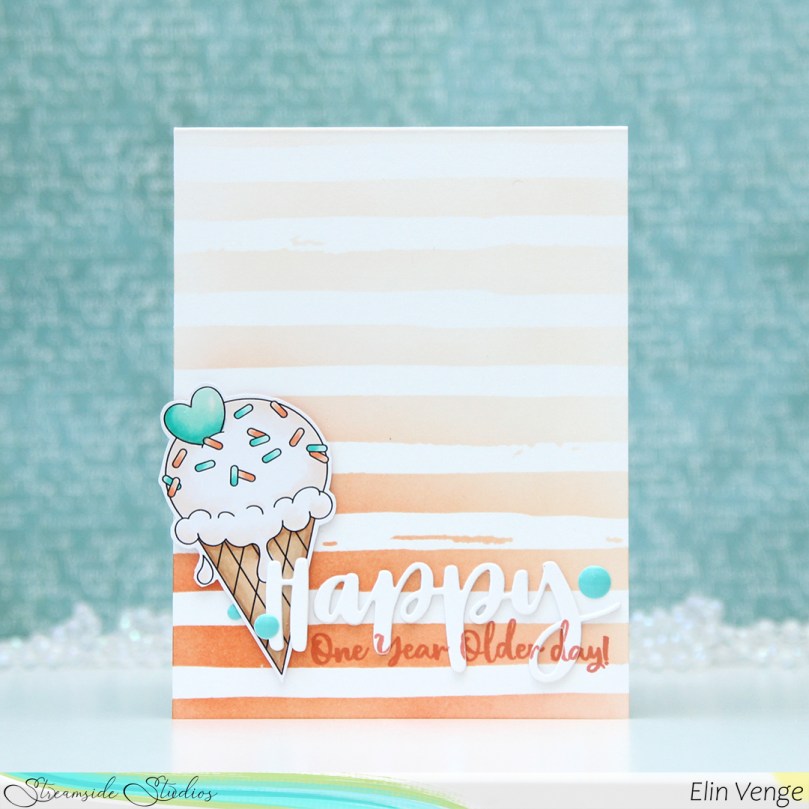 I colored the ice cream with my Copics, fussy cut it leaving a thin white border and put it aside while I worked on the rest of the card. Using the Watercolor Stripes stencil from Altenew, I ink blended stripes using Melon Berry ink from Papertrey Ink, going heavy handed at the bottom with a soft gradient toward the top of my A2 card base.
 I used the Hand-Lettered Happy Birthday die from My Favorite Things to die cut the word happy from white cardstock from Papertrey Ink. I then did a little stamp surgery, by combining two sentiments in the Anything-but-Basic Birthday Wishes stamp set from My Favorite Things to stamp a sub sentiment to the lower part of the die cut word. I then stamped the same sentiment directly on my card base, still using Melon Berry Ink. I die cut two more of the happy to glue behind the stamped one, stacked all three together and adhered it to the card front, lining up the stamping on the die cut with the stamping on the card base. I then mounted the ice cream on foam squares, added a bit of Glossy Accents to the heart and some enamel dots from the Cool Summer Night pack from Altenew for a little bit of added interest and color.
 Very limited color palette.
 Papirmølla