Hi, crafty friends! It’s a sunny day in Oslo today, but I plan on spending the last day of Easter in my craft room. Today’s card is one I created for the Coloring Club Challenge that Alberto Gava is hosting on Instagram. I can’t believe we’re so close to the end of it! As soon as I saw the magical creatures theme for this challenge, I knew I’d be coloring a dragon. And as soon as I saw that Mama Elephant would sponsor the prize for the magical creatures challenge, I knew that Me and my dragon would be the stamp set I’d use. It’s sooo good, and back when Kathy Racoosin hosted the coloring challenges, I’d always sneak in some ME dragons, so I had to do that here, too!
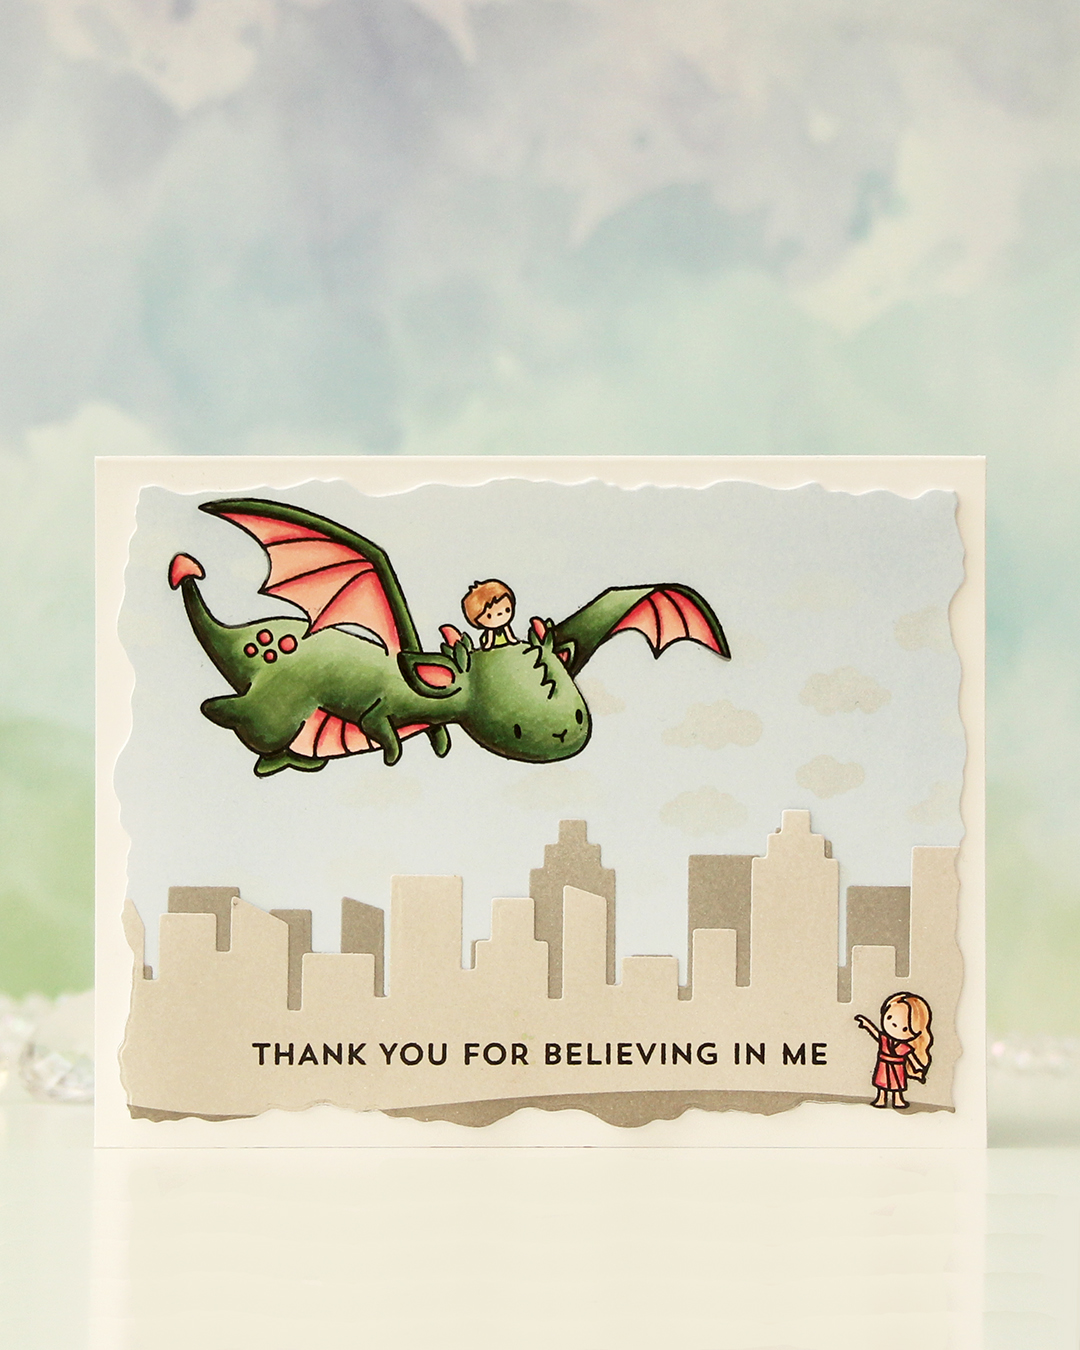 I started with two panels of X-Press It blending card and stamped the flying dragon and little boy on one of the panels, and the little girl in the corner of the other. I stamped in Copic friendly ink, colored up the images, then stamped on top with Altenew Obsidian ink, which gives really crisp black lines.
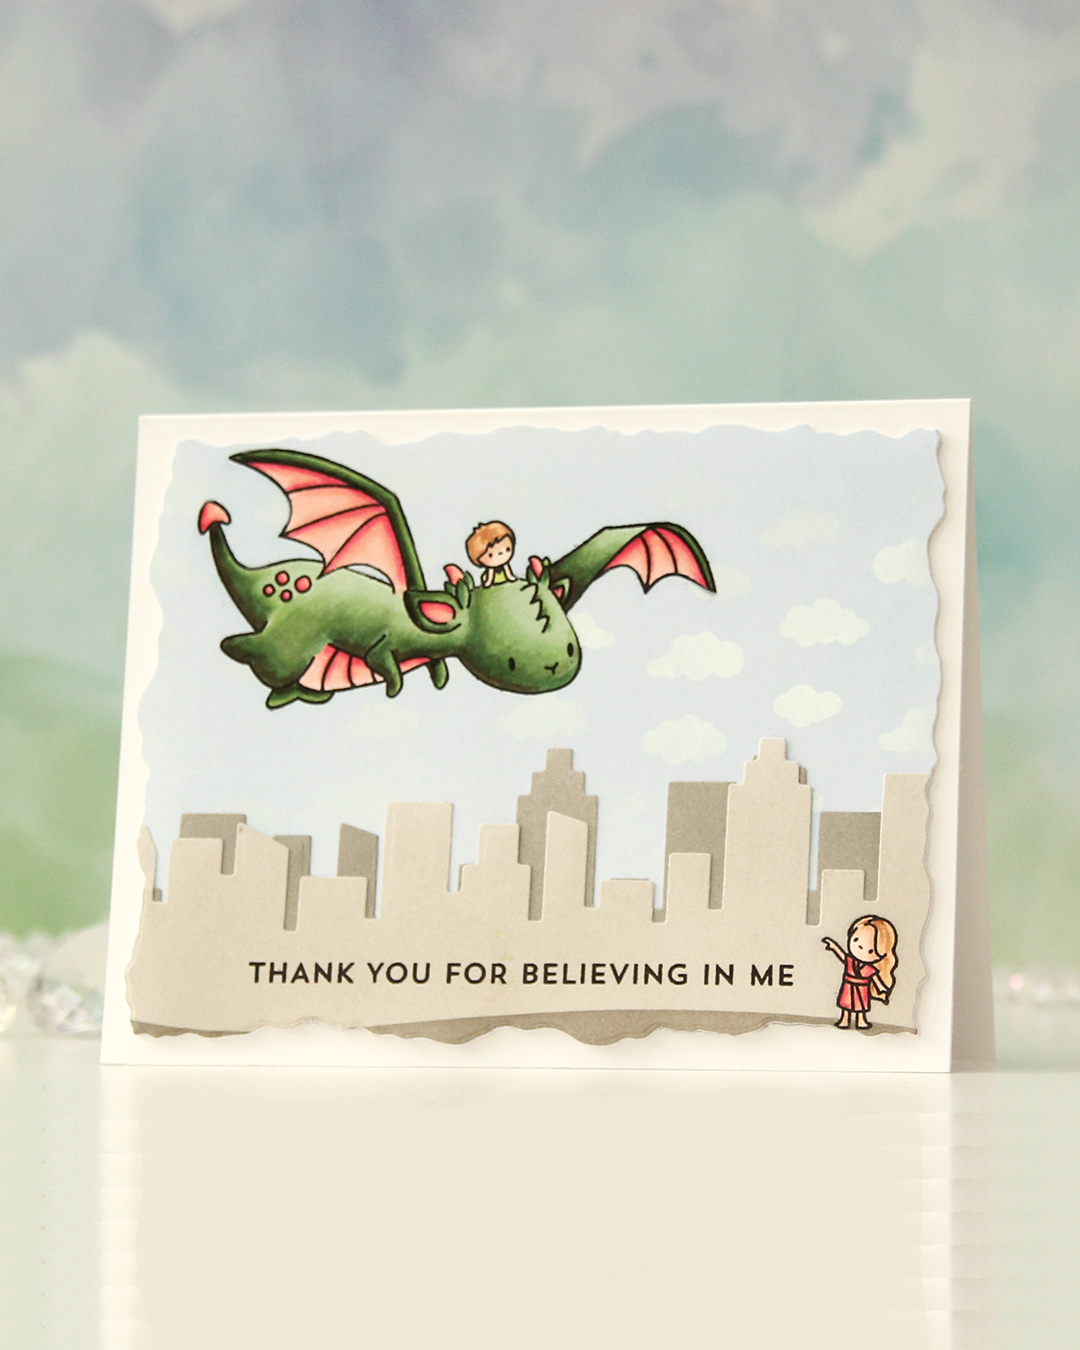 Once the coloring was complete, I put masks on top of my images and ink blended around them. For the piece with the little boy and the dragon, I used Icy Water fresh dye ink from Altenew, and for the panel with the little girl, I used Evening Gray ink, also fresh dye ink from Altenew. I also used Moon Rock at the very bottom to ground the little girl. In the sky, I also added clouds with Fresh Snow hybrid ink from Papertrey Ink through the Tiny Clouds stencil from My Favorite Things. This barely showed on my very pale blue sky, so I added Perfect Pearls powder on top, which makes the clouds stand out a little more, and it gives great shine when you tilt it in the light.
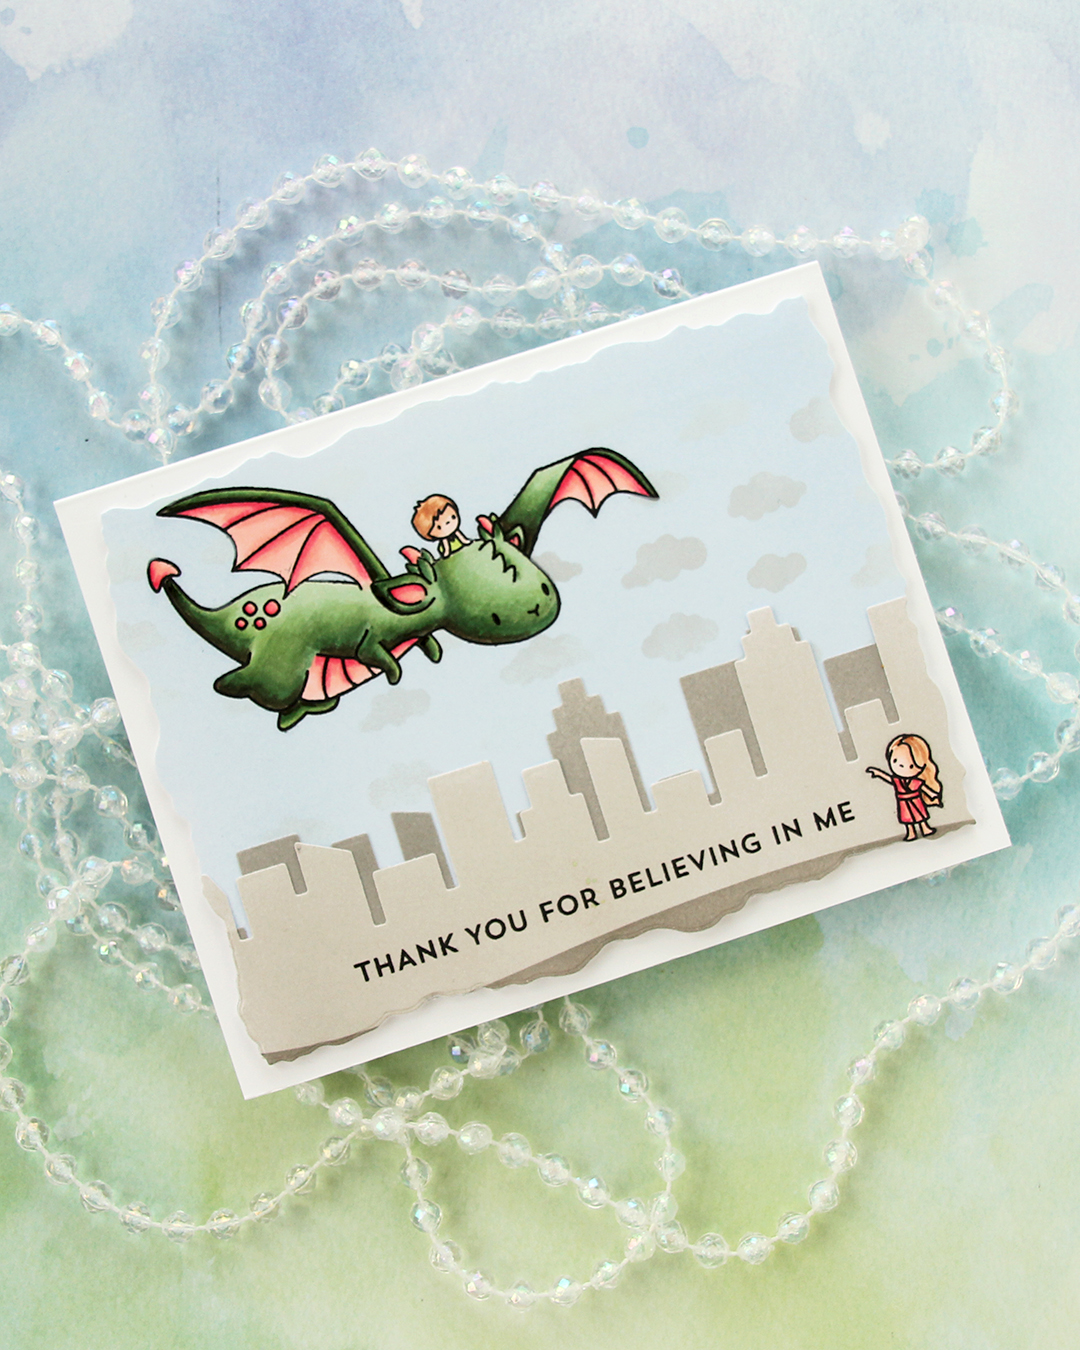 Using the Slim Film City die set from Mama Elephant, I die cut the city skyline from the panel with the little girl, and I also added a second skyline silhouette behind her that I die cut from the remainder of the panel, which I’d inked with Moon Rock ink.
 I stamped a sentiment from the Bitty Thanks & Gratitude stamp set from My Favorite Things using Altenew Obsidian ink, die cut the whole thing using a die from the Watercolor Rectangle STAX die set from My Favorite Things, added an additional three layers behind it for dimension and adhered it to a white card base. I decided not to add any embellishments to this, those clouds really do add quite a bit of shine in real life, and I didn’t think the card needed any more.
 I used a very basic color palette for this one.

 I added some tufts of grass to my coloring. The markers make it super easy because of their actual brush.
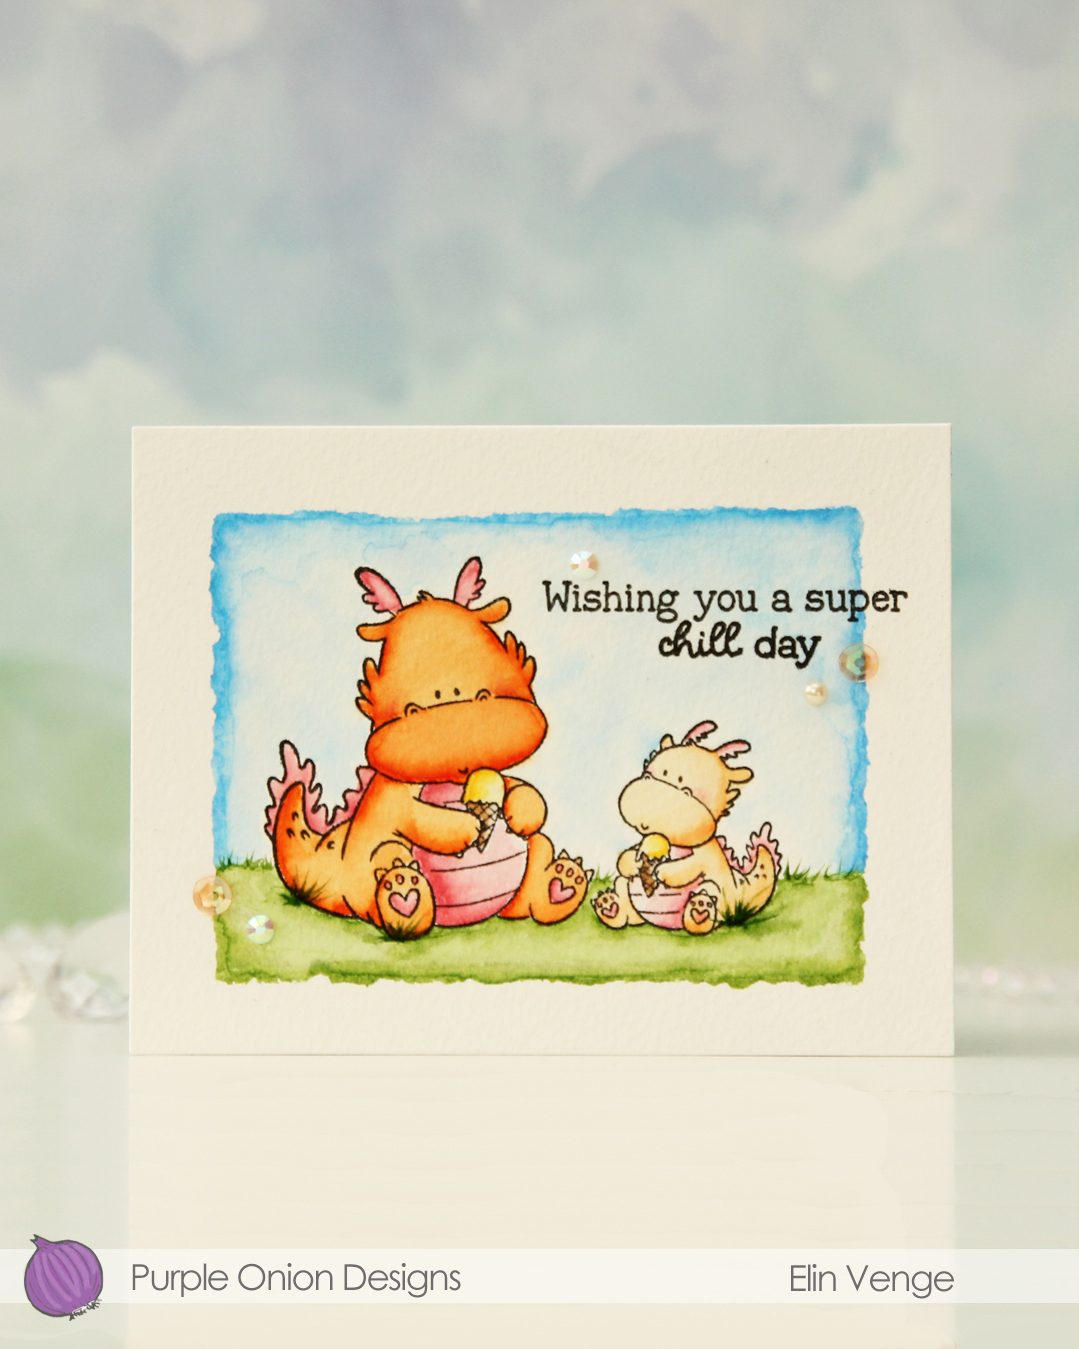
 Once all my coloring was dry, I stamped a sentiment from the Friendly Warm Wishes sentiment set from Purple Onion Designs using Obsidian ink from Altenew once again.

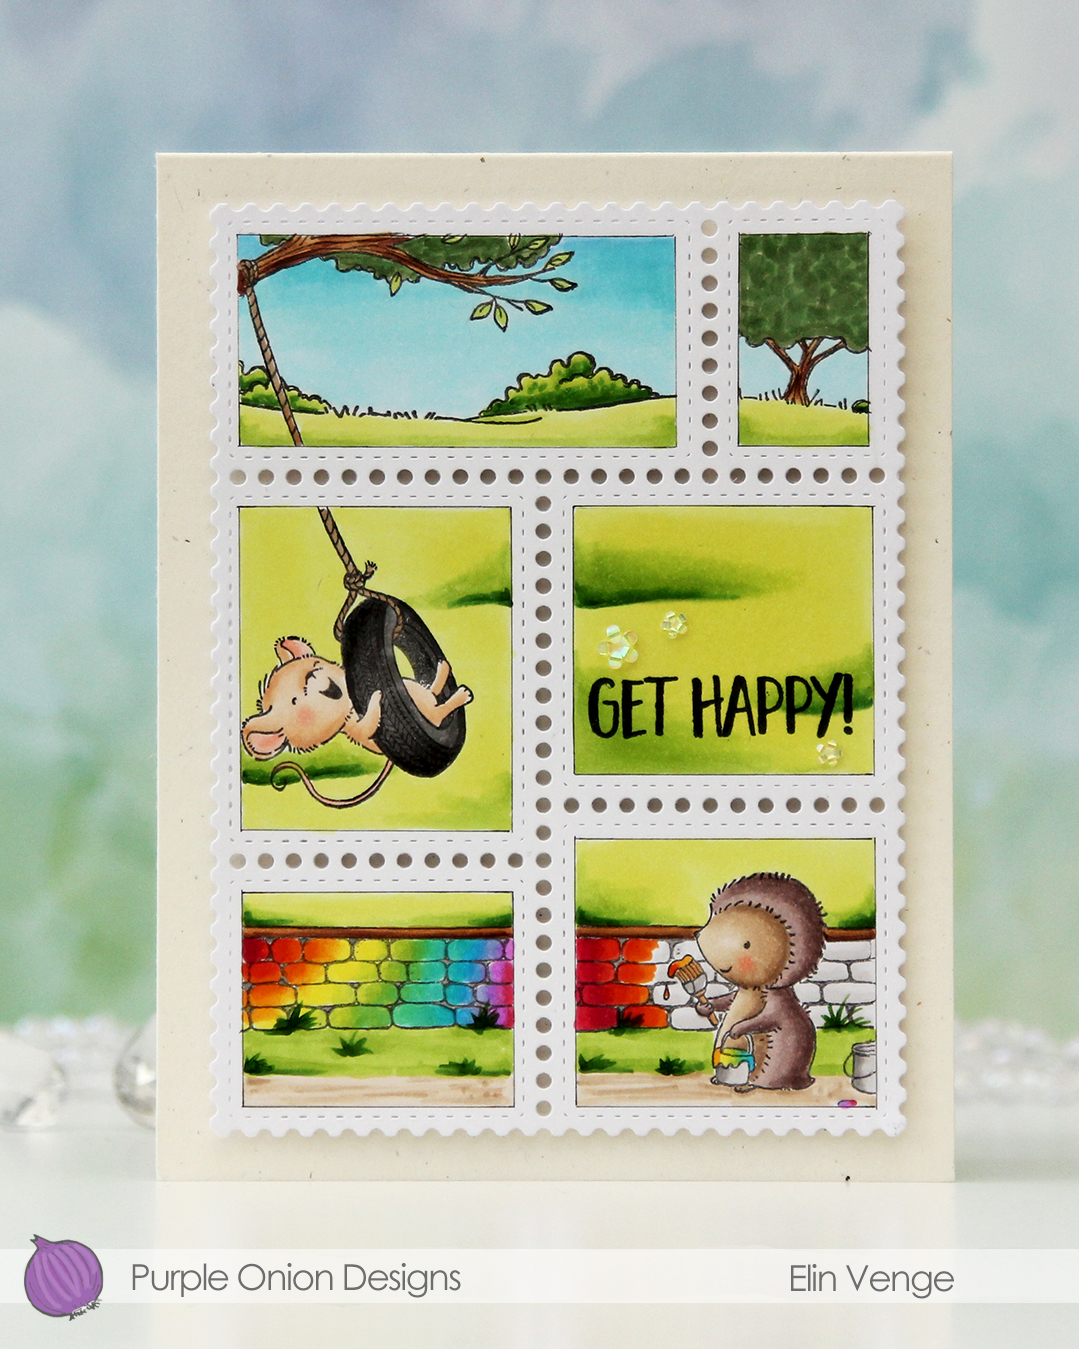 In addition to Polly and the stone wall, I also used
  Once my coloring was complete I stamped a sentiment from the Journey sentiment set from Purple Onion Designs using Altenew Obsidian ink.
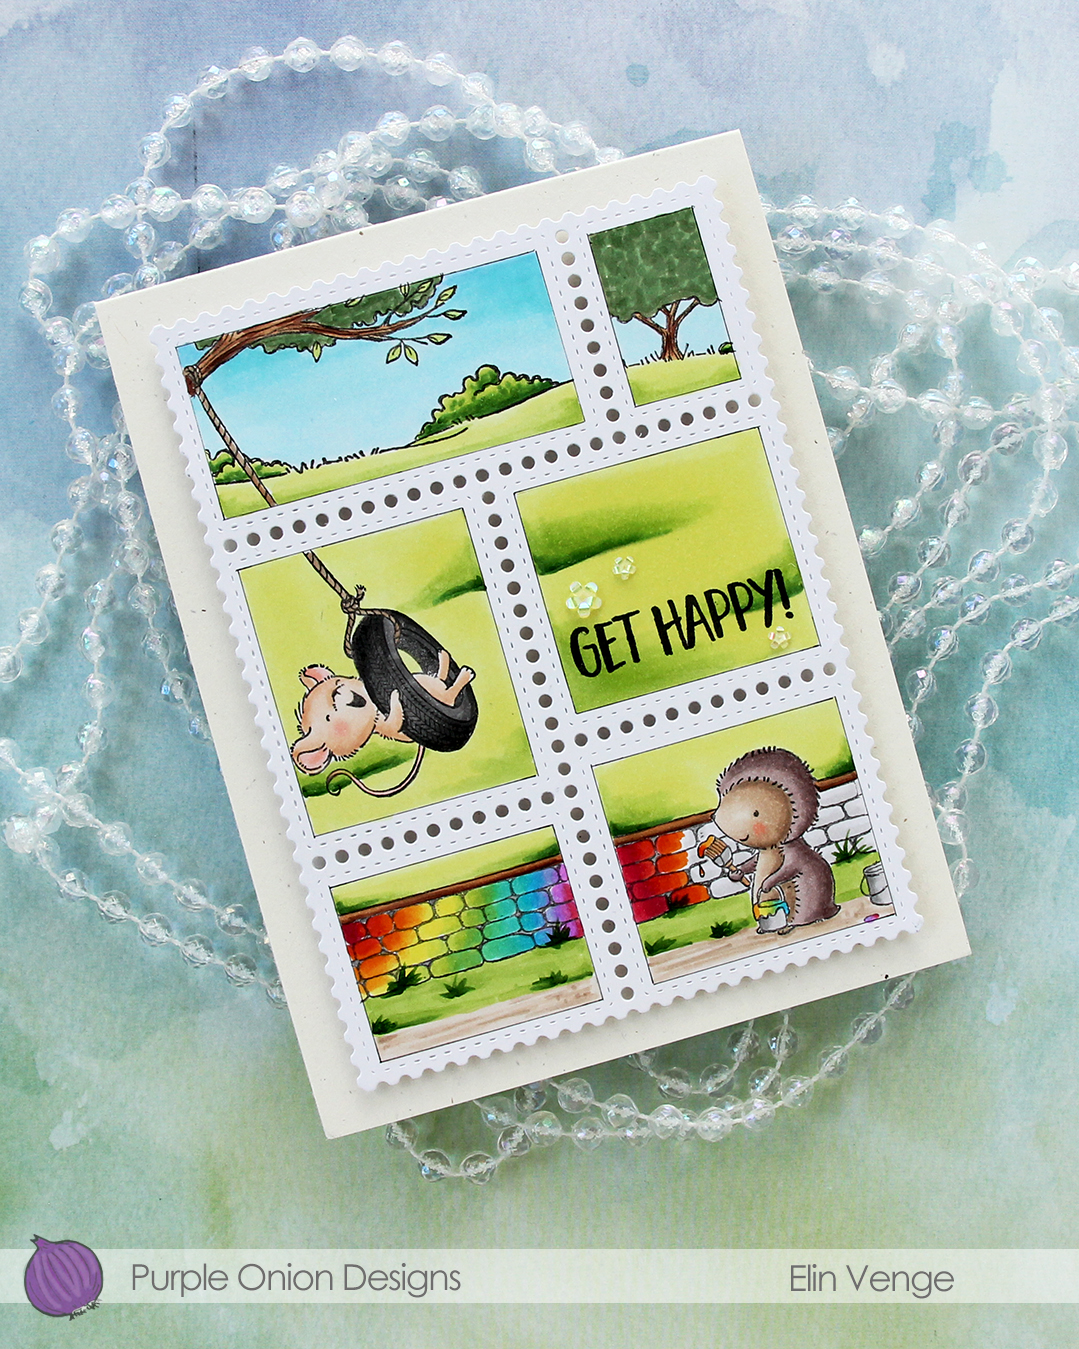 I stacked cardstock scraps behind each of the postage stamps for dimension and adhered everything to a card base I created from Rustic Cream cardstock from Papertrey Ink. I love this cardstock, I need to break it out more!!
 To finish off the card I embellished with iridescent flowers from the Spring Leaves mix from Little Things from Lucy’s Cards.
 Lots of Copics for this one.
 I used a couple of the brand new cardstock colors from Concord & 9th (Brickyard and Pimento), along with a bunch of older ones (Sorbet, Grapefruit, Nectar, Eucalyptus, Rainforest) for the rest of the florals. I also used a little bit of vellum and some gold shine cardstock for the flower centers.
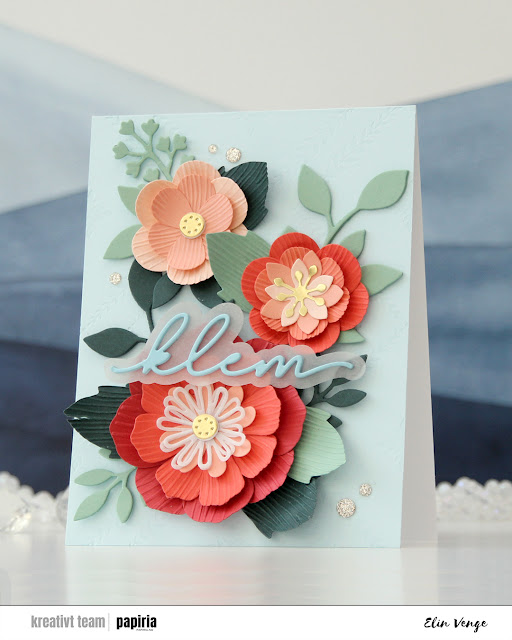 Once you’ve die cut the florals and greenery, you can use the embossing folder that coordinates to create texture on the petals and large leaves. They come out looking like crepe paper, and I love the look. There are many ways to assemble these flowers, and I created a bunch more that I wasn’t able to fit on this card. For the circular centers, I stacked some white die cuts behind the gold ones for dimension, and I curled all the petals and “crepe paper” leaves before assembly.
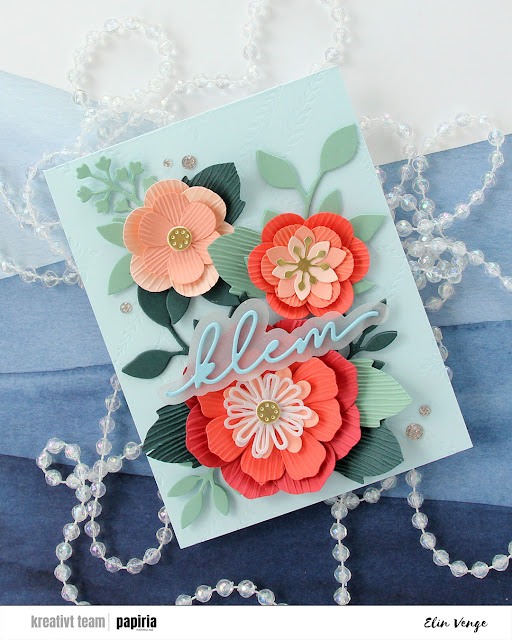 On the Powder panel that covers the card base, I wanted a little bit of texture. I used the Leafy Lattice press plate from Pinkfresh Studio with Polar Bear ink from Altenew for a subtle background – it’s so subtle it barely shows in the photos, it’s definitely more noticeable in real life. I probably could have gone a little bit darker with the ink, or ink up the press plate a second time and run it through again if I wanted it darker.
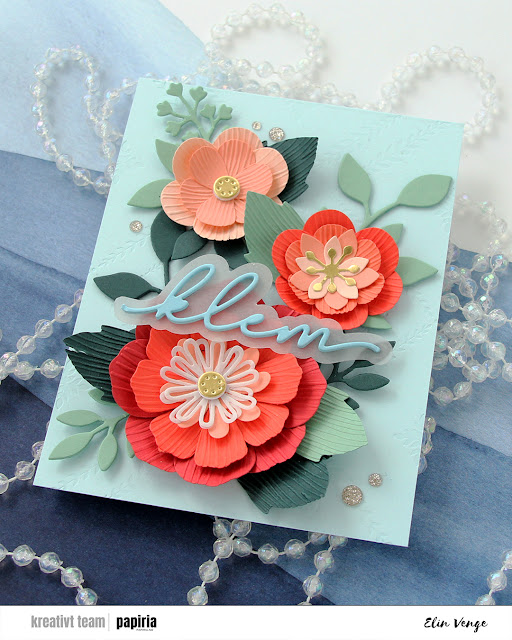 I adhered all my flowers and leaves with liquid glue, stacking the pieces in the background for strength and dimension. They’re only attached at the base of the sprigs, so they have som lift at the tips. I die cut a sentiment die from Kort & Godt four times from Harbor cardstock, stacked them, added a vellum shadow layer behind and glued my sentiment on top of the larger flower, before finishing off with a few champagne glitter drops from Pinkfresh Studio.

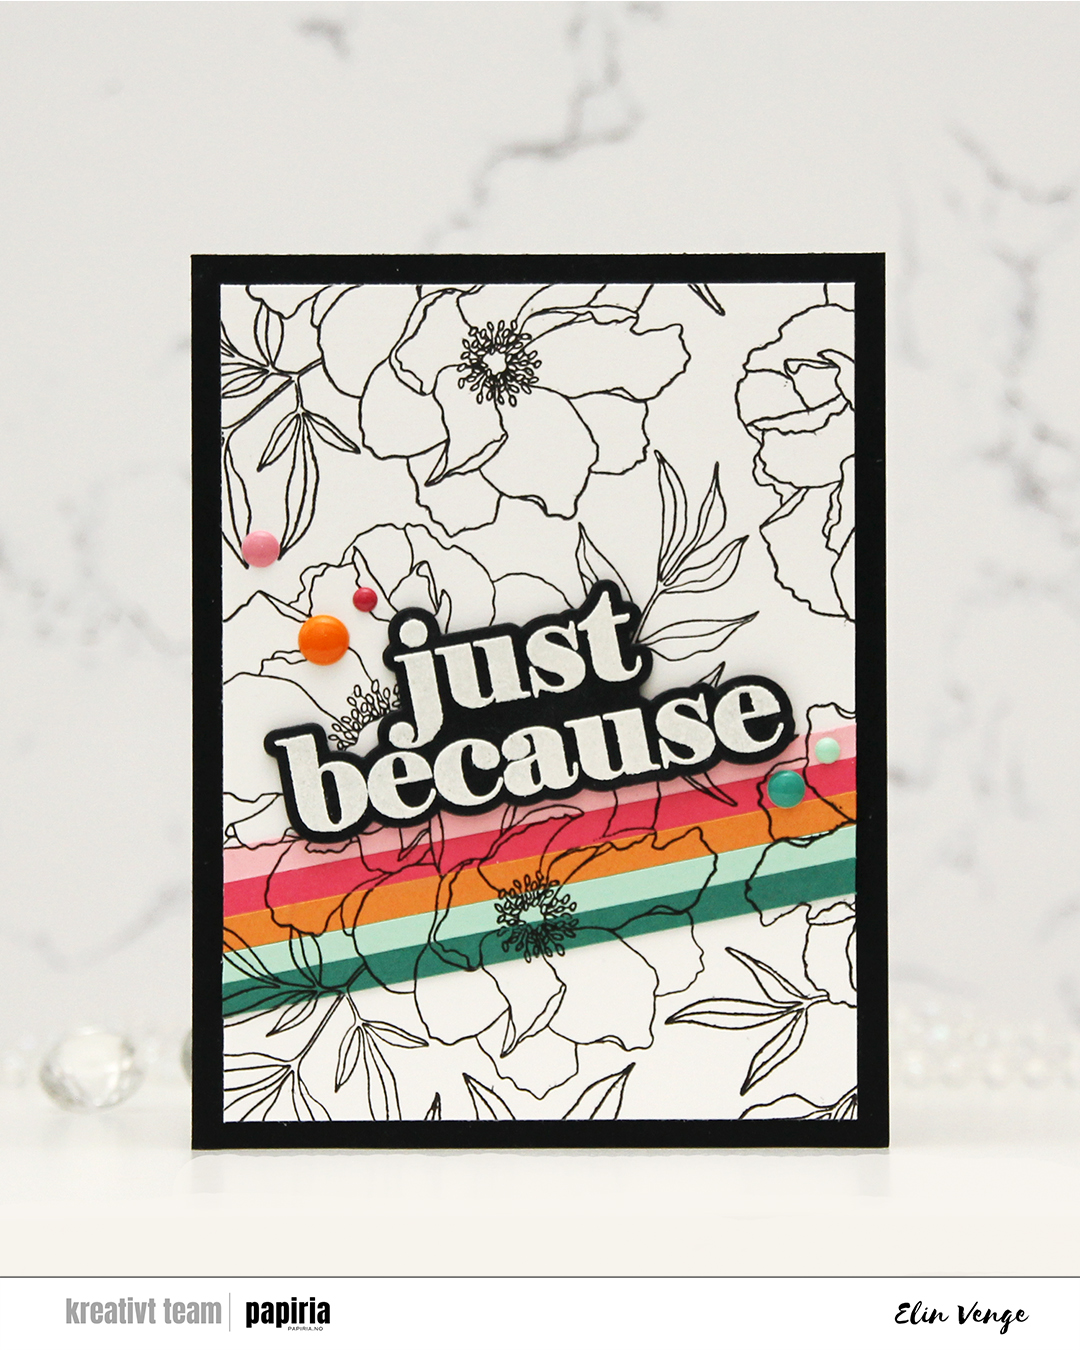 It’s no secret that I’m a fan of anything and everything Concord & 9th comes up with. This Blended petals set is an older one, a quick google search revealed a July 2022 release, but I hadn’t seen it before and picked it up just a few weeks ago. There’s a stamp set, a die set and a stencil set that all coordinate. I didn’t use the stencils today, but I definitely will in the future!
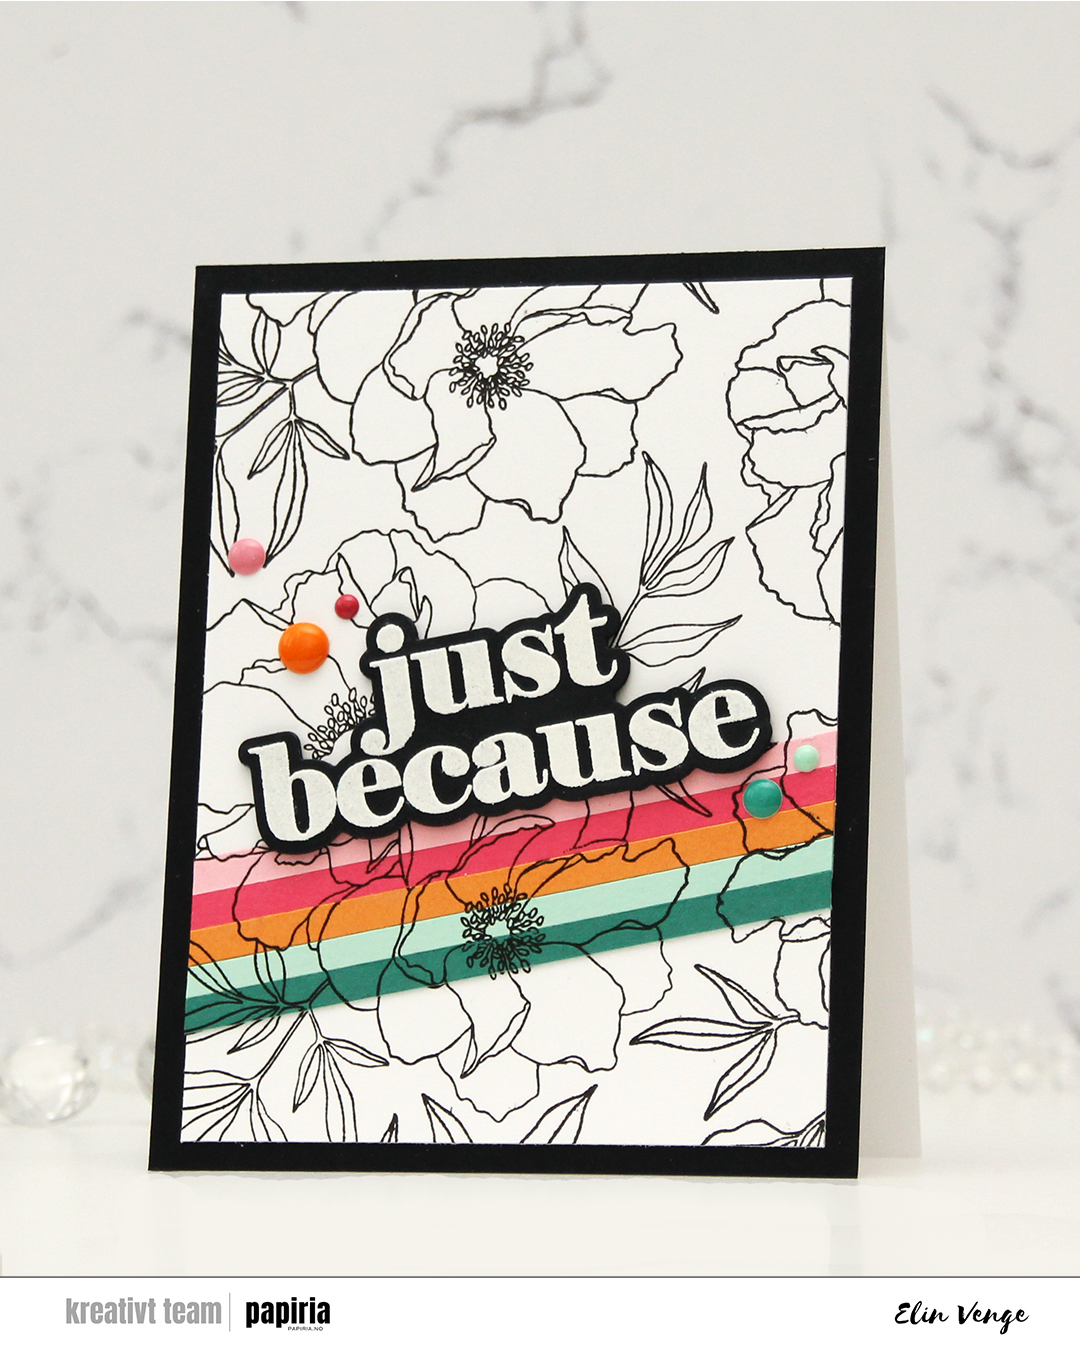 I started by stamping the big floral image on a panel of white cardstock using Altenew Obsidian ink. This ink is very dark black and very crisp, and it’s perfect for outlines like this. I then “stripped it up” (thank you, Laura Bassen, for this term) with cardstock colors from C9. I cut 3/16″ strips from Juniper, Sea Glass, Clementine, Honeysuckle and Pink Lemonade cardstock. I butted the strips together and glued them to Post-it tape, which I then adhered temporarily to the white panel, so I could stamp in the exact same spot on my stripped piece.
 Once I’d completed my stamping, I adhered the Post-it tape with my strips properly with liquid glue and trimmed the panel down slightly, before adhering it to a black panel that covers the front of an A2 white card base. I stamped and heat embossed the large sentiment in the stamp set and cut it out with the die from the coordinating die set. I stacked another four black die cuts behind it for dimension, and adhered it to the top of my cardstock strips.
 To finish off the card, I rummaged through my enamel dots in search of colors to match. I have all the colors of the C9 enamel dots on their way to me. They would match perfectly, but the last time I tracked the shipment, they were in the UK. I used the Sea Shore enamel dots from Altenew for the ones that matched Juniper and Sea Glass, the Tea Party set from Altenew to sort of match the pinks and the orange one is from the Boy Crazy pack from My Mind’s Eye from 2013. I’ve loved enamel dots for a loooong time!
 I combined
  I didn’t want color on the entire piece and decided on coloring a strip that includes the largest part of the waterfall, the beaver and part of the mama swan. I used Zig clean color real brush markers to color, using the blender for some of it, but a size 4 round watercolor brush from Princeton, along with water, for most of it. The Zig colors I used are the following: 068 Deep Brown, 816 Soft Violet, 028 Pale Pink, 705 Peach Orange, 505 Yellow Ochre, 407 Grass Green, 406 Sage Green, 411 Cactus Green, 307 Aqua Blue, 315 Ultramarine and 910 Warm Gray 6.
 Once my coloring was complete, I cut the colored section apart from the rest. I adhered the uncolored sections onto a black mat I created from Black cardstock from Concord & 9th. Behind the colored panel, I stacked a few layers of cardstock for dimension and adhered it in between the other two pieces. I adhered my finished piece onto a card base that I created from Blue Beyond cardstock from My Favorite Things.
 I stamped and white heat embossed a sentiment from the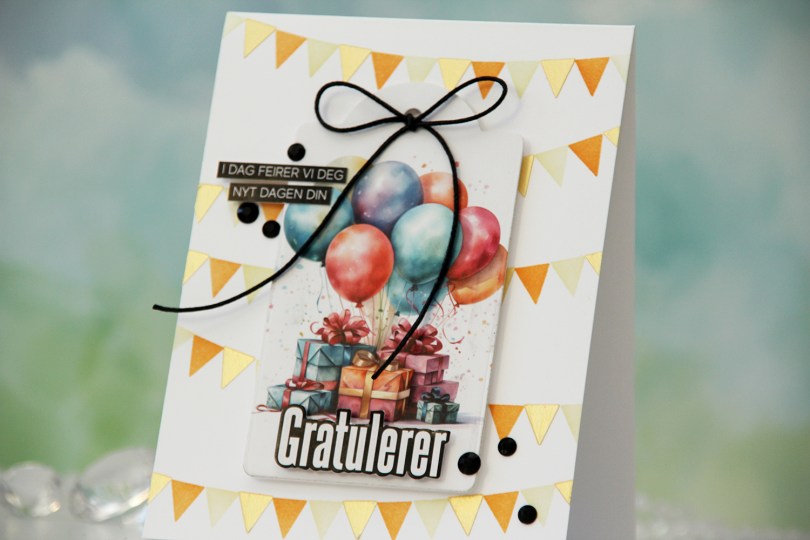
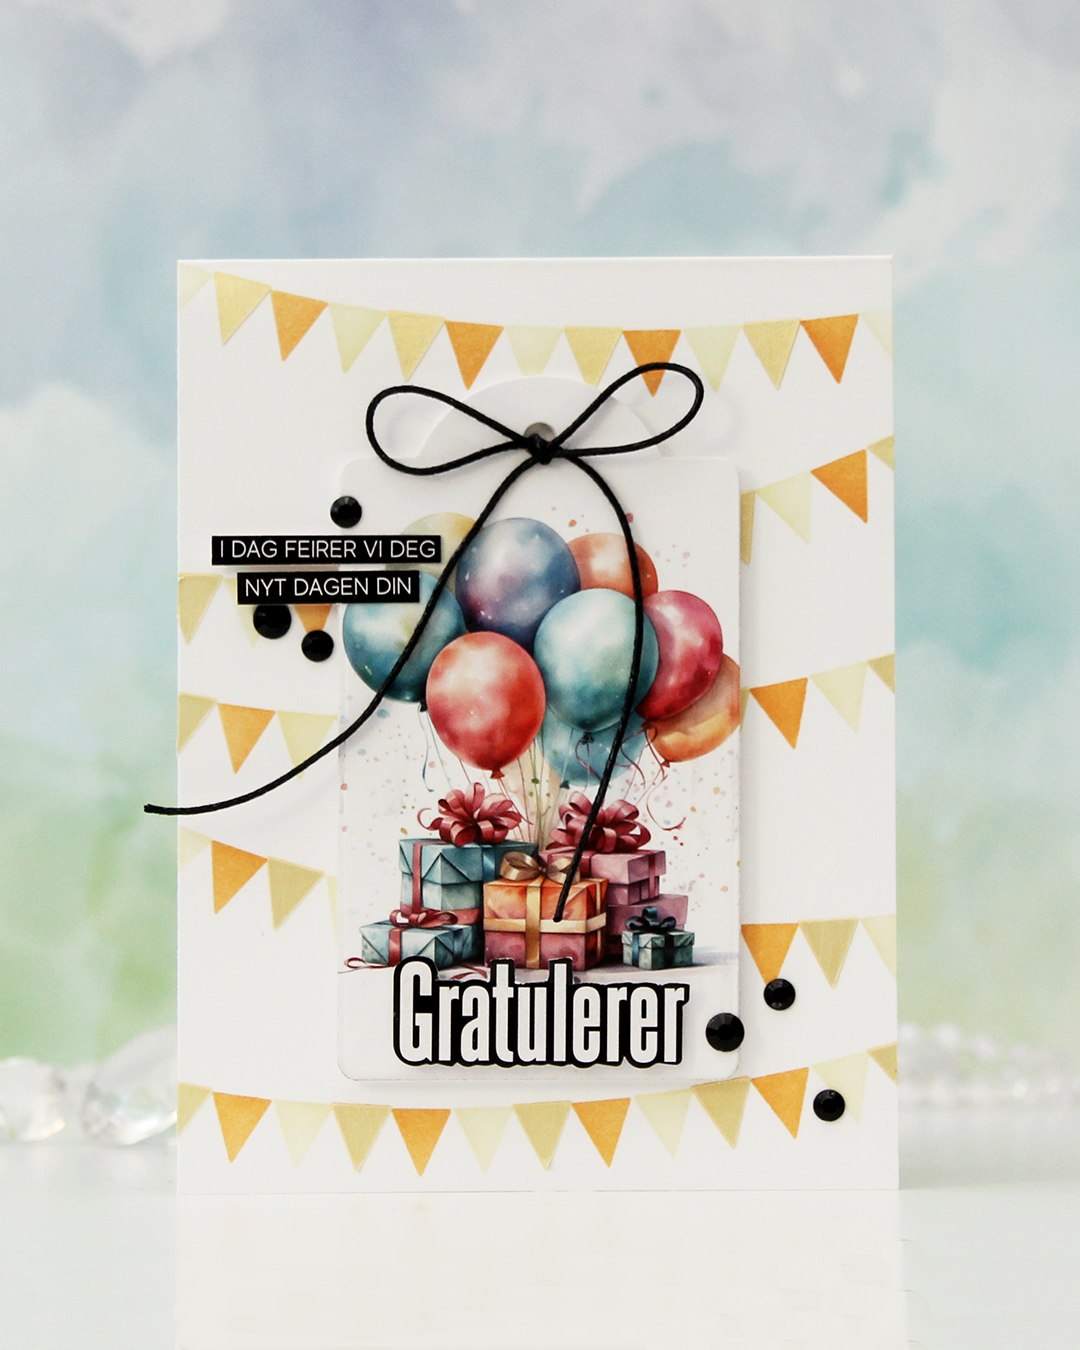 To start, I die cut this focal image with a tag die. I die cut another in white to put on the back for a little strength and put my tag aside while I worked on my card base.
 I used the Wimpelkette stencil set from Create a smile to create the pennants in the background. The set consists of 3 stencils that layer and create an easy pennant background. I used Peachy Glow and Amber Blaze inks from Altenew with two of the stencils, and through the third one, I added a layer of Solar Paste in the Golden Hour color. It creates a little bit of shine and some texture.
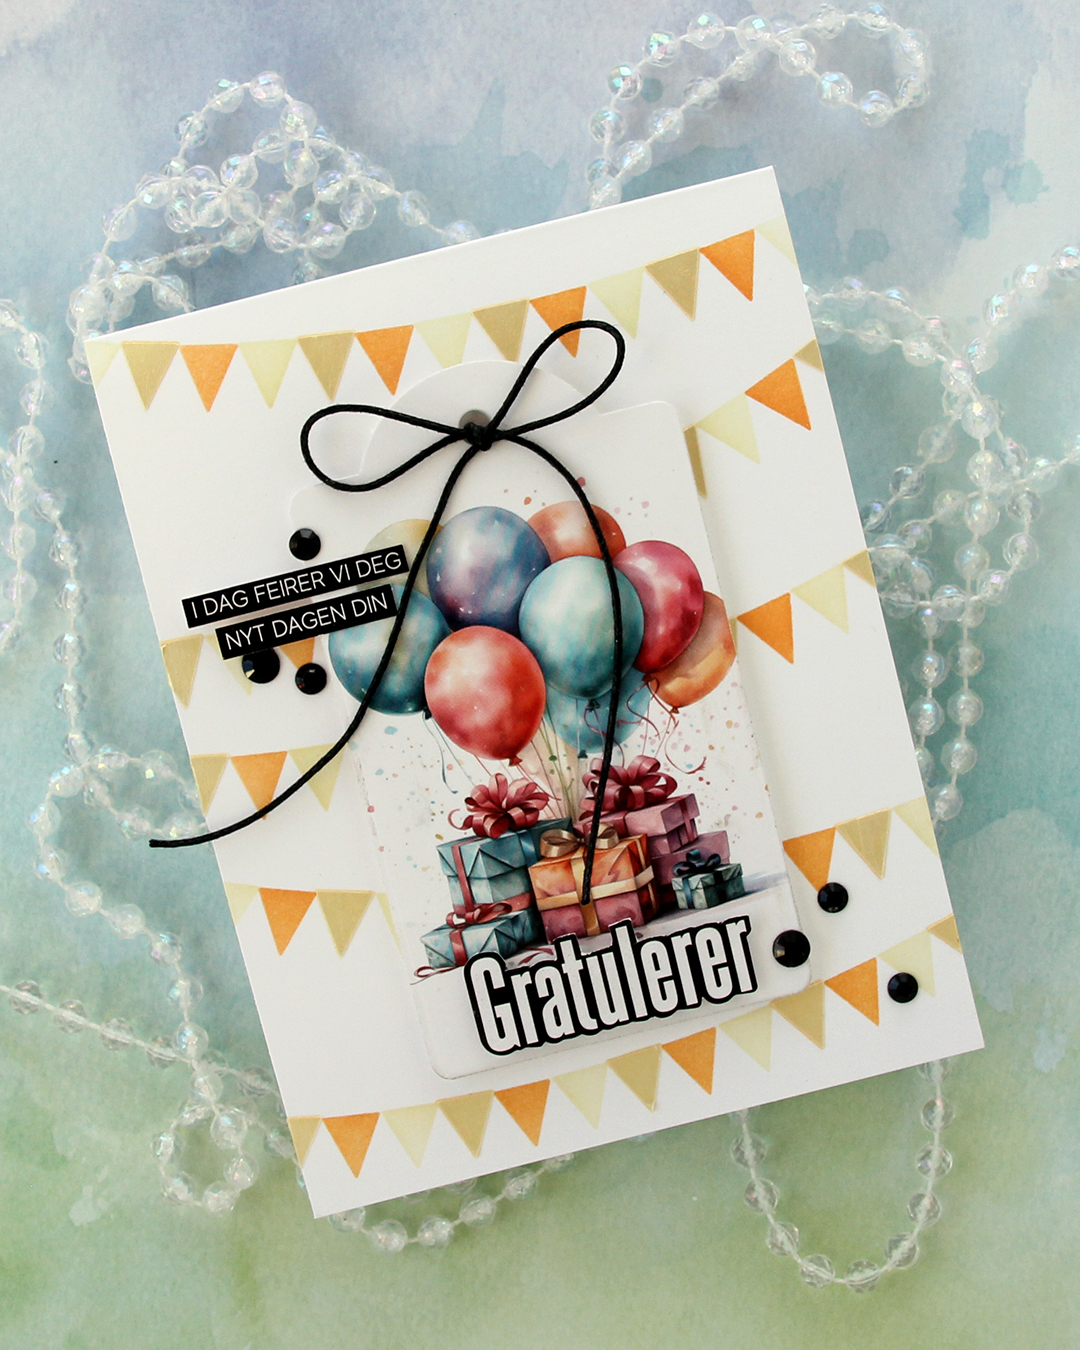 I mounted the tag with foam tape in the center of the card, used 1/16″ foam squares on the back of the Gratulerer word sticker to make it stand out a little, then trimmed down the sentiment strips slightly and adhered them to the tag.
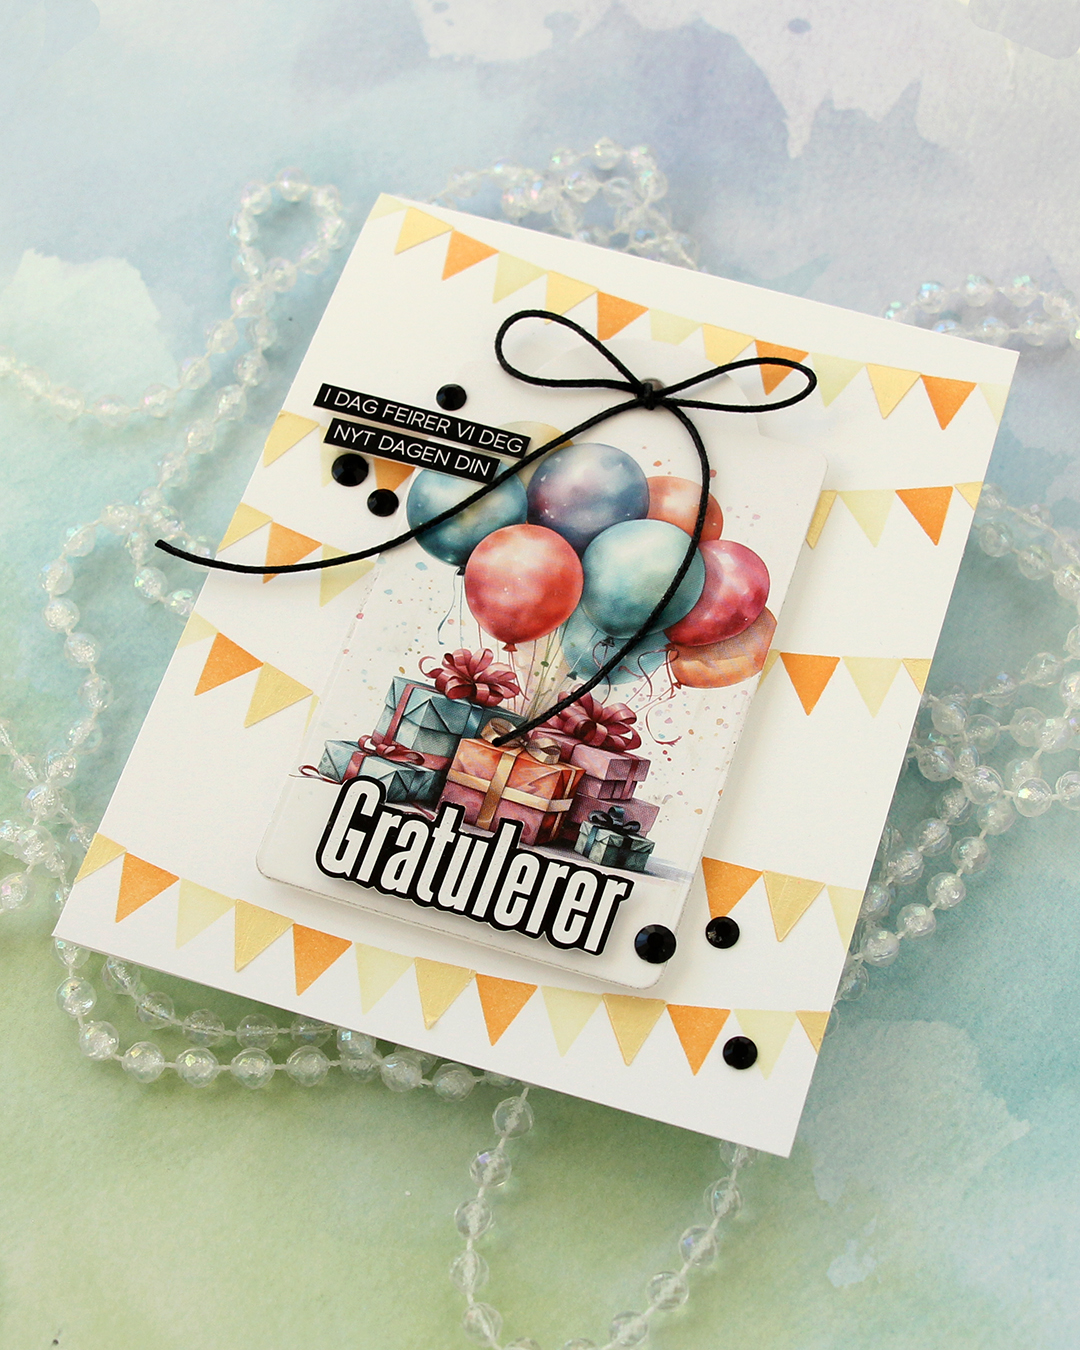 To finish off the card I added a few black gems and tied a bow using black cotton thread from Kort & Godt.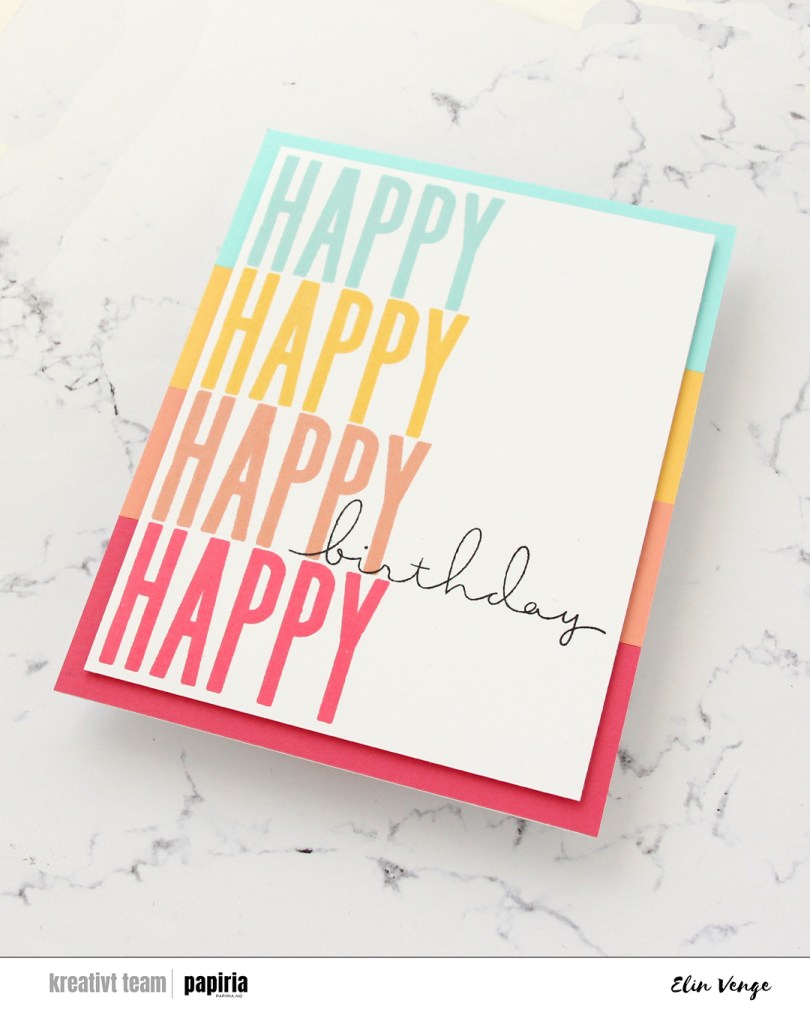
 First of all, this card is huge. It measures 5 1/2 x 7 1/4″. I started by stamping HAPPY from the All the birthdays stamp set from Concord & 9th onto half a sheet of Stamper’s Select White cardstock from Papertrey Ink. I used Aqua Sky, Buttercup, Grapefruit and Honeysuckle inks, all from Concord & 9th. It was easy to shift the cardstock up and down in my Misti to get them all lined up. I then stamped the scripty birthday word in the stamp set using Obsidian ink from Altenew, making sure that the bottom part of the letters matched up with the Grapefruit stamping.
 I trimmed down the panel, added a few more panels behind it for dimension and adhered it to my card front that I had covered with strips of cardstock colors in the same colors as my inking. I decided not to add any embellishments to this, sometimes you just need a simple card. This one would be super easy to create in a lot of different color combos. I’m longing for proper spring and summer, so mine’s with happy colors.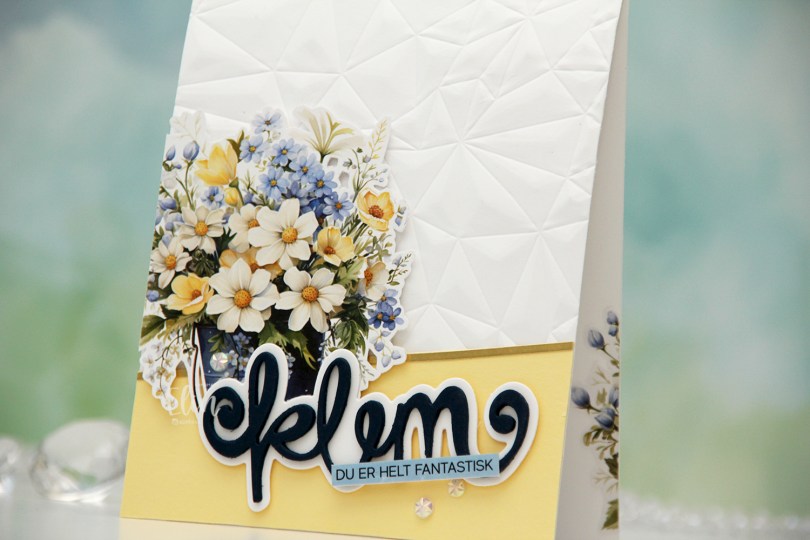
 I started by fussy cutting this floral image, leaving a white border around it. I then used the Crystal Distortion embossing folder from Simon Says Stamp on my card base to create some interest to it.
 I added a piece of Lemon Tart cardstock from Papertrey Ink at a bit of an angle at the bottom of my card front, and glued a small strip of Gold Shine cardstock from My Favorite Things at the top for a defined edge between the white and yellow. I put foam squares on the back of my flowers and adhered the image on the left hand side of the front, chopping off the overhanging bit and adhering it to the inside so it didn’t go to waste.
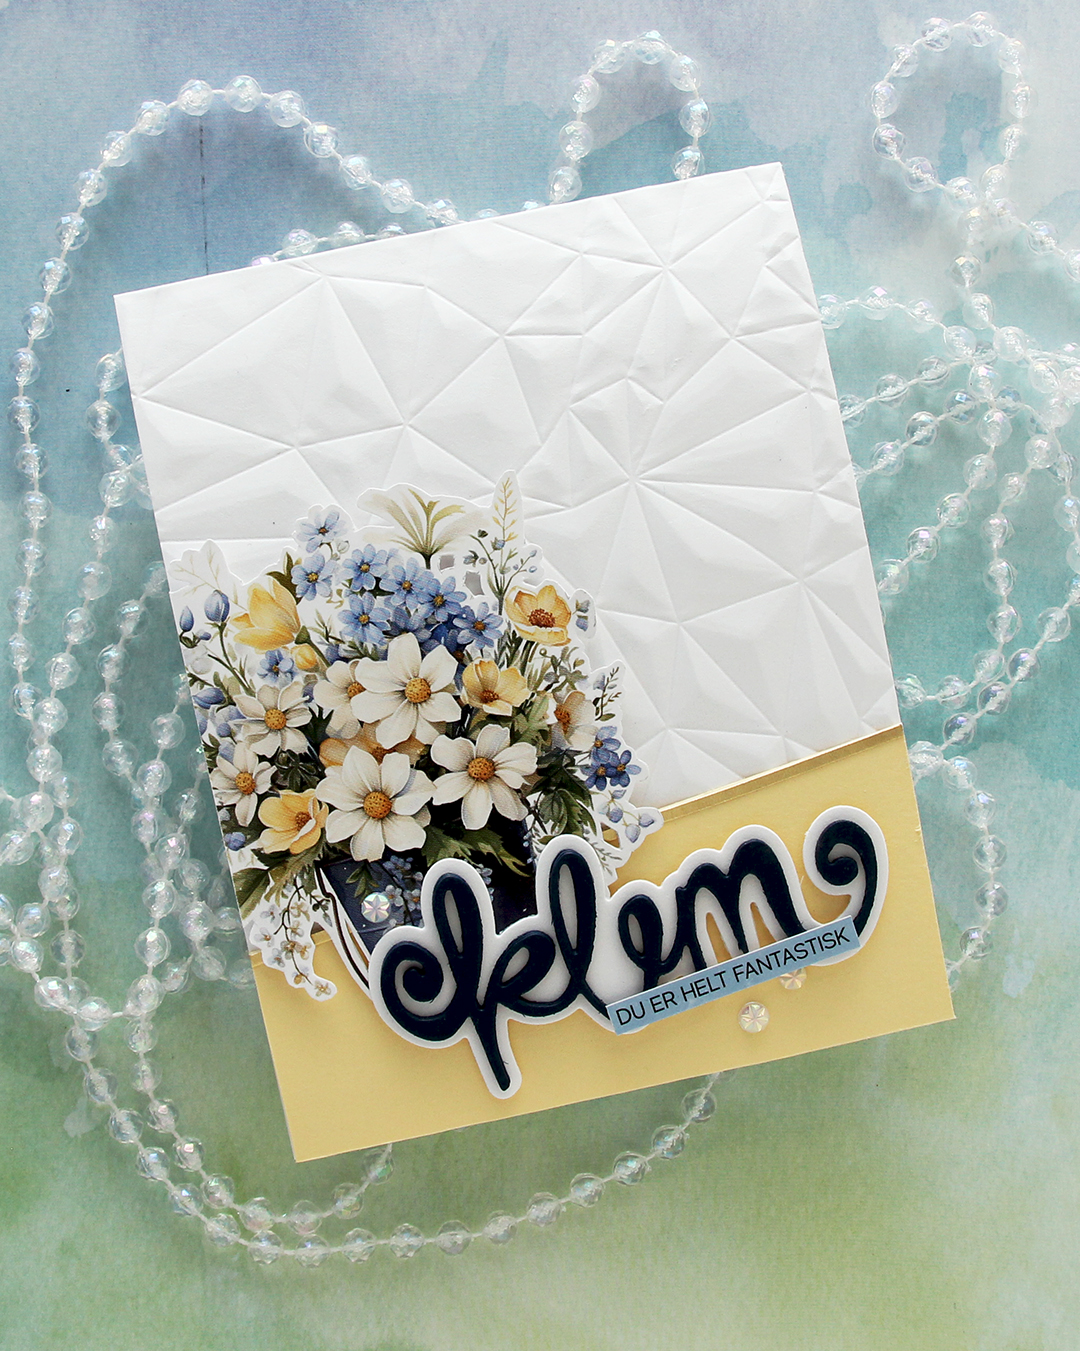 Using Die360 from Kort & Godt, I die cut klem four times from Nautical cardstock from Hero Arts and stacked them for a dimensional look. I die cut the shadow from Stamper’s Select White cardstock from Papertrey Ink (the same cardstock that I used for the card base) and adhered the stacked word to it, before putting foam squares on the back of the right half, adhering it directly to the image on the left.
 I used one of the sentiment sticker strips from Kort & Godt to finish my sentiment. I trimmed it down slightly to make it more narrow and ink blended it with Winter Lake fresh dye ink from Altenew to make it match the blue in the flowers. I adhered the strip on top of the die cut and finished off the card with a few faceted pearls.
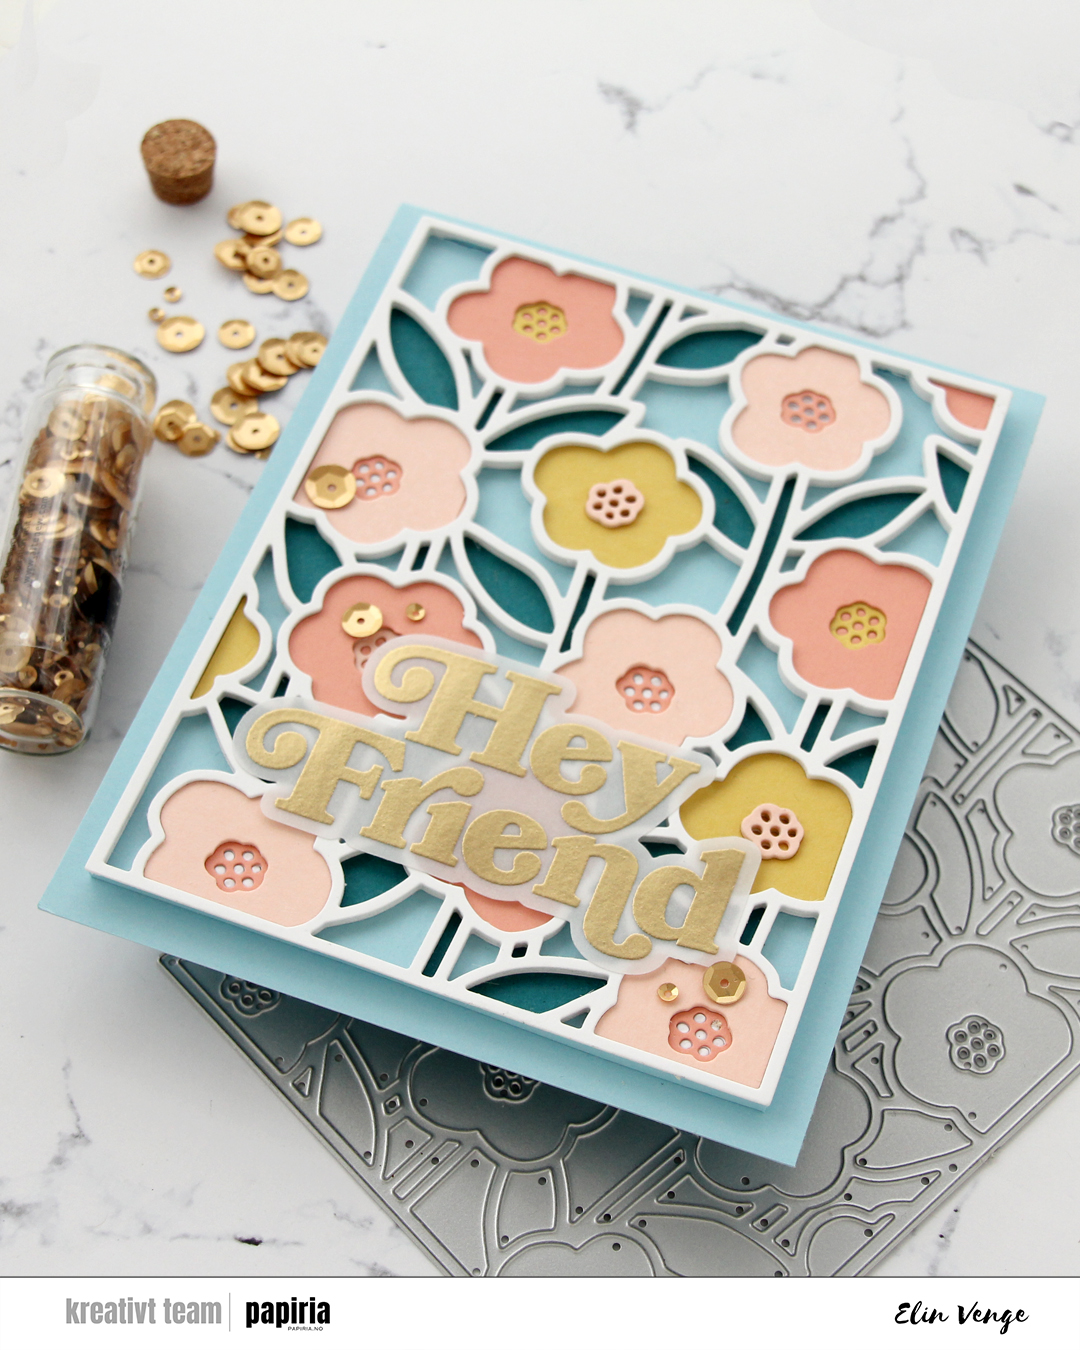
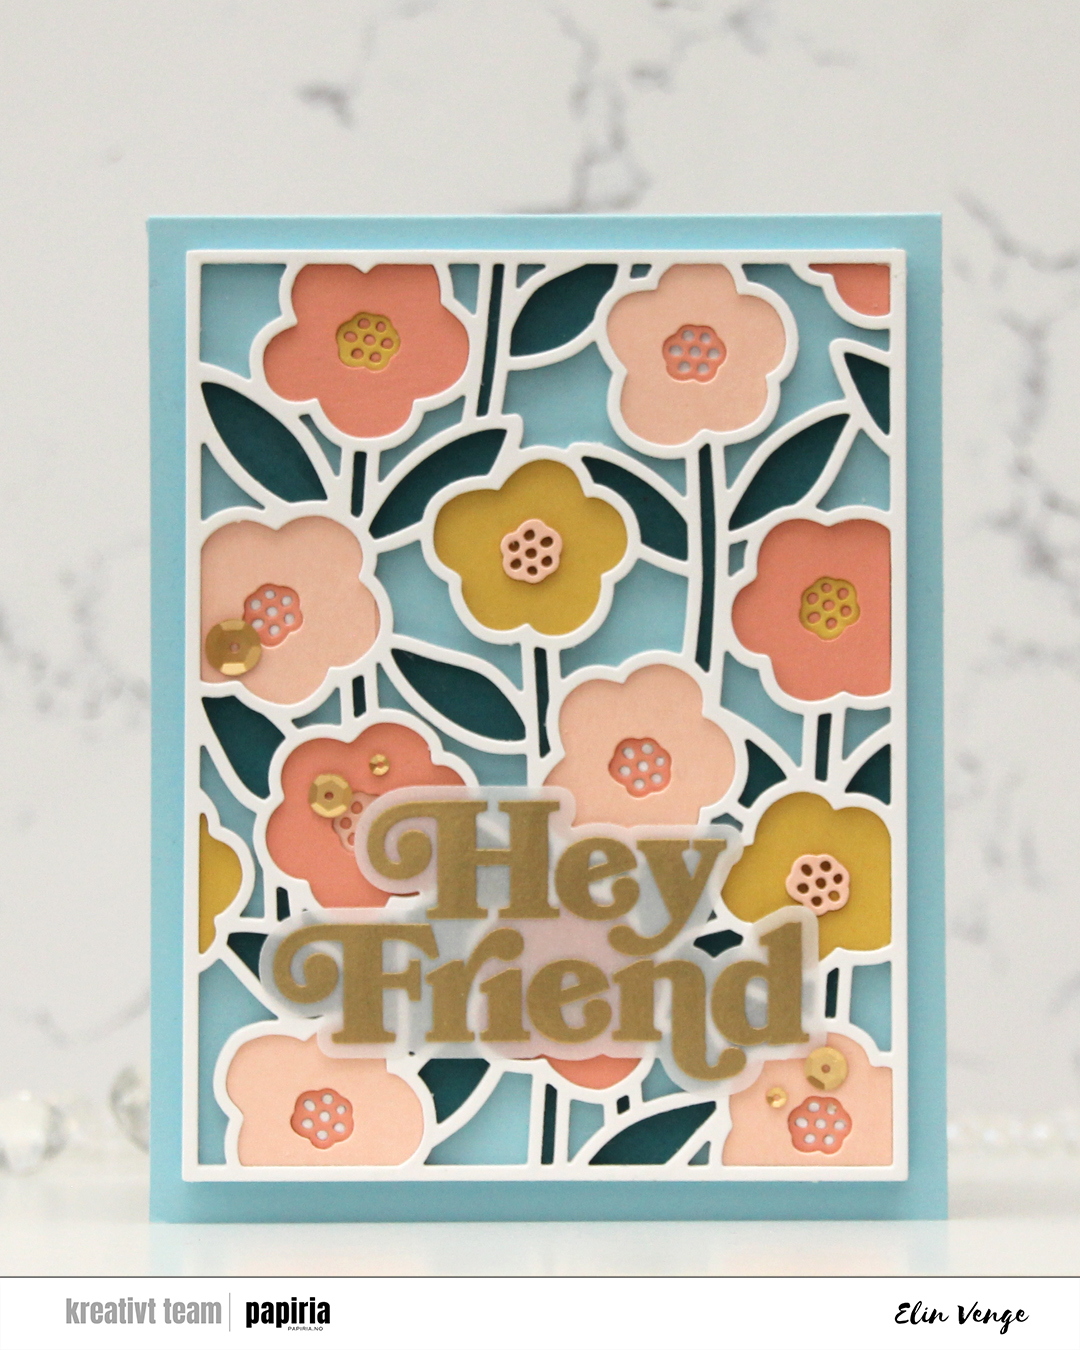 I love this Sweet Stems die set from Concord & 9th. It was part of their February release, and it’s so versatile. It has a separate coordinating stencil set (which I didn’t use for this card), which is great if you want lots of color, but not spend 512 hours on a card. The die set consists of a cover die, which is what I used here, and seven smaller dies. One of them cuts the outline for Hey Friend, which is a sentiment in the coordinating stamp set. I love when you can mix and match products like this.
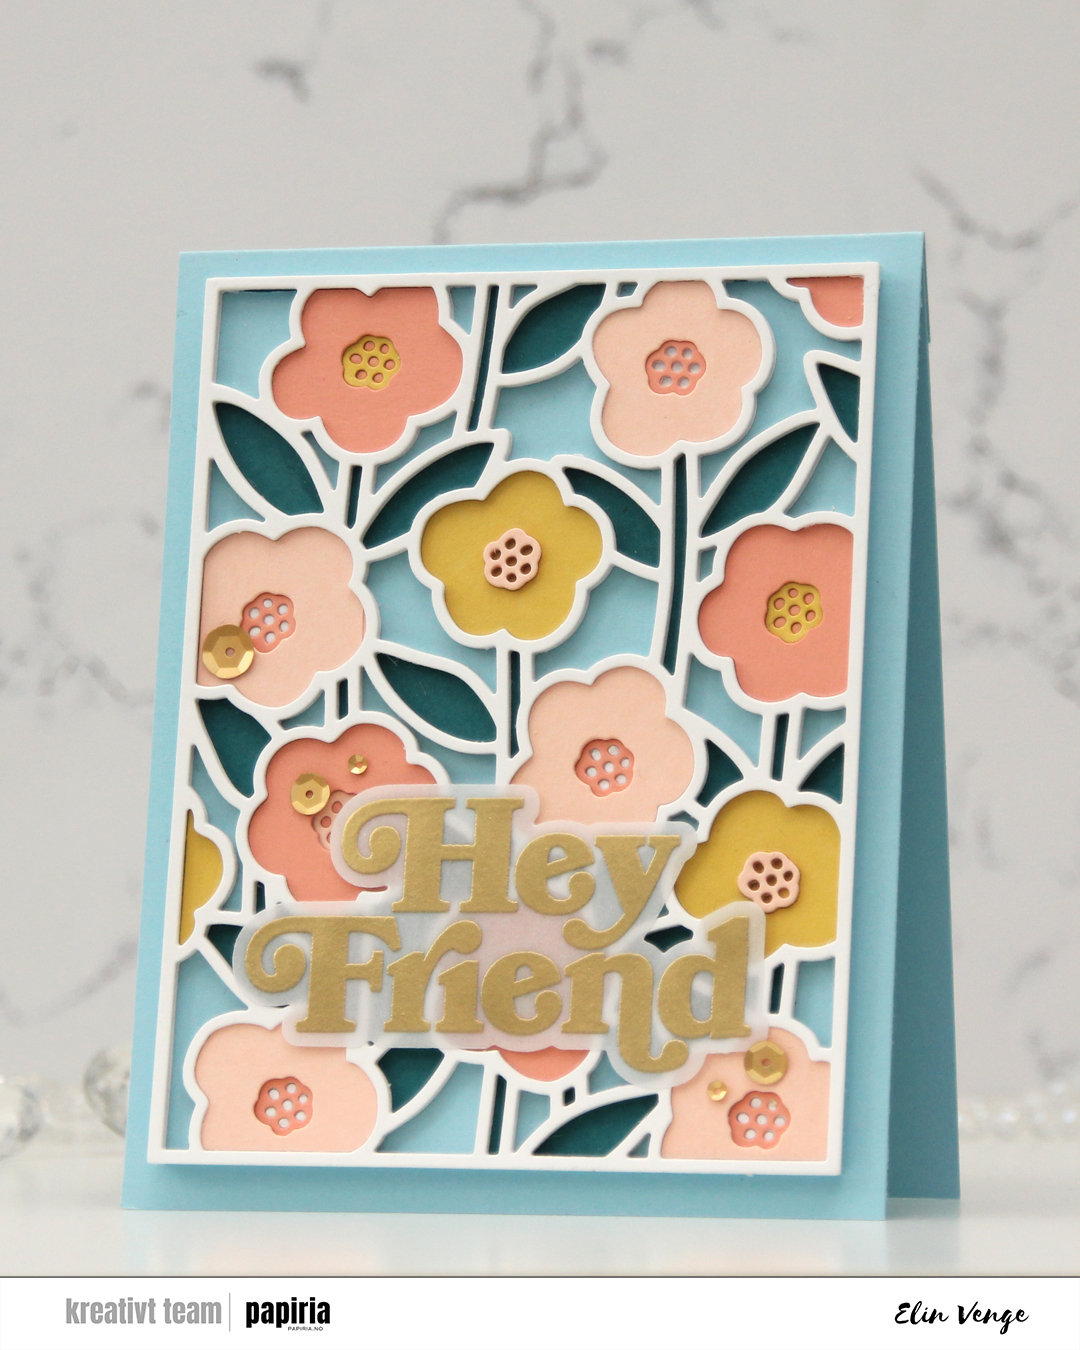 I used the cover die to cut a bajillion pieces from white cardstock (Stamper’s Select White from Papertrey Ink), then cut one panel each from Peacock, Honeycomb, Nectar and Grapefruit cardstock, all Concord & 9th colors. I started with one of the white outlines adhered to a piece of Harbor cardstock (also a C9 color), and puzzle pieced the stems and leaves into it with the Peacock color.
 In total, I stacked 6 white outlines and added the flowers and the flower centers at varying depths. The flowers are all slightly different shapes, but the centers are all the same, making them easy to stack.