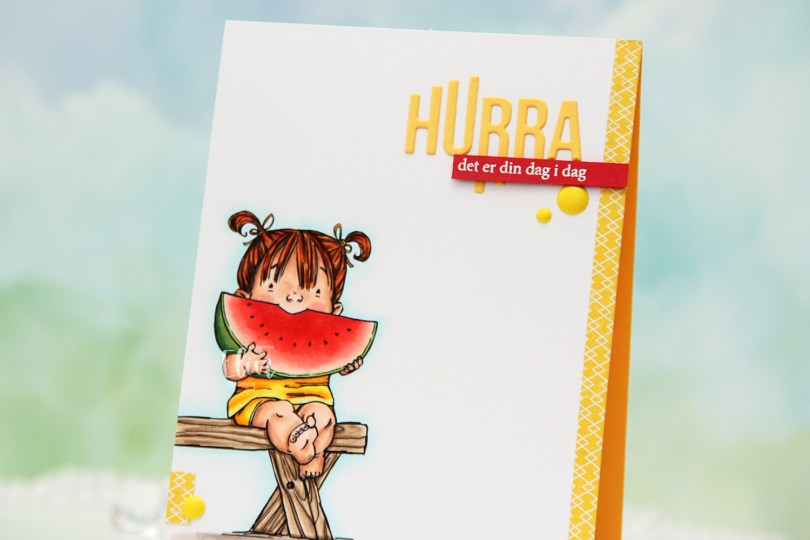
Hi, crafty friends and welcome to Summer. Can you believe it’s June already? Where has the time gone? In the spirit of this first summer month, I’ve made a summery card with a summery image. 3 on a bench from Mo’s Digital Pencil is one of those stamps that you can get as a merged image or as the separate components that make up the scene. This particular one consists of three kids sitting on a bench, each enjoying their own snack. I’ve used the separated version for my card, and I’ve used the bench and the girl with the big wedge of watermelon. There’s also a boy with a popsicle and a girl eating corn in the same stamp, but I opted for the watermelon alone today.
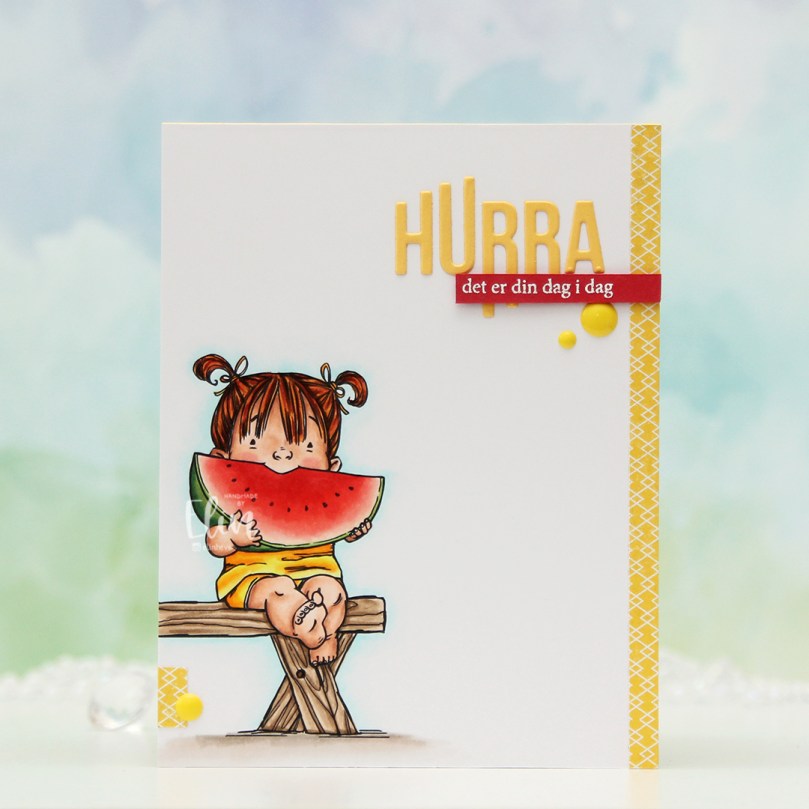 I printed the image towards the bottom left of my panel of X-Press It blending card and colored it with Copics. I’ve colored this girl once before, but I decided to go for a different color scheme this time, I think the only thing that’s stayed the same since the last card is the coloring on the watermelon. The printer doesn’t print all the way to the edge, so I cut off a little strip on the left side and decided to add a strip of yellow patterned paper from Papirdesign on the right to balance out the design and fill the front of this A2 card.

I also added a tiny piece on the left side to add a tiny bit of added interest. I adhered my panel onto a top fold card base I created from Buttercup cardstock from Concord & 9th. I used a die from Papirdesign (Hipp hurra, oval) to die cut the letters from the same color of cardstock and adhered them towards the top right corner of the card front. Onto a strip of Red Hot cardstock from My Favorite Things, I stamped a sentiment from the A06 stamp set from Norsk Stempelblad AS using VersaMark ink and white heat embossed it using super fine detail embossing powder from Ranger, before adding two additional layers of cardstock behind it for a bit of dimension and adhering it to the card. I added a few enamel dots from the Pocketful of Sunshine pack of enamel dots from Altenew, and my super simple card was finished.
 And as usual, I finish with the Copics I used. Quite a few for this super simple image, I reckon.
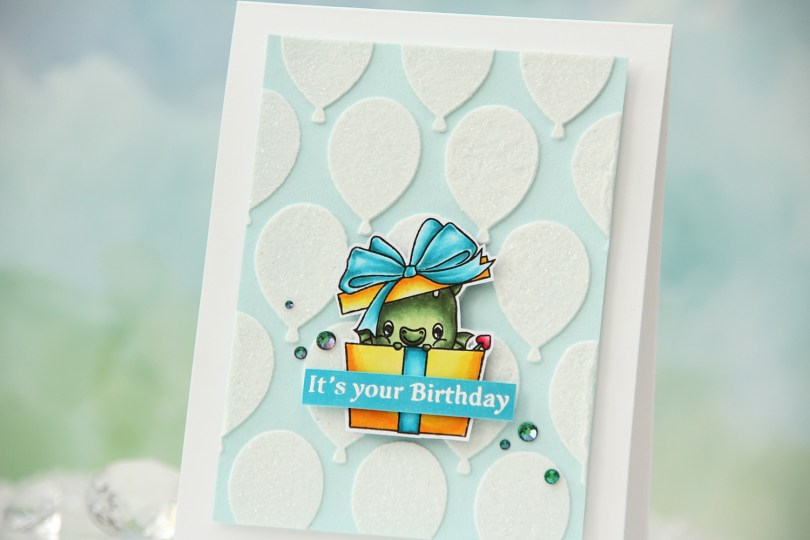
 I used one of the dragons in the
 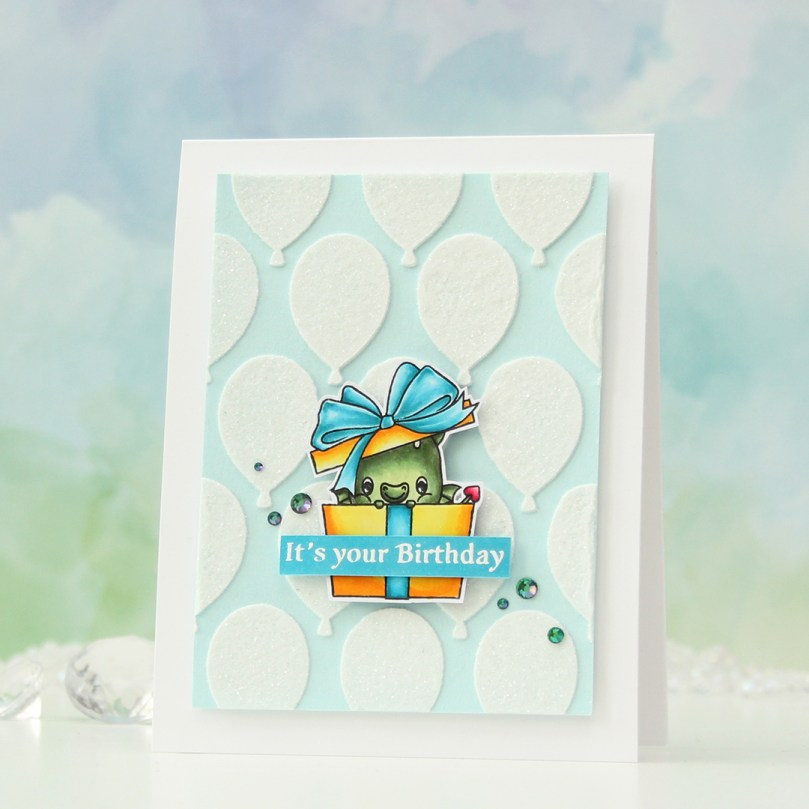 I fussy cut around the image leaving a thin white border. There’s a set of coordinating dies to go with the stamp set, but I don’t have it, and fussy cutting this one was simple enough.
 I added a thick coat of modeling paste through the
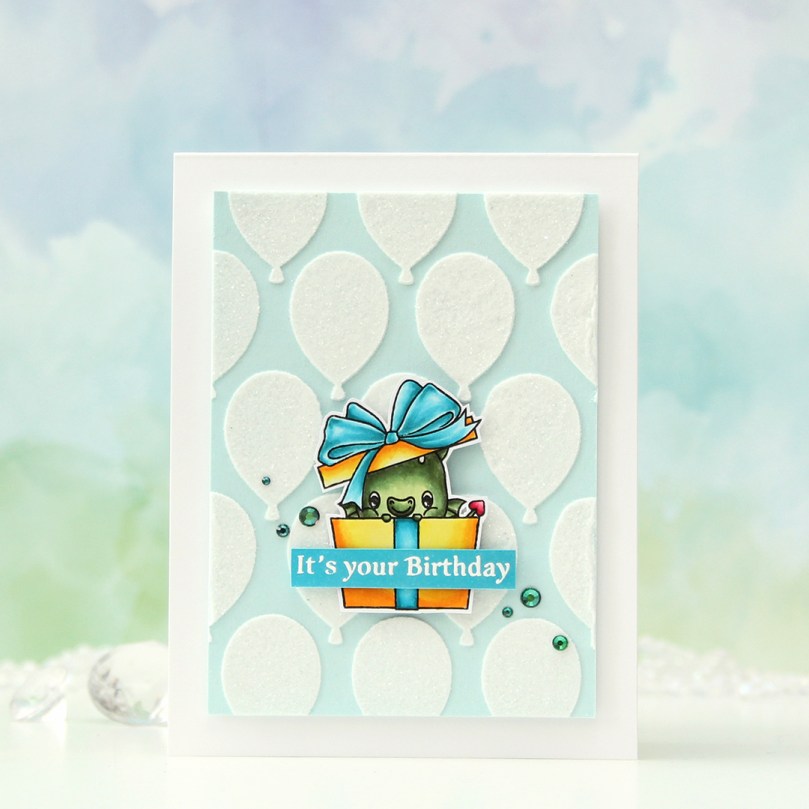
 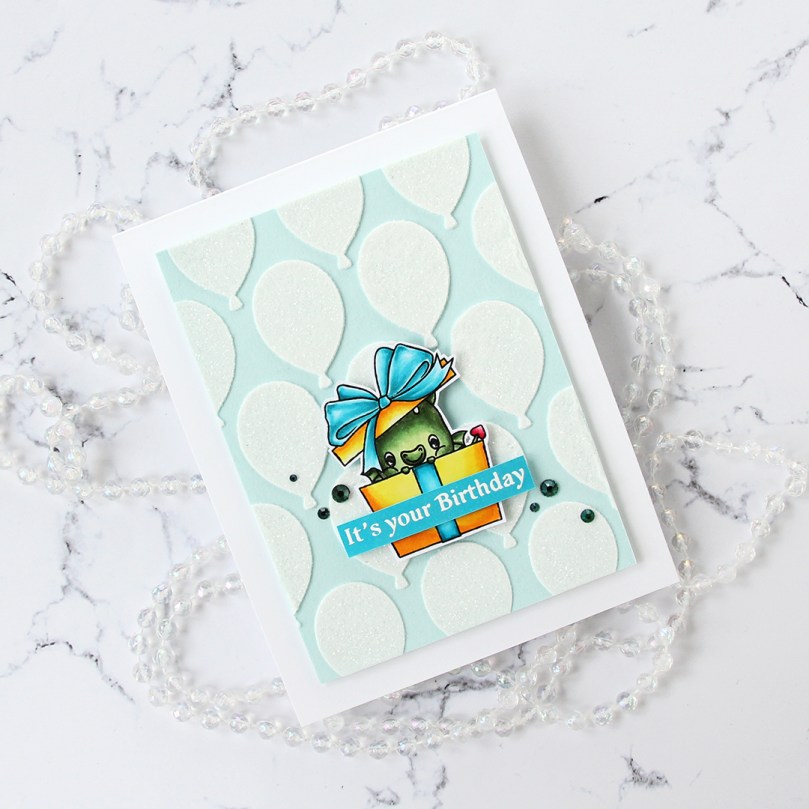 Using 1/16″ foam squares, I added my colored dragon towards the bottom center of the card. I added a little bit of liquid glue to make sure it really adhered to my glitter balloons, I didn’t want it coming off at any point. I didn’t have the right shade of cardstock to match my tealy blue coloring, so I colored a scrap strip of X-Press It blending card using one of the markers I used for the bow, before stamping and white heat embossing a sentiment from the Flamin’ Birthday stamp set. I cut it to fit the sentiment, added a couple of strips of cardstock behind it for dimension and stability and adhered it to the present.
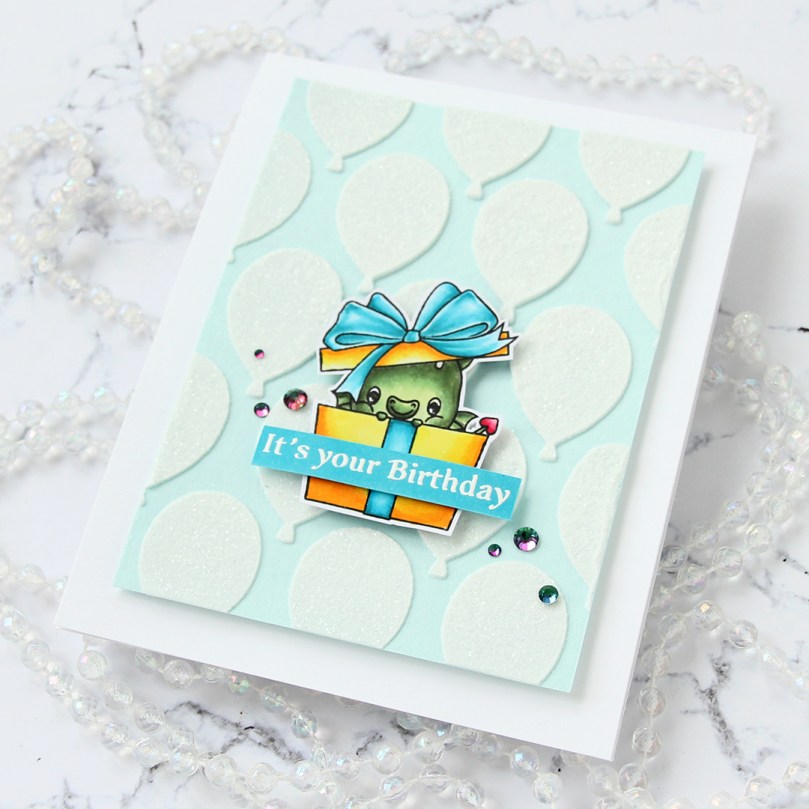 I finished off the card by adding a few sparkle gems. These are from the
  Last, but certainly not least – the colors I used for this cute dragon present. BG05 is the color I also used on the sentiment strip.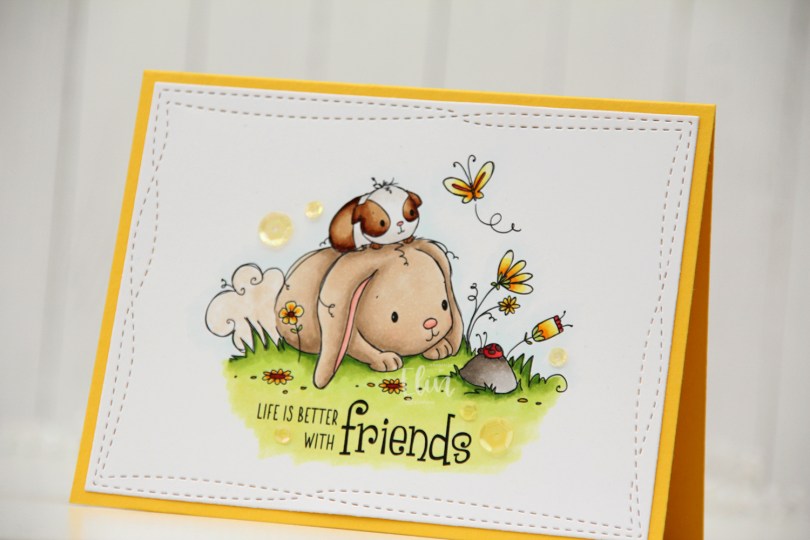
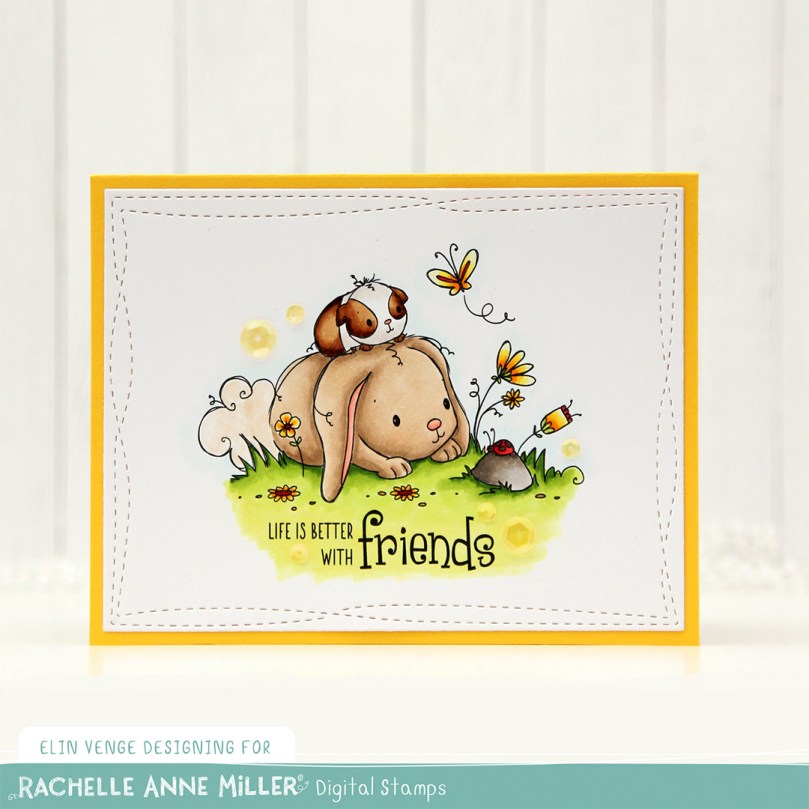 I printed the image in the center of a panel of X-Press It blending card and colored it in with Copics.
 I used the largest die in the Wonky Stitched Rectangles STAX die set from My Favorite Things to create a little bit of interest on the edge of my panel.
 I adhered the panel to a top fold A2 landscape card base I created from Bright Buttercup cardstock from Papertrey Ink. The yellow border around the edge picks up the yellow of the flowers and makes them pop.
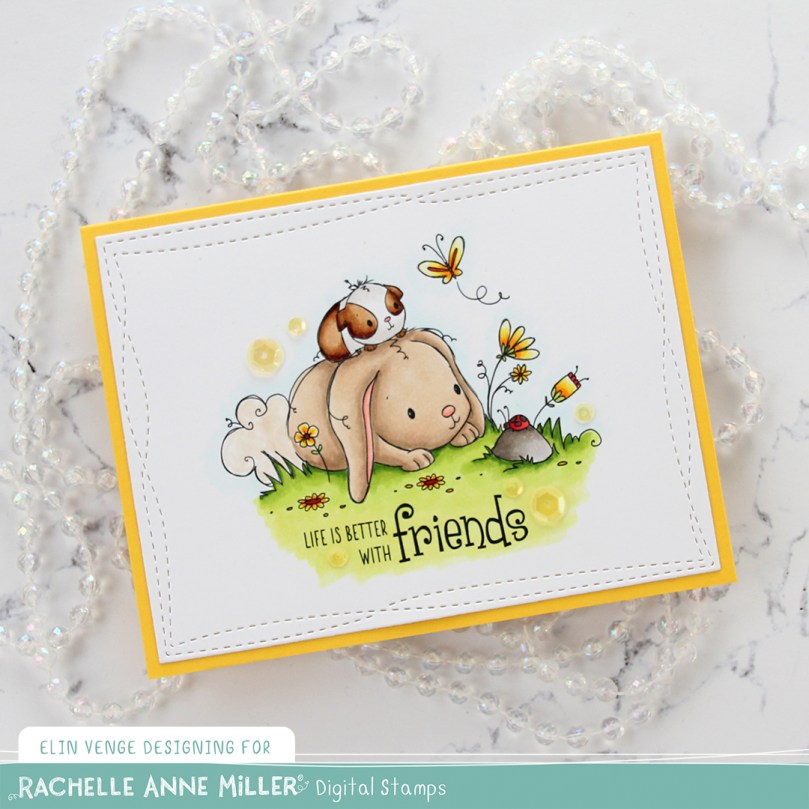 I added a few yellow sequins from the Seashore mix from Little Things from Lucy’s Cards around the image and sentiment, and my card was finished.
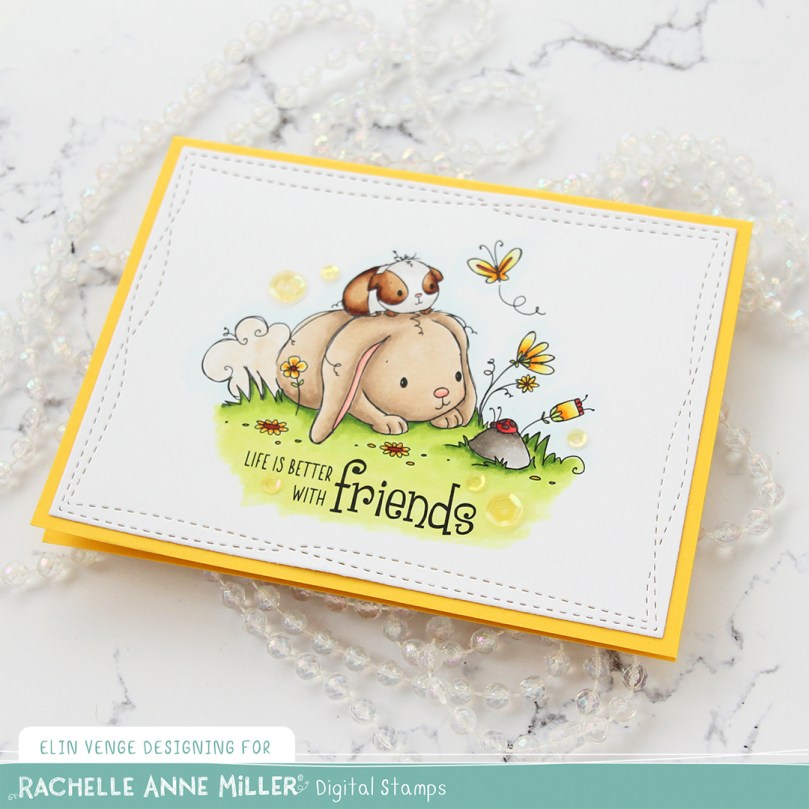 The end result is a very mail friendly card without a lot of bulk. The sequins add a tiny bit of lift off the base of the card, but not much.
 Simple color palette for this one.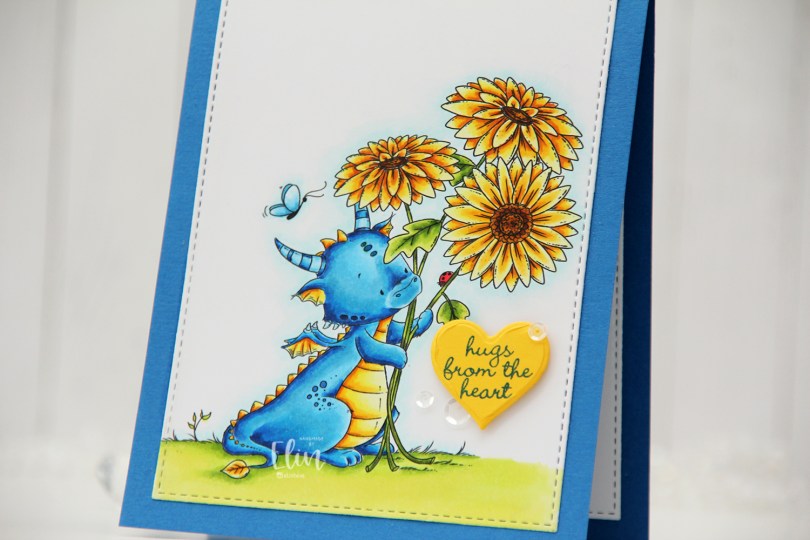
 It’s no secret that I’m a fan of Lee’s Dragons, and this one holding sunflowers was begging for a blue/yellow combo. Once I’d colored the image with Copics, I used the second largest die in the A2 Stitched Rectangles STAX 1 die set from My Favorite Things to give the panel a nice finishing edge. I adhered it to a card base I created from Cornflower cardstock, also from MFT.
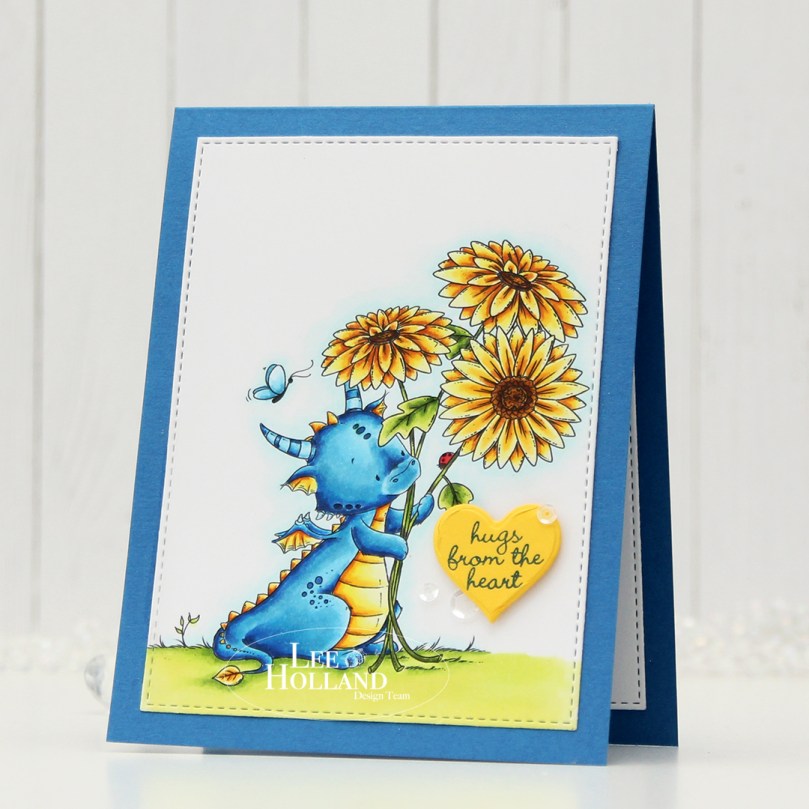 I die cut a heart from Bright Buttercup cardstock from Papertrey Ink and stamped a sentiment from an Inky Wings stamp set in the center using Cornflower ink from My Favorite Things. I added the heart using foam tape and then a few sequins from the White Orchid Sequin Mix from Little Things from Lucy’s Cards to finish off this simple card.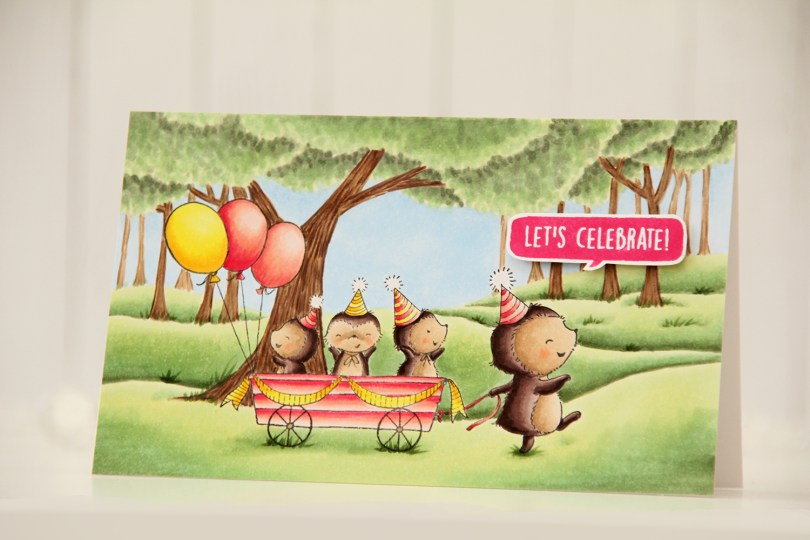
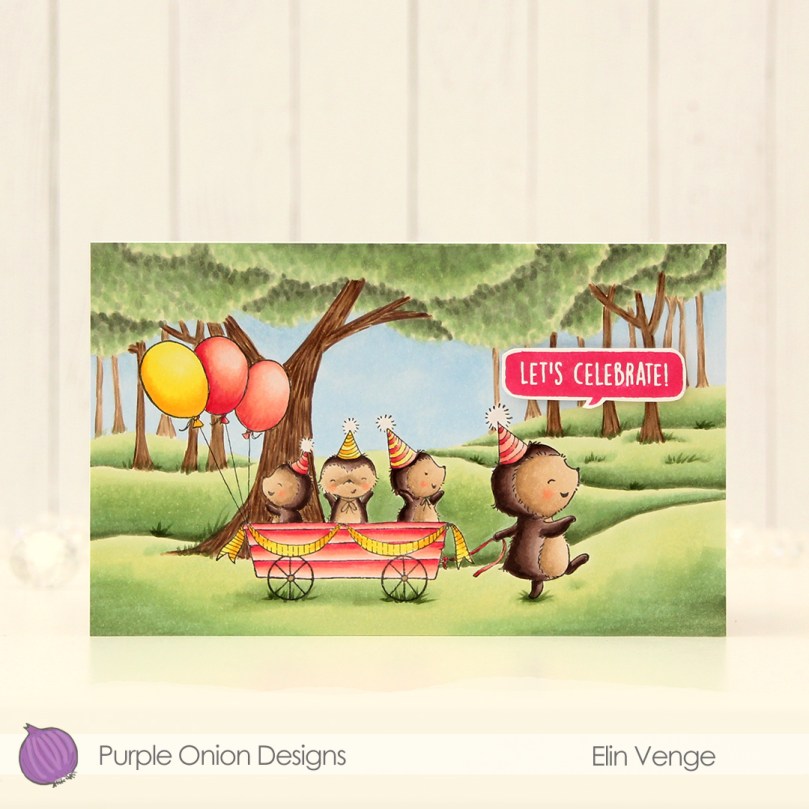 I stamped the image using Extreme Black ink from My Favorite Things, before creating a mask, adding that on top and stamping the
  I colored in my scene using Copics and stamped a sentiment from the older
  Last, but not least – the Copics I used. I also used B30 (which is a color I’ve created myself) for the sky in addition to B32.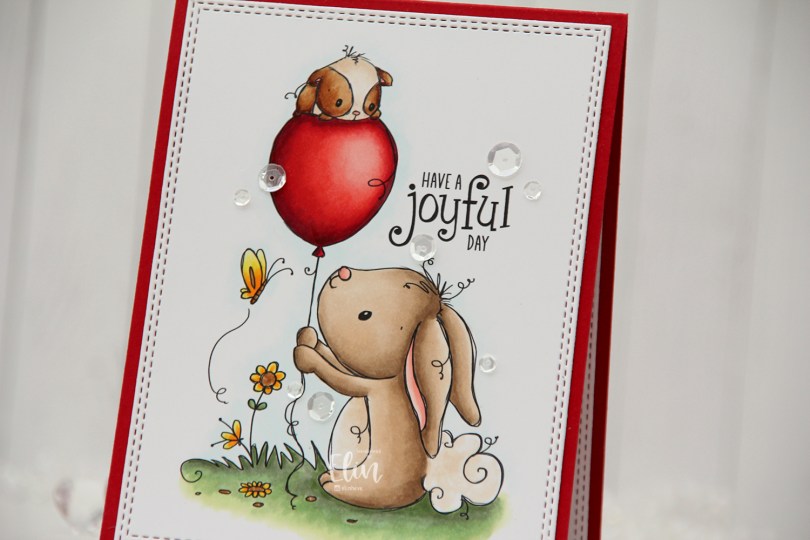
 I printed the image with the accompanying sentiment and made it bigger than what I normally color. I wanted the focus to really be on this stamp.
 I colored the image with Copics, then used a die from the A2 Double Stitched Rectangles STAX set from My Favorite Things to create the faux stitch look around the edge that I really enjoy having on my cards.
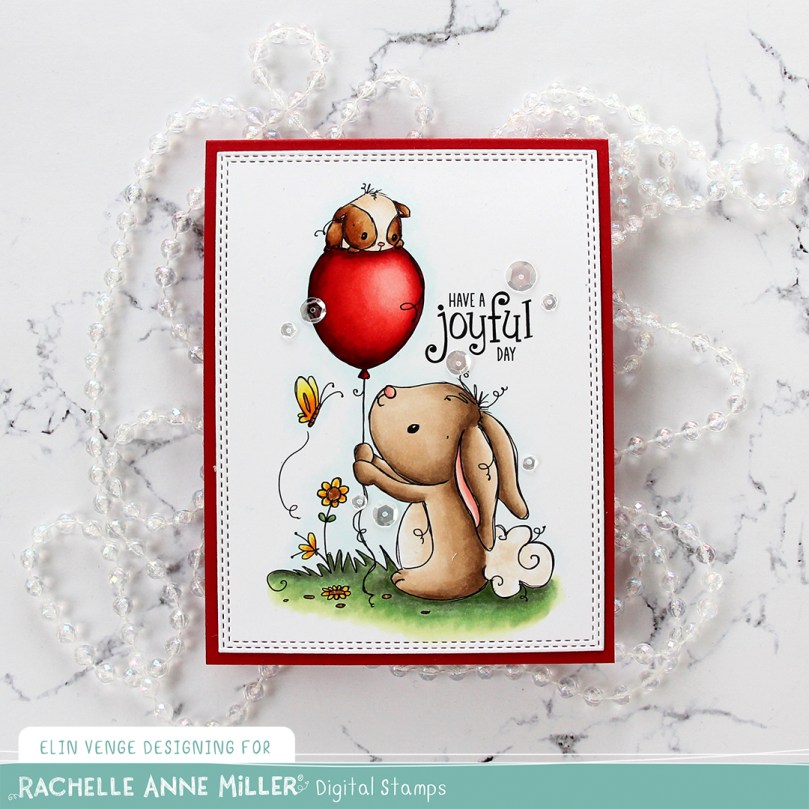 I adhered the panel to a card base I created from Pure Poppy cardstock from Papertrey Ink.
 The red cardstock matches the red balloon and really makes it pop.
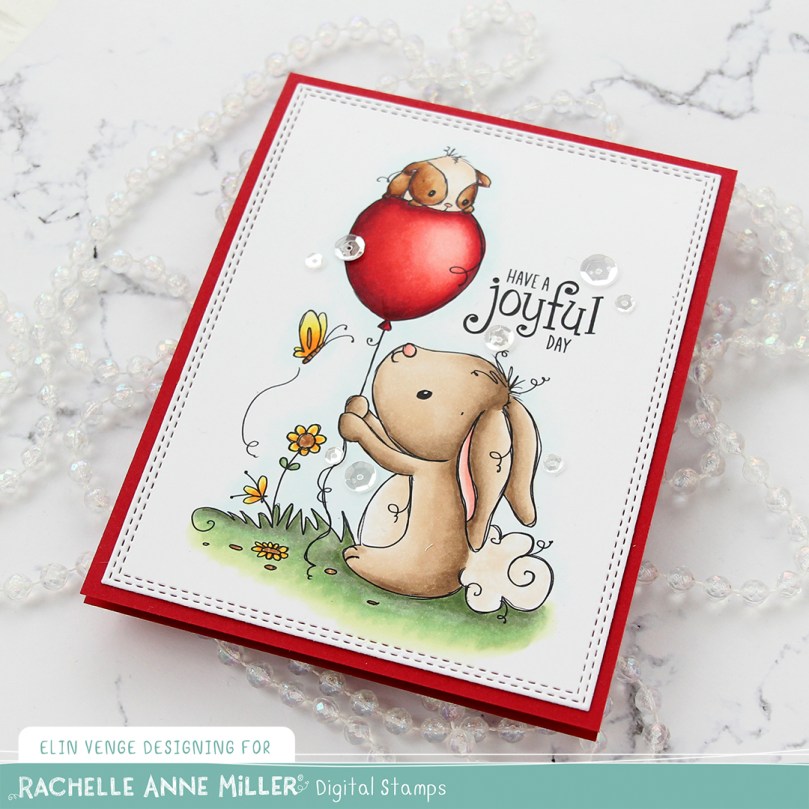 To finish the card I added Sparkling Clear sequins from Pretty Pink Posh here and there. These are my favorite sequins, and they’re near impossible to find in stock anywhere. I need to get some more soon, though, I’ve almost run out.
 Last, but not least; the colors I used for this. The ones on the bottom row were all used for the balloon. I went a little overboard on the balloon.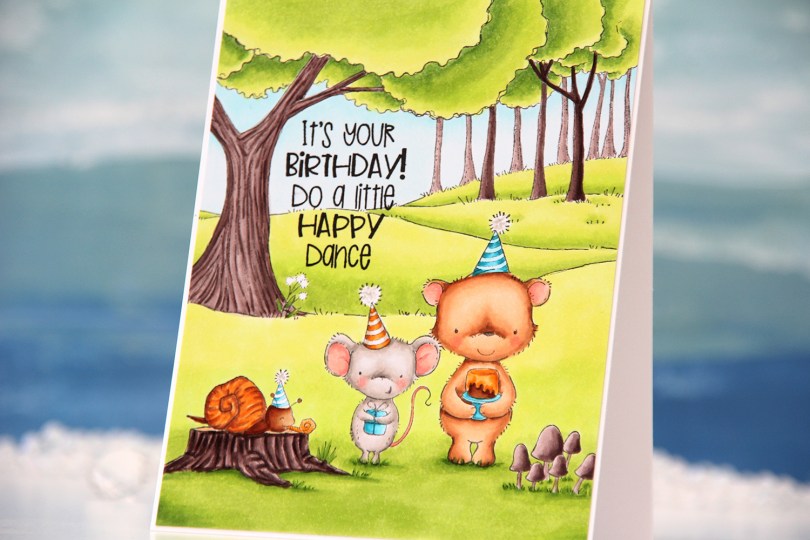
 My first card with images from the release is this one. I love creating birthday cards, so this collection is right up my alley!! Using Extreme Black ink from My Favorite Things, I stamped and masked
  I cut down my colored panel ever so slightly and adhered it to a top fold A2 card base I created from Stamper’s Select White cardstock from Papertrey Ink. I love that little 1/16″ border around the edge.
 I kind of thought I’d use a whole lot more Copics for a full panel card, but I admit I love the orange color with the teal and the bright green, it’s such a classic color combo for a reason.
 I colored the image with Copics, die cut the word HURRA from my panel using a die from Kort & Godt and the largest die in the A2 Stitched Rectangles STAX 2 set from My Favorite Things for the faux stitching to frame the image. I printed a second image to put behind, so the ball of yarn is continuous throughout the word.
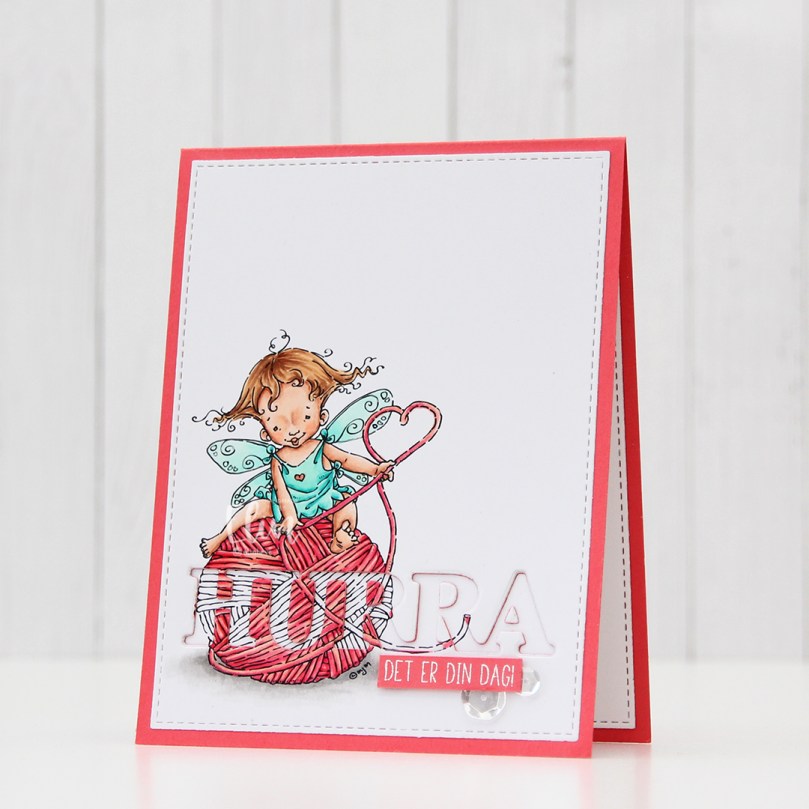 I adhered my panel to an A2 card base I created from Berry Sorbet cardstock from Papertrey Ink. Onto a strip of the same color cardstock, I stamped and white heat embossed a sentiment from Huldra Designstudio, added a couple of additional layers of cardstock behind it for dimension and embellished with a couple of sequins from Pretty Pink Posh to finish the card.
 Not a whole lot of colors used for this one, it’s a simple image, after all.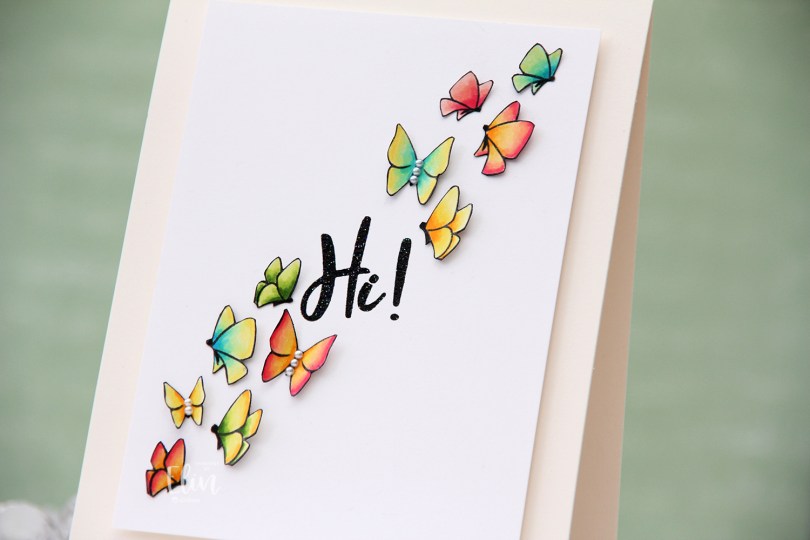
 I used the
 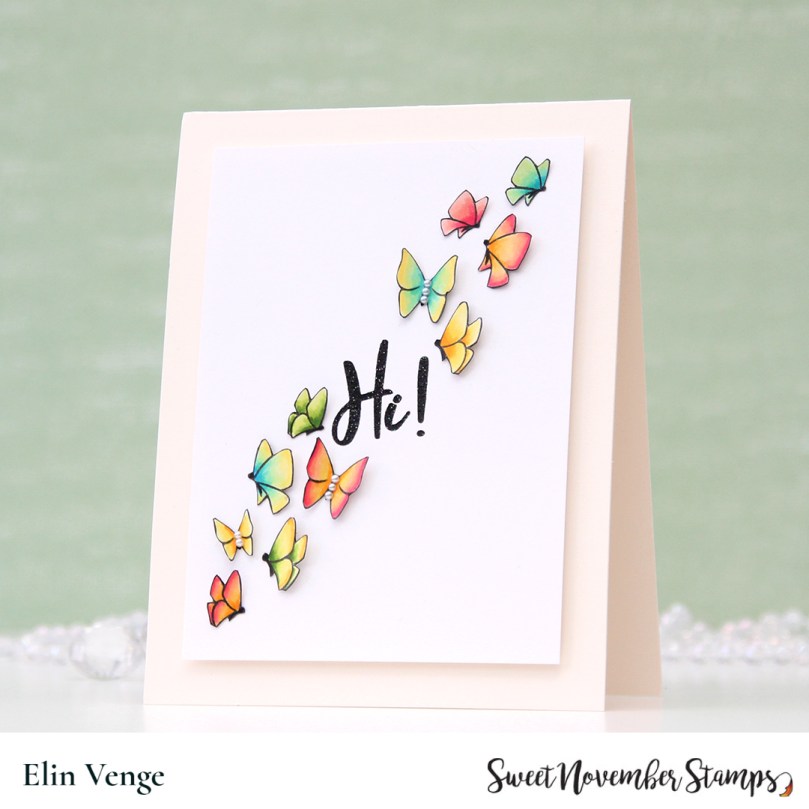 I fussy cut each of the butterflies right up against the stamped lines, going over the cut edge with a black pen so no white core would show from the sides. I then took a thin Copic multiliner to make the bodies of the butterflies more solid black (I suspect I might need a new black ink pad because my current one is starting to get dry).
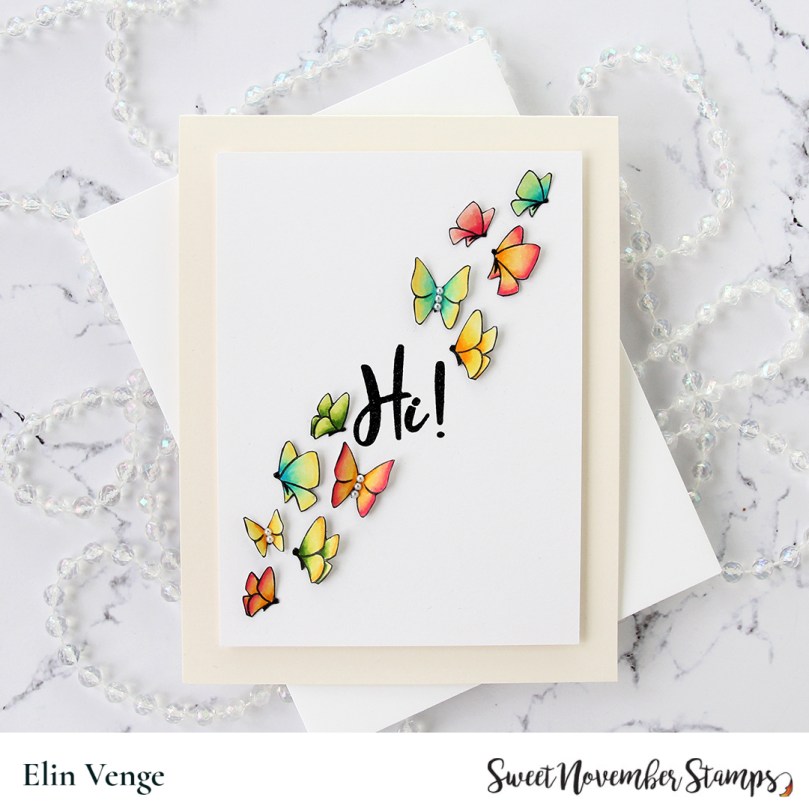 I added the butterflies to a 3 1/2 x 4 3/4″ panel of Stamper’s Select White cardstock from Papertrey Ink, lifting the wings and adding tiny pieces of 1 mm foam squares to the back of them for dimension. I didn’t want these to be flat. On some of the butterlies, I added 2 mm white pearls from Kort & Godt to the bodies.
 The sentiment is from the
 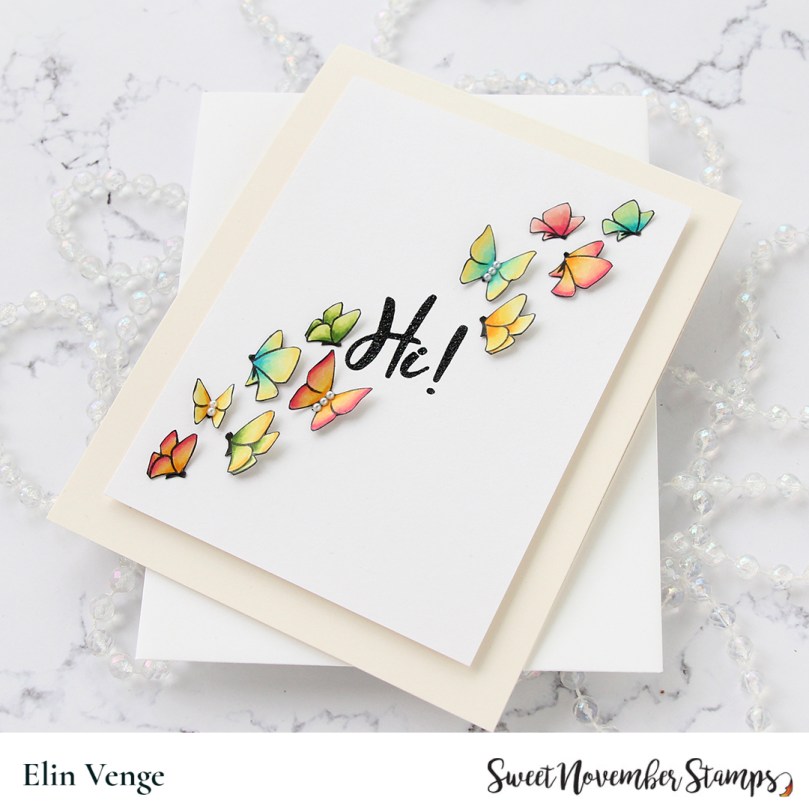 The sparkle of the embossing powder is visible in this photo, as is the wonderful lift the wings of the butterflies get by using tiny pieces of foam tape. I colored one more butterfly, but there was no more room on the front of the card, so I adhered it to the back of the card above my “Handmade by Elin” stamp.
 Not a lot of colors for this one, though I did use the yellow ones for all the two toned butterflies.
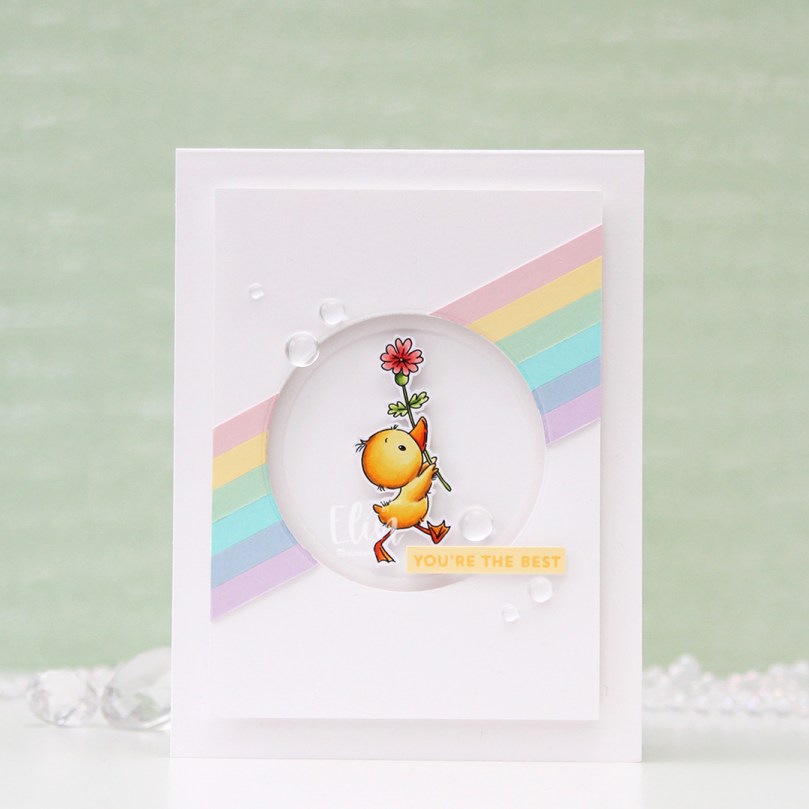 I colored the chick with Copics and fussy cut it, leaving a white border around the edge. I put it aside while I worked on the rest of the card.
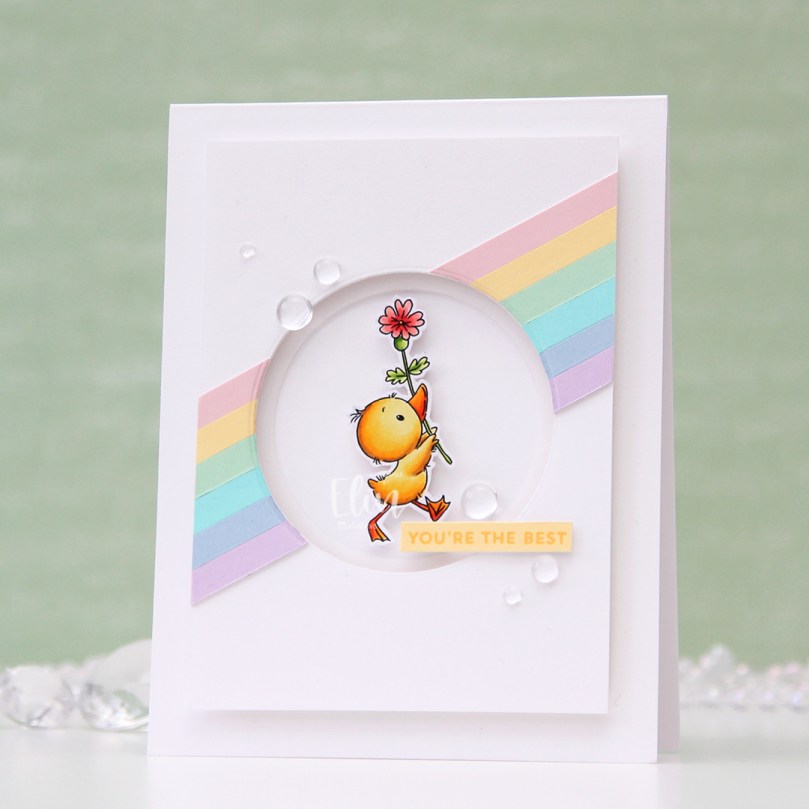 On a 3 1/2 x 4 3/4″ panel of Stamper’s Select White cardstock from Papertrey Ink, I adhered 1/4″ strips of pastel colored cardstock at an angle. The colors are (top to bottom) Ballet Slipper (Concord & 9th), Lemon Tart (Papertrey Ink), Mint Julep (Papertrey Ink), Aqua Sky (Concord & 9th), Blue Breeze (My Favorite Things), Lilac Grace (Papertrey Ink). I then die cut a circle from the center of this panel.
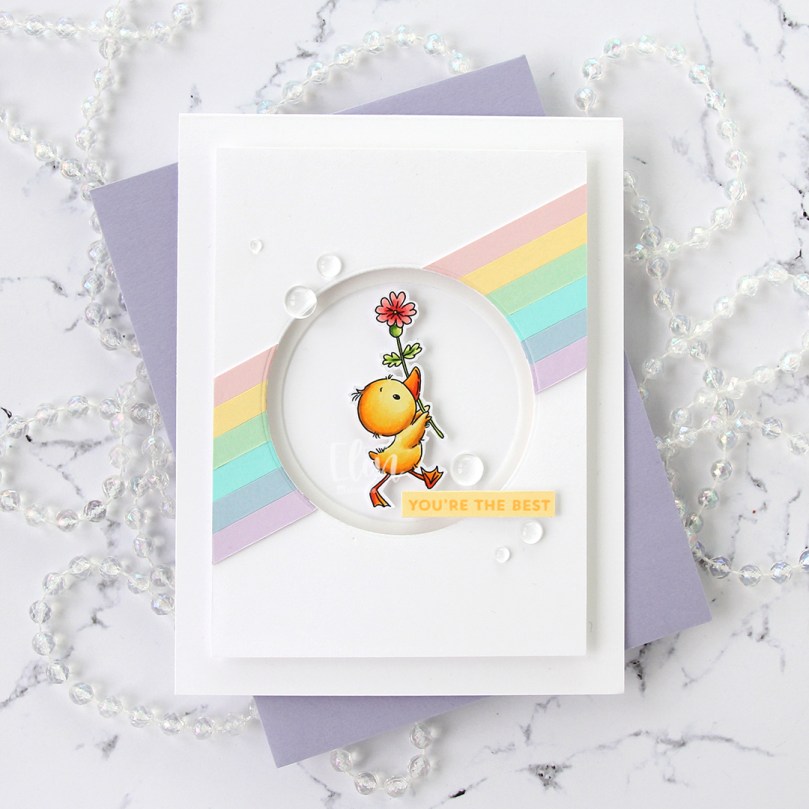 I die cut a sligthly smaller circle out of vellum and adhered it to my card base using foam tape for a little bit of lift. I mounted the stripped up panel on top using even more foam tape (a thicker one for this layer) and put pieces of foam tape behind the little chick and added it in the center of the window opening.
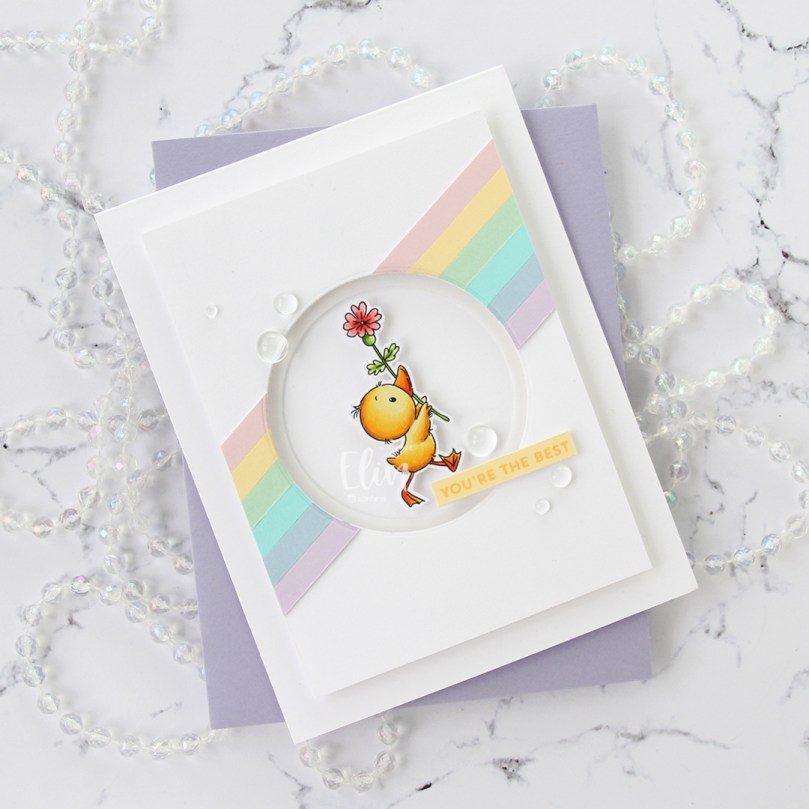 I stamped a sentiment from My Favorite Things using Harvest Gold ink from Papertrey Ink on a leftover strip of Lemon Tart cardstock, then used foam tape to adhere it to the front of the card before finishing off with a few raindrops from Little Things from Lucy’s Cards.
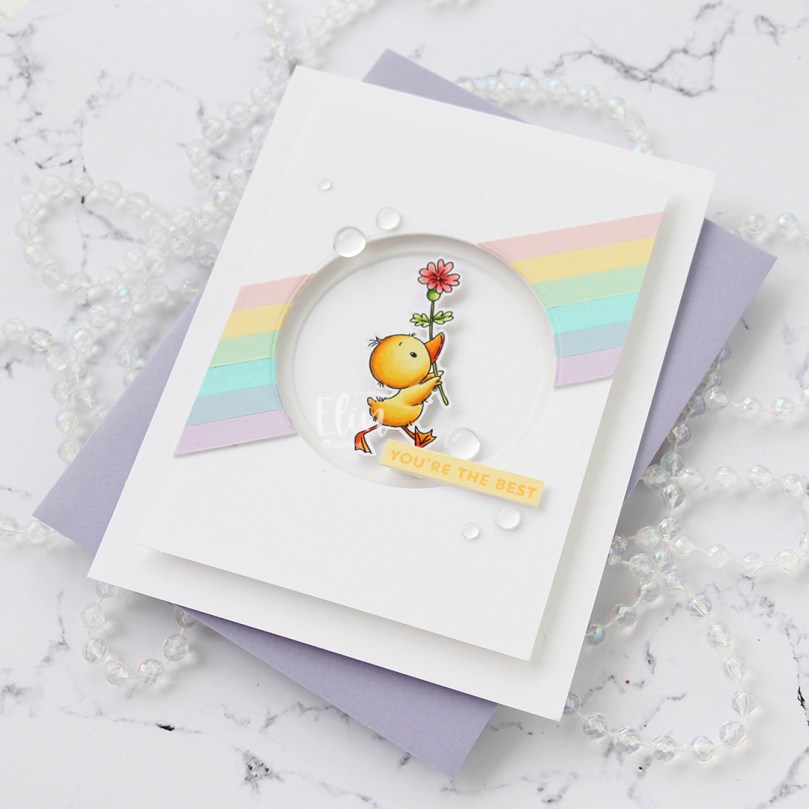 This card has lots of dimension and a soft look because of all the pastel colors of cardstock, but that little chick is still the star of the show!
 Very simple color palette for this tiny little image.
