
Hi, there! You probably aren’t thinking of Christmas cards yet. We’re still in early April and Easter just ended, but I looooove making Christmas cards all year and have one to share today. Not very traditional with a sheepdog on the front, but I know just who to send this to.

I colored up Christmas Sheepdog (with hat) very quickly using my Copics. There’s also a version without the hat. I colored the fur uneven and streaky on purpose. I didn’t want to take the time to do real fur, but I also didn’t want it completely flat.

After die cutting my colored piece to a rectangle with faux stitching around the edge using a die from My Favorite Things, I adhered it directly to a top fold card base made out of Soft Stone card stock from Papertrey Ink. Initially, I wanted green, but none of my green card stock colors were a good match (green is tricky), and this grey from Papertrey Ink is beautiful!

I pulled out my usual cluster supplies – mini paper doily from Doodlebug Design, the Happy Days Ticket Stubs die from XCut and my Fishtail Flag Frames dies from My Favorite Things. They’re staples whenever I make embellishment clusters.
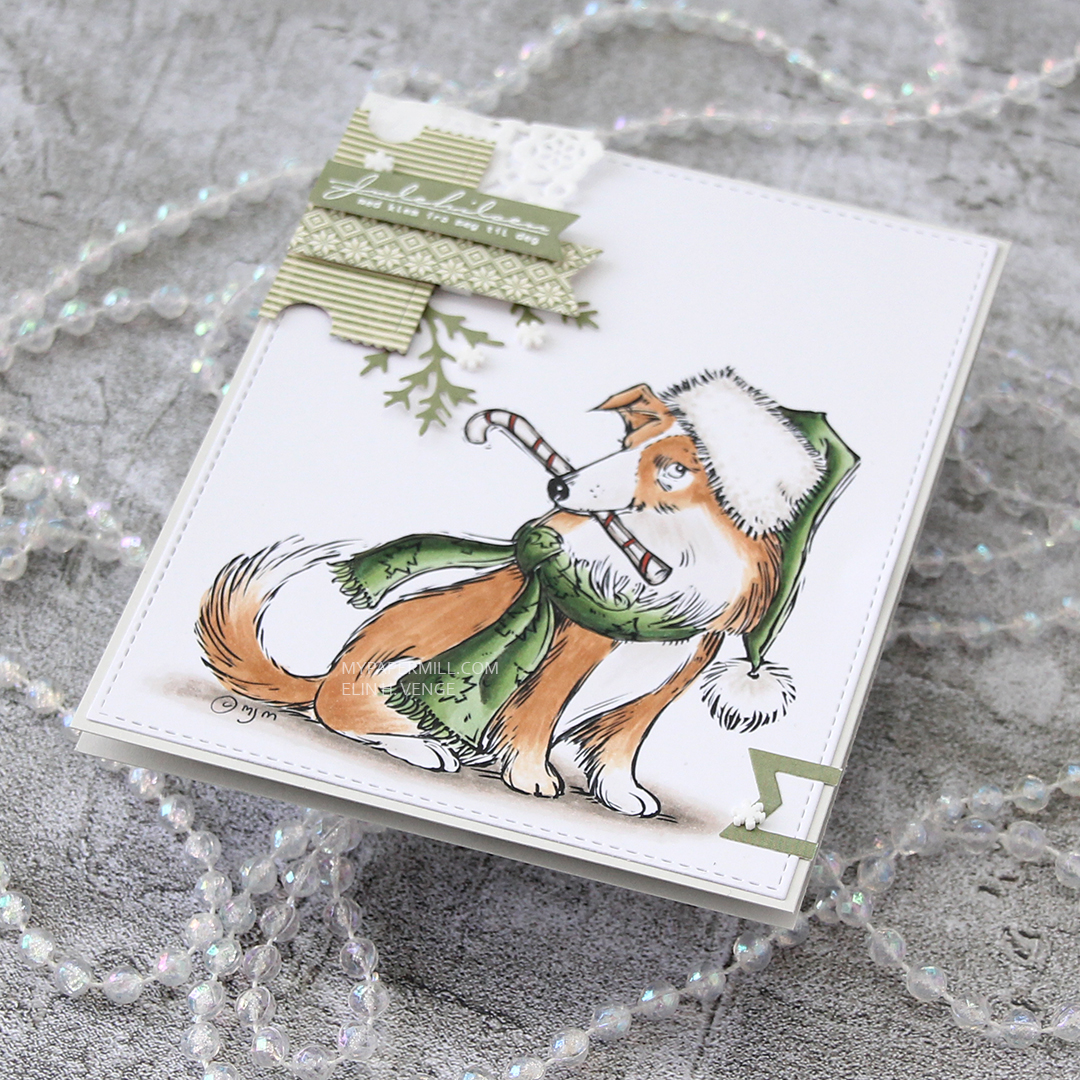
Rummaging through my drawer of Christmas patterned paper scraps, I found these lovely green ones from the Christmas in Norway collection from Pion Design, and used the dies to cut out a few pieces to go on my card. I also used a die from Papirdesign to die cut a pine branch, just to add something different to the mix.
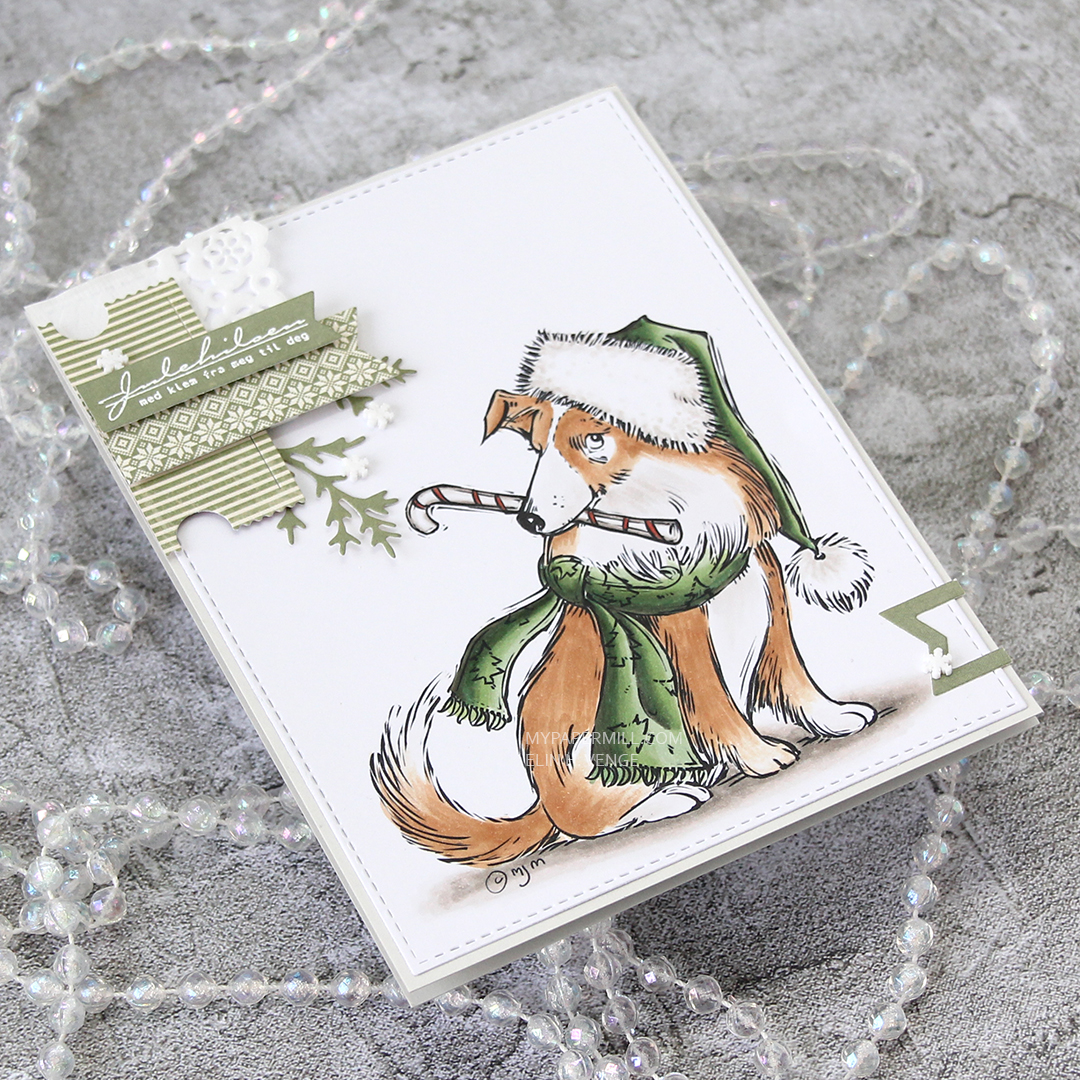
I stamped a sentiment from Norsk Stempelblad AS onto one of the banners, heat embossing it in white, before assembling my cluster and adding it to the card with foam squares to build up the layers. I added a few snowdrift sprinkles from Little Things from Lucy’s Cards, and the card was finished.

Very limited color palette for this one.
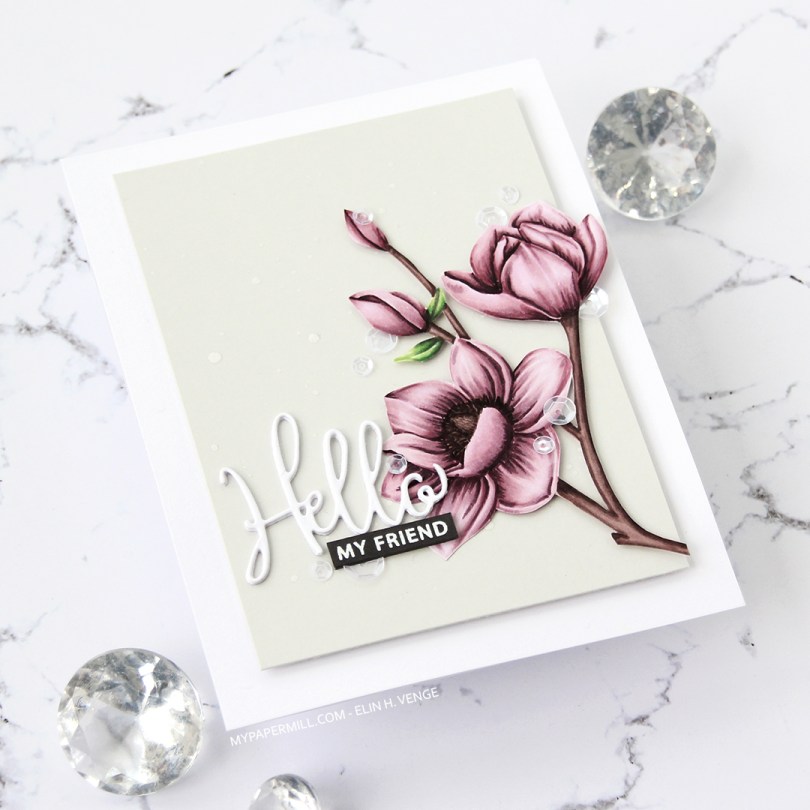
 I stamped the flowers in fadeout ink from Inkon3, before coloring them in with Copics and fussy cutting up to the line.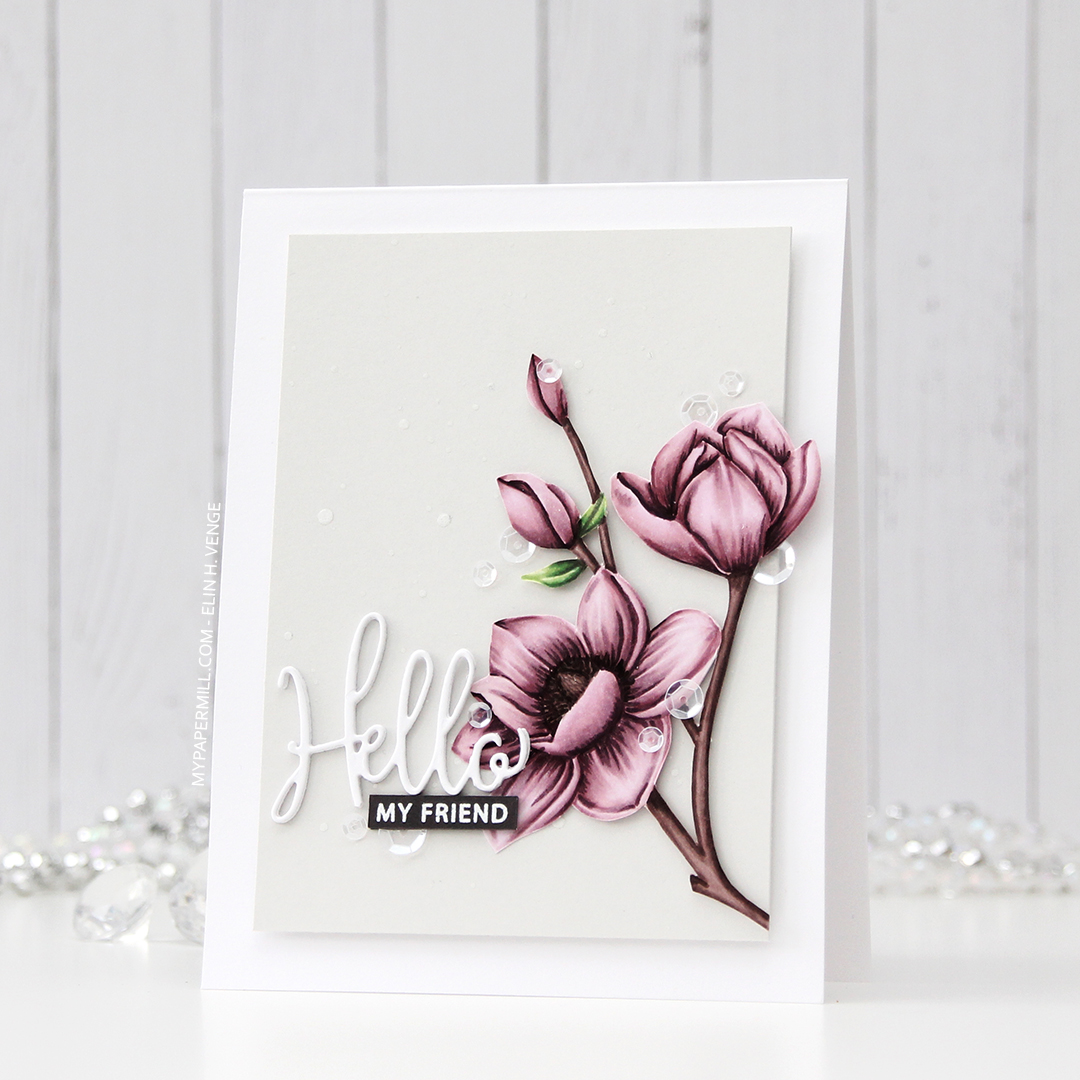
 I die cut Hello three times from white card stock and stacked the die cuts for dimension. The die is from a die set that came with my Gemini when I bought it two years ago, and this is the first time I used it. It has a swirl going down at the bottom of the H that connects to the o, but I chopped that off.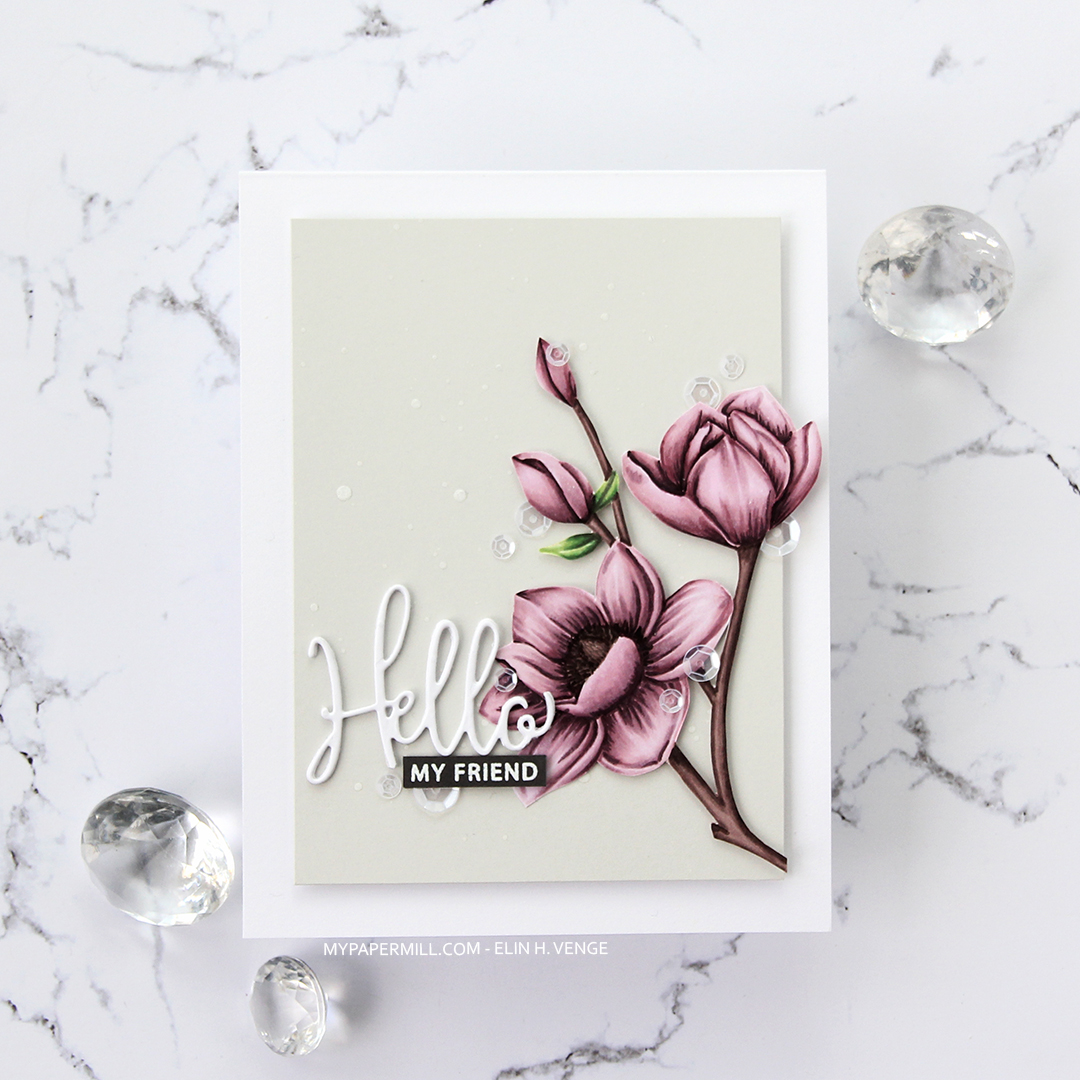
 I added sequins from the White Orchid Sequin mix from Little Things from Lucy’s cards on or near the flowers and the sentiment, and my card was complete.

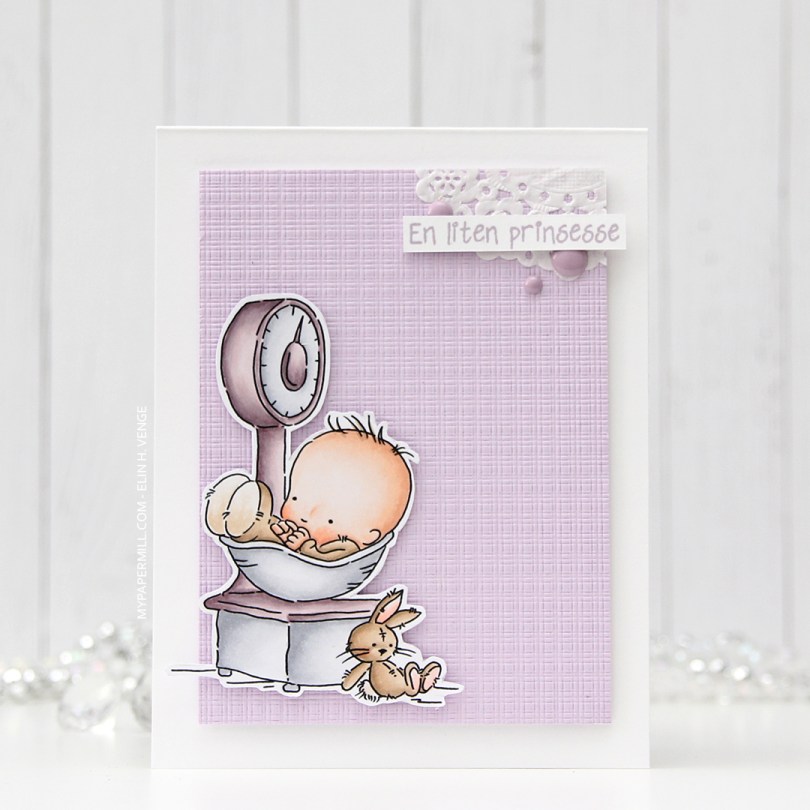

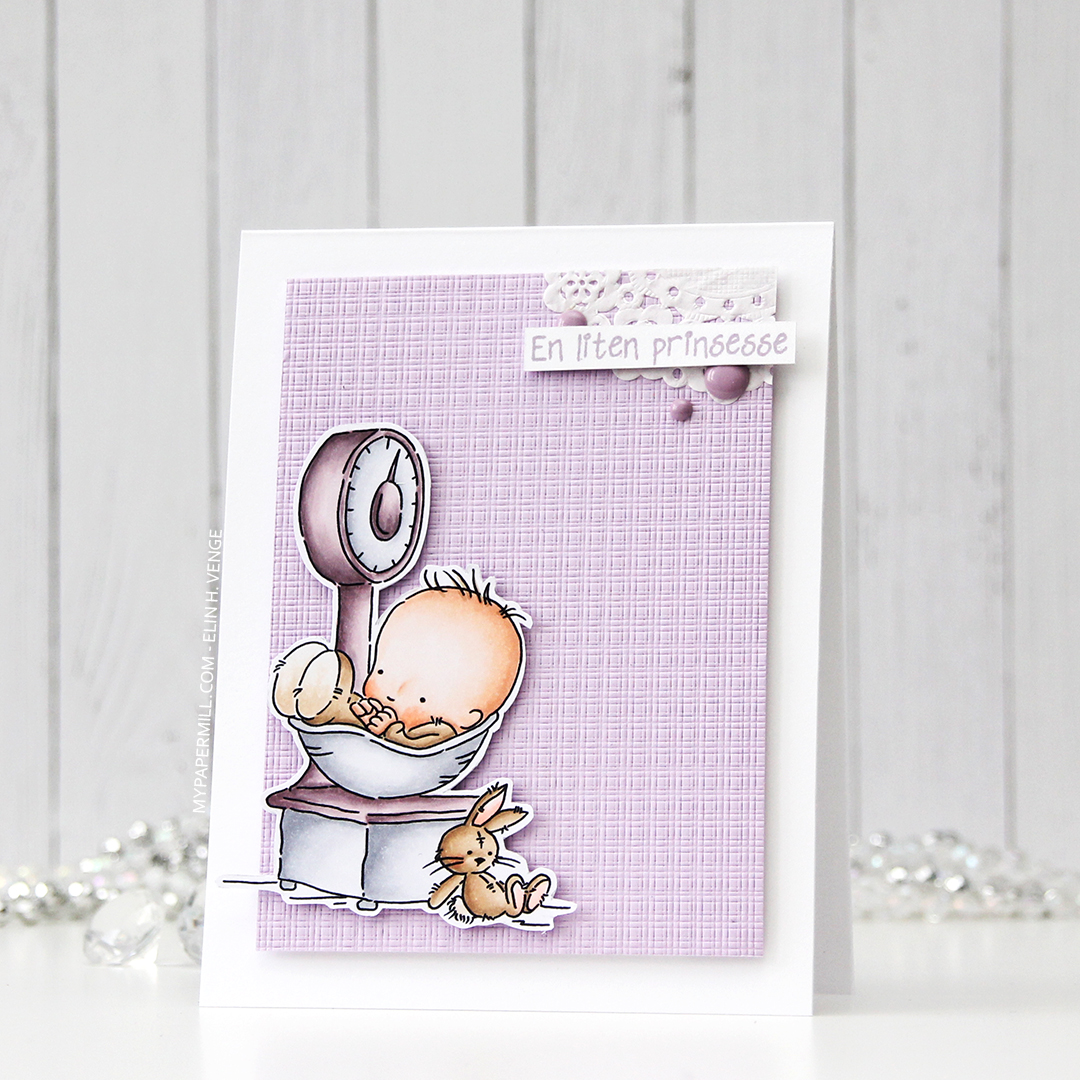
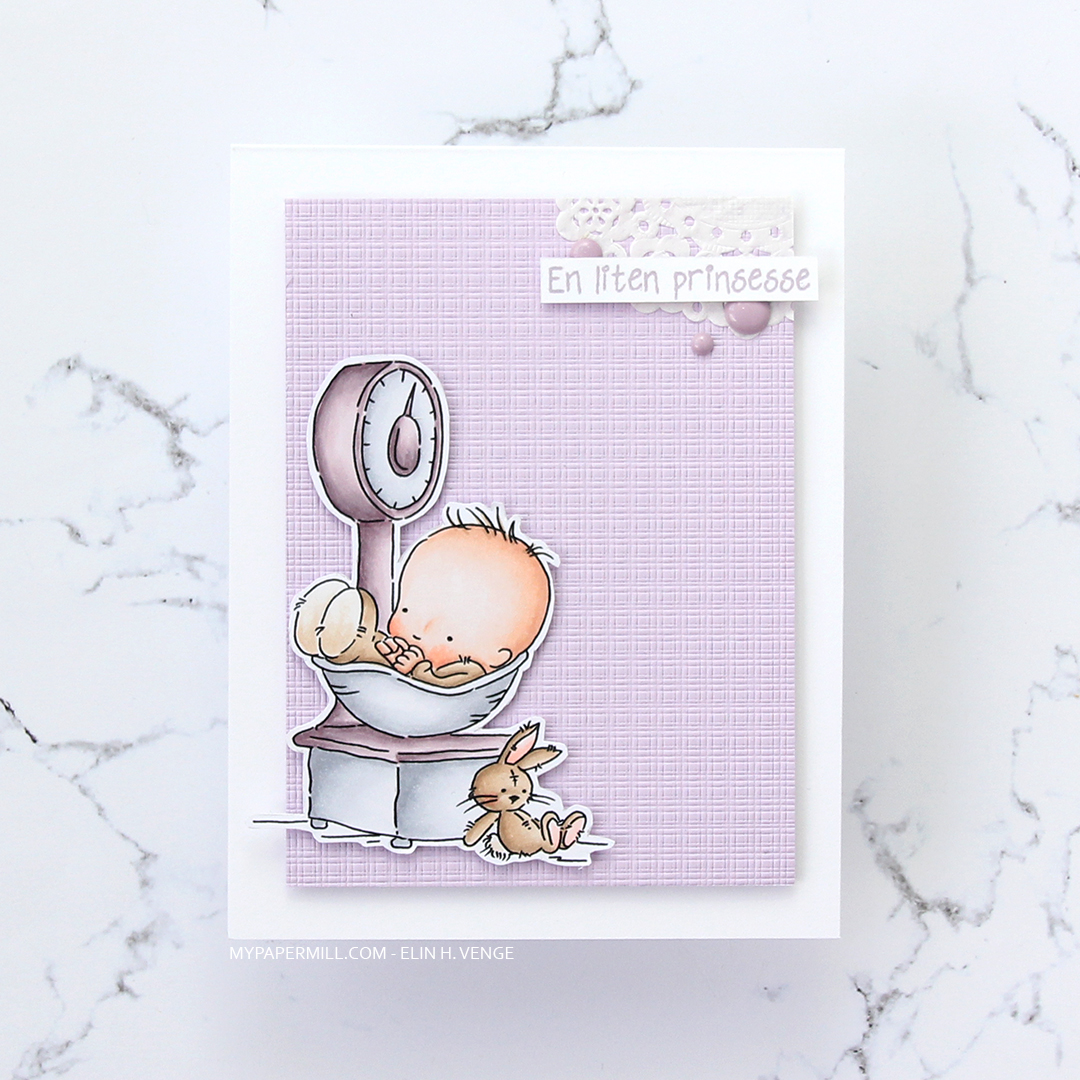
 Not a whole lot of Copics used for this image, it IS simple, after all. I also used V97, which is a color I’ve made myself.







 I started by coloring the polar bear (
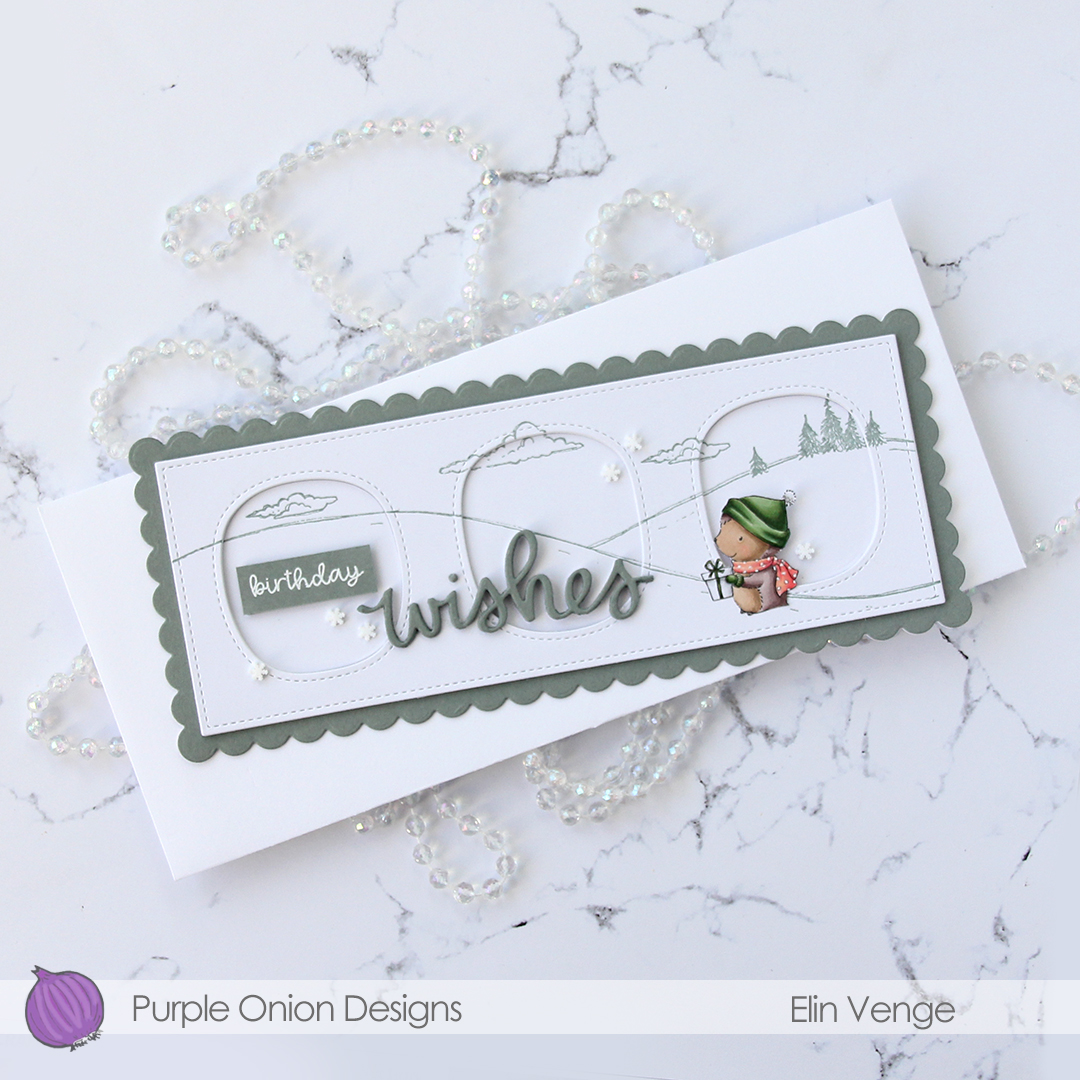
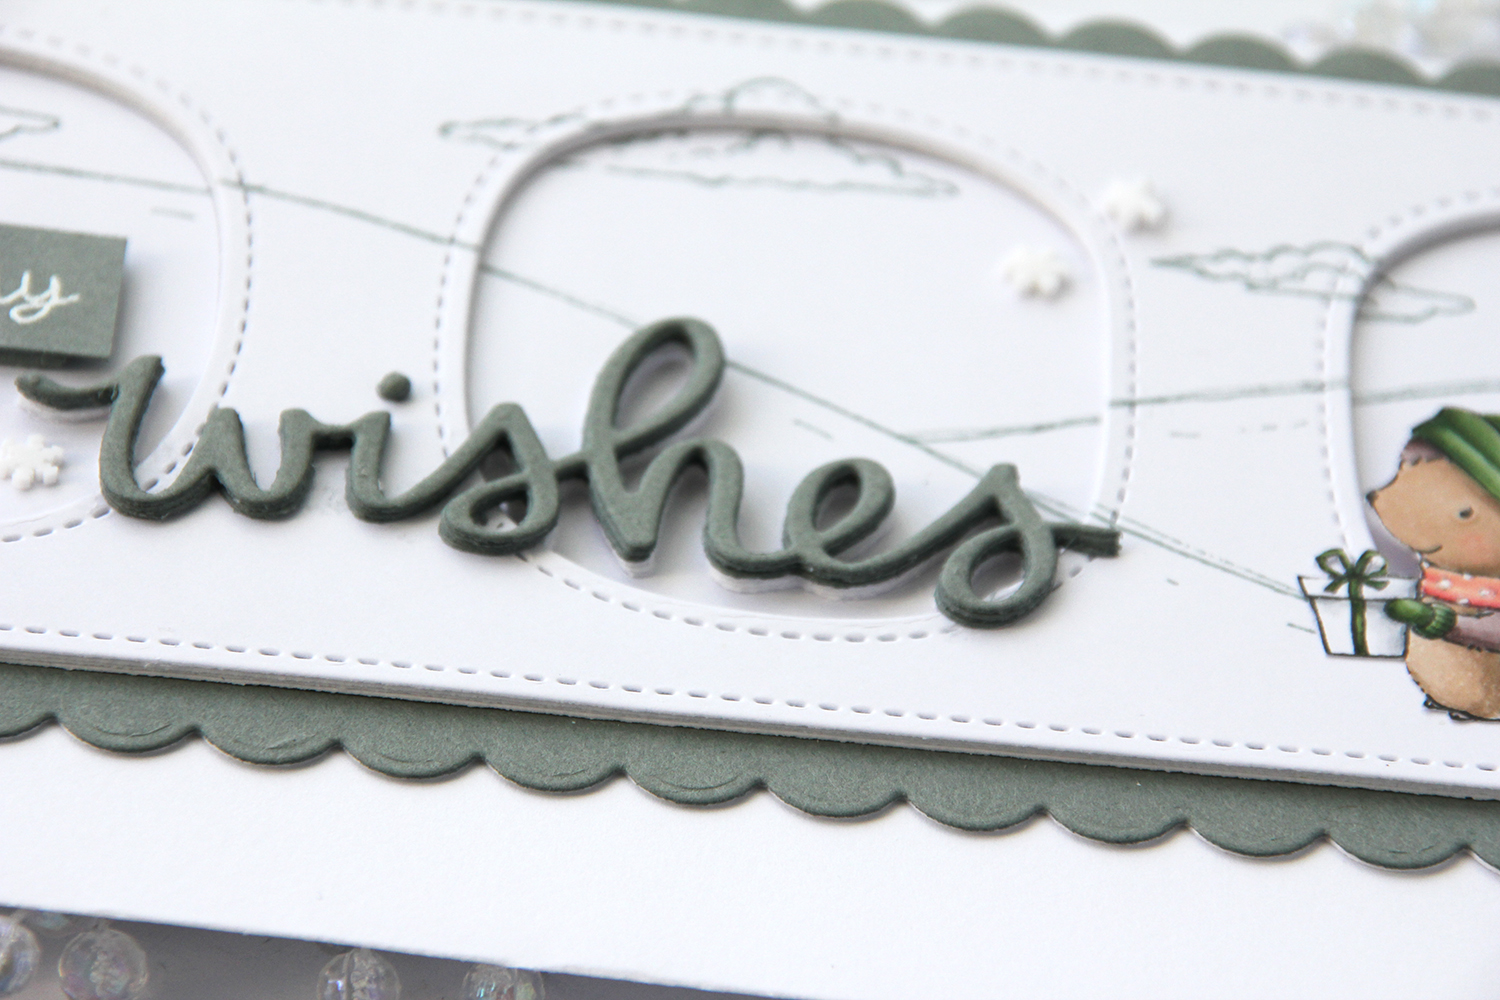
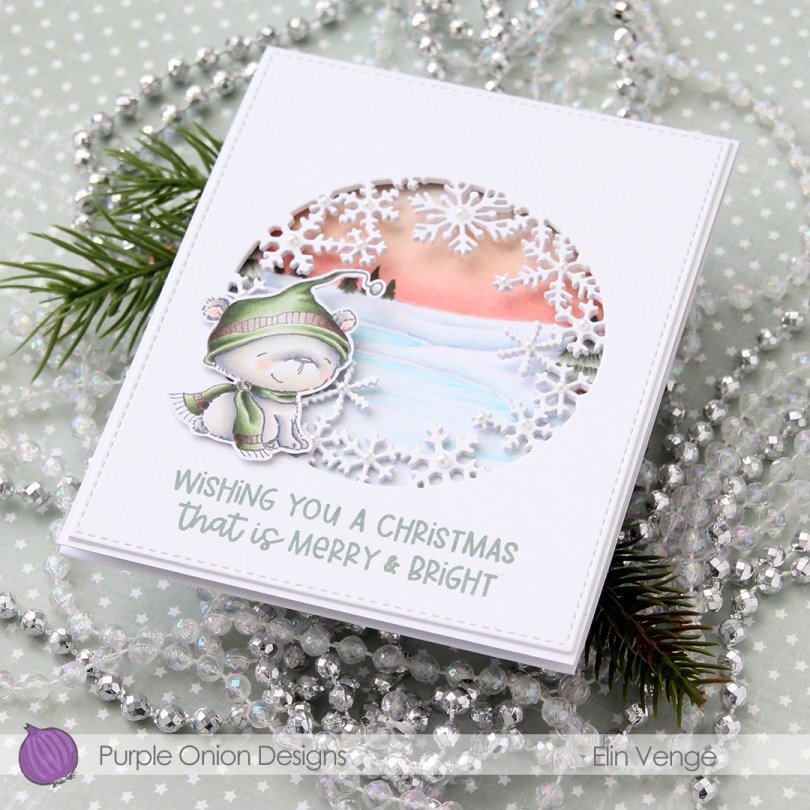
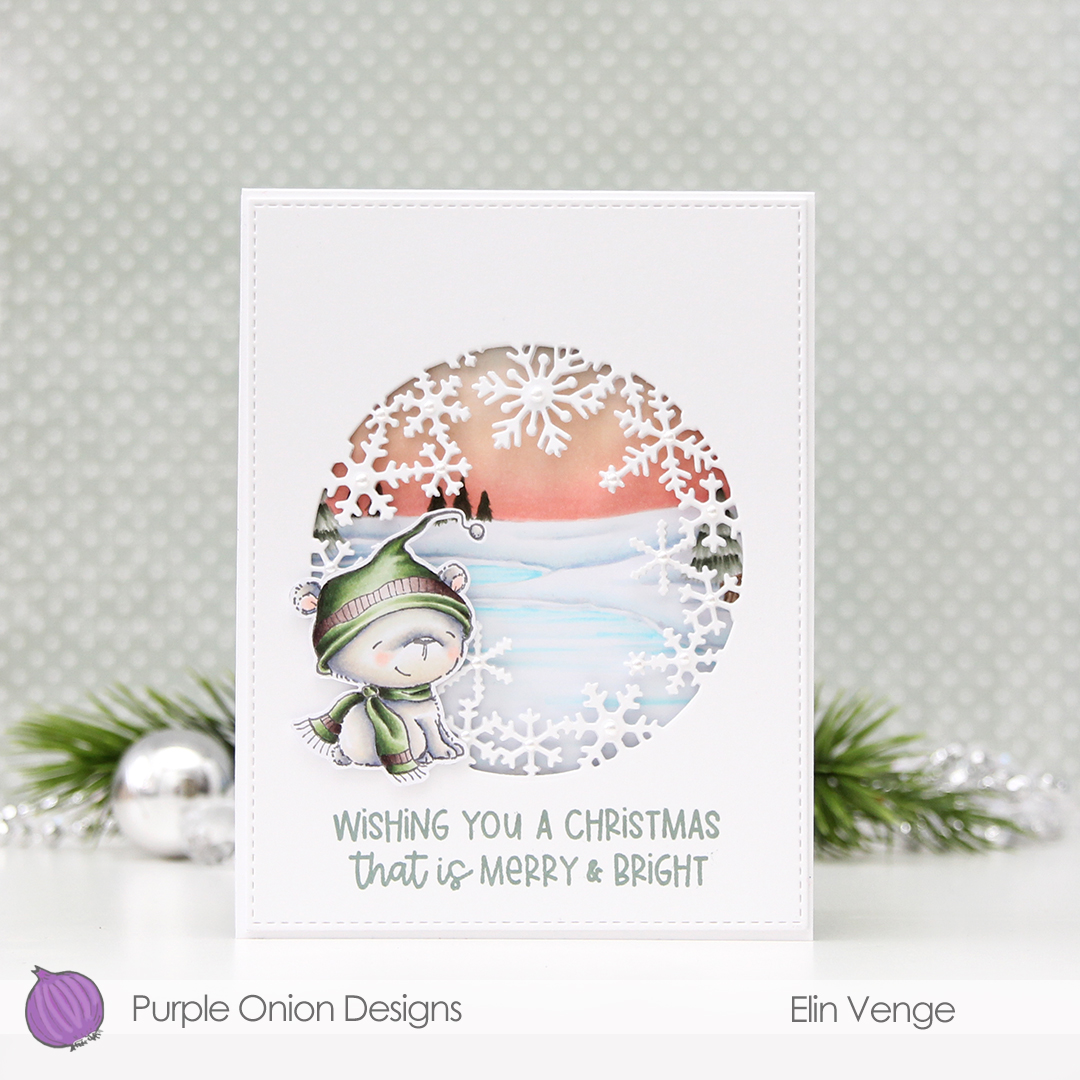
 I love the snowflake circle die from Hero Arts and have used it many times before. I die cut a window into the center of the front of my card base, and at first thought that would be it. Once it morphed into a trifold, though, it was so back heavy that I needed an additional two die cut windows on top of the card base for some strength and stability. I used the largest of the A2 Stitched Rectangles from My Favorite Things to create a nice finished edge to the top layer.
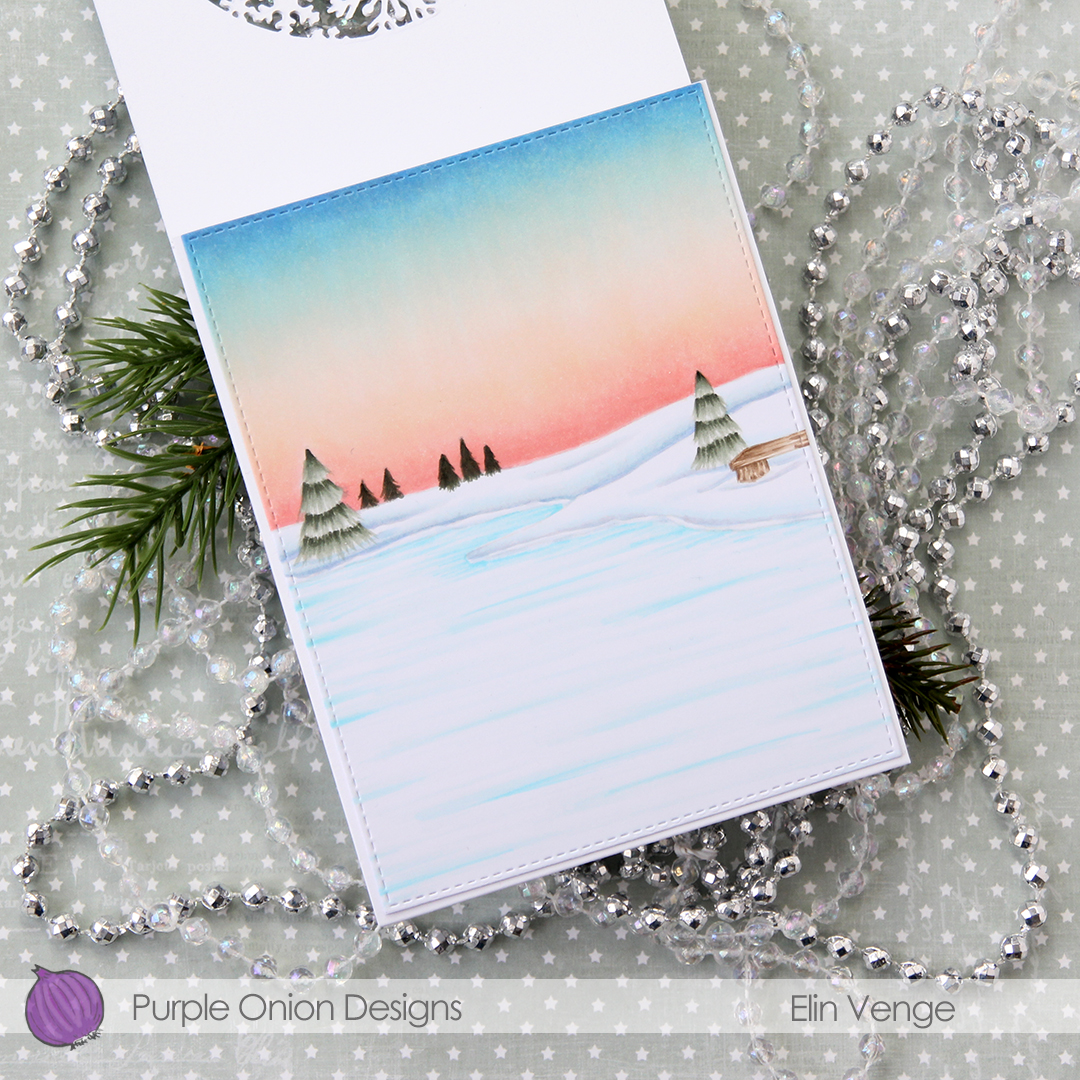 For the inside panel that you can see from the front, I stamped the
 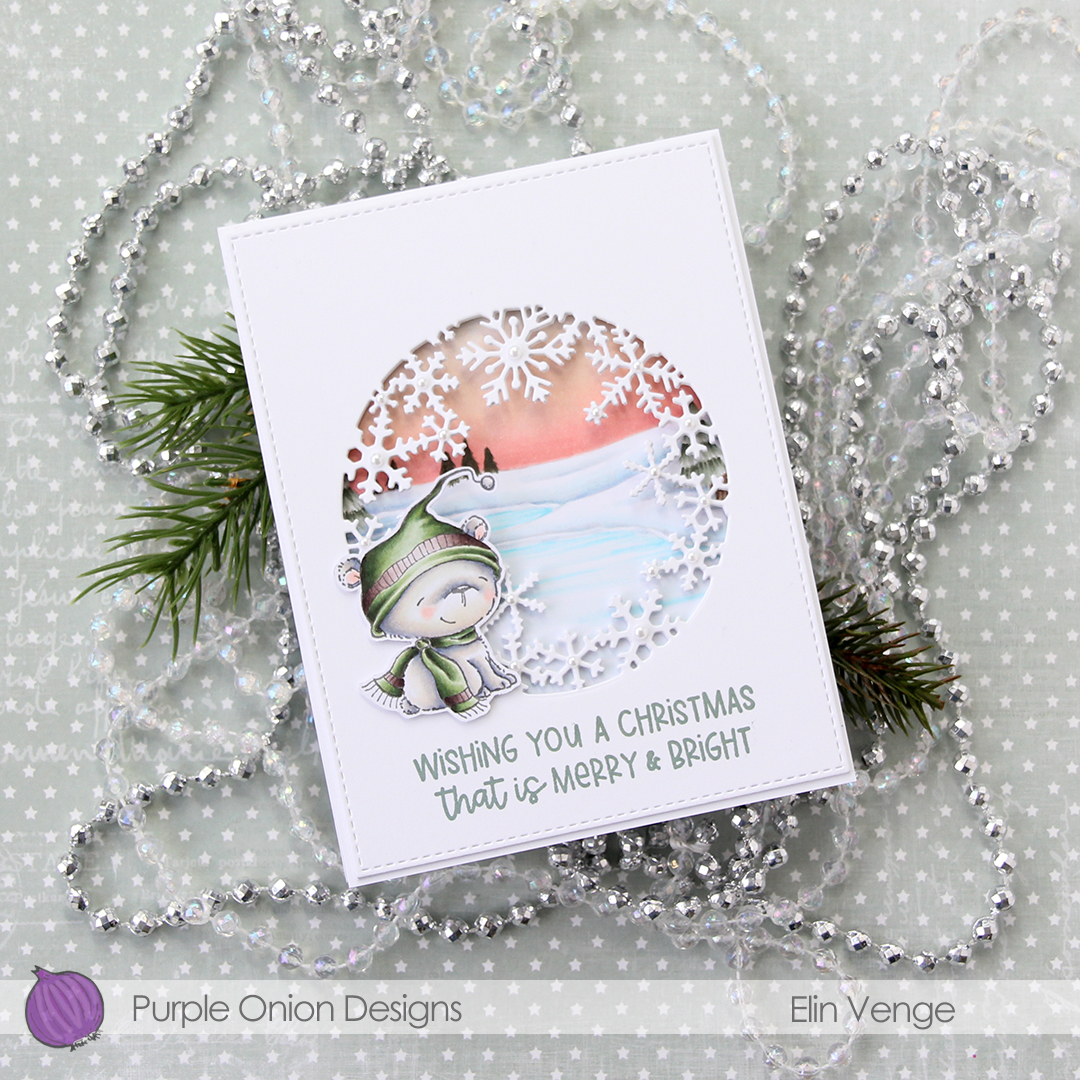 I stamped a sentiment from the
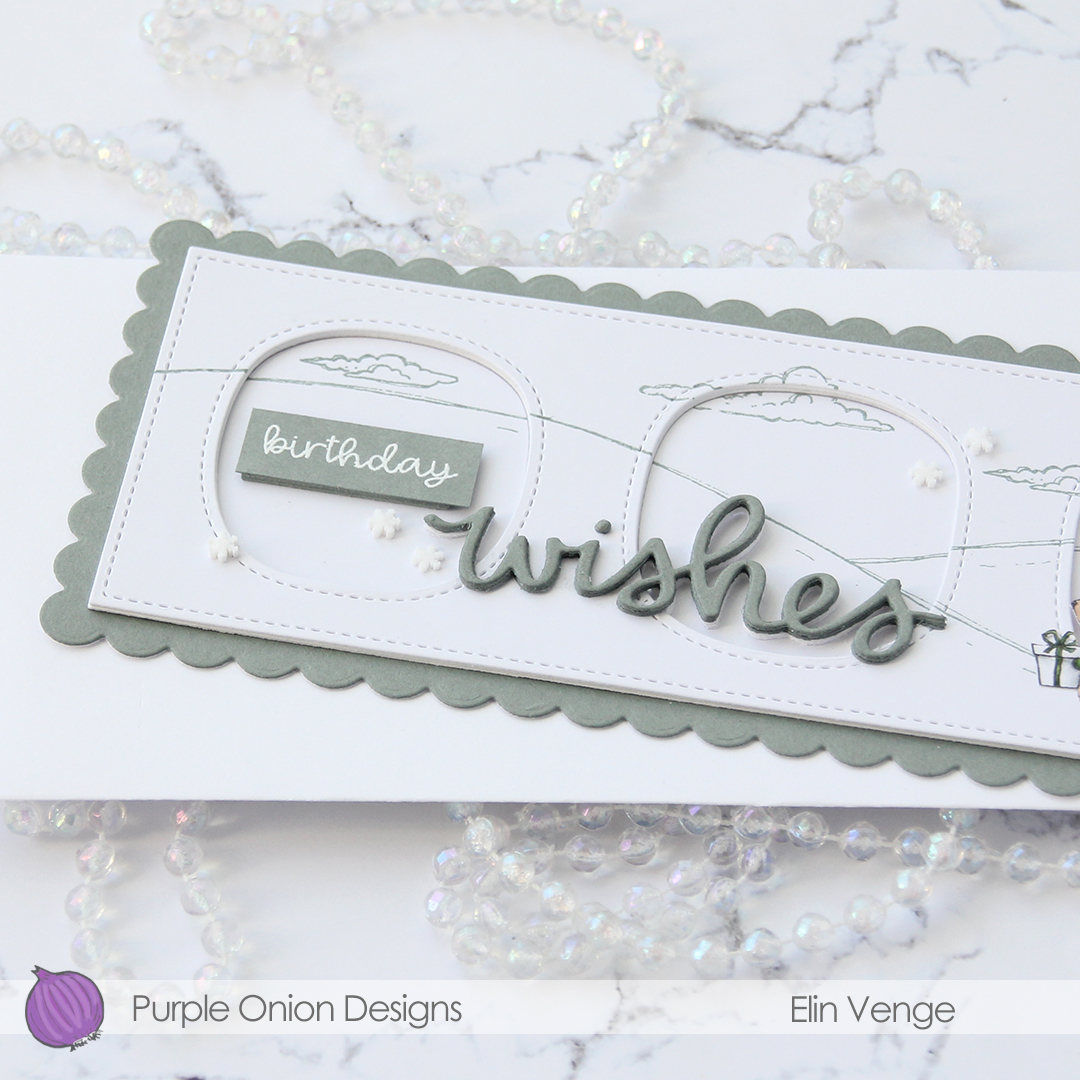
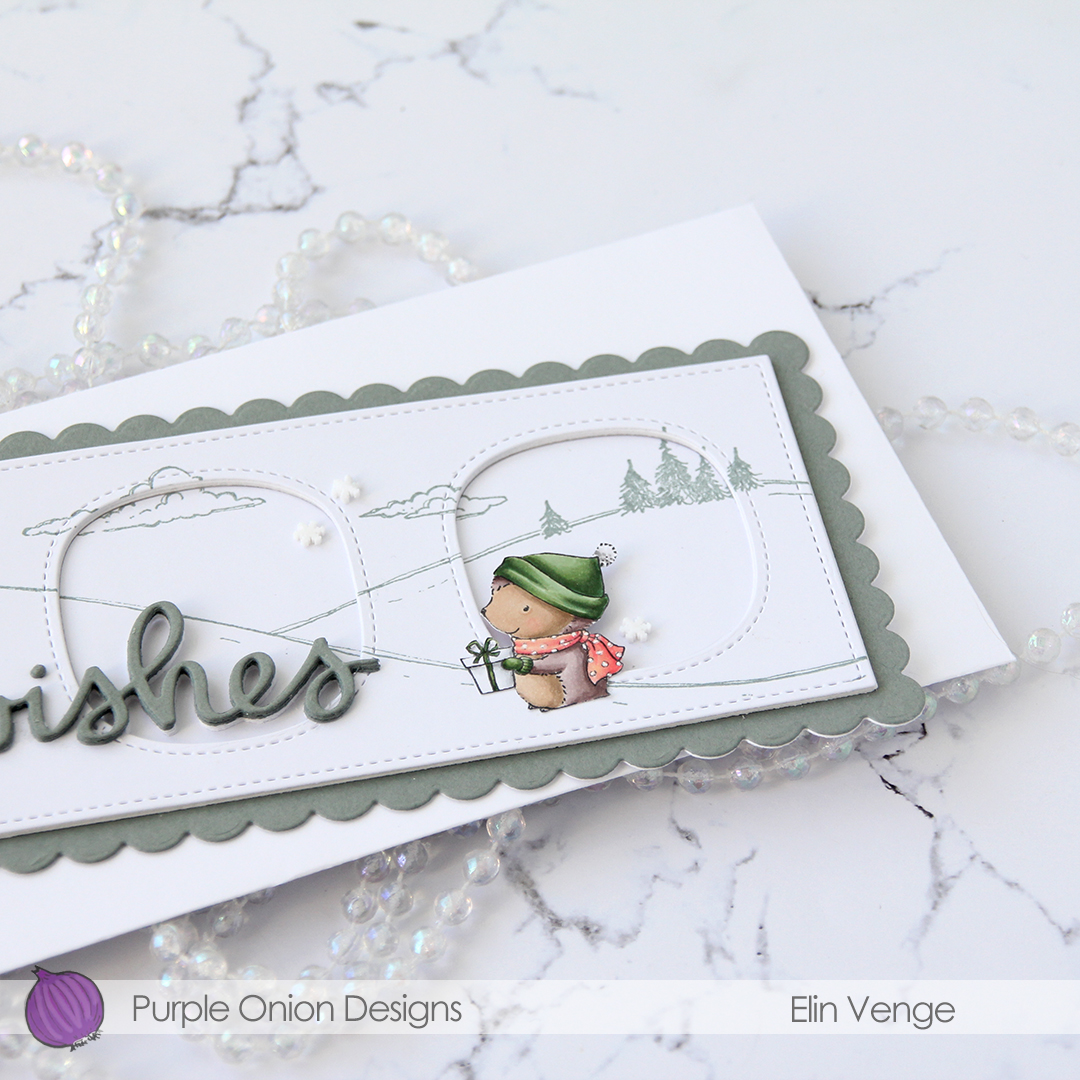
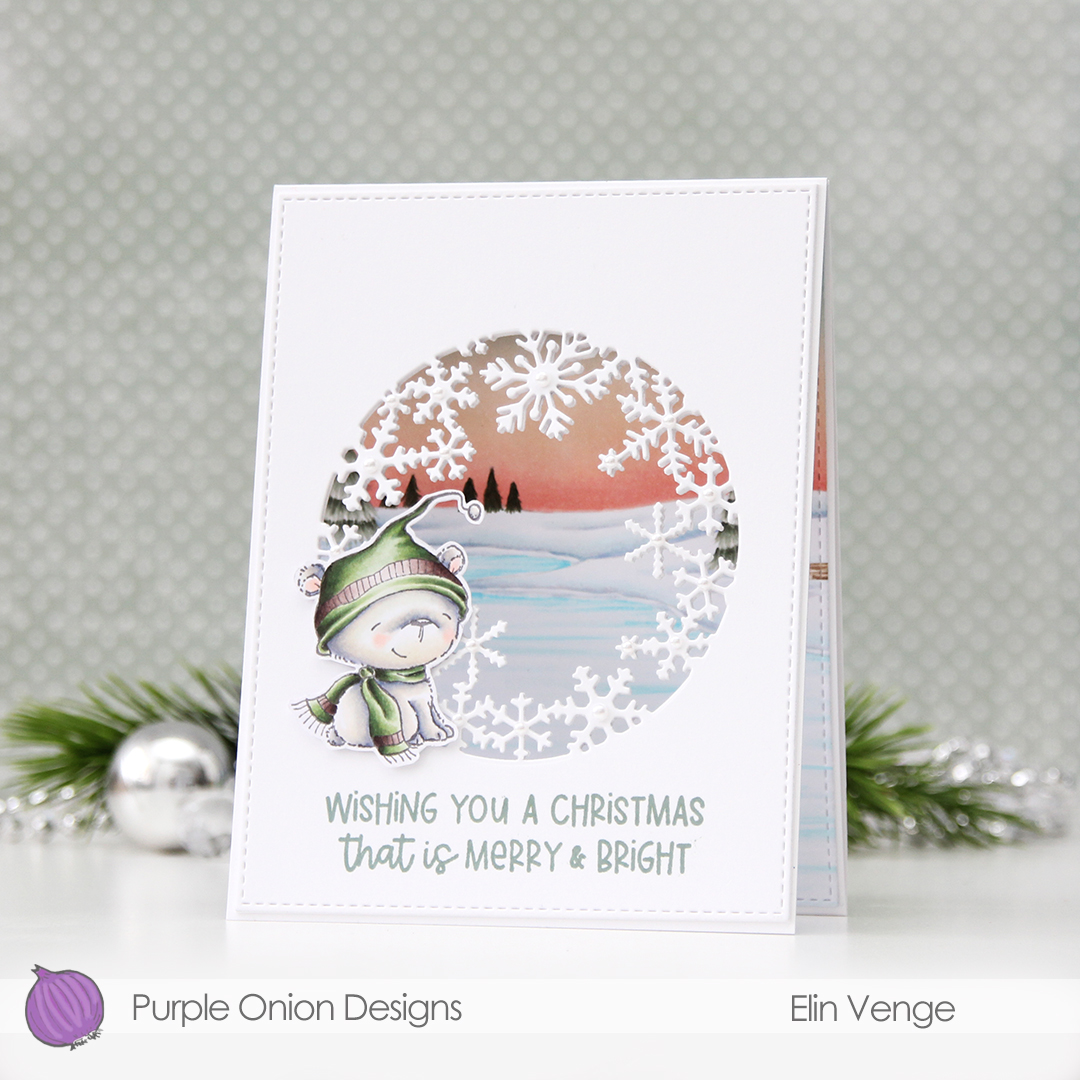
 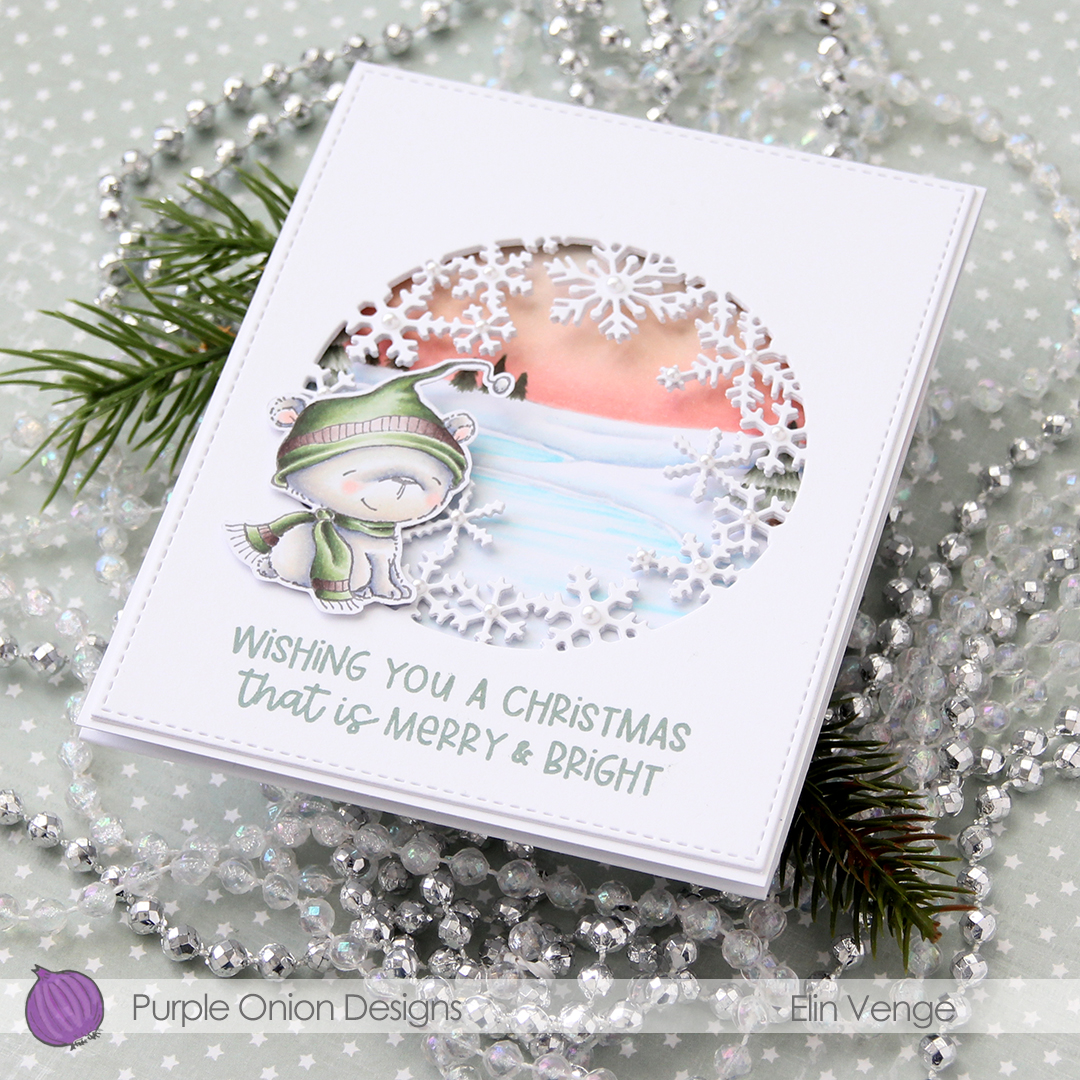 In this photo it’s pretty evident that the three layers of panels with die cut windows add a nice bit of dimension, as well as stability to what would otherwise be a pretty floppy card front, since the window is so big. I use 110 lb white card stock (Stamper’s Select White from Papertrey Ink), which is a nice, sturdy card stock, but with that big of a window, the only thing that will work is using several layers.
 I added white pearls from Kort & Godt to the center of the snowflakes. 3 mm pearls for the largest snowflakes, 2.5 mm pearls for all the others.
 Lots and lots of Copics for this one. I used 20 markers to color just the bear, 10 for his fur alone, which is a little bit crazy.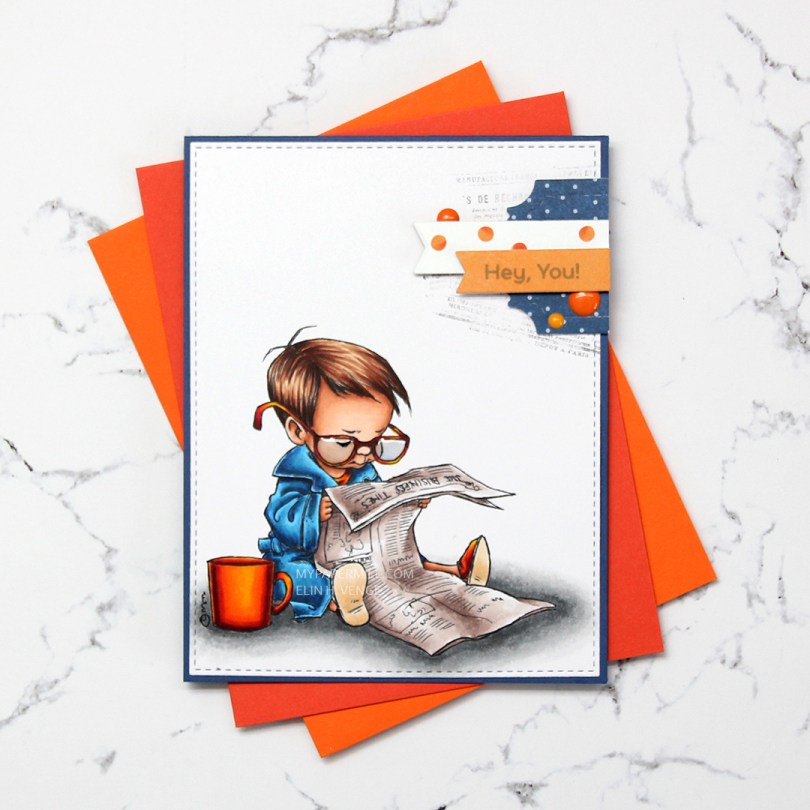
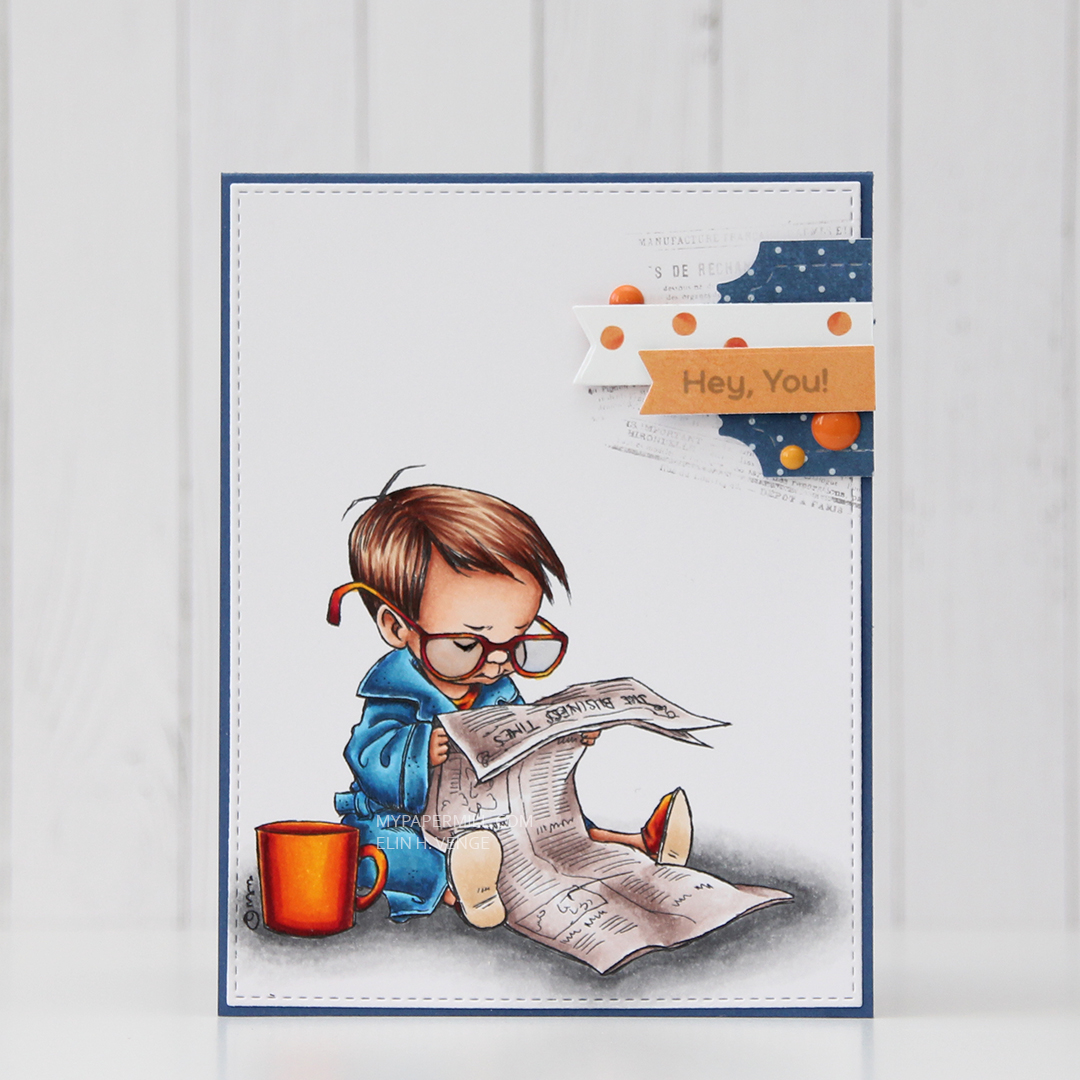 I colored up the boy version of
 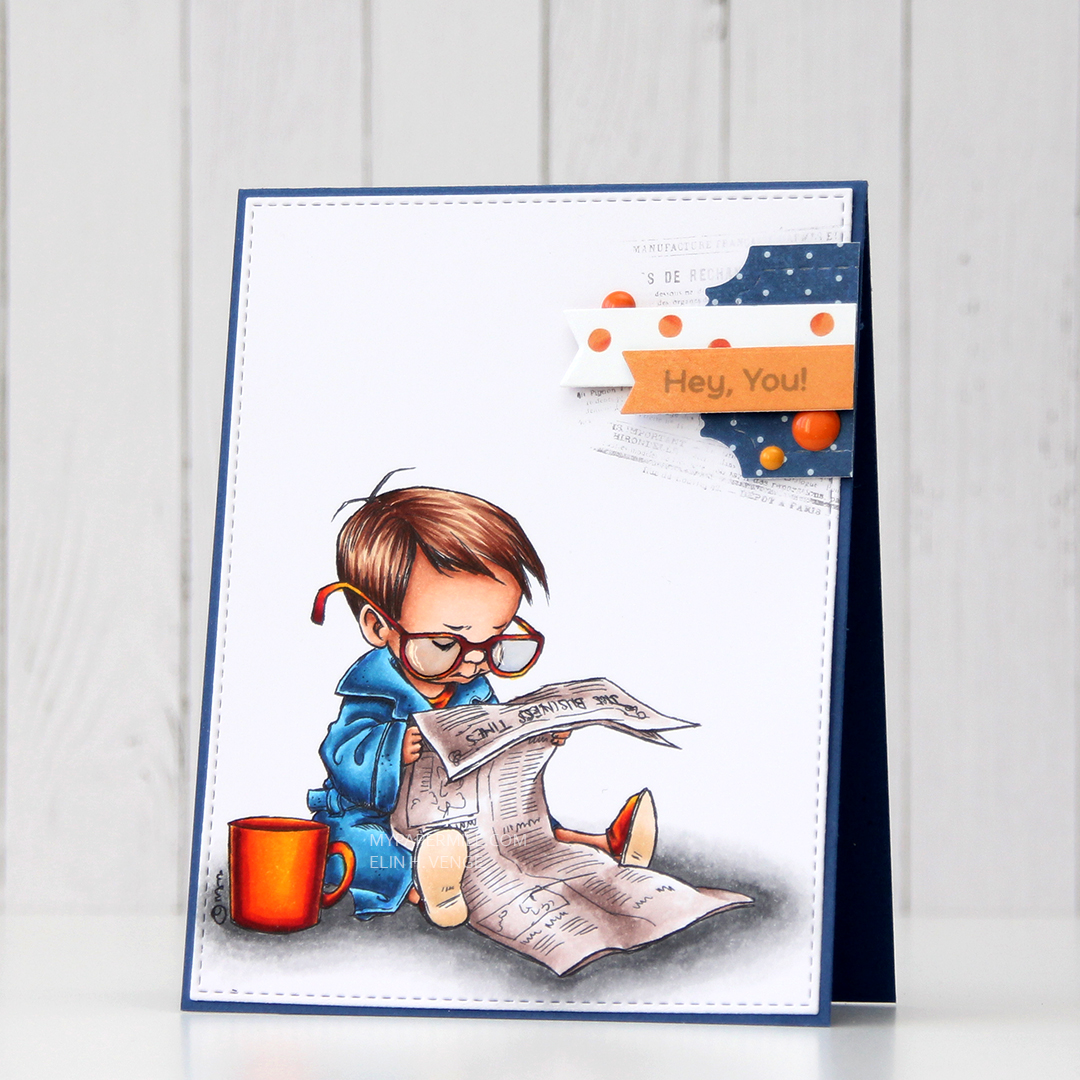 Near the top right corner, I randomly stamped part of an old background stamp from Tim Holtz and Stampers Anonymous. I thought the small text on the stamp would pair well with the newspaper in the image and stamped pieces of it at an angle with Memento Espresso Truffle ink. I didn’t even put the stamp in my Misti or on an acrylic block, I bunched it in my hand and stamped, giving it less of a rigid feel, since the stamping is uneven. I added my colored and stamped panel onto a card base made from Blueberry card stock from My Favorite Things, and a small cluster on top of my stamping.
 I die cut some patterned paper scraps with a couple of dies from XCut and My Favorite Things to create my cluster. The blue piece is from Papirdesign, the other two from the Happy Birthday collection from P13. I stamped a sentiment from the Bitty Bears stamp set from My Favorite Things onto the orange banner using Hero Arts Soft Granite ink. I finished off with three enamel dots from Papirdesign and added Glossy Accents to the boy’s glasses.
 Not a huge amount of colors. For the soles of his slippers I actually used the two lightest colors that I used for his hair (E31 and 30).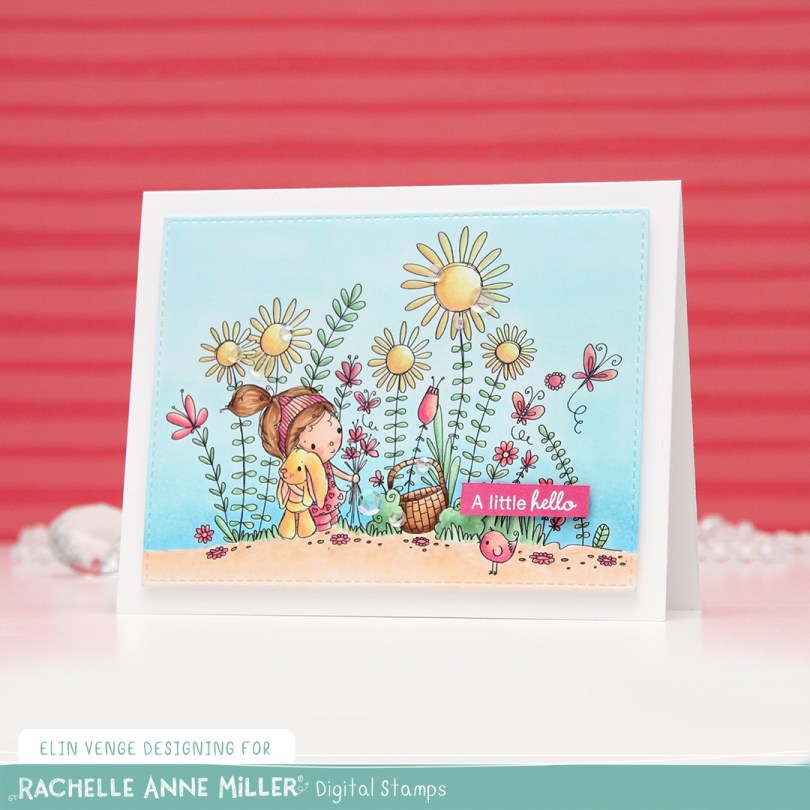
 As usual, I printed the image on X-Press It blending card and colored it in using my Copics. Once done coloring, I took the second largest die in the A2 Stitched Rectangles STAX 2 set from My Favorite Things to turn it into a panel with nice faux stitching along the edges. I mounted it with foam tape onto my card base.
 I stamped and white heat embossed a sentiment from InkyWings onto a tiny scrap of Raspberry Fizz card stock from Papertrey Ink. It was so small I barely even cut it smaller before adhering it to my card using Gina K foam tape, which isn’t as thick as the foam tape I used for my colored piece. I added some gems and sequins from the Iced Sherbet mix from Little Things from Lucy’s Cards, and my card was finished.
 Colors. Not a lot, but some, with an added confession. I made a very similar card to this about six months back, and I’ve used the exact same colors on this one, except for one. Being a little lazy this time, I didn’t want to redo the entire graphic because of one single marker, so this graphic is one I’ve used before. The only color in there that I didn’t use for this card was E13, simply because I forgot.
