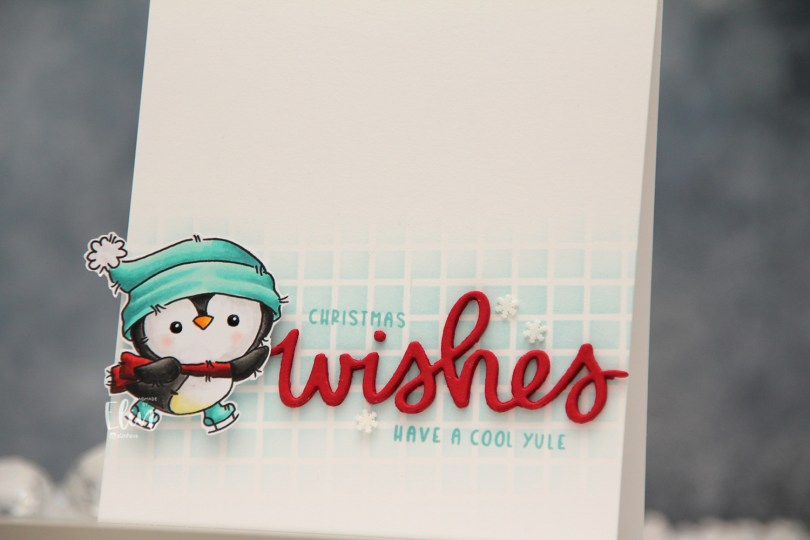
Hi, crafty friends. There’s a brand new release out today from Lili of the Valley, and we’re getting in the spirit of the holiday season with penguins, snowmen, reindeer, mice and bears. Did I mention penguins? Oh, and there’s also a creepy but cute set for Halloween, so there should be something for everyone. Obviously, I had to start with one of the penguins.
 There are five adorable penguins in this stamp set, and I chose two to color, with a vague idea for a card in the back of my mind as I was coloring. Once I’d colored both penguins and fussy cut them, I realized splitting them up and creating two cards would be better. For this card, I placed the Grid stencil from My Favorite Things at a bit of an angle directly on my top fold card base I created from Stamper’s Select White cardstock from Papertrey Ink. Using Sno Cone ink from My Favorite Things and a blender brush, I created a soft blend near the bottom of the card front, fading to white above and below.
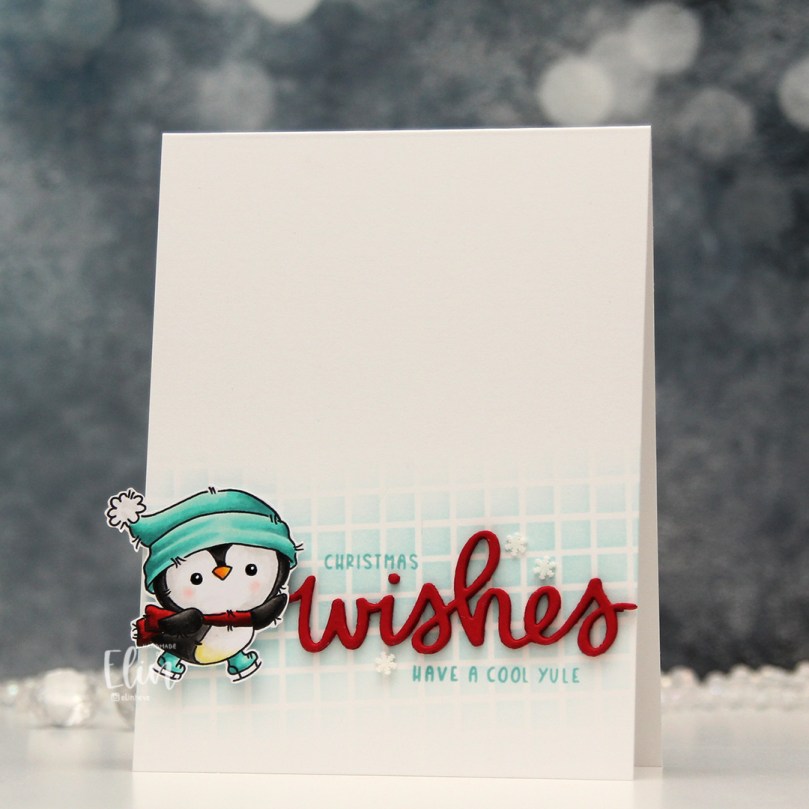 The wishes die from Mama Elephant is probably my most used word die, I love it so much. I die cut it five times from Wild Cherry cardstock from My Favorite Things and stacked the die cuts for dimension. Onto the background I stamped a sub sentiment and the word Christmas from the Christmas Greetings stamp set from Lili of the Valley using Summer Splash ink from My Favorite Things. I adhered the stacked die cut between my stamping, mounted the penguin on foam tape and added a few snowdrift sprinkles from Little Things from Lucy’s Cards to finish the card.
 The good thing about small(ish) images is that you don’t need heaps of colors. They’re also fairly quick to color.

 Meet
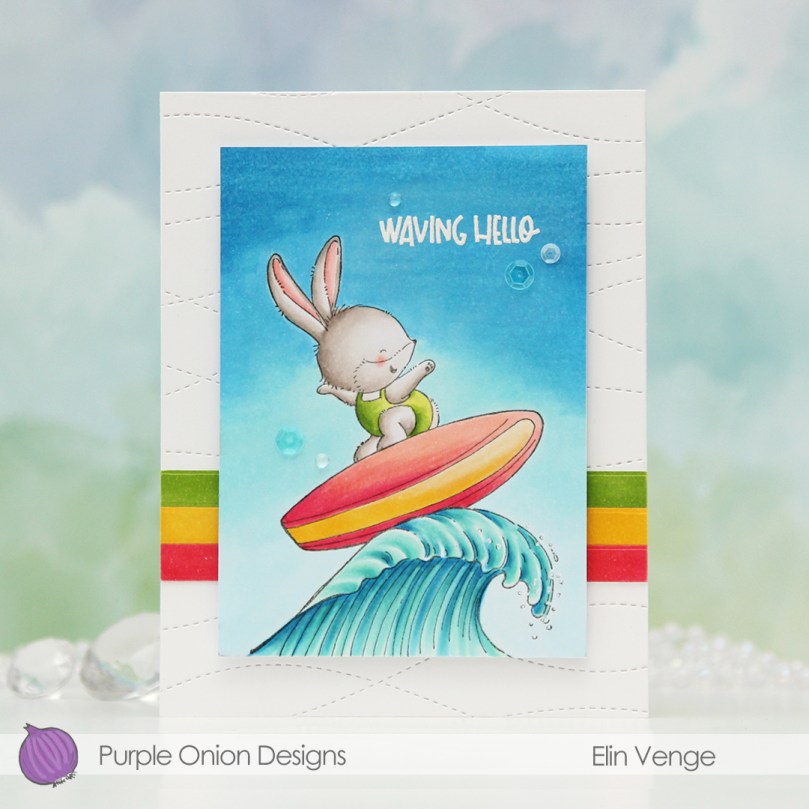
Meet 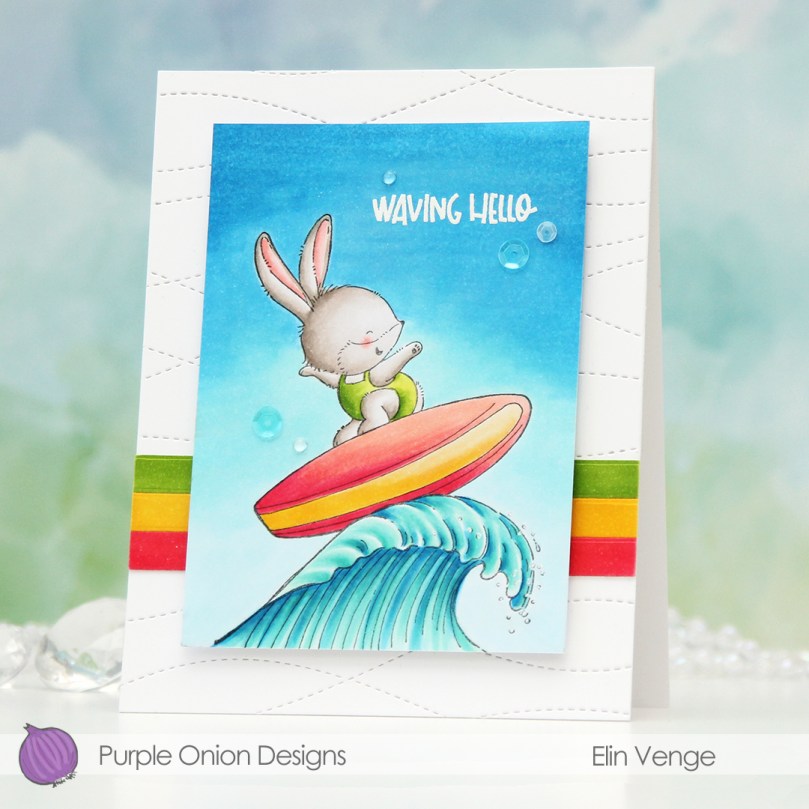 I colored the scene with Copics, cropped down the panel and white heat embossed a sentiment from the coordinating sentiment set using VersaMark ink and Super fine detail embossing powder from Ranger. I added a few white dots to the wave using a Sharpie and put the panel to the side while I worked on the rest of the card.
 I thought the Stitched Ripple Backdrop die from Lawn Fawn would work perfectly for a subtle wave pattern in the background. It’s a landscape oriented die and I wanted a portrait oriented card, so I die cut it twice from Stamper’s Select White cardstock from Papertrey Ink, before adding colored strips along the seam for a little bit of added interest. I colored the strips with a few of the Copics I used for my scene and used a die from the Blueprints 27 die set from My Favorite Things to turn them into strips of the same width.
 I mounted my scene to the center of the card using foam tape, before embellishing with sequins and raindrops from Little Things from Lucy’s Cards. The sequins are from her Ice Water mix.
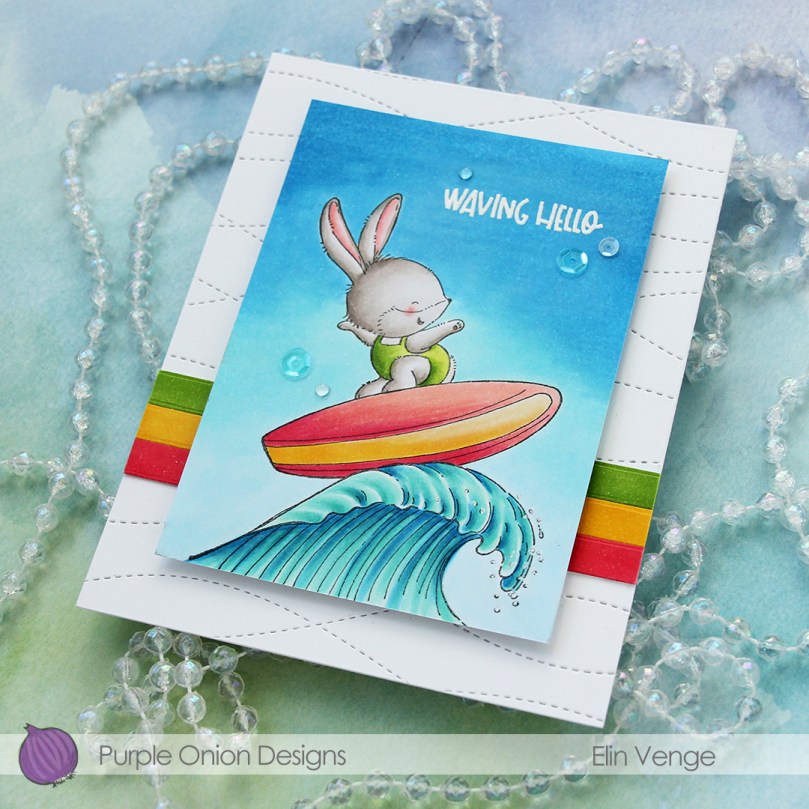 The finished card is a simple looking one. I love adding dimension, the sequins and raindrops work perfectly with the colors and Kalei’s making the most of her summer. I hope you are too 🙂 And if you’re in the Southern hemisphere in the middle of winter right now, I feel your pain.
 I tend to go overboard whenever I color skies or water.
 This time I’m focusing on
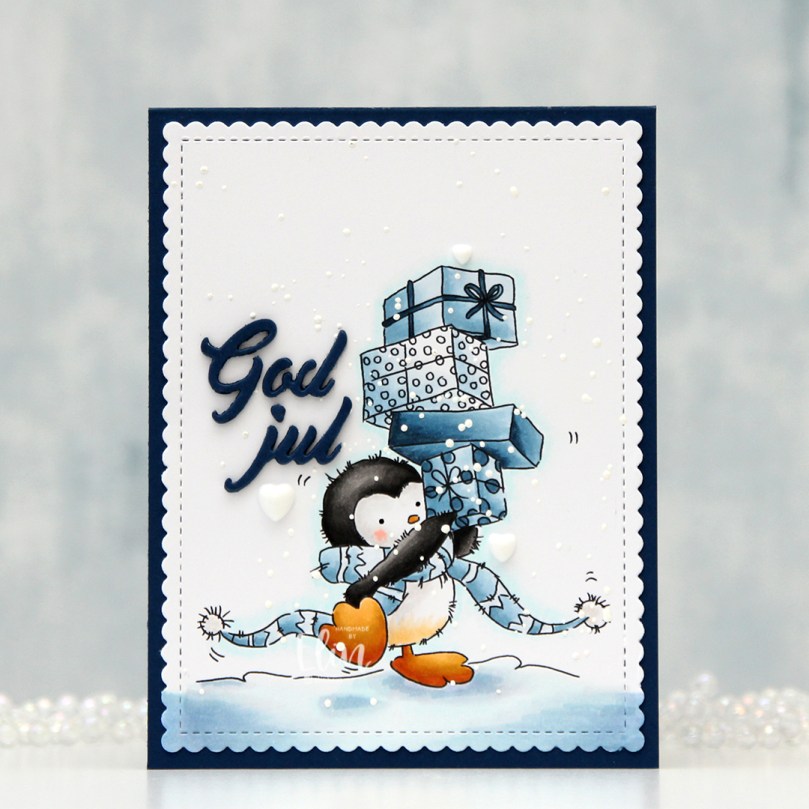
 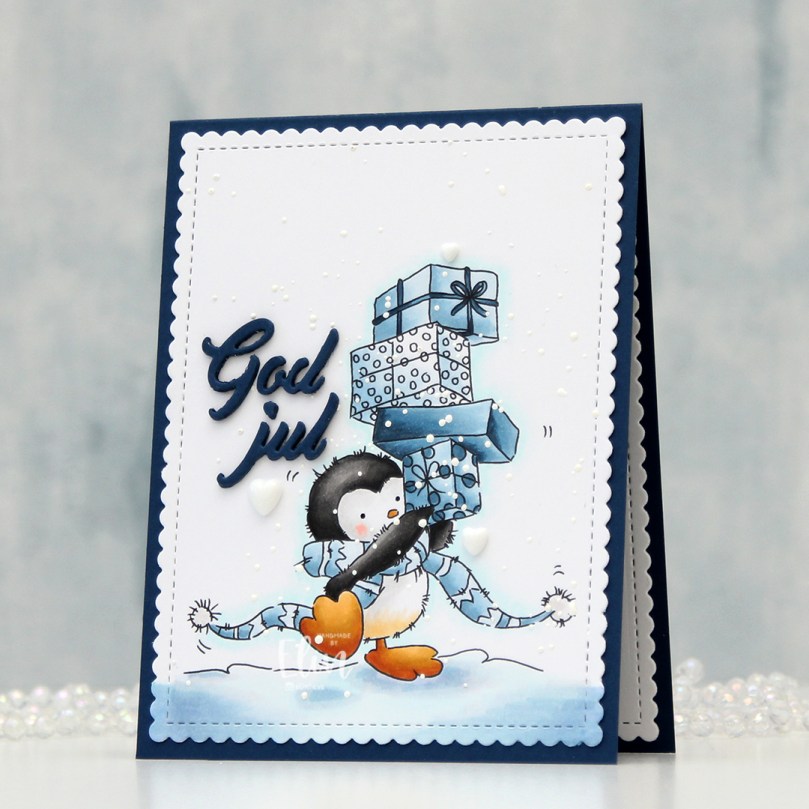 I colored the image with Copics, then used the largest die in the Blueprints 27 die set from My Favorite Things to turn it into a rectangle with faux stitching and a scalloped edge, just for something different from my usual faux stitch rectangles. I die cut another piece from white cardstock to put on the inside of the card.
 Before adhering my panel, I sprinkled on Chunky White embossing enamel from Stampendous, and melted the granules from the back of the panel. I also used a black glaze pen from Sakura to create a tiny bit of dimension and shine to the penguin’s eyes. I adhered the panel directly to a top fold card base I created from After Midnight cardstock from My Favorite Things, which is a nice dark blue color.
 From the same color cardstock, I die cut God jul four times using a die from Papirdesign. I stacked the layers and adhered it to the left of the image, before finishing off the card with a few hearts from the Festivities mix from Little Things from Lucy’s Cards.
 This is a fairly flat card for me. Other than the sentiment and the white hearts, there’s nothing that adds a lot of dimension. I considered mounting the panel on foam tape, but in the end decided against it. The sentiment and the hearts still pop and add interest, as does the snow, which has a bit of texture to it.
 I used mostly blue Copics for this card. Not really a surprise, huh?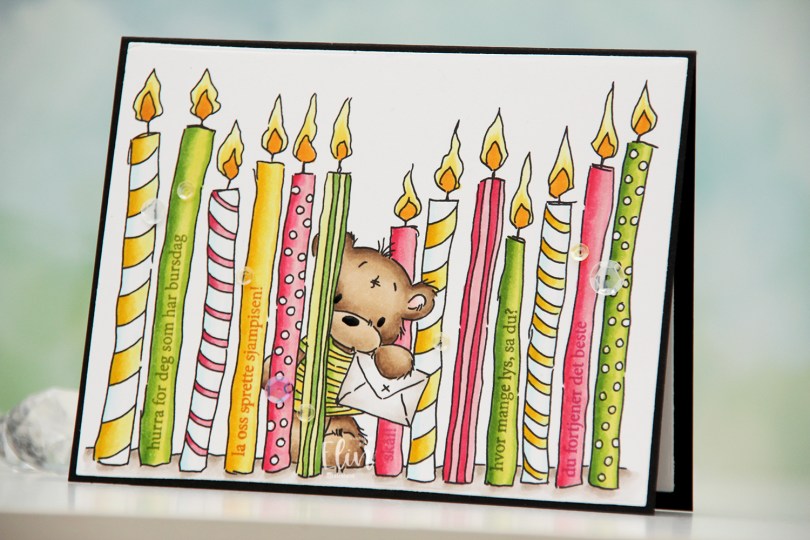
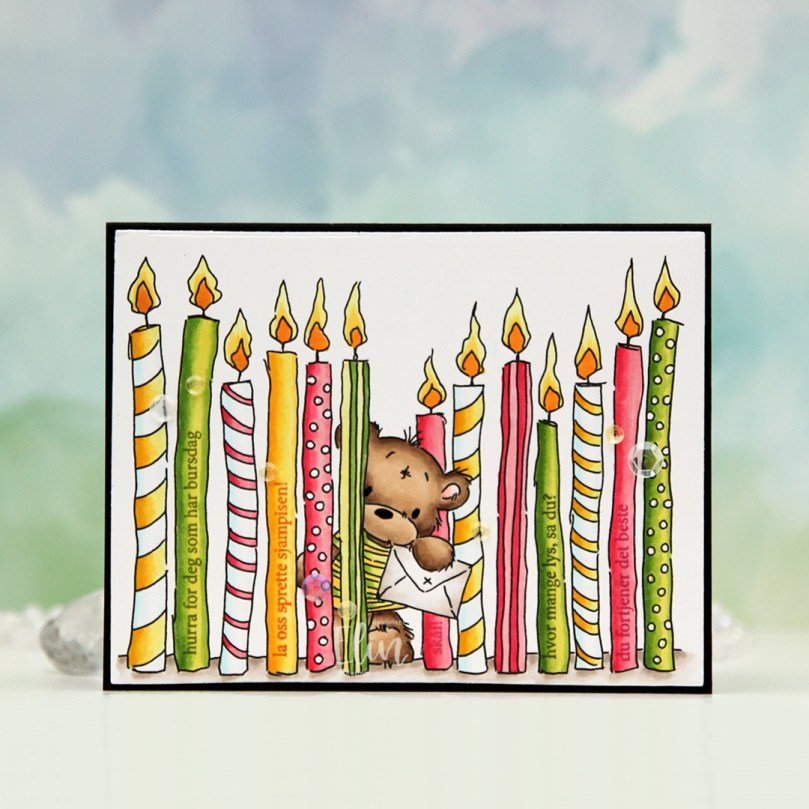 I printed the image fairly large and chose a summery color palette of hot pink, apple green and bright yellow. I colored the image with Copics and used the largest die in the Additional A2 Layers die set from Waffle Flower to turn it into a nice rectangular panel. I put the panel in my MISTI, and used the A06 stamp set from Norsk Stempelblad AS to stamp sentiments on the plain candles. I used Jalapeño Popper ink from My Favorite Things for the green candles, Raspberry Fizz ink from Papertrey Ink for the pink candles and Spiced Marmalade distress ink from Ranger for the yellow candle, with a little bit of help from VersaMark to prevent the distress ink from beading up on the photopolymer.
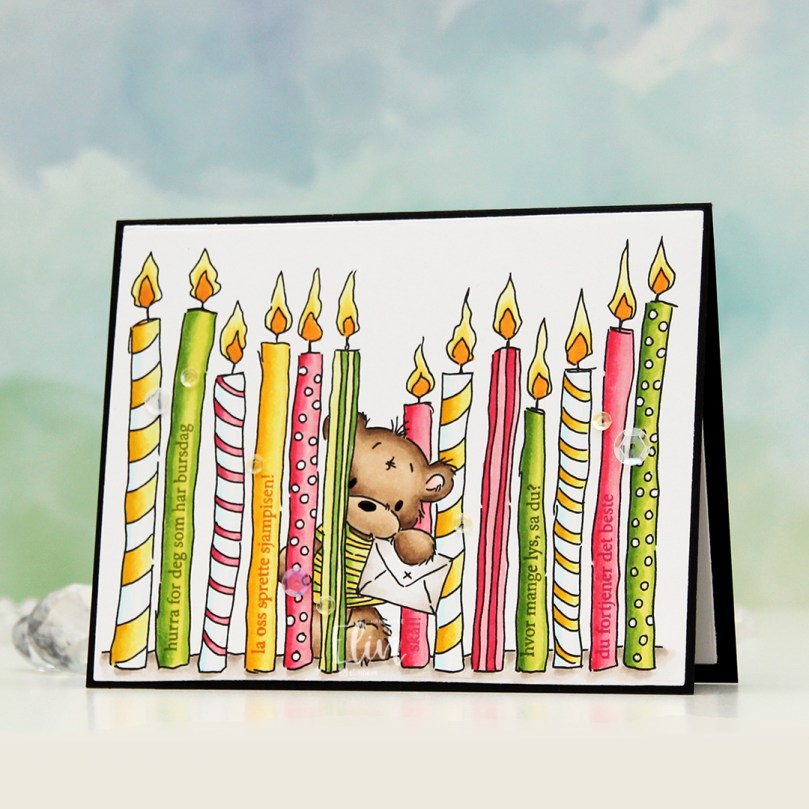 Once all my stamping was done, I adhered the panel onto a black card base I created from True Black cardstock from Papertrey Ink. I also die cut a panel to go on the inside from Stamper’s Select White cardstock from Papertrey Ink for a place to write my personal greeting. I used my black Glaze pen from Sakura to create a little bit of shine to the eyes and the nose of the bear, and added sequins from the Seashore and Iced Sherbet mixes from Little Things from Lucy’s Cards for a finishing touch.
 Simple color palette for this one 🙂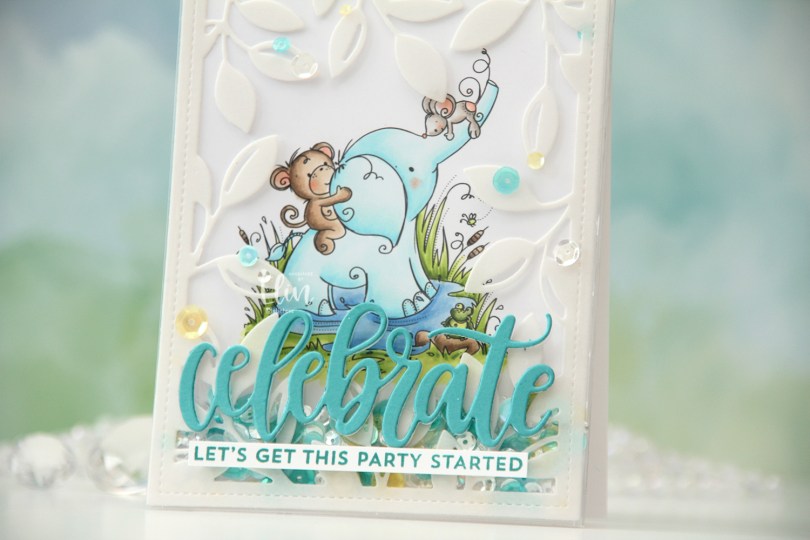
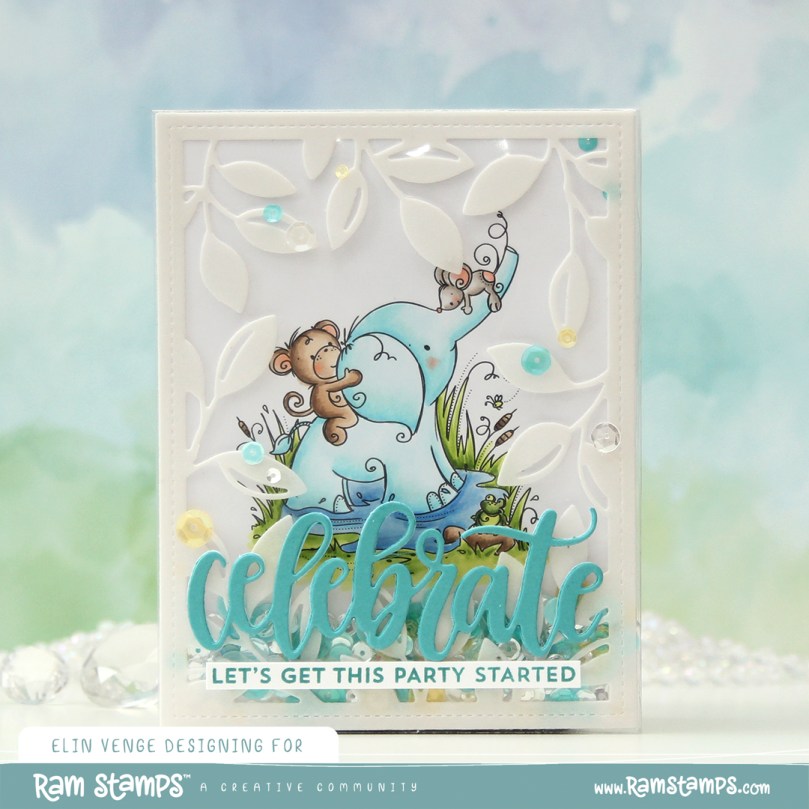 I actually decided to create a shaker card this time. I colored in the
  I put an adhesive sheet from Altenew on the back of a piece of heavyweight translucent vellum from My Favorite Things, before using the Leafy Cover die from Mama Elephant to die cut a frame to put on my card front. I cut off a couple of leaves where I thought they covered up too much of the image and adhered the rest directly onto the bottom of a large stamp storage pocket from Avery Elle. The storage pocket was just wide enough for my colored panel to fit when I turned it 90 degrees. I trimmed off a tiny bit of my panel (1/16″) so it would be less snug in the pocket, and cut off a couple of inches from the top of the pocket. This way I could put the panel inside the pocket, and there would only be one side of the pocket that needed to be sealed once my shaker bits were in place.
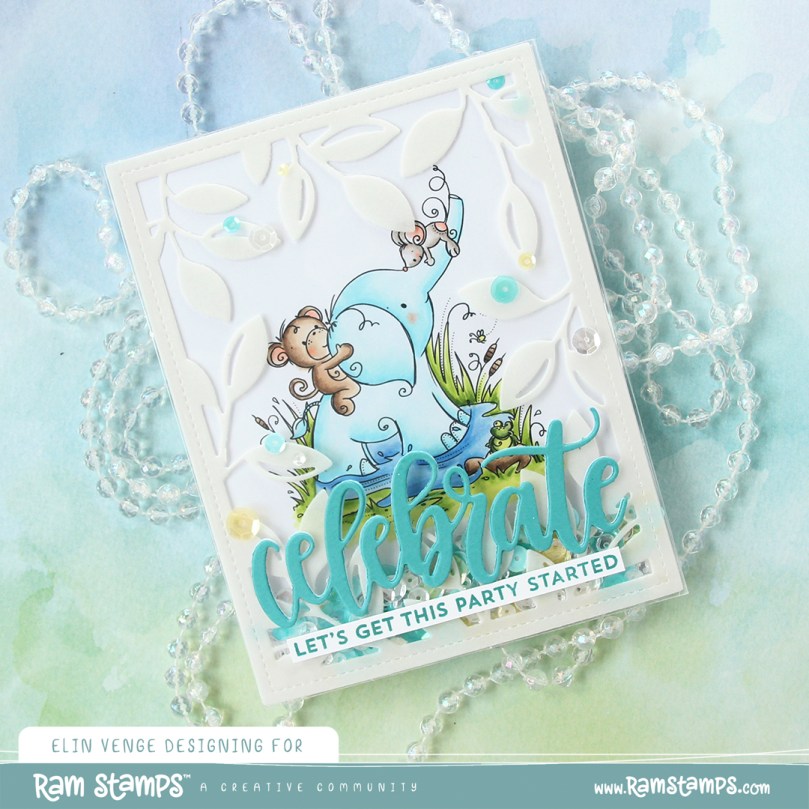 I adhered my shaker pocket to a top fold card base I created from Stamper’s Select White cardstock from Papertrey Ink. I die cut the sentiment using the Celebrate die from My Favorite Things. I used Caribbean Sea cardstock from My Favorite Things for the top layer and a few layers from white cardstock behind it for dimension. I also stamped a sentiment from the Bitty Birthday Wishes stamp set from My Favorite Things onto white cardstock using Caribbean Sea ink, also from My Favorite Things, turned it into a strip and placed it directly underneath the die cut word. To finish the card, I adhered some sequins from the Seashore mix from Little Things from Lucy’s Cards, as well as from the Seaglass mix from Simon Says Stamp. These two mixes work really well together, and they’re also what I used to fill my shaker.
 Speaking of, here they are. Full shaker cards are fun, and I’d say they’re a lot easier to create than regular shaker cards, where you need to create dimension for the shaker bits to shake around.
 The storage pocket works so well as a shaker pouch, and because of it, it gives everything a bit of a lift off the card. It looks like the vellum and the die cut sentiment both float on top, even though they’re both adhered directly to the pocket.
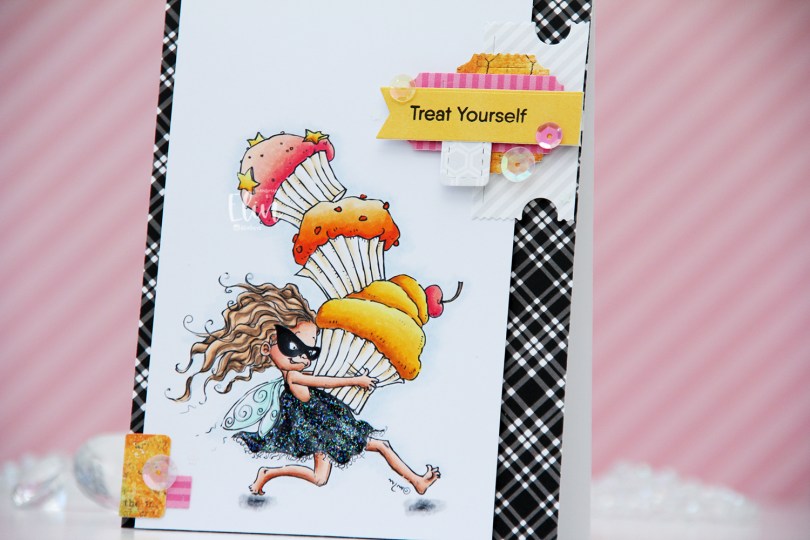
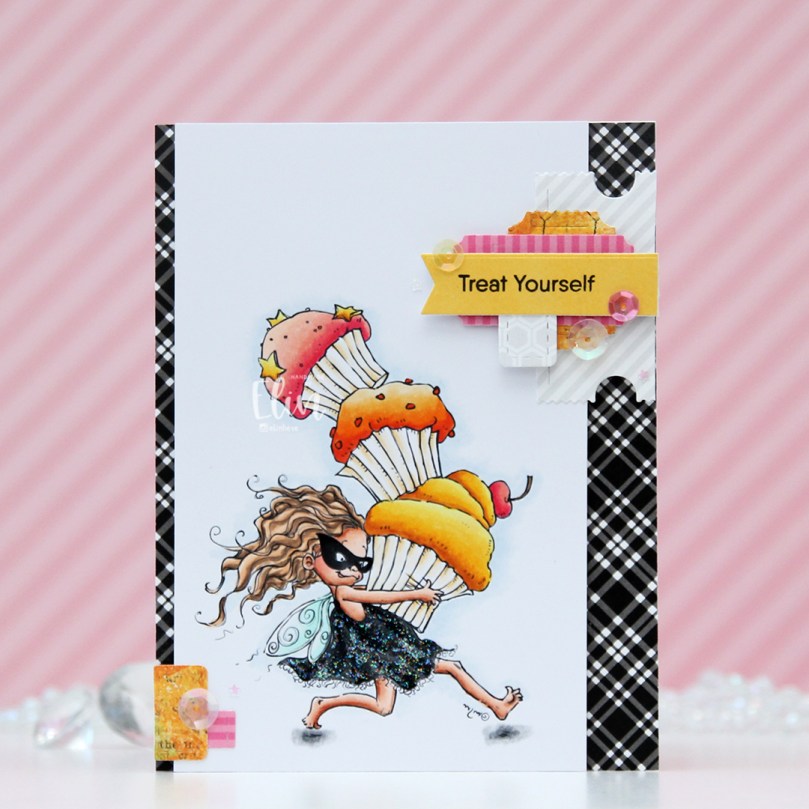 This is Cupcake Thief. I’ve used the image once before. This time, I flipped it so she’s facing right, it’s one of the many advantages of using digital stamps. I colored her with Copics and cut my panel down to a width of 3 1/2″. I put it aside, covered a white card base with the black and white plaid patterned paper from My Favorite Things, then mounted the colored panel on foam tape, leaving a little bit of the patterned paper showing on one side, and more showing on the other.
 On my desk, I keep storage pockets of die cut patterned paper scraps that I use on my cards. I keep them organized by color family, and pulled out the pink, orange and yellow ones for this, as well as a grey/white/neutral one. The great thing about this system is that everything’s already die cut (using the Happy Days Ticket Stubs die from XCut [which cuts 9 different tickets with one die] and the Fishtail Flag Frames die set from My Favorite Things), so I just play with sizes, colors and composition of the different pieces until I’m happy with the result. For this particular card I used a combo of patterned papers from Sunny Studio, P13 and Bo Bunny. Onto one of the die cut banners I stamped a sentiment from the Little Birthday Notes stamp set from My Favorite Things using Obsidian ink from Altenew. I finished off the card with a few sequins from the Sweet Shop mix from Little Things from Lucy’s Cards and some Stardust Stickles to the dress.
 Quite a few Copics for this one. I also used B90, which is a color I’ve made myself, for a subtle hint of a sky.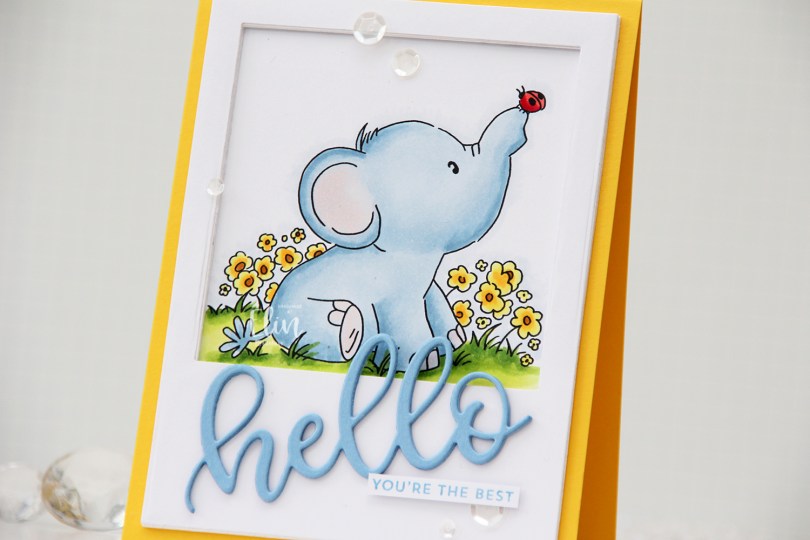
 Once I colored the first of these elephant stamps blue, I just couldn’t stop, so here’s another blue one for you. I chose a very similar color palette to what I’ve used for my other cards with this set, but this time, I opted for a yellow card, creating a top fold card base from Bright Buttercup cardstock from Papertrey Ink.
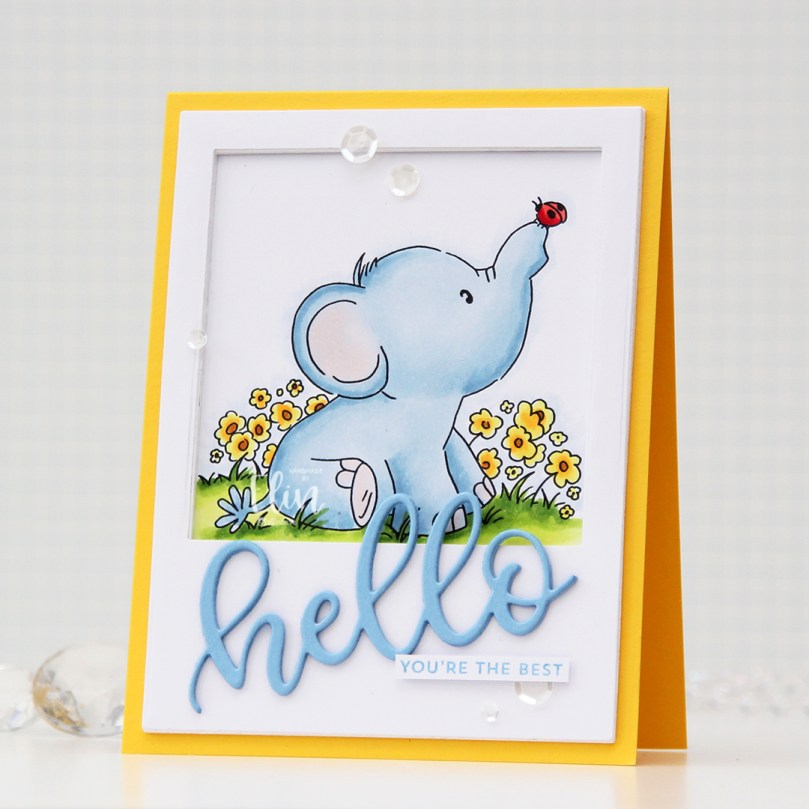 I colored the image with Copics, and created a large polaroid frame using a rectangle die from Waffle Flower, as well as a square die from Lifestyle Crafts. I taped the two dies together and die cut several layers of white cardstock that I stacked for a dimensional look. I love dimension on my cards. I used the Sweet hello die from My Favorite Things to die cut three layers of Periwinkle cardstock from Hero Arts, which I also stacked. I added the die cut at an angle and paired it with a sub sentiment from the Itty Bitty Basics stamp set from My Favorite Things, stamped in Blue Yonder ink, also from My Favorite Things. I finished off the card with a visual triangle of sequins from the White Orchid sequin mix from Little Things from Lucy’s Cards.
 Like I said initially: similar color palette to the ones I’ve used for the previous elephant cards. I also used B90, which is a color I’ve created myself.
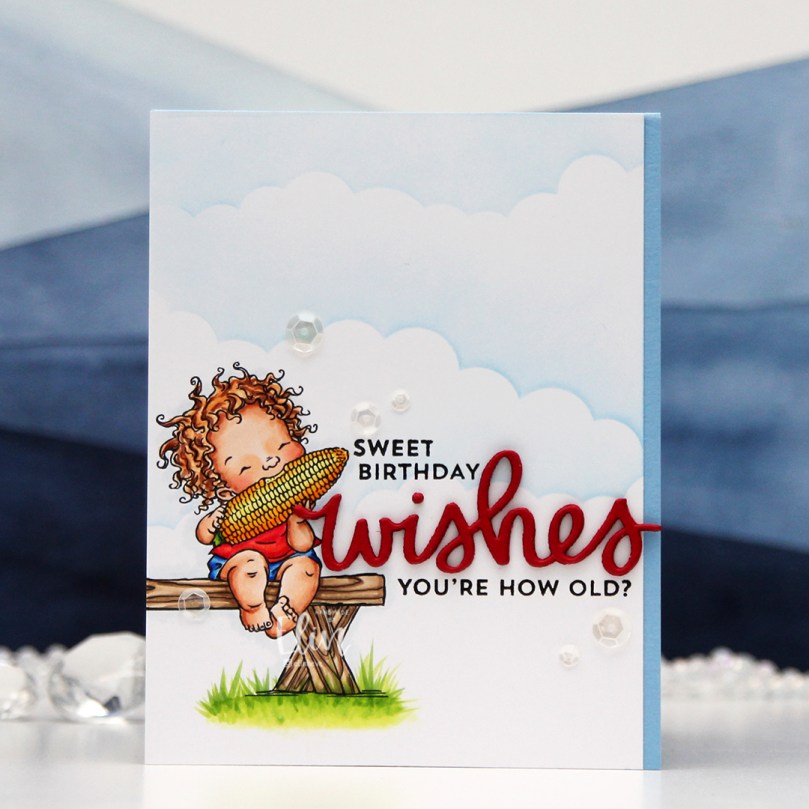 I printed the image near the bottom left of my panel and colored it up with my Copics, before trimming off a little bit on one side. I used the Slimline Cloud Edges stencil from My Favorite Things, along with Eastern Sky ink from Altenew, to softly ink blend the clouds in the background.
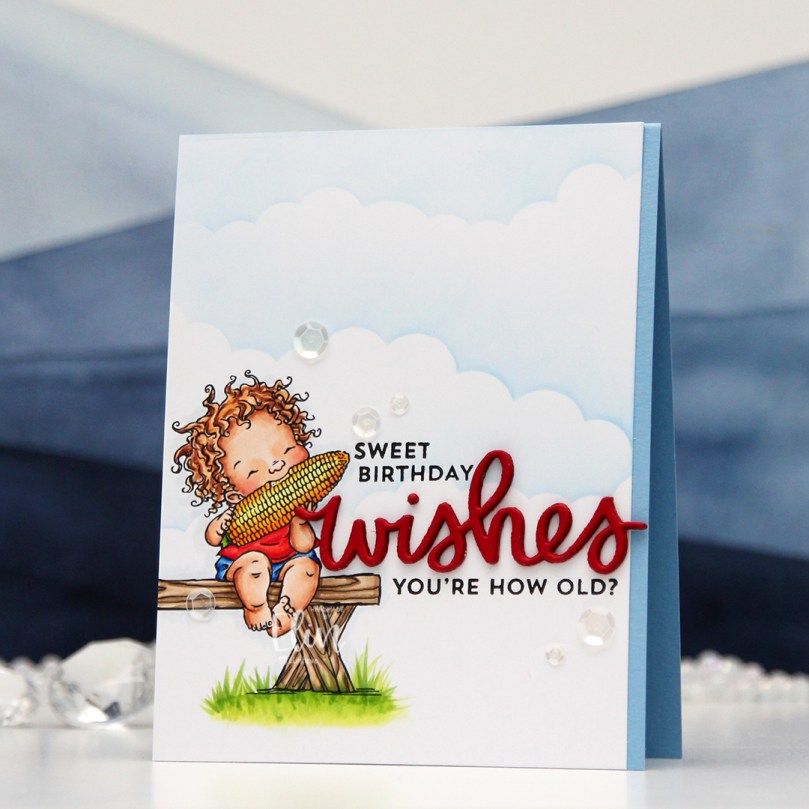 I stamped a couple of sentiments from the Bitty Birthday Wishes stamp set from My Favorite Things using Obsidian ink from Altenew. I adhered my panel directly to an A2 card base I created from Periwinkle cardstock from Hero Arts. I then used a scripty die from Mama Elephant to die cut the word wishes four times from Amarena Cherry cardstock from My Favorite Things. I stacked them together and added the word to the card, nestled in between the stamped sentiments, before finishing off the card with a few sequins from the White Orchid sequin mix from Little Things from Lucy’s Cards.
 Some vivid colors for this one.
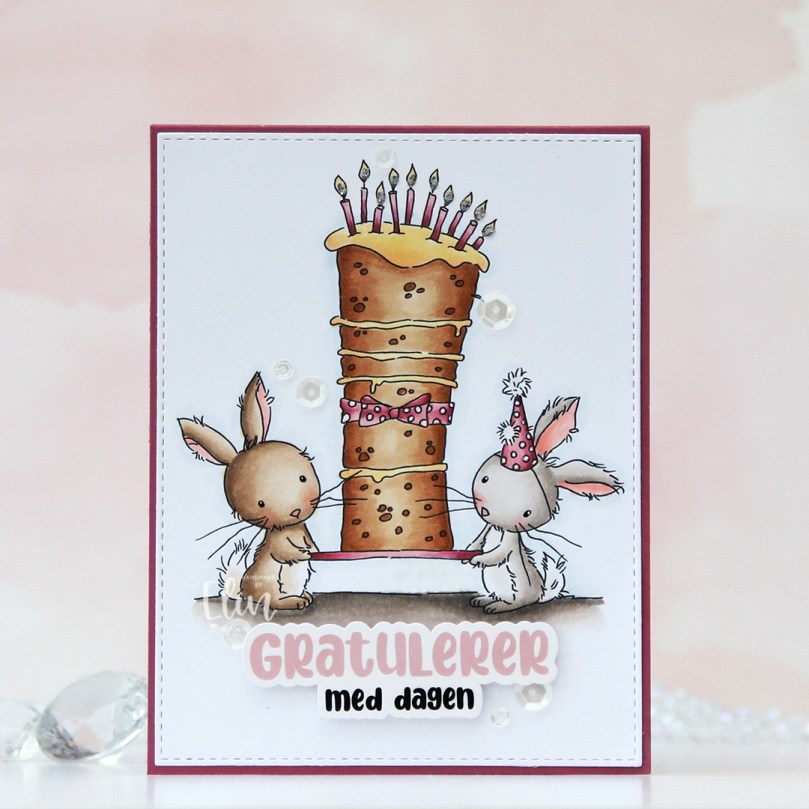 Lili of the Valley critters are among the cutest in the stamping world, and I just couldn’t resist these bunnies carrying a big cake. I colored the image with Copics, before die cutting it using the largest die in the A2 Stitched Rectangle STAX die set from My Favorite Things. I adhered the panel to a card base I created from Autumn Rose cardstock from Papertrey Ink.
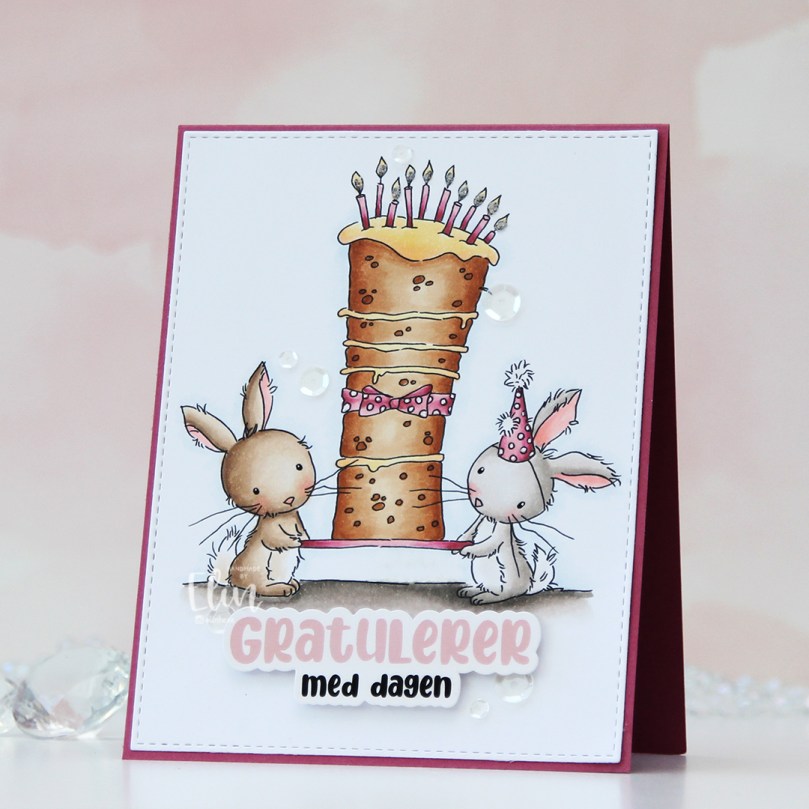 I used my Quickie Glue pen on the flames and sprinkled on Rock Candy distress glitter for added sparkle. Using foam tape, I popped up a sticker sentiment from Kort & Godt before finishing off the card with sequins from the White Orchid Sequin mix from Little Things from Lucy’s Cards.
 Very soft color palette for this one.
 I stamped and colored my images, before fussy cutting them, leaving a bit of a white border around them all. I put my colored pieces aside and started working on the rest of the card. I decided to do a bit of ink blending with the Paint Strokes stencil from My Favorite Things. I thought the brush strokes would be good for a background for my colored images.
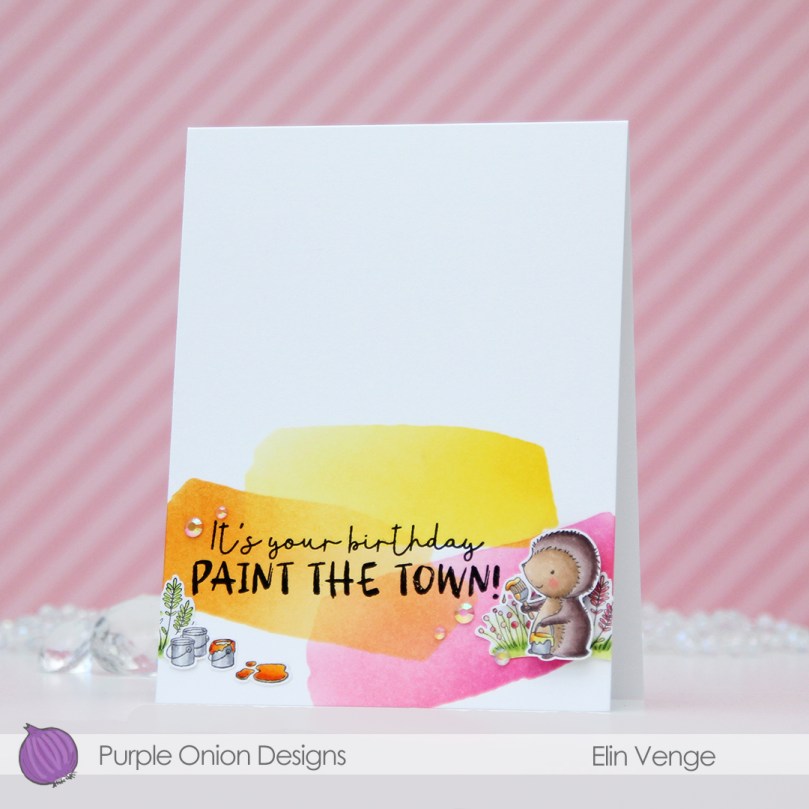 I started out with Coral Bliss and Pink Pearl inks from Altenew for the pink, but wanted a little more oomph and went over them with Picked Raspberry and Worn Lipstick distress inks, which gave it the pink I wanted. On the orange paint stroke, I only used Spiced Marmalade distress ink, and for the yellow, I chose Mustard Seed and Squeezed Lemonade distress inks. I then stamped a sentiment from the
  For such small images, I used a lot of colors for this card.
