Hi, crafty friends. It’s the third Thursday of the month, which means it’s time to Get Cracking on Christmas. This is a series Jenn Shurkus created years ago. By creating holiday cards every month, there’s less stress when we reach the end of the year, because a bunch of cards are already ready to go. Also, stamp companies seem to have their best releases right when it’s crunch time for holiday cards. Get Cracking on Christmas is a great opportunity to use those holiday products that you love, but haven’t yet had a chance to use.
 I actually created two cards this time. No Copic coloring on these, which is rare for me. I bought the Wreaths and Mulled Wine stamp set from Ciao Bella last year, but didn’t have time to use it. Get Cracking to the rescue. I took one of the wreaths in the stamp set, stamped it in VersaMark ink onto watercolor paper (I used Fabriano Artistico Extra White 140 lb hot pressed paper for this) and created two similar, yet different cards.
 For this blue one I used Iridescent Sparkle embossing powder from JudiKins for my heat embossing. I used Prussian Blue paint from my Mijello Mission Gold watercolor set and watered it down quite a bit to get the light blue I was after. I used a 3/4″ flat brush across the surface, and the heat embossing resisted the watercolor I put on top. I love the edges of watercolor, so I just walked away and let this air dry, I didn’t want to mess with it.
 Using a more concentrated paint of the the same color, I did a flat wash on a scrap piece of watercolor paper that was big enough for me to die cut. I used the Merry Script die from Mama Elephant and die cut three layers of white and one layer from my painted blue piece and stacked them for dimension. I also white heat embossed part of a sentiment from the Itty Bitty Holiday stamp set from My Favorite Things and nestled that in below the merry using some clear foam tape.
 I could fiddle with placement of embellishments all day long. Color, size, I wanted everything to be just right, and wound up using a combination of the Igloo mix from Little Things from Lucy’s Cards (pearls and iridescent sparkle sequins), the Crystal Collection – Glass mix, also from Little Things from Lucy’s Cards (clear jewels), and a few blue diamonds from Kort & Godt to fill in the rest.
 I used a die from Waffle Flower to create a rectangle from the watercolored piece and mounted in on foam tape on a card base I created from Spring Rain cardstock from Papertrey Ink. It’s no secret that I love blue for Christmas cards, and I thought this soft background with the wreath and the embellishments was a nice combo.
 For my second card I used the same wreath stamp that I stamped in VersaMark ink. This time I embossed it in silver, painted the background with Van Dyke Green (also watered down quite a bit) and flipped the panel upside down to have the snowflake in the bottom right “corner” of the wreath instead of the top left.
 I used the same Waffle Flower die to create my rectangle from the watercolor piece and was a little unsure of what to do for a card base. I didn’t have any green cardstocks that matched my watercoloring, and I didn’t feel like pulling my paints back out to create a green wash that I could use (although that would have been pretty). I rummaged through my silver cardstocks, but none of them matched the silver heat embossing very well, so I wound up creating my own using the same silver embossing powder that I used for the wreath. I squished my VersaMark pad onto the edges of a 4 1/4 x 5 1/2″ piece of white cardstock, sprinkled on the embossing powder and repeated the process until the embossing was even and covered everything. I adhered my embossed panel onto a white top fold card base and mounted my watercolor cardstock on top using foam tape.
 Using the Hjerte 3 die set from Papirdesign, I die cut the words God jul three times and stacked them for a dimensional look. I made sure to cut the top layer from the watercolor paper I’d already used so that the whites would match. I adhered my die cut words to the center of the wreath using liquid glue.
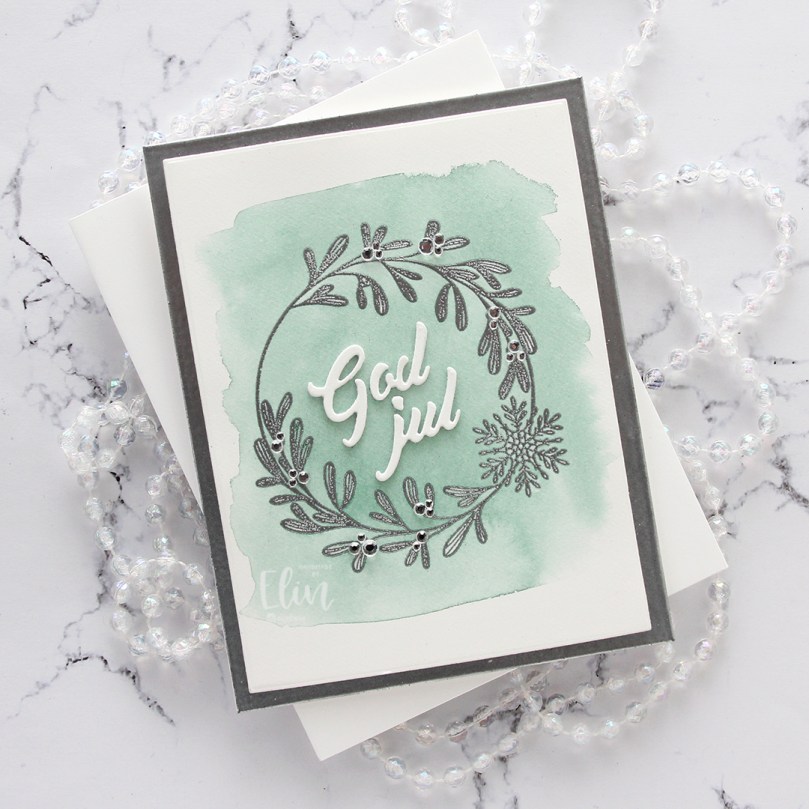 To finish off the card I added Kort & Godt diamonds in three different sizes in clusters around the wreath. They act as little berries and add a little bit of sparkle and shine.
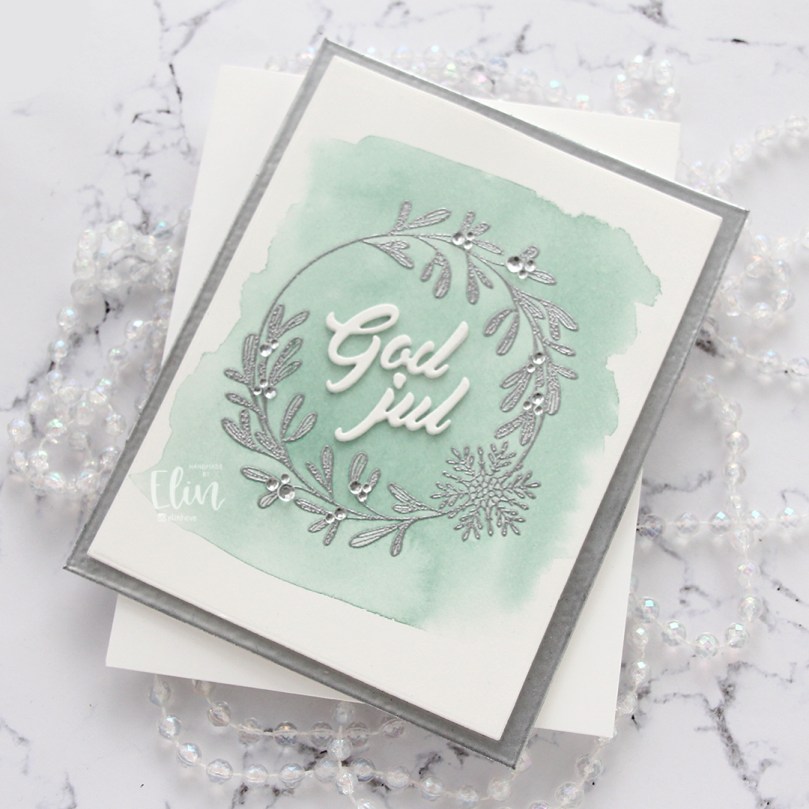 I made quite a few green Christmas cards last year. It’s a color that’s growing on me, and this Van Dyke Green from Mijello is the most perfect green ever.
 I had so much fun creating these cards. They’re very different from what I usually create, that might be part of the reason why. The simplicity of this design makes it easy to mass produce, too, if that’s your jam. Break out your embossing powders, different colors of paint and go to town.

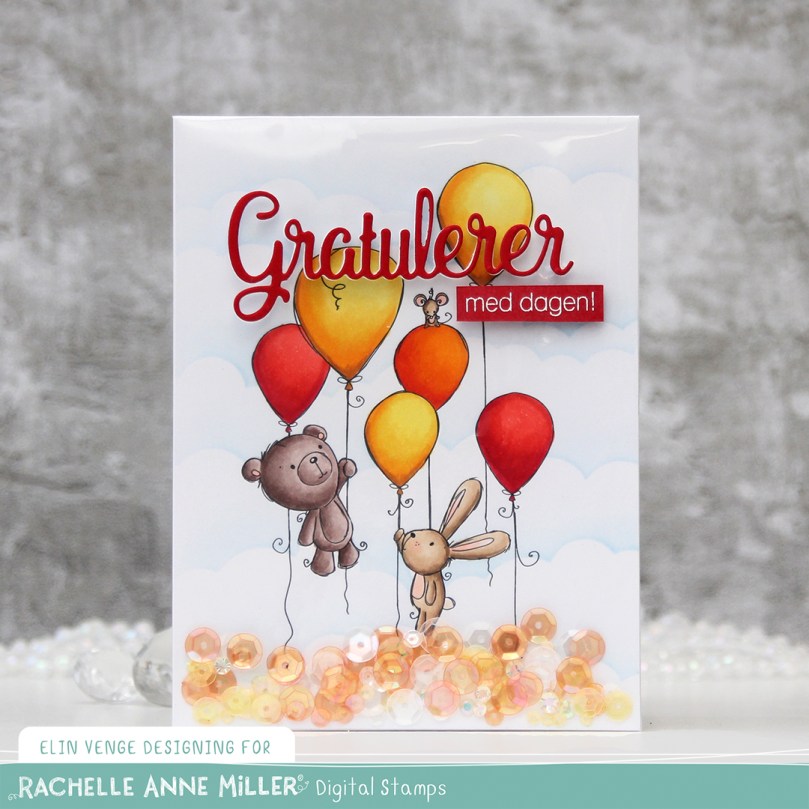 I colored the scene in using my Copics, before using Iceberg ink from Altenew with the Slimline Cloud Edges stencil from My Favorite Things to create soft clouds in the background. I then sacrificed one of my stamp storage pockets from Avery Elle, using about half of it for this card to create the pocket for the colored panel to slip into. I know there are full shaker covers on the market, but I don’t have any, and the storage pocket was easy enough to alter.
 I filled my shaker pocket with sequins and gems from the Candy Corn mix from Little Things from Lucy’s Cards. This is a great Halloween mix with clear, yellow and orange sequins, as well as some little gems and even acetate ghosts. I loooove the ghosts, but of course I removed them from the part of the mix I used for this birthday card.
 I die cut the word Gratulerer twice from white cardstock and once from Pure Poppy cardstock from Papertrey Ink using the Gratulerer 8 die from Papirdesign, stacked them and used liquid glue to add the die cut to the front of the window.
 I stamped a sub sentiment from the Go’klem stamp set from Norsk Stempelblad AS onto a separate piece of Pure Poppy cardstock using VersaMark. I heat embossed it using super fine detail embossing powder from Ranger in white, cut the sub sentiment down to a strip and added a couple of additional cardstock layers behind it, before adhering it to the front of the shaker using score tape.
 Simple, but fun color palette for this one.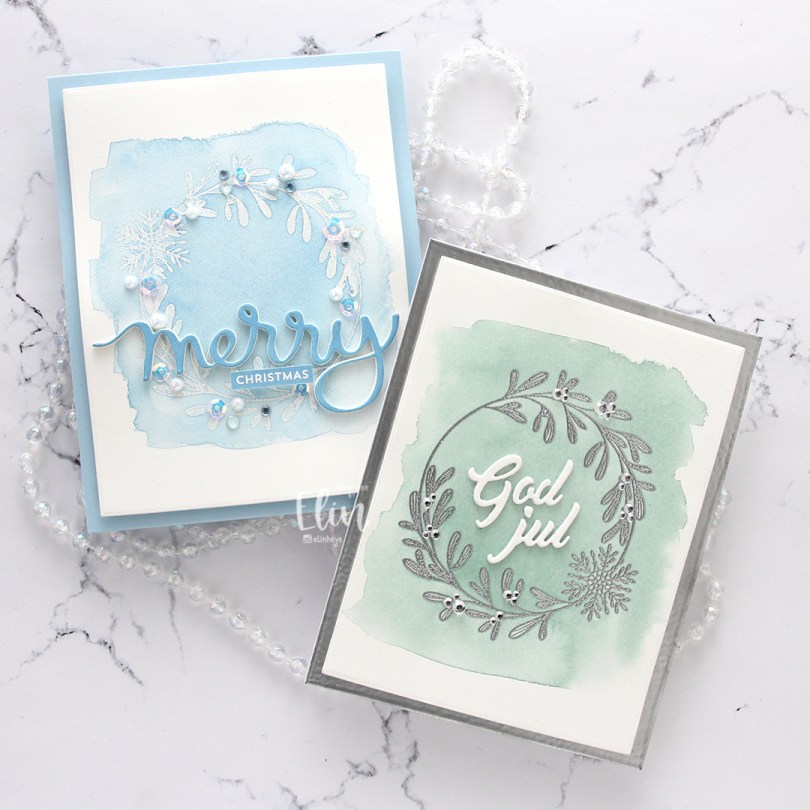
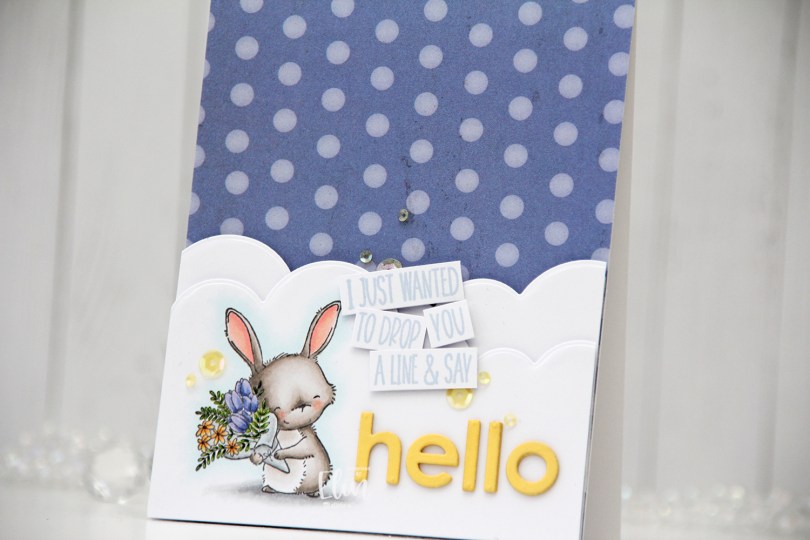
 I stamped the image using Extreme Black ink from My Favorite Things, before coloring with my Copics. I love love love the way rubber stamps stamp even the thinnest lines. It’s great for details, and Stacey Yacula’s illustration style gets to shine. Her line work is very delicate, which pairs so well with rubber stamping, because you’re able to easily stamp all the little details.
 I used a die in the Slim Card Basics die set from Mama Elephant to create a cloud border above my stamped and colored image, and used the same die on a separate piece of cardstock. I found a scrap piece of patterned paper from Scenic Route that I added to my card base, then added my cloud pieces on top using foam tape.
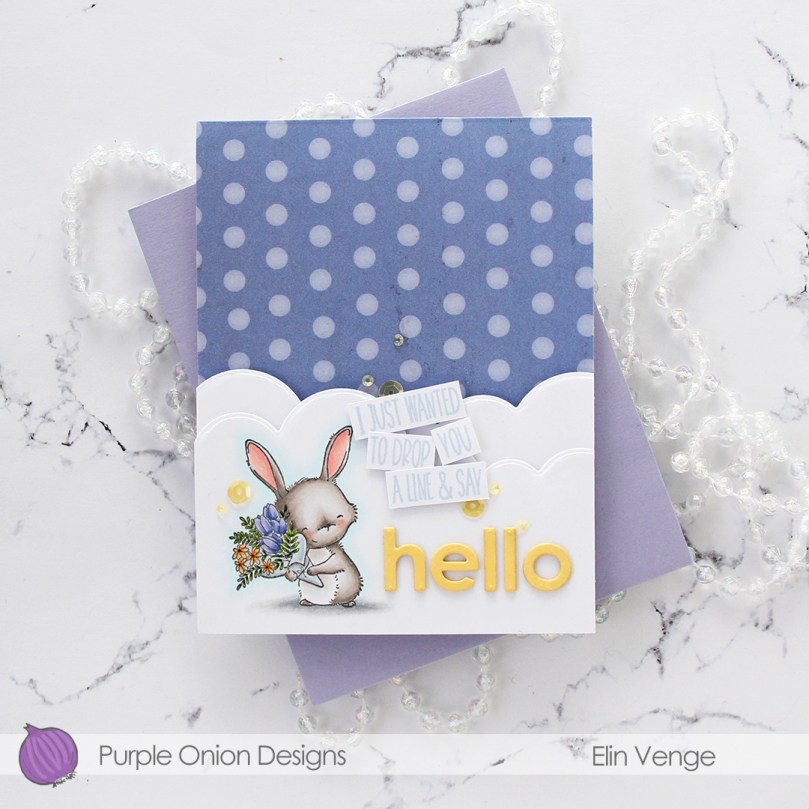 I used two sentiments from the
  Using the lower case Parker alphabet die set from Memory Box, I die cut each letter three times from Harvest Gold cardstock from Papertrey Ink to spell the word hello. I stacked my die cuts and adhered them to the right of Junie using liquid glue.
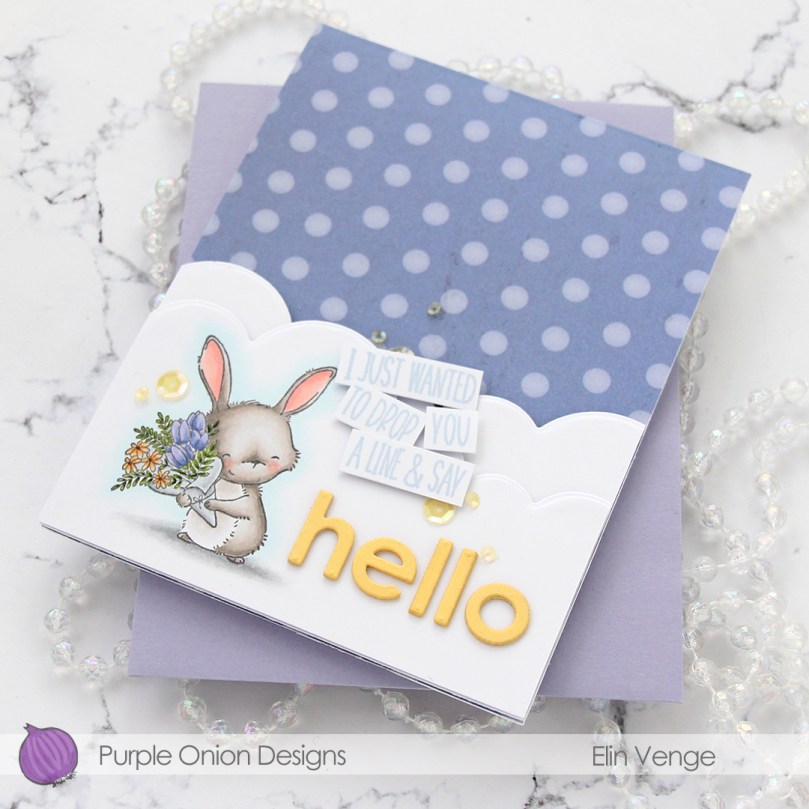 To finish the card I added a few yellow sequins from Little Things from Lucy’s Cards. These are actually from the Candy Corn mix; a Halloween mix with orange, yellow and clear sequins and gems which even has a few tiny ghosts made from acetate thrown in. It’s a fun mix.
 Simple color palette for this one.
 I colored the scene in using Copics. A couple of my browns went sticky during my coloring, and refilling them (which usually does the trick, markers tend to go sticky when they’re low on ink) didn’t work, so I replaced the nibs and they’re behaving a little bit better now.
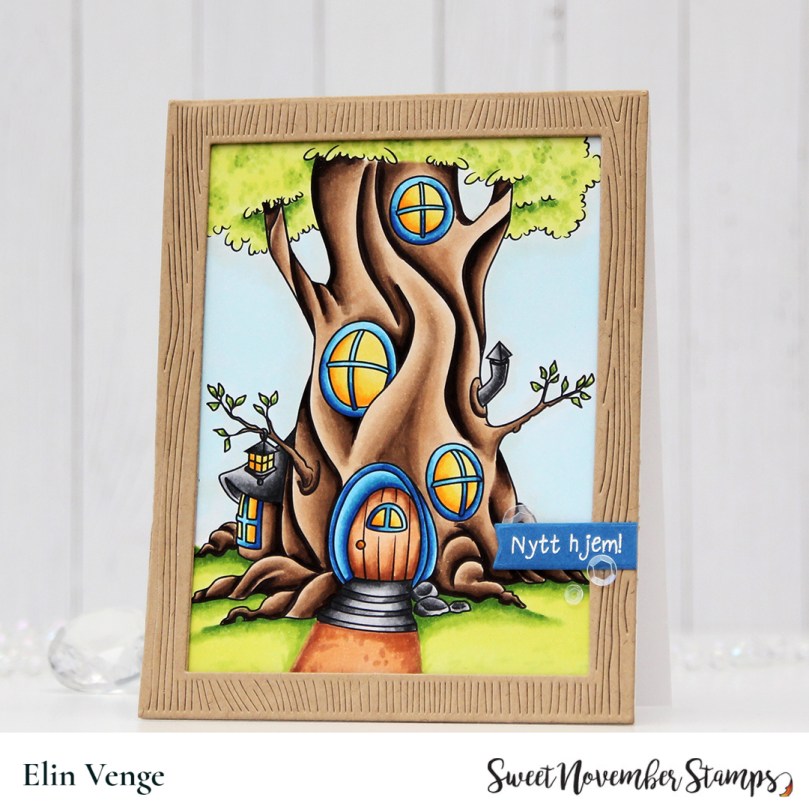 Using Classic Kraft cardstock from Papertrey Ink, I die cut the largest of the Wood frame infinity dies from Hero Arts and put two additional layers behind it for dimension. The die actually cuts a frame that is slightly larger than the size of an A2 card, so I created a custom sized card to fit the frame. I glued the frame to my scene, stamped a sentiment from the Småtekster stamp set from Norsk Stempelblad AS onto Cornflower cardstock from My Favorite Things and heat embossed it in white, before using a die from the Tag Builder Blueprints 6 die set from My Favorite Things to turn it into a nice strip with a flag end. I adhered it to the frame and added 3 sequins from the White Orchid sequin mix from Little Things from Lucy’s Cards to finish.
 Very simple color palette. Since I had to color it twice I’m glad it wasn’t more involved 🙂
 I stamped my critters onto a piece of X-Press It blending card, which is the paper I prefer for all my Copic coloring. I colored the image, then restamped it using VersaFine Onyx Black to get super crisp black lines in the image. This needs to be done after coloring, Copics and VersaFine don’t play well together.
 I used a die from Kort & Godt to create the torn page edge at the top of my panel, before trimming the rest of it down to fit on the front of a mini slimline card. I stamped a sentiment from the Scripty Xmas stamp set from Mama Elephant using Jalapeño Popper ink from My Favorite Things, added another three layers of cardstock behind my panel and adhered it to a card base I created from Jalapeño Popper cardstock from My Favorite Things.
 To finish the card I scattered a few snowdrift sprinkles from Little Things From Lucy’s Cards around the image and sentiment.
 I love this little stack of critters, and the tall, narrow design is the perfect kind of image for a mini slimline card.
 You’d think my color palette wouldn’t have this many colors in it, but I tend to go overboard on the snow. I do the same with the green, I love this green combo.
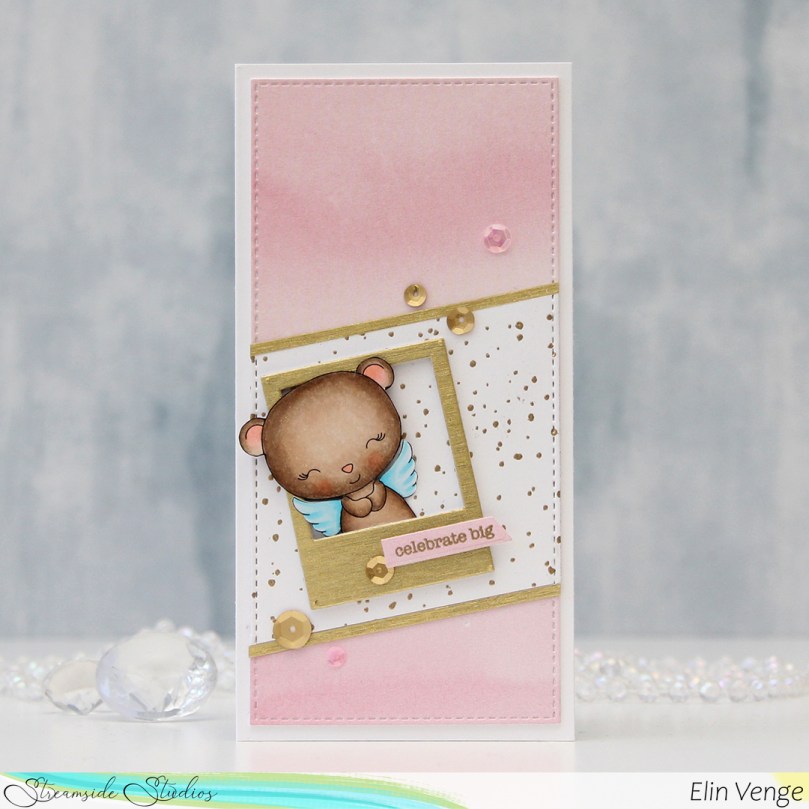 I colored the bear quickly with Copics, fussy cut and put the image aside while I worked on the rest of my card.
 I haven’t made a mini slimline card in a while, and I haven’t made any at all since I purchased the Stitched Mini Slimline STAX die set from My Favorite Things back in November, and thought it was about time I break them in. I used the largest die in the set for this card, once on a piece of patterned paper from the Watercolor Wishes 6×6″ paper pad from Lawn Fawn, and once from white cardstock at an angle that I’d stamped a background stamp onto (the Paint Splatter background from MFT) and heat embossed.
 I used one of the dies in the Precious Polaroids die set from MFT to die cut three times from white cardstock and once from a gold cardstock from Rayher. It has a brushed finish, which adds a little interest in texture instead of being flat gold. I put a thin strip of this cardstock above and below my heat embossed white cardstock piece as well, for a bit of definition to the top and bottom of the panel. I stamped a sentiment from the Birthday Messages stamp set from Mama Elephant onto a scrap piece of the pink patterned paper and poured on Gilded embossing powder from Brutus Monroe (the same embossing powder that I used for the paint splatter background), before melting the powder. I die cut it into a small strip with an angled end using one of the dies in the Everyday Gift Box die set from My Favorite Things and adhered it to the top of the polaroid using some 1 mm foam squares. I finished off the card with a few sequins from the Heaven Sent mix from Little Things from Lucy’s Cards.
 The Copic palette couldn’t possibly get any simpler.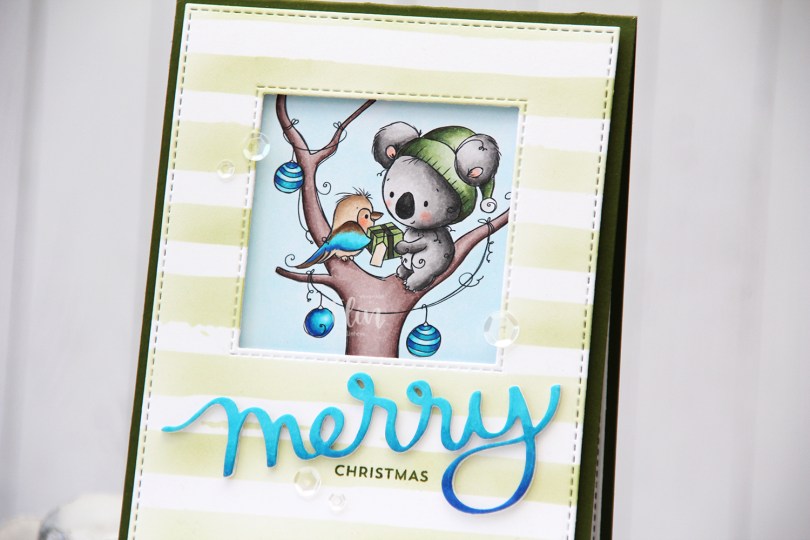
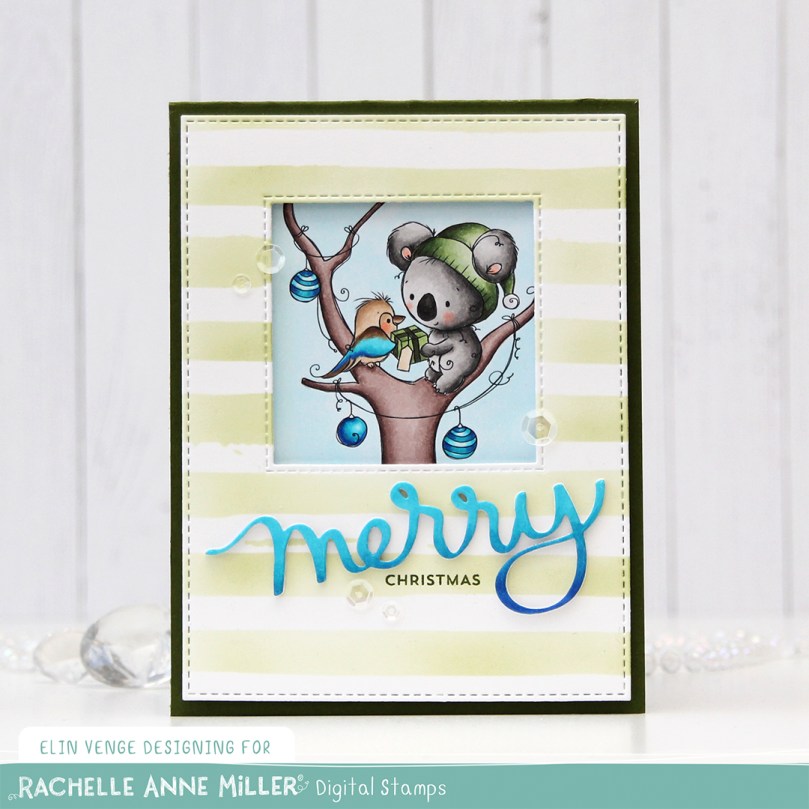 I colored the cute little scene with Copics and put it aside while I worked on the rest of my card. On a separate piece of X-Press It blending card I blended the same three blueish teal colors that I used for the kookaburra and the ornaments to create an ombré effect, and used the Merry Script die from Mama Elephant to create part of a sentiment that would match my coloring. I added three white die cuts behind it for dimension to make it stand out on my card.
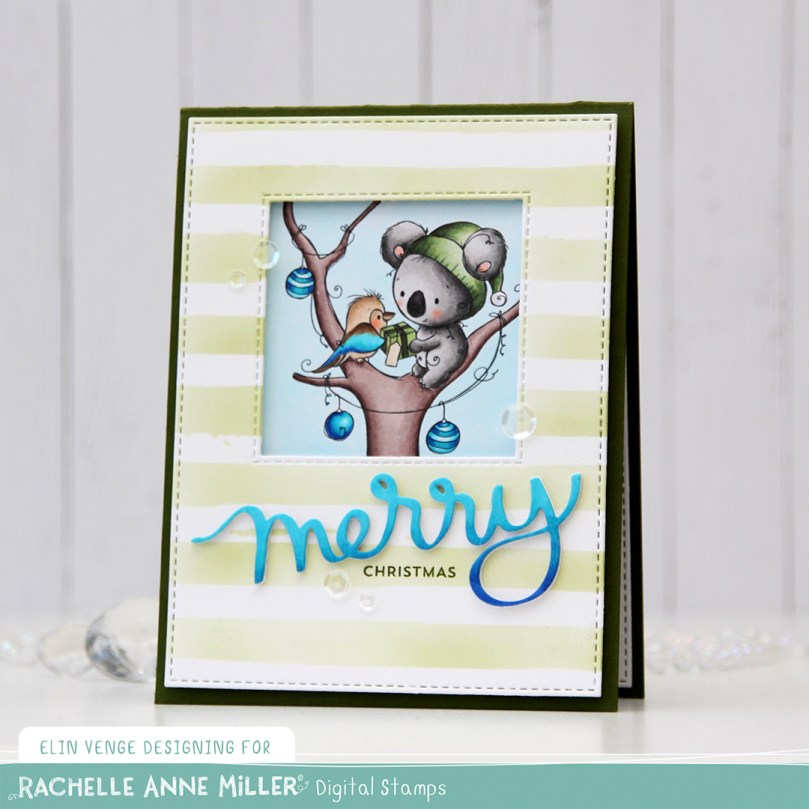 I used the largest die in the A2 Stitched Rectangles STAX 2 set from My Favorite Things along with the Selfie Square die, also from MFT, and die cut both from a piece of Stamper’s Select White cardstock from Papertrey Ink. I then used the Watercolor Stripes stencil from Altenew and ink blended Jalapeño Popper ink from MFT very softly onto the white cardstock for a subtle background.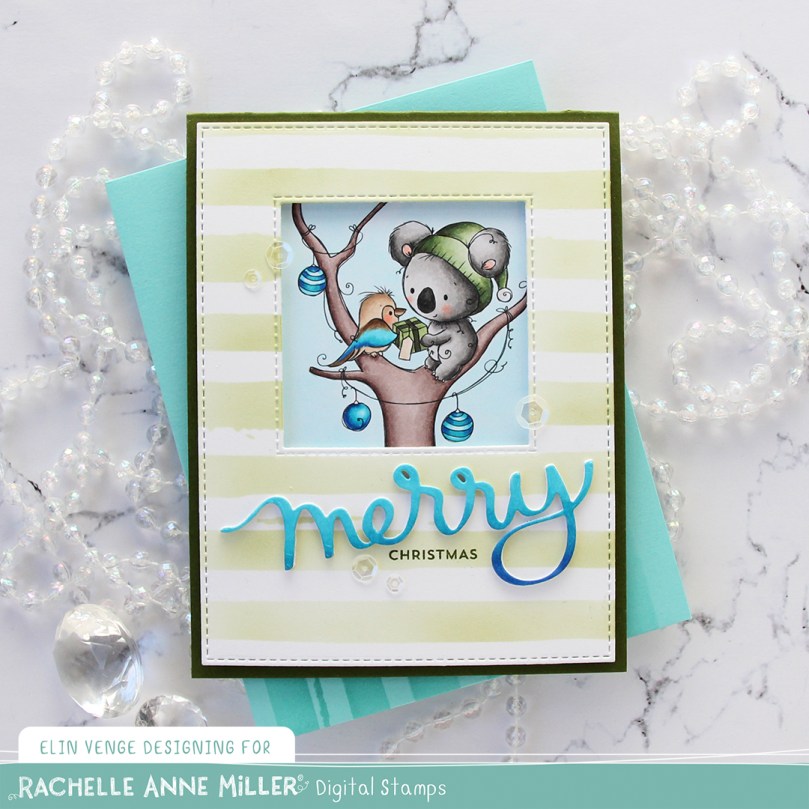
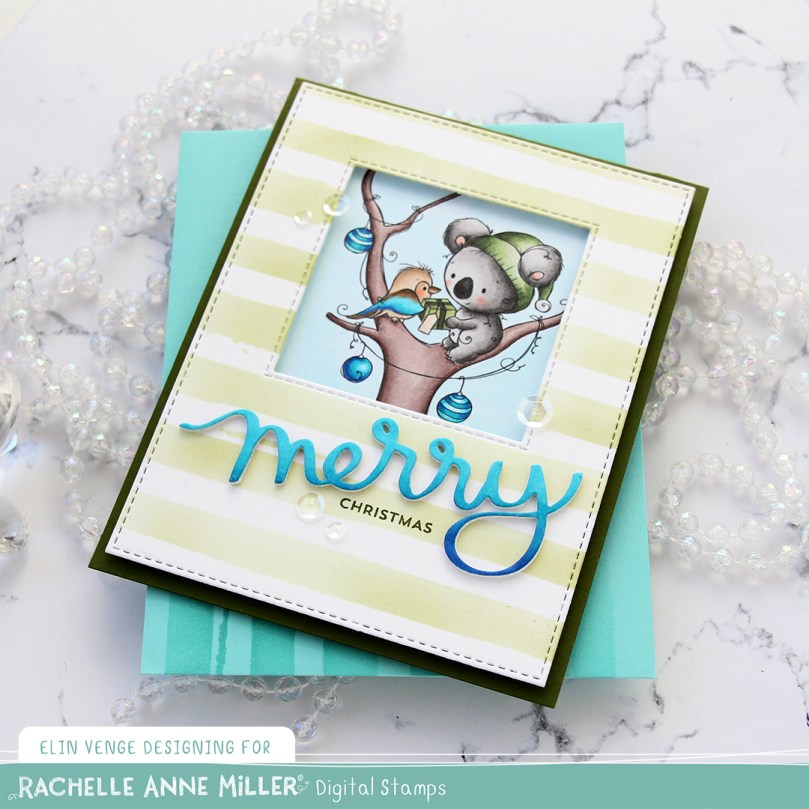 I put foam tape behind my ink blended background and adhered everything to a cardbase I created from Jalapeño Popper cardstock from MFT, before scattering a few sequins from the White Orchid Sequin Mix from Little Things from Lucy’s Cards to finish my card. I used the stencil from Altenew to add a little interest to the envelope, as well.
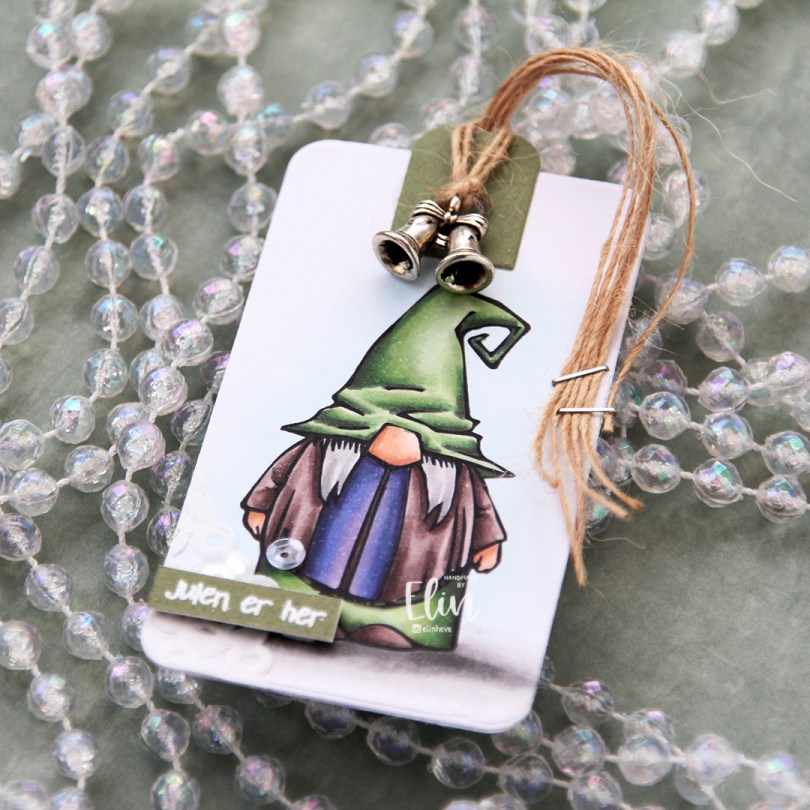
 I colored the gnome (his name’s Alf, you can find him
  I added a scrap of a paper doily from Doodlebug to the bottom left corner, put my sentiment strip on 1 mm foam squares and added a couple of sequins from the White Orchid Sequin mix from Little Things from Lucy’s Cards. I put some natural twine from May Arts through the hole at the top of the tag, added a charm and stapled the ends of the twine to the tag using a mini stapler.
 On the back of the tag I stamped a to/from image from Norsk Stempelblad AS using Jalapeño Popper ink from My Favorite Things.
 For such a small image, I used quite a few colors.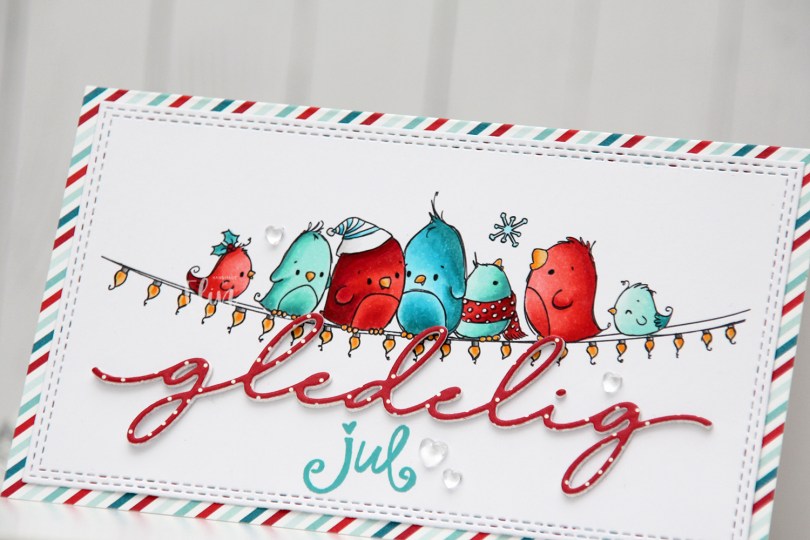
 I printed the image on a piece of X-Press It blending card and colored my birds with Copics in colors that match the Cool Collab paper pad from My Favorite Things, because I really wanted to use it. Red and teal is a color combo I really like, and this paper pad has lots of it. Once my coloring was complete I did some partial die cutting using the largest die in the Slimline Double Stitched Rectangle STAX die set, also from My Favorite Things. It gave me a nice double stitched edge around my colored image.
 I adhered my panel to a card base I covered with one of the papers in the pad, which gave me a nice frame. I also die cut the word gledelig from another piece of paper in the pad, with three white die cuts behind for dimension. I stamped the word jul (stamp set from Norsk Stempelblad AS) below it using a combination of Peacock Feathers Distress Oxide ink and Caribbean Sea ink from My Favorite Things to get the perfect color. To finish off the card I added a few heart droplets from the Crystal Collection Glass mix from Little Things from Lucy’s Cards.
 Simple color palette for this one.
 I love
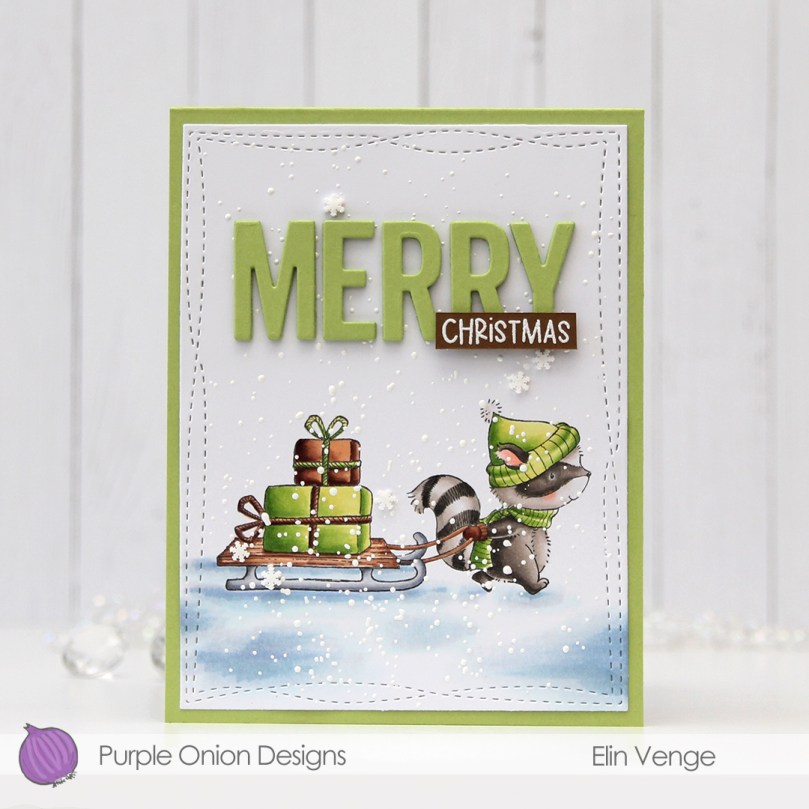
  I stamped Flannel using Extreme Black ink from My Favorite Things onto X-Press It blending card. It’s my favorite cardstock for coloring. It’s super bright white and the Copics blend very well on it. It’s no surprise, though, the paper is made especially for Copic use.
 I die cut the panel using the largest of the dies in the Wonky Stitched Rectangles STAX set from My Favorite Things, which is one of the many things I purchased with the $250 gift card I won in this year’s Superstar contest. I love my MFT faux stitch dies, and this wonky one is a fun change from my regular faux stitched rectangles. I sprinkled on chunky white embossing enamel from Stampendous and melted the granules from the back of the cardstock, before adhering it to an A2 card base I created from Green Parakeet cardstock from Papertrey Ink.
 Using the Very Merry and Bright die from My Favorite Things, I die cut the letters for the word Merry five times from the same green cardstock that I used for the card base. I glued them together for a stacked, dimensional look and adhered them to my colored panel using liquid glue. Onto a small strip of Cocoa Bean cardstock from Papertrey Ink, I stamped and white heat embossed part of a sentiment from the
  To finish off the card I added a few Snowdrift sprinkles from Little Things from Lucy’s Cards for a little bit of extra interest and dimension. I love these tiny clay snowflakes, I use them all the time.
 Simple color palette. That bright green really is fun!
