
Hi! Today I have a fun and festive, yet very simple card to share, featuring the Confetti Celebration stamp set from Purple Onion Designs, illustrated by Julian Charlton. I love Elliot and Marcel, they’re so fun and quirky. They’re also not super detailed in the linework, which gives me the opportunity to practice my watercoloring.
 I bought a 36 tube set of Mijello Mission Gold watercolors last September, and they’ve been sitting in their palette scaring me, but I’ve recently started dabbling a little bit. Images like this with big open areas are great for practice, and this is my third proper watercolor piece. Yes, I’m keeping track, haha. The previous two attempts were both noline. One was a background, and the other a digital stamp. My printer ink doesn’t play well (or at all, really) with water, so I had to opt for the noline look to prevent visible bleeding. I dove right into the deep end, hoping I could pull it off.
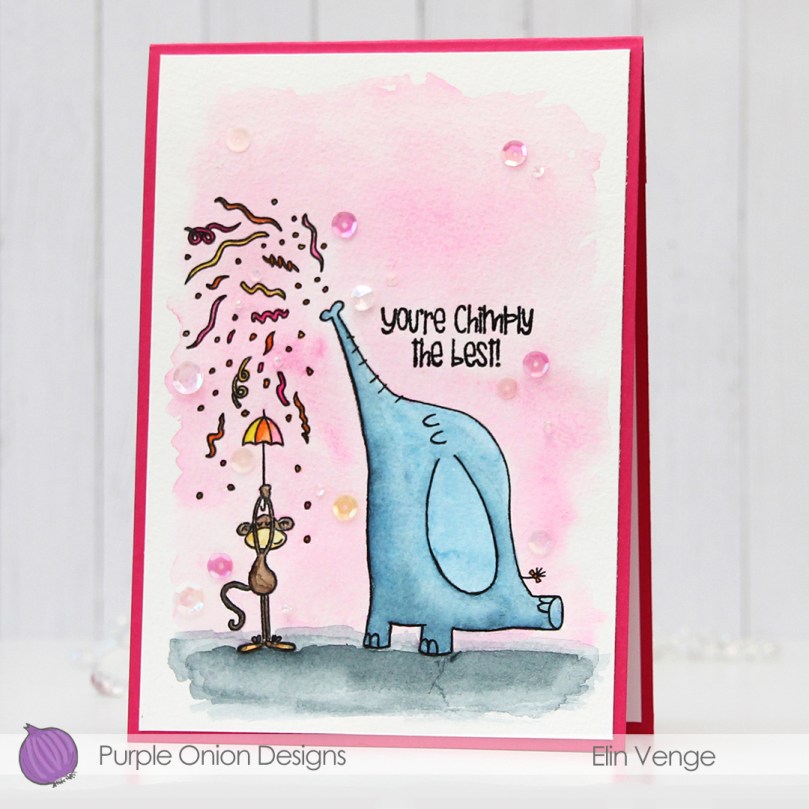 I stamped the image onto Fabriano Artistico Extra White watercolor paper using VersaFine Onyx Black ink. I’ve created a birthday card with these two once before (blog post here). Back then, I used blue, green and yellow, so I wanted a different palette for today’s card. Pink, orange and yellow is a palette I really love, and with the pink watercolor wash on the background, as well as the Poppin’ Pink cardstock from My Favorite Things that I chose to create my card base from, I think this is a really fun card.
 For my last card with this image, I used my Copic BV20 series for a purply gray elephant. This time, I went for a bluer version to get a nice contrast. I actually decided to mute my pink a little before painting with it. The Bright Opera color from Mijello is a super bright pink, and I added a tiny bit of Hooker’s Green to dull it a little, it was just too bright a pink straight from the palette for what I wanted.
 Once I’d painted my scene, I went back over with a black pen to trace the lines of the image. I would have restamped if I could, but I stamped the image weeks before I painted it and removed the stamp from my MISTI in the meantime. Black pen to the rescue. I just wanted crisp black lines. I stamped a sentiment from the stamp set using VersaFine Onyx Black ink and heat embossed that using clear embossing powder.
 I cut down my colored panel slightly and adhered it to an A7 top fold card base I created from two pieces of Poppin’ Pink cardstock from Papertrey Ink. To finish the card I adhered sequins, beads, confetti and other various little bits from the Sweet Shop mix from Little Things from Lucy’s Cards. I don’t usually put this many sequins on my cards and scatter them like this, but I wanted to really keep the party vibe from these two going across the entire card front.
 I colored up these
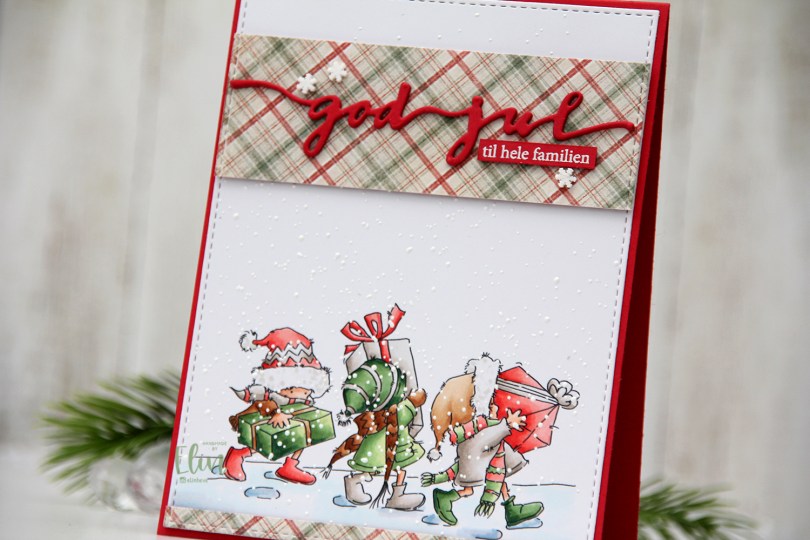
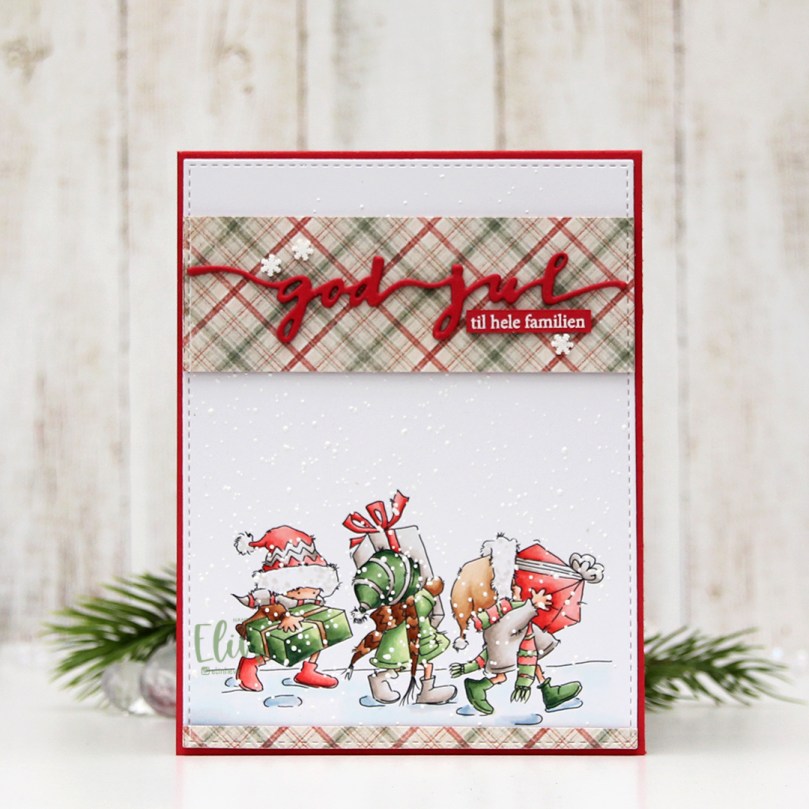
 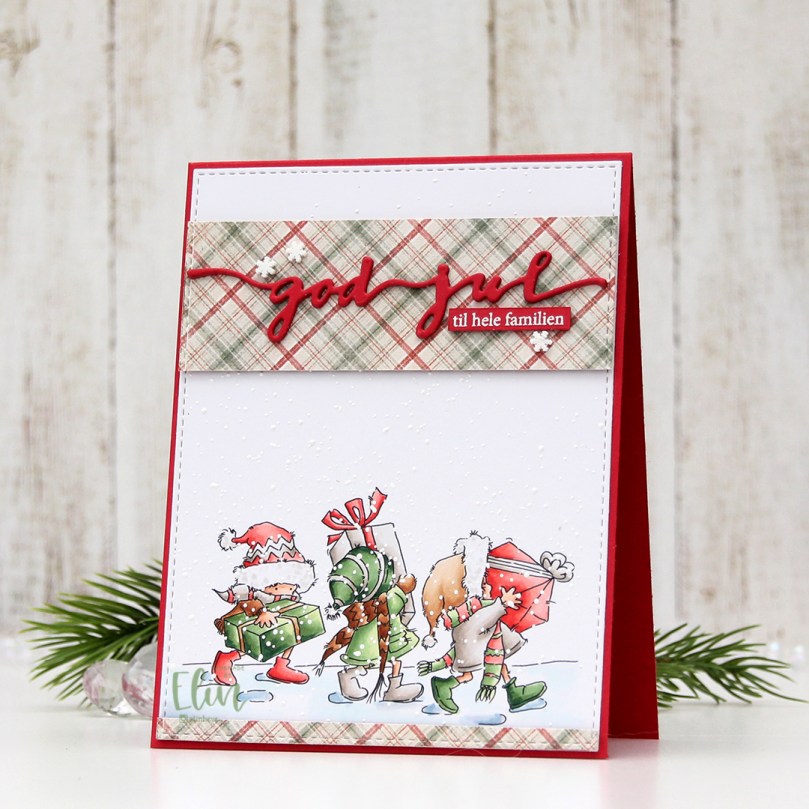 I’m usually good at using scraps of patterned paper and rarely use a brand new sheet. Today was the day, though. I thought this patterned paper from the I wish collection from Maja Design went really well with my coloring, and I didn’t have a single scrap of this particular paper. Using the same die that I used on the white panel, I die cut my patterned paper before cutting up my die cut into pieces I could use on my card. I added two layers of cardstock behind both pieces and glued them to my card. I now have a continuous stitched border, even though some of it is my colored panel and some is patterned paper. I love little details like that. I die cut three of the god jul die from Papirdesign from red cardstock and glued them together for a stacked look. I glued my die cut to the center of the wide patterned paper before adding a sub sentiment. The sub sentiment is from Norsk Stempelblad AS, white heat embossed on the same color red cardstock and cut down to a strip, with two additional pieces of cardstock behind it to make it flush with the die cut. I added three snowdrift sprinkles from Little Things from Lucy’s Cards to the patterned paper, and my card was finished.
 Not a whole lot of colors for this one. Soft colors too (except for the darkest green, I wanted a little bit of contrast there), which is rare for me.
 I colored the image with my Copics, die cut her using the largest of the A2 Double Stitched Rectangle STAX dies from My Favorite Things and sprinkled on a generous amount of chunky white embossing enamel from Stampendous, which I then melted.
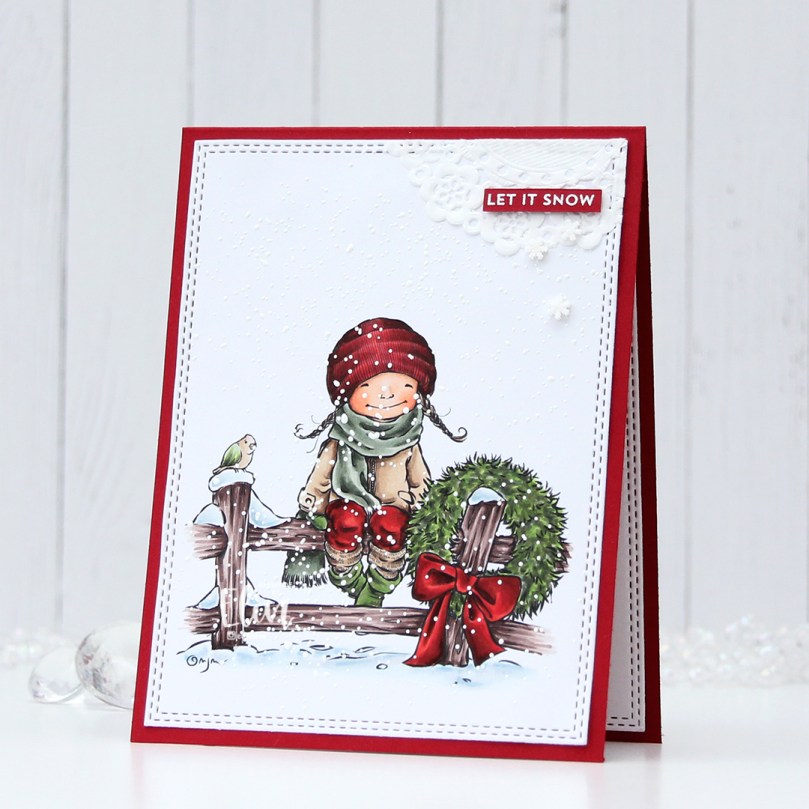 I adhered my panel onto a top fold cardbase I created from Cranberry cardstock from Concord & 9th, before adding a piece of a mini paper doily from Doodlebug and a sentiment from My Favorite Things that I white heat embossed onto a separate piece of the Cranberry cardstock, with three additional layers behind for a little dimension. I added a few Snowdrift sprinkles from Little Things from Lucy’s Cards, and my card was complete. Super simple.
 As usual, I finish with the Copics I used for my image.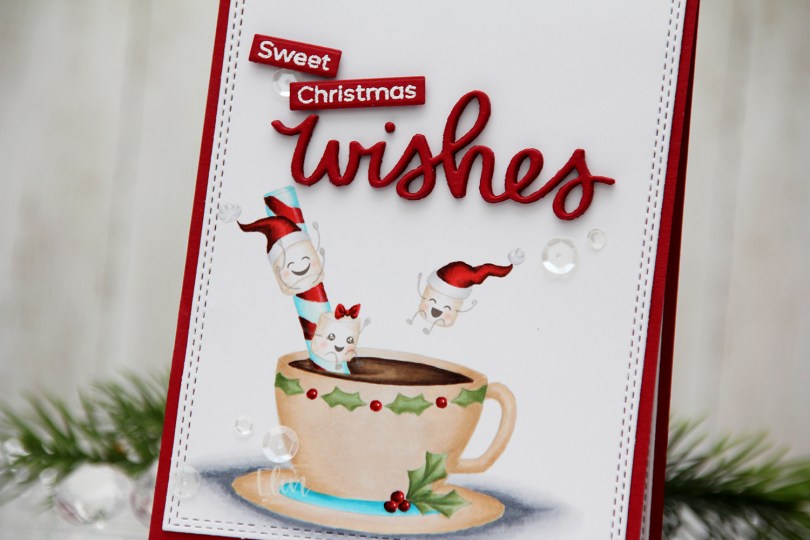
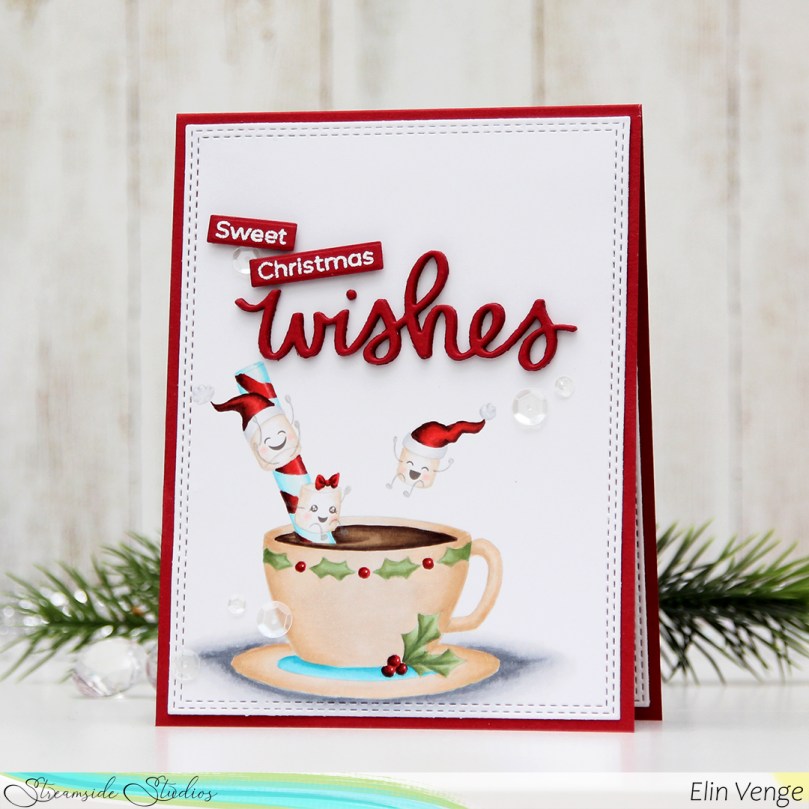 I printed my image with gray lines so I could do no line coloring. Whenever I do this, I like keeping facial features black or a dark brown, so I don’t have to free hand draw them back in once I’m done coloring. It’s a neat little trick.
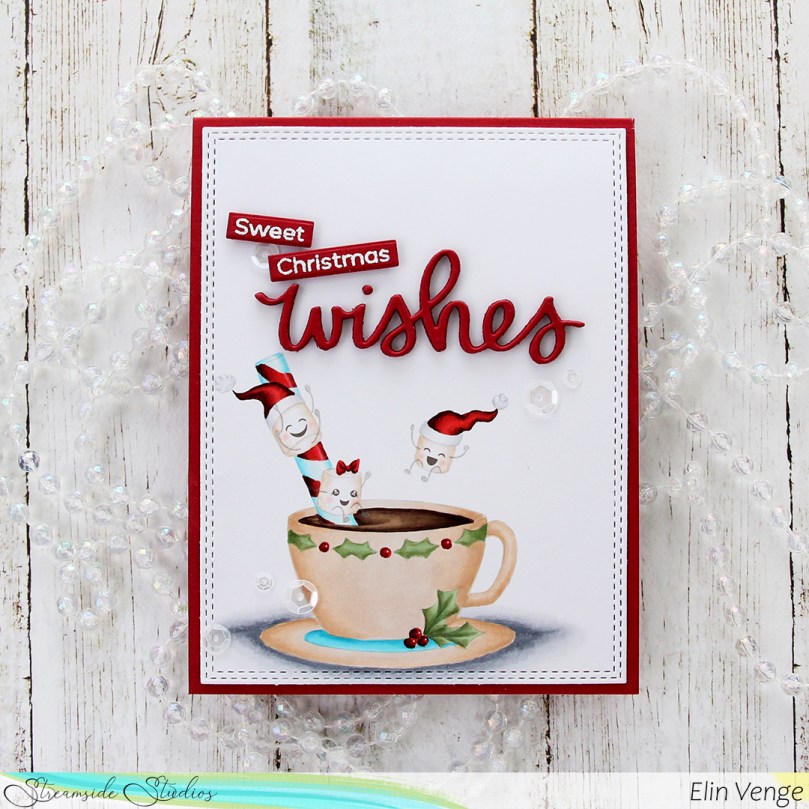 I die cut my colored panel using the largest die in the A2 Double Stitched Rectangle STAX die set from My Favorite Things and adhered it directly onto a cardbase I created from Amarena Cherry cardstock, also from My Favorite Things.
 I die cut the word wishes five times from my red cardstock using a die from Mama Elephant. I stacked the words for a dimensional look and also stamped and white heat embossed the words Sweet and Christmas onto separate pieces of the same color cardstock. The stamped words are from two separate sentiments from the Bitty Bears stamp set from My Favorite Things. I love using pieces of sentiments from stamp sets to create new sentiments, it makes them more versatile.
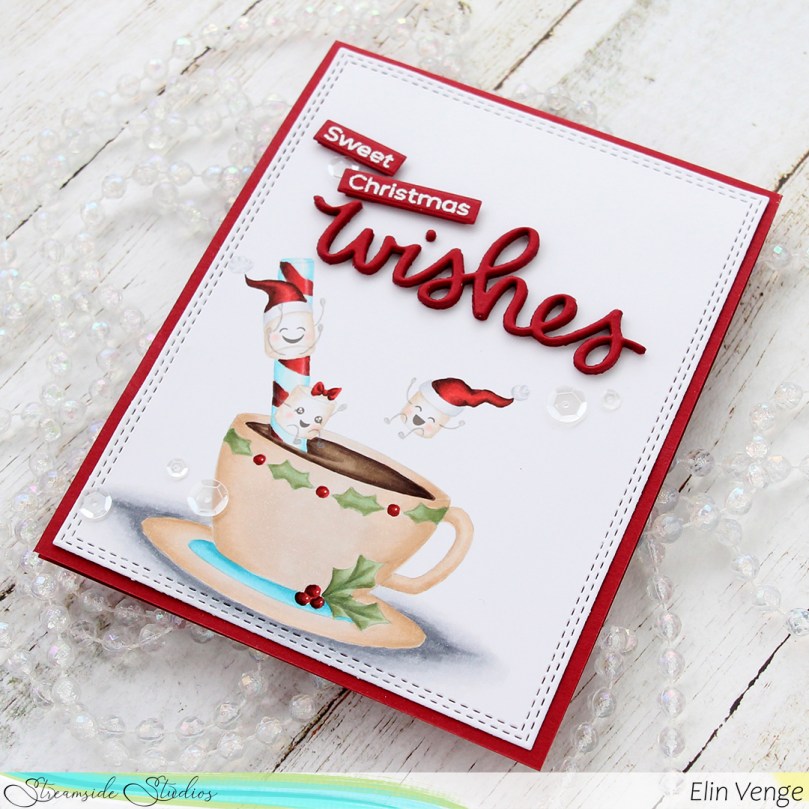 I felt like I had to add a little something to this, so I pulled out my White Orchid Sequin mix from Little Things from Lucy’s Cards and added them in a visual triangle on my card. This mix is one of my favorites, it’s right up there with the Sparkling clear mix from Pretty Pink Posh.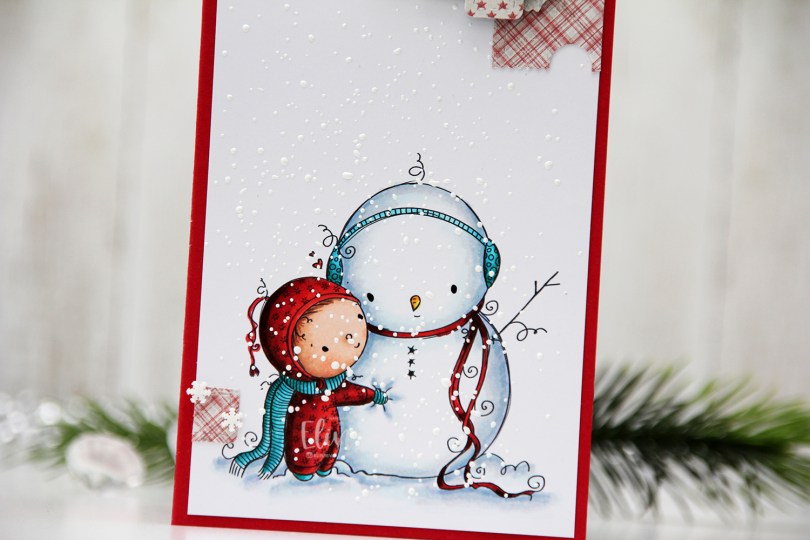
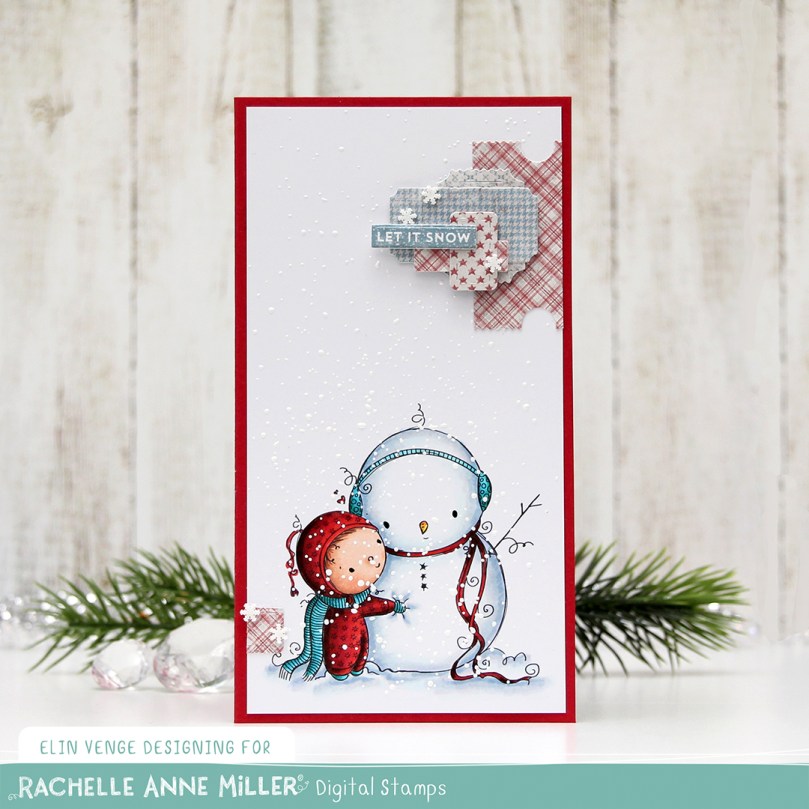
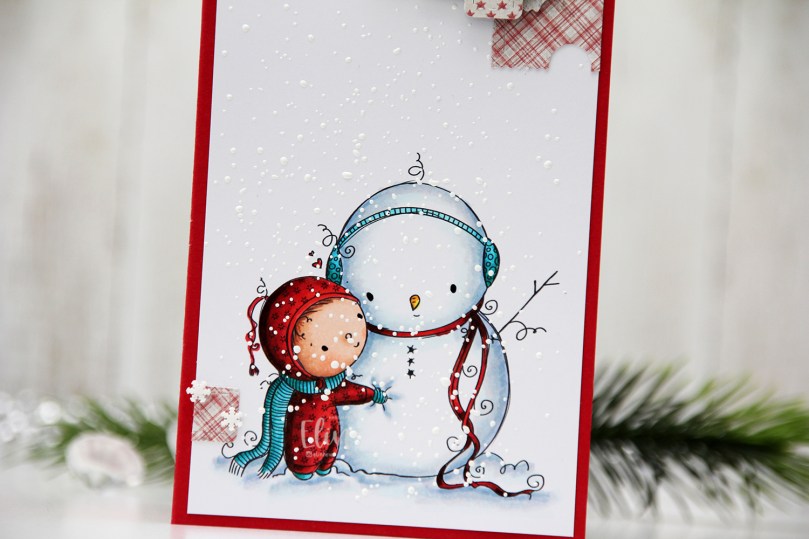 I don’t often create red Christmas cards, but when I can pair that red with a tealy blue, a light blue or a gray, I can make red work. I printed and colored the image onto a 3 1/4 x 6 1/4″ panel of X-Press It blending card, before sprinkling on lots of chunky white embossing enamel from Stampendous to make my scene extra snowy.
 The patterned papers are all die cut from the 6×6″ Home for the Holidays paper stack from Maja Design. I love their patterns and their colors, and the colors in this stack are SO good, I couldn’t resist.
 Mini slimline cards are fun to make. I really should make my envelopes as I go, but I’m not very consistent with that, I’m afraid, and will have lots of envelopes to create once we get a little closer to Christmas (we’ve got less than 100 days to go, by the way).
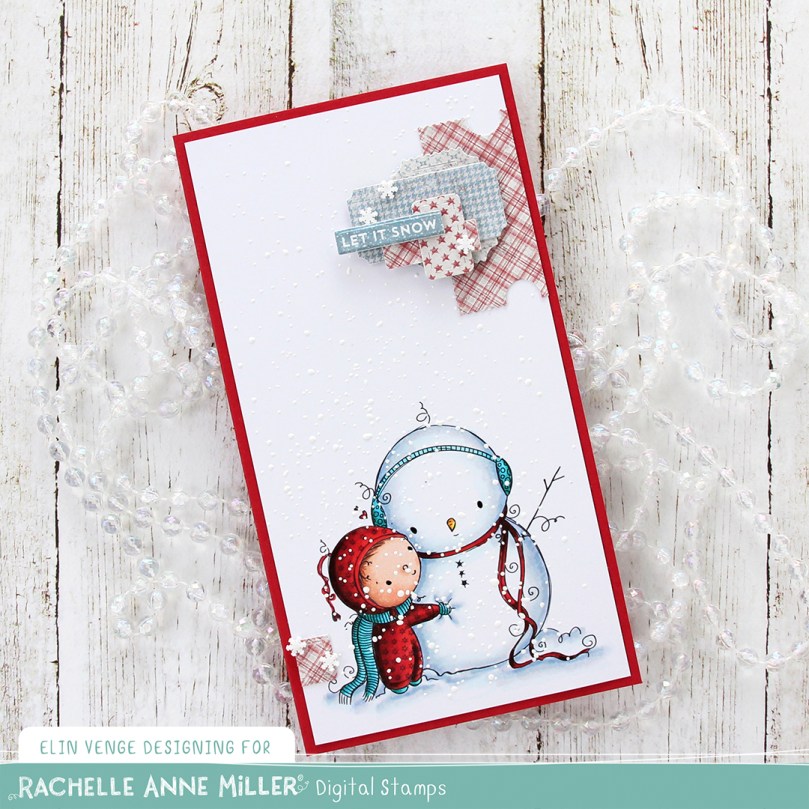 I stamped and white heat embossed a sentiment from the Itty Bitty Holiday stamp set from My Favorite Things onto a scrap piece of patterned paper from that stack from Maja Design, and die cut that with the coordinating Itty Bitty Strips die.
 I added a few snowdrift sprinkles from Little Things from Lucy’s Cards, and the entire panel is adhered onto a card base I made from Wild Cherry cardstock from My Favorite Things. I love their cardstock!
 As usual, I finish with my colors. Not a whole lot for this image.
 I colored in the image using my Copics, adding footprints on the ground with my markers. Using the new Watercolor Wash Free Form die from My Favorite Things, I die cut a hole from the center of a 4 1/4 x 5 1/2 panel of Classic Kraft cardstock from Papertrey Ink. My Favorite Things released a stencil with this design back in July, and it’s awesome. Now there’s a die to match. I added two more layers of white behind my kraft panel to give it a little bit of dimension. I love how the little kid is looking back through the opening.
 I stamped and heat embossed a sentiment from the Itty Bitty Holiday set from My Favorite Things onto Scarlet Jewel cardstock from Papertrey Ink and die cut my sentiment using the coordinating Itty Bitty Strips die set. MFT has a stamp set called Itty Bitty Basics, which I love. Great sentiments in a font that will never go out of style, and it makes me so happy that they now have a Christmas one too – I love making Christmas cards. I added a few snowdrift sprinkles from Little Things from Lucy’s Cards to finish off my design.
 Simple color palette. I always use lots of blues, purples and blue greens for the snow.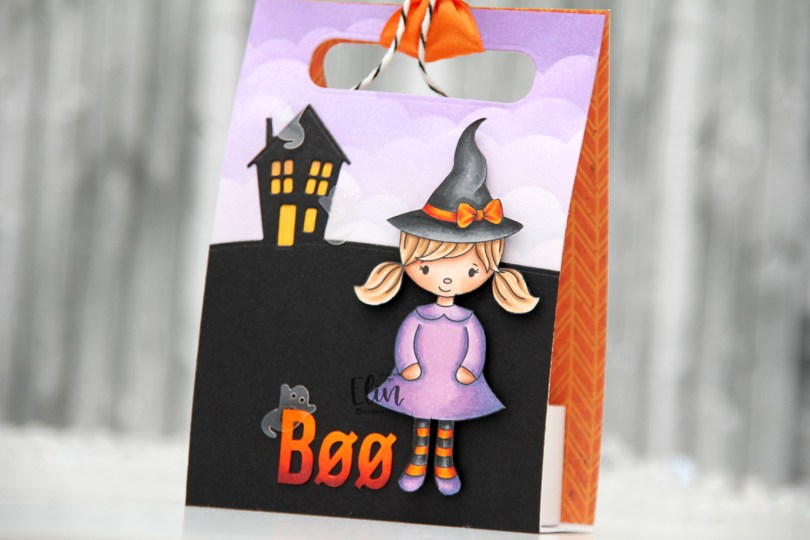
 This cute witch is part of the
  I did ink blending on this one, using the Slimline Cloud Edges stencil from My Favorite Things and inks from Altenew in the colors Deep Iris, Lavender Fields and Soft Lilac. I used the House on the Horizon die from Simon Says Stamp and die cut that from True Black cardstock from Papertrey Ink and adhered it directly onto my ink blended piece. Using a yellow Copic marker, I quickly colored in the windows and door of the house. I colored some white letter stickers from Papirdesign to match the orange on the girl, and adhered the letters next to her feet, before finishing off with a few ghosts from the Candy Corn mix from Little Things from Lucy’s Cards. I put a scrap piece of patterned paper on the inside back for a little extra visual interest, die cut holes through both layers and added a piece of ribbon and some twine to finish.
 Simple, Halloweeny color palette.
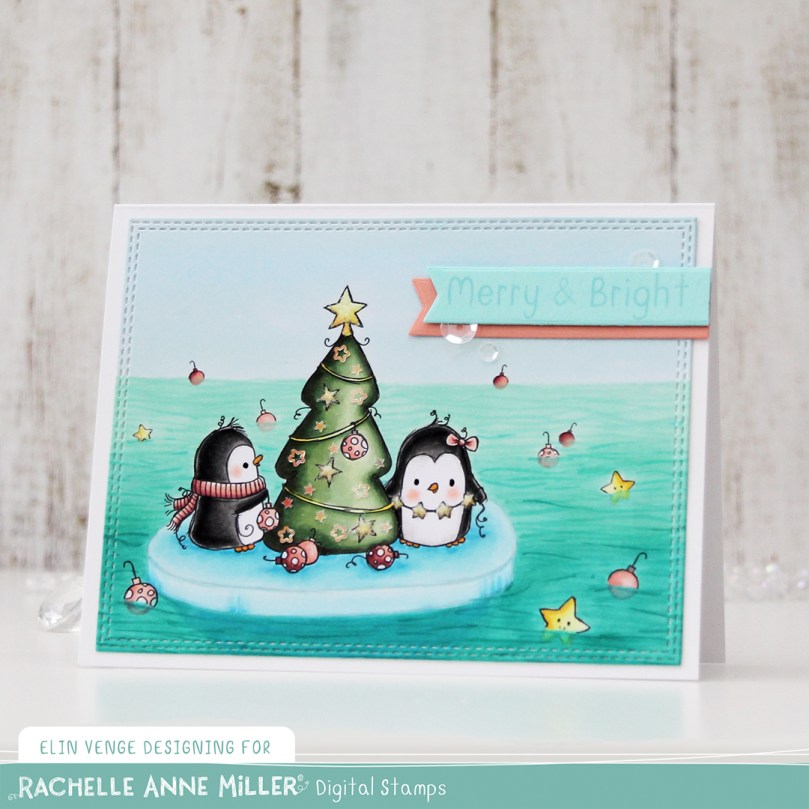 I put the penguins on a sheet of ice, made the ice no line and scattered baubles and stars around the ice to create a fun scene.
 I colored in my scene using Copics, die cut my panel using a double stitched rectangle die from My Favorite Things and decided to add a few little details for shine and texture. I added Rock Candy distress glitter to the stars, a dot of black glaze pen in each eye for a little bit of dimension and shine, and I also glued on some additional stars to the tree. The stars are from the Icicle sequin mix from Hero Arts.
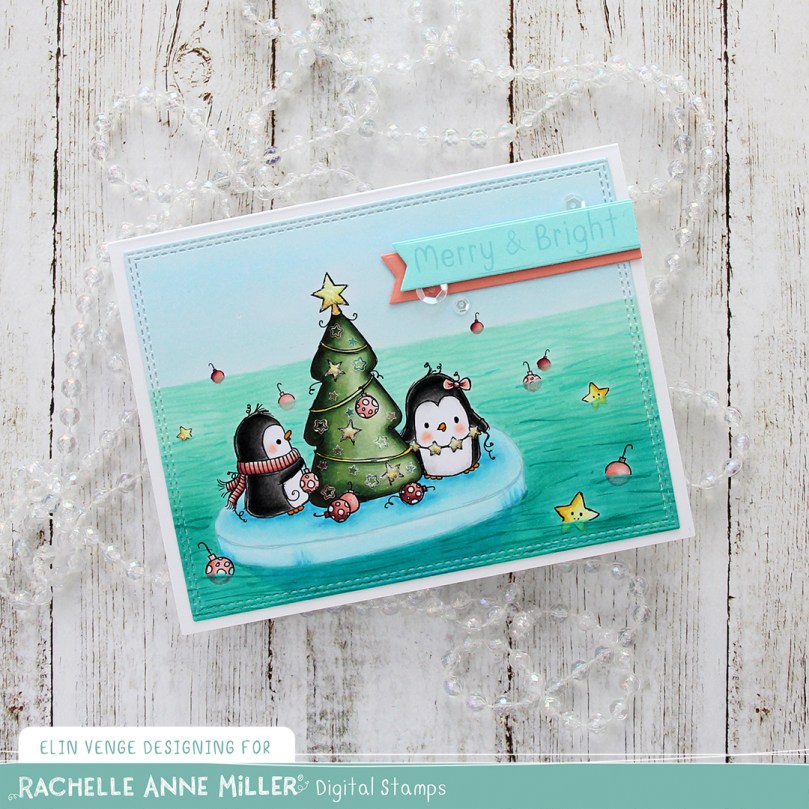 I printed one of the sentiments in the scene creator set onto a piece of Aqua Sky cardstock from Concord & 9th, and die cut that using a die from My Favorite Things. I used the same die to die cut from some Grapefruit cardstock, another beautiful Concord & 9th color, and one that matches perfectly with the baubles I colored.
 Near the sentiment, I added sequins from the White Orchid sequin mix from Little Things from Lucy’s Cards, and that finishes my card.
 I used lots of Copics for the ocean, the sheet of ice and the sky, not that many for everything else.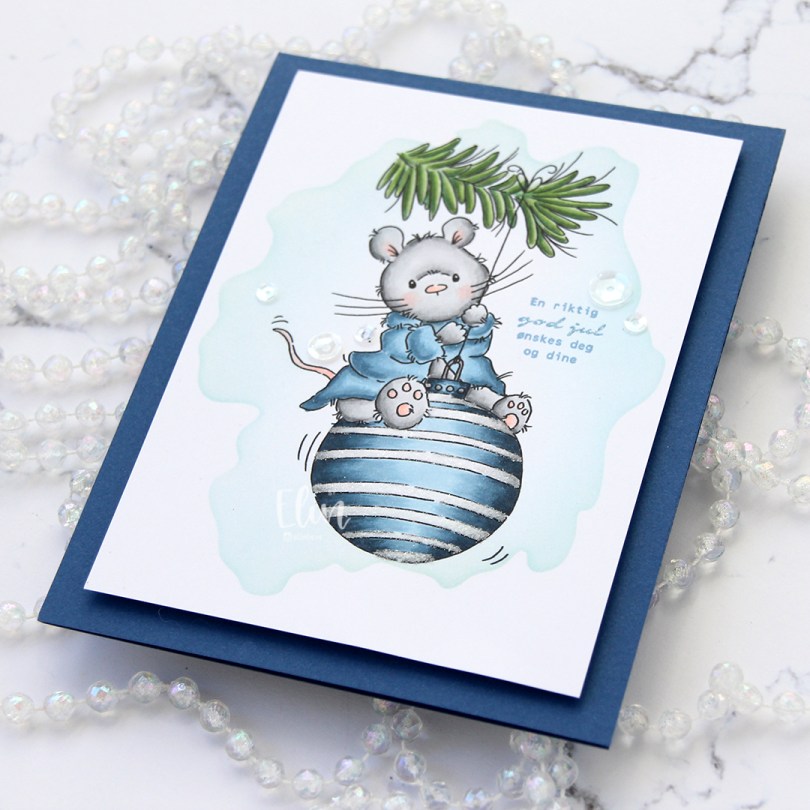
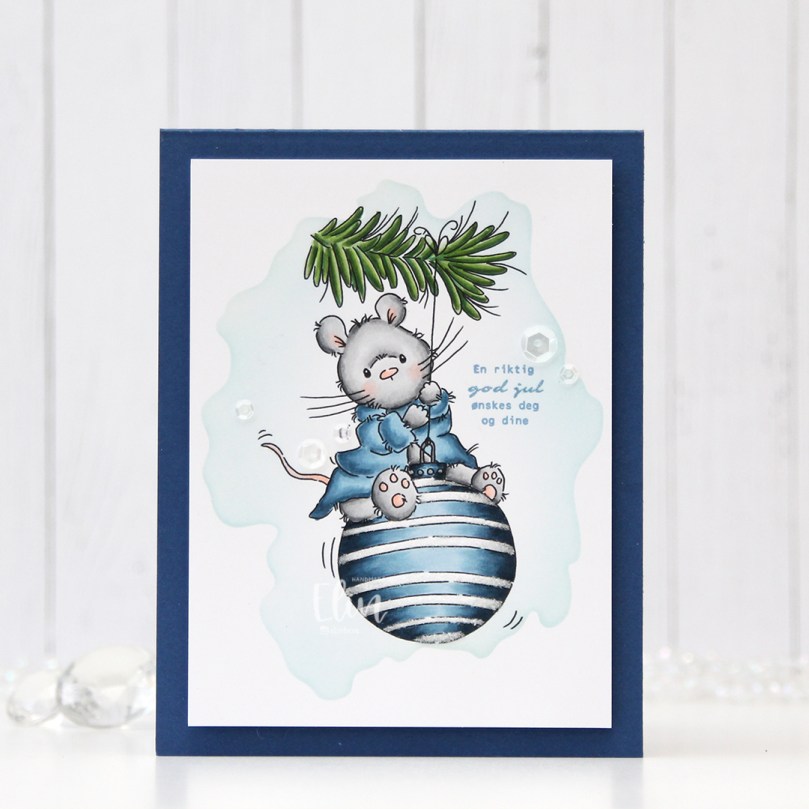 Enough blabbing. I printed the cute mouse onto a 1/4 sheet of X-Press It blending card, which is my favorite for Copic coloring. Using a stencil from My Favorite Things and Iceberg ink from Altenew, I did some very light ink blending around the image for a little bit of added interest before I started coloring.
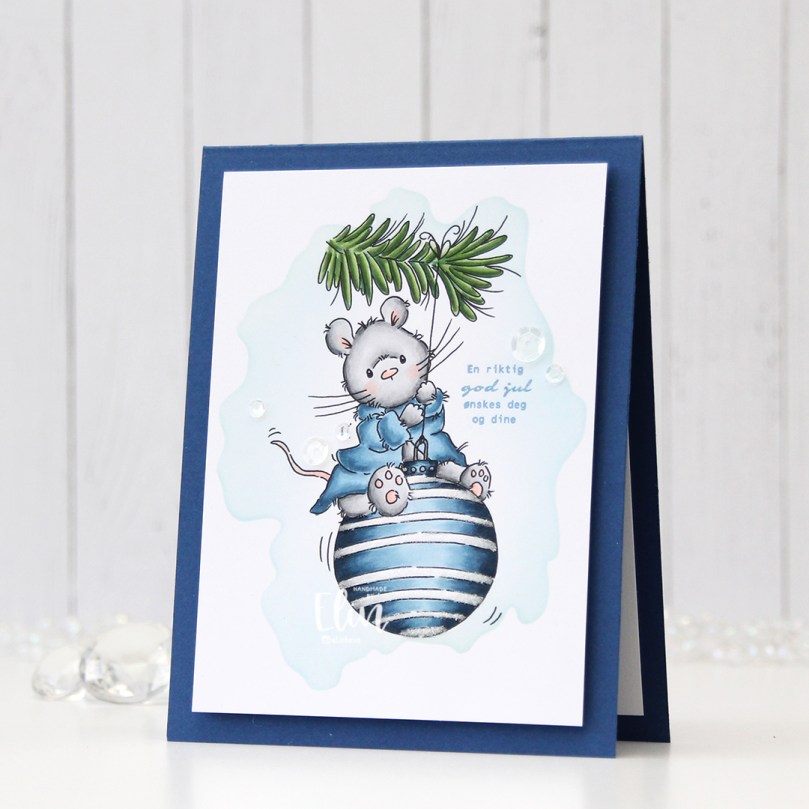 Onto the “white” stripes on the bauble, I used my quickie glue pen from Sakura and sprinkled on Rock Candy Distress Glitter for a little bit of sparkle. You can kind of see it in this photo, but it’s more noticeable in real life.
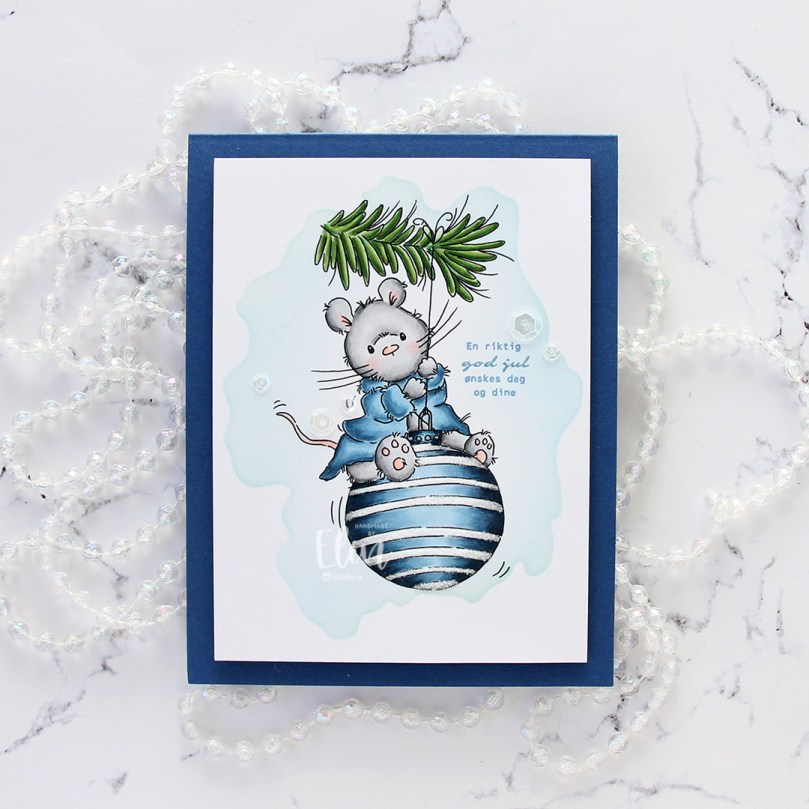 I cut my panel down, added lots of foam tape to the back and added it to a top fold A2 note card that I created from Blueberry cardstock from My Favorite Things. Sadly, this is one of their discontinued colors, but I have a pack of this cardstock that I absolutely love, and this color is just beautiful. It’s dark blue, but not too dark, and it’s just the right tone of blue.
 I stamped a sentiment from Norsk Stempelblad AS using Blue Yonder ink from My Favorite Things. I don’t have ink in the discontinued Blueberry color, and I didn’t want to use too dark of a blue ink, so I triple stamped using the Blue Yonder instead. It matches the robe pretty well.
 I added a few sequins from the White Orchid sequin mix from Little Things from Lucy’s Cards, and the card was done. Super simple.
 Super simple color palette, too.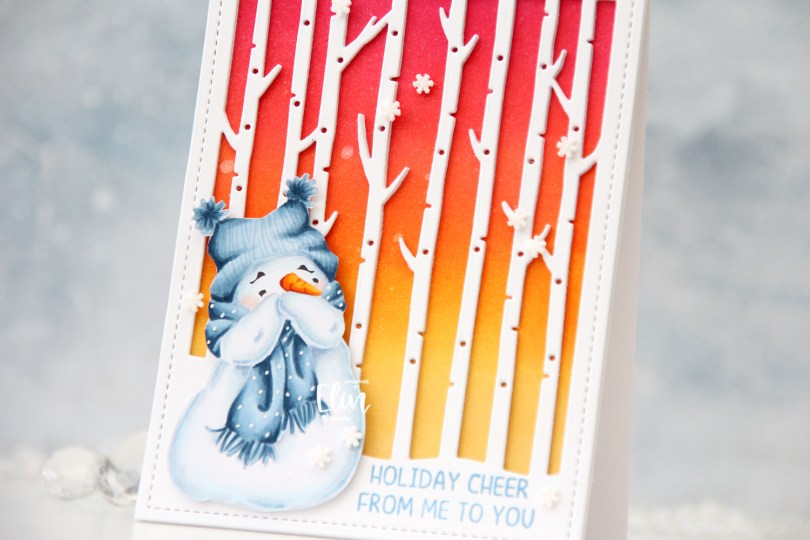
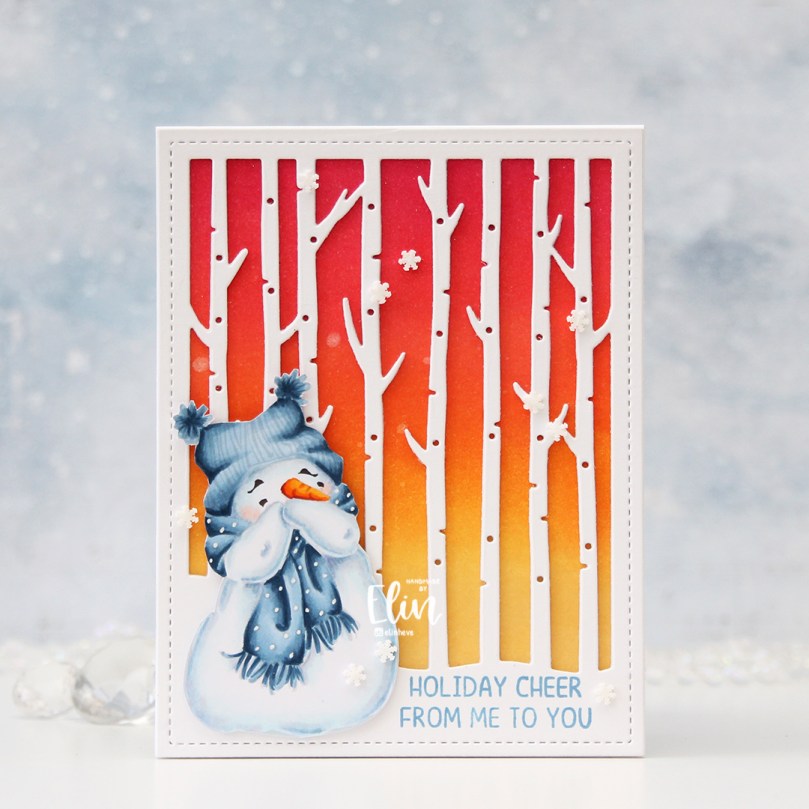 I opted for some no line coloring this time, keeping his eyes and eyebrows a dark brown before printing. I used my favorite blues and fussy cut him once he was all colored up.
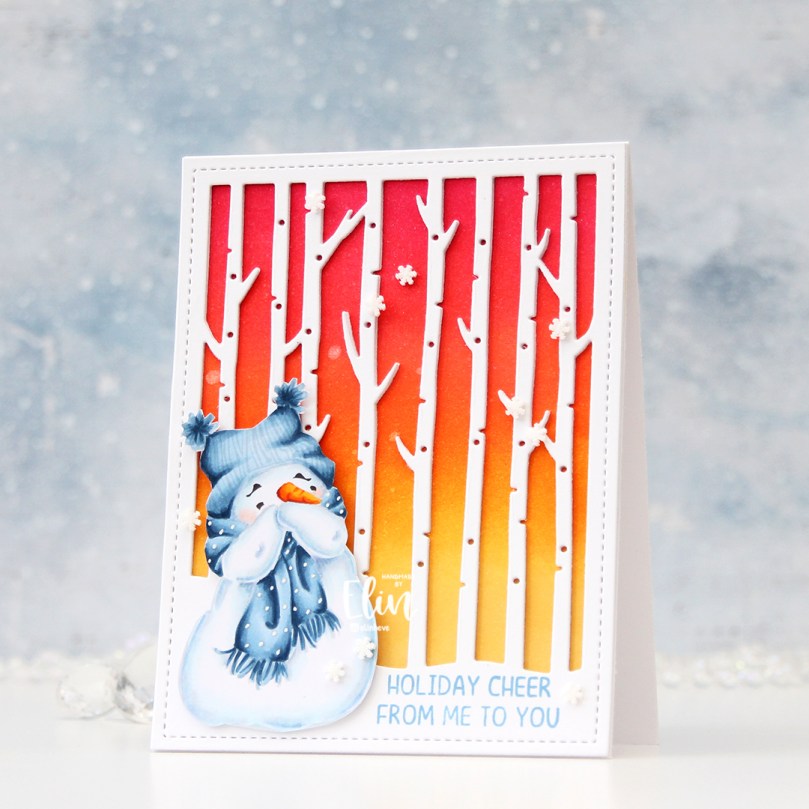 Directly onto the cardbase I ink blended Distress Ink in the colors Picked Raspberry, Worn Lipstick, Spiced Marmalade and Scattered Straw to create an intense winter time sunset and create some contrast between the cool colors of the snowman and the background. I misted it generously with a sparkle shimmer spray which catches the light nicely when you tilt it, but it doesn’t really show up in my photos (except for a couple of bigger drops). I wanted to ink blend directly onto the cardbase because I knew I was putting lots of layers of die cut cardstock on top, and I didn’t want the card to be too front heavy.
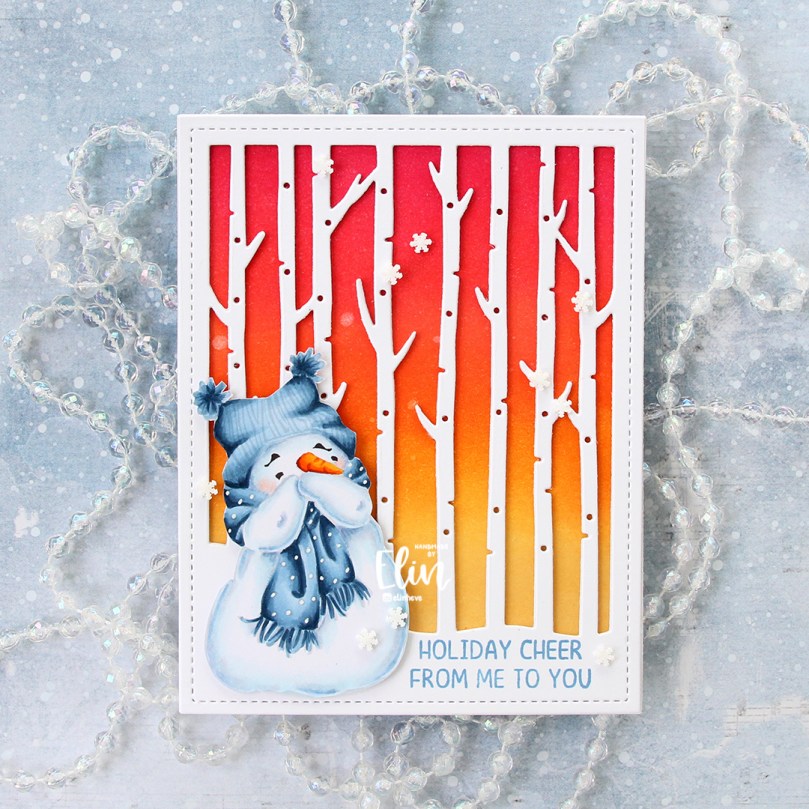 Speaking of die cut cardstock. I used the Winter Forest Cover die from Mama Elephant to die cut three layers of white cardstock and glued them together for dimension, before adhering the stacked die cuts to the card base.
 I stamped a sentiment from last year’s Stamptember collaboration set from Mama Elephant and Simon Says Stamp using Lazy Day ink from My Favorite Things. I love this blue color!!
 I fussy cut my snowman and adhered him using 1 mm foam squares, before finishing off the card with a few snowdrift sprinkles from Little Things from Lucy’s Cards.
 Very few colors used for this one. B93 and 91 are used both for the snow and for the scarf and hat.
