Wish big

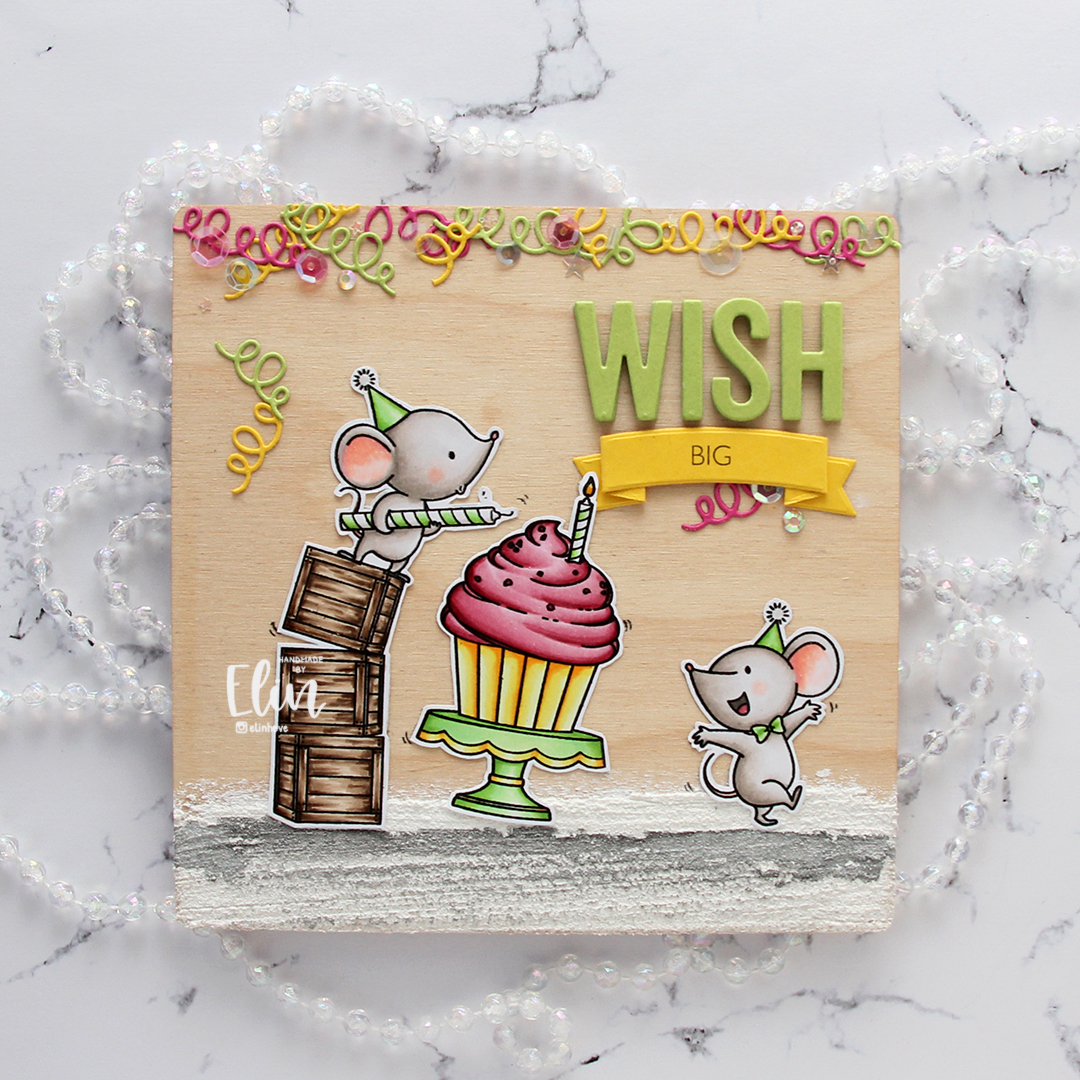
Hi! I’m back with something a little bit unusual. It’s a plywood card. It’s more of a plywood postcard, really. It’s about 1/8″ thick and is definitely sturdy enough to be sent in the mail. On the back there’s a place to put a stamp and the recipient’s address, and space to write a greeting, just like a regular postcard. I’ve put plenty of little die cuts and sequins on the front of this one, so I’d probably put it in an envelope if I wanted to mail it, just to be safe.

My Favorite Things Mice Day to Celebrate front rett

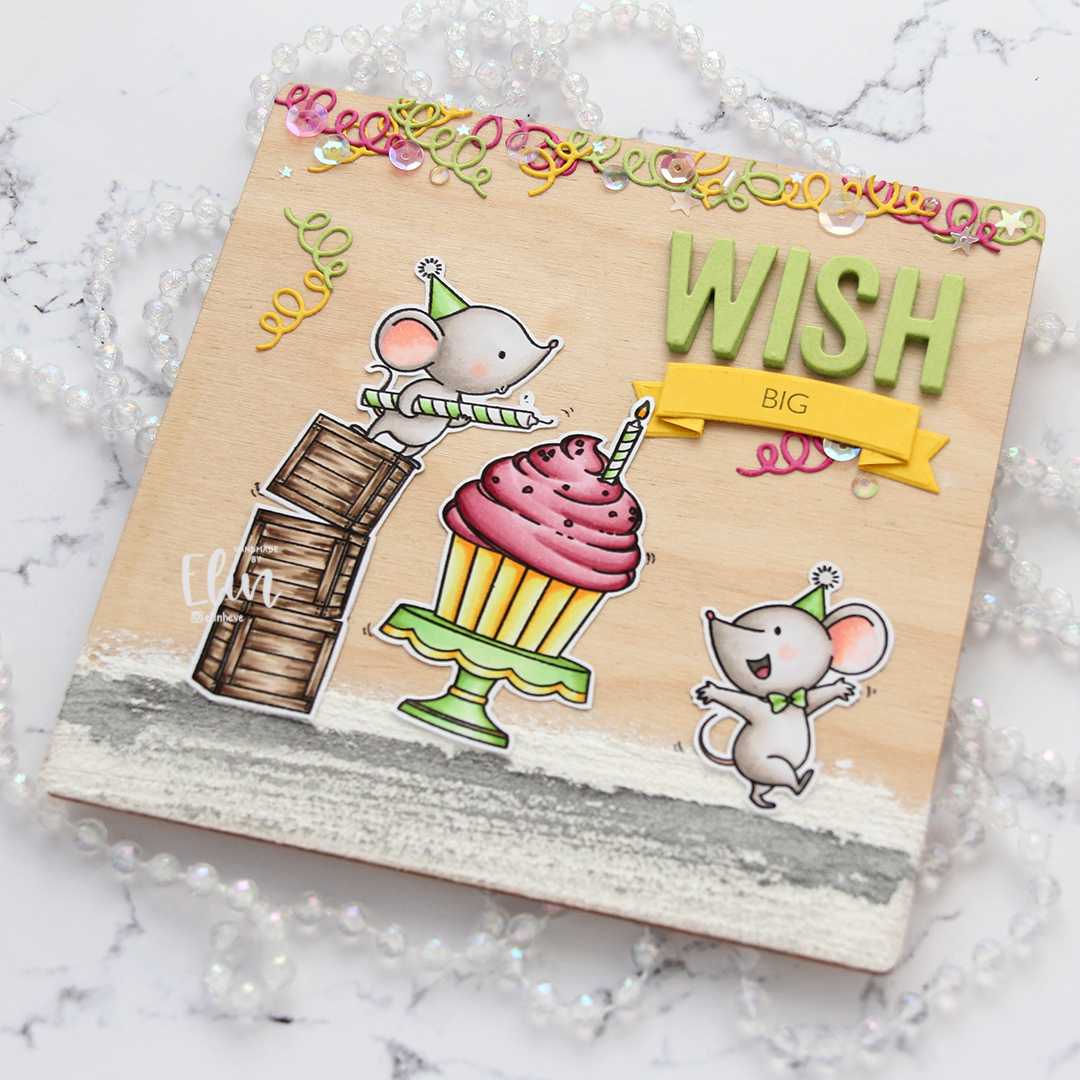
I colored a few of the images from the Mice Day to Celebrate stamp set from My Favorite Things with my Copics on X-Press It blending card. I fussy cut them and created a scene where the stack of crates that the one mouse is standing on is so wobbly that he’s tipping over the cupcake, making the mouse on the right run away. To ground my images, I painted a layer of snow paint at the base of the postcard, let that dry (it dries fairly quickly) and used watered down black watercolor paint (W502 Ivory Black from Mijello Mission Gold) to get some contrast on there.

My Favorite Things Mice Day to Celebrate flatlay skrått

Using the Big Birthday Wishes die from My Favorite Things, I die cut six of each of the letters I needed to spell the word wish from Sour Apple cardstock from My Favorite Things, and stacked them for dimension. Onto a die cut banner made from Lemon Drop cardstock, I stamped the word Big from the Pawty Time stamp set, also from MFT.

My Favorite Things Mice Day to Celebrate flatlay rett

I die cut the streamer that’s in the Tag Builder Blueprint 5 set from My Favorite Things from 3 colors of cardstock. In addition to the Sour Apple and the Lemon Drop I’d already used, I threw in some Ripe Raspberry to match the frosting on the cupcake. I adhered most of the streamers at the top of the postcard, but a few are trickling down.

My Favorite Things Mice Day to Celebrate flatlay høyre

To finish off the party vibe and to add a little bit of shine, I added sequins, confetti, beads and crystals from the Enchanting embellishment mix from Little Things from Lucy’s Cards.

My Favorite Things Mice Day to Celebrate Copics

Not a whole heap of colors for this one.

Hipp hipp hurra {Lili of the Valley}

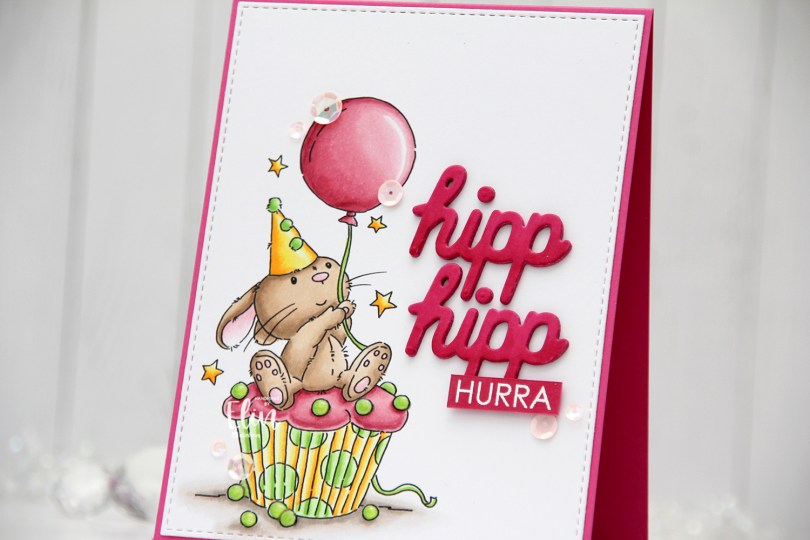
Hi, there! I’m sharing a card with a super cute bunny on a cupcake today, an image from the latest release from Lili of the Valley, which consists of 6 different cupcake images with various critters. You can find the Cupcake Bunny here, and the entire cupcake bundle here.

Lili of the Valley Cupcake Bunny front rett

I printed the image onto X-Press It blending card, which is my favorite for Copic coloring. Once I finished my coloring, I die cut the image down to a panel with faux stitching using the largest of the A2 Stitched Rectangle STAX dies from My Favorite Things. I think this might be my most used die.

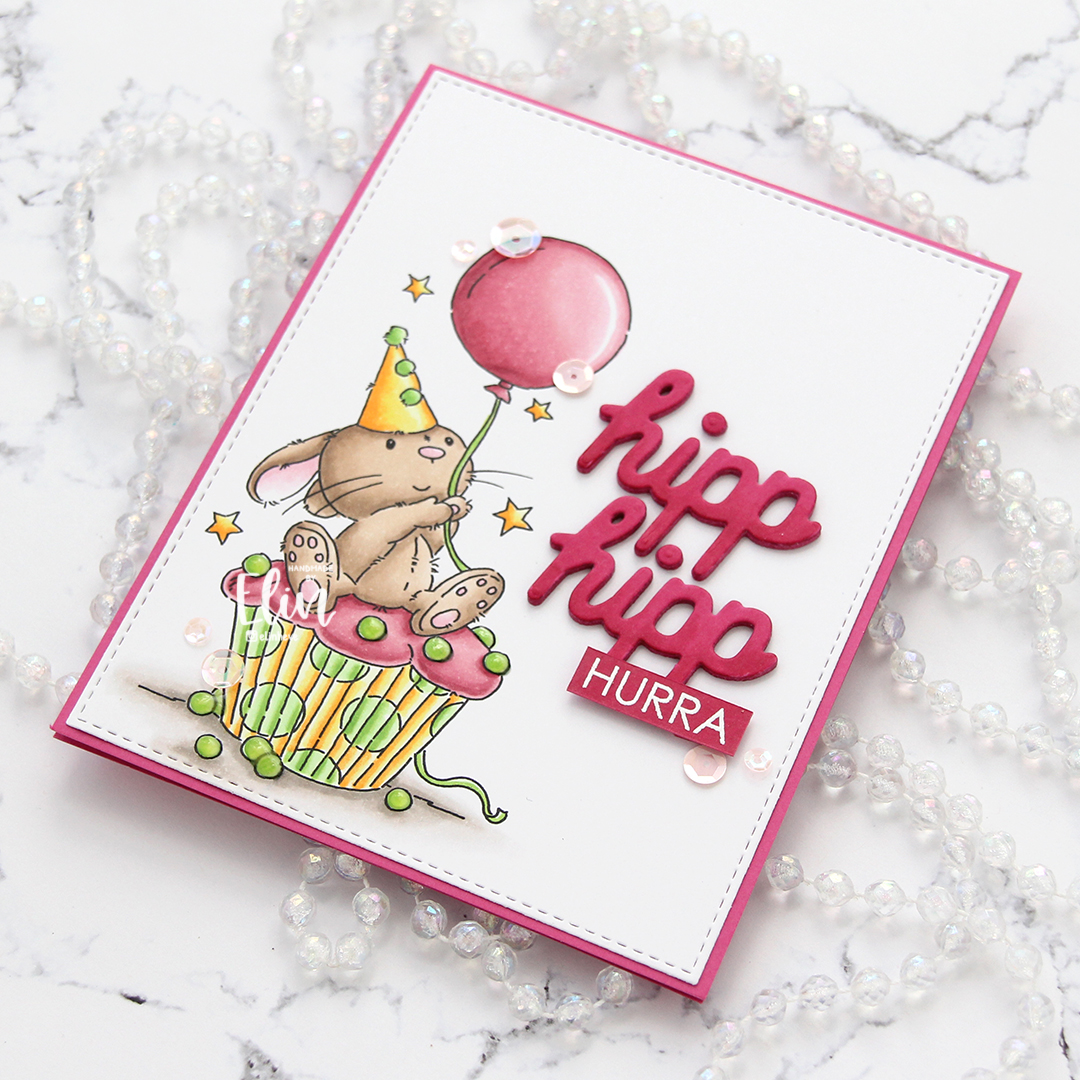
Lili of the Valley Cupcake Bunny front skrått

I adhered my panel onto a top fold card base I created from Ripe Raspberry cardstock from My Favorite Things. I love the cardstock from MFT, it’s nice and sturdy and they have some great colors!

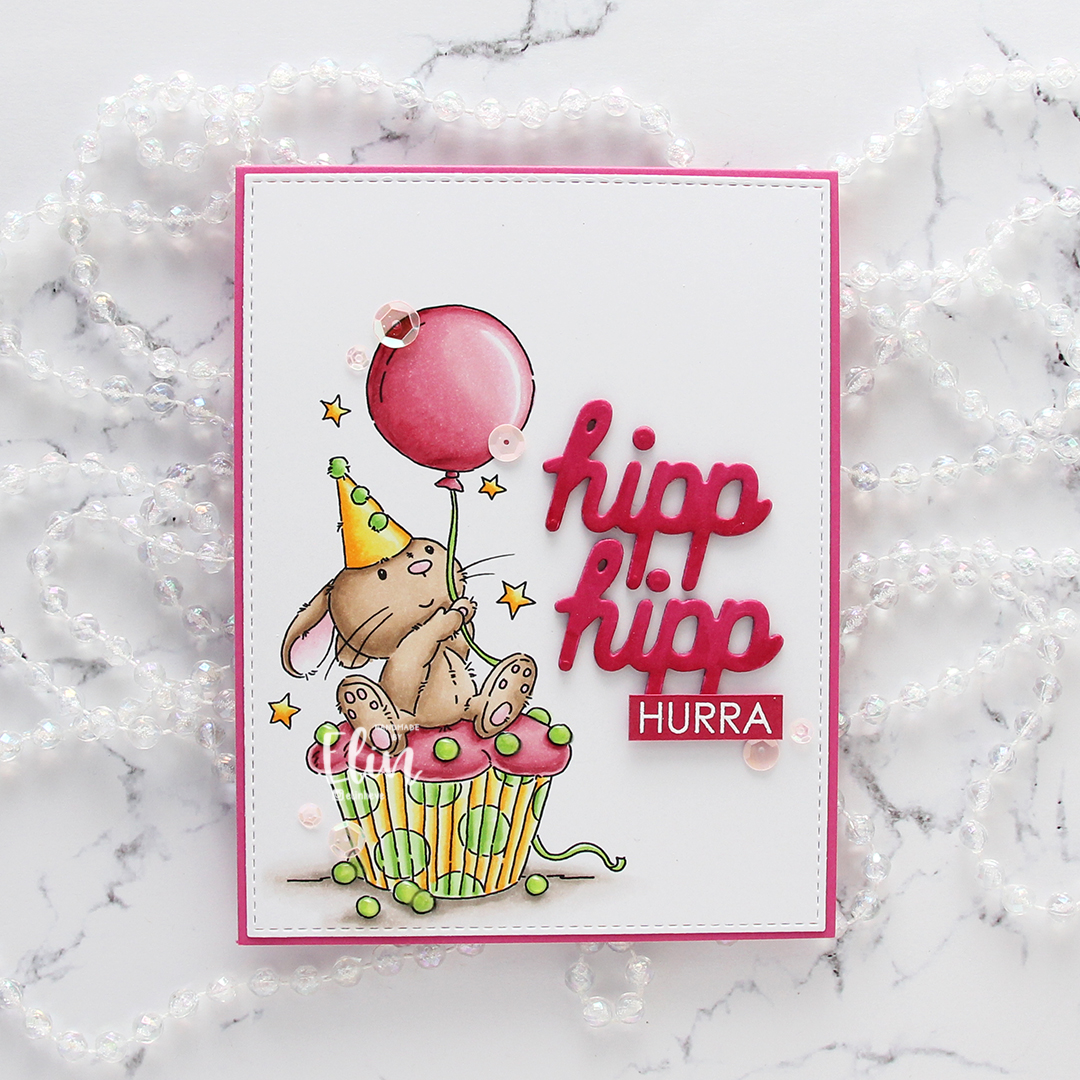
Lili of the Valley Cupcake Bunny flatlay rett

Using a die from Kort & Godt, I stacked the word “hipp” twice from four layers of the same pink cardstock. I colored the top layers with R85 and R83 for a little bit of a gradient color and for the top layer to match my coloring a little bit better than the actual cardstock color.

Lili of the Valley Cupcake Bunny flatlay skrått

On a strip of the same pink cardstock that I’d colored with R85, I heat embossed the word “HURRA” from the Gratulerer stamp set from Norsk Stempelblad AS using VersaMark ink and white detail embossing powder from Ranger. I added a few more layers of pink cardstock behind it and added my stacked sentiment strip to complete my sentiment.

Lili of the Valley Cupcake Bunny flatlay høyre

I added a few sequins from the Rosy Glow mix from Little Things from Lucy’s Cards, and decided to also cover the green sprinkles with Nuvo Jewel Drops in the color Key Lime. They add even more shine and dimension to the card.

Lili of the Valley Cupcake Bunny Copics

Simple color palette. I love pink, yellow and green together!

Wishing you a happy day {Lili of the Valley}

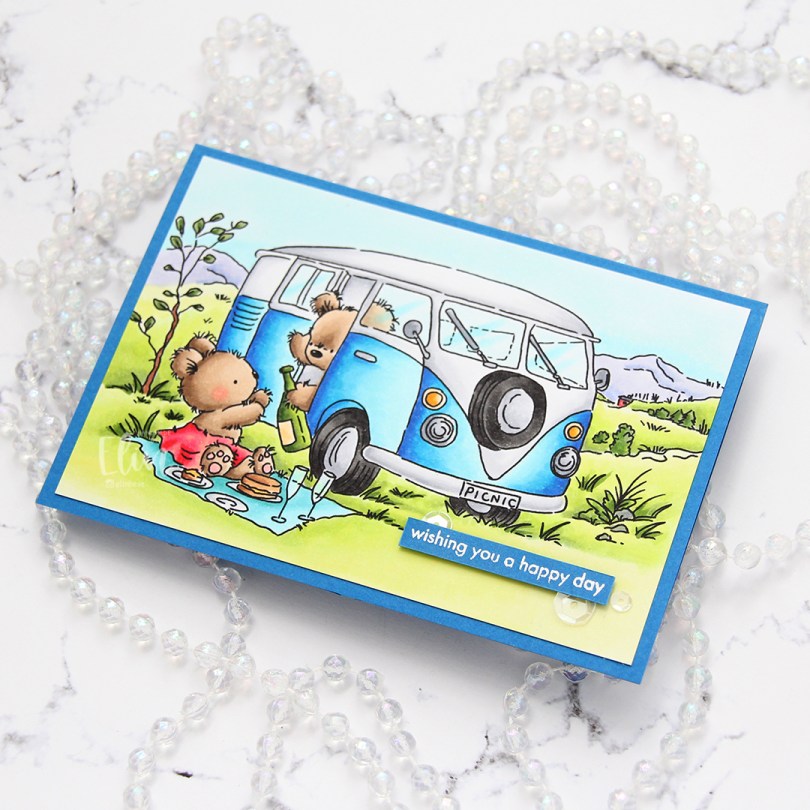
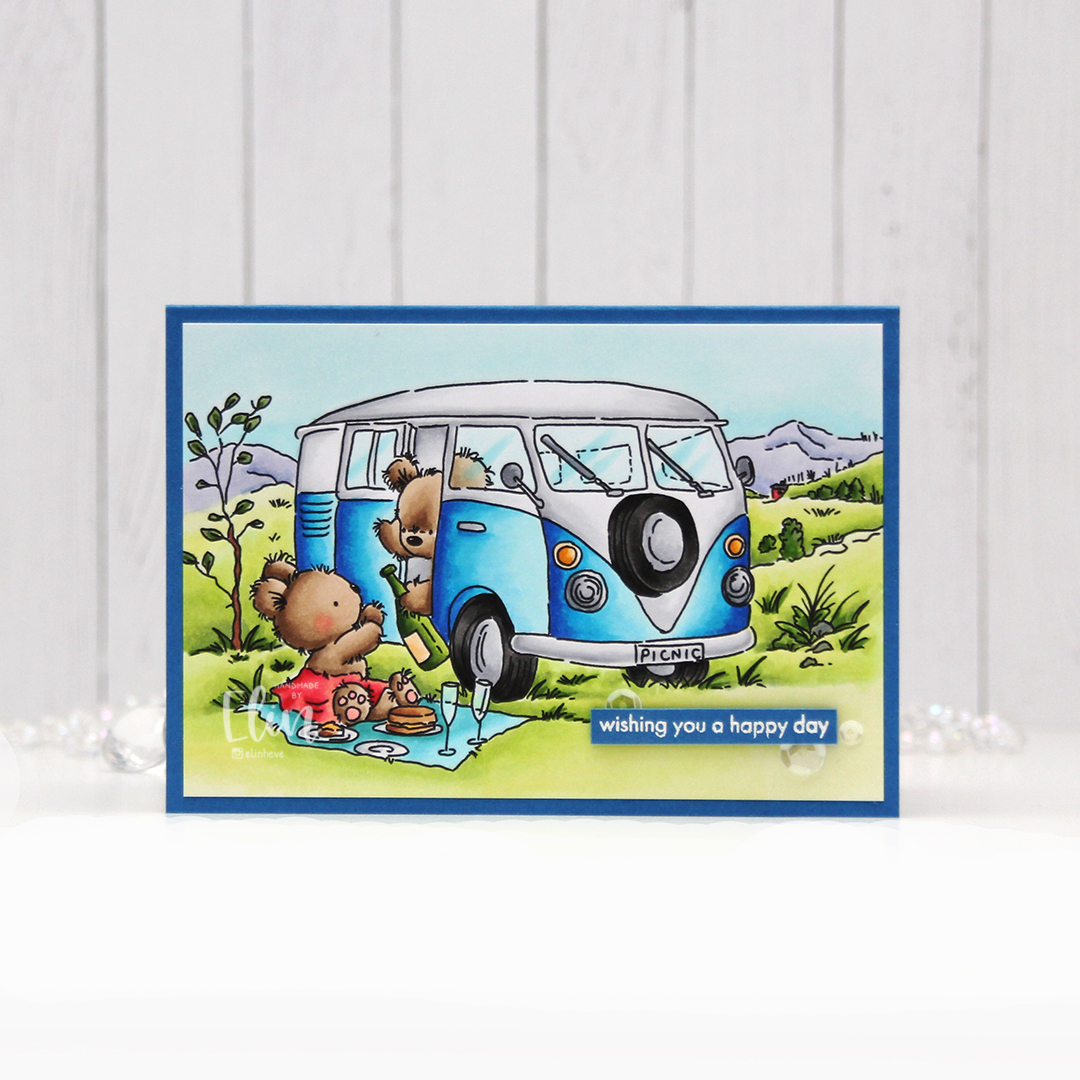
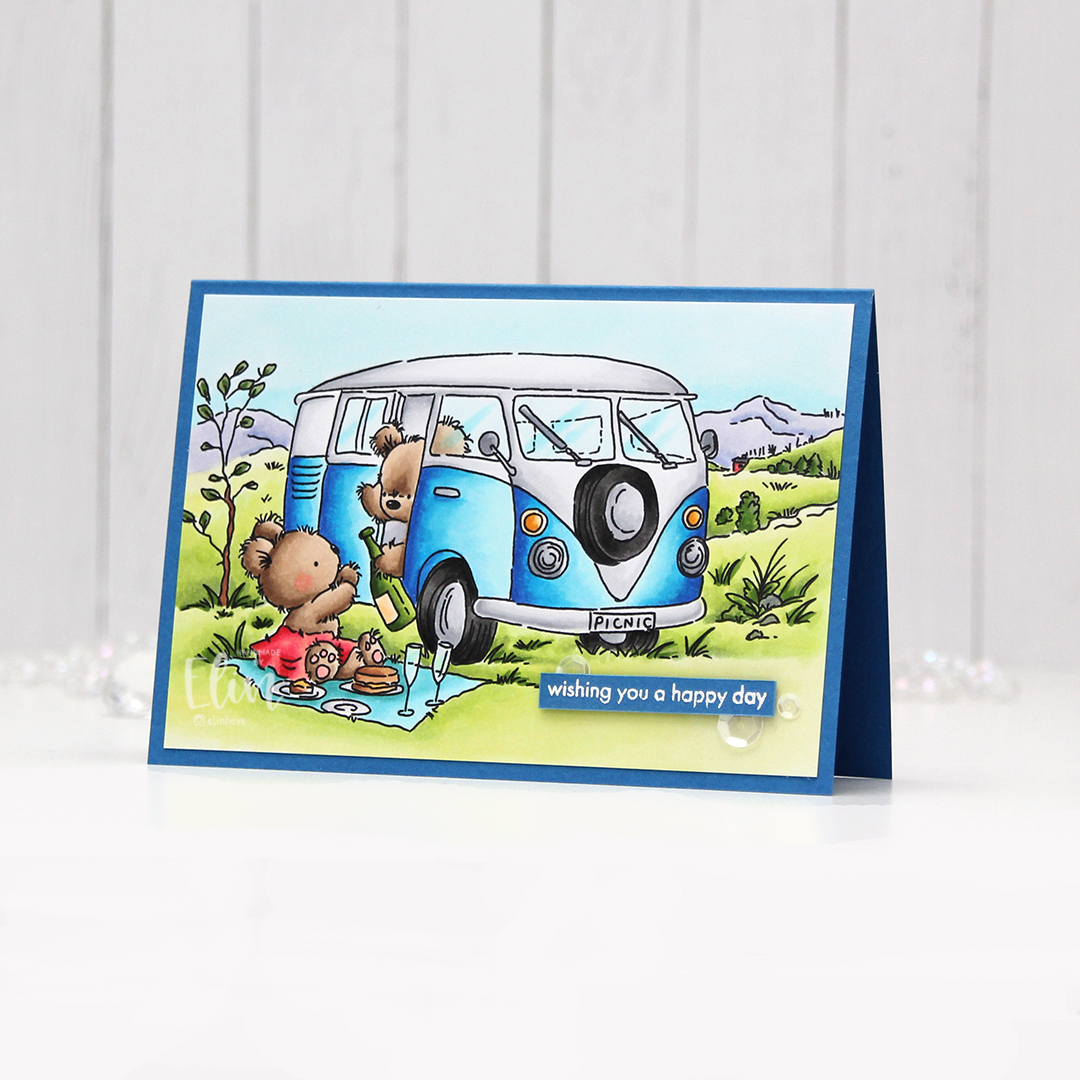
Hi, there! I have a very simple card to share today, featuring the Camper Van image from Lili of the Valley. How cute are these bears having a picnic?

Lili of the Valley Camper Van front

I printed the image onto X-Press It blending card and colored the whole thing in with my Copics. I trimmed it down a little and adhered it directly to a top fold card base I made from Cornflower Blue cardstock from My Favorite Things. It’s the blue cardstock I have that most closely resembles the darkest of the blue Copics I used on the image.

Lili of the Valley Camper Van front skrått

I wanted to keep the card pretty simple and not cover up too much of the image, so I decided to white heat emboss a sentiment from the Statement Flowers stamp set from Altenew onto a scrap piece of that same blue color cardstock. I added a few layers of cardstock behind it for dimension and put in in the bottom right corner of the card, with just enough space around it to add a few sequins from the White Orchid sequin mix from Little Things from Lucy’s Cards.

Lili of the Valley Camper Van flatlay rett

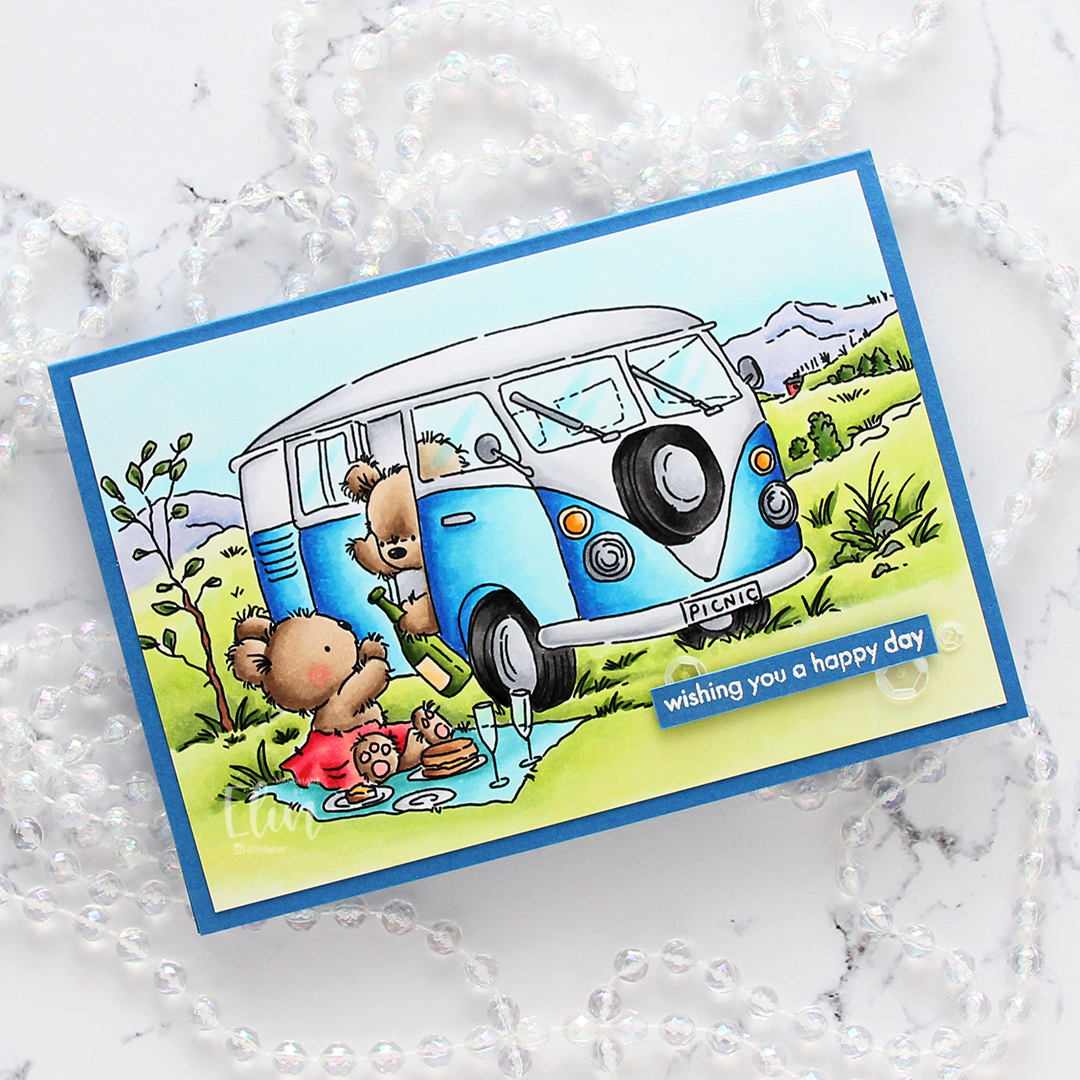
The size of the card wound up being an odd one, it measures 5 1/4 x 3 5/8″. I probably could have cut down my colored piece in a way that would fit an A2 sized card better, but I don’t mind the odd size. As long as I can create an envelope that will fit, I’m good.

Lili of the Valley Camper Van flatlay skrått

I feel that simplicity is the key when using full colored panels on my cards. By not adding a whole lot to it, there’s nothing to distract and the image gets most of the attention.

Lili of the Valley Camper Van flatlay høyre

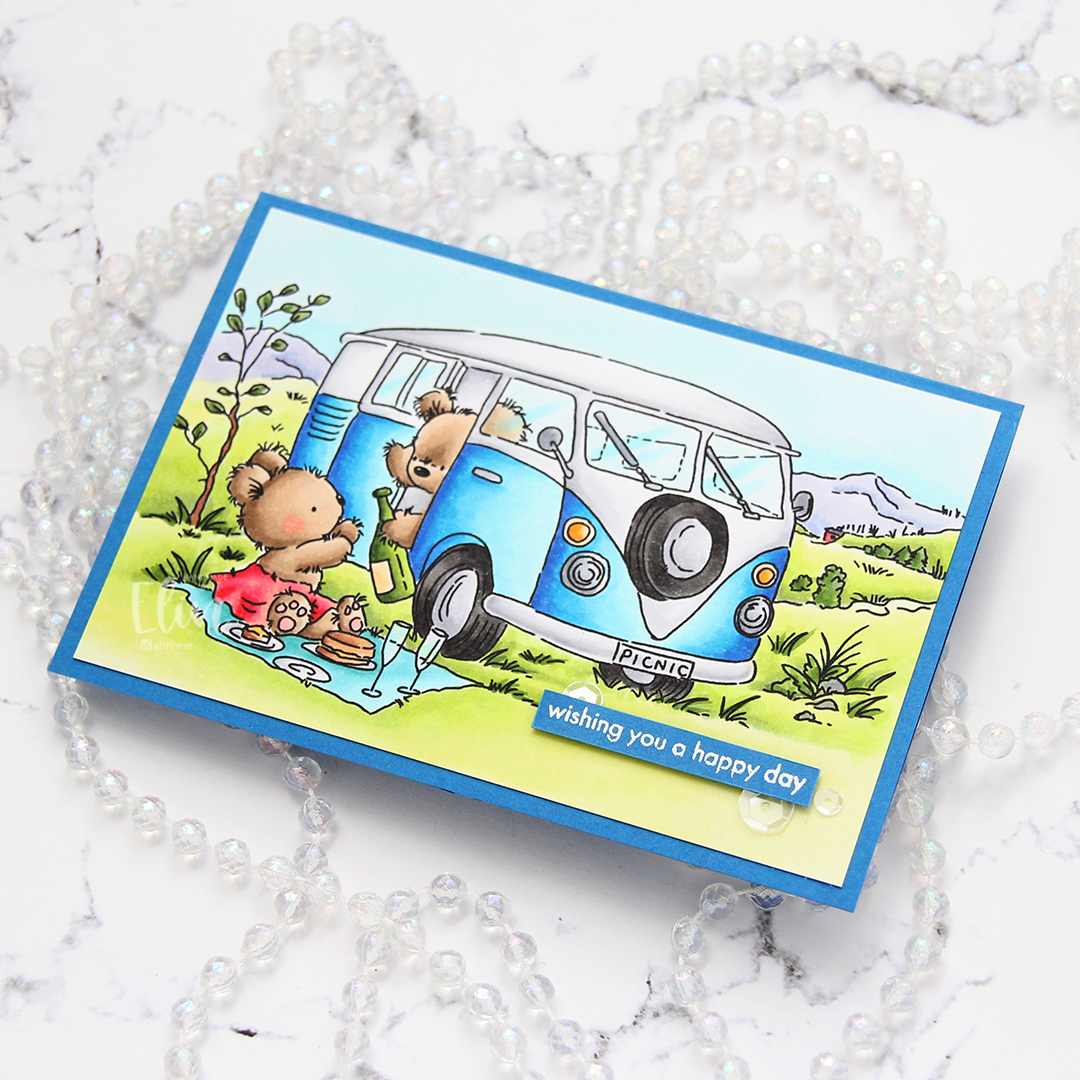
Here you can see the tiny bit of dimension behind the sentiment. Three additional layers of cardstock strips gives the sentiment a little bit of lift, and it also makes tucking sequins in behind the sentiment a little bit easier.

Lili of the Valley Camper Van Copics

Quite a few Copics for this one.

Waving hello {Rachelle Anne Miller Creative Studios}

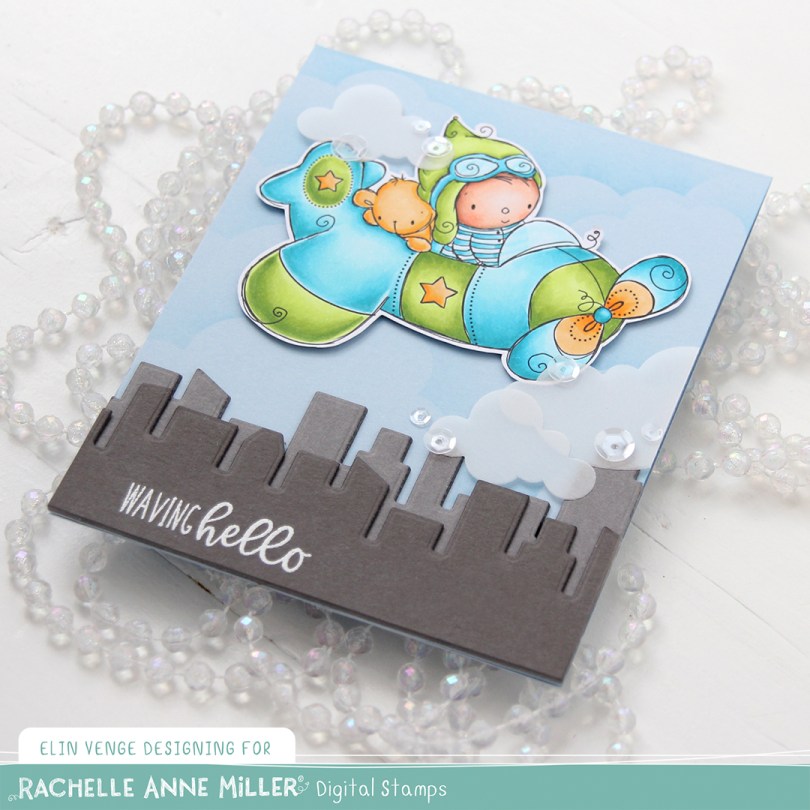
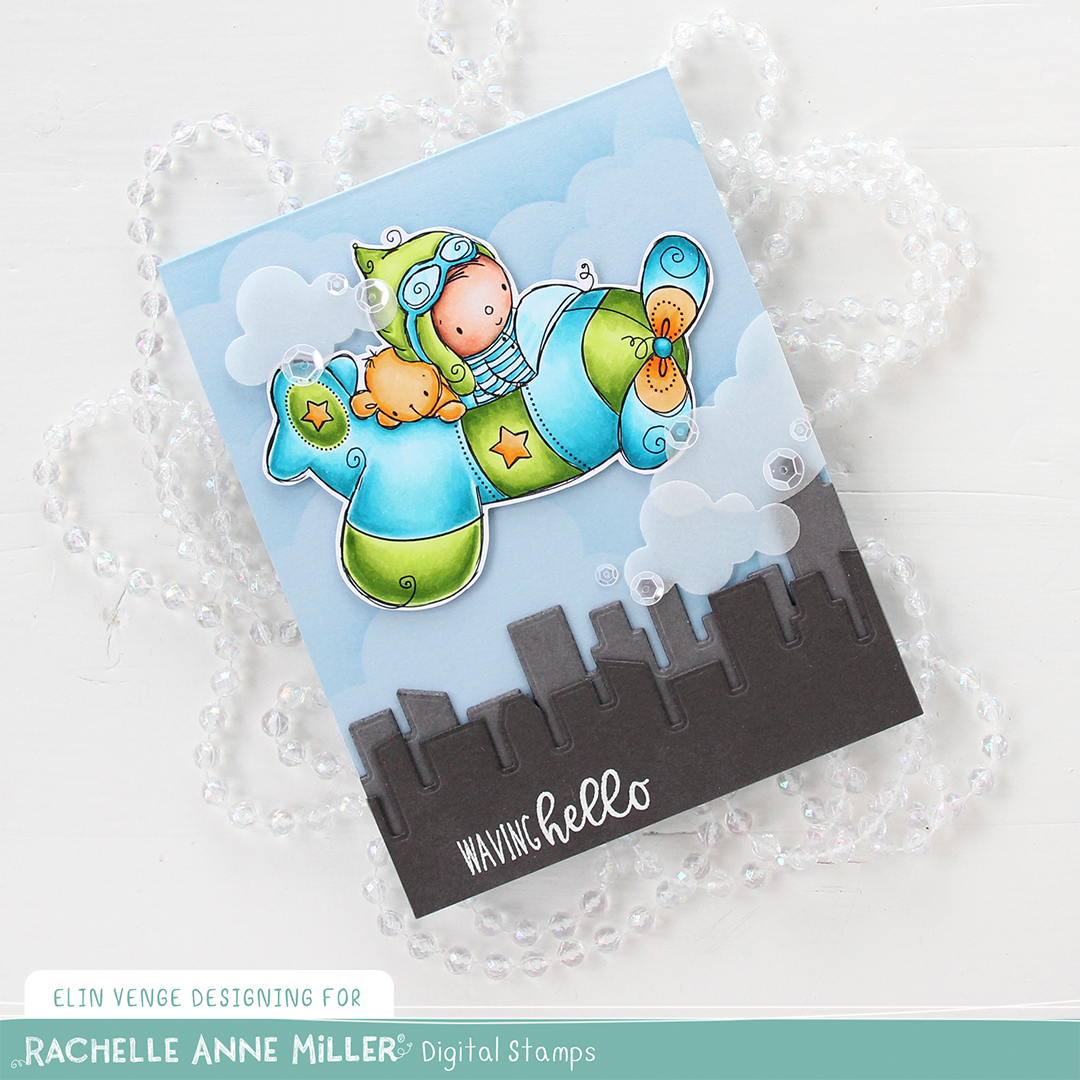
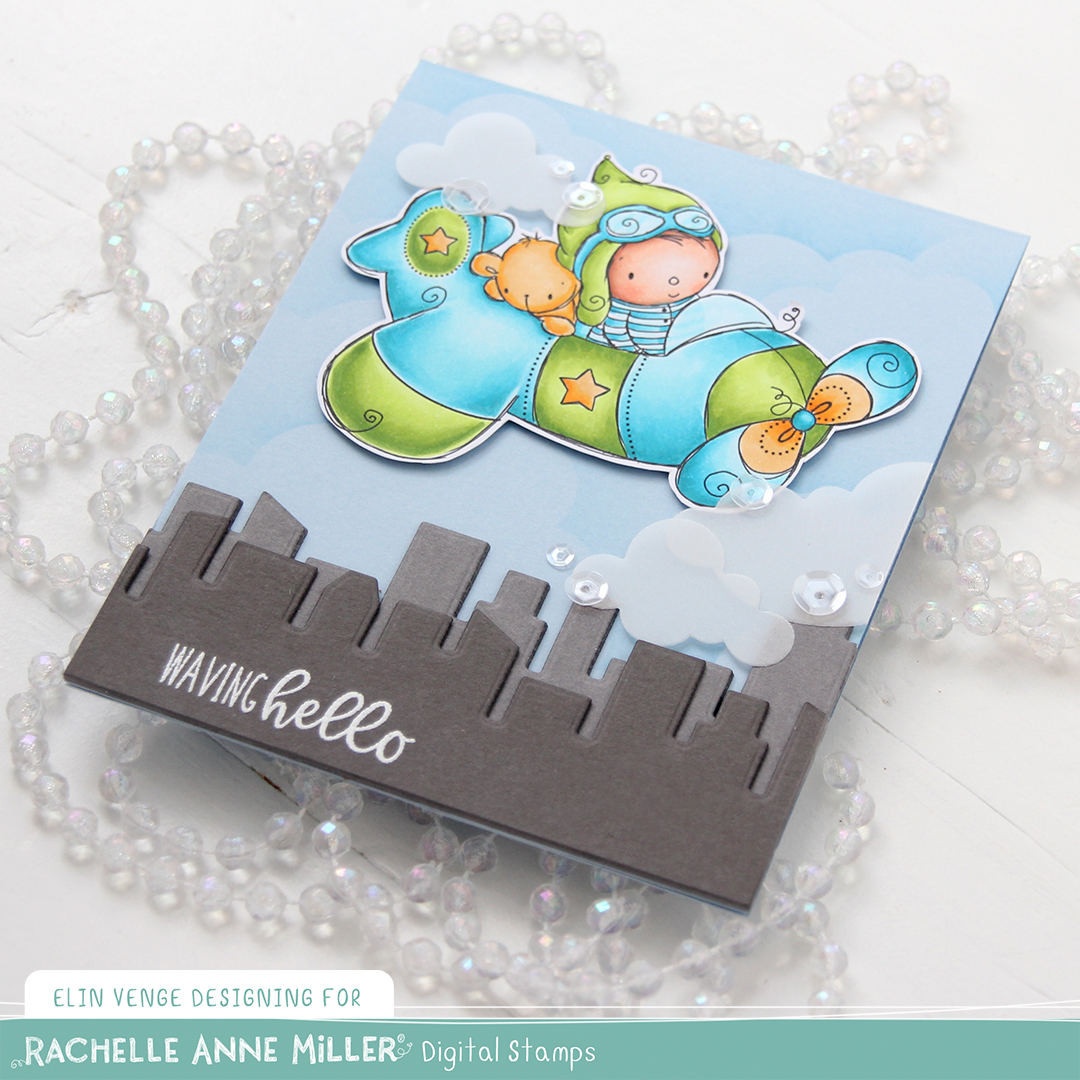
Hi, there! I have a little pilot to share with you today. This image is from the July release from Rachelle Anne Miller and will be available for purchase on Thursday, along with the other images in the release.

Rachelle Anne Miller Little Pilot front rett

I’ve been using a lot of vibrant colors lately. I think there’s something about the sunshine and the warm temperatures that contribute to happy colors! I’m here for it, fall will be here way too soon anyway. I usually cut against the black lines when I fussy cut, but Rachelle’s images have wonderfully whimsical wispy lines on the outside, and I didn’t want to cut those away. The white border also helps make the plane stand out against the blue background.

Rachelle Anne Miller Little Pilot front skrått

Speaking of backgrounds, I used the Rolling Clouds stencil from My Favorite Things with Lazy Day ink (also MFT) directly onto my card base to create clouds in the background. The card base itself is made from Blue Breeze cardstock from My Favorite Things.

Rachelle Anne Miller Little Pilot flatlay

Using a die in the Slim Film City die set from Mama Elephant, I die cut a skyline from two gray colors of cardstock from My Favorite Things (Gravel Gray and Eiffel Tower). I die cut three layers of the lighter one (Gravel Gray) and stacked them. I die cut two layers of the Eiffel Tower cardstock and stamped and white heat embossed a sentiment from Purple Onion Designs onto the top layer, and adhered these two offset from the lighter gray buildings behind them.

Rachelle anne Miller Little Pilot flatlay angled

I wanted to add a little something extra, and decided to die cut a few clouds from vellum. I love creating vellum clouds, there’s something dreamy about them. I’d adhered my plane using 1 mm foam squares for a little bit of dimension, and by placing my clouds directly onto the plane and the layered cityscape, I get dimension without having to use more foam squares, which can kind of be a pain with vellum, because most things show trough. I put tiny drops of glue in strategic places behind my clouds, anchoring each of the clouds in two spots.

Rachelle Anne Miller Little Pilot flatlay høyre

I thought about adding enamel dots on top, but went with sequins from the White Orchid Sequin mix from Little Things from Lucy’s Cards. These aren’t as distracting from the focal image as enamel dots would have been.

Rachelle Anne Miller Little Pilot Copics

Not a lot of colors for this one.

Make a Wish {Rachelle Anne Miller Creative Studios}

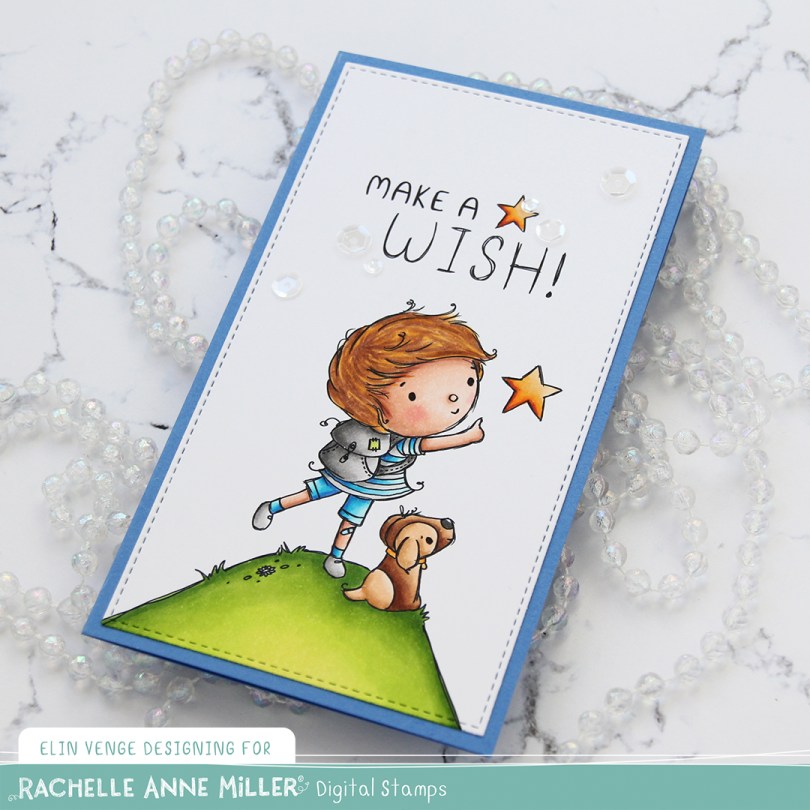
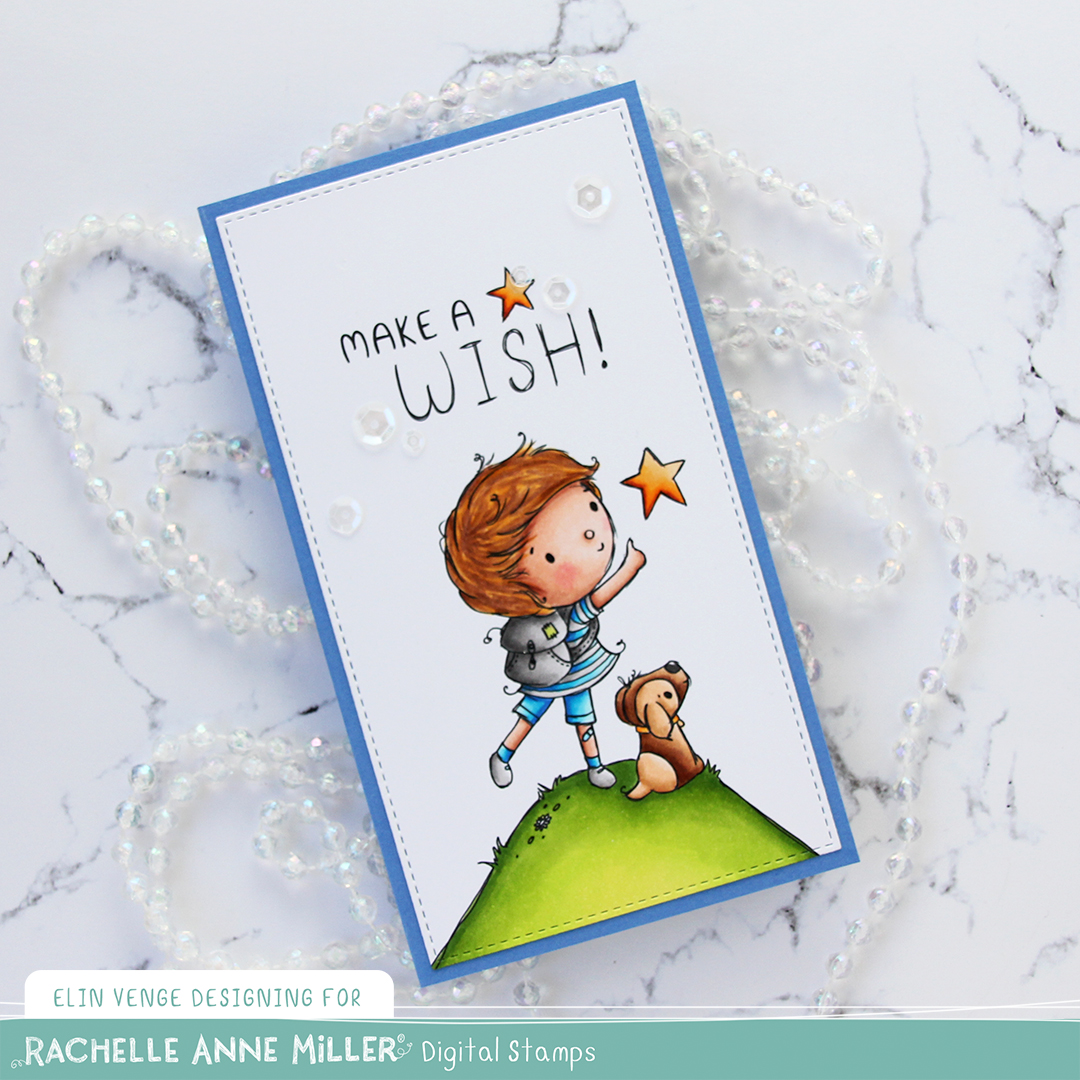
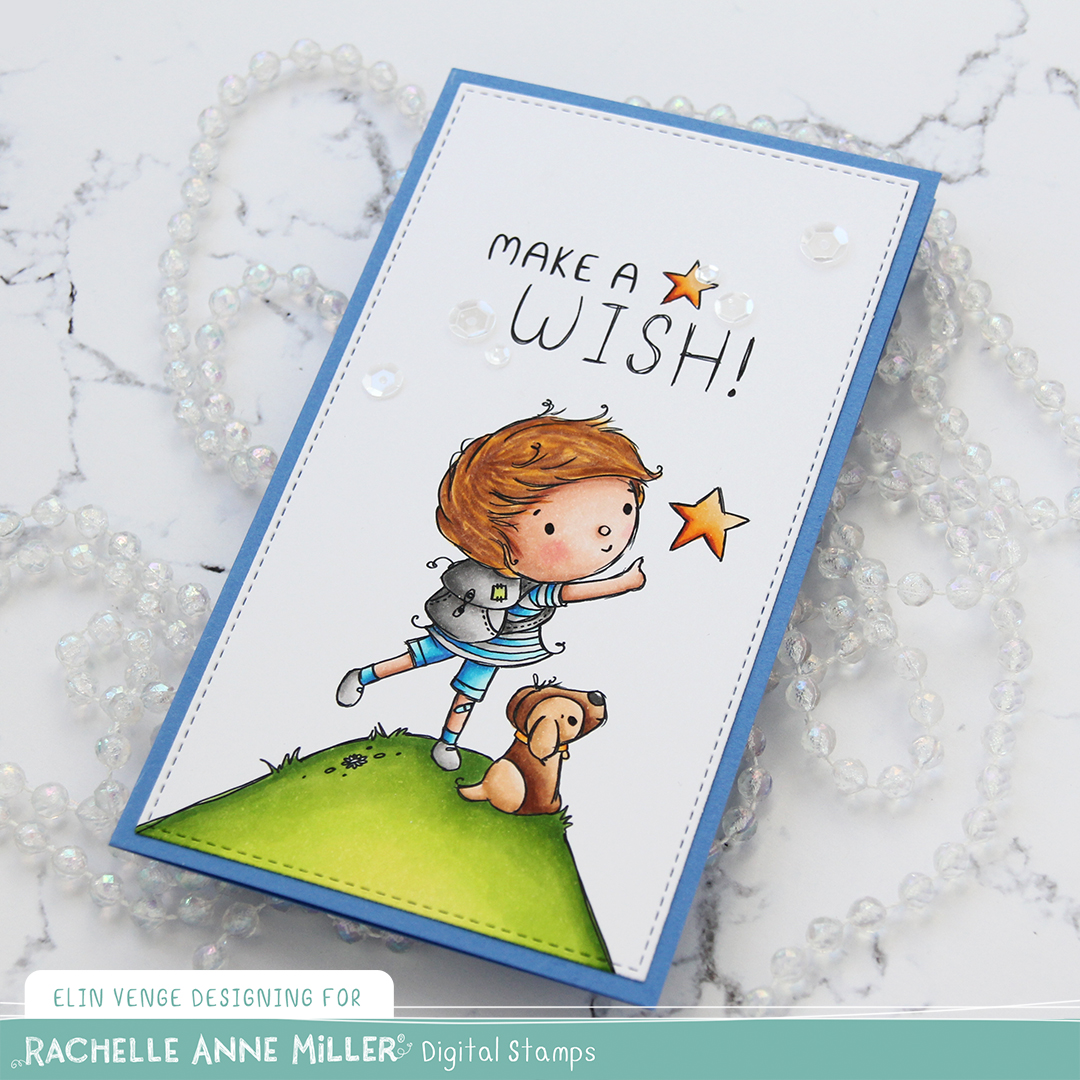
Hi, and happy Monday. I’m starting the week with this very simple mini slimline card, featuring “Make a Wish” from Rachelle Anne Miller, which happens to be an image from the most recent release.

Rachelle Anne Miller Make a Wish flatlay skrå

I colored the image with my Copics and used partial die cutting with a faux stitch rectangle die from My Favorite Things to turn it into a panel that would fit a mini slimline well.

Rachelle Anne Miller Make a Wish flatlay høyre

I adhered my panel onto a card base made out of Something Blue cardstock from My Favorite Things, and finished the card with a few sequins from the White Orchid Sequin mix from Little Things from Lucy’s Cards. Super simple.

Rachelle Anne Miller Make a Wish Copics

Not a whole heap of colors for this one.

Hello {Streamside Studios}

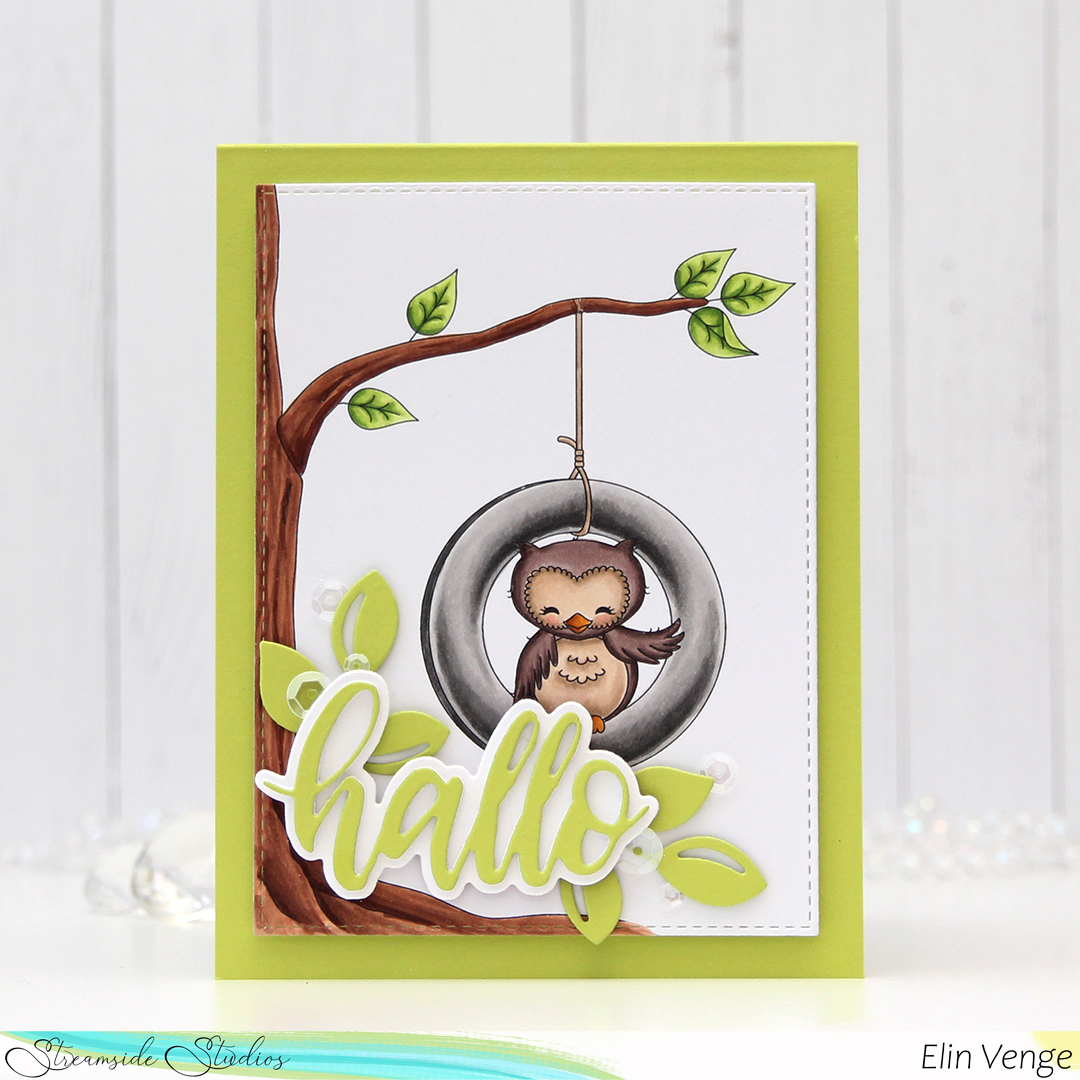
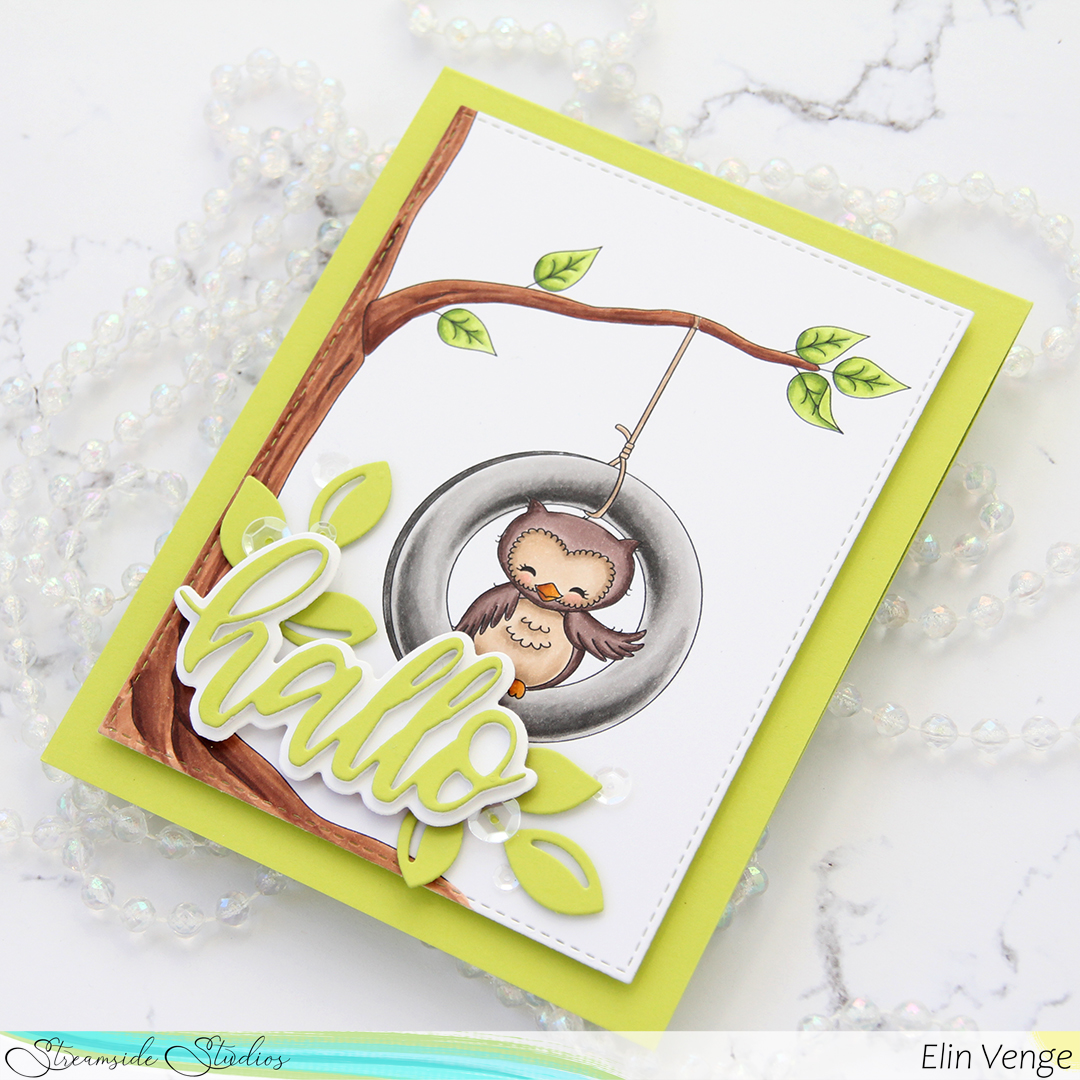
Good morning! It’s the start of a new week, and if this green color doesn’t wake you up, nothing will. It’s bright!! It feels like summer’s finally on its way, and I spent a good chunk of yesterday hiking. Everything is so bright green now after what feels like the coldest, rainiest spring ever.

Streamside Studios Woodland Friends Owl front rett

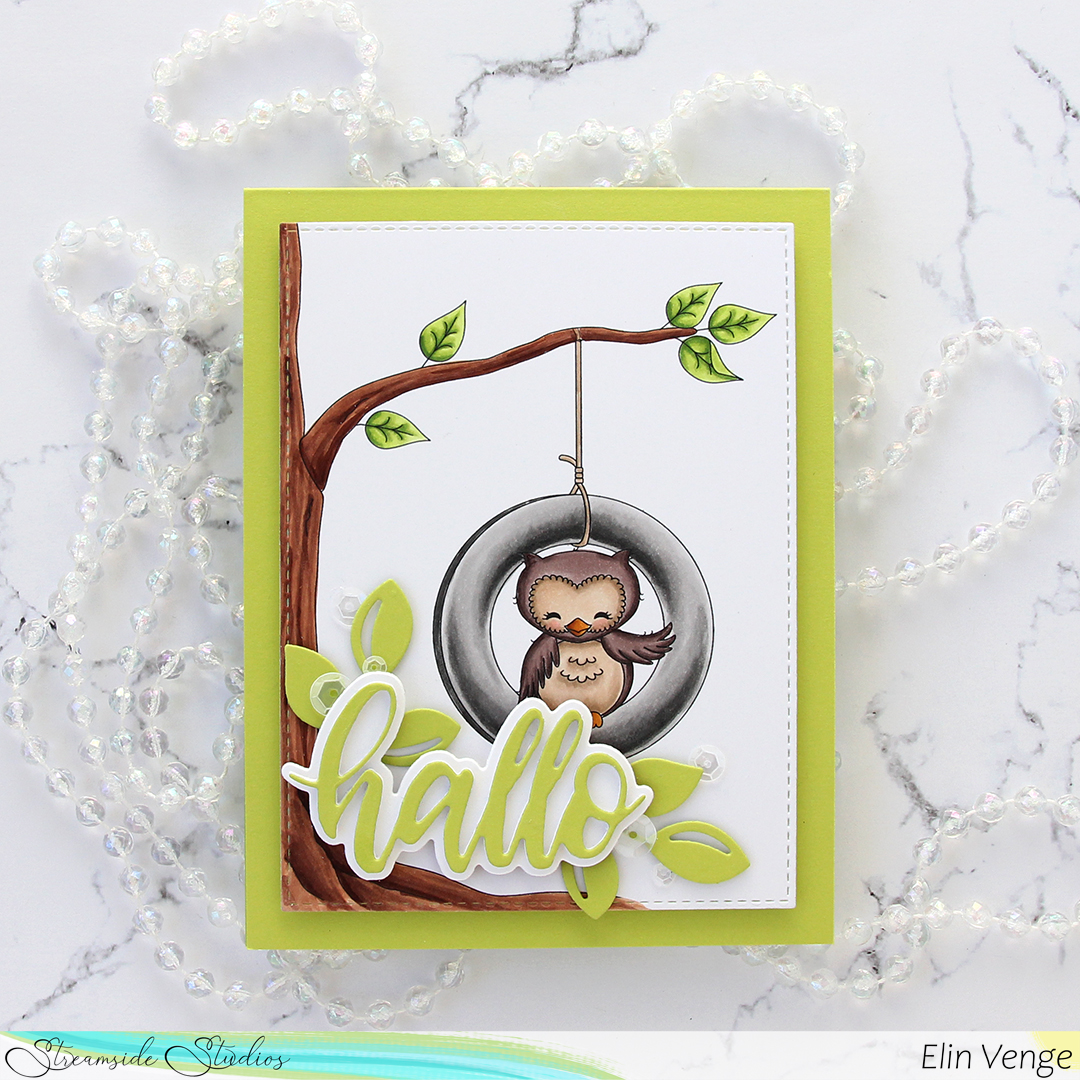
I put together this little scene with an owl, a tire swing and a tree, all from the Woodland Friends digital stamp set from Streamside Studios. I did some simple Copic coloring and used a die from the A2 Stitched Rectangles STAX 2 set from My Favorite Things to turn it into a nice panel with faux stitching around the edge. I love these stitched rectangle dies, I use them so much!

Streamside Studios Woodland Friends Owl front skrått

I mounted the colored piece onto a card base made from Limelight cardstock from My Favorite Things. It’s a very bright green. I die cut some leaves from the Leafy Cover die from Mama Elephant and mounted those near the bottom left corner using some 1 mm foam squares.

Streamside Studios Woodland Friends Owl flatlay

On top of the die cut leaves I added a die cut “hallo” (hello in Norwegian) consisting of 3 white layers with the Limelight green on top, and a white shadow. I mounted this on foam squares, too, so this has a lot of dimension.

Streamside Studios Woodland Friends Owl flatlay høyre

A side view to show more of all the layers. I added some sequins from the White Orchid sequin mix from Little Things from Lucy’s Cards for a little bit of an extra detail near the die cuts.

Streamside Studios Woodland Friends ugle huske Copics

Last, but not least, the Copics I used to color my image.

Merry Christmas from me to you {Lili of the Valley}

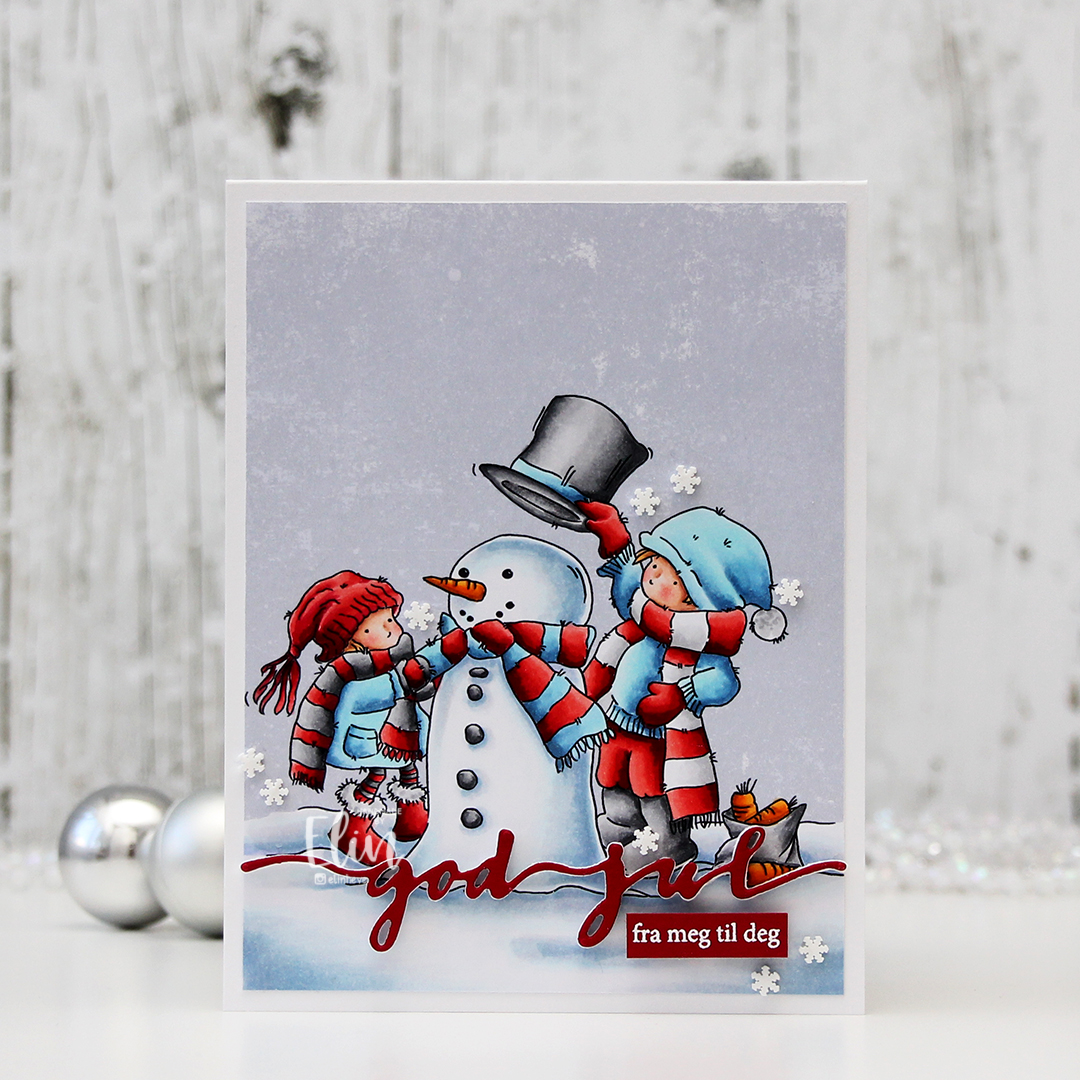
Hi, there! You may think I’ve lost my mind making Christmas cards in May, but I actually enjoy making them all year. It saves me from having to scramble last minute in November to get them all done. It’s also been really wet and cold here lately, so it’s felt like we’re closer to Christmas than to summer. It’s sunny today, though, and tomorrow, the temperature’s supposed to creep over 20! Feels like spring is finally on its way now that it’s actually almost over.

Lili of the Valley Winter fun front rett

I colored Winter Fun with my Copics, trimmed off a little on the sides and adhered my panel onto a top fold white card base.

Lili of the Valley Winter fun front skrått

I don’t normally use red on my Christmas card, but when I can pair it with blue or grey, I can tolerate it. The coloring on this card is pretty busy (it’s all those stripes), so I needed my sentiment to stand out. I used a god jul die from Papirdesign, and in the sleeve with the die were 7 white die cuts that were apparently scrapped from a previous project. I glued them together for a stacked look, die cutting one more to put on top from Electric Red card stock from My Favorite Things. Sadly, they’ve discontinued this color. I’m super picky about my reds, and this one is nice and rich and dark. I heat embossed a sub sentiment from Norsk Stempelblad AS onto a strip of more of that red card stock, and mounted it on foam tape below my die cut. To finish off the card and add a little more dimension and interest, I sprinkled some snowdrift sprinkles from Little Things from Lucy’s Cards here and there. I love these little clay snowflakes.

Lili of the Valley Winter Fun Copics

Not a massive amount of colors for this. Everything left of E13 on the top row is used for the snow.

Mr. Fixit {Purple Onion Designs}

Hi, there! I’ve got a simple card with some dimension and fussy cutting to share today, featuring a couple of stamps from the latest release from Stacey Yacula and Purple Onion Designs.

I started by stamping Milton the bear and the ivy cottage in Extreme Black ink from My Favorite Things, coloring in both images with my Copics. I fussy cut both right up to the stamped lines, and used a die from the A2 Stitched Rectangles STAX 1 set from MFT to do some partial die cutting of the cottage. I wanted the foreground to have that nice stitched edge, but not cut off the tree – partial die cutting is great for that. 

On a piece of white cardstock, I used the cloud stencil from My Favorite Things to ink blend some puffy clouds with Iceberg ink from Altenew. I die cut this panel with that same die that I used for the ivy cottage, adhered it directly onto a white top fold card base, and mounted the ivy cottage onto that using 1 mm foam squares. I added Milton on top with more 1 mm foam squares, stamped a sentiment from the Around the Town sentiment set using Soft Granite ink from Hero Arts, and added the sentiment towards the top of the card using foam tape. I adhered a few sequins from the white orchid sequin mix from Little Things from Lucy’s Cards to finish my card. I need to create a slightly bigger envelope than usual for this card. The tree hanging out from the edge means it won’t fit in a standard envelope for A2 cards.

Not a whole lot of Copics for this one. Lots of green, though.

You deserve flowers {Rachelle Anne Miller Creative Studios}

Hi, there! I have a super simple card to share today, featuring the Little Fairy image from Rachelle Anne Miller.

Rachelle Anne Miller Little Fairy front skrått

I colored my image with Copics and die cut it using a die from My Favorite Things and adhered it to a top fold card base I made from Bright Buttercup cardstock from Papertrey Ink.

Rachelle Anne Miller Little Fairy flatlay venstre

Using VersaMark ink, I stamped a sentiment from Norsk Stempelblad AS onto a scrap piece of Raspberry Fizz cardstock from Papertrey Ink. I turned it into a strip using one of the dies in the Fishtail Flag Frames die set from My Favorite Things, mounted it on foam tape and adhered it to the card.

Rachelle Anne Miller Little Fairy flatlay høyre

I finished off the card with some white sequins from Little Things from Lucy’s Cards.

Rachelle Anne Miller Little Fairy Copics

As usual, a graphic of the Copics I used.

Sending hugs {Streamside Studios}

Hi, there! I have a super colorful shaker card to share today, featuring a cute raccoon from Streamside Studios. Now, the raccoon isn’t particularly colorful, but I did some colorful ink blending of the background, making the raccoon stand out against the background.

Streamside Studios Woodland Friends Raccoon shaker front skrått

I colored the raccoon from the Woodland Friends stamp set using my Copics. Just grays and a little R21 for the cheeks and the inside of the ears. Super simple coloring. I fussy cut the raccoon, leaving a thin white border, before I started on my background.

Streamside Studios Woodland Friends Raccoon shaker front rett

I pulled out a piece of Bristol Smooth card stock and my Distress Oxide inks for my background. I only have 8 oxides, and I used 6 of them for this, they make a nice rainbow. From the top left corner going clockwise they are Cracked Pistachio, Twisted Citron, Fossilized Amber, Picked Raspberry, Salty Ocean and Peacock Feathers. Where the colors overlap, new colors are created.

Streamside Studios Woodland Friends Raccoon shaker flatlay

I splattered some drops of a shimmer sparkle spray onto the ink blended panel, blotting it off with a dry paper towel to create the oxidized look in the background. I then took the largest of my A2 Stitched Rectangles dies from My Favorite Things, along with the Say Hello die, also from My Favorite Things, to die cut the background. I made sure to keep the internal negative pieces from the Say Hello die to puzzle piece them onto the card base.

Streamside Studios Woodland Friends Raccoon shaker flatlay skrått

I die cut the Say Hello die an additional 8 times from white card stock, stacking all but 2 of them to form the shaker area. I removed the internal part of the stacked die cuts, creating a nice frame for my sequins to shake around in. I glued one of the remaining two die cuts onto the card base to fill in the word between the colorful negative die cuts. After filling the shaker area with white orchid sequins from Little Things from Lucy’s Cards, I put acetate on top to close the shaker area and the last white die cut on top, inlaid and flush with the colorful background mounted on foam tape for dimension.

Streamside Studios Woodland Friends Raccoon shaker flatlay venstre

I stamped a sentiment from the Simon Says Stamp/Concord & 9th stamp set Monster Hugs using VersaMark ink onto Steel Gray card stock from My Favorite Things, before white heat embossing it, cutting it down to a strip and adding it to the acetate window using foam tape. The last thing was to add 1 mm foam squares behind the raccoon, and my card was complete.