
Hi, there! Remember the 4 bar birthday cards I shared a couple of weeks ago? Well, I have another batch today. Still using the Happy birthday collection from P13, still all 4 bar cards.

I’m starting with what’s probably the simplest one, certainly the cleanest one. I die cut a wonky grid from white card stock and adhered it directly to the card base, before adding the fussy cut bunny with foam tape.
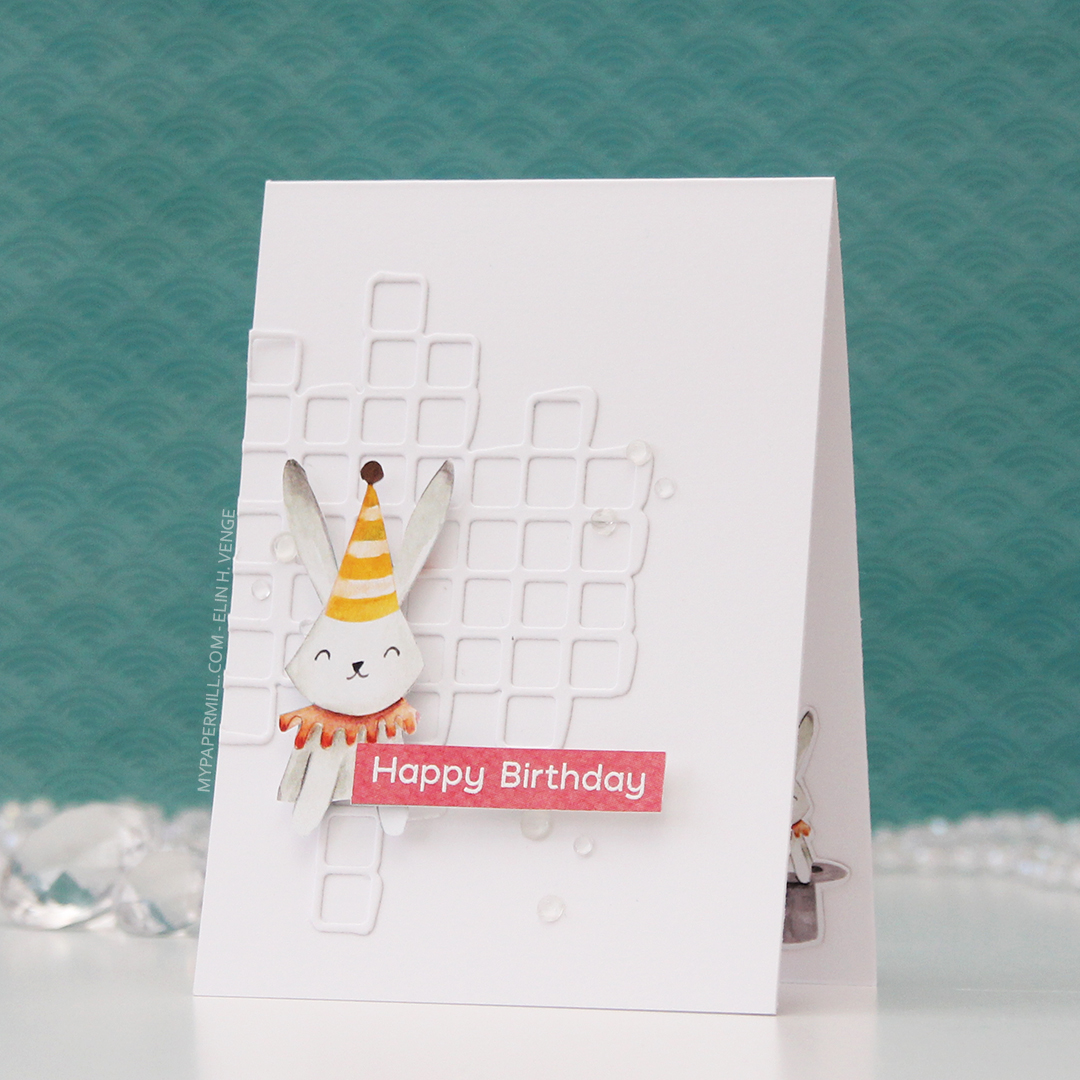
I stamped and white heat embossed a sentiment from the Bitty Bears stamp set from My Favorite Things and popped it up using foam tape, before adding some clear crystals from Little Things from Lucy’s Cards in clusters to the background. I even fussy cut another, smaller bunny and glued him to the inside of the card, which you can sort of see in this photo.
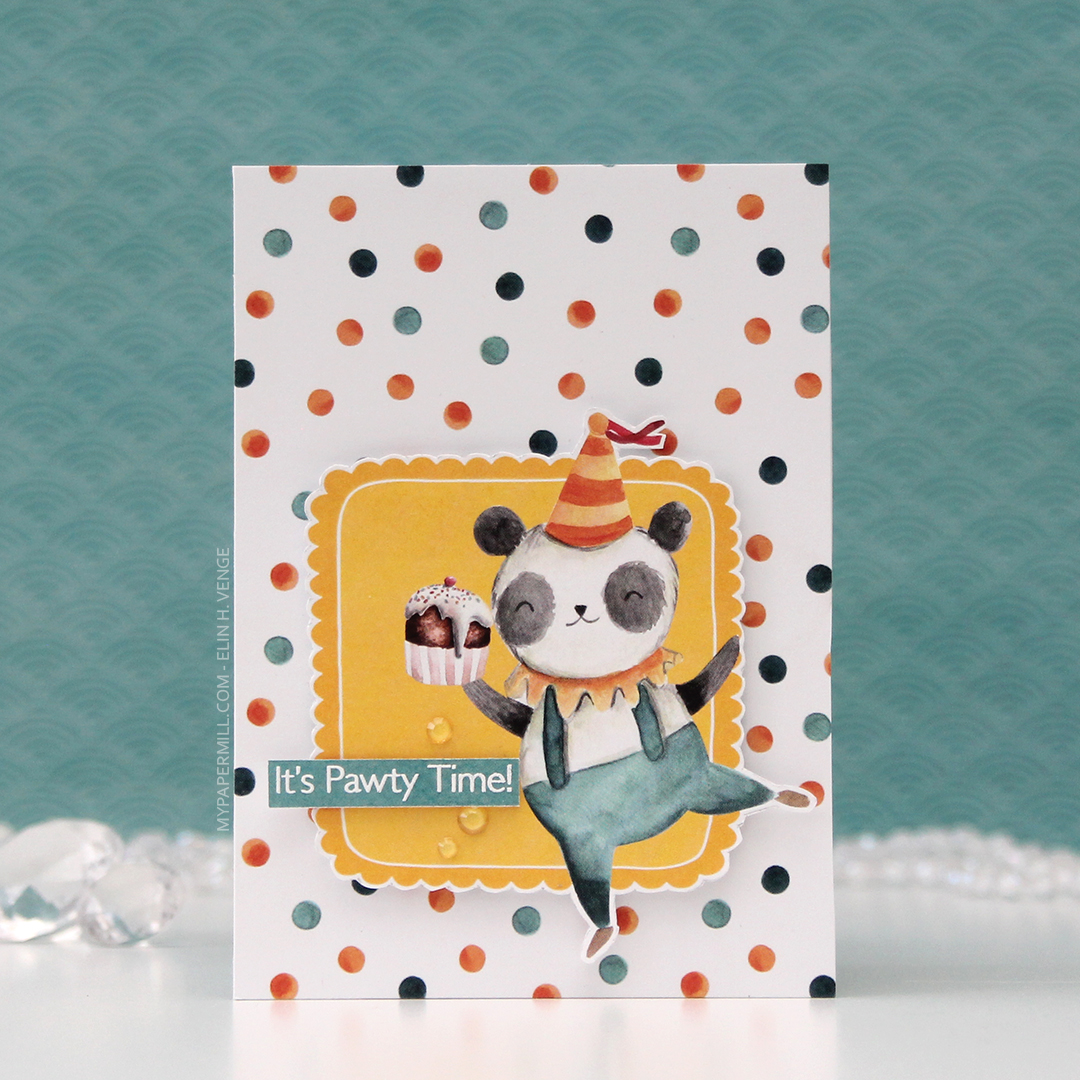
This card looks a little bit busier, simply because I added some patterned paper to the background. Once again I adhered the fussy cut image using foam tape.
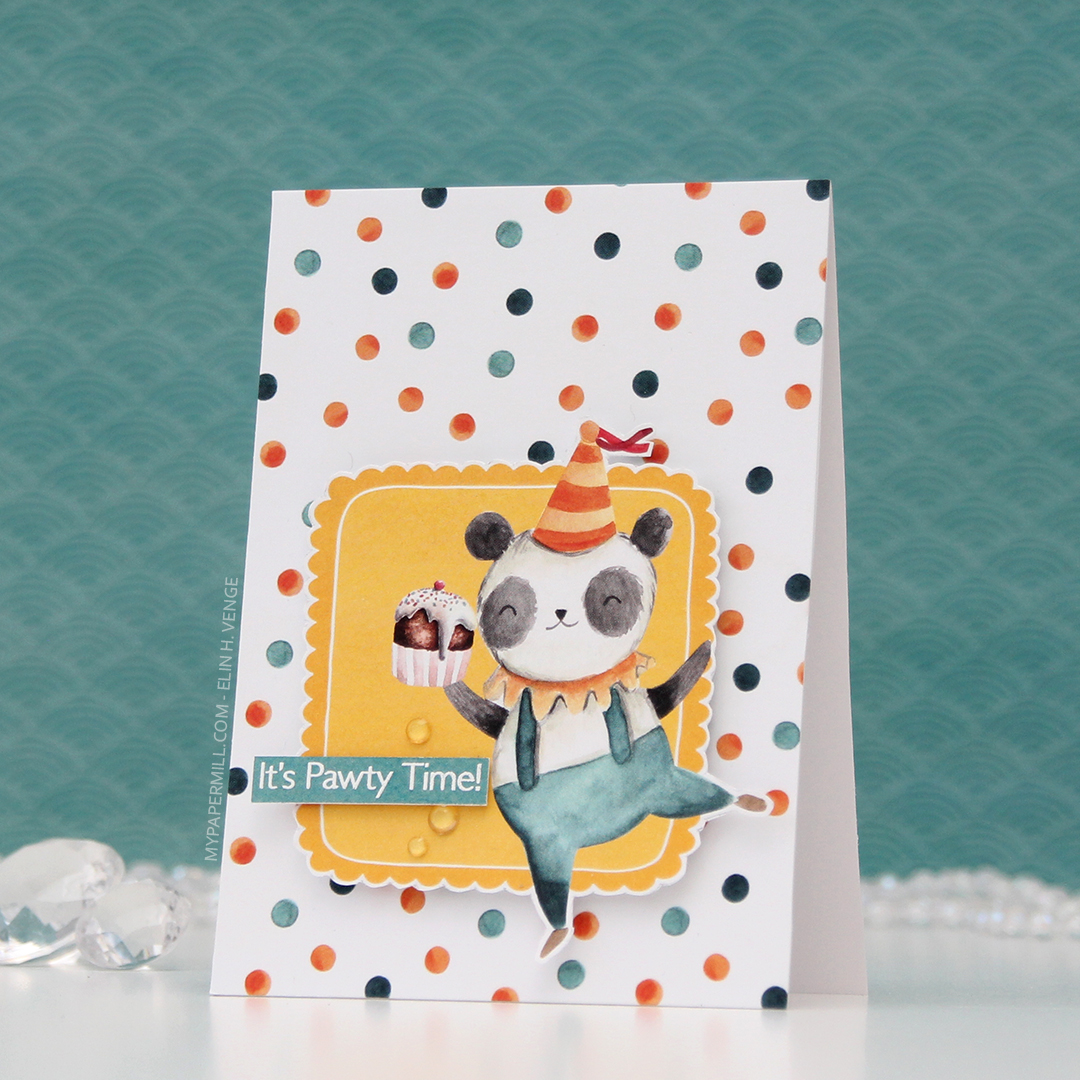
I white heat embossed a sentiment from the Pawty Time stamp set from My Favorite Things, added it with foam tape and finished off with a few clear crystals from Little Things from Lucy’s Cards.
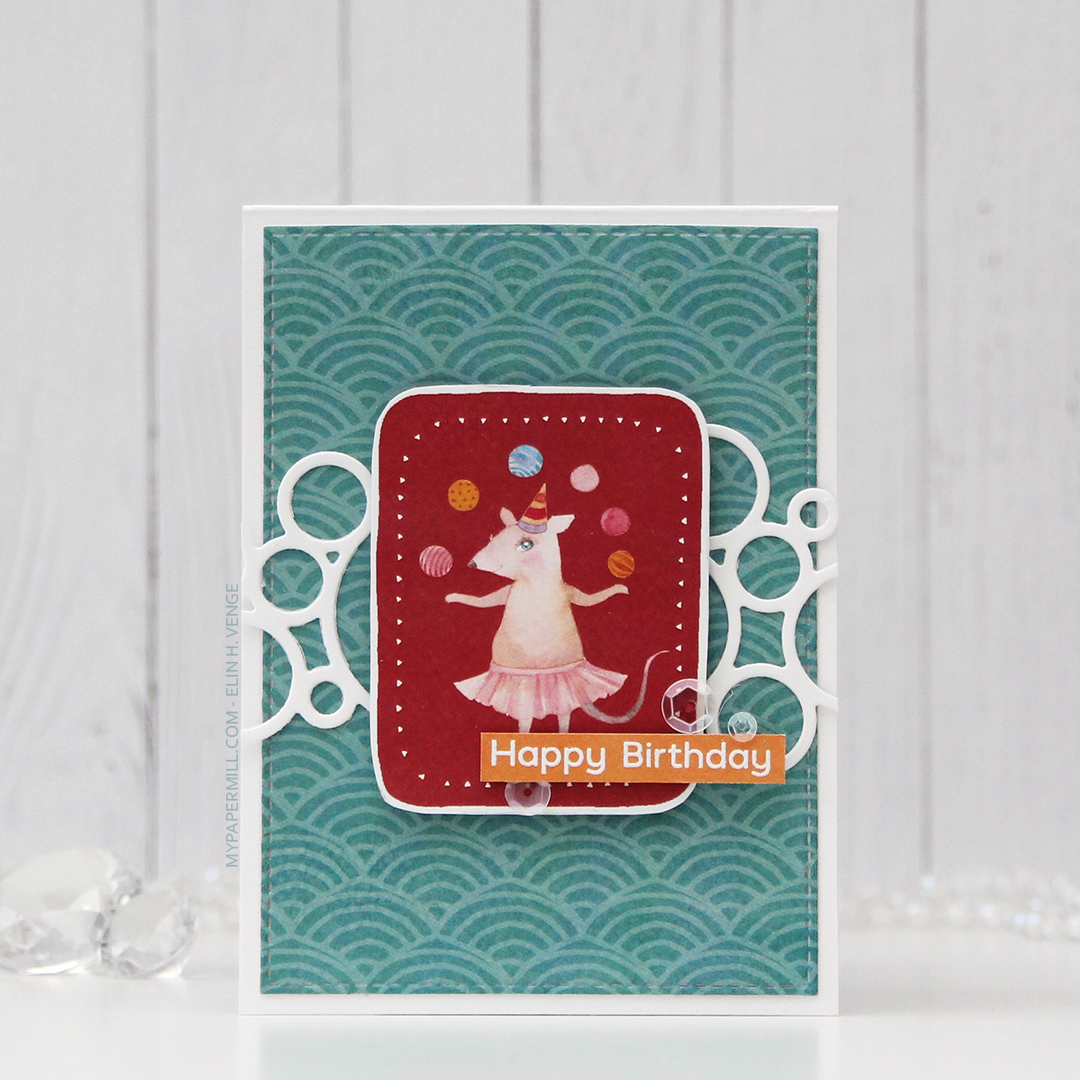
This is probably the most involved of the cards, simply because I created a faux stitch rectangle from the patterned paper in the background, instead of just leaving it plain and letting it cover the entire card base.

I used a Papirdesign die to create the white die cut going across the center of the card, and added my fussy cut piece using foam tape. The sequins used for this card are from the White Orchid Sequin mix from Little Things from Lucy’s Cards.

An elephant with some balloons, ready to party is next up. I used part of a die cut to span across the card for a little texture in the background, before adding the elephant with foam tape.
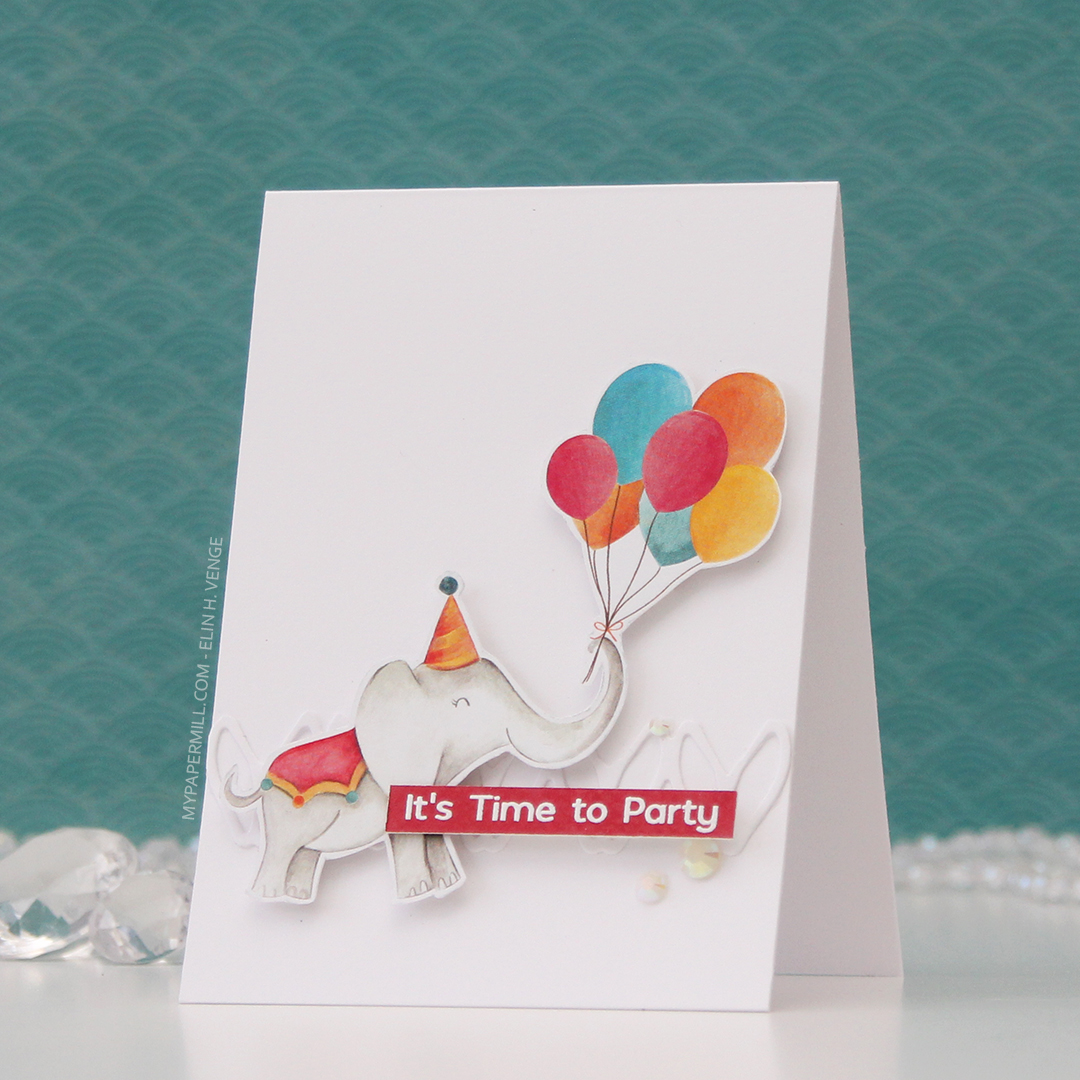
The sentiment is from the Bitty Bears stamp set from My Favorite Things, and I added a few pearl white crystals from Pretty Pink Posh for a finishing touch.
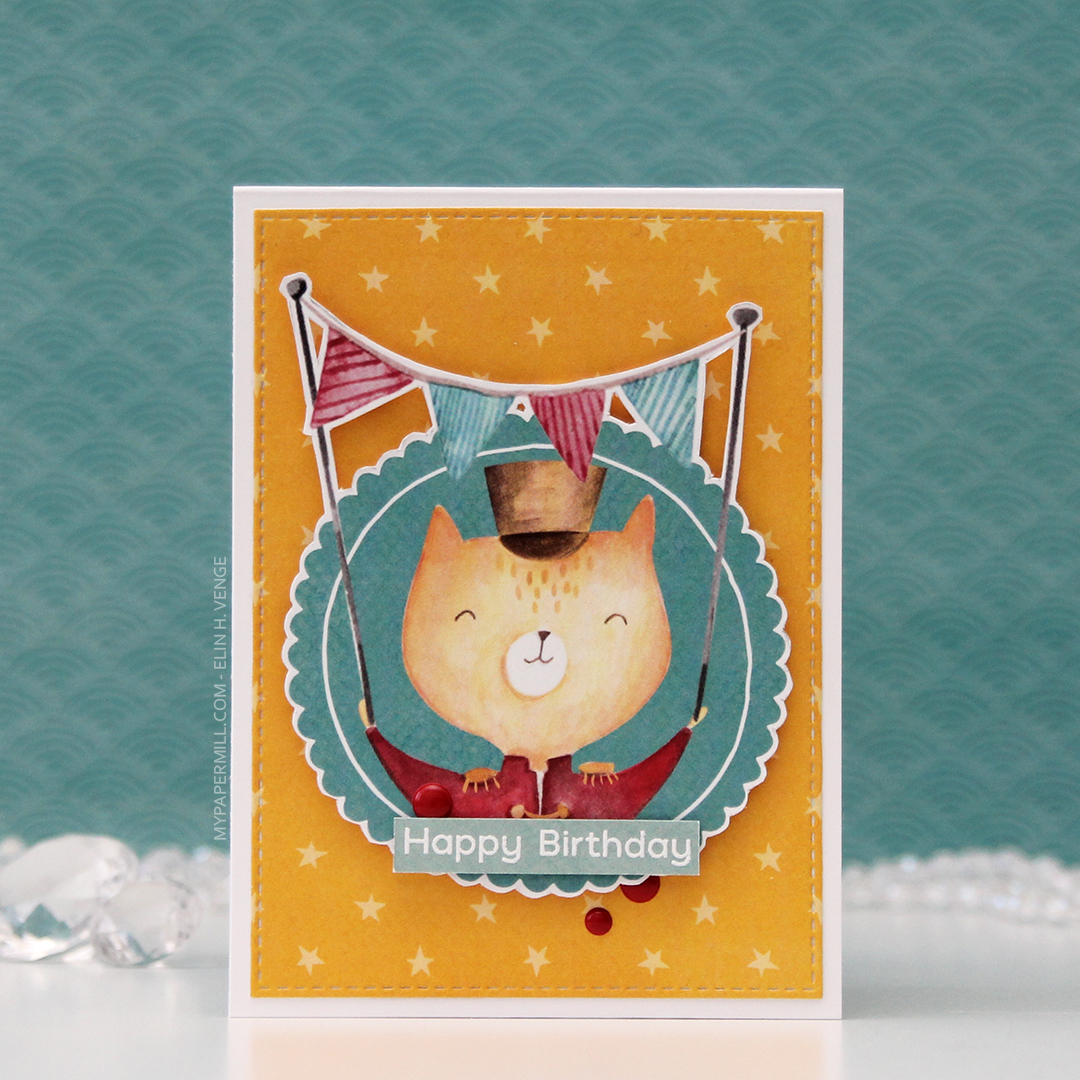
Die cut patterned paper in the background for this one, with that faux stitching I love so much. Once again, lots of foam tape behind the image.
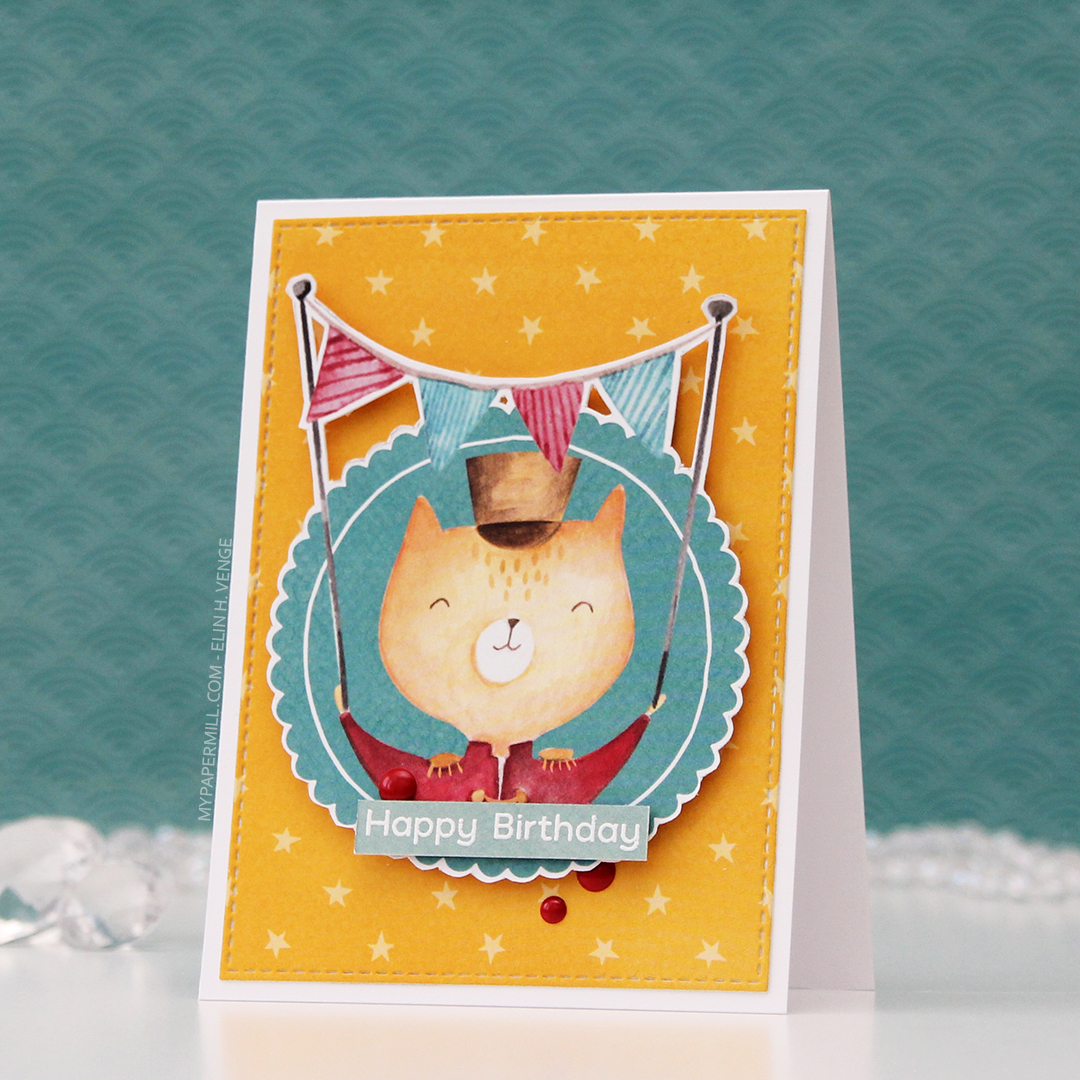
Sentiment from the Bitty Bears stamp set added using 1 mm foam squares, with a few Papirdesign enamel dots to finish.


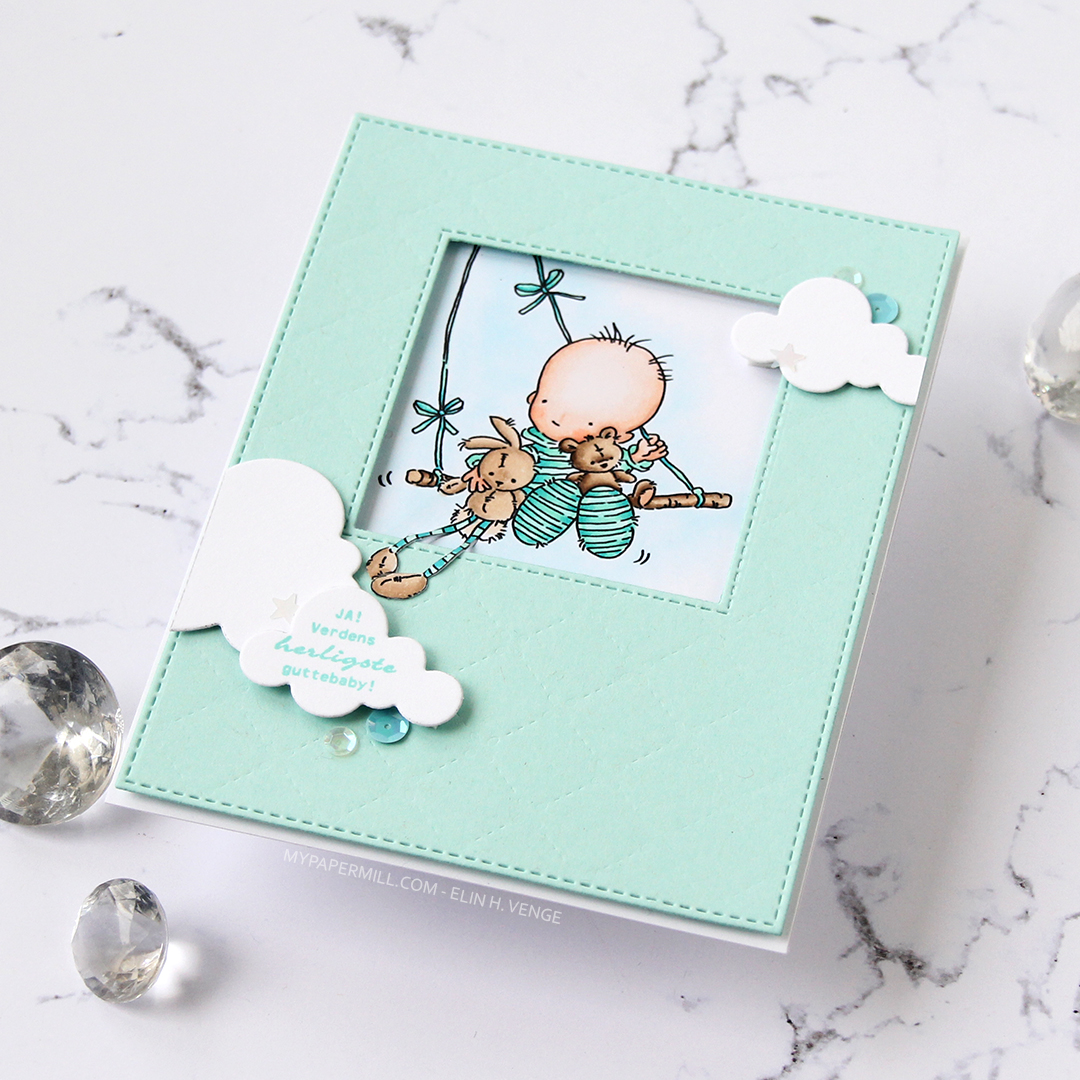

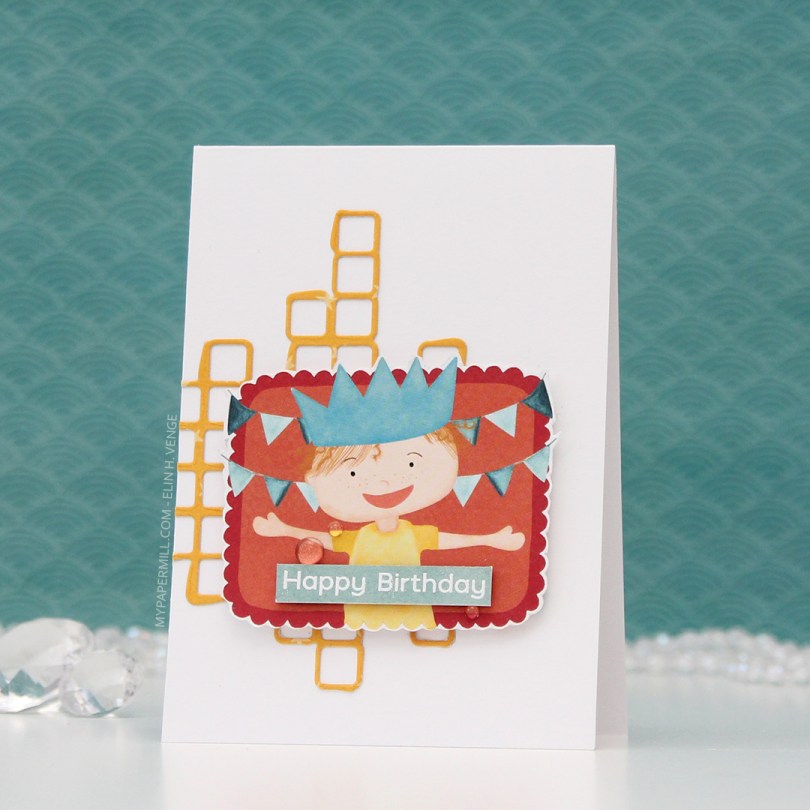
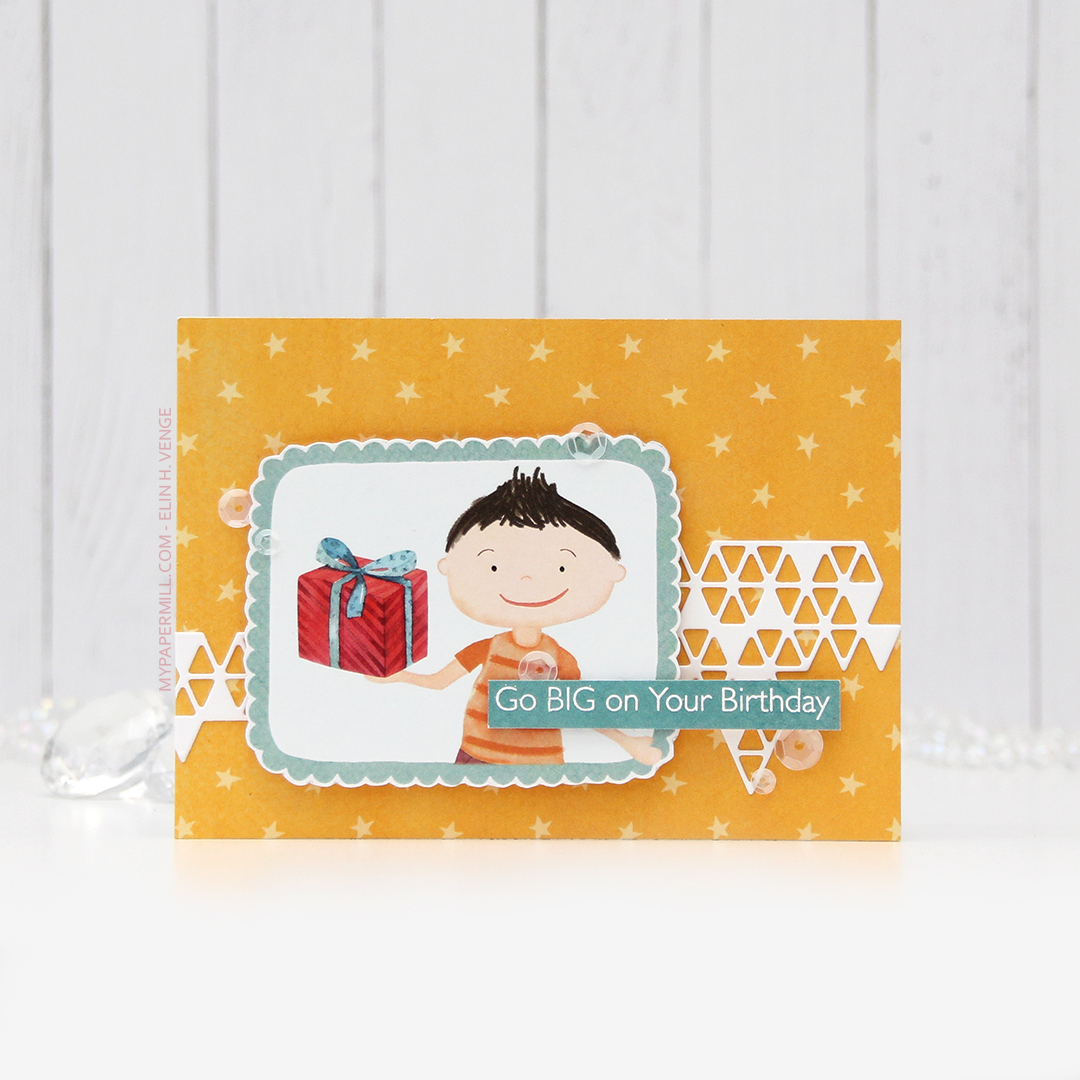
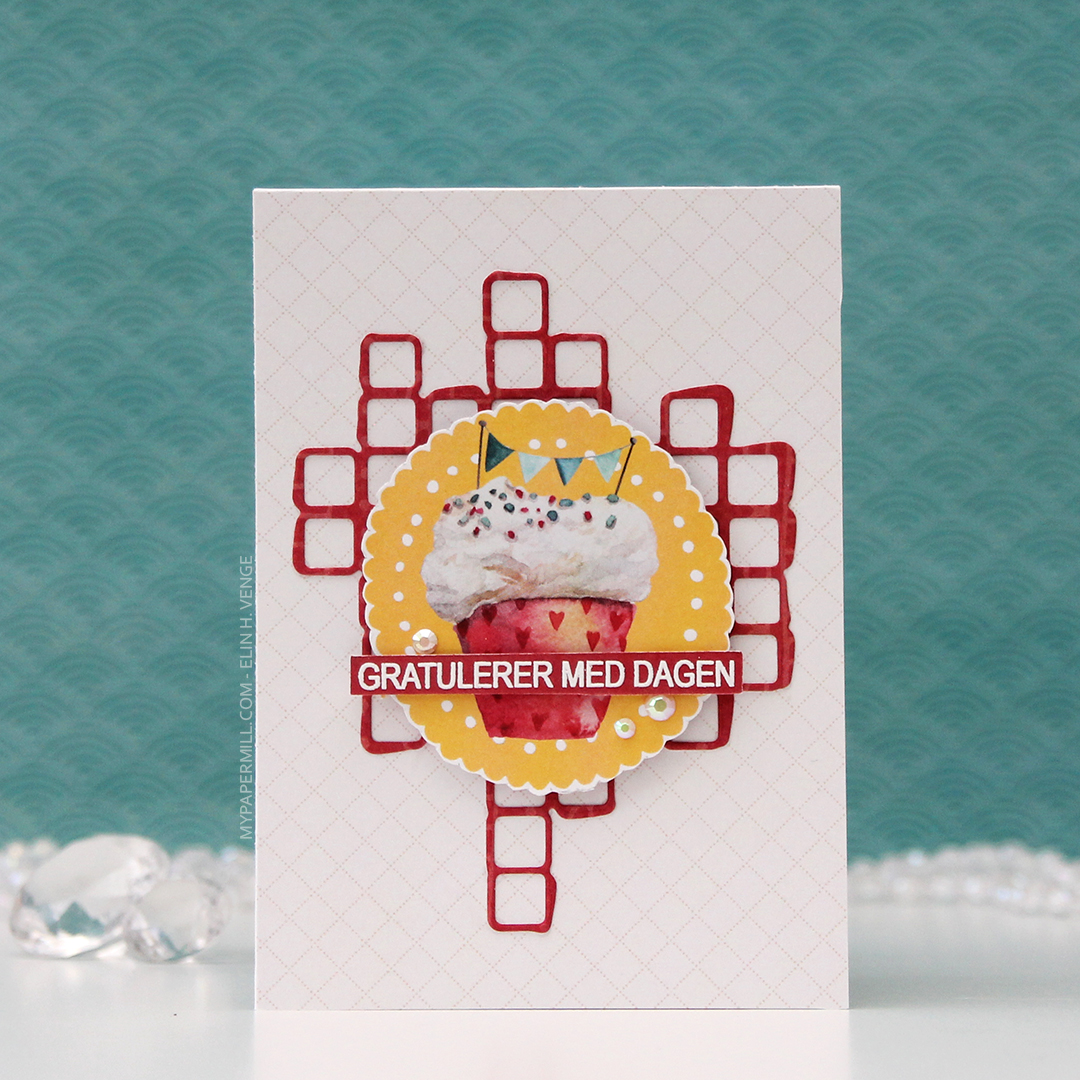

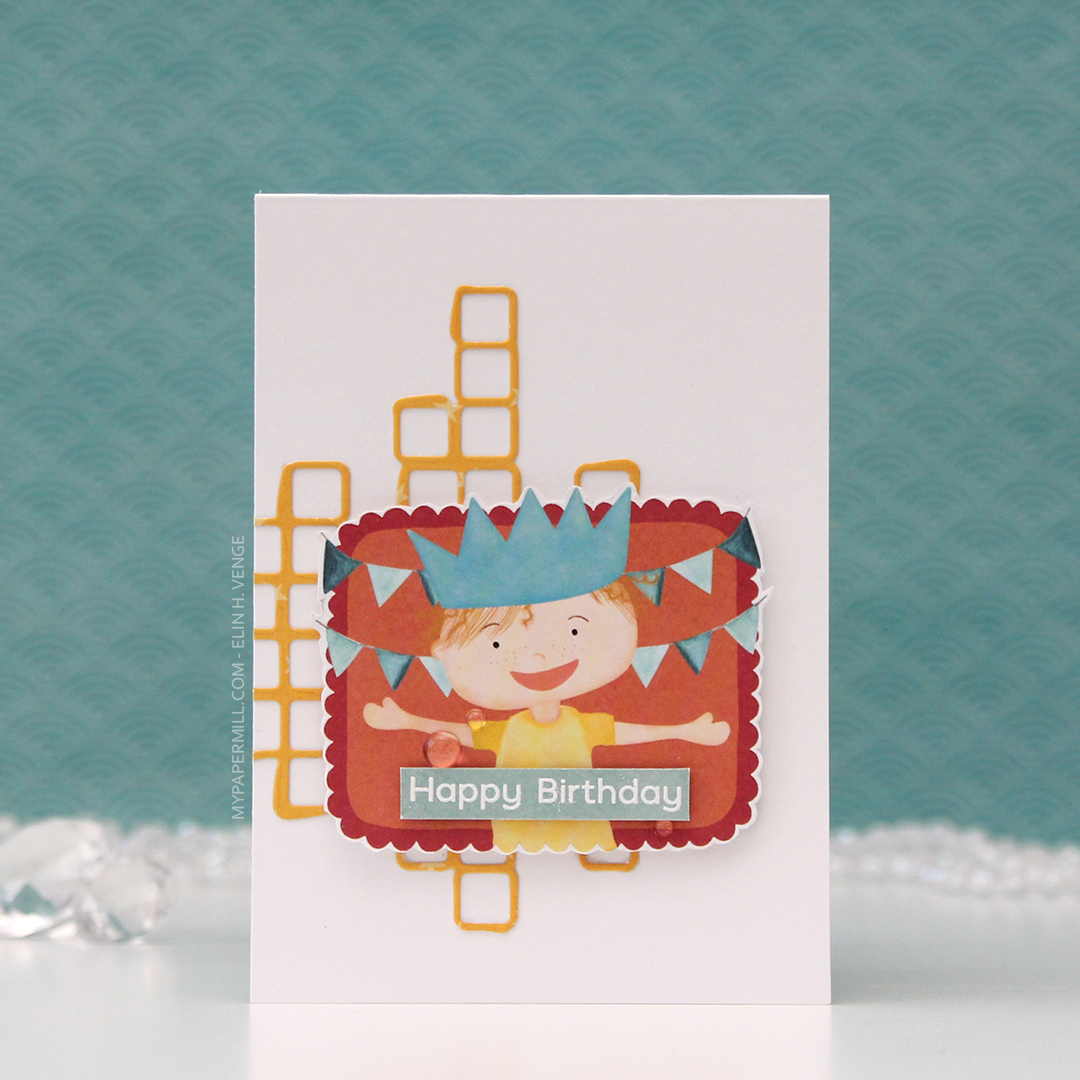
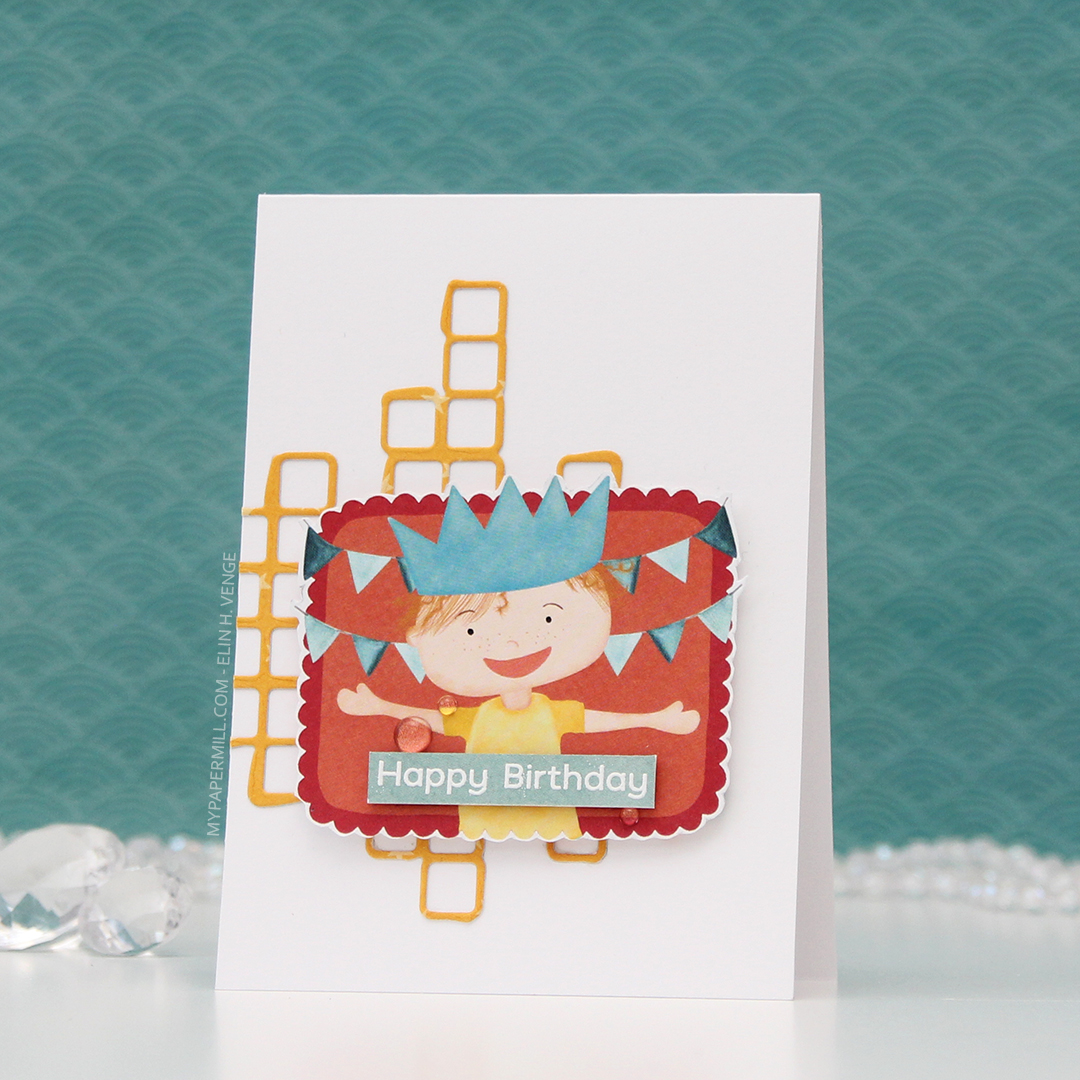
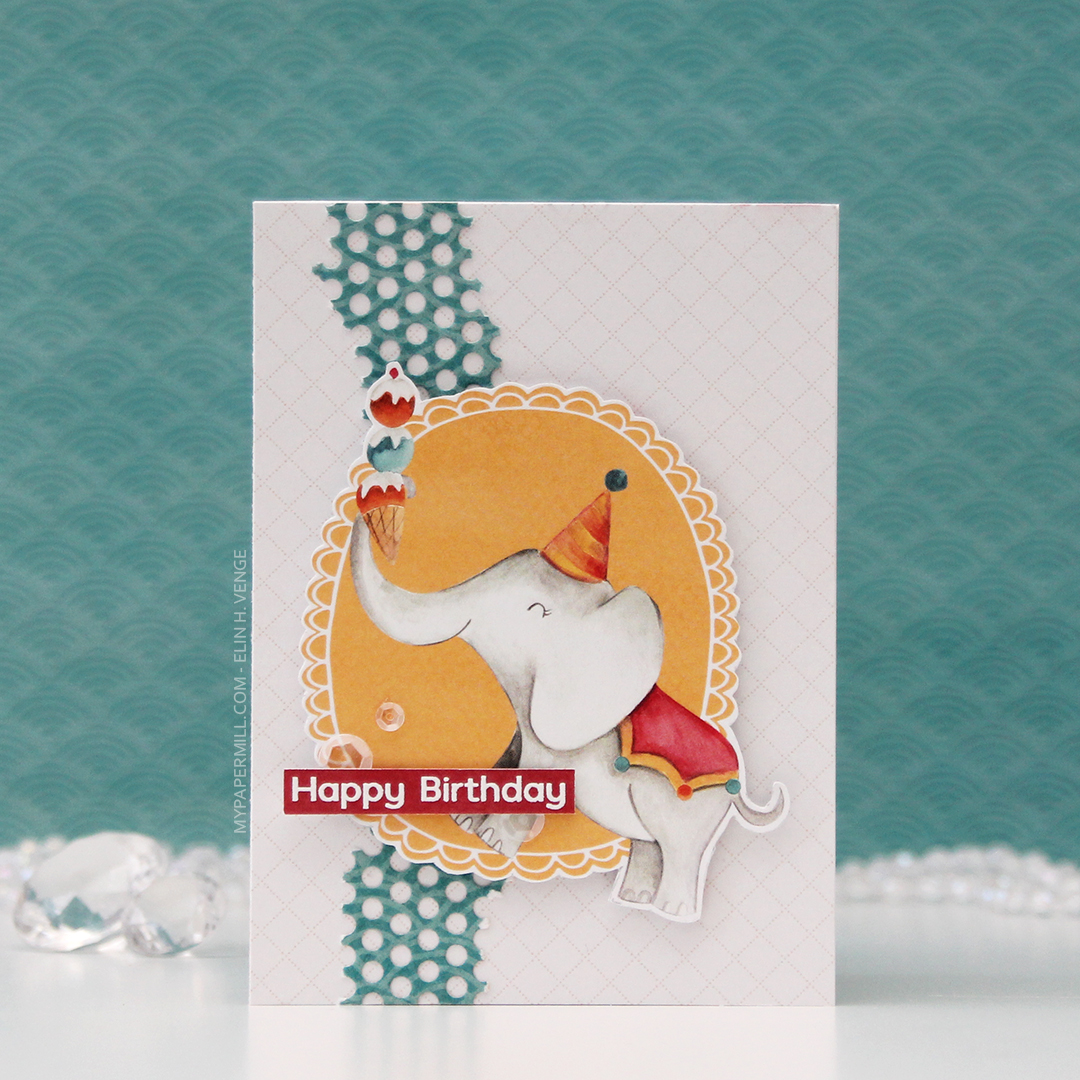
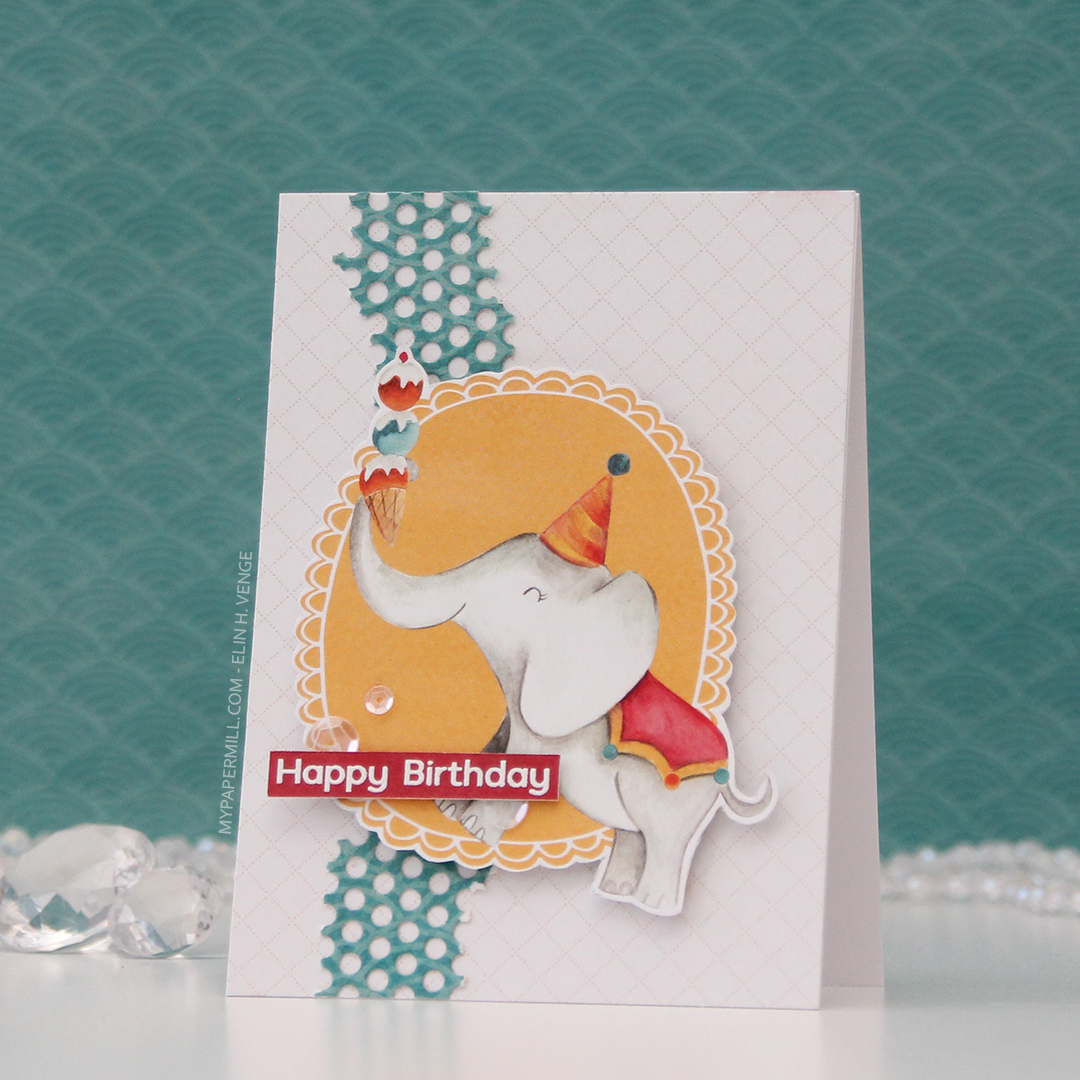
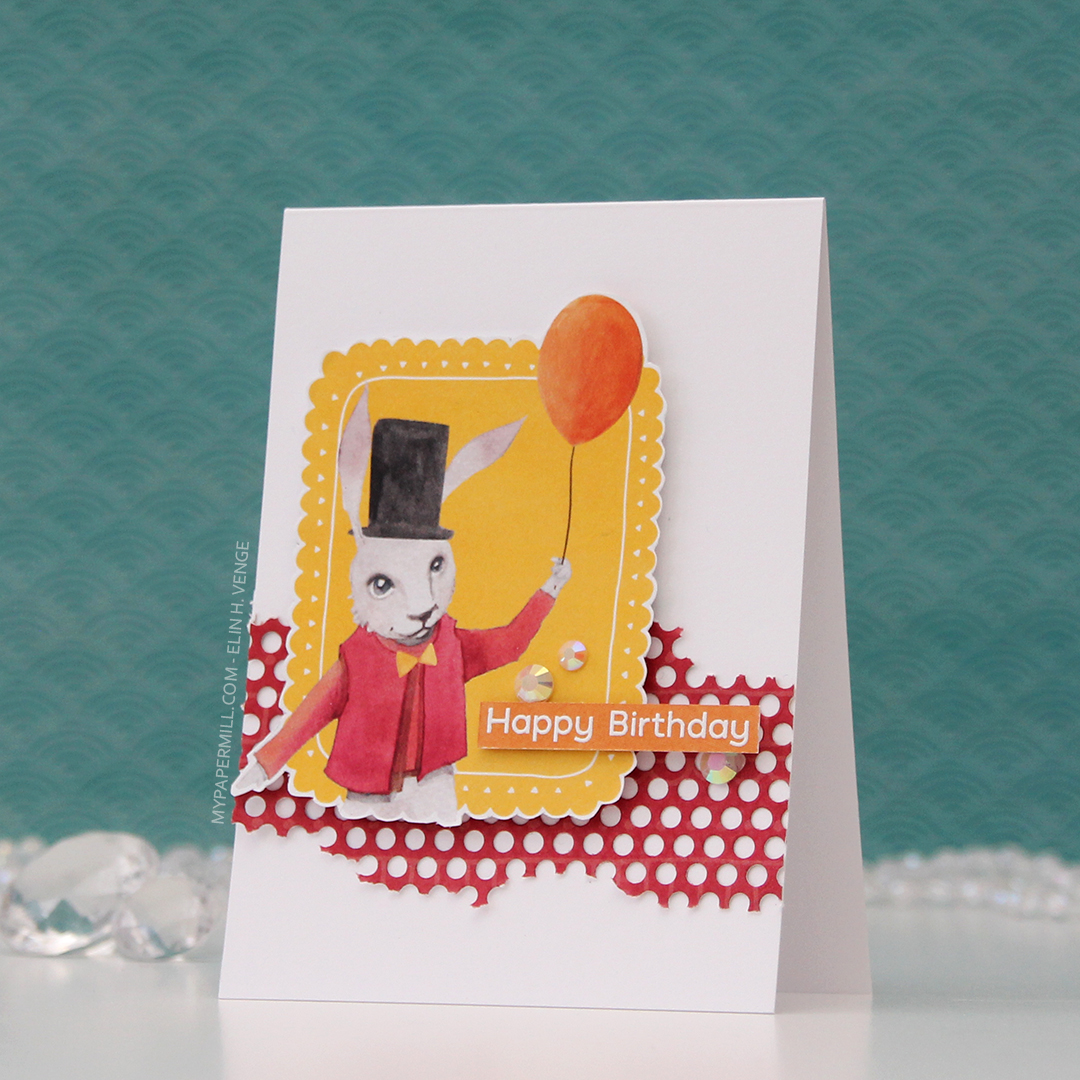


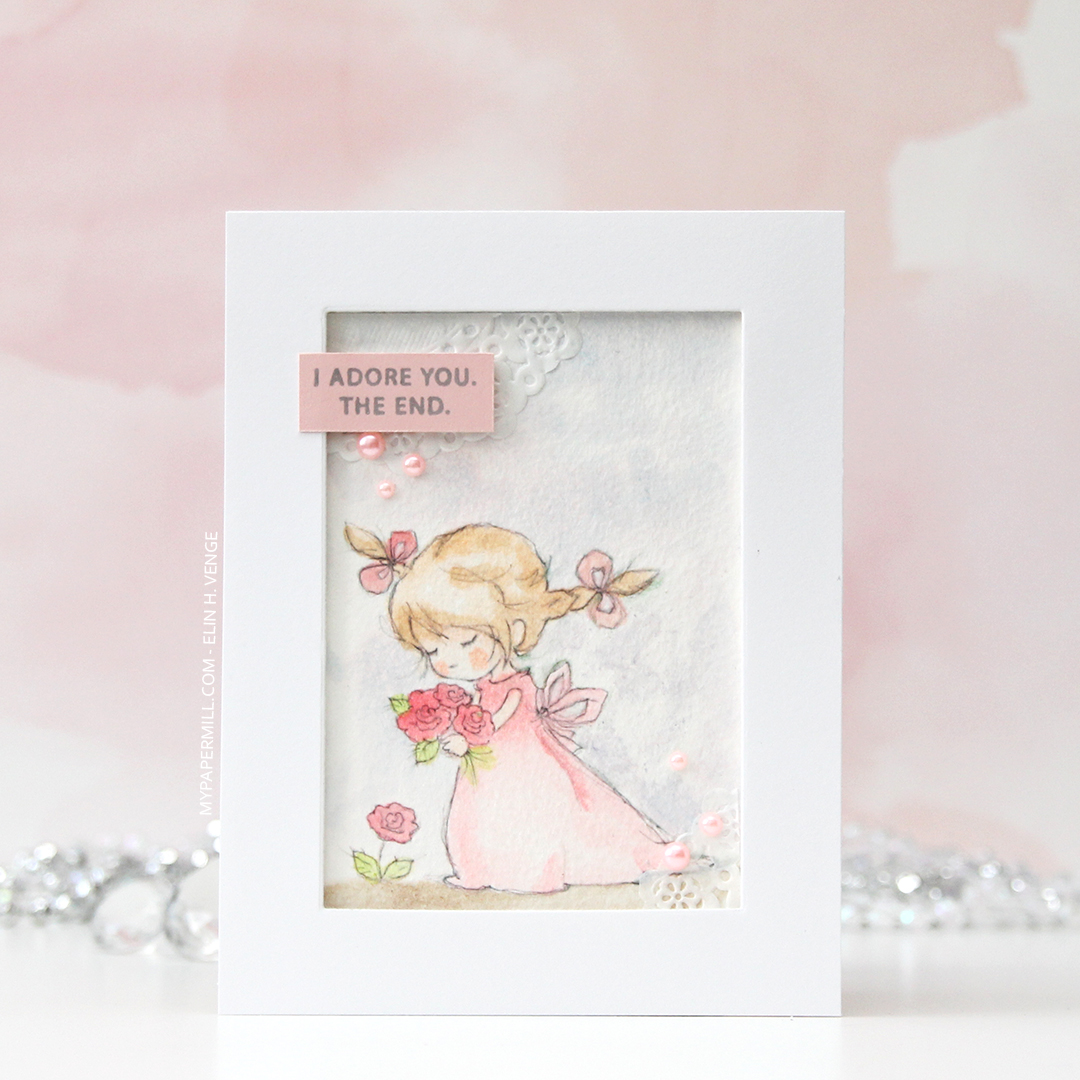
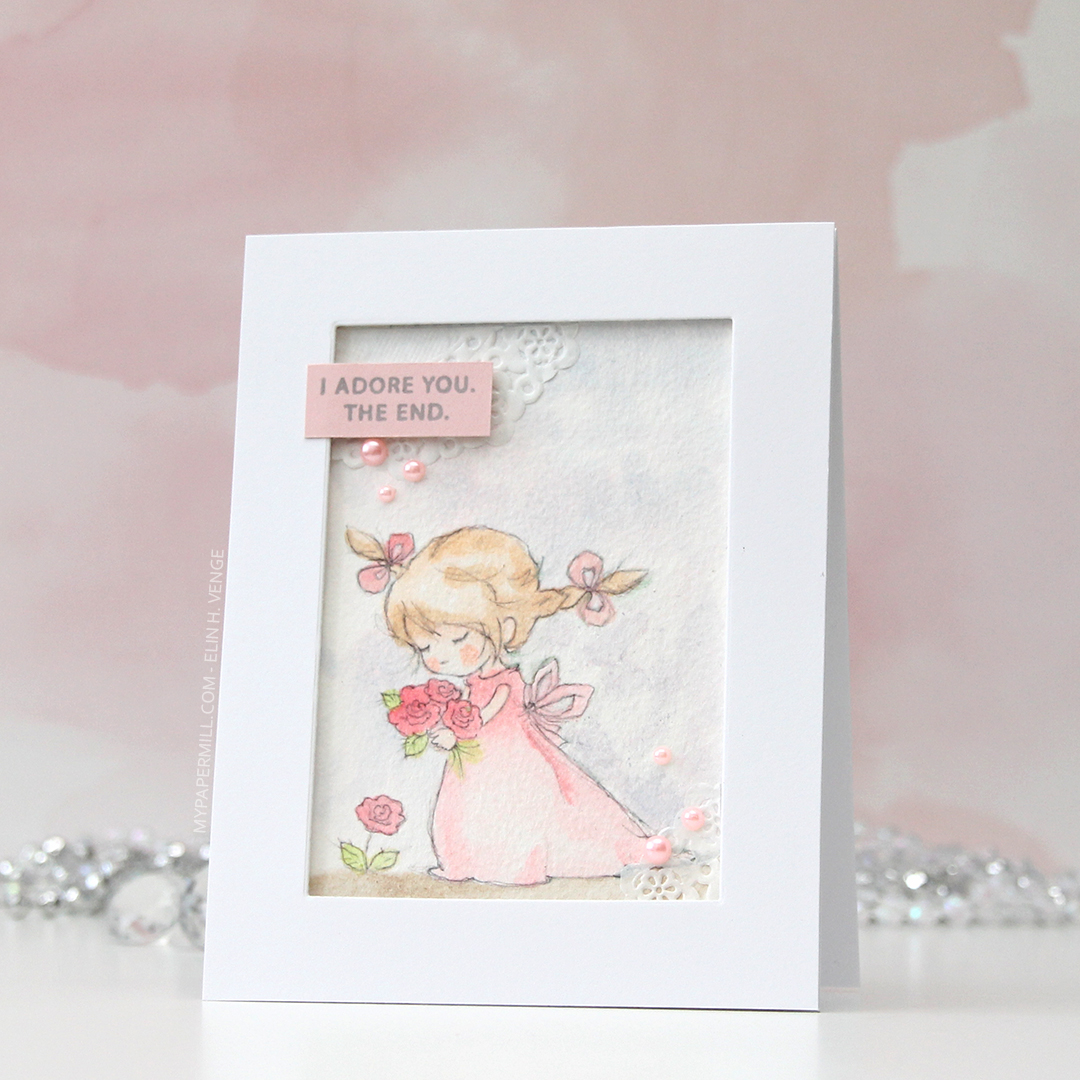






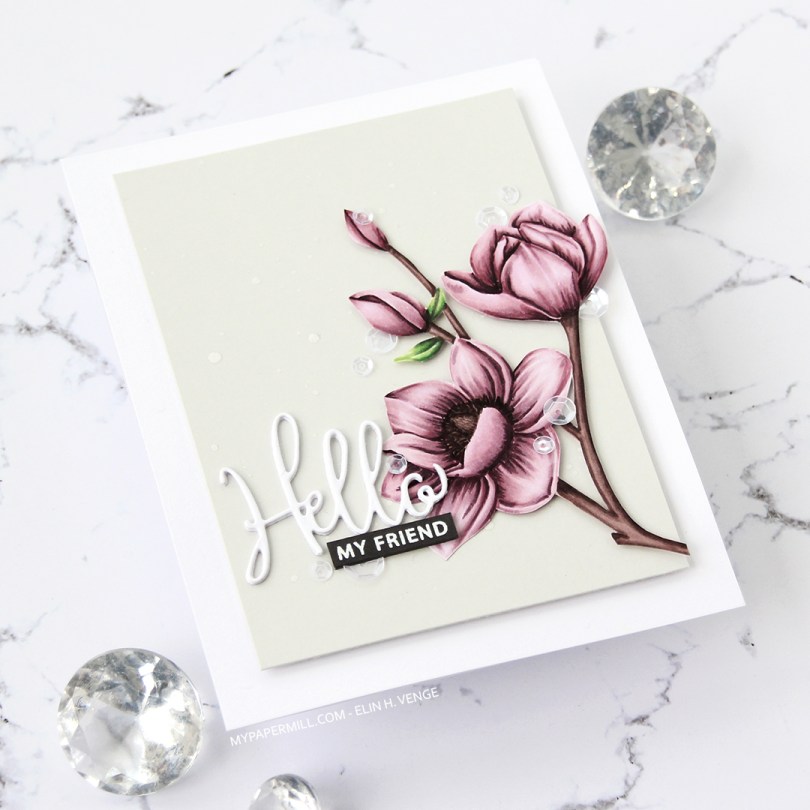
 I stamped the flowers in fadeout ink from Inkon3, before coloring them in with Copics and fussy cutting up to the line.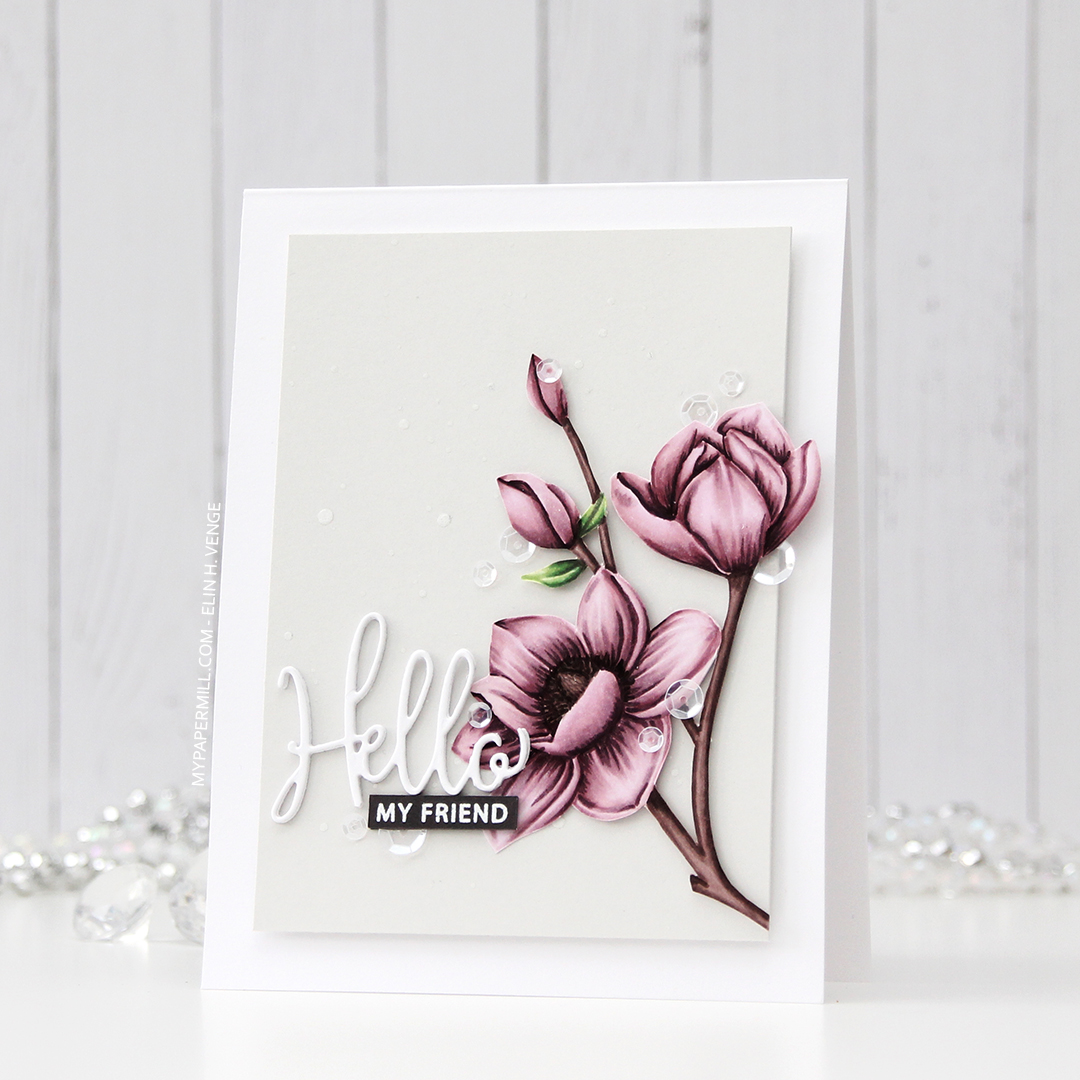
 I die cut Hello three times from white card stock and stacked the die cuts for dimension. The die is from a die set that came with my Gemini when I bought it two years ago, and this is the first time I used it. It has a swirl going down at the bottom of the H that connects to the o, but I chopped that off.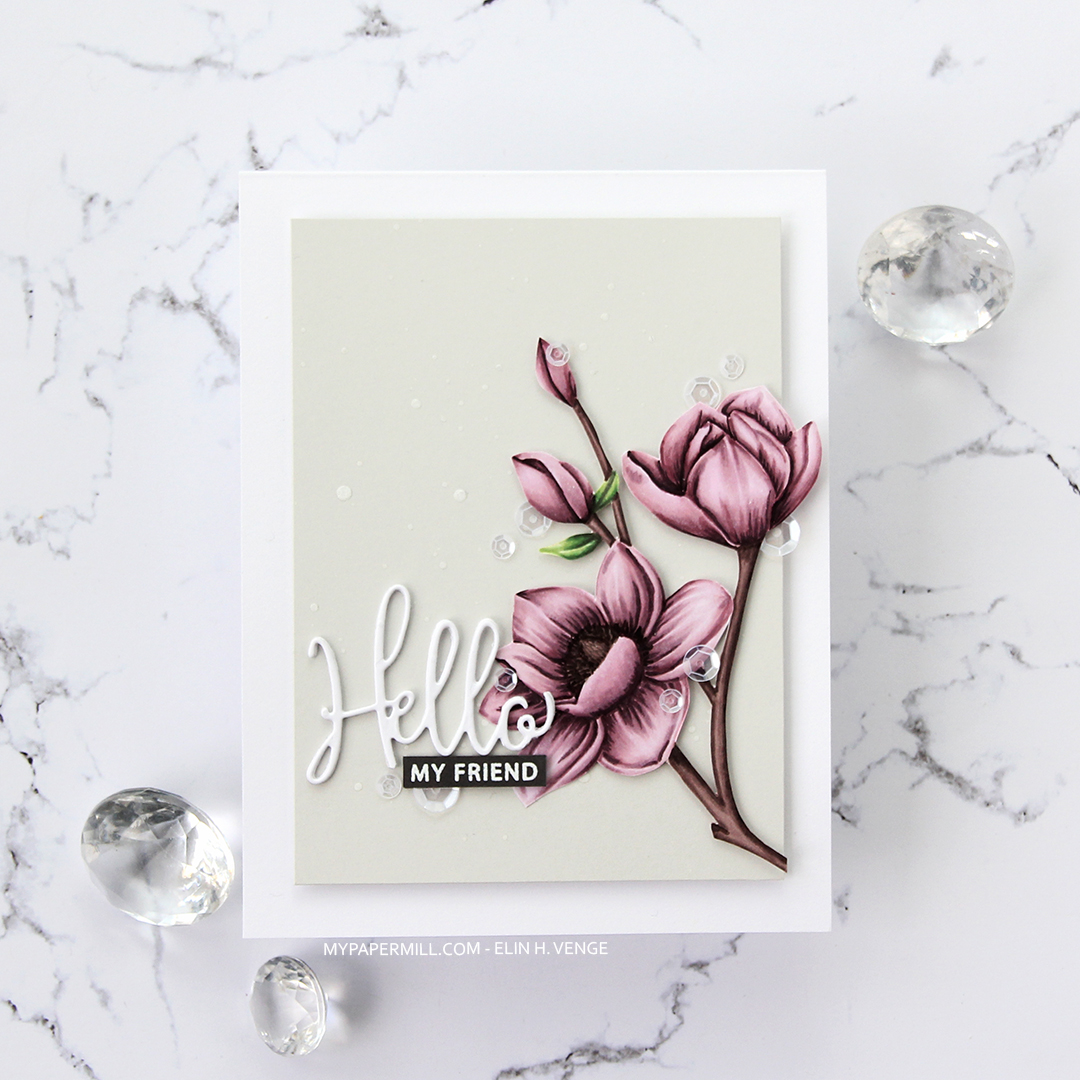
 I added sequins from the White Orchid Sequin mix from Little Things from Lucy’s cards on or near the flowers and the sentiment, and my card was complete.

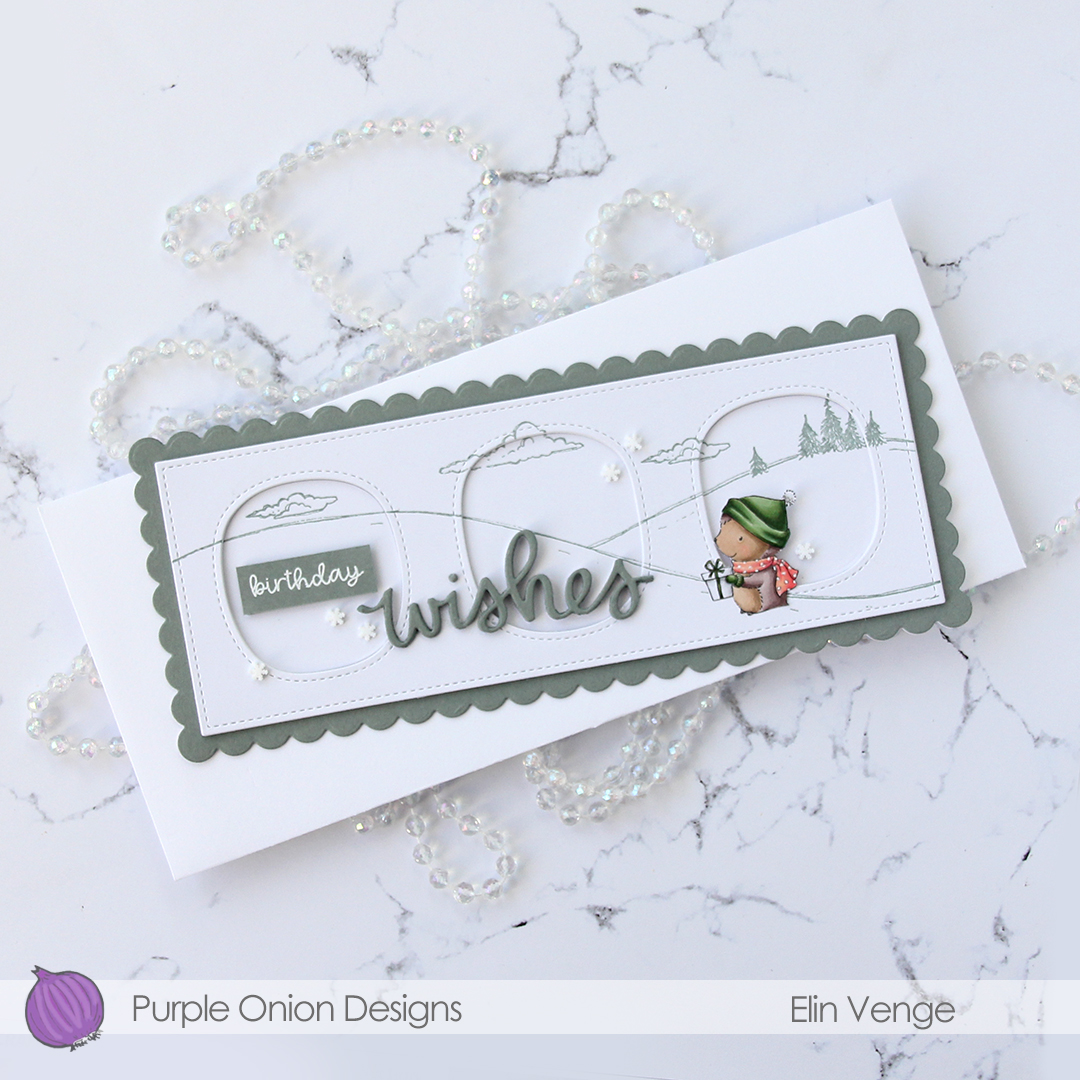






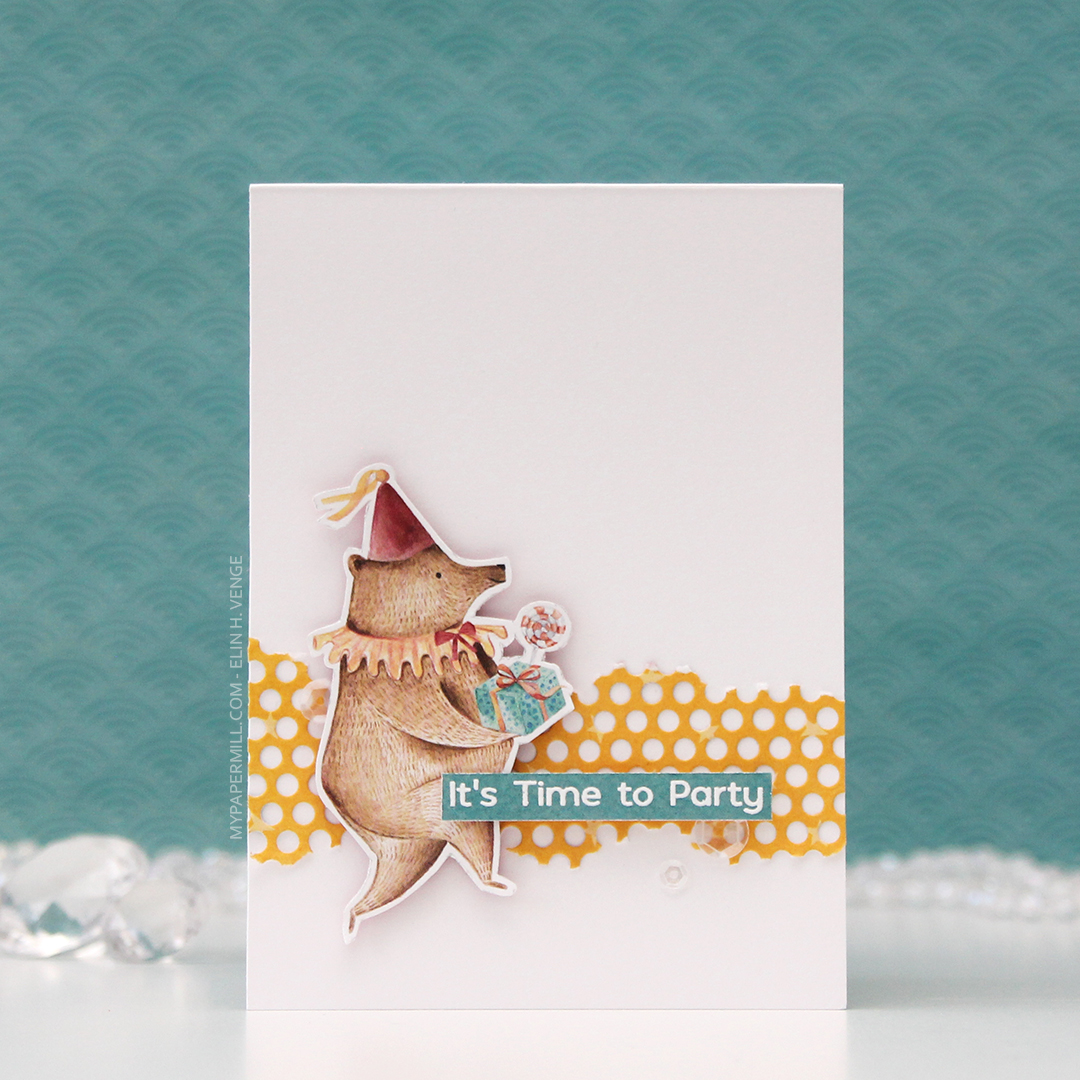 I’m starting with this bear, ready for a party! The papers in the P13 collections don’t have individual names, they just have numbers, and I fussy cut this bear from 05. I die cut a piece of 01 using a die from Papirdesign, tearing the edges for an uneven look and glued it straight onto my 4 bar top fold card base, before adding the bear with foam tape for dimension.
 03 in this collection from P13 has wide, diagonal stripes in different colors. I cut it down to strips, and used them to emboss my sentiments to get the perfect color matches. The sentiment on this card is from the Bitty Bears stamp set from My Favorite Things. I added the sentiment strip using foam tape, and finished off the card with some sequins from the White Orchid Sequin mix from Little Things from Lucy’s Cards.
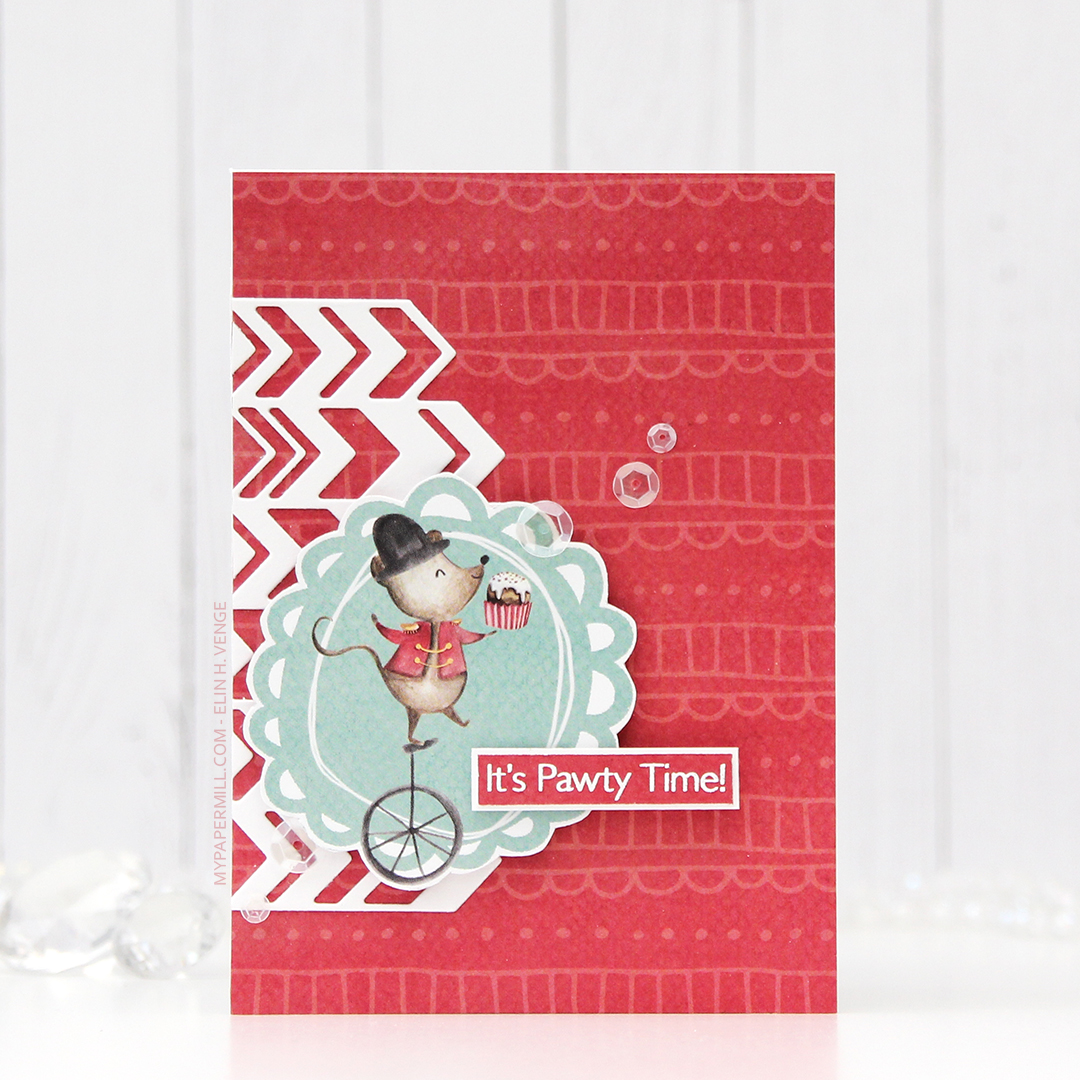 For my second card I covered the entire card front with the back of the 05 sheet. Most of the papers in this collection have lots of images on the front, and are more plain on the back, of course with colors that coordinate. The little mouse on a unicycle is from the 02 sheet, and again I used 03 to stamp my sentiment on. This sentiment is also from My Favorite Things, it’s from the Pawty Time stamp set.
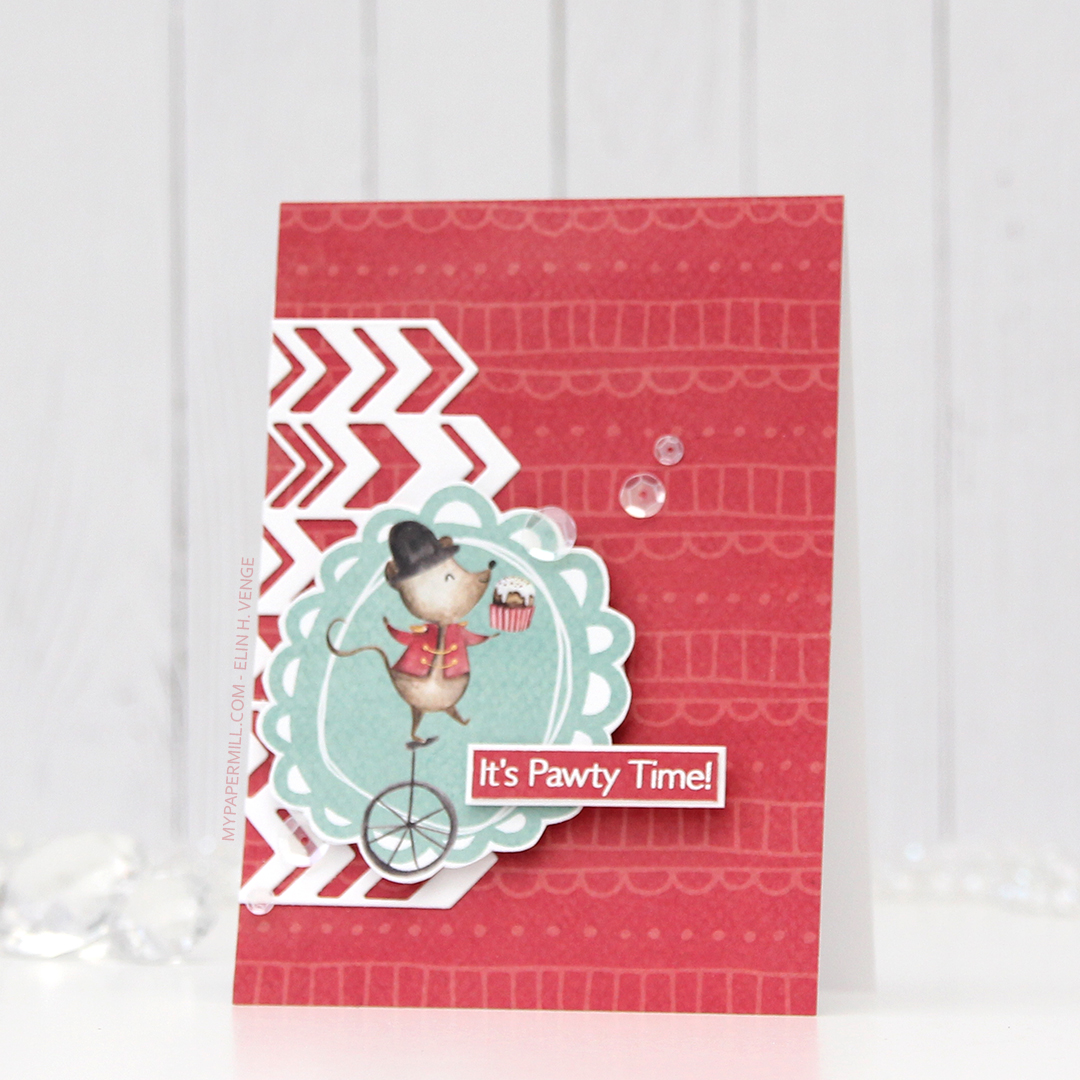 I die cut a chevron pattern from white card stock using a die from Papirdesign and adhered it directly to my patterned paper card front, before popping up the image on foam tape, and the sentiment on even more foam tape. Again I added sequins from the White Orchid Sequin mix to finish the card.
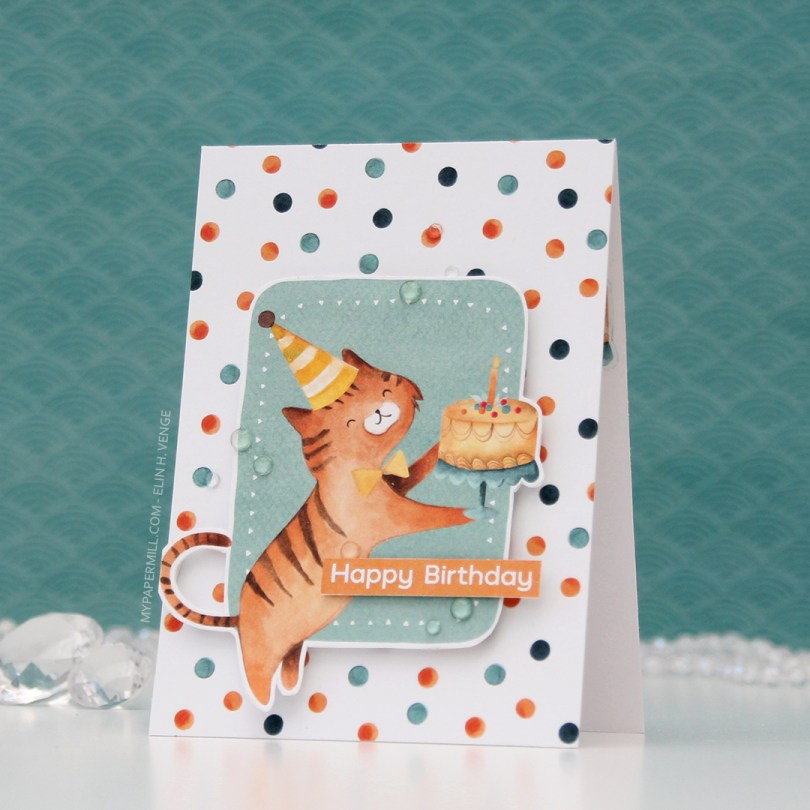
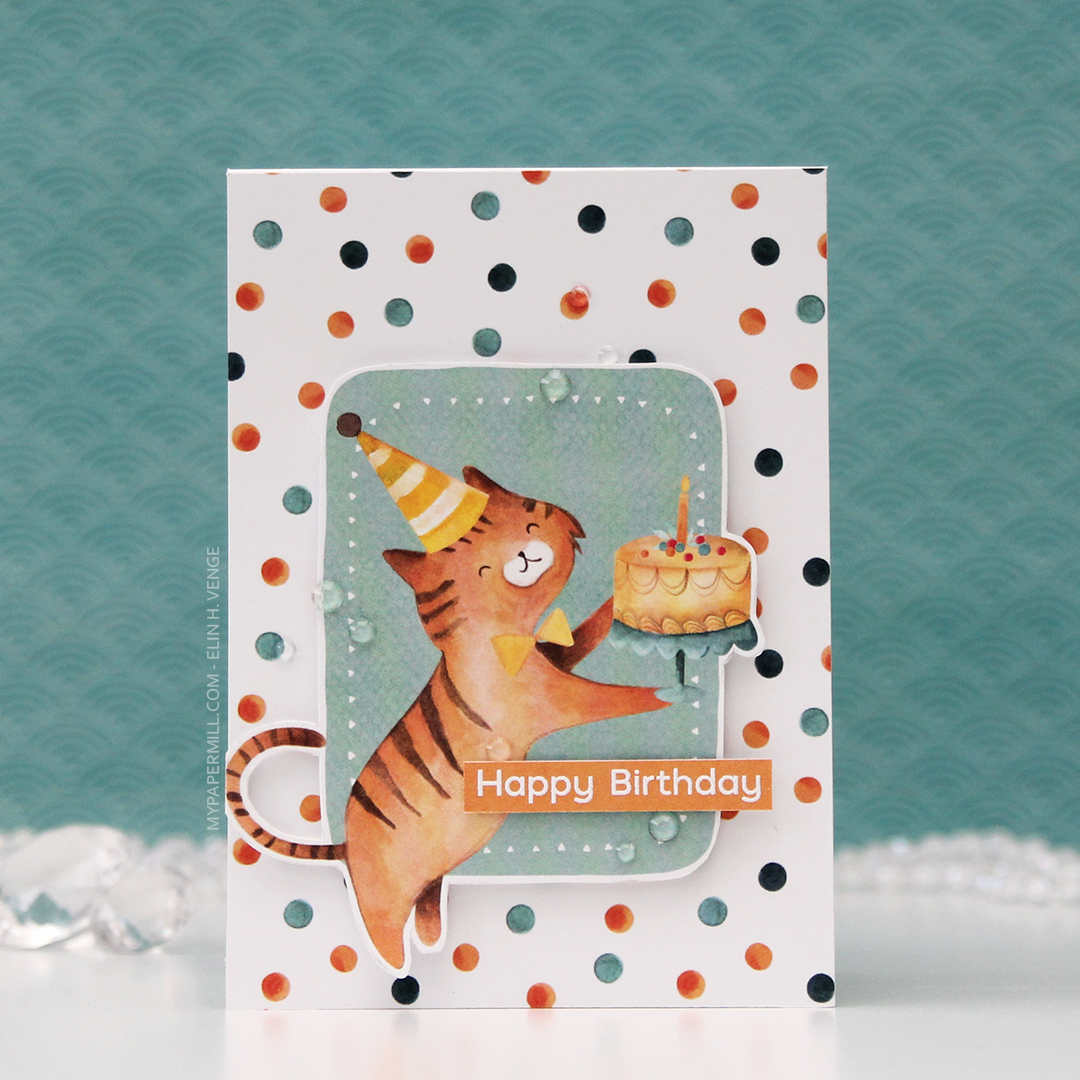 Card number 3. Now, I’m not sure whether this is a cat or a tiger, but whatever he is, he’s definitely ready to party. I fussy cut him from the 02 sheet, and I used the back of the same sheet to cover the card front. Once again, I popped the image on foam tape for dimension.
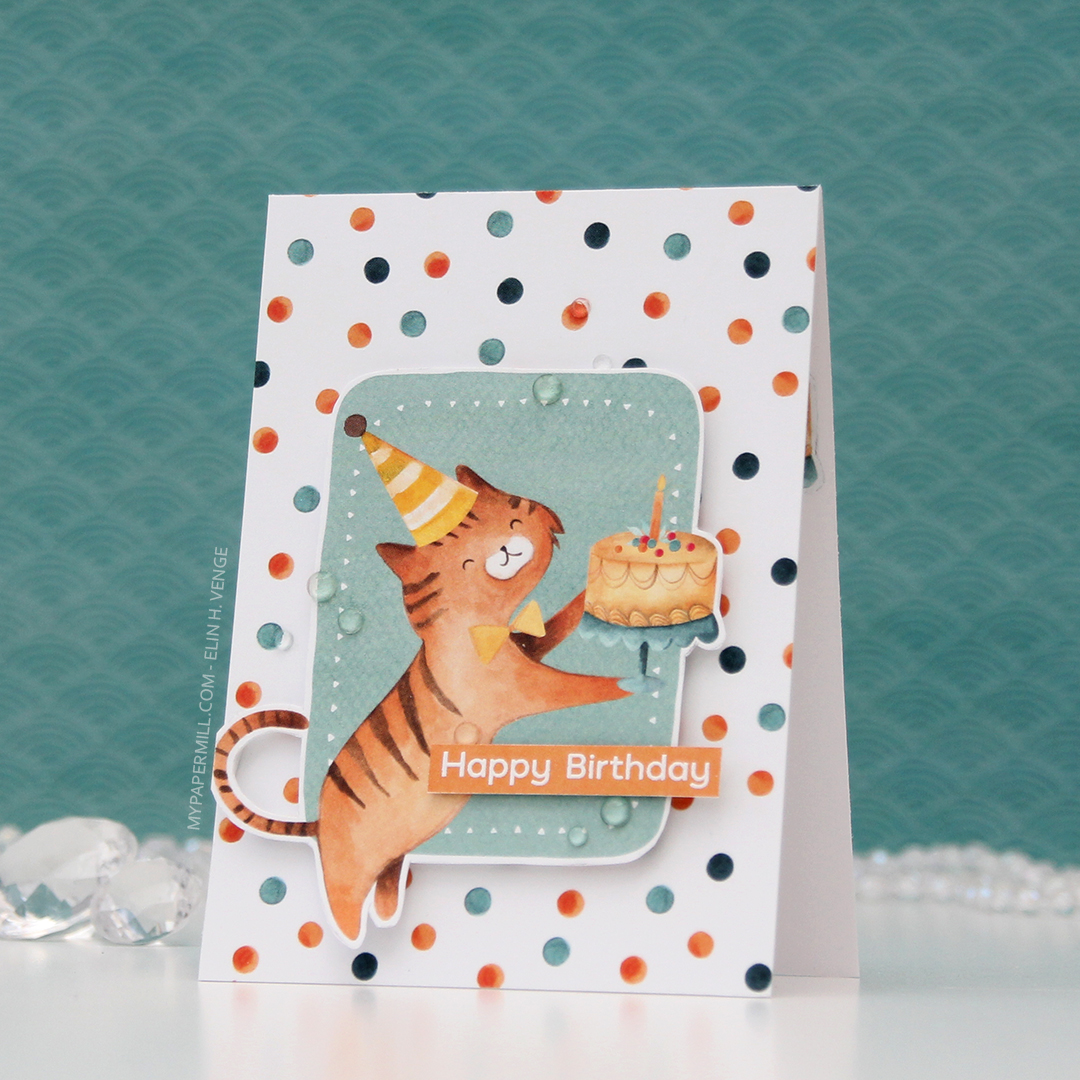 I used the Happy Birthday sentiment from the Bitty Bears stamp set again, and this time I used some clear gems from the Crystal Glass collection from Little Things from Lucy’s Cards to embellish.
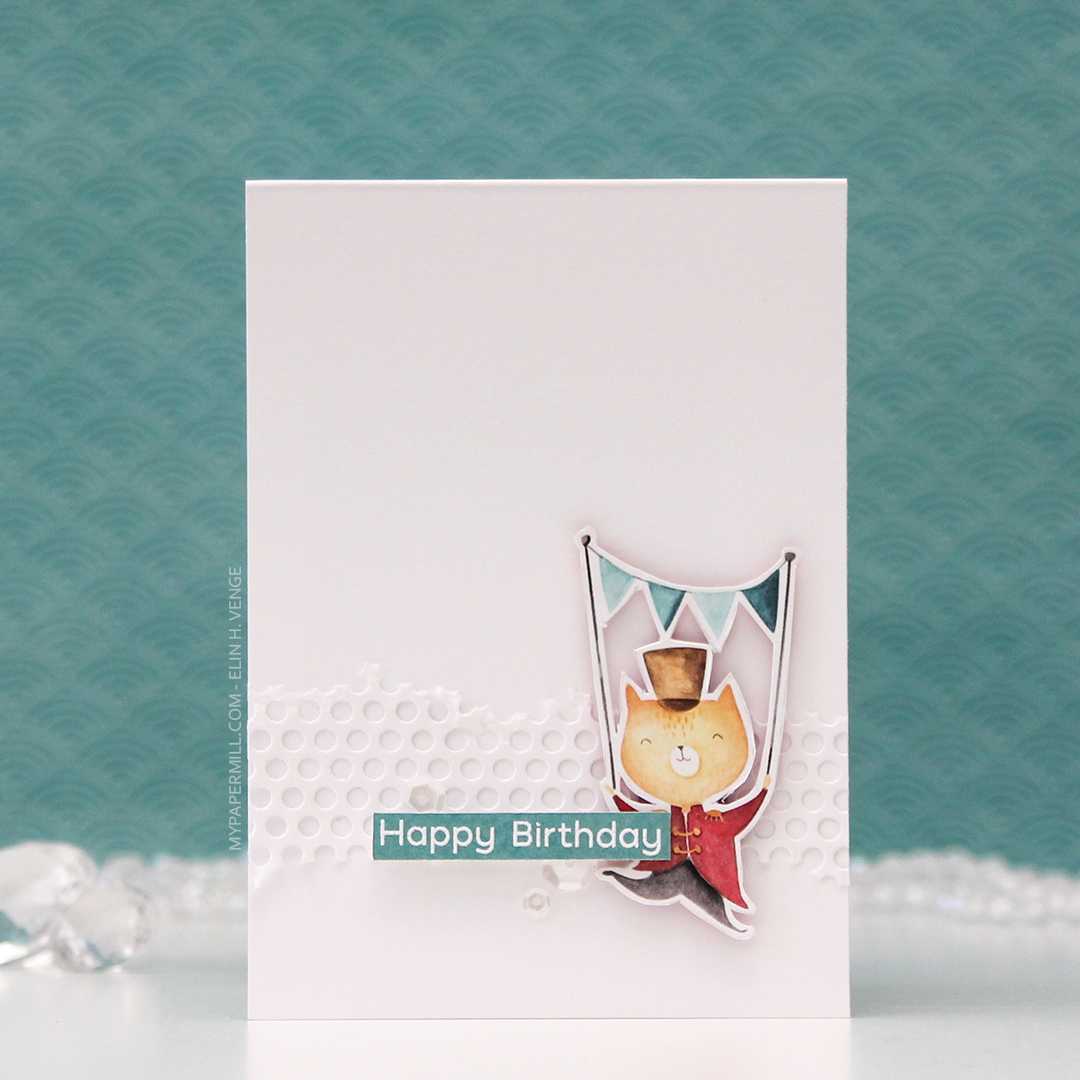 I made the last card for today very simple. I die cut the same hole pattern as I used for the first card, only this time in white card stock for a bit of textured interest in the background. The cat is from the 05 sheet, which I used a lot of for these cards.
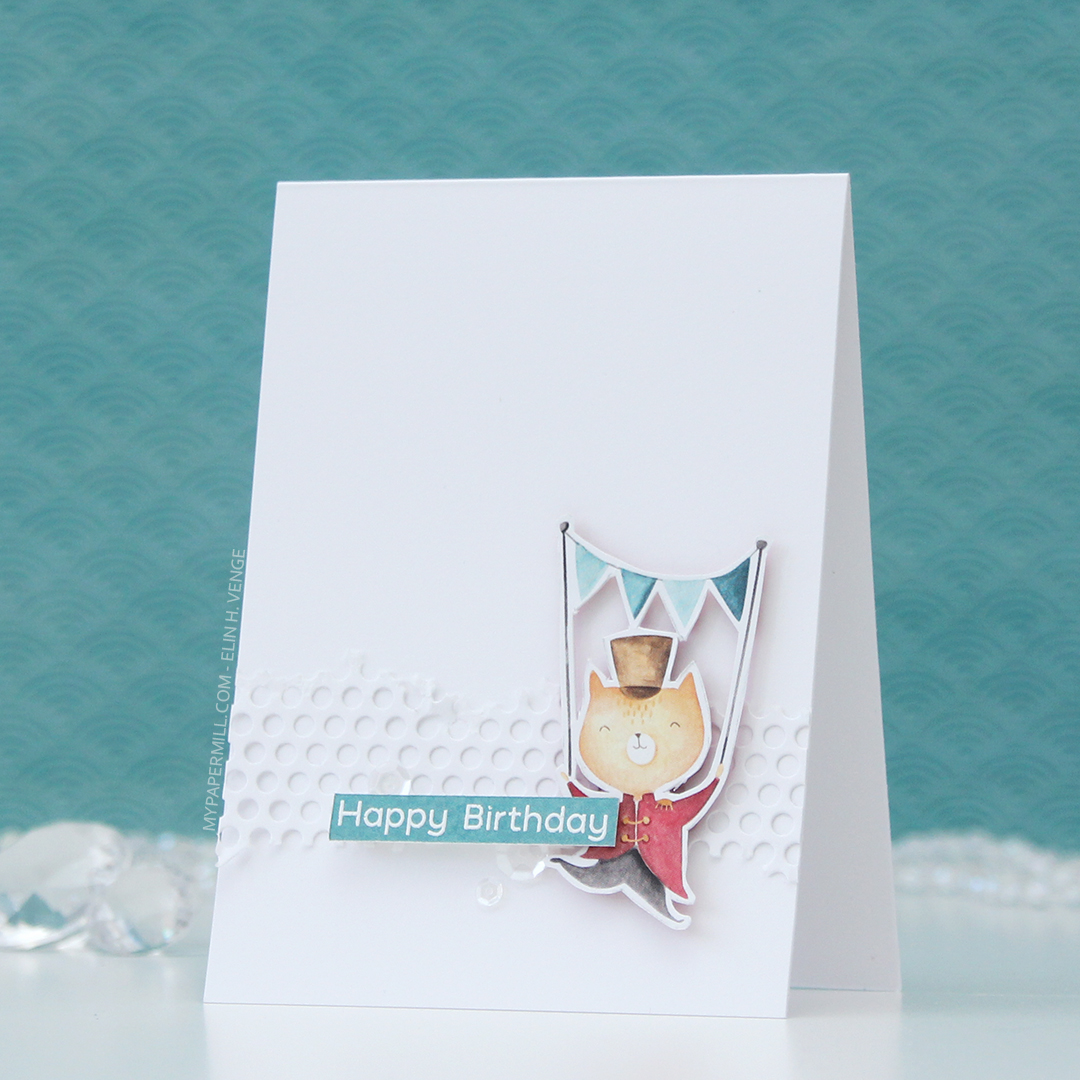 I added the cat using foam tape, the sentiment using more foam tape and those white sequins once again. These cards were so much fun to create, and I’ve got more in upcoming posts.
 Papirmølla