Hi, everyone! I have a few cards to share today, all of them using just a few products. The Happy Birthday collection from P13 has some great images that are perfect for quick, easy birthday cards.
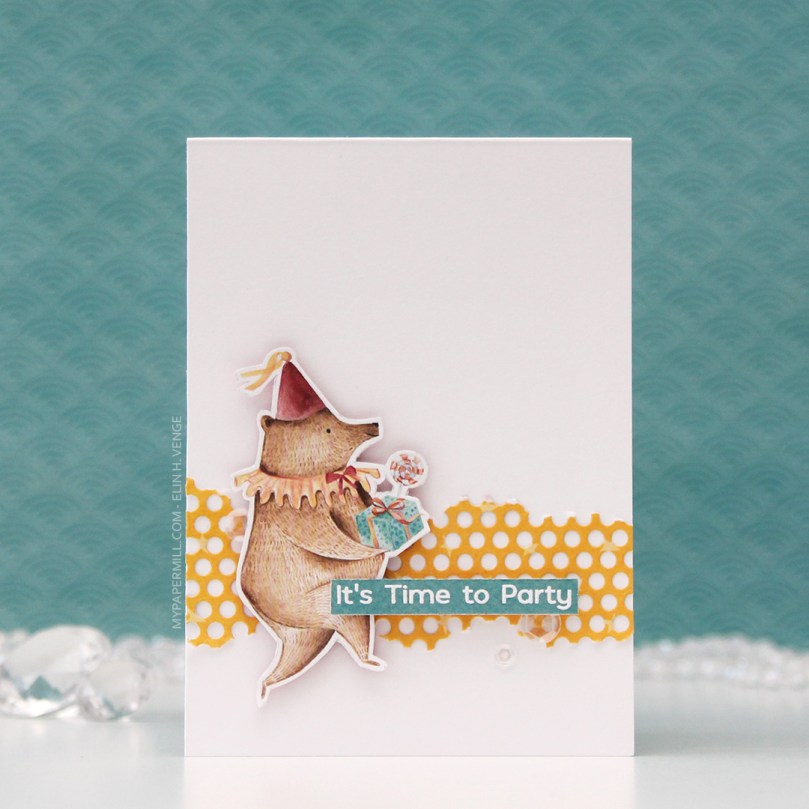 I’m starting with this bear, ready for a party! The papers in the P13 collections don’t have individual names, they just have numbers, and I fussy cut this bear from 05. I die cut a piece of 01 using a die from Papirdesign, tearing the edges for an uneven look and glued it straight onto my 4 bar top fold card base, before adding the bear with foam tape for dimension.
 03 in this collection from P13 has wide, diagonal stripes in different colors. I cut it down to strips, and used them to emboss my sentiments to get the perfect color matches. The sentiment on this card is from the Bitty Bears stamp set from My Favorite Things. I added the sentiment strip using foam tape, and finished off the card with some sequins from the White Orchid Sequin mix from Little Things from Lucy’s Cards.
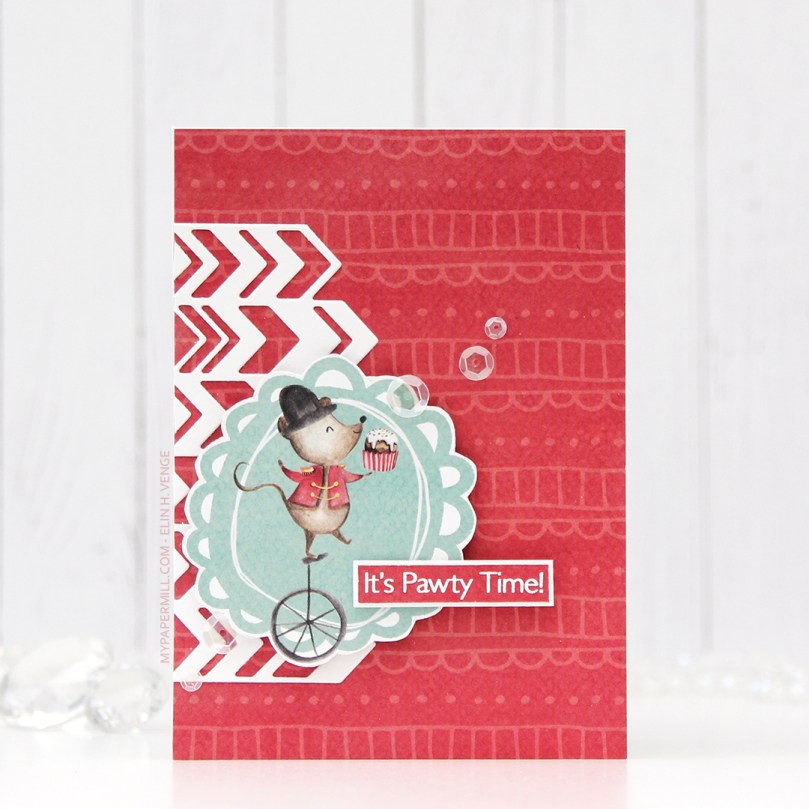 For my second card I covered the entire card front with the back of the 05 sheet. Most of the papers in this collection have lots of images on the front, and are more plain on the back, of course with colors that coordinate. The little mouse on a unicycle is from the 02 sheet, and again I used 03 to stamp my sentiment on. This sentiment is also from My Favorite Things, it’s from the Pawty Time stamp set.
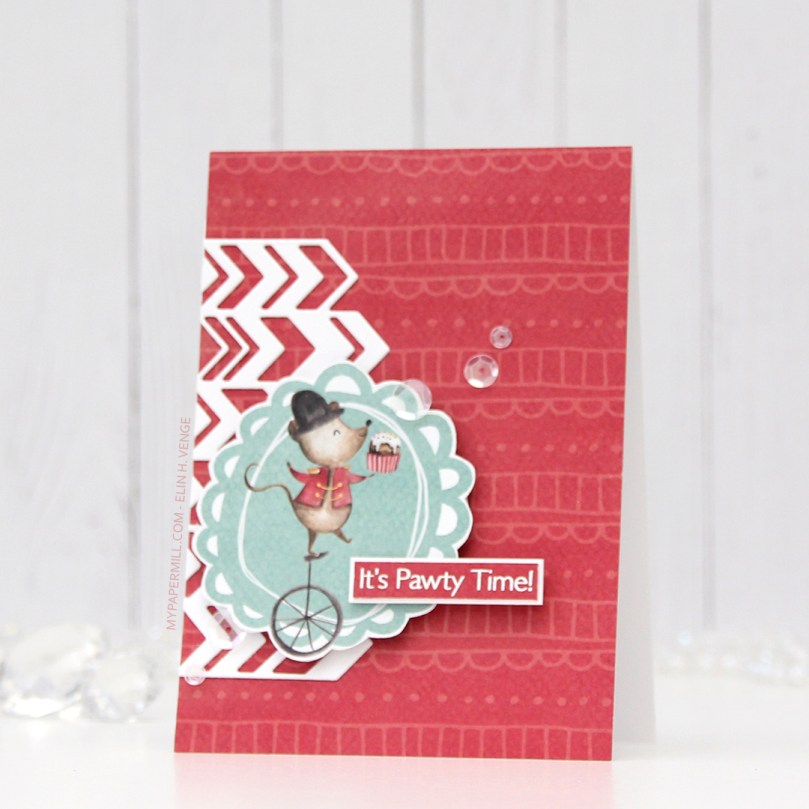 I die cut a chevron pattern from white card stock using a die from Papirdesign and adhered it directly to my patterned paper card front, before popping up the image on foam tape, and the sentiment on even more foam tape. Again I added sequins from the White Orchid Sequin mix to finish the card.
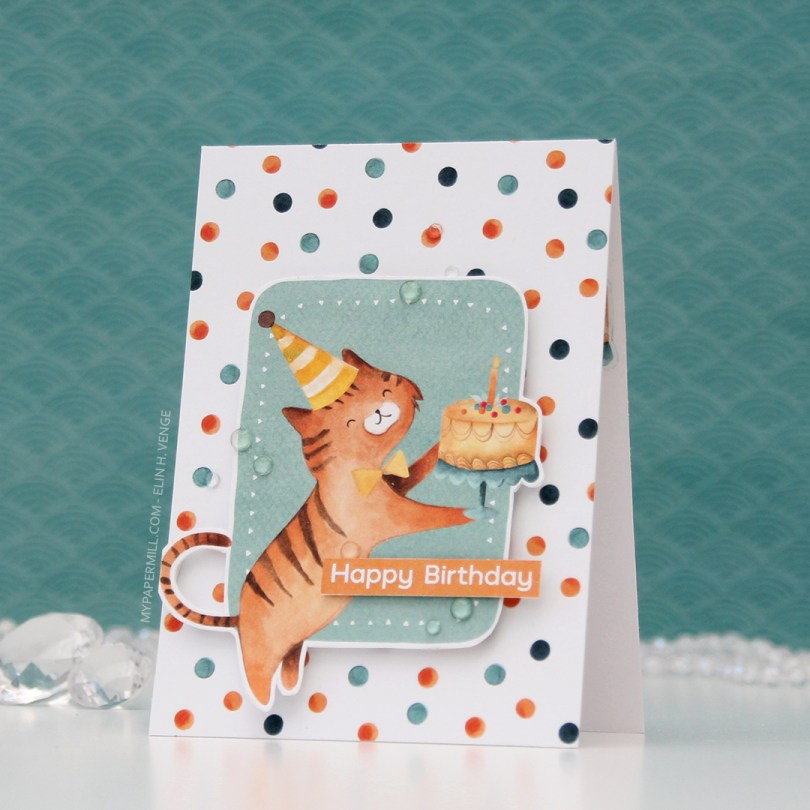
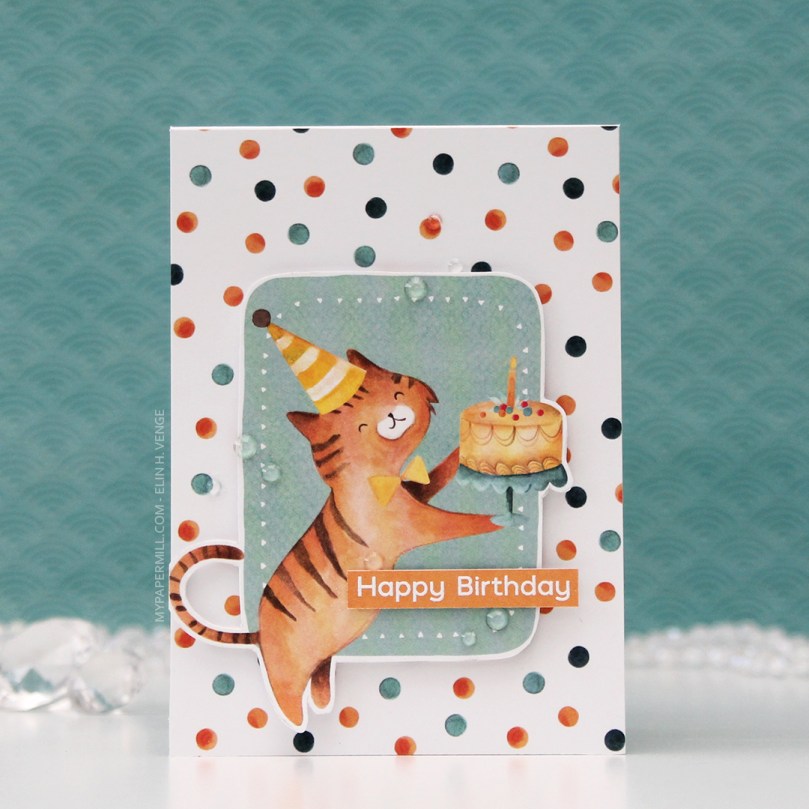 Card number 3. Now, I’m not sure whether this is a cat or a tiger, but whatever he is, he’s definitely ready to party. I fussy cut him from the 02 sheet, and I used the back of the same sheet to cover the card front. Once again, I popped the image on foam tape for dimension.
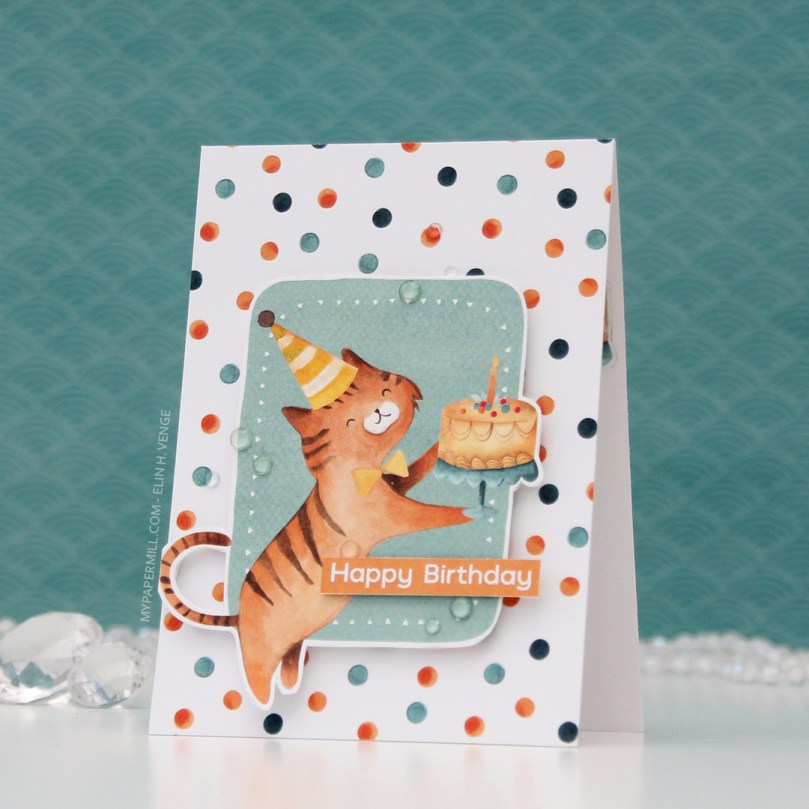 I used the Happy Birthday sentiment from the Bitty Bears stamp set again, and this time I used some clear gems from the Crystal Glass collection from Little Things from Lucy’s Cards to embellish.
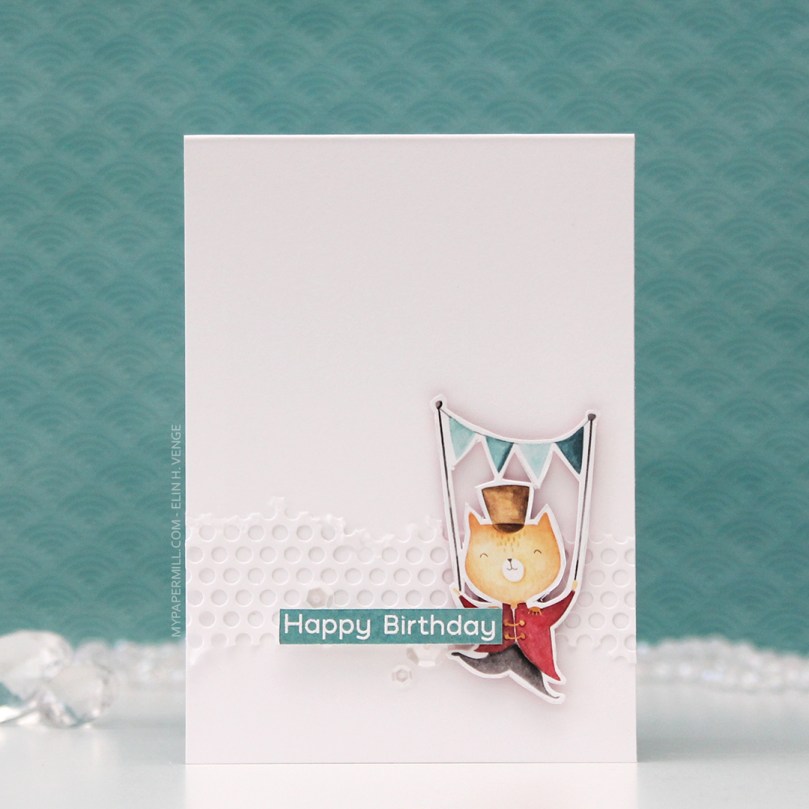 I made the last card for today very simple. I die cut the same hole pattern as I used for the first card, only this time in white card stock for a bit of textured interest in the background. The cat is from the 05 sheet, which I used a lot of for these cards.
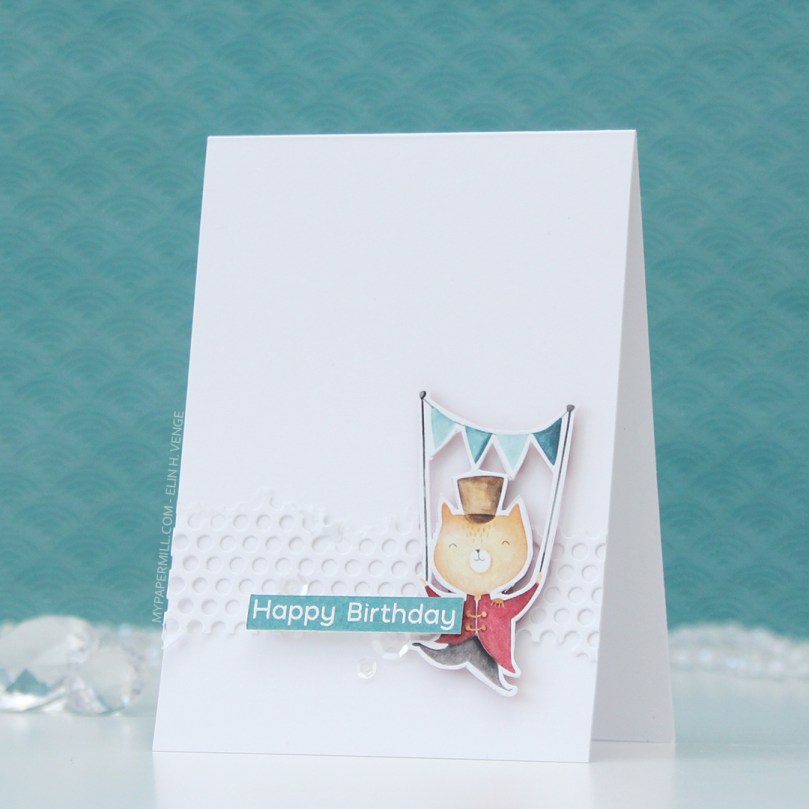 I added the cat using foam tape, the sentiment using more foam tape and those white sequins once again. These cards were so much fun to create, and I’ve got more in upcoming posts.
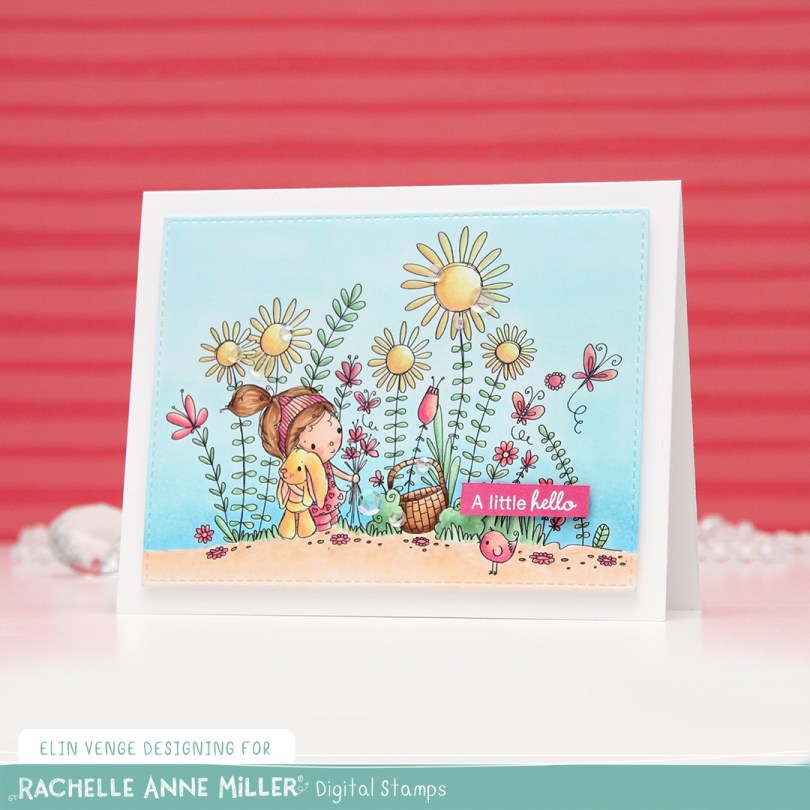
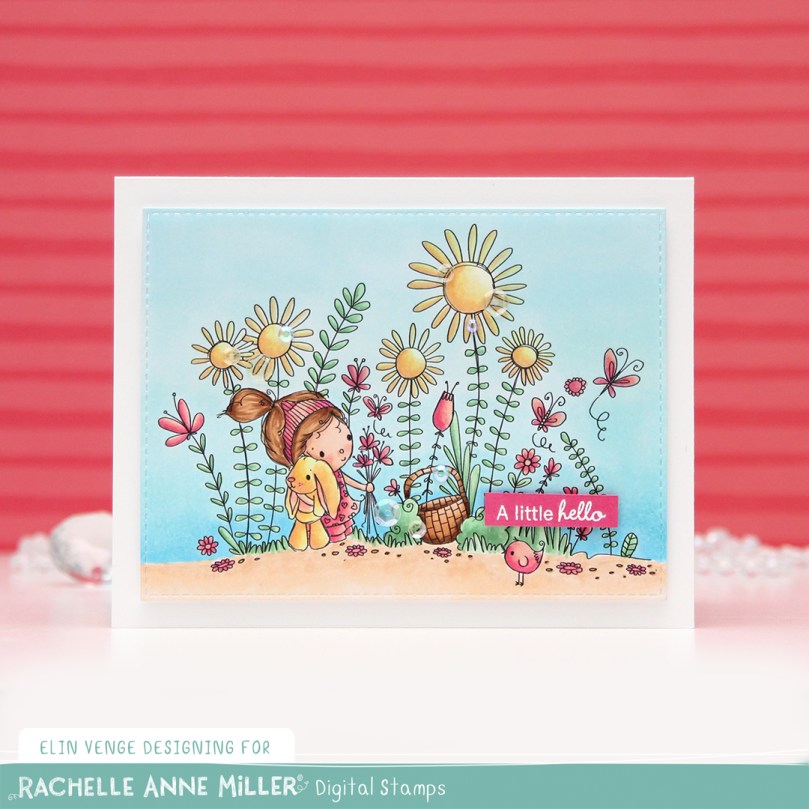 As usual, I printed the image on X-Press It blending card and colored it in using my Copics. Once done coloring, I took the second largest die in the A2 Stitched Rectangles STAX 2 set from My Favorite Things to turn it into a panel with nice faux stitching along the edges. I mounted it with foam tape onto my card base.
 I stamped and white heat embossed a sentiment from InkyWings onto a tiny scrap of Raspberry Fizz card stock from Papertrey Ink. It was so small I barely even cut it smaller before adhering it to my card using Gina K foam tape, which isn’t as thick as the foam tape I used for my colored piece. I added some gems and sequins from the Iced Sherbet mix from Little Things from Lucy’s Cards, and my card was finished.
 Colors. Not a lot, but some, with an added confession. I made a very similar card to this about six months back, and I’ve used the exact same colors on this one, except for one. Being a little lazy this time, I didn’t want to redo the entire graphic because of one single marker, so this graphic is one I’ve used before. The only color in there that I didn’t use for this card was E13, simply because I forgot.
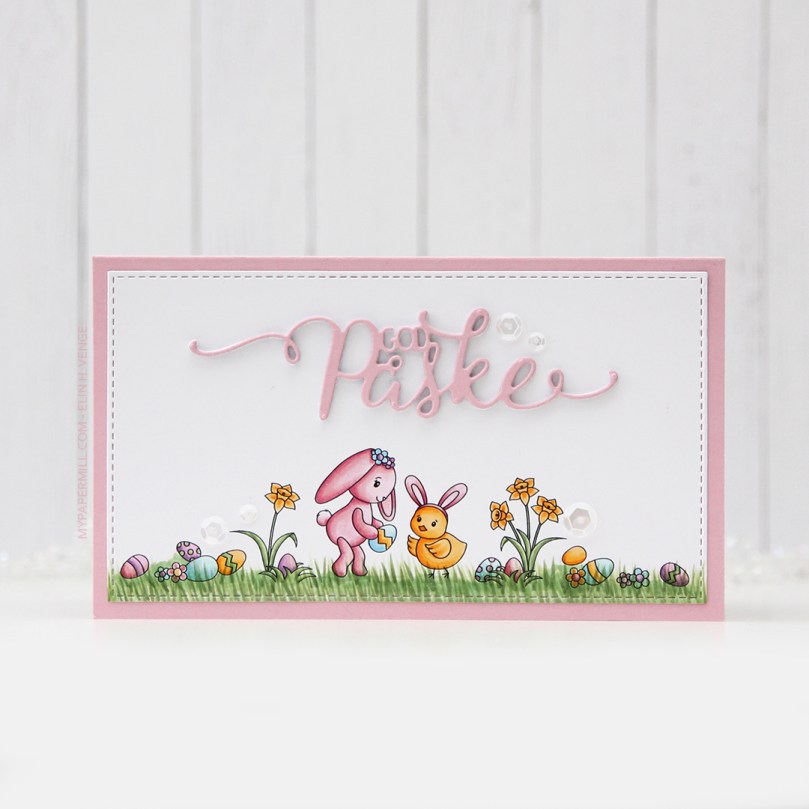 Soft, pastel colors throughout this one. I die cut the panel into a rectangle by doing partial die cutting twice with a stitched rectangle die from My Favorite Things. I don’t have any dies for mini slimline cards, but partial die cutting definitely works.
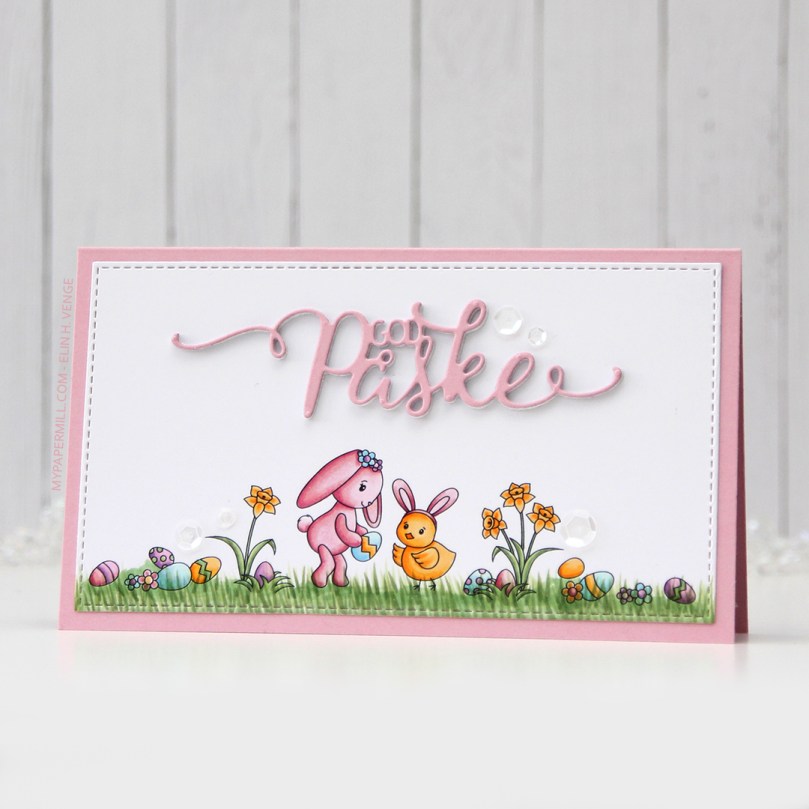 I added the panel to a card base made from Lavender Moon card stock from Papertrey Ink. I die cut God påske (die from Papirdesign) four times; three from white card stock and once from Lavender Moon. I stacked them and centered my dimensional die cut as best I could above the image, before finishing off with some sequins from the White Orchid Sequin Mix from Little Things from Lucy’s Cards. I love her mixes, they’re awesome!
 My light Copic palette shouldn’t come as a surprise, pastels and spring go hand in hand.
 I colored the image with my Copics, cut the panel down quite a bit and put lots of foam tape on the back. I dug through my patterned paper Christmas scraps and found a blue piece from Papirdesign that was large enough to cover the card front, as well as a couple of smaller pieces from Maja Design.
 I stamped and white heat embossed a sentiment, before die cutting it with the mid size fishtail flag frame die from My Favorite Things. I added a few snowdrift sprinkles from Little Things from Lucy’s Cards, and my card was all done. Super simple, and one more card in the Christmas 2021 box. Feels good to have the pile grow!
 Nothing too fancy in my coloring today. The combo I used for the cat happens to be nearly identical to the one I used for the girl’s hair, I just omitted the darkest one.
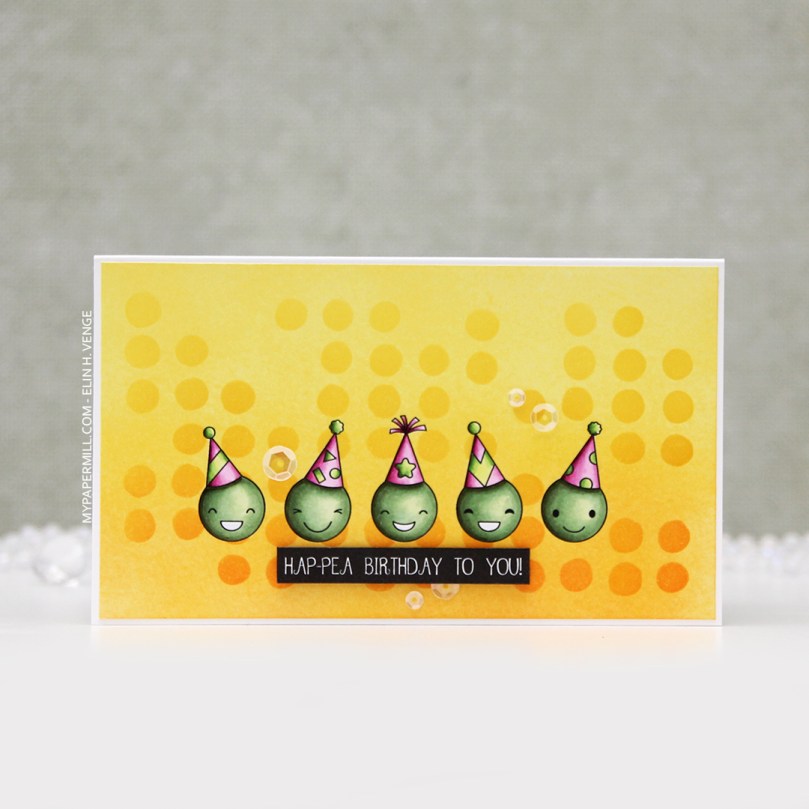 These peas are part of an upcoming stamp set from
  Once I’d colored the peas, I masked off each individual pea and did some ink blending across the entire panel using distress inks. I went for an orange to yellow ombre combo with Spiced Marmalade, Mustard Seed and Squeezed Lemonade. I placed a stencil (Dotted Flowers) from Ranger on top and ink blended again using the same colors, going in with a heavier hand. I adhered the panel to a mini slimline card base I made from Stamper’s Select White cardstock from Papertrey Ink and used foam tape for a little bit of dimension behind the sentiment, before finishing off with some sequins from Little Things from Lucy’s Cards.
 Simple coloring leads to a simple color palette.
 I wasn’t sure what to do at first, but wound up fussy cutting the image, leaving a white trim. I usually prefer cutting right up against the edge, but I didn’t want to cut off the sketchy lines on the perimeter of the image, and decided to leave the white border. I ran a piece of white card stock through my die cutting machine using a geometric embossing folder from We R Memory Keepers. It gives the background a nice texture without being too distracting from the image.
 After die cutting an eyelet circle from a Cottage Cutz die set using a piece of patterned paper from DCWV, I did some aggresive cropping to one side and mounted the remainder of the circle on my dry embossed white card stock using 1 mm foam squares. I added the white panel to the card base using regular foam tape, and added the girl on top of the circle, before finishing off the card with a heat embossed sentiment from an Altenew stamp set and a few sequins from the White Orchid sequin mix from Little Things from Lucy’s Cards. The blue card stock is Blueberry from My Favorite Things.
 Last, but not least, the colors I used for my coloring.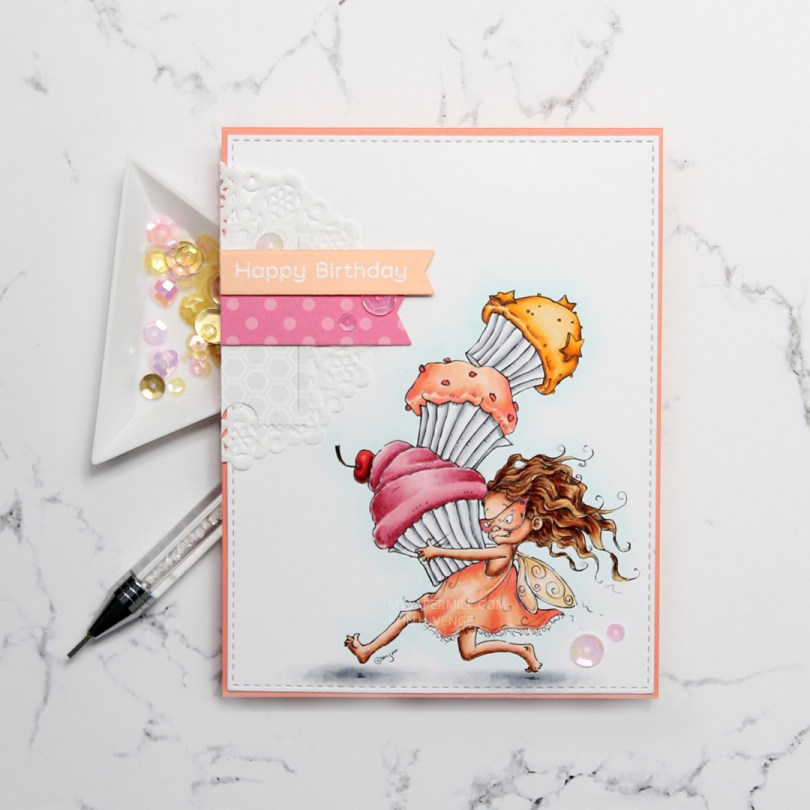
 I colored my image onto X-Press It blending card using my Copics, before using the largest of the A2 Stitched Rectangles STAX dies from My Favorite Things to turn it into a nice panel with faux stitching around the edge. I adhered it onto a card base I made from Coral Crush card stock from My Favorite Things. Sadly, the color’s discontinued, but they have loads of other gorgeous card stock colors at My Favorite Things.
 I added a small cluster of scraps to the top left of my card. About half a mini doily from Doodlebug Design is at the bottom, followed by die cut pieces of patterned paper from Sunny Studio and a sentiment banner on top. I white heat embossed a sentiment from the Bitty Bears stamp set from My Favorite Things onto a banner of Peach Bellini card stock, also a discontinued MFT color.
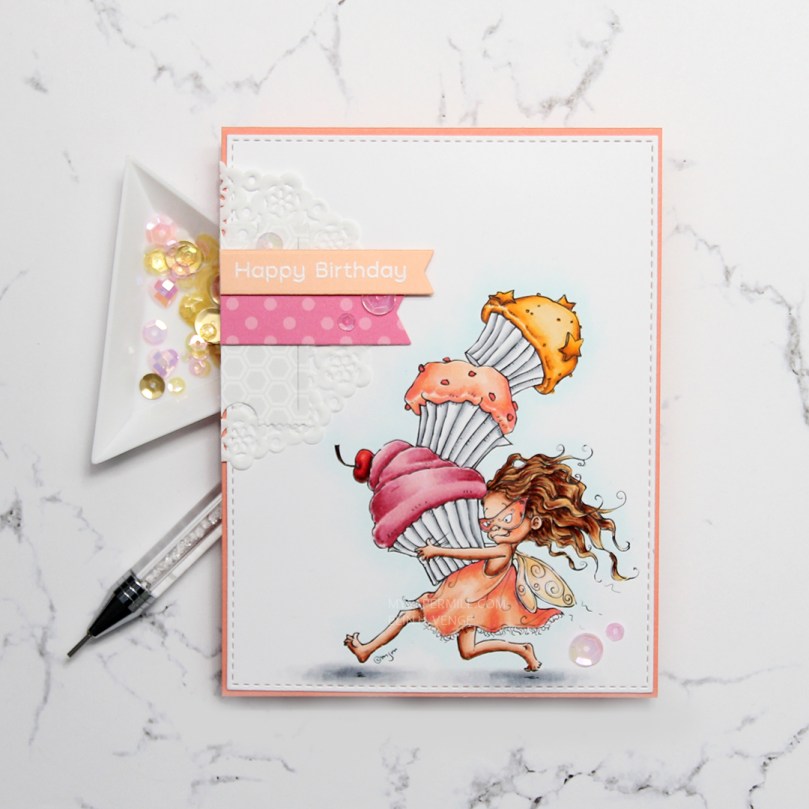 My embellishments tend to be sequins or enamel dots centered around the sentiment on my cards. For this one, I added another two sequins in the bottom right corner, just to do something different than my standard three sequins. These sequins are from the Heaven Sent mix from Little Things from Lucy’s Cards.
 I used quite a few colors for this one. For the frosting on the pink cupcake, I also used R87, which is a color I’ve created myself.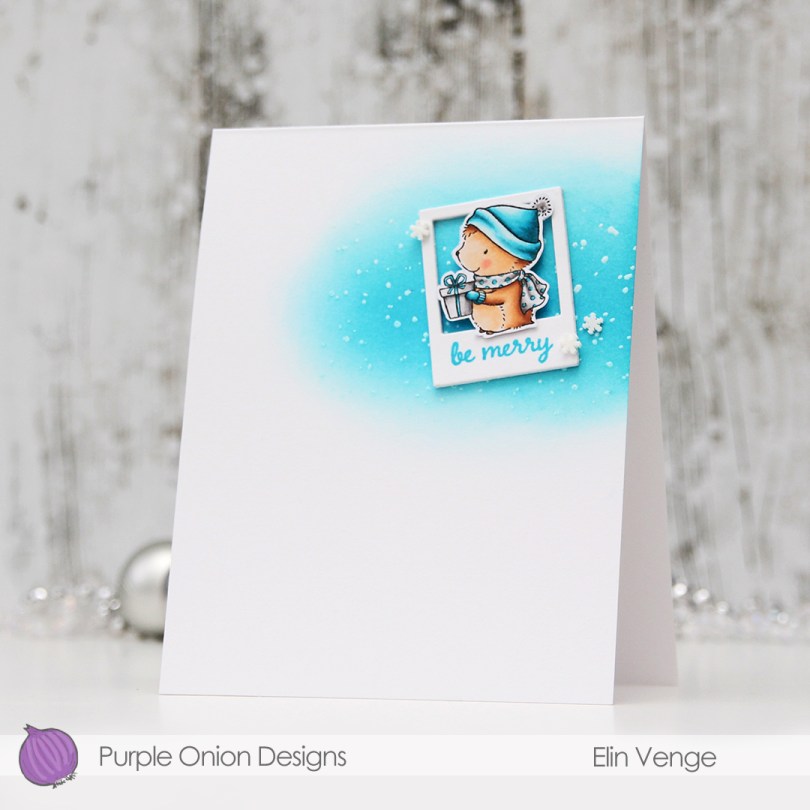
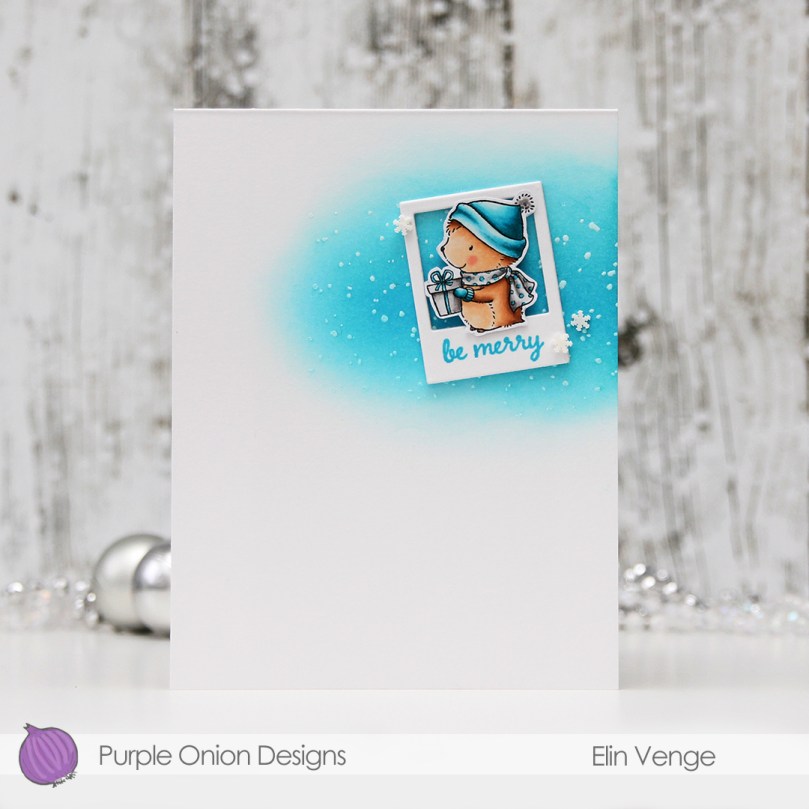 My card is heavily inspired by a card
 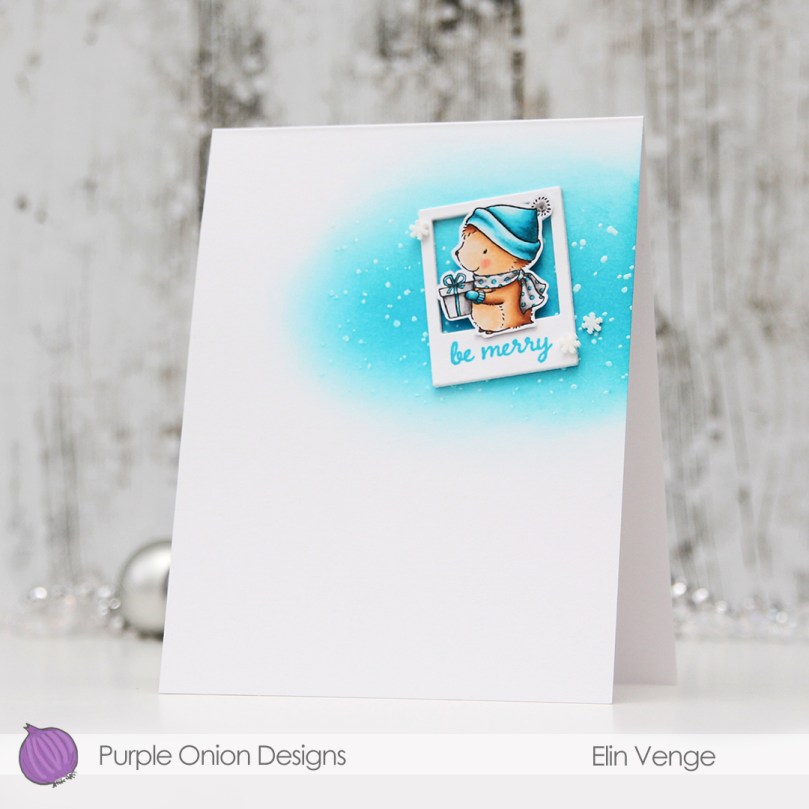 Tenia’s card had a wide piece of washi tape going in from the right near the top of the card, with a rectangle perpendicular to the washi with a couple of small colored flowers on top, a sentiment and a few enamel dots. Once I’d ink blended a little bit using Audrey Blue and Island Blue inks from Simon Says Stamp, I tried to add a rectangle to my card, but it was too long and too wide for my liking. I scrapped that idea and die cut a polaroid frame instead for my little hedgehog to sit in. I used the second smallest die from the Precious Polaroids die set from My Favorite Things, and stacked four on top of each other for dimension. The die cut was just big enough to stamp a sentiment onto. The shortest sentiment in the
 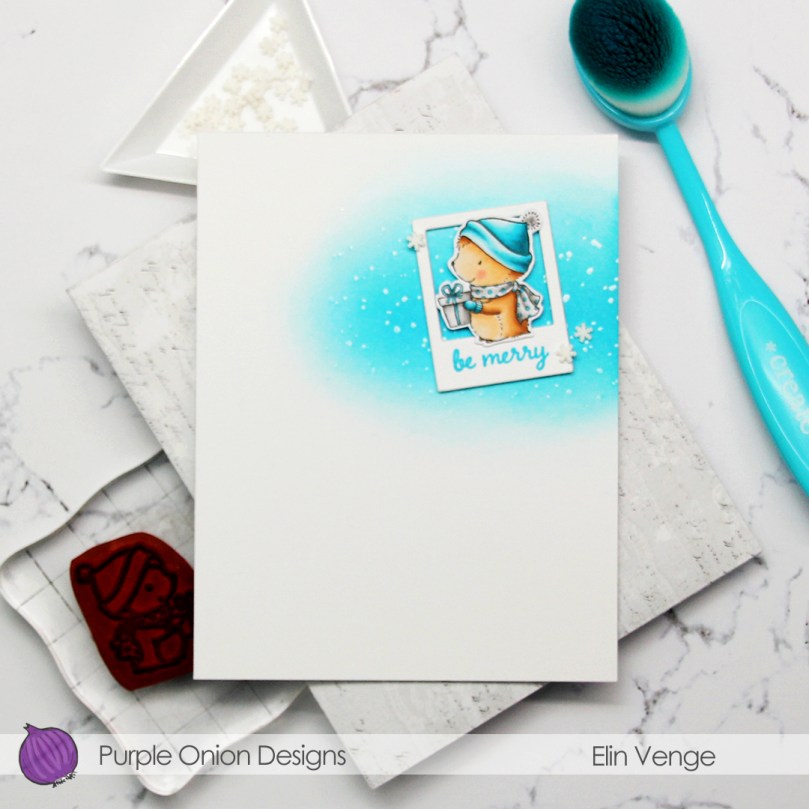 I added a few snowdrift sprinkles from Little Things from Lucy’s Cards, and my card was complete. Lots of white space, a cute hedgehog and one more Christmas card in the bank for 2021. Doesn’t get much better than that!
 Super limited color palette for this tiny image.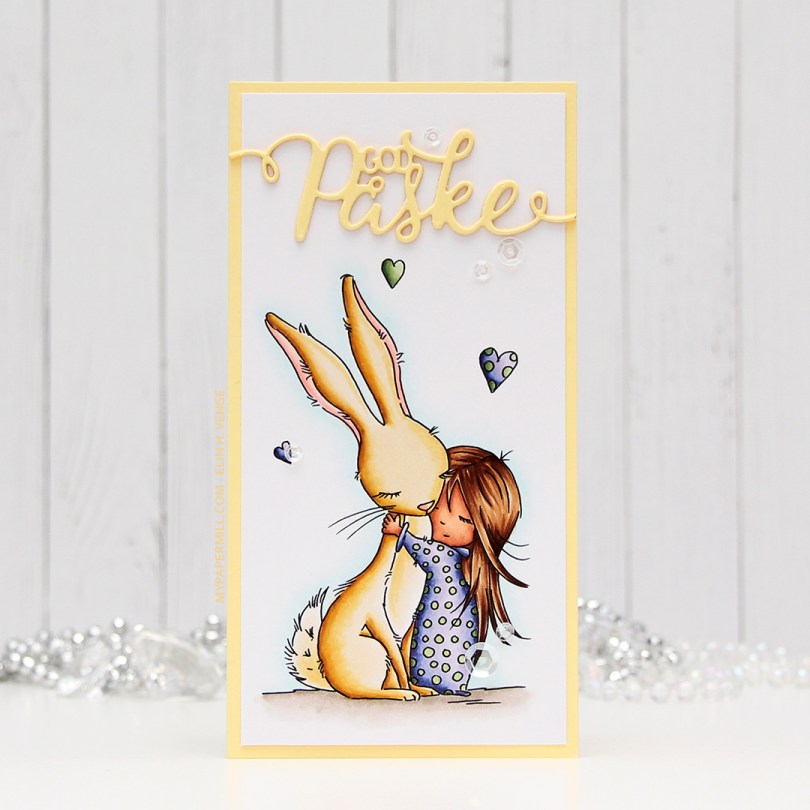
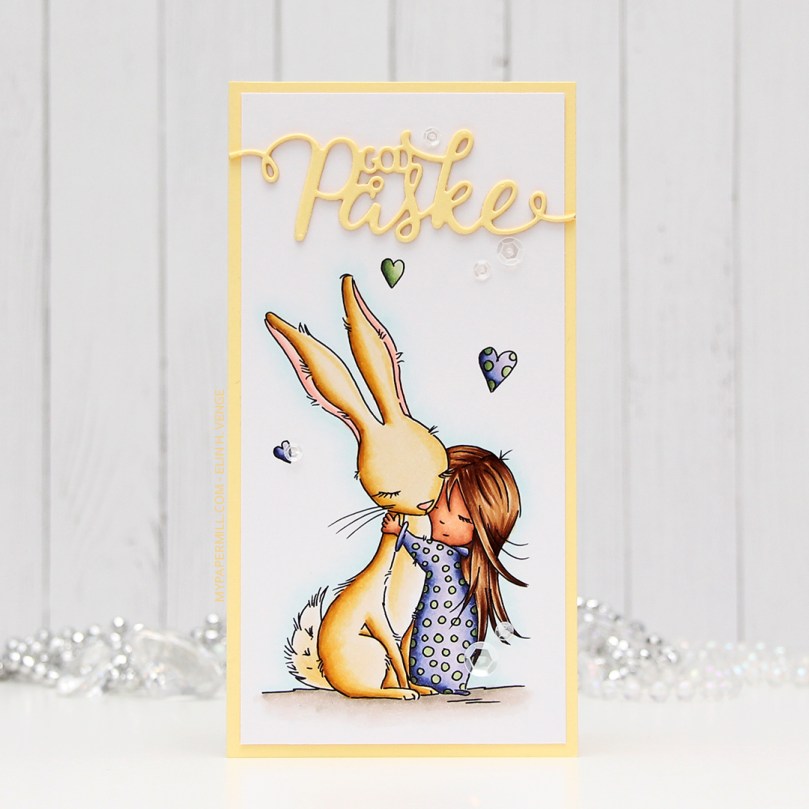 I wanted a soft look to this, but at the same time, I also wanted to change things up a bit. I went with a darker skin tone than I normally do, and I really wanted a soft yellow bunny. I printed the image onto a piece of X-Press It blending card cut to 3×6″ for a mini slimline card. I adhered it to a card base I made from Lemon Tart card stock from Papertrey Ink with a 1/8″ border. I used the same color card stock to die cut “God påske” (Happy Easter in Norwegian) using a die from Papirdesign. I stacked three die cuts on top of each other and used a sparkle shimmer spray from Imagine to add lots of shimmer to the die cut. It has a really nice shimmer in real life, even though you can’t see it in the photo. To finish off the card I added a few sequins from the White Orchid sequin mix from Little Things from Lucy’s Cards.
 Part of me can’t believe I used five different greens for this one, but that tiny green heart? They all fit in there!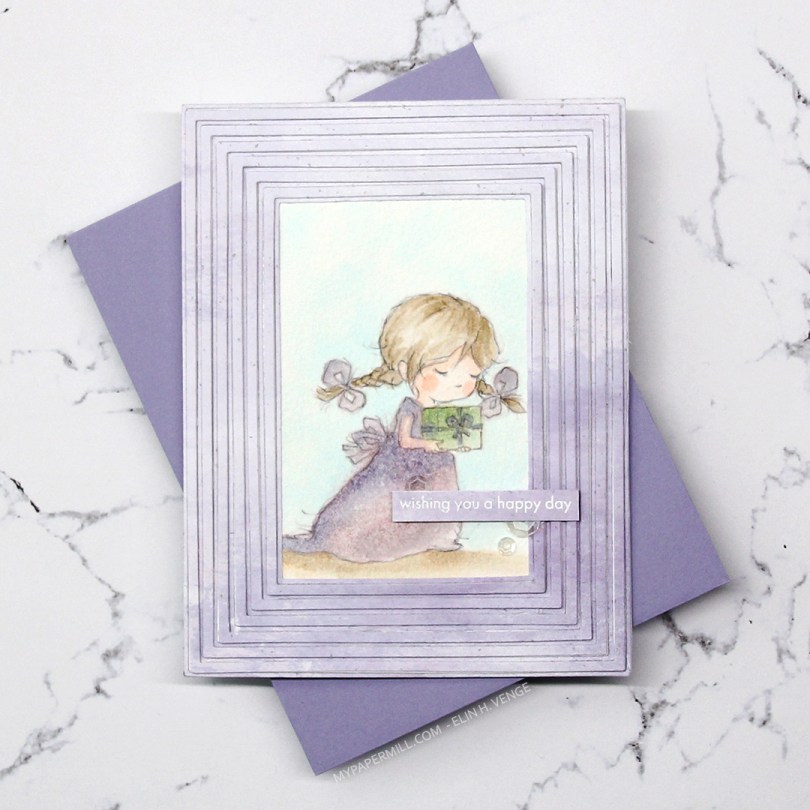
 Meet Grace. She comes in seven different poses, and each pose comes in a regular black lined version, and a more sketchy pencil style version, which is what I used for my card. I thought the sketchy look would be amazing with watercolor, but watercolor doesn’t play well with the ink in my printer, so I’ve totally cheated and used Copics. Well, Copic refills on watercolor paper, to be exact. Works like a charm and you get soft results, it’s fast to do and you don’t need a lot of colors. And for a sketchy style image like this, it doesn’t even matter if you go outside the lines a bit, it adds to that watercolor feel. I used this technique years ago (blog post
 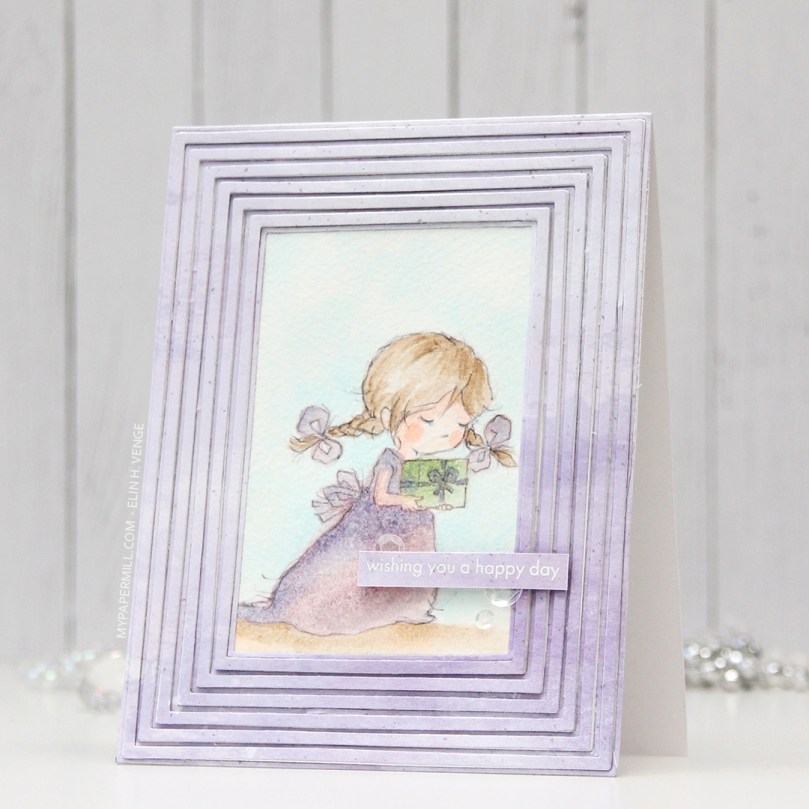 I wanted all the focus to be on the image, and used the Fine Frames Cover die with some patterned paper from Papirdesign in a soft, matching purple, adding dimension behind every other frame (the wider ones), while gluing the others straight onto the card base.
 I stamped and white heat embossed a sentiment from the Statement Flowers stamp set from Altenew, before adding a few sequins from the White Orchid Sequin Mix from Little Things from Lucy’s Cards.
 Very limited color palette. I put a drop or two of color onto my glass work surface and picked up the color with a watercolor brush filled with blender solution instead of water. I have a watercolor brush just for blender solution.
