
I’ve been waiting for the card design superstar contest from MFT for a while, and it’s here! The deadline is tonight, and here’s my first go. This is my entry into the Innovation Master category. I knew right away what I wanted to create.
 This is a small, but mighty one. It may look very unassuming as a 2-3/4″ square shaker card, but there’s a secret. It opens up to be quite big in the end. The shaker itself is filled with sequins, gems and a few die cuts in colored cardstock die cut using one of the dies in the Tag Builder Blueprint 5 set. I cut them down a little with my scissors and cut the ends off so they wouldn’t get tangled inside the shaker.
 The gorilla from the Picture Perfect Party Animals stamp set covers the entire front, but there’s a magnetic flap on the back, and once you undo that, more is revealed.
 Flip the gorilla over, and you’ve got more animals ready to join the party. I used the yellow polka dot pattern from the Party Patterns paper pad for even more fun and a way to get even more happy color into my card. These three panels are flaps that open to the sides (two to the right and one to the left) to reveal even more…
 The last three (technically four, since there are two parrots in that one selfie) animals are ready to party. They’re tucked inside pockets, and I’ve stamped a couple of the sentiments that come with the stamp set onto Razzle Berry heavyweight cardstock from MFT and heat embossed them. That pink really packs a punch. I die cut my sentiments using the largest of the Fishtail Flag Frames dies, and cut down another patterned paper from the Party Patterns paper pad to strips that included the yellow, green and pink colors that I have throughout my card. I also added some die cut streamers from the Tag Builder Blueprint 5 die set using Razzle Berry, Pineapple and Limelight cardstock, all from MFT.
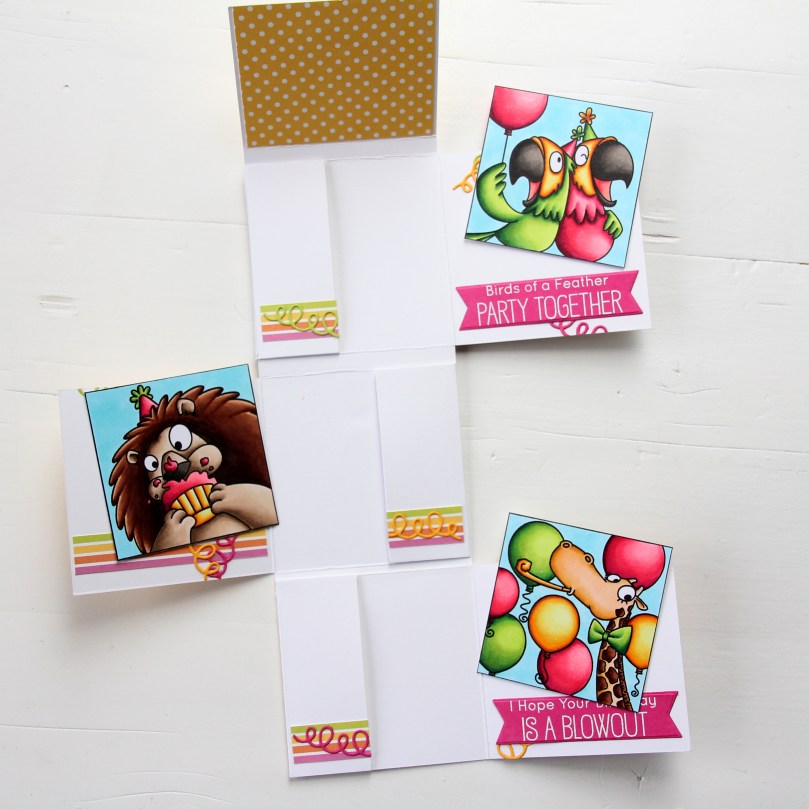 You can pull the selfies out of their pockets, and there’s room to write a personal message to the birthday boy or girl on the back of the selfies. The best thing about this card is that no specialty dies are required, this is all done with a paper trimmer, score board, bone folder, craft knife and a steel ruler. I prefer the craft knife and steel ruler over the paper trimmer, but that goes way back to my days of creating architectural models. Those knives are handy!
 There you have it, my entry for the Innovation Master category for MFT’s annual superstar contest.
MFT products used:
Picture Perfect Party Animals stamp set
Birthday Chicks stamp set
Selfie Square die
Tag Builder Blueprint 5 die set
Fishtail Flag Frames die set
Razzle Berry Heavyweight card stock
Pineapple Prestige card stock
Limelight Prestige card stock
Party Patterns 6×6 paper pad

 I wanted a soft color palette for my card, so I have no colors that are really dark in this image. The darkest marker I used is E57, and it’s contained to the hair on one of the fairies, the flower centers and the ladybug.
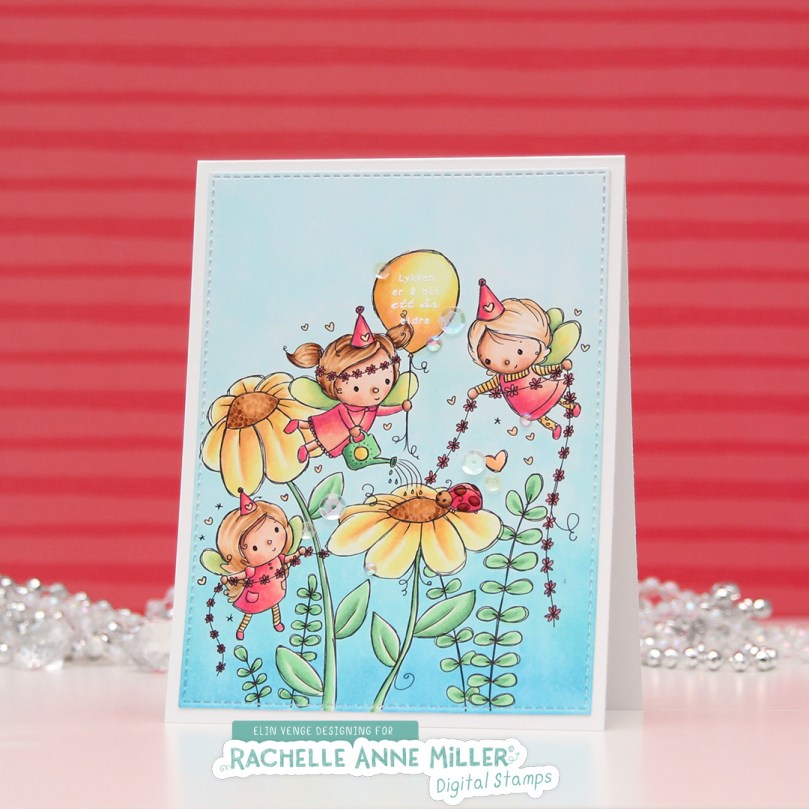 Once I’d colored the entire panel, I took the largest of the dies from the Stitched Rectangles STAX 1 set from My Favorite Things to turn it into a panel and create a nice border on the front of my card. I knew from the start that I wanted my sentiment inside the balloon, but I couldn’t decide on white or black. I thought the white might not pop enough against the yellow balloon, but I also knew that the end of the pigtail on the fairy would mess with any black stamping, making the letter illegible. In the end, I went with the white, but you can hardly see it in the photos against that lightest yellow. I might go in with a water brush and the refill for the darkest color I used on the balloon to darken it up later. I don’t want to ruin the nibs of my markers by touching the embossing, but refill and water brush with a little bit of blender solution will work without ruining anything.
 I finished my card by adding some groupings of sequins and Jewels from Little Things from Lucy’s Cards. I used the Iced Sherbet mix for this card.
 Last, but certainly not least, are the colors I used for my image.
 As usual, I colored my image in with my Copic before die cutting it down to a panel using a stitched reclangle die from My Favorite Things. I glued it to a card base I made from Stormy Sky cardstock from Papertrey Ink, also a gorgeous color, and it matches my coloring pretty well.
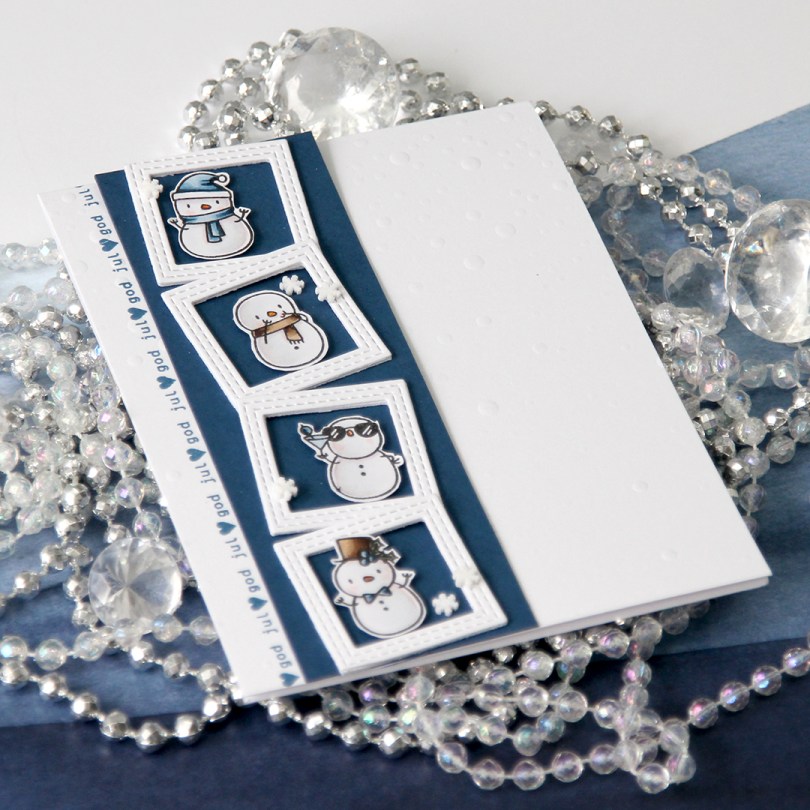
 I didn’t want to do too much to distract from my coloring, so I die cut a God jul (Merry Christmas) sentiment using a die from Papirdesign and that same color cardstock as my base, and glued that next to the little girl. I didn’t even stack several die cuts on top of each other like I normally would.
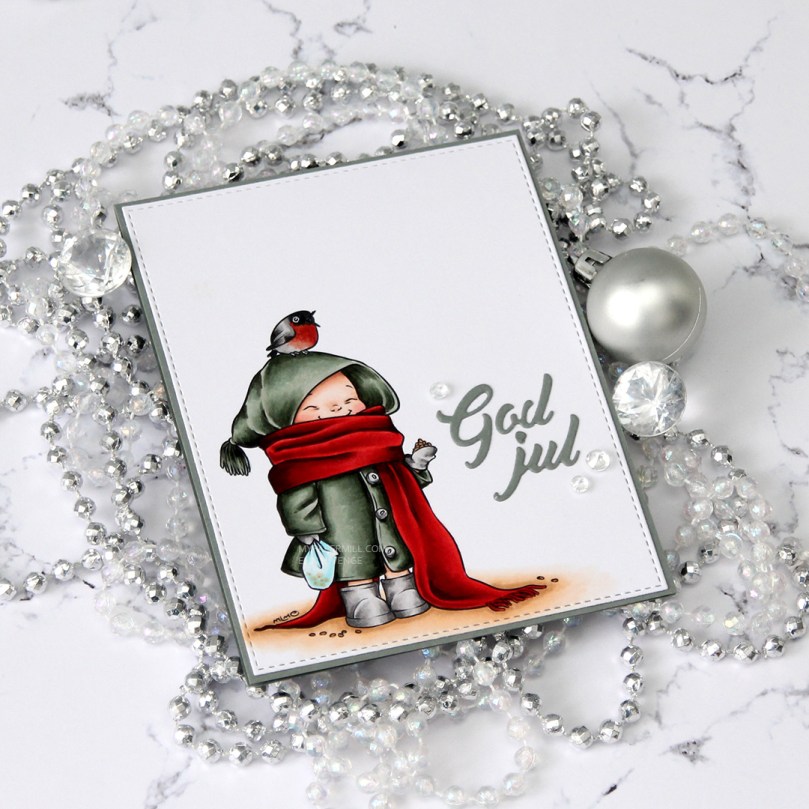 I finished my card by gluing on some diamonds from the Glass mix in the Crystal Collection from Little Things from Lucy’s Cards.
 Those last six colors in this graphic? All the colors I used to create the red scarf (I only used E08 for the red on the bird).







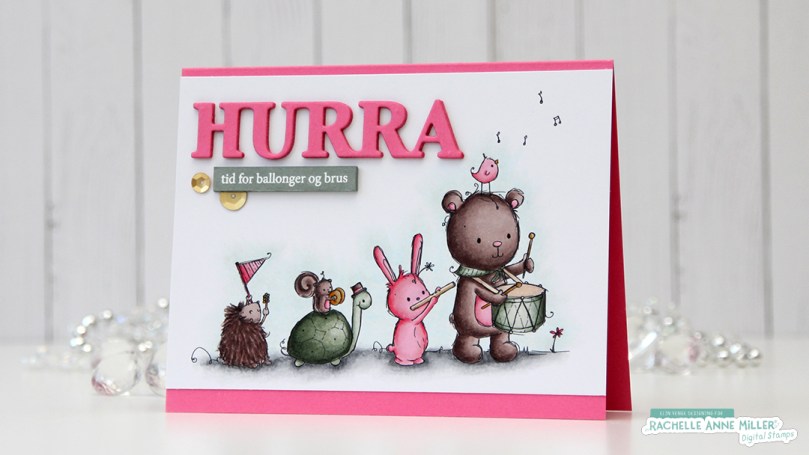 I wanted most of the focus on the cute little parade, so I kept the rest pretty simple. I made a cardbase from Hibiscus Burst cardstock from Papertrey Ink. It matches the pinks in my image perfectly. I used a die from Kort & Godt to diecut the main sentiment from four layers of the same color cardstock, layering them for a dimensional effect.
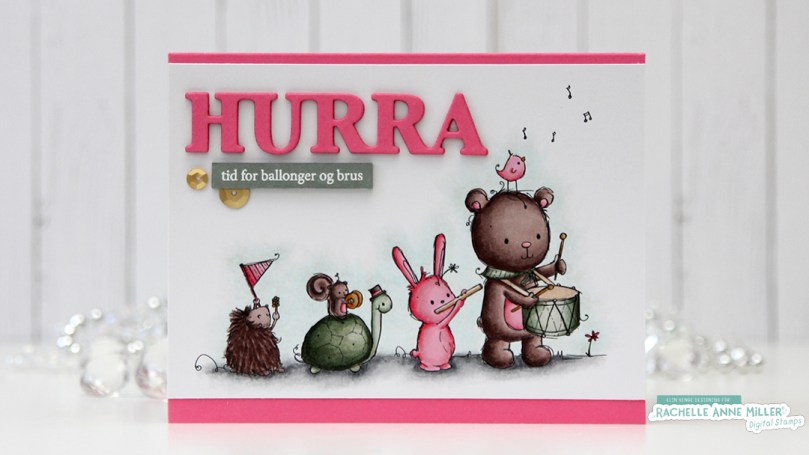 I white heat embossed a Norsk Stempelblad AS sentiment (time for balloons and soda) onto Stormy Sea cardstock (also from Papertrey Ink). I stacked four layers on this one too, making the sub sentiment flush with the diecut word.
 I added a couple of matte gold sequins from the Mint Gold sequins mix from Little Things from Lucy’s Cards as a finishing touch. They sort of match the cymbals the tiny squirrel is holding, and also the drumsticks. Simple, bright and cheerful. If this birthday card doesn’t put a smile on someone’s face, I don’t know what will.
 I leave you with the colors I used for this image. Not really a whole lot for this one.
 I colored up
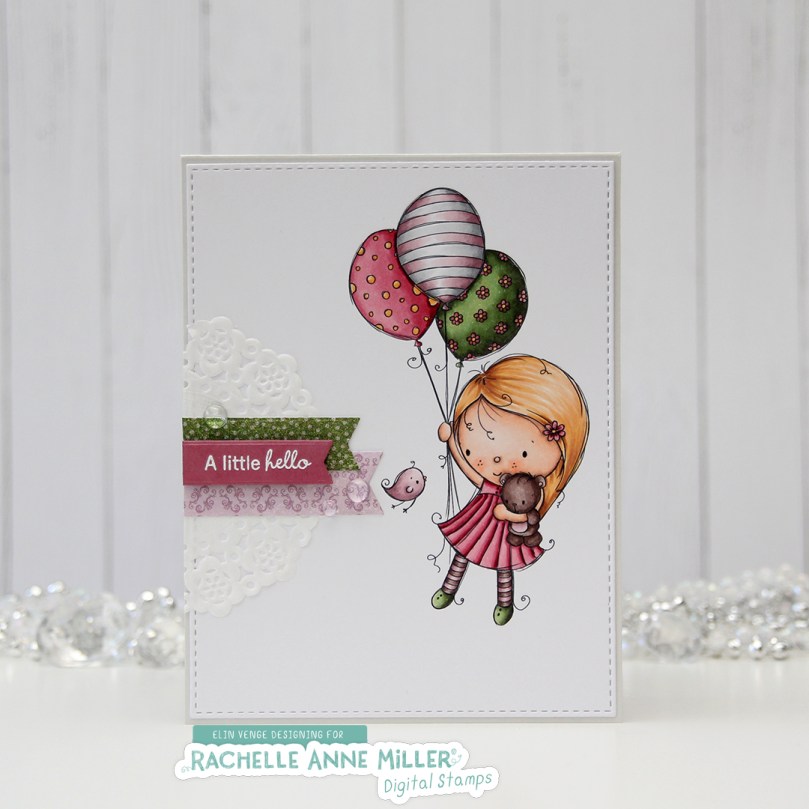
  I used the largest of the faux stitch rectangle dies from My Favorite Things to create a nice edge for my panel. I mounted it to a cardbase I made from Soft Stone cardstock from Papertrey Ink.
 I dug through my scrap stash of Christmas themed patterned paper and got really lucky with part of a diecut ticket and some pine branches.
 I made a little cluster starting with half a Doodlebug mini paper doily, then the partial ticket stub and the pine branches. I found a fitting sentiment on the bottom of a piece of patterned paper from Papirdesign, so I cut that bit out and added foam tape behind it. I finished the card with a few snowflake sprinkles from Little Things from Lucy’s Cards.
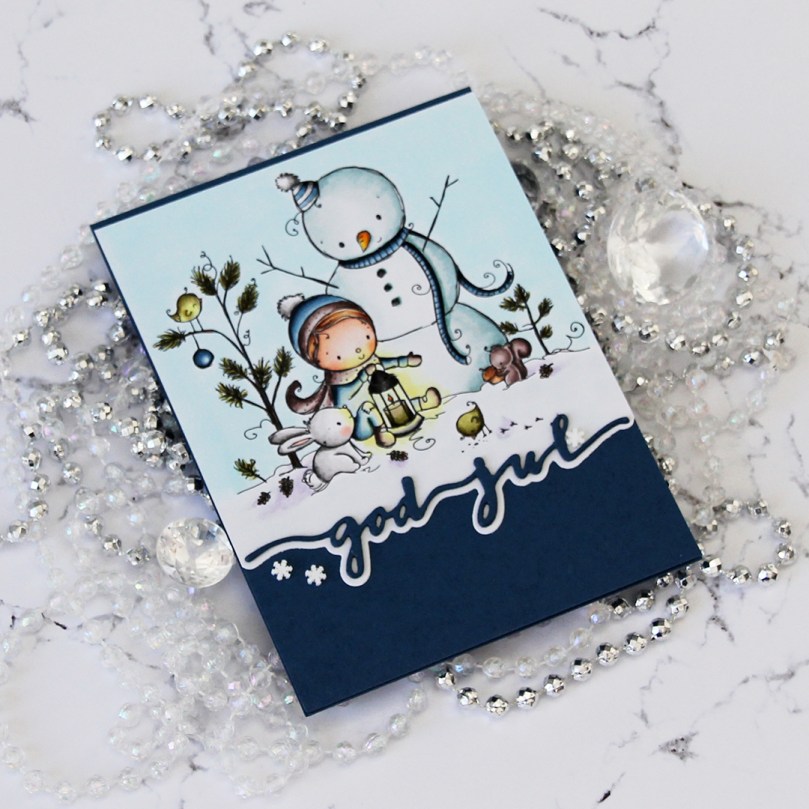
 I diecut the panel with the image using the largest of the faux stitch rectangle dies from My Favorite Things. I glued it straight to a cardbase I created from Soft Stone cardstock from Papertrey Ink.
 I added half a Doodlebug Nini doily, some diecut scraps of patterned paper (Papirdesign and Basic Grey, btw) and a white heat embossed Inky Wings sentiment on Papertrey Ink Autumn Rose cardstock. A few raindrops from Little Things from Lucy’s Cards, and my card was finished.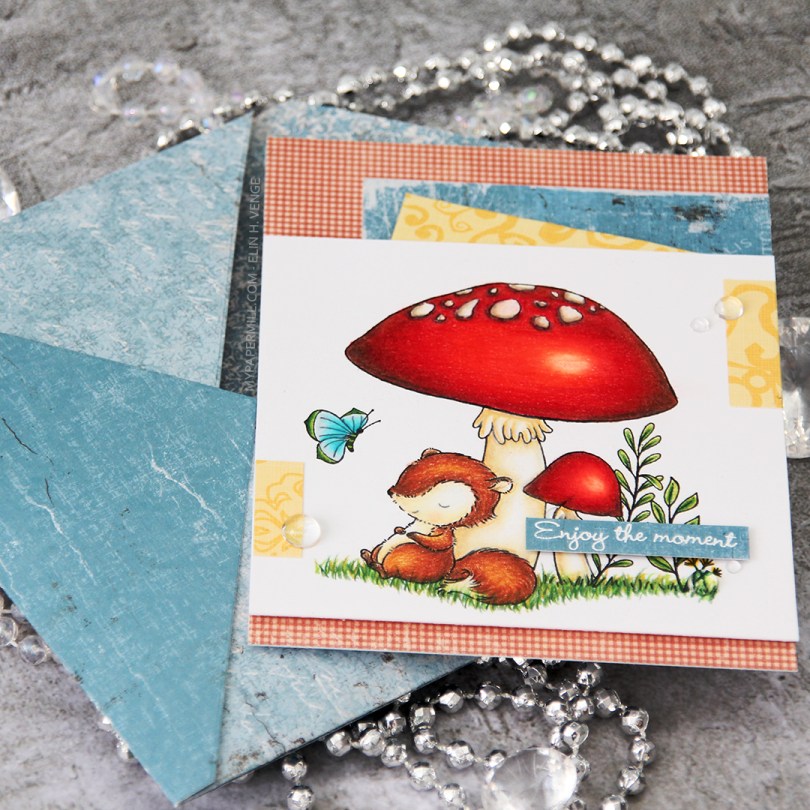
 This little fox scene is from the Always Bring a Smile set, designed for My Favorite Things by Stacey Yacula. I really love her characters, they’re so full of life, and this little guy looks like he’s taking a well deserved nap against the stem of that big mushroom. I actually stamped this on Stamper’s Select White cardstock from Papertrey Ink and pulled out my Prismacolor pencils to color him in for day 2 of the current round of Kathy Racoosin’s 30 day coloring challenge.
 I found some scraps of patterned paper in my stash (the red is from Pion Design, the tealy blue from Maja Design and the yellow from Chatterbox) and added them here and there on my card, before propping my panel with the cute fox onto the card front using foam tape. Lots of foam tape, I wasn’t shy! I stamped and white heat embossed a
 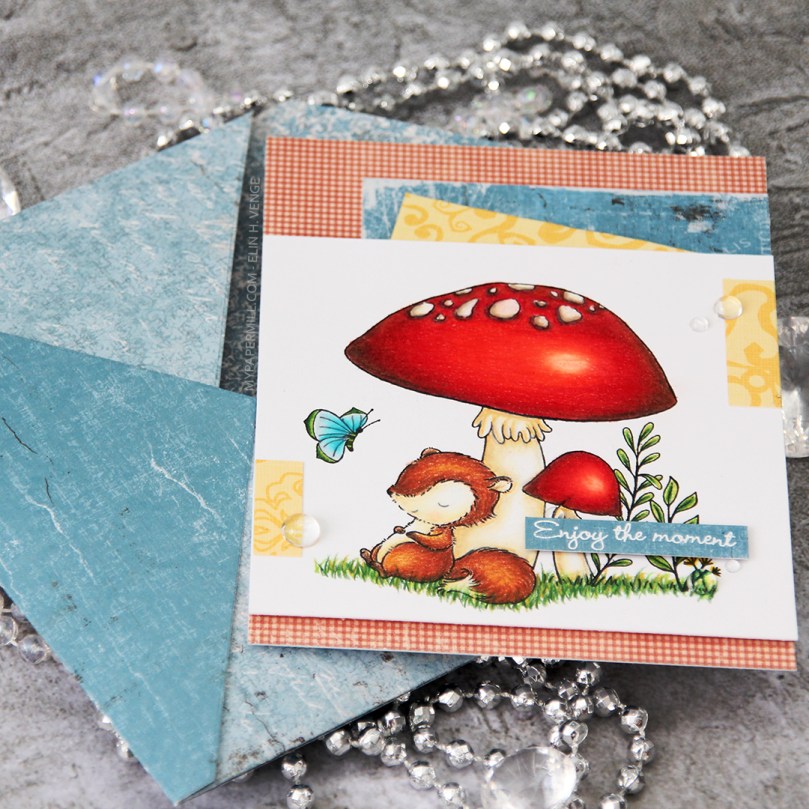 I added a few raindrops from Little Things from Lucy’s Cards around my sentiment and near those small yellow bits, and called it done. I had enough of those Maja Design scraps to make a matching envelope using the A2 V flap envelope dies from Simon Says Stamp.
 I don’t usually do anything to the back of my clean and simple (it’s somewhat clean and simple, this one?), but I recently bought this
