Hi, everyone! Today’s blog post is a long one with lots of photos of lots of cards, so I suggest you get comfortable 🙂
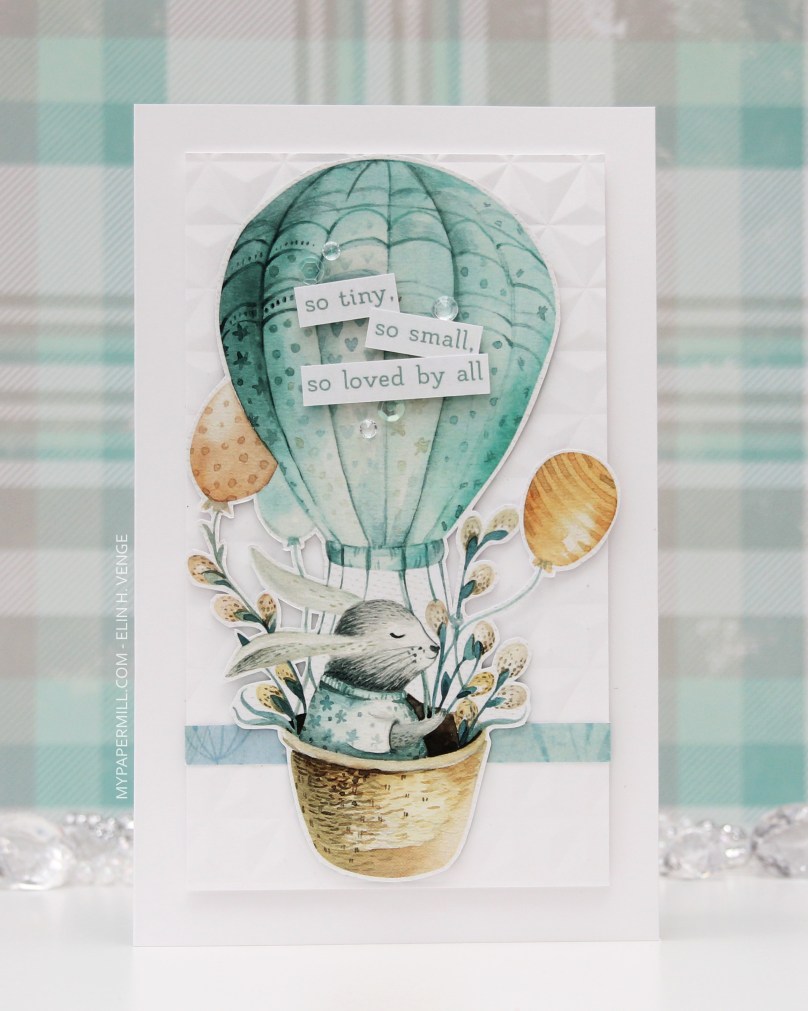 I’m starting with a baby card. I made quite a few baby cards from this one sheet. Usually I make A2 size cards, but this image is so big that the card actually measures 5 x 8 1/2″. I used a knife and a pair of scissors to cut my image, keeping a thin white border along the edge.
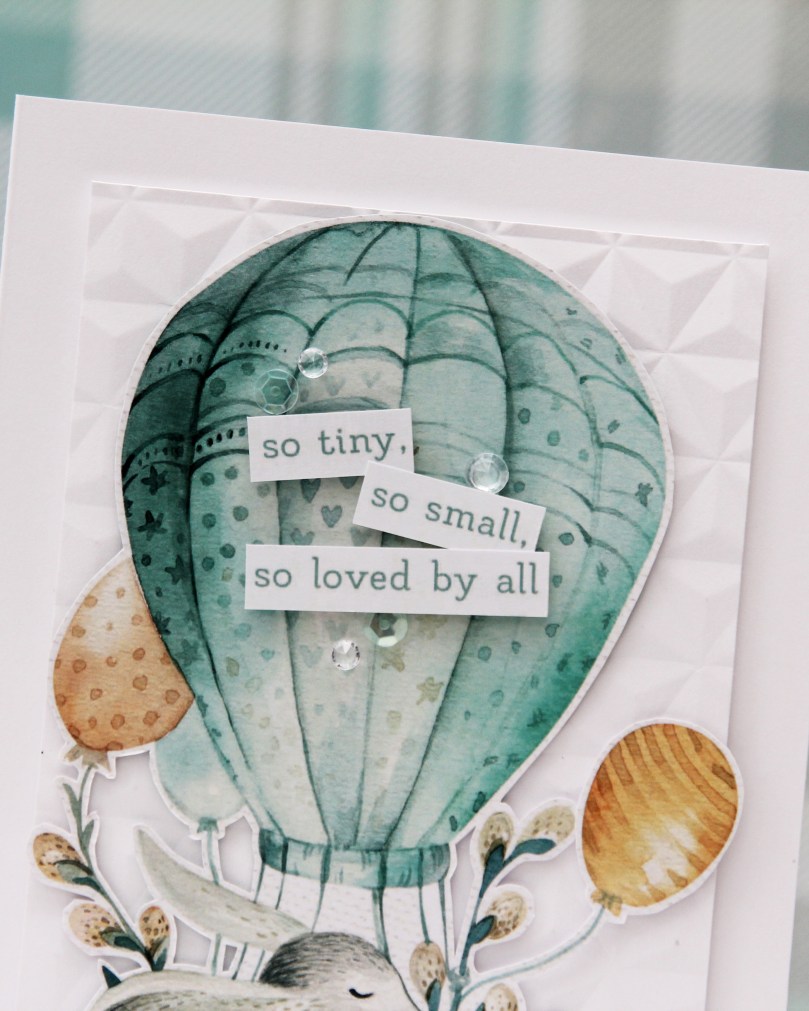 I ran a piece of white cardstock through my Gemini Jr. using an embossing folder from We R Memory Keepers. The result is a background with a little bit of interest, while still keeping the image in focus. I used foam tape to add my dry embossed pane to my card base and some 1 mm foam tape from Rayher on the back of my image for a tiny bit of extra dimension. I also used 1 mm foam squares to add the sentiment strips to the balloon, and finished off the card with some sequins and crystals from Little Things from Lucy’s Cards.
 The embossing folder I used is 6 x 6″. Since my panel was taller, I had to run it through from both ends. Along the seam I added a strip from another sheet of patterned paper from the same collection. The strip hides the seam and also acts as an anchor for the balloon image.
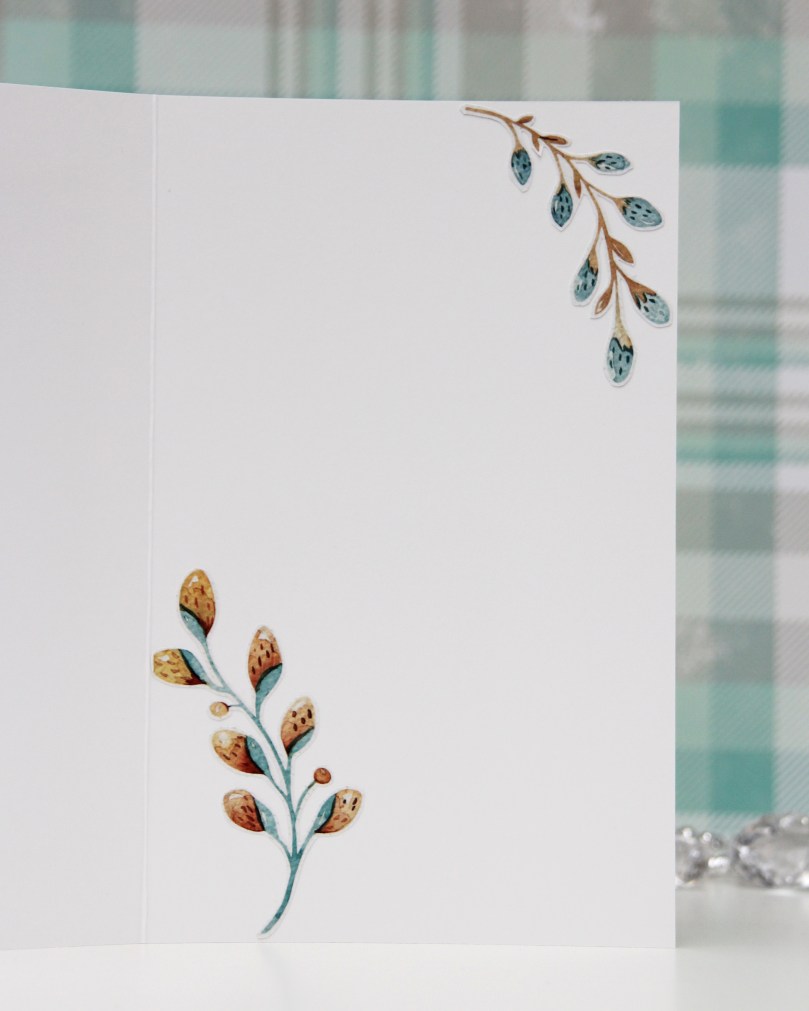 My goal was to use every little bit of the images on the one sheet, so I glued the left over branches to the inside of the card.
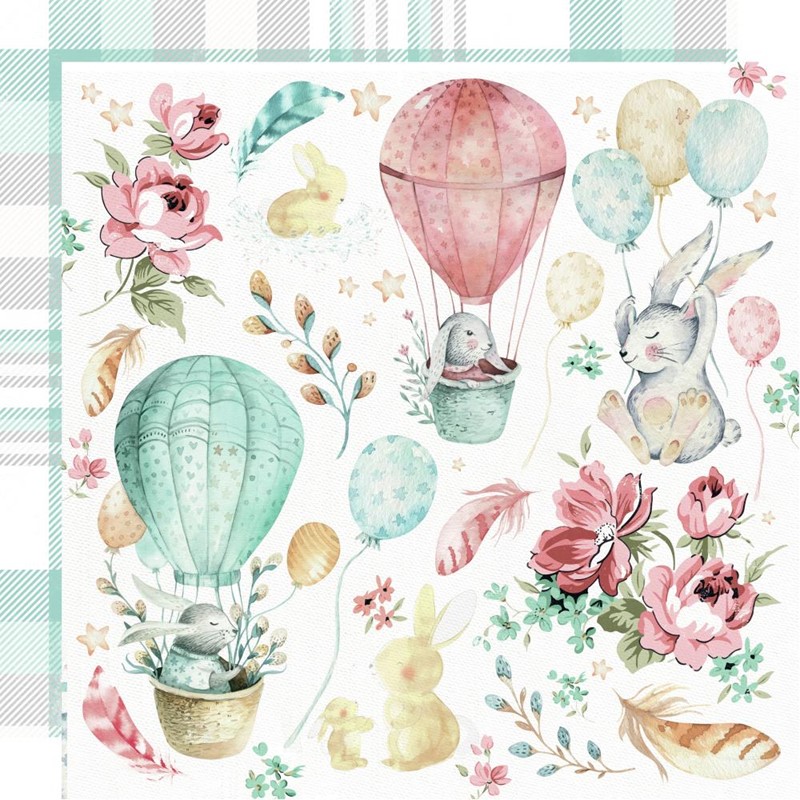
This is the sheet of patterned paper I’ve used for all my cards. It’s called Cuddles and is part of the Little Treasures collection by Kaisercraft.
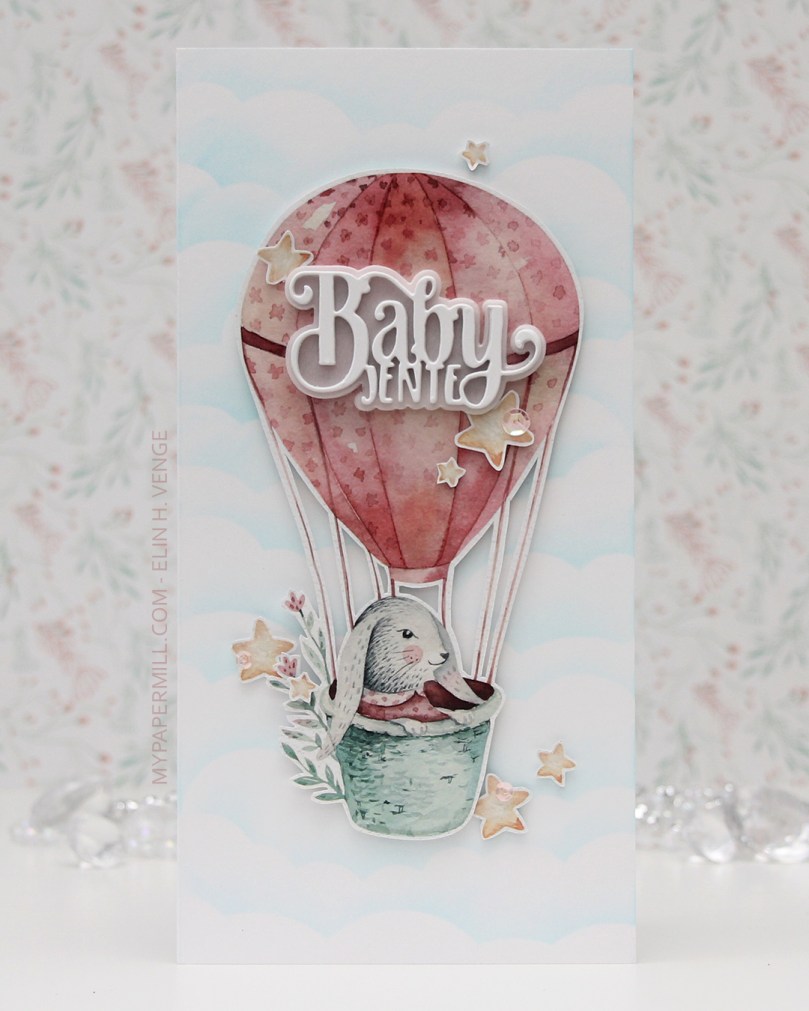 My second card is along the same lines as the first one. I used the bunny in the pink hot air balloon and the stars that are scattered around the paper on this one. This card is a little more narrow, measuring 4 1/4 x 8 1/2″. On the background I used cloud stencil from My Favorite Things and Distress Oxide in the color Tumbled Glass to create some interest in the background without overshadowing my focal point. This time I glued the image straight to the cardbase using foam tape. I also used foam tape behind some of the stars, while others are glued down using liquid glue.
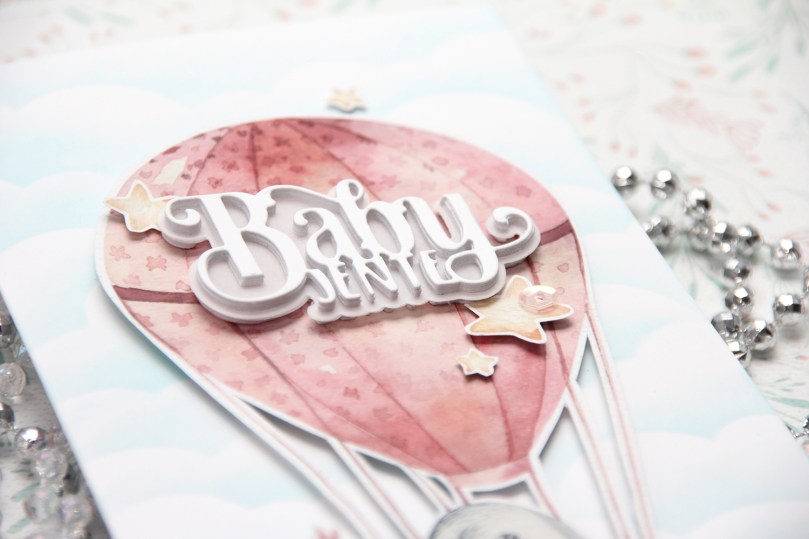 I used a Papirdesign die set to diecut the word babyjente (baby girl). I diecut the shadow twice in vellum and the actual word several times using white cardstock. I put a few layers behind the vellum, making it look like the vellum is floating, and the rest of the layers on top of the vellum. Diecuts really pop when they’re layered like this.
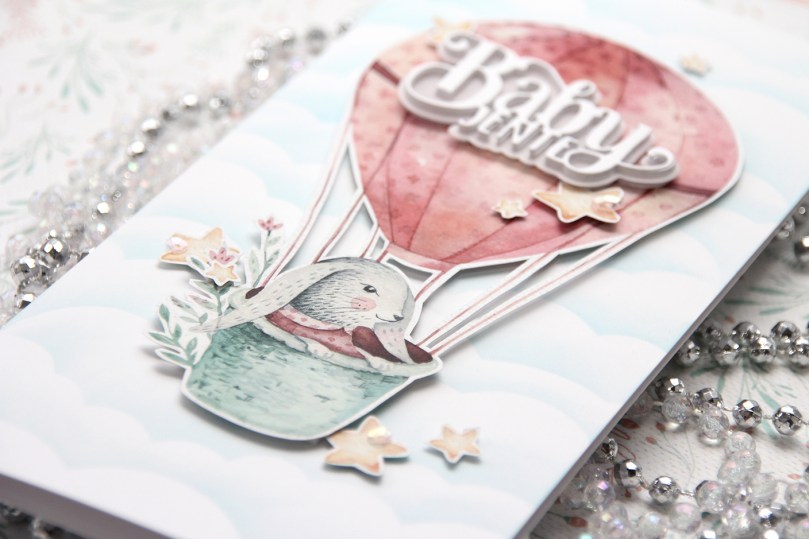 Even though the card is simple, all the dimension makes it a little bit interesting anyway.
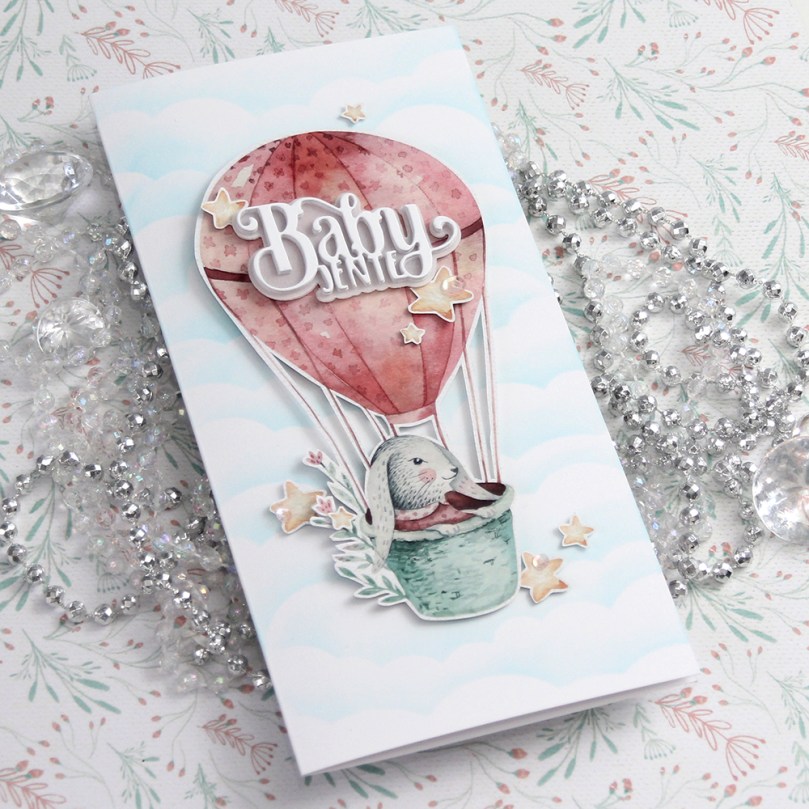 I glued on some sequins from Little Things from Lucy’s Cards on this one too. The leftover stars I glued to the inside of the card.
 My next card is a simple birthday card. I’ve gone back to my regular A2 size with this one. I used the largest of the dies in the Stitched Rectangles STAX 2 set from My Favorite Things and used an embossing folder from We R Memory Keepers to create a little bit of interest to my background. I glued the panel straight onto my pink card front, with no dimension this time.
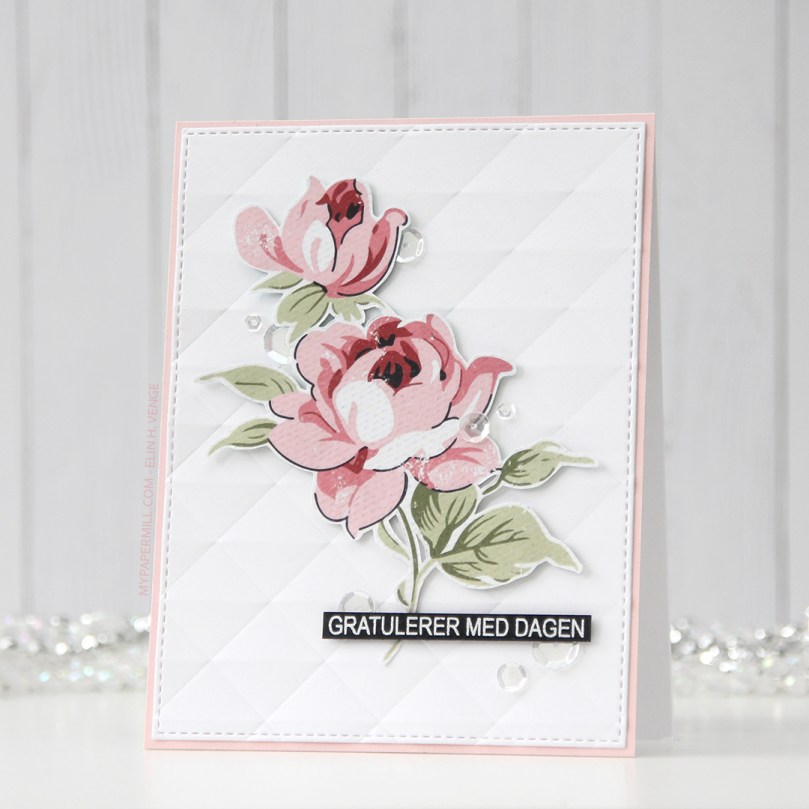 I used 1 mm foam squares to glue my fussy cut flower to the front of the card. I stamped and white heat embossed a sentiment from Mathia design on a strip of black cardstock and used foam tape to attach it to the card over the stem of the rose.
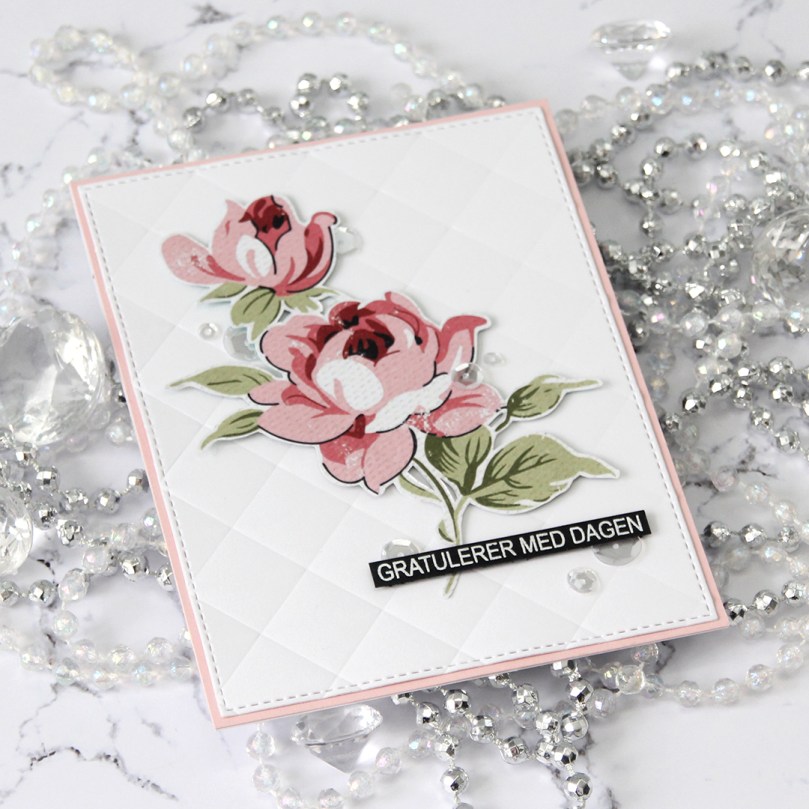 I finished off my card by gluing on some Pretty Pink Posh sequins in a sort of visual path from the bottom of the card near the sentiment all the way to the top rose. I always glue small embellishments like this close to other elements on my cards, it creates a better visual effect than gluing them far from everything else.
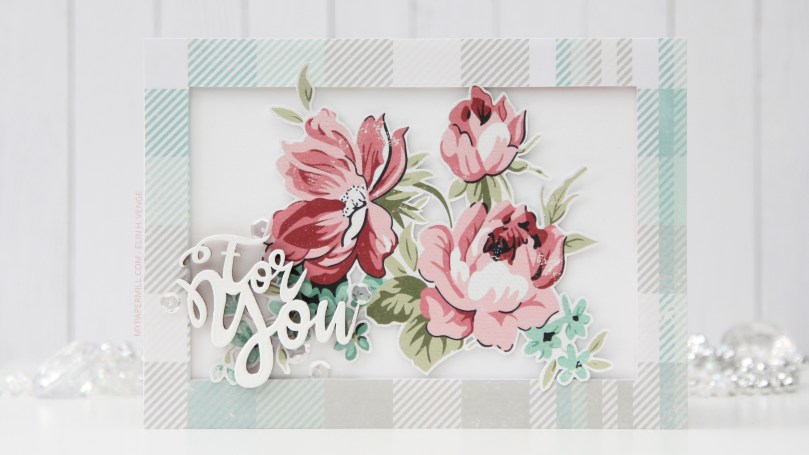 Card number four is a very different kind of card for me. When I started the process of making these cards I drew sketches for each card. The sketch for this one was for a portrait orientation, but when I actually started making this one I realized that the image was a landscape orientation, so I had to flip my sketch and change things around a bit. This image is quite large, so this is an A7 (5×7″) card. I had two sheets of the patterned paper, so I used the back of the second one to create my frame, and glued it to my cardbase using foam tape.
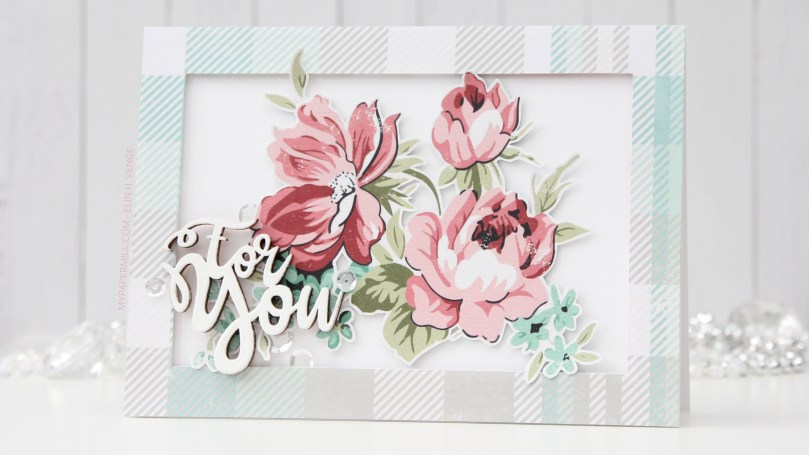 I added the flowers to my cardbase using foam squares.
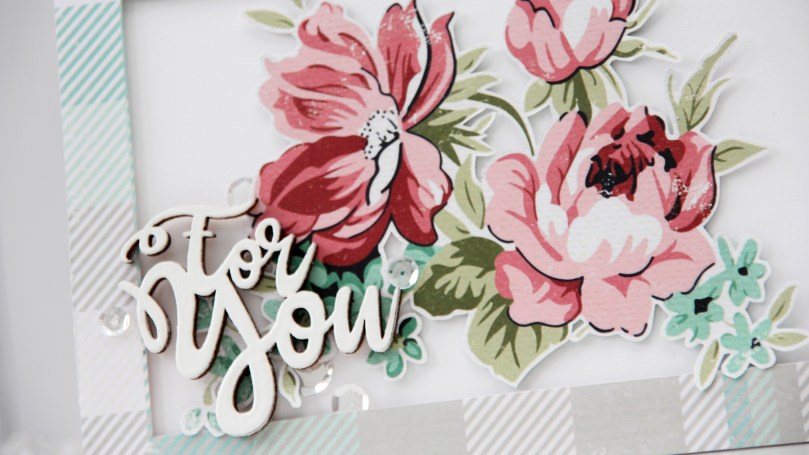 I wasn’t sure what to do for a sentiment since I had to turn my sketch 90 degrees and make changes to it. The idea I had for the portrait orientation didn’t translate to a landscape orientation. In the end I chose to put my sentiment in the bottom left of my card. That’s not a spot I usually use for my sentiment, but on this card I thought it was the best placement. The sentiment itself is a veneer piece from Rayher that I embossed using four layers of white embossing powder, glued straight to my flowers and frame using liquid glue.
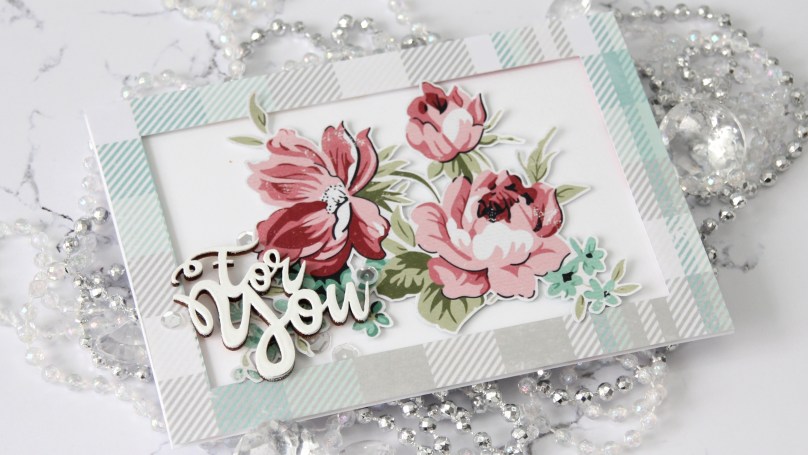 A few Pretty Pink Posh sequins around the sentiment finished off this card.
 My next card is another baby card. A square one, measuring 4 1/4 x 4 1/4″. No white border around the fussy cut bunnies, simply because the tip of the tail on the largest bunny intersects with a rose bud on the patterned paper, making me have to cut a little bit off his tail. Once that was done, I decided it would be best to cut right up to the edge of the rest of the bunnies as well.
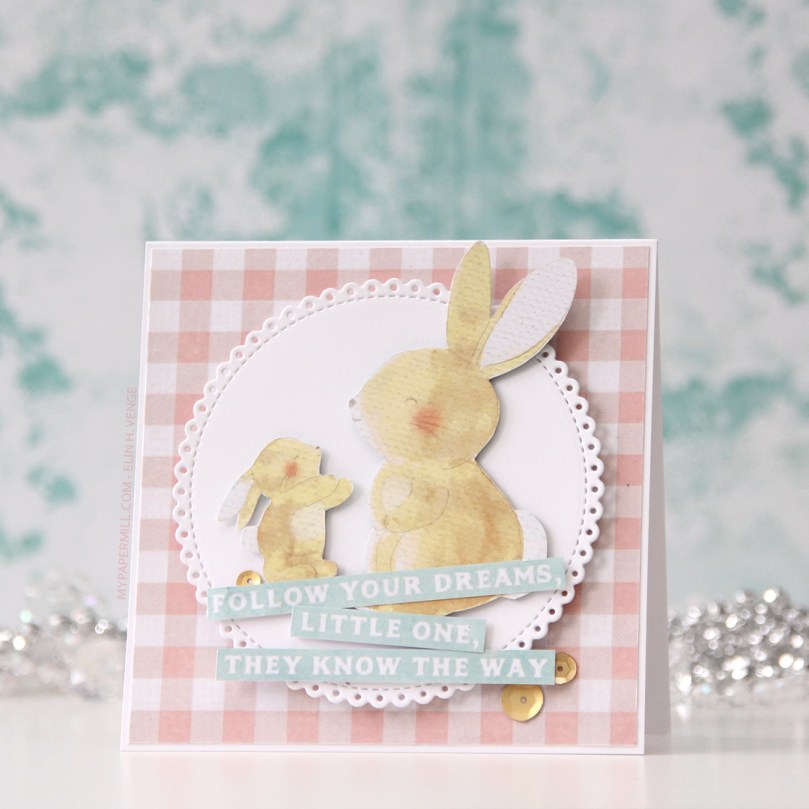 The background paper I used on this card is part of the Little Gem sheet, so is the sentiment I used. I diecut an eyelet circle using a Cottage Cutz die and added it in the center of my card using foam tape. I added the bunnies with 1 mm Rayher foam suares, and did the same with the sentiment, staggering it.
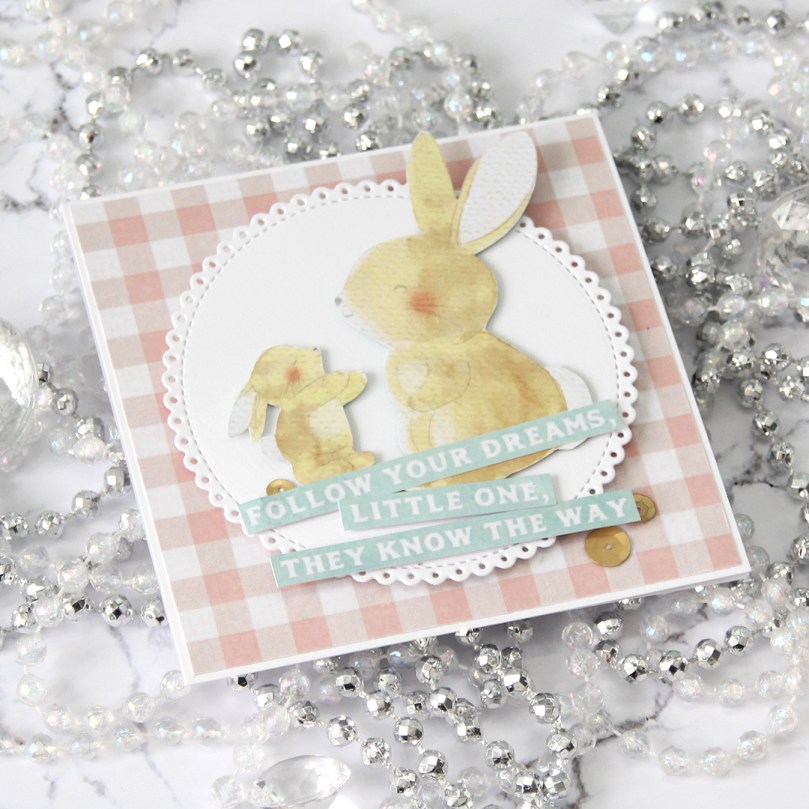 I finished off the card with some matte gold sequins from Little Things from Lucy’s Cards. As usual when I add sequins to my cards, I glued them on near the sentiment. There’s another yellow bunny on the sheet of patterned paper, I fussy cut that one and glued it on the inside of the card.
 The next card is a slimline card. I used a Memory Box stencil with some acrylic paste from Kreul to make a little bit of interest to the background, once again making sure it still remains a background element.
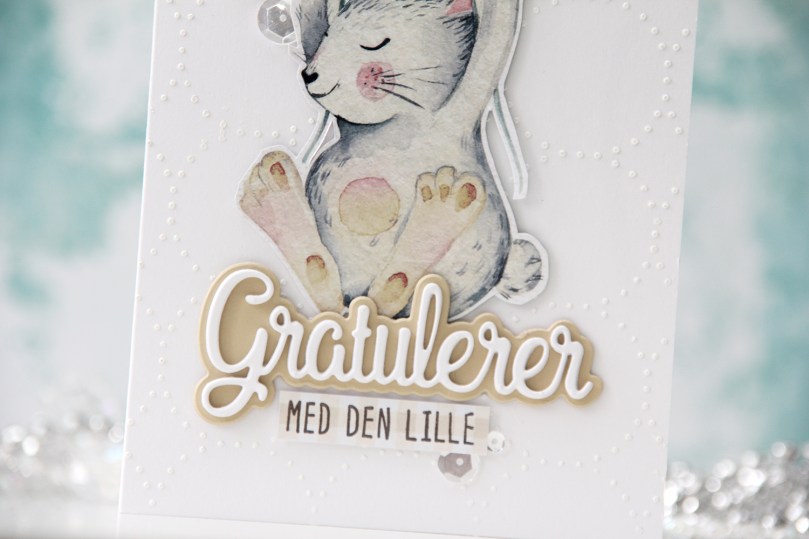 I glued the bunny to the cardbase with 1 mm foam squares and diecut Gratulerer (Congratulations) from Papirdesign multiple times from white cardstock, then glued them to a shadow made from colored cardstock (Fine Linen from Papertrey Ink). The stamped sub sentiment is from a Papirdesign stamp set (100 år), stamped in Memento Espresso Truffle ink on the bottom strip of the patterned paper. I added it with some foam tape below the diecut.
 I finished the card by adding sequins from Pretty Pink Posh in a visual triangle. They’re all in close proximity to the sentiment and the bunny. Some of them glued on top of other elements, some of them tucked behind.
 My next card is another regular A2 size card. I covered the cardbase using the same sheet of paper I used on the square card, only the reverse side. The small flowers are from that main sheet I’ve used throughout each of the cards in this blog post. These flowers were on the edge of the sheet, so they’re flat on one side, so I had to put them along an edge. I figured that this polaroid frame from My Favorite Things was perfect.
 I made a white, dry embossed background on this card also and mounted it using foam tape. It makes the background a little less busy, and the little flowers I fussy cut a little more prominant. I stamped a sentiment from fra Mathia design onto the patterned paper and used it as my “photo” in the polaroid frame, which I created from several layers of white cardstock that I stacked on top of each other. Here you can also see a little bit of the inside of the card, as well, where I glued the flowers that didn’t fit on the front of the card. I was determined to use every single image from that one sheet of patterned paper.
 I embellished with sequins from Pretty Pink Posh. This time in two clusters near the flowers to keep the focus on them and not so much the sentiment in the center.
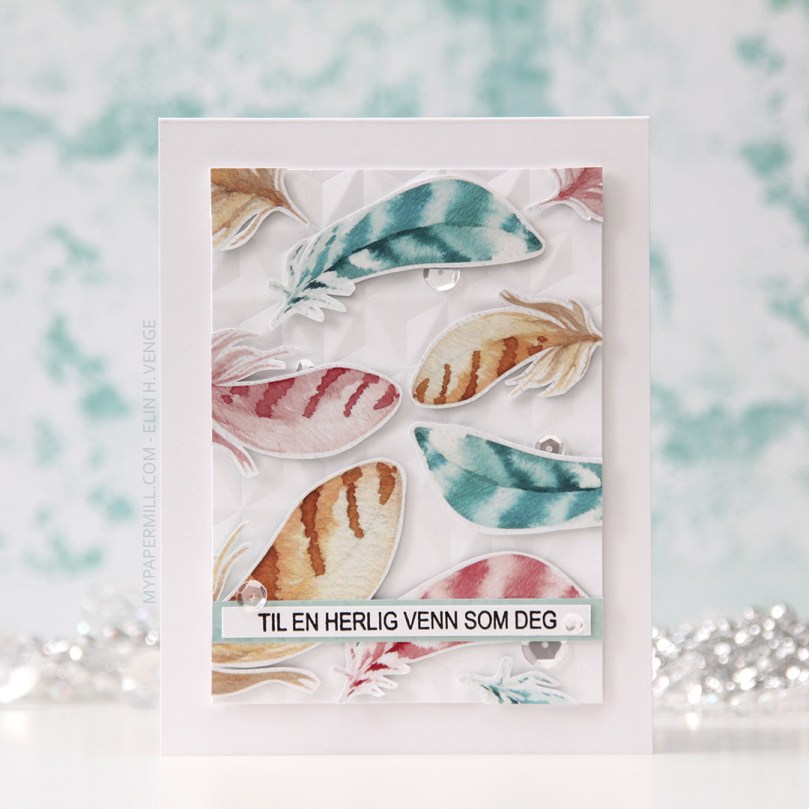 The final card. I wasn’t entirely sure what to do with this one. The feathers were the only images remaining from that one sheet, and I didn’t know how to use them in a good way and turn them into a nice card until I realized I could make a background from them. There was only one turquoise feather on the page, so I fussy cut the turquoise feather from the second sheet to get a good balance of color between all the feathers.
 Embossing folder on white cardstock once again, and I created a pretty wide margin on the outside with this one. I usually like my margins fairly narrow, but I think this turned out good. I added my feathers to the dry embossed panel using 1 mm foam squares, cut off the excess and used those bits to cover the empty spots left behind in the corners.
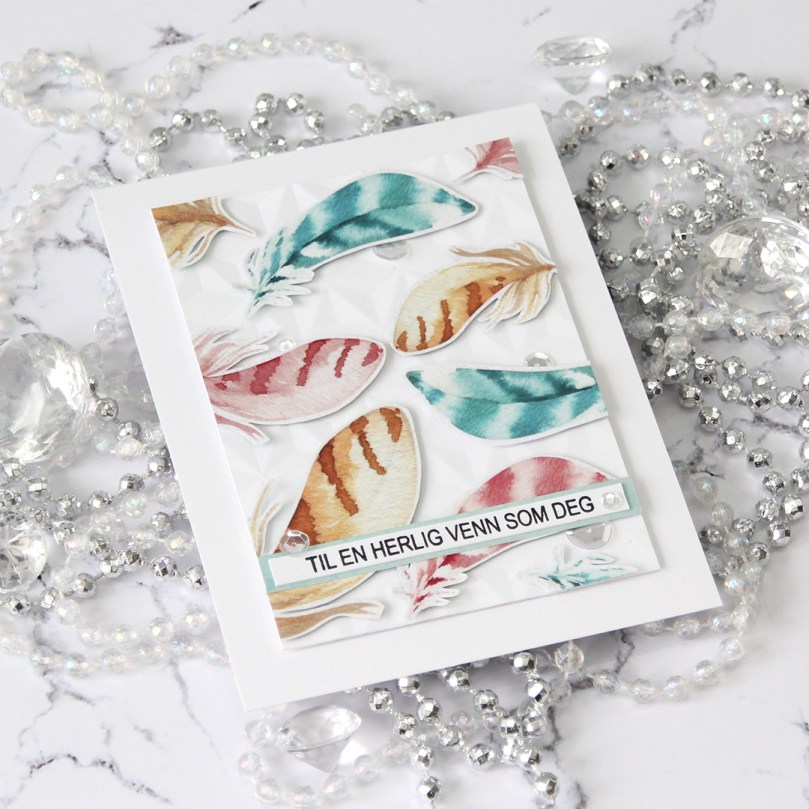 The sentiment is from a stamp set from Mathia design, stamped in black on a white cardstock strip. The turquoise strip behind it is from that other sheet of patterned paper that I’ve used here and there in the course of these eight cards. There’s a sentiment in white on that strip, but the strip I glued on top started and ended between words on the turquoise one, so only the turquoise is showing, I was really lucky that way. I finished off my card with some Pretty Pink Posh Sequins. This time I glued some near the sentiment and scattered a few others tucked between some of the feathers.

 I try very hard not to have favorites, but I can’t help it. Giggling Snowman from Mo Manning gets me every time. I colored him up in nolines for day 1 of the current 30 day coloring challenge from Kathy Racoosin, and I turned him into a deceptively simple shaker card. I messed up big time when making this card. Several times. But I didn’t give up, I’m too stubborn. Way too stubborn. In the end it turned out almost the way I wanted it to, at it shakes like crazy, which I really wanted. I spent a considerable chunk of time turning every sequin, jewel and diamond the right way, but the shaker itself is so deep that the two largest sizes of sequins are the only ones that stayed that way. Live and learn, right? My biggest struggle with making shaker cards is usually that I either fill up the shaker too much or not enough. This time I was able to get the perfect amount. I’m celebrating the small victories!
 I used the largest of the Stitched Rectangles STAX dies from My Favorite Things to create the front of the shaker, then the oval dies from the Card Front Designs die set from Neat & Tangled to create the actual window and the frame around it. I doubled up on my foam tape, and used acetate from Hot off the Press to create my window. I used the Urban Chic mix from Little Things from Lucy’s Cards for my filling.
 This really shakes, those sequins have a lot of room to move freely. I stamped an InkyWings sentiment using Ocean Tides ink from Papertrey Ink (which matches the Ocean Tides cardstock SO well) on a scrap piece of X-Press It (I wanted the white to match the white in the image) and mounted it on 1mm foam squares onto the front of my card, and it was finished.
 I colored my image with my Copics, and added a scraped knee, some chocolate stains around the mouth and on the clothing and decided to create mismatched socks. That happens when kids dress themselves, right?
 I turned my image into a rectangular panel with faux stitching using one of my favorite dies – the largest in the Stitched Rectangles STAX Set 2 from My Favorite Things. It creates a 1/16″ border if you glue the panel to an A2 cardbase, which is the perfect width if you ask me. Speaking of cardbases, this one is made from Ocean Tides cardstock from Papertrey Ink. I stamped an InkyWings sentiment using Dark Chocolate Ink from Papertrey Ink and added a couple of raindrops from Little Things from Lucy’s Cards to frame my sentiment.
 I’m not the best at remembering to add envelopes for my cards, but these scraps of patterned paper from Pion Design were the perfect colors to make an envelope from. I used the A2 V flap envelope dies from Simon Says Stamp to create my envelope.
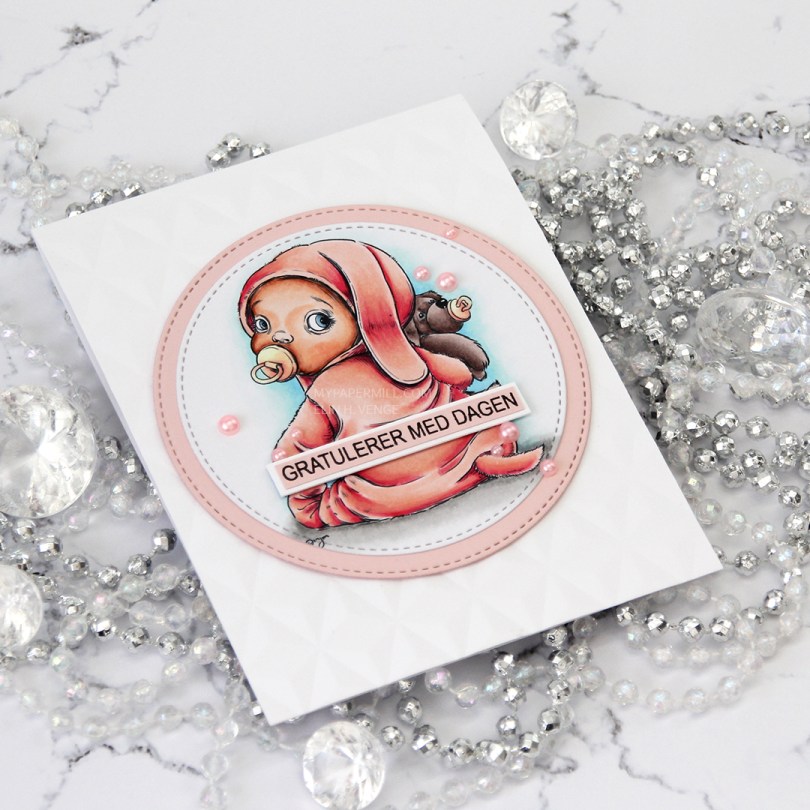
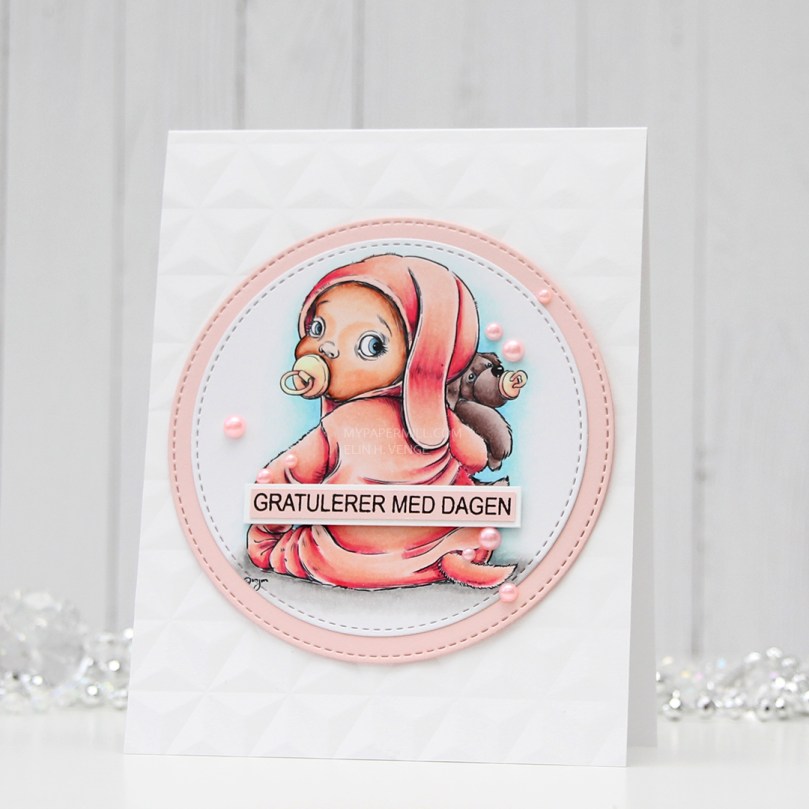 For this card i used
 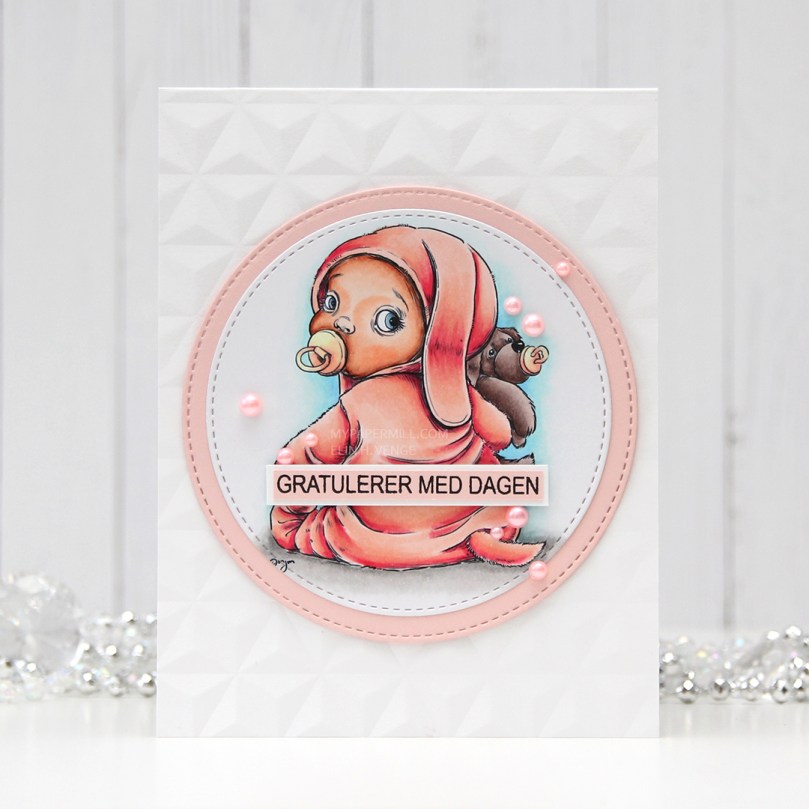 I used a stitched circle die from My Favorite Things to diecut the image, used a bigger die to cut from Sweet Blush cardstock from Papertrey Ink and glued the two circles together. I used an embossing folder from We R Memory Keepers to create texture to my background by running it through my Gemini Junior. I love that little machine.
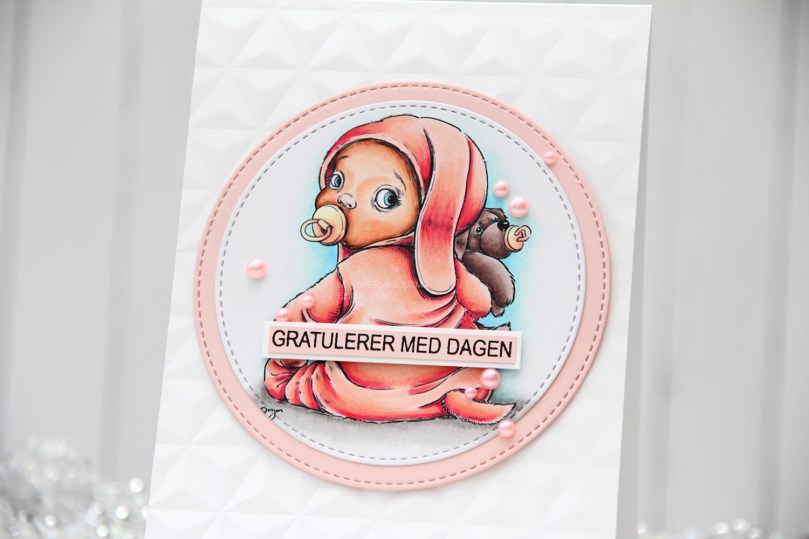 I used foam squares without too much dimension on the back of my circles, added them to the center of my card and added a stamped Mathia design sentiment with more foam squares. I finished off the card with a few pink pearls from Little Things from Lucy’s Cards.
 I really like the peachy pink combo I used for this one and colored many images around the same time using that same combo.
 I printed
 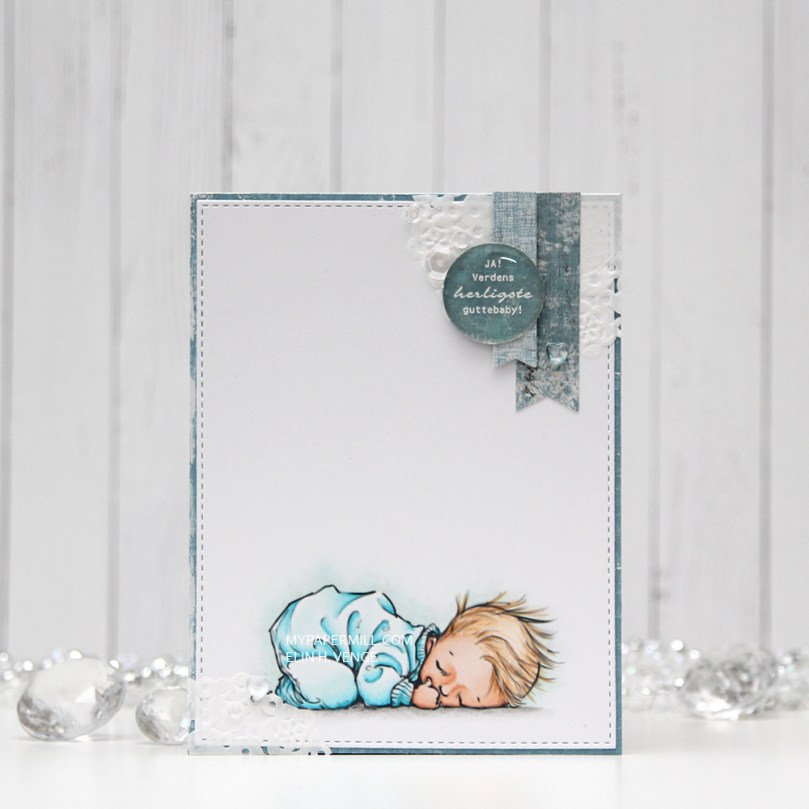 I’m no stranger to adding clusters on my cards, so I pulled out half a paper doily from Doodlebug Design, more scraps of Maja Design patterned paper (the Vintage Summer Basics and Vintage Autumn Basics collections) and diecut a couple of banners using the Fishtail Flag Frames die set from My Favorite Things. I also stamped and white heat embossed a Norsk Stempelblad AS sentiment, before punching it out using my 1″ circle punch from EK Success. I added a pebble on top for an extra bit of dimension.
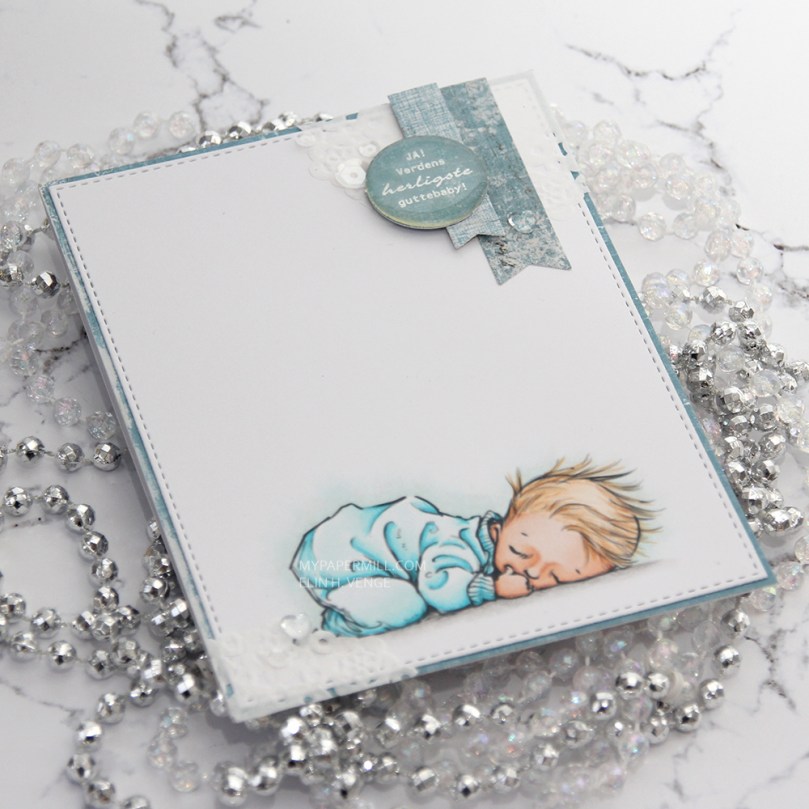 I also added some sequins (from the Ice Water mix) and a couple of heart shaped drops (from the Crystal Collection – Glass mix) from Little Things from Lucy’s Cards, and my card was done.
 I used a very limited color palette for this one.
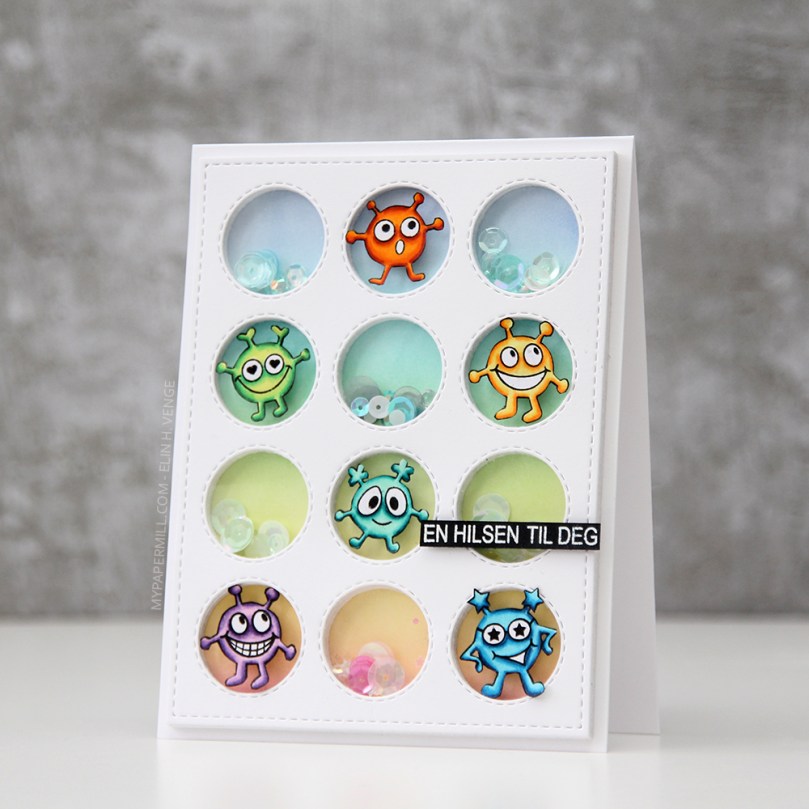 Det er ingen tvil om at jeg liker å lage enkle kort, men mine enkle kort er ofte ikke så enkle som man skulle tro ved første øyekast. Dette er et sånt kort. Jeg startet med å stemple monstrene fra
 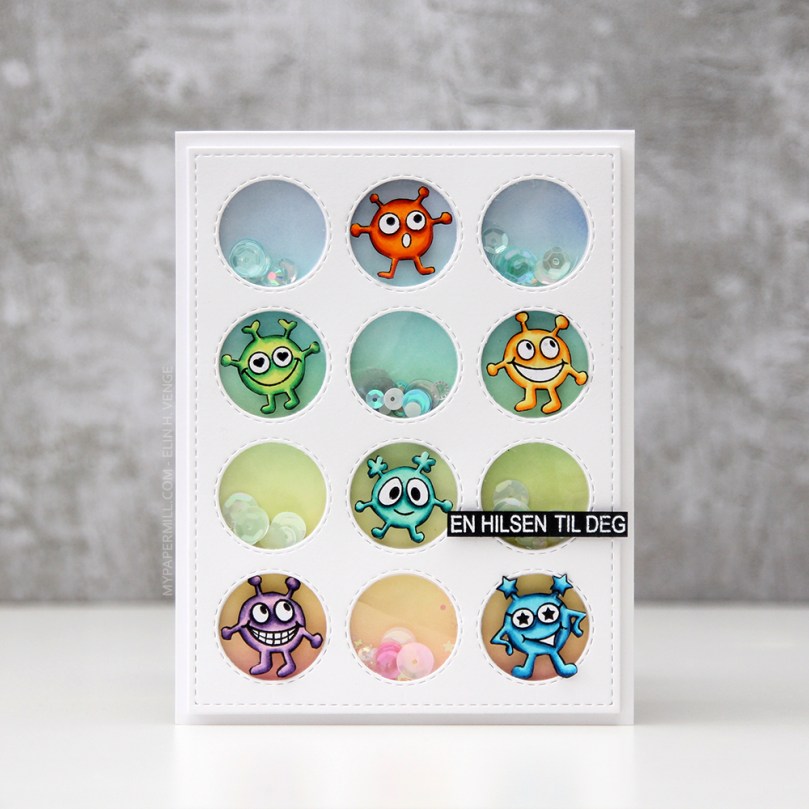 Jeg lagde bakgrunnen ved å maskere alle fire kantene, før jeg gikk inn med forskjellige farger Distress Ink med
 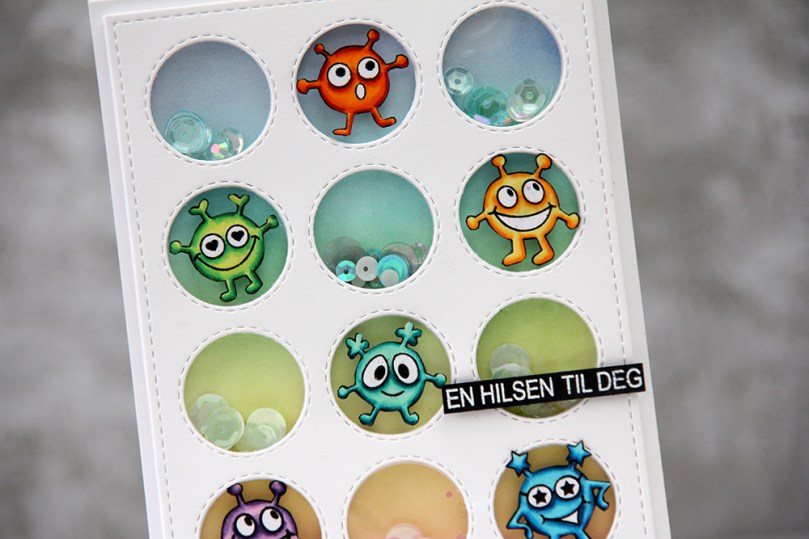 Mer pirkearbeid. Jeg stanset ut en
 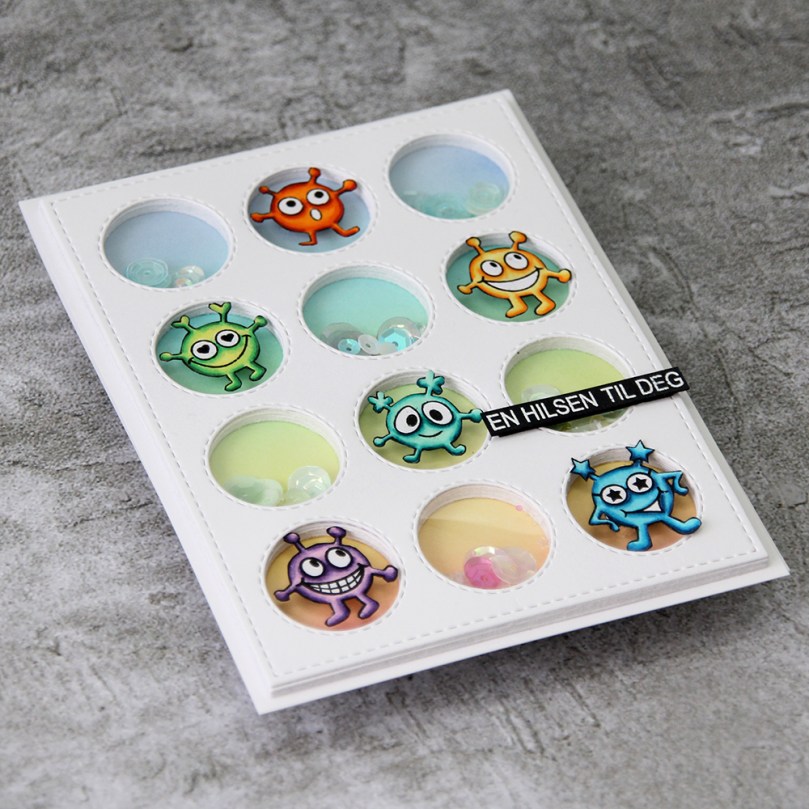 Til slutt gjensto kun å lime fast monstrene med 3D-puter og å få på en hilsen. Jeg stemplet og embosset en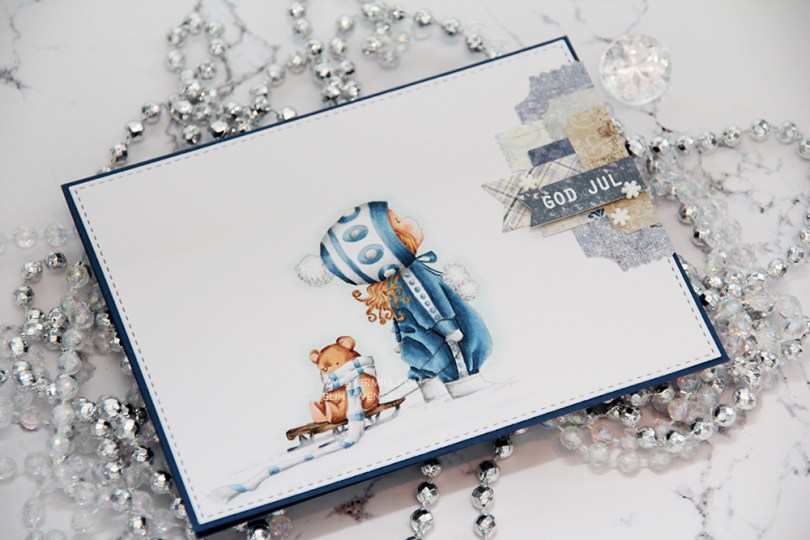
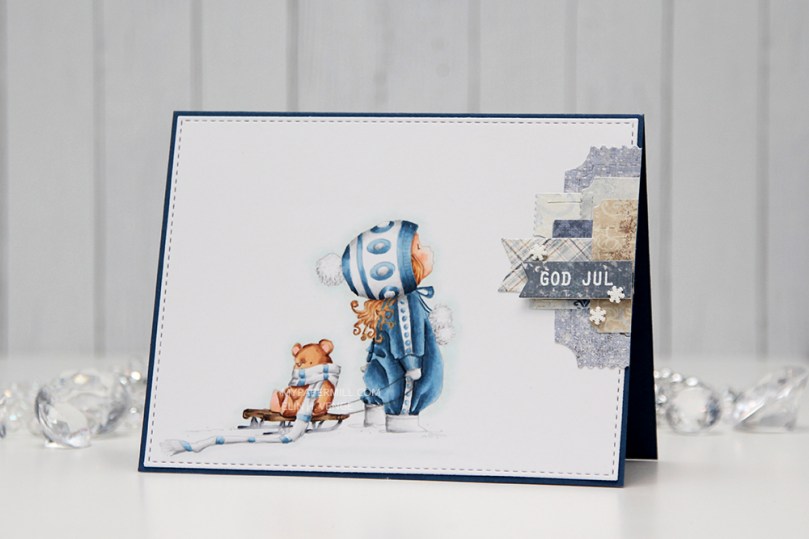 I had to use my favorite color combination for Christmas on this one. Blue, grey and brown. I made my greys very light, so they look more white than grey, and I have to admit I kind of love the look! I printed the image with 15 % opacity and did no line coloring. I love no line coloring!
 This card is very “me”. The cardbase is made from Papertrey Ink Enchanted Evening cardstock, I used a die from My Favorite Things to add the faux stitching detail on the main panel, and I added a little cluster of diecut patterned paper scraps. I stamped and heat embossed a Norsk Stempelblad AS sentiment on one of the patterned paper pieces and added three snowdrift sprinkles from Little Things from Lucy’s Card as my finishing touch.
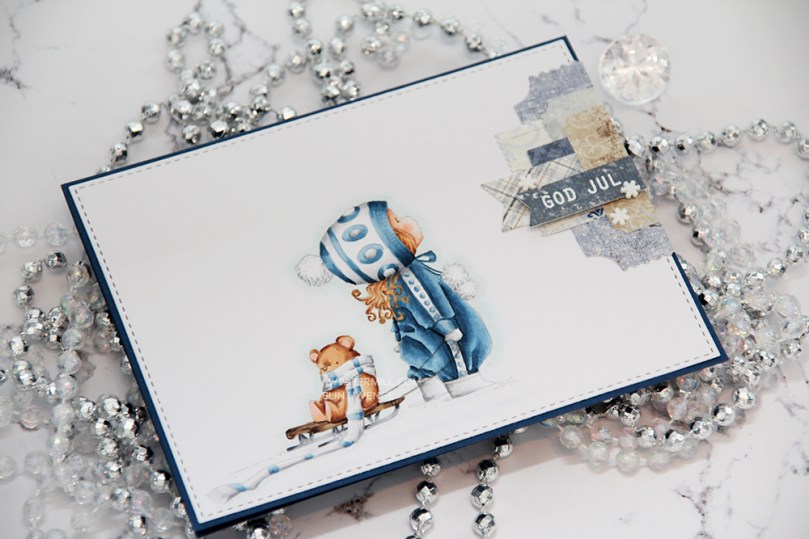 Clean and simple with cluster, these cards come together so easily once the image is colored.
 I used quite a few colors for this simple image. Lots of different earth tones for different parts of the image, and two grey families.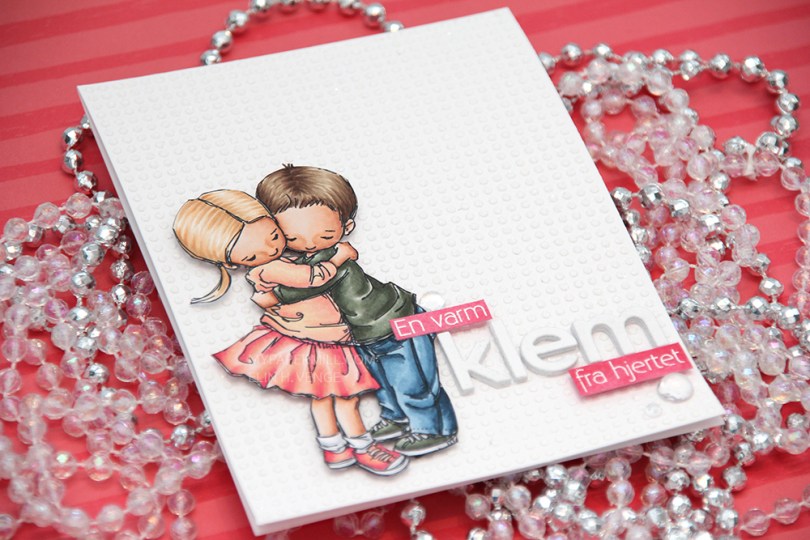
 I colored up
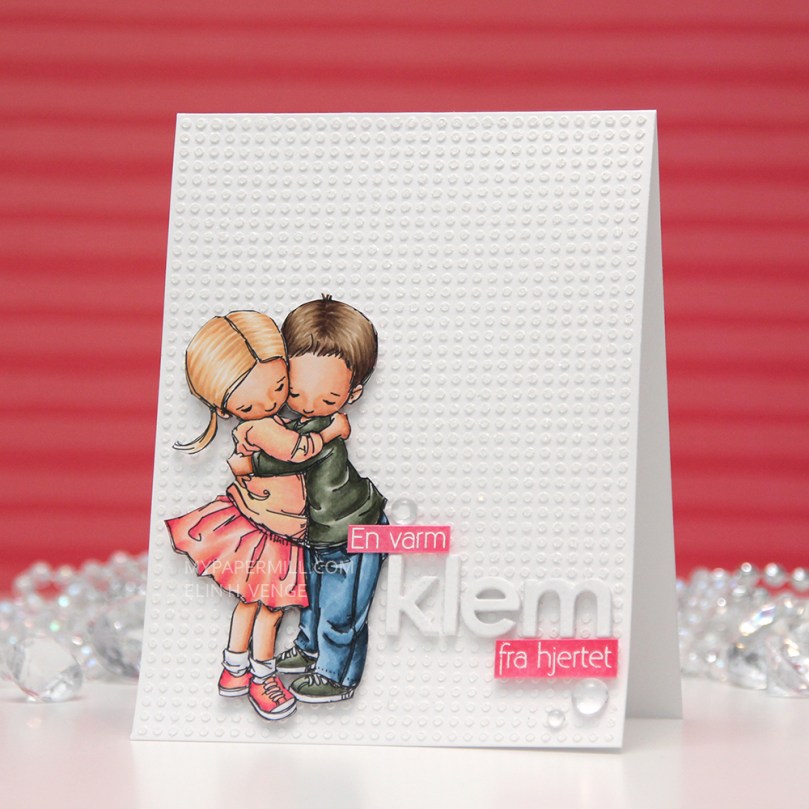
 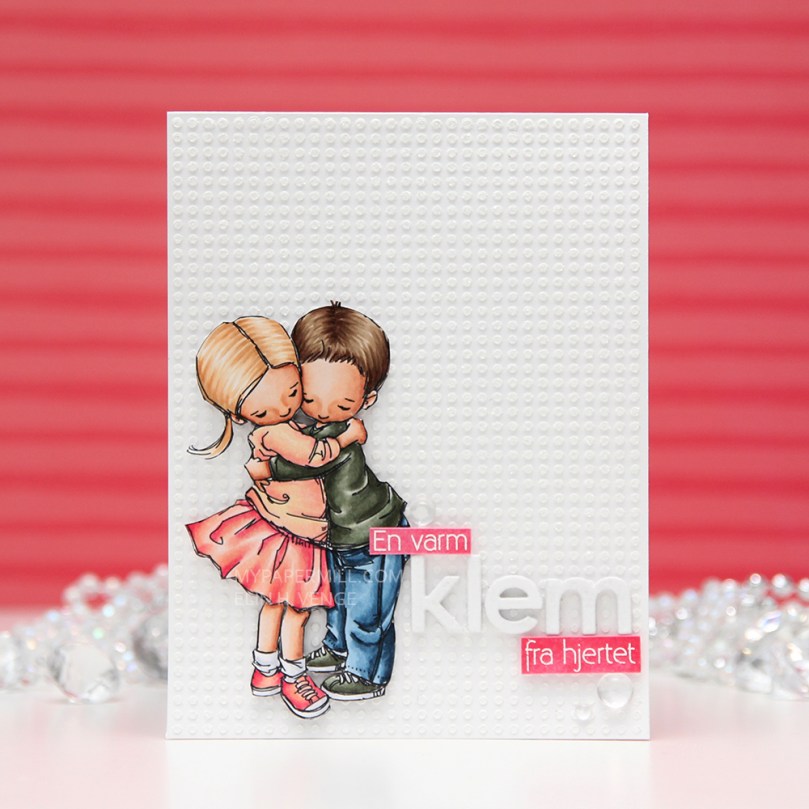 This card is somewhat different for me. It has a lot of white space, which is fairly common for me, but I used a stencil and texture paste on the card base to change it up a bit, which definitely isn’t normal for me. I even sprinkled distress glitter all over the texture paste while it was still wet, so the card sparkles when you tilt it in the light. Glitter is a nightmare to photograph, though, so it doesn’t show up in the photos very well.
 I used the Parker alpha set from Memory box to diecut the word klem, which means hug in Norwegian. I diecut each letter five times and glued them together for a stacked, dimensional look. I created a couple of pink cardstock pieces by using one of the Copic markers I used on the skirt, stamped the remainder of my sentiment and heat embossed in white before glueing them on with clear foam tape.
 By adding part of my sentiment on top of the image, I get a more cohesive design than I would have if I had put my little sentiment strip above the word only. Just a little design tip. I finished off the card by adding a few raindrops from Little Things from Lucy’s Cards.
 These are all the Copics I used, and I must admit that I really love the pink and peach combos I came up with for this one.
 I colored up
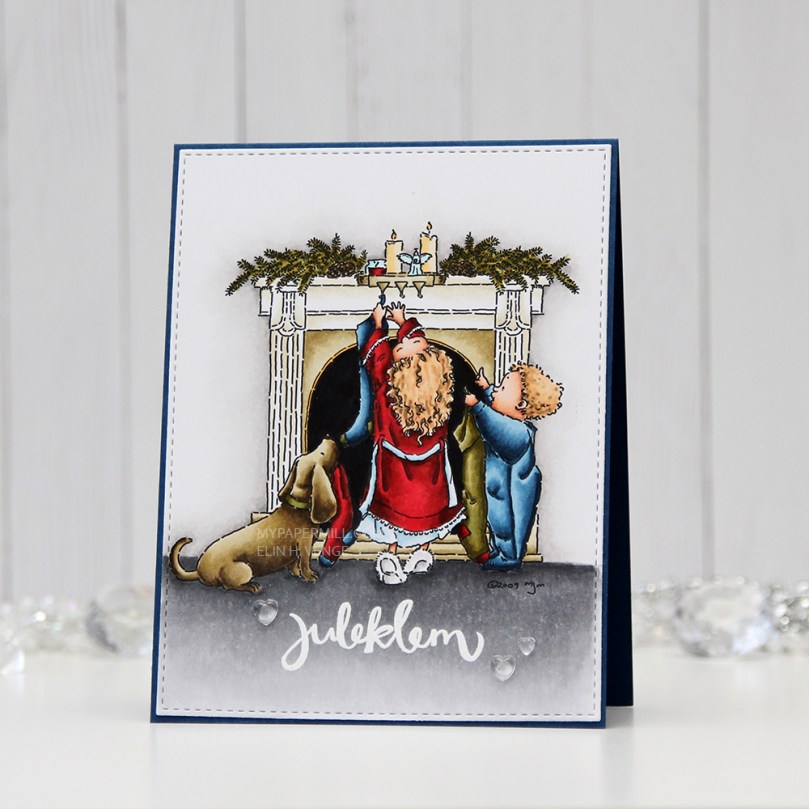
  I’ve had this image for so long, and it really felt good to finally color it up. I used the largest of the dies in the Stitched Rectangles STAX (2) set from My Favorite Things, before heat embossing a Norsk Stempelblad AS sentiment in white using super fine detail embossing powder from Ranger.
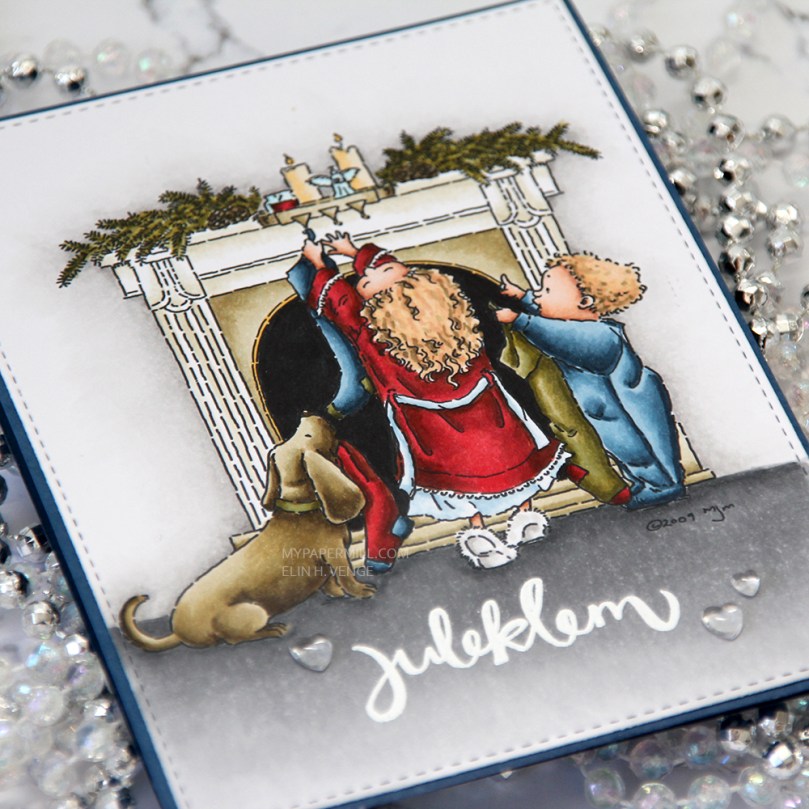 I love the look of those heart shaped raindrops from Little Things from Lucy’s Cards. They’re part of the crystal collection and add the perfect little touch to such a simple card.

 I turned my image into a card last night by stamping a sentiment, diecutting the entire panel with a faux stitch rectangle die, adding that to my card front and embellishing very sparingly with three clear crystals from the Ice Water mix from Little Things from Lucy’s Cards. That’s it.
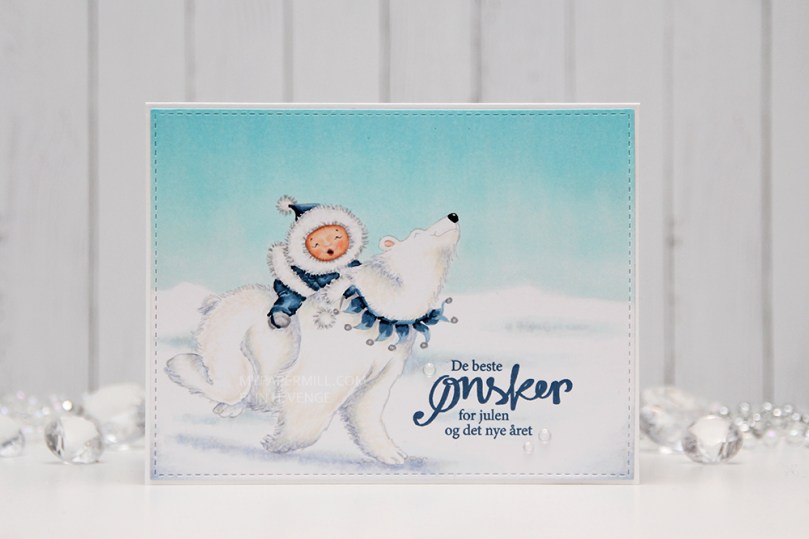 The sentiment is from the B04 stamp set from Norsk Stempelblad AS. I love the stamps Åshild has designed and am so glad I have so many different sets from them. I used Enchanted Evening ink from Papertrey Ink. It’s a beautiful dark blue color.
 Cards don’t get much simpler than this. And cards like this are so fun to make, too.
 Would you believe I used 10 (yes, ten) different colors for the fur?? Am I crazy?
