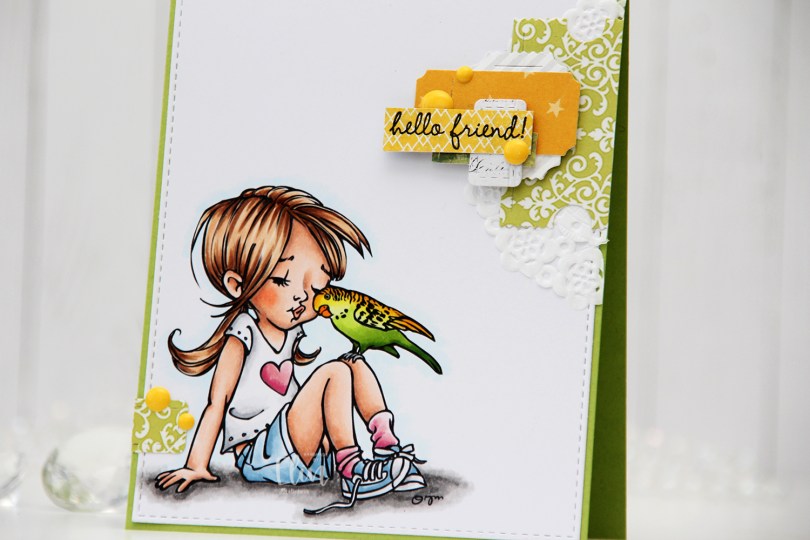
Hi, crafty friends! I have one of my “clean and simple cluster” cards to share today, featuring Tweetie from Mo Manning. I think this image is so sweet, and not only is it the perfect friendship image, it’s also perfect for the summer season.
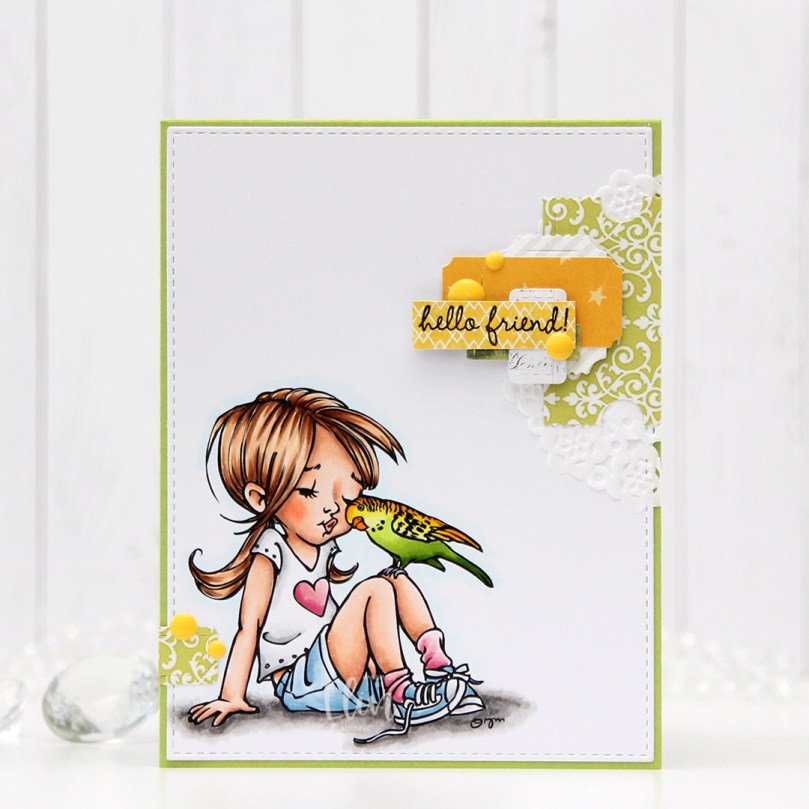 I colored the image with Copics and die cut the panel using the largest die in the A2 Stitched Rectangles STAX 1 die set from My Favorite Things, before adhering it to a card base I created from Sour Apple cardstock, also from My Favorite Things.
 On my cluster cards, I usually choose two to three colors from the image to create scraps from. This time I chose green and yellow with a little bit of gray. Neutrals are always a good thing to add. I keep die cut scraps in stamp storage pockets on my desk, sorted by color. Whenever I want to create a cluster, I choose the storage pockets with the colors I want, dump the contents on my desk and start PLAYING.
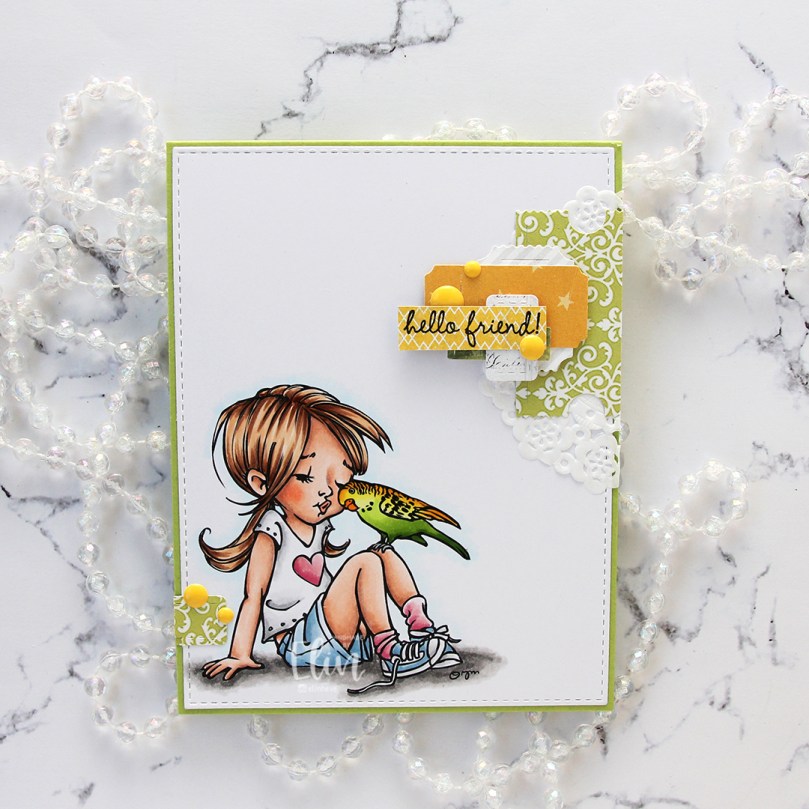 For this card I wound up using scraps from 3ndypapir, Karen Foster, Sunny Studio, P13, Magnolia and Papirdesign. By limiting the size and colors of my clusters, the design stays harmonious and you can’t tell that I’ve used patterned paper from 6 different companies. I adhere some directly to the layer below, some using foam squares. As a base, I used half a doily from Doodlebug Design that I had in a drawer. I love these tiny paper doilies, they’re perfect for this.
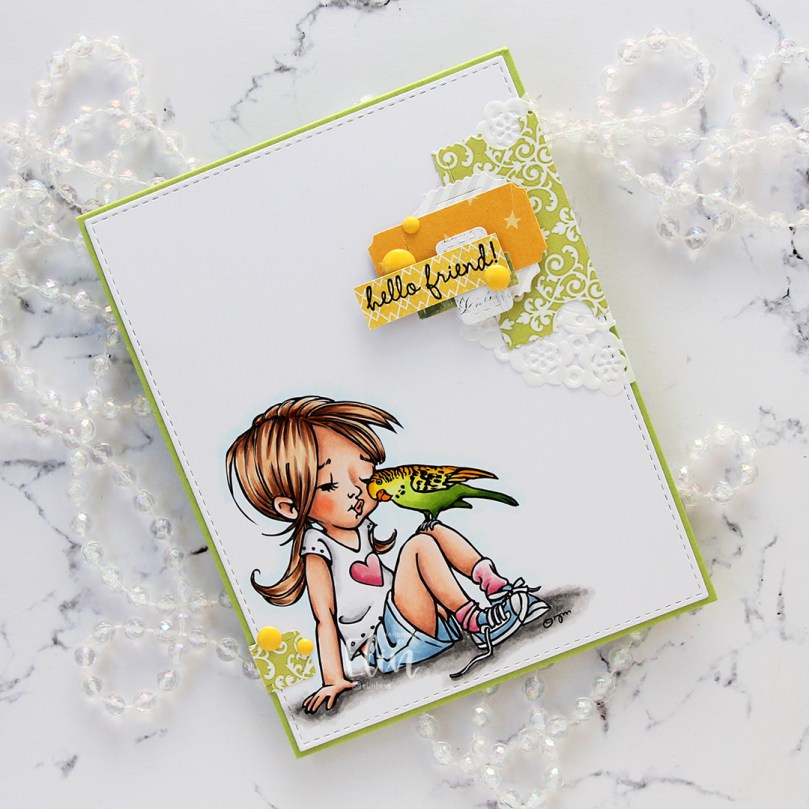 Using VersaFine Onyx Black ink, I stamped a sentiment from the Sweet Summer Sentiment Set from Purple Onion Designs onto a strip of patterned paper from Papirdesign. I finished off the card by adding a few enamel dots from the Pocketful of Sunshine pack of enamel dots from Altenew.
 These cluster cards are so fun to make. They make my piles of scraps shrink EVER so slightly, but anything’s better than nothing, and I love the dimension they add to the card.
 I used quite a few colors for this one.
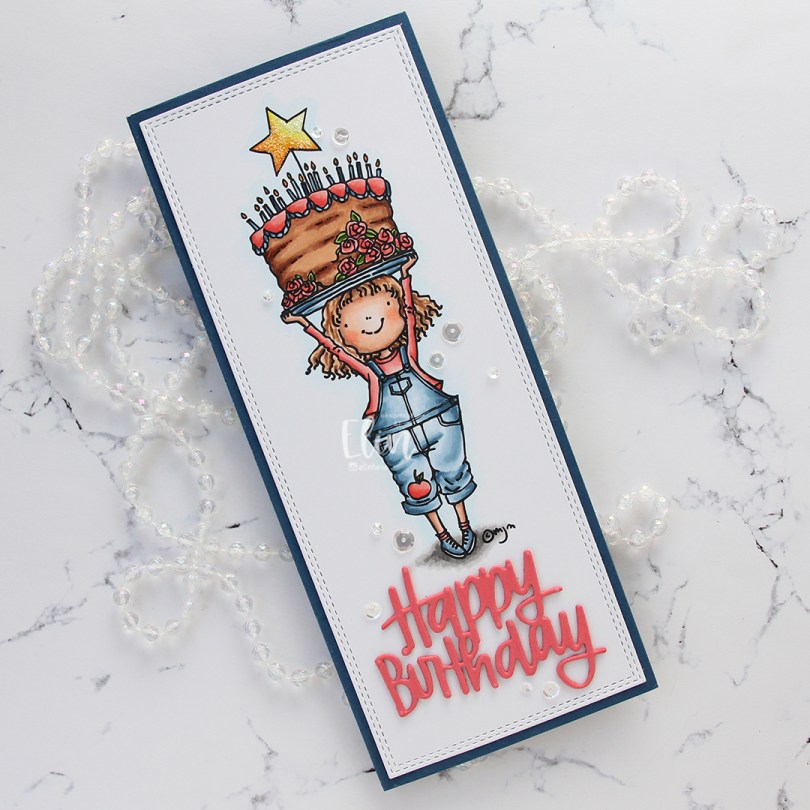
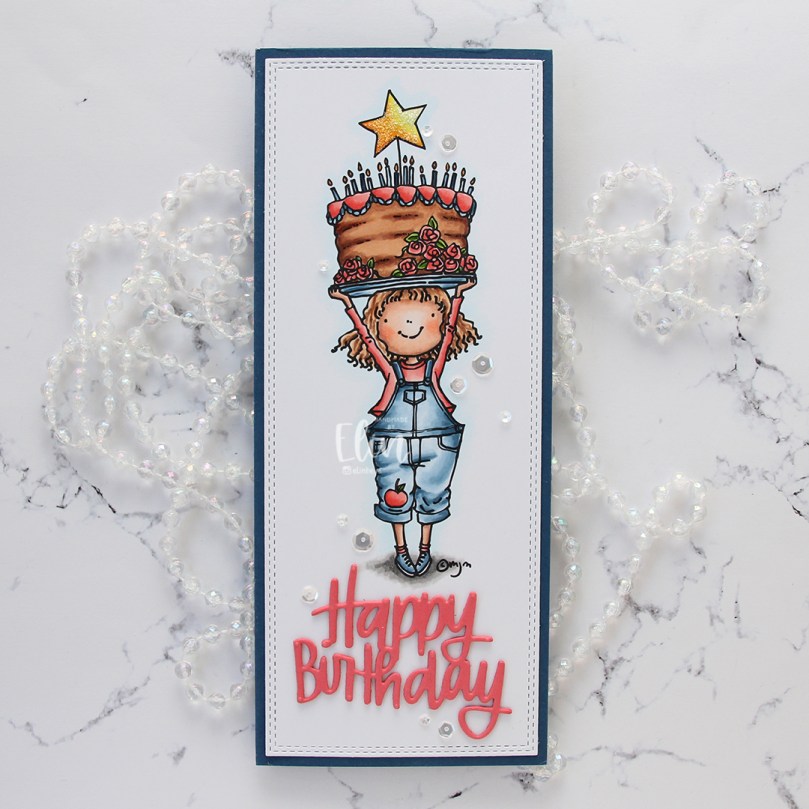 I colored the image with Copics and used the largest die in the Slimline Double Stitched Rectangle STAX die set from My Favorite Things to cut it down to the perfect size panel to go onto a slimline card. I adhered it directly onto a card base I created from Enchanted Evening cardstock from Papertrey Ink.
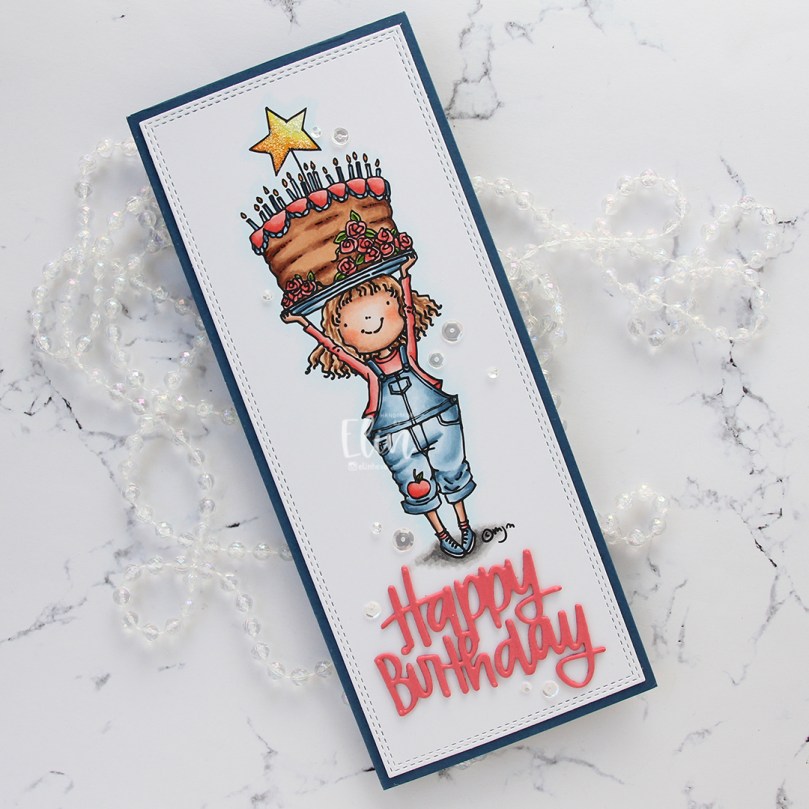 From Berry Sorbet cardstock from Papertrey Ink, I die cut the Happy Birthday Brush Script die from Simon Says Stamp three times and stacked the diecuts for a dimensional look, before adhering them below the image on my card. I added a layer of Frosted Lace Stickles to the star on top of the cake and scattered a few chosen sequins from the Seaglass mix of sequins from Simon Says Stamp to finish the card.
 Lots of Copics for this one.
 I colored up this fairy quite a while ago, and I even had a blue sky around her that I decided not to use. I fussy cut the image, leaving a trim around the edge (I didn’t want to contend with the whispy lines in her hair).
 I created a white top fold card base using Stamper’s Select White cardstock from Papertrey Ink. It’s my all time favorite white cardstock. Using a geometric embossing folder from We R Memory Keepers, I created a bit of texture to the card front. It’s nice to have lots of white space while giving the background a little bit of interest, and embossing folders are a great way to ensure that.
 I cut a piece of Winter Wisteria cardstock from Papertrey Ink at an angle and adhered it to the top of the card using foam tape.
 I adhered my colored image, half on top of the purple cardstock using foam tape, the bottom half to the card base using foam tape. I let her foot hang off the edge of the card for a little bit of added interest.
 To finish off the card, I die cut scraps of purple patterned paper from Papirdesign to adhere to the bottom right corner of the card. Onto one of the strips, I stamped and white heat embossed a sentiment from the Hilsninger stamp set from Norsk Stempelblad AS, before I added sequins from the White Orchid sequin mix from Little Things from Lucy’s Cards for a little bit of embellishment.
 Not a lot of colors for this one.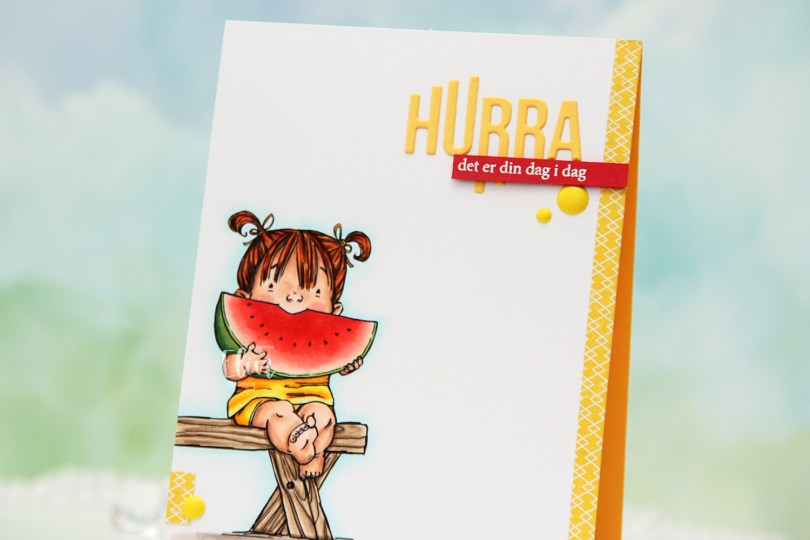
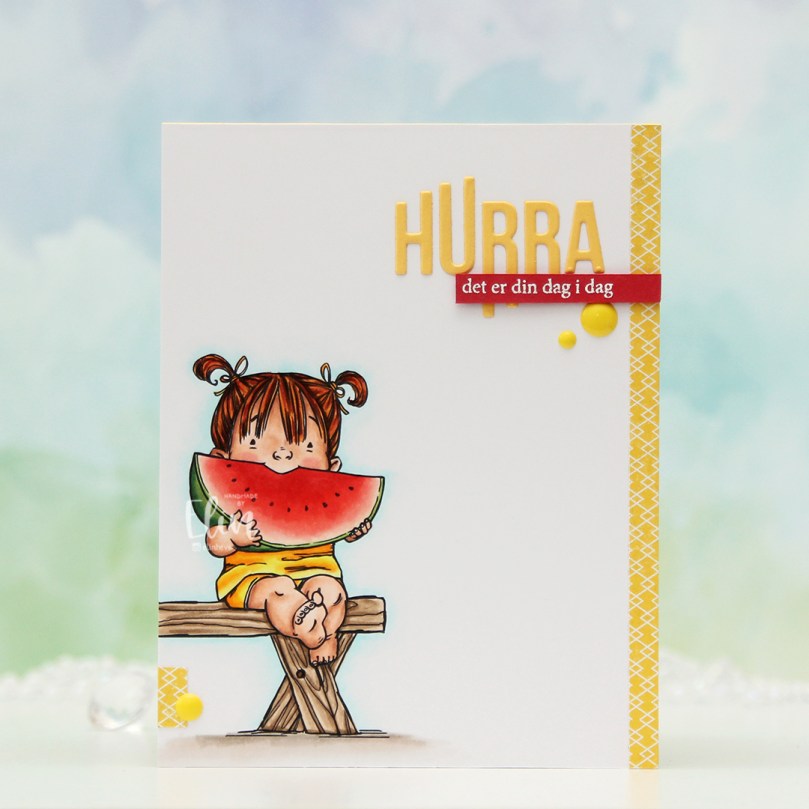 I printed the image towards the bottom left of my panel of X-Press It blending card and colored it with Copics. I’ve colored this girl once before, but I decided to go for a different color scheme this time, I think the only thing that’s stayed the same since the last card is the coloring on the watermelon. The printer doesn’t print all the way to the edge, so I cut off a little strip on the left side and decided to add a strip of yellow patterned paper from Papirdesign on the right to balance out the design and fill the front of this A2 card.
 And as usual, I finish with the Copics I used. Quite a few for this super simple image, I reckon.
 I colored the image with Copics, die cut the word HURRA from my panel using a die from Kort & Godt and the largest die in the A2 Stitched Rectangles STAX 2 set from My Favorite Things for the faux stitching to frame the image. I printed a second image to put behind, so the ball of yarn is continuous throughout the word.
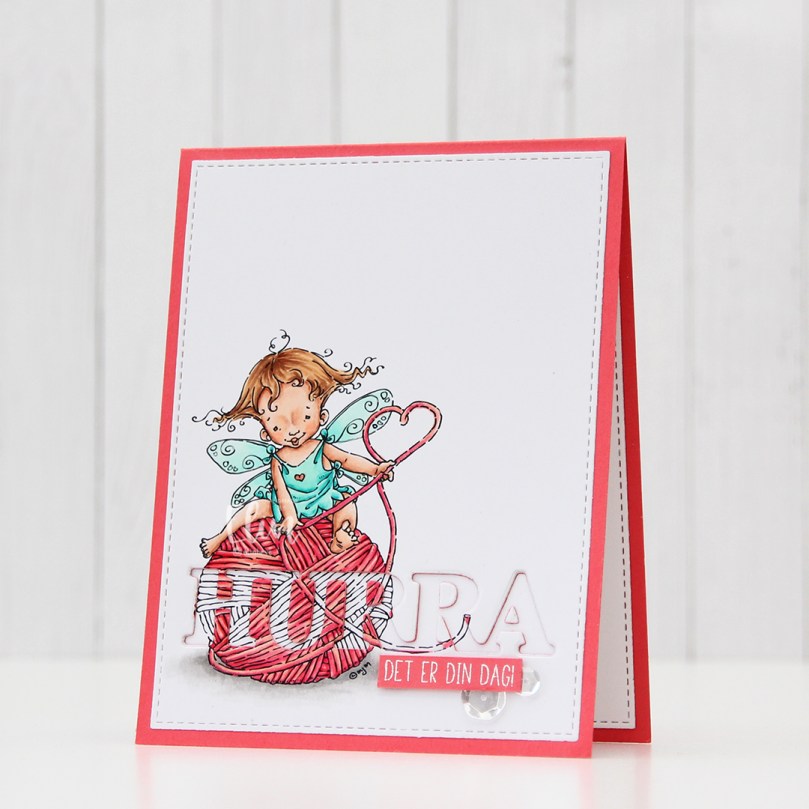 I adhered my panel to an A2 card base I created from Berry Sorbet cardstock from Papertrey Ink. Onto a strip of the same color cardstock, I stamped and white heat embossed a sentiment from Huldra Designstudio, added a couple of additional layers of cardstock behind it for dimension and embellished with a couple of sequins from Pretty Pink Posh to finish the card.
 Not a whole lot of colors used for this one, it’s a simple image, after all.
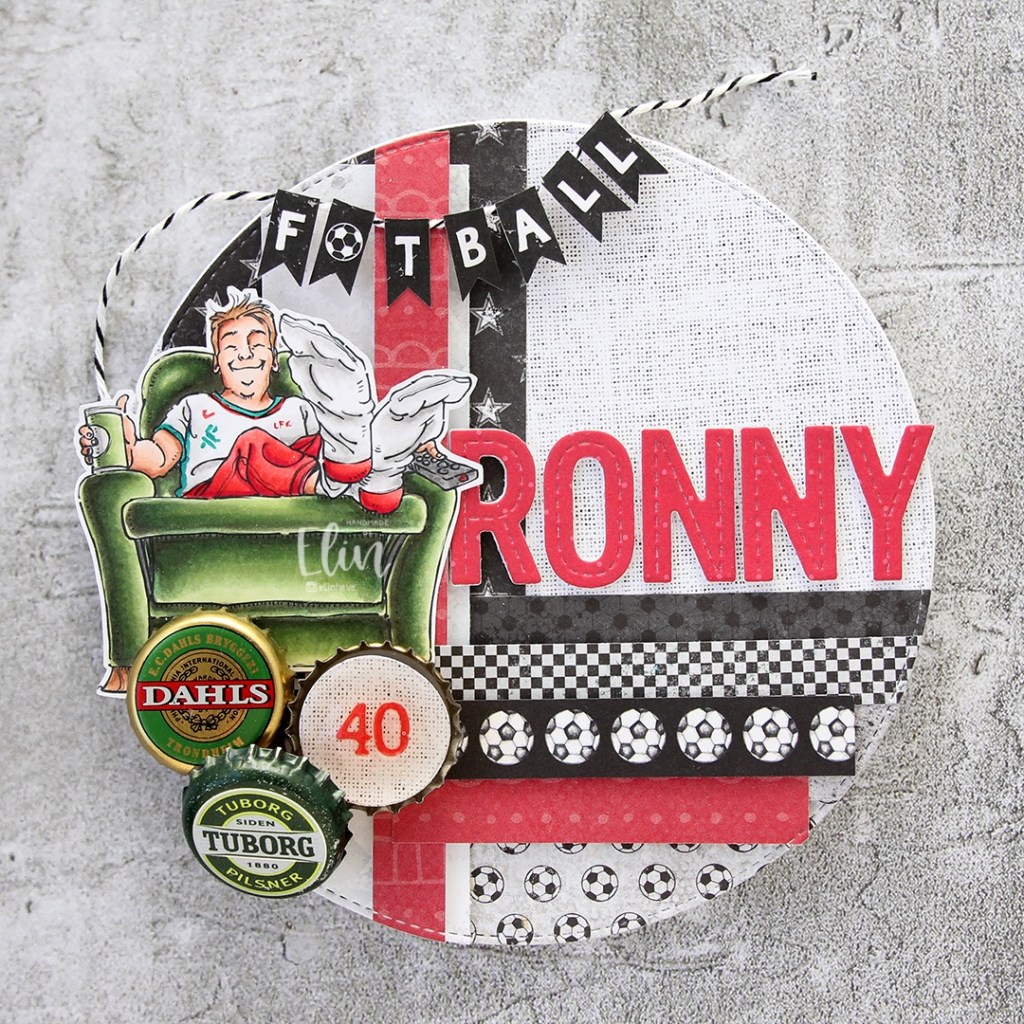


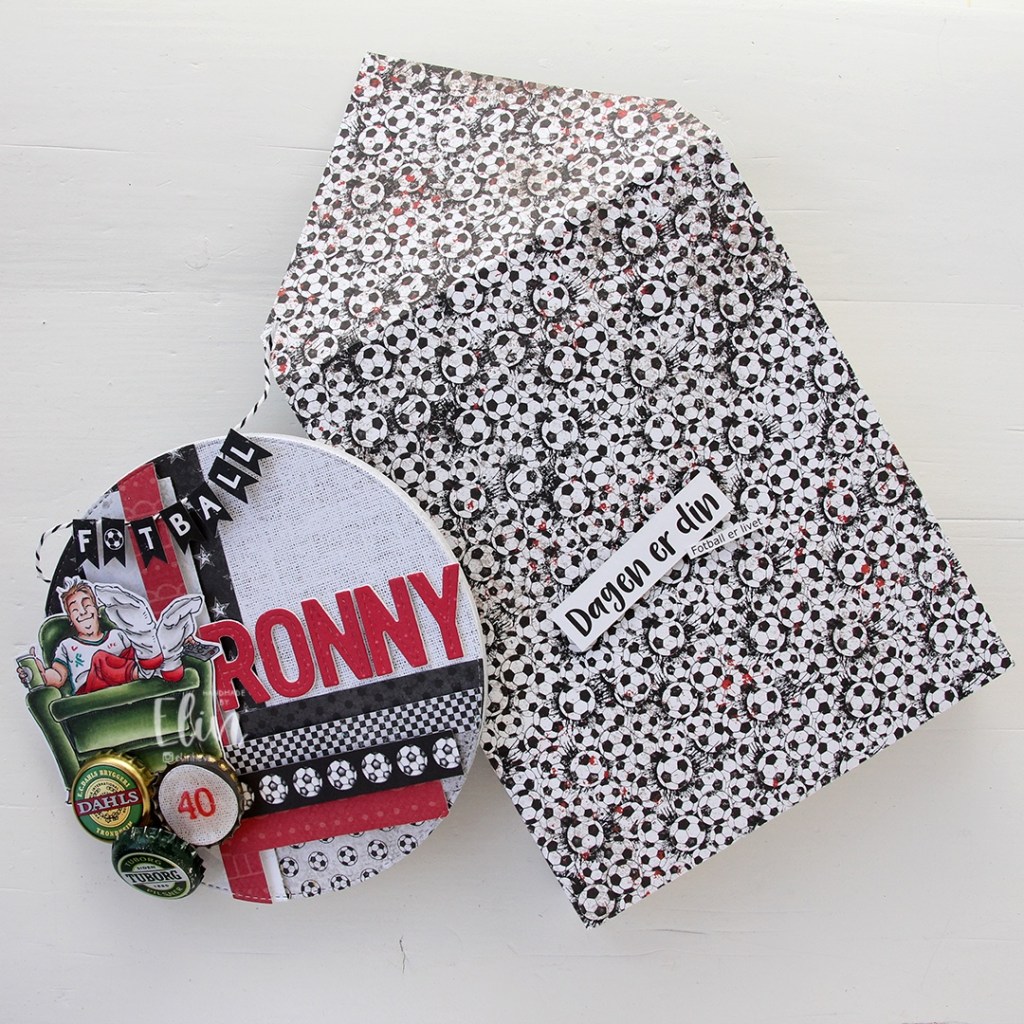

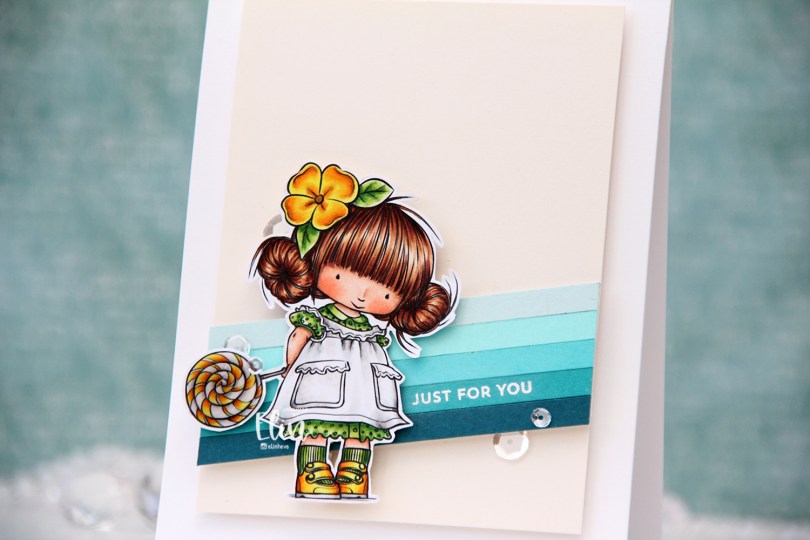
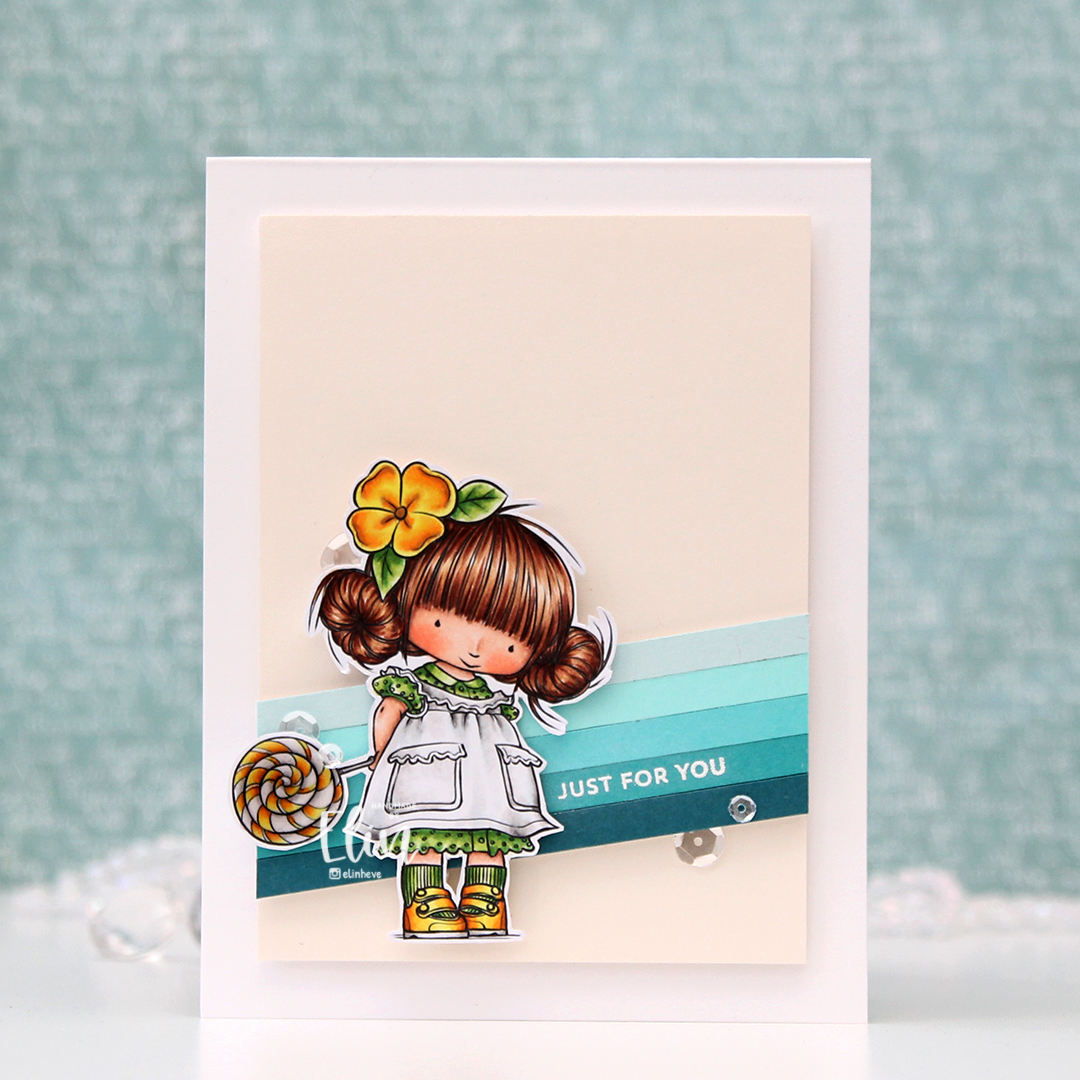 I went for a green and yellow combo this time, and made her hair dark (I colored her blonde last time). I was going to color her dress in teals, but when I was done with everything else and only had the dress left to color I changed my mind and opted for white. White’s not really white, I used a few grays and the tiniest amount of light blue, but it reads white in the finished coloring. I fussy cut my image leaving a white trim around the edge and put her aside while I worked on the rest of my card.
 I took a page out of
 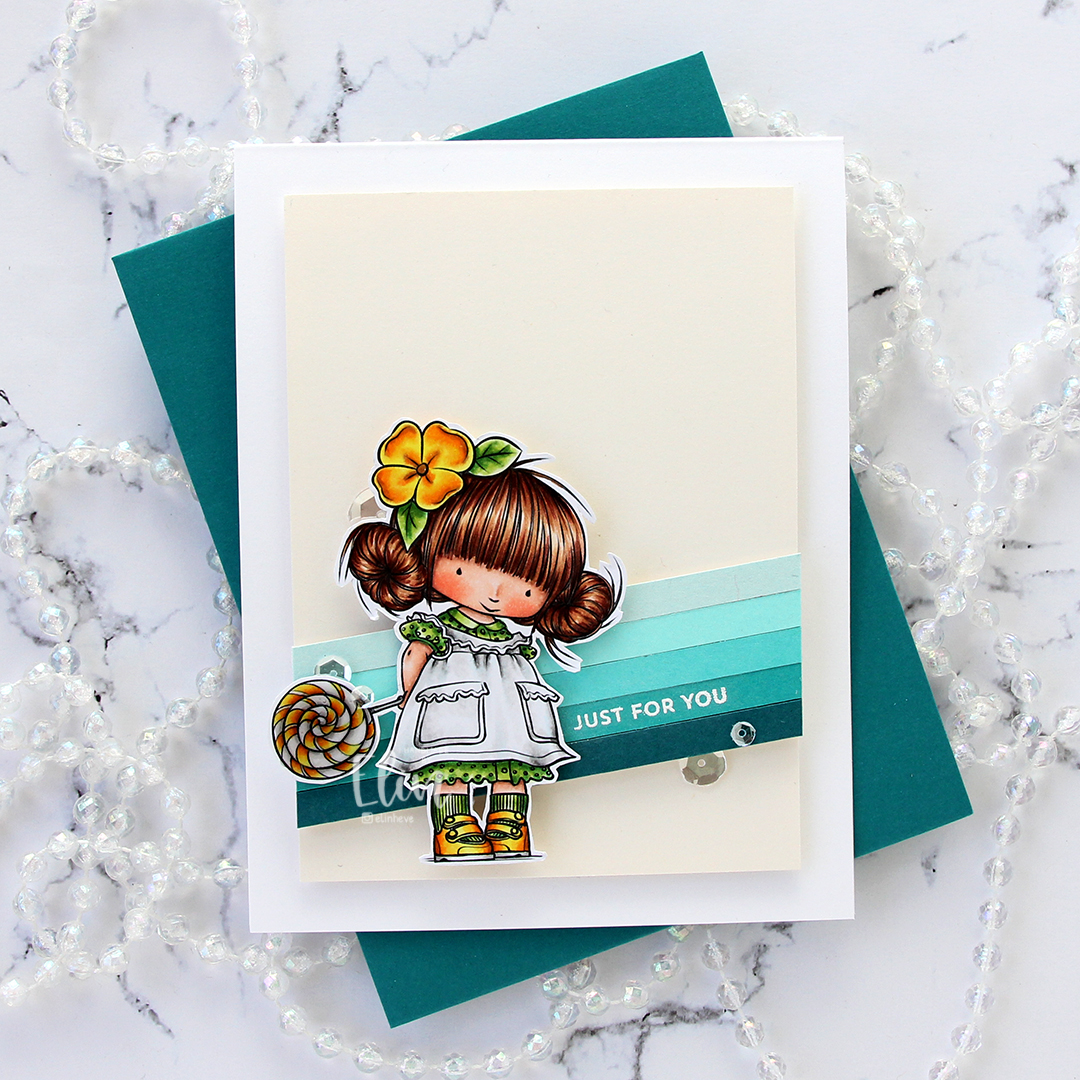 I adhered my cream panel onto a top fold, white card base using foam tape, before stamping and heat embossing a sentiment from the Itty Bitty Birthday stamp set from My Favorite Things. I thought this particular sentiment would work for many occasions, not just birthdays, and the size was perfect to add to one of my cardstock strips.
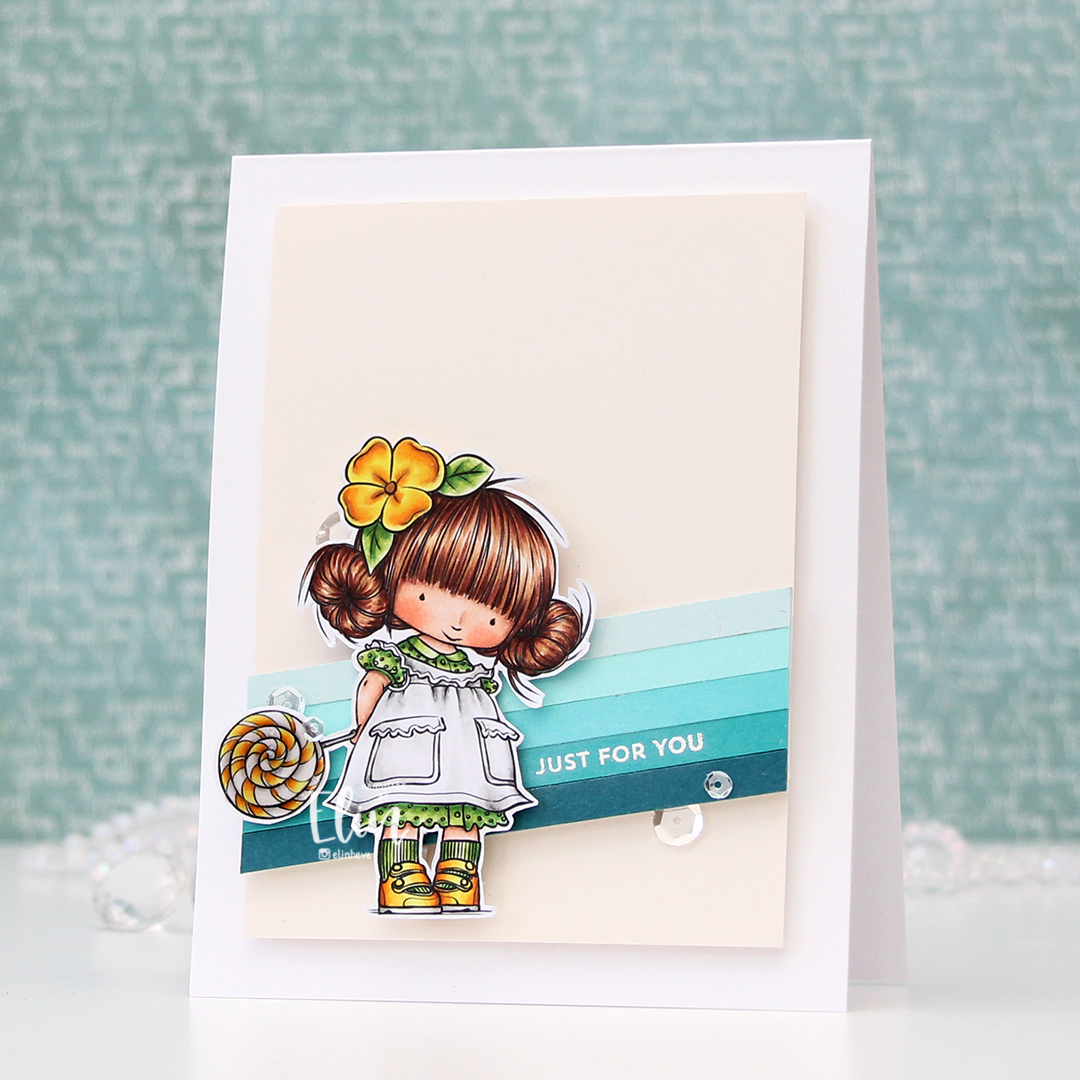
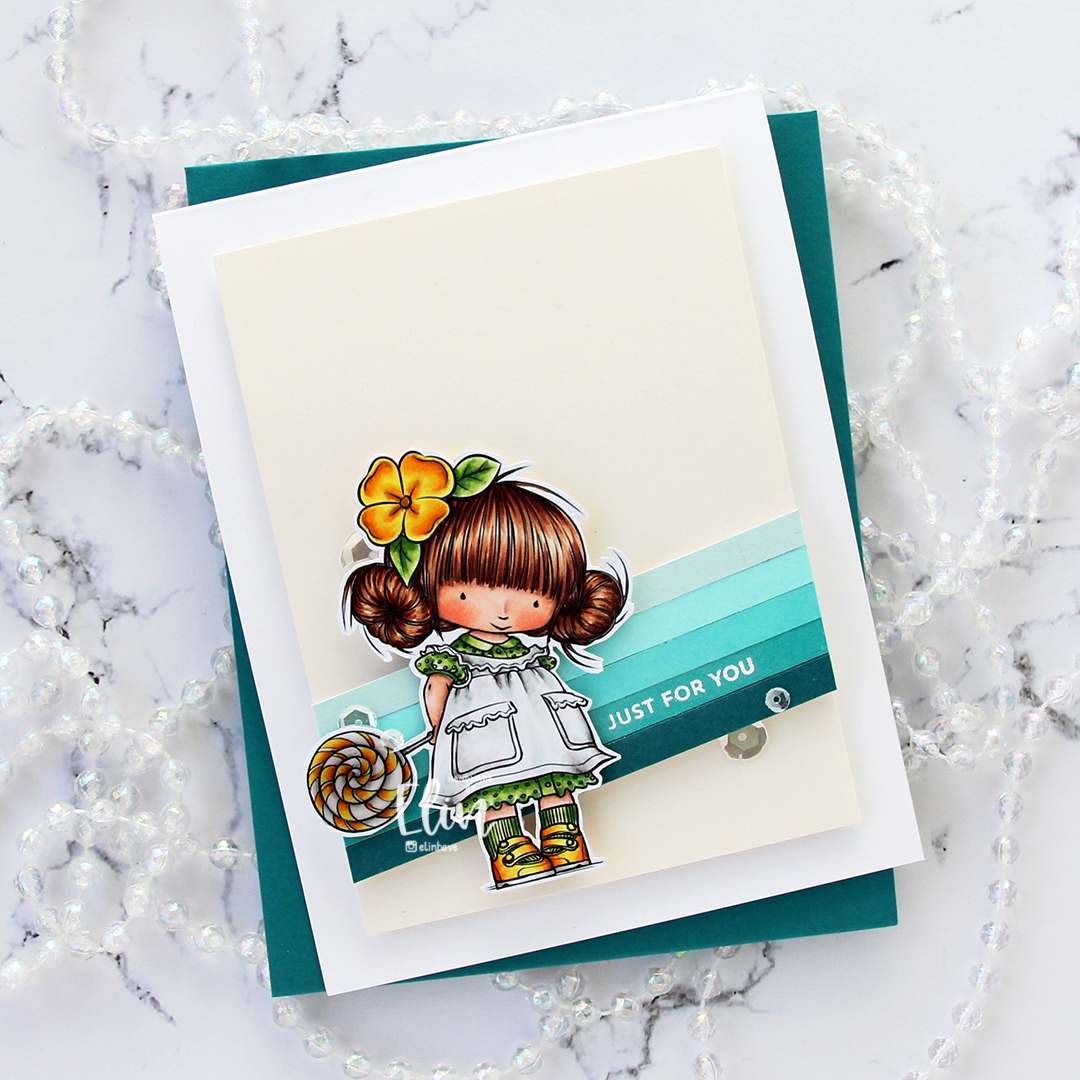 Using even more foam tape I adhered Mona near the bottom left of the card. I love that her dress sticks out right below the sentiment, I really couldn’t have placed the sentiment any better, it’s nestled in perfectly. I put Glossy Accents on the lollipop and a few Sparkling Clear sequins from Pretty Pink Posh here and there to finish the card.
 Here you can see all the dimension. The cream panel is mounted on foam tape, the cardstock stripes are mounted on foam tape, and Mona is mounted on foam tape.
 Quick and easy color palette for this one. I don’t think I went too much overboard with the amount of markers in this one. I won’t mention that I used six colors for her hair 😉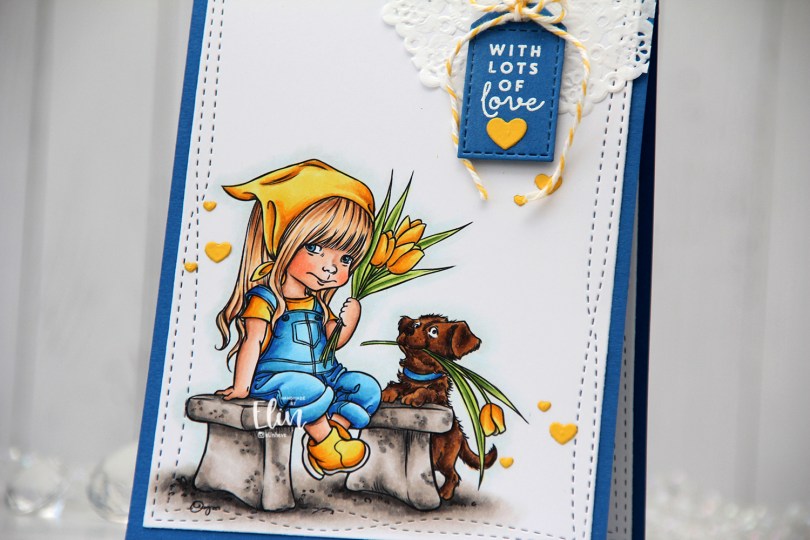
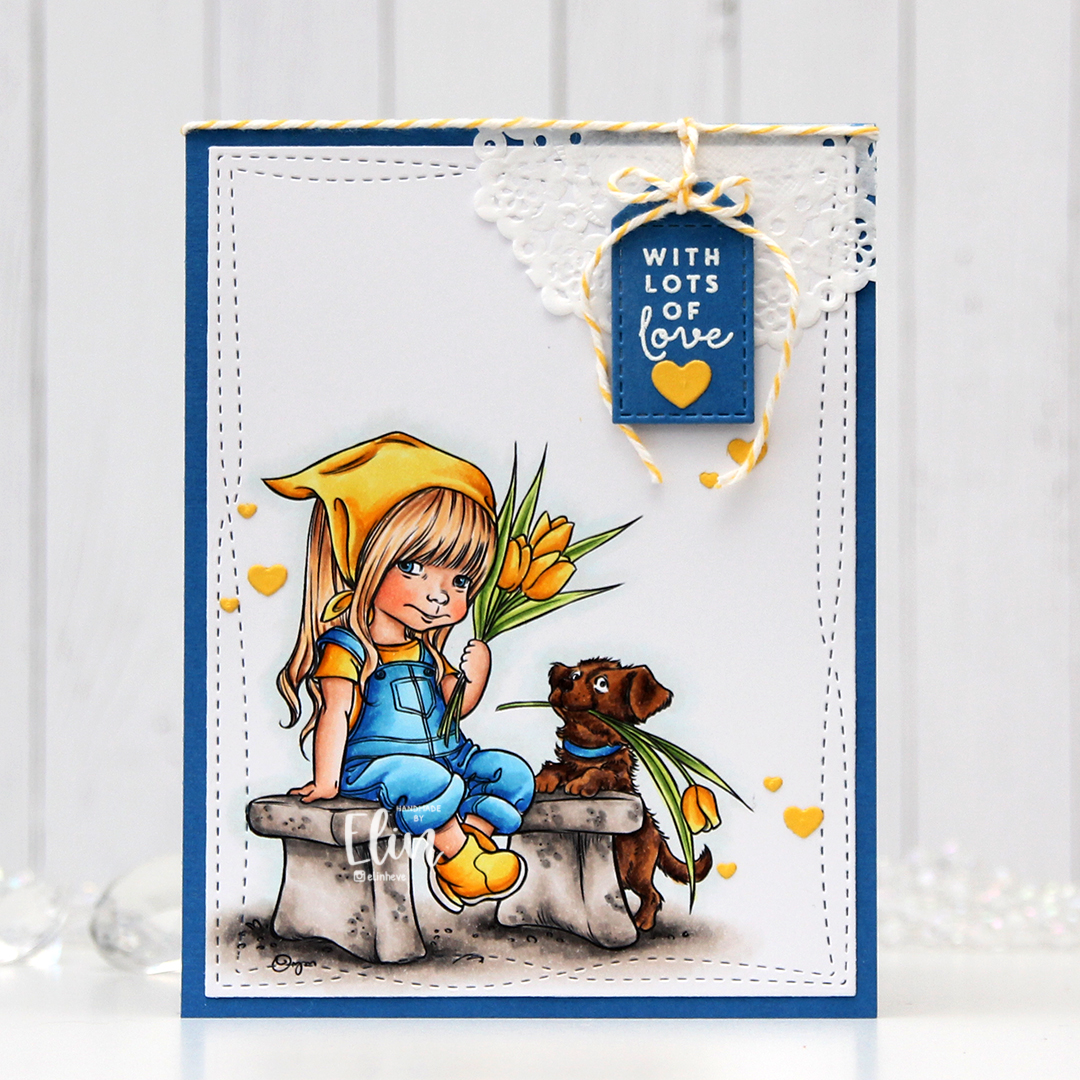 I couldn’t choose any other colors for this card, it simply had to be blue and yellow. I colored the image with Copics, then used the largest die in the Wonky Stitched Rectangles STAX set from My Favorite Things to create a little bit of interest to the edges of the panel, before adhering it to a card base created from Cornflower cardstock from My Favorite Things.
 In the top right corner, I adhered part of a mini doily from Doodlebug using liquid glue. To the top of the card, I tied a piece of Divine Twine from Whisker Graphics in the color Lemon. I stamped and white heat embossed a sentiment from the Mini Messages stamp set from Mama Elephant on a scrap piece of blue cardstock and die cut it into a tag using a die from the Everyday Gift Box die set from My Favorite Things. I tied the ends of the twine to the tag, added a bow and put foam tape behind the tag for a little bit of dimension to my card.
 I put a small piece of Stick-it adhesive behind a scrap of Bright Buttercup cardstock from Papertrey Ink and die cut lots of tiny hearts from it using a die from the Say What? Gift Tags die set from Lawn Fawn. I adhered the hearts in three little groupings of three. They form a nice visual triangle and add more yellow goodness to the card. There’s no such thing as too many hearts!
 I’m sending lots of love to the people in Ukraine. It’s heartbreaking that certain people haven’t yet learned the lesson that war’s never the answer. Love always is. 💙💛
 Lots of Copics used for this. Thankfully, they were already out on my desk from previous projects, so I didn’t add to the pile of markers I have to clean before I put them back where they belong in my block stands.
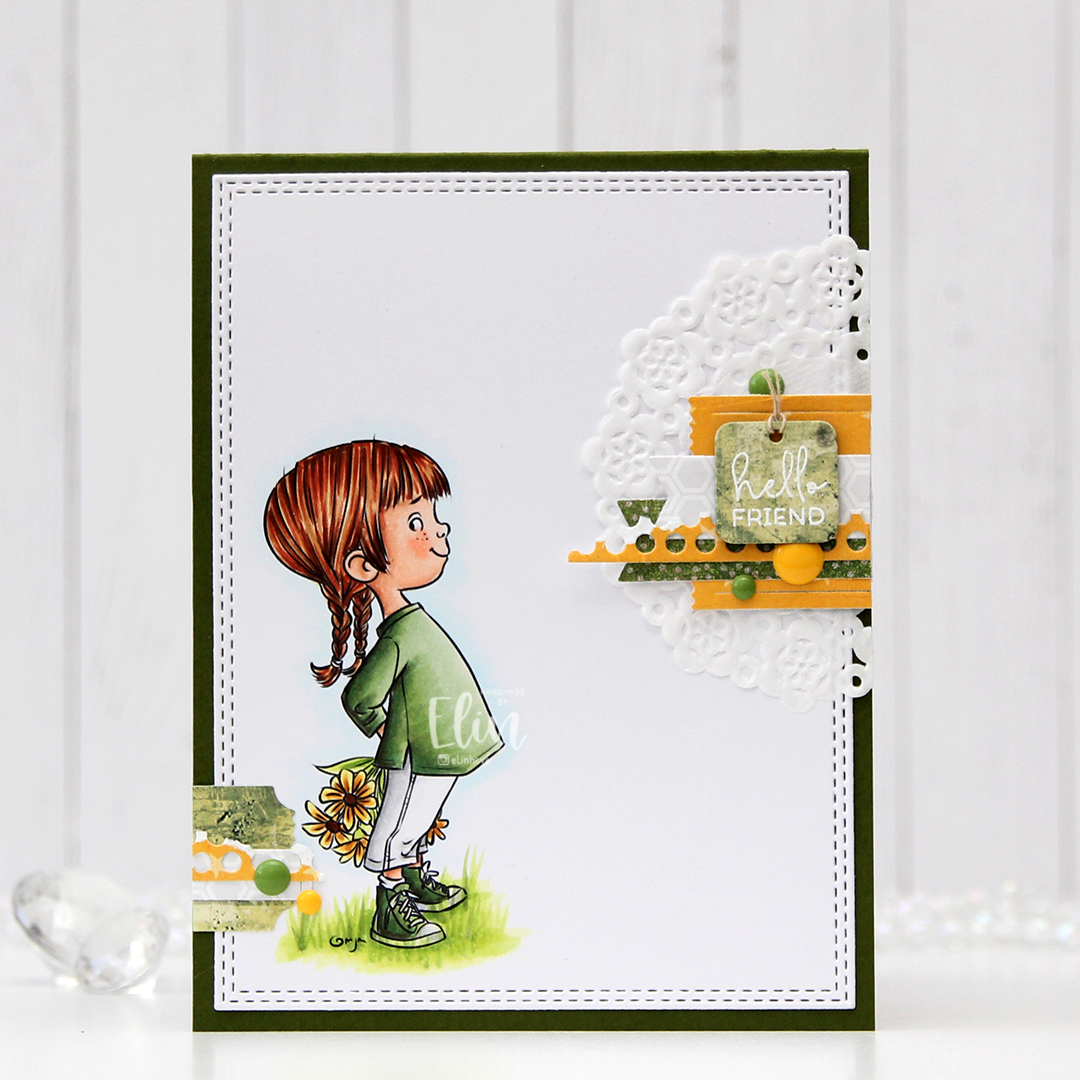 I printed the image near the bottom left corner of a panel of X-Press It blending card, before coloring it with Copics and using the largest die in the A2 Double Stitched Rectangle STAX die set from My Favorite Things to create a finished look with the nice faux stitching details that I love to add to my cards. I adhered it to a cardbase I created from Jalapeño Popper cardstock, also from MFT, and I had my base ready for some play with scraps.
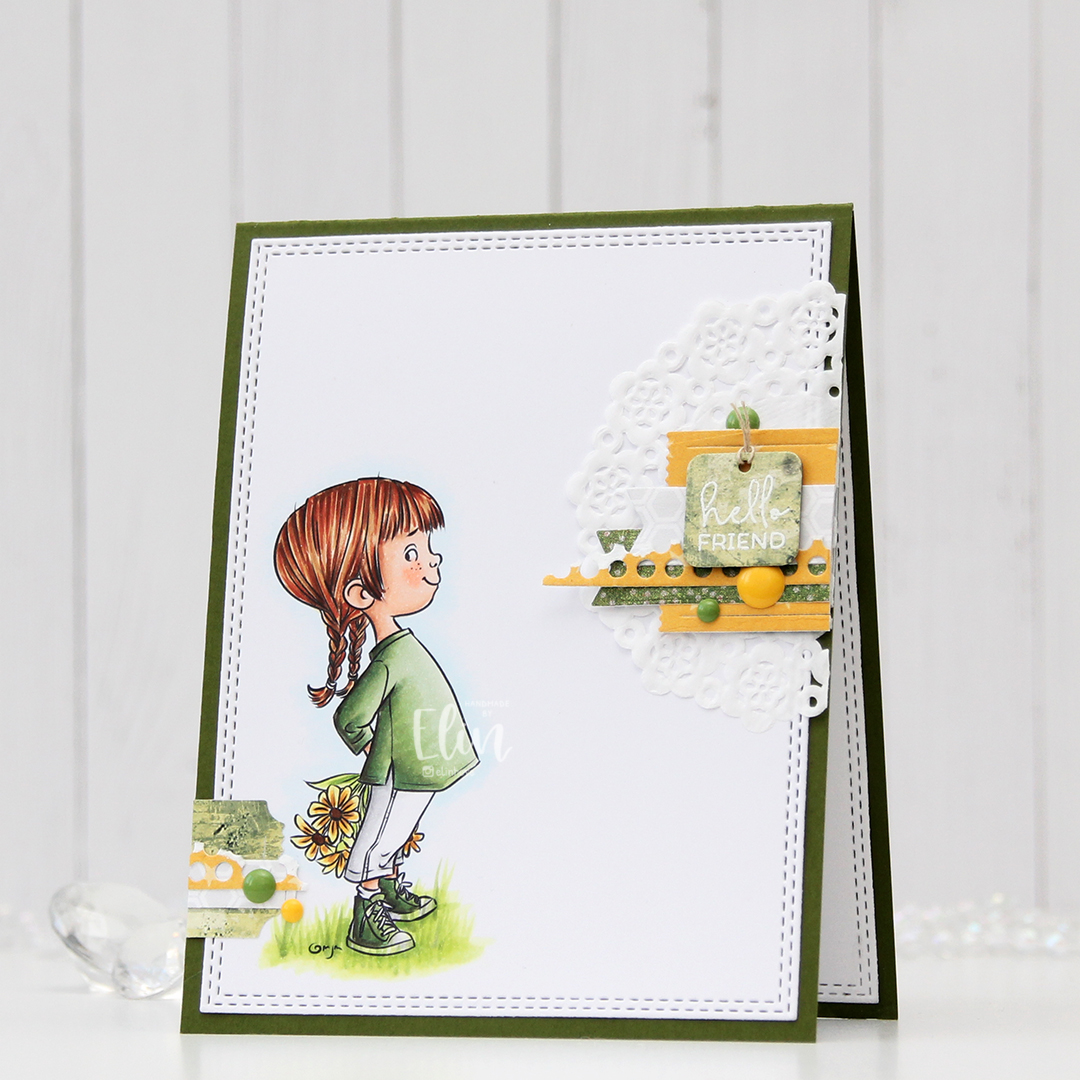 I love creating these clusters of die cut scraps on my cards, and I have stamp storage pockets with little die cut patterned paper scraps sorted by color. That way I can rummage through these when I create my cards instead of having to find lots of patterned paper to match my card, then die cut it. It usually takes several different patterned papers of one color to create the dynamic look I want for my cards, but for this one, I actually kept it simple with one yellow (P13), one white and gray (Sunny Studio) and only two green ones (Basic Grey and Karen Foster Design). They’re all different shapes, which still keeps it interesting. Some are glued directly to the card, some with foam tape for a little bit of dimension. Using VersaMark ink, I stamped a sentiment from the Mini Messages stamp set from Mama Elephant onto one of these die cut pieces (it happened to be a tag) and heat embossed it using Super Fine Detail embossing powder from Ranger. I used part of a mini paper doily from Doodlebug Design behind my main cluster, and added a few enamel dots (green from Papirdesign, yellow from Altenew) to embellish.
 Lots of green for this color palette.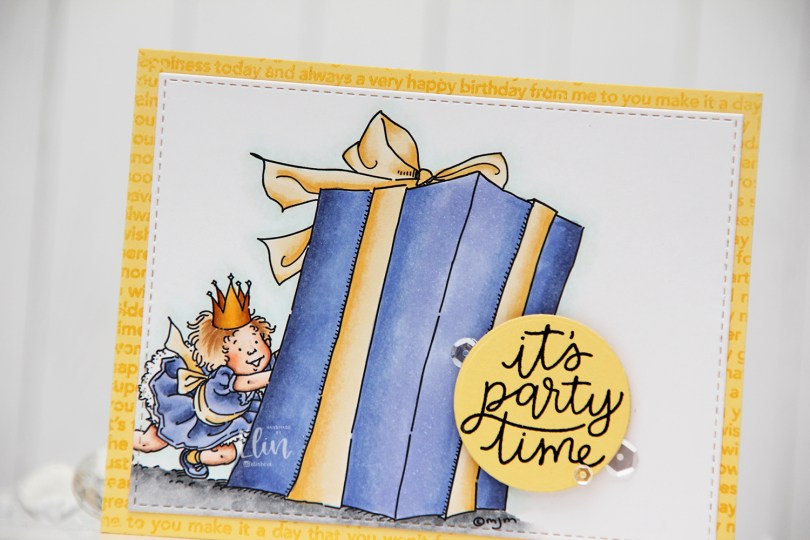
 I colored in the image with my Copics, used the second largest die from the A2 Stitched Rectangles STAX Set 1 die set from My Favorite Things to create the wonderful stitching on the border of the colored piece and adhered it to a card base I created from Harvest Gold cardstock from Papertrey Ink. I clear heat embossed the Happy Birthday background stamp from MFT on the card base. I stamped a sentiment from the Scripty Bday set from Mama Elephant in VersaFine Onyx Black ink and clear heat embossed, turned it into a circle using a nesting die and adhered it to the card using foam tape, before finishing off the card with a few Sparkling Clear sequins from Pretty Pink Posh.
