
Hi, crafty friends! I’m sharing a confirmation card today, featuring Noah from Mo Manning.
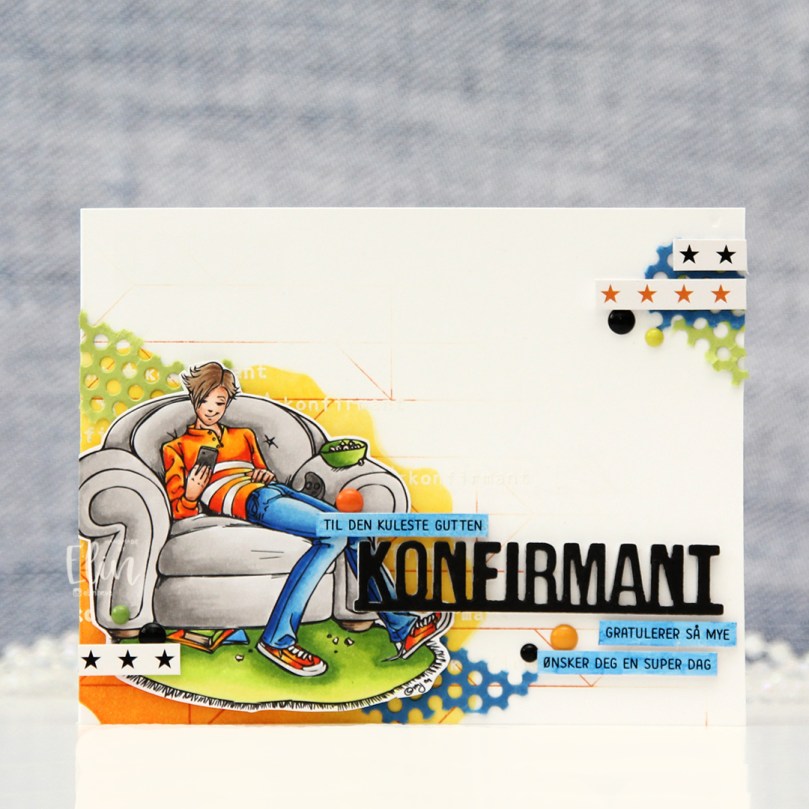 It’s confirmation season, and my nephew’s confirmation was September 10th. I made several cards for him, and this is one of them. I thought this image was the perfect one to use, nothing says fifteen year old boy like a guy with his phone in his hand, school books hidden away and a bowl of snacks on the armrest. The controller tucked away is a nice touch too. We don’t wear shoes indoors in Norway, but the rest is pretty spot on.
 I created a background for my colored image using a variety of stamps, inks and even a stencil. I started with the Abstract Triangle Background stamp from My Favorite Things that I stamped in Orange Peel ink from Simon Says Stamp. I didn’t want the stamp to cover the entire background and made sure to stamp it in the lower left corner and have it fade as it went up and to the right. I then took a confirmation stamp from the A05 stamp set from Norsk Stempelblad AS and repeatedly stamped it on top of the stamping I’d already done using VersaMark ink, before sprinkling on super fine detail embossing powder from Ranger and melting the powder with my heat gun. I then used the Watercolor Wash Free Form stencil from My Favorite Things and ink blended using Spiced Marmalade and Mustard Seed distress inks.
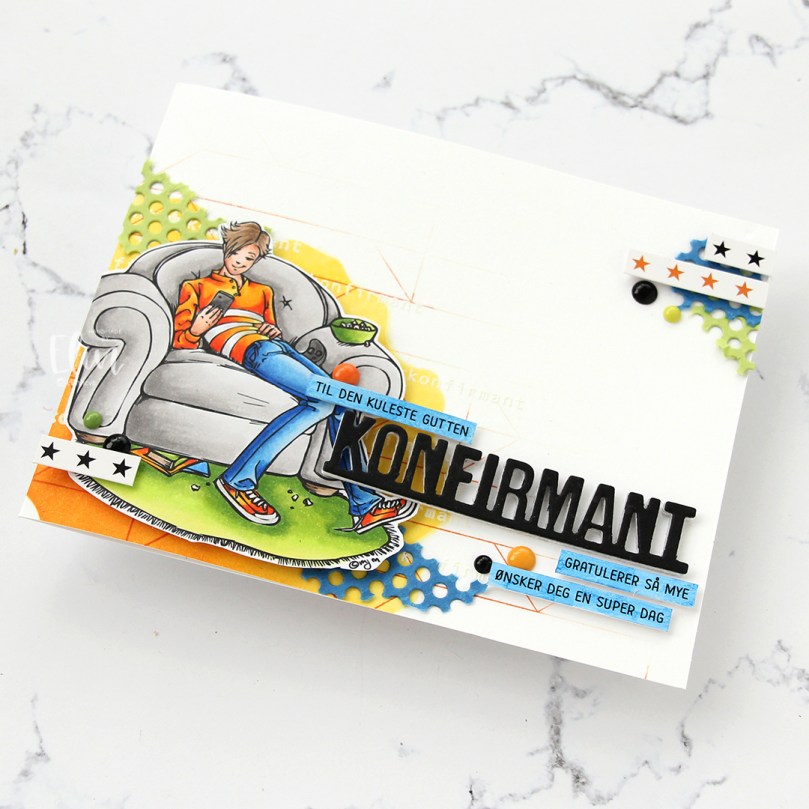 I fussy cut my image leaving a white trim and mounted it on foam tape on top of the stamping and ink blending I’d done. I die cut the Hullmønster die from Papirdesign twice; once from Cornflower cardstock and once from Sour Apple cardstock, both from My Favorite Things. I tore them both up, tucking a couple of pieces behind the image for a little bit of added interest.
 I used the Konfirmant 2 die from Papirdesign to die cut five times from cardstock for a stacked look, placing a layer die cut from True Black cardstock from Papertrey Ink on top of the stack. I adhered it to the card using liquid glue, placing the beginning of the word on top of Noah’s pant leg to make it all fit.
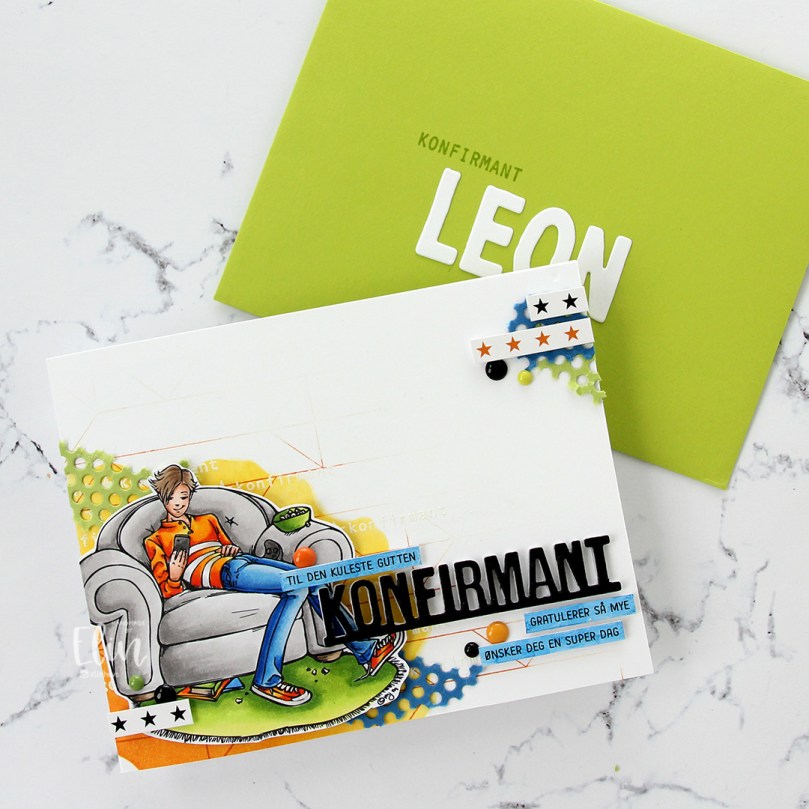 I added some sentiment stickers from Kort & Godt to fill the space at the bottom of the card a little. They’re originally a bit bigger than this and white with black letters, but I used a Copic marker to color them blue to make them stand out against the white background a little and also cut them down slightly. The banners with the stars are also Kort & Godt stickers.
 In the top right corner, I created a little cluster with die cut pieces and those stickers, before finishing off the card with a few Papirdesign enamel dots. Onto a Limelight envelope from My Favorite Things, I adhered white die cut letters (dies from Papirdesign) to spell his name and stamped Konfirmant from the Konf. 02 stamp set from Norsk Stempelblad AS using Limelight ink from My Favorite Things.
 On the inside, I stamped a sentiment from the Konf. 02 stamp set from Norsk Stempelblad AS using Orange Peel ink from Simon Says Stamp. I also adhered number stickers from Papirdesign to get the date on there. The right hand side has plenty of space for a personal message.
 Fun, bright color palette for this one.

 Meet
Meet 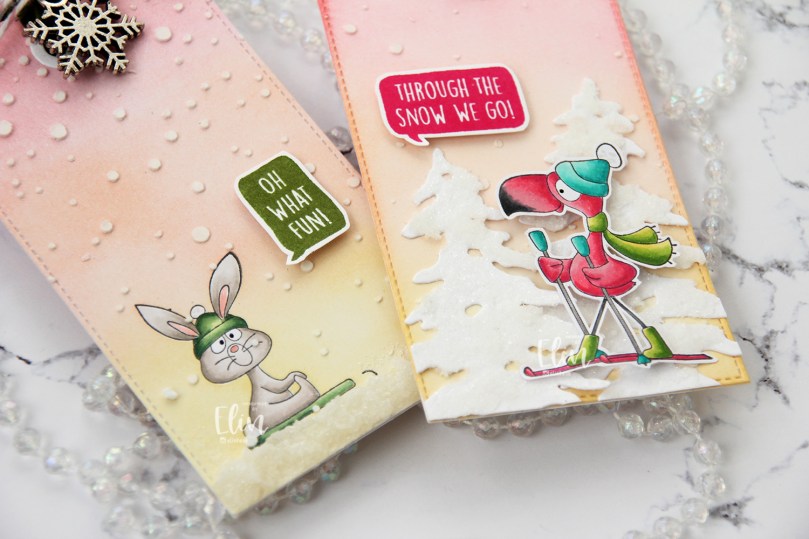 I paired them with sentiments from the
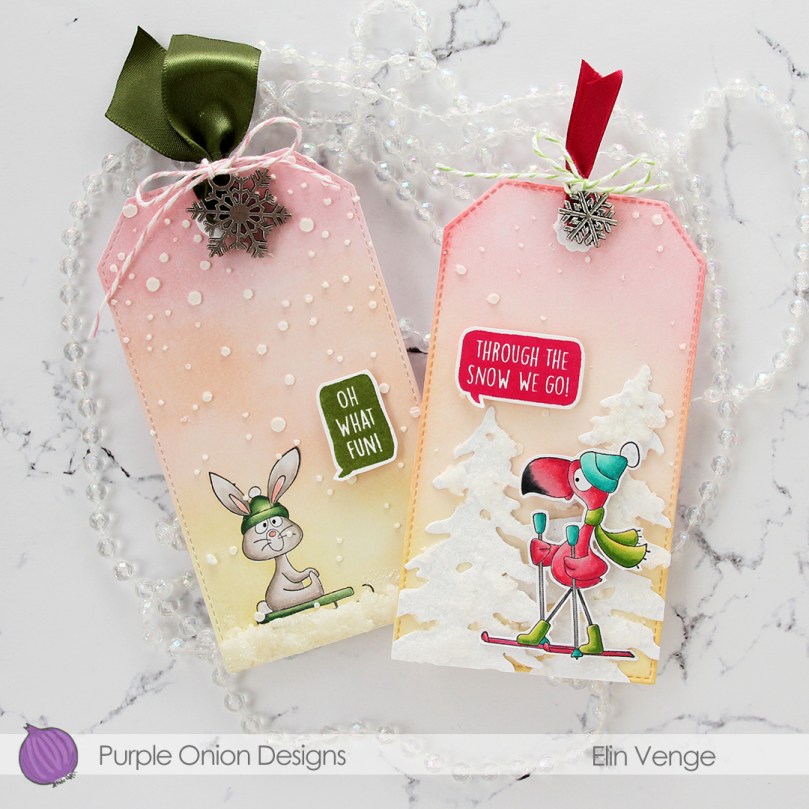
 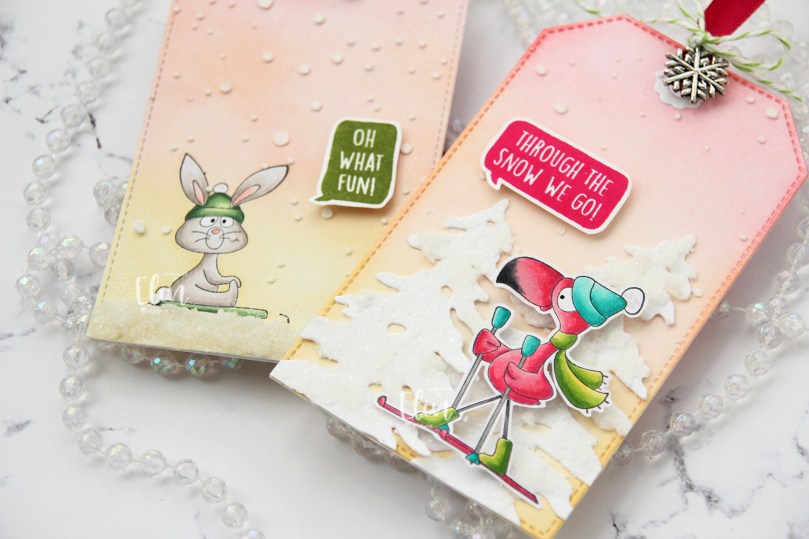 There are some differences between these. Kale is stamped and colored on the tag, while Flo is fussy cut and popped up. I used similar techniques for the background, but kept a lot of the same elements across both tags.
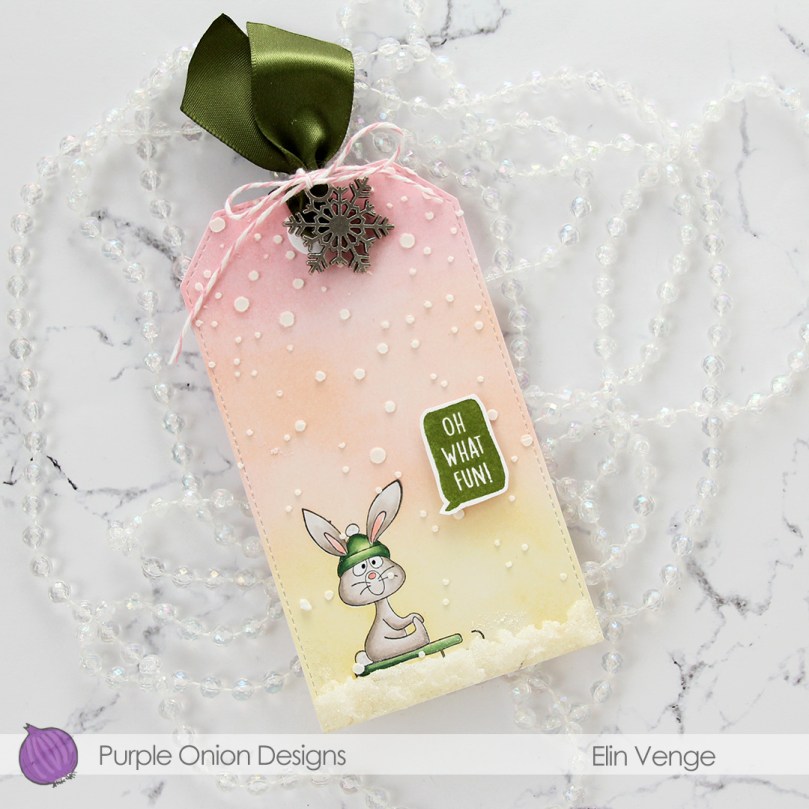 For Kale, I masked him off and ink blended around him using Coral Bliss and Pink Pearl inks from Altenew, as well as Scattered Straw Distress ink. I used the largest die in the Stitched Traditional Tag STAX set from My Favorite Things to turn him into a tag and then used the Falling Snow stencil from Simon Says Stamp with Light & Fluffy Modeling Paste from The Crafter’s Workshop to create snow coming down. I used Snowfall Grit-Paste from Ranger at the bottom of the tag and sprinkled on Rock Candy distress glitter before the paste dried. I then added a snowflake charm and some ribbon at the top of the tag and tied it together with Cotton Candy twine from Whisker Graphics.
 On the back of the tag I did soft ink blending using the same colors and stamped a to/from stamp from the B06 stamp set from Norsk Stempelblad AS using Coral Bliss ink from Altenew.
 Not a lot of colors used for this adorable bunny.
 I used the same tag die, stencil, paste and inks for blending on this tag, but decided to add a little extra. I die cut the Silhouette Snow Trees from Mama Elephant from Stamper’s Select White cardstock from Papertrey Ink, and on the trees I added Grit-Paste and Rock Candy Distress Glitter.
 I let the trees dry, used liquid glue to adhere them to the tag and added Flo on top using foam tape.
 I also used foam tape on the back of the speech bubble and used ribbon, a snowflake charm and some twine at the top for this one too.
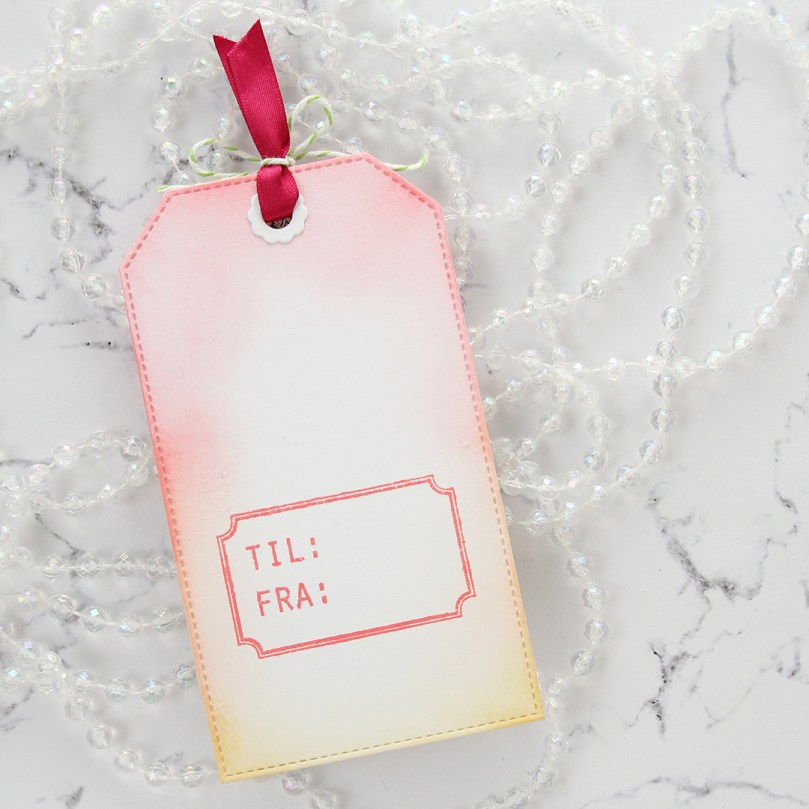 Another stamp from the B06 stamp set from Norsk Stempelblad AS on the back of this one.
 I used very bright colors for Flo.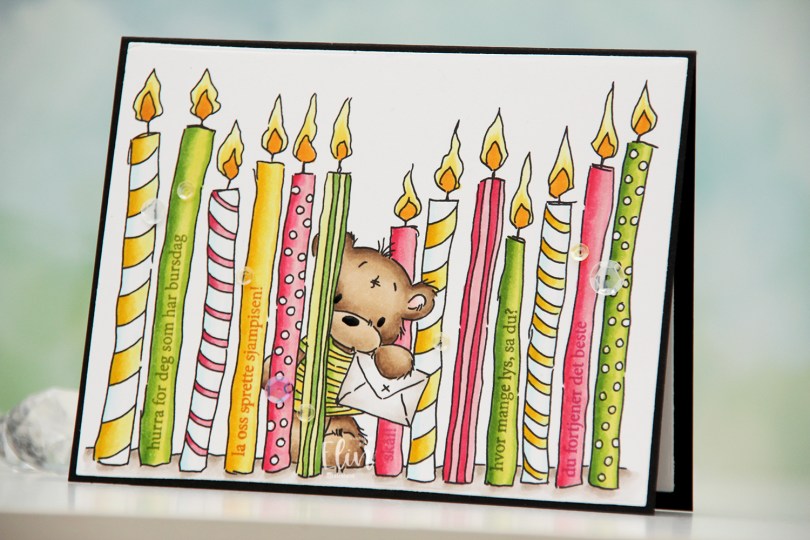
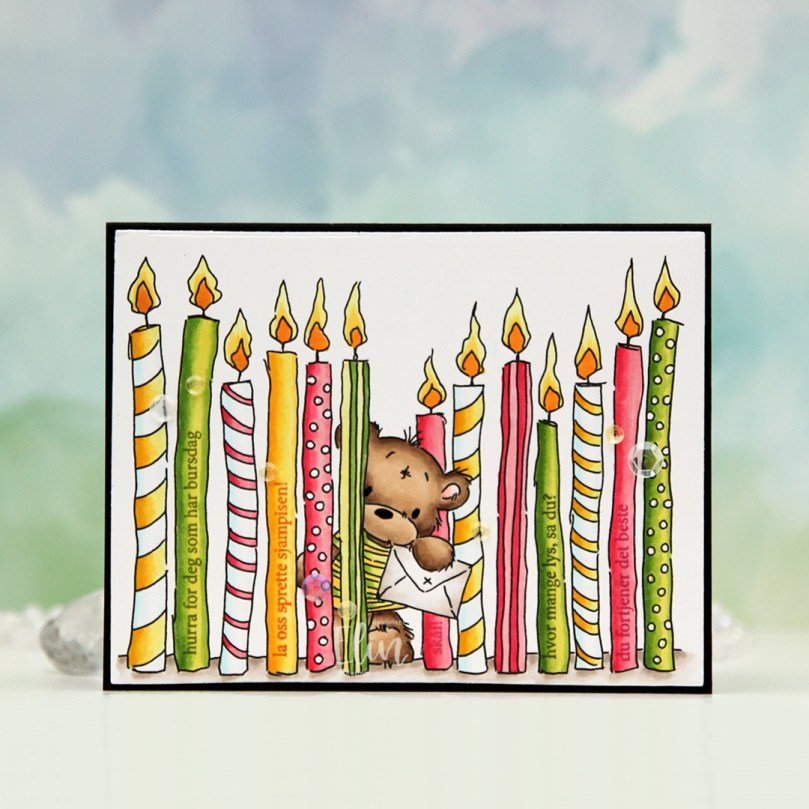 I printed the image fairly large and chose a summery color palette of hot pink, apple green and bright yellow. I colored the image with Copics and used the largest die in the Additional A2 Layers die set from Waffle Flower to turn it into a nice rectangular panel. I put the panel in my MISTI, and used the A06 stamp set from Norsk Stempelblad AS to stamp sentiments on the plain candles. I used Jalapeño Popper ink from My Favorite Things for the green candles, Raspberry Fizz ink from Papertrey Ink for the pink candles and Spiced Marmalade distress ink from Ranger for the yellow candle, with a little bit of help from VersaMark to prevent the distress ink from beading up on the photopolymer.
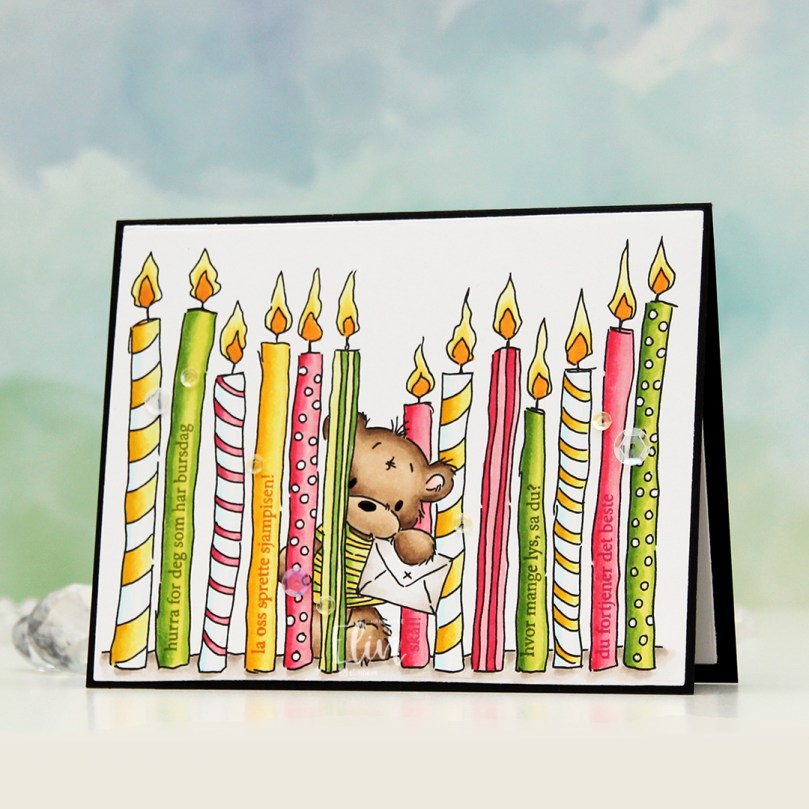 Once all my stamping was done, I adhered the panel onto a black card base I created from True Black cardstock from Papertrey Ink. I also die cut a panel to go on the inside from Stamper’s Select White cardstock from Papertrey Ink for a place to write my personal greeting. I used my black Glaze pen from Sakura to create a little bit of shine to the eyes and the nose of the bear, and added sequins from the Seashore and Iced Sherbet mixes from Little Things from Lucy’s Cards for a finishing touch.
 Simple color palette for this one 🙂
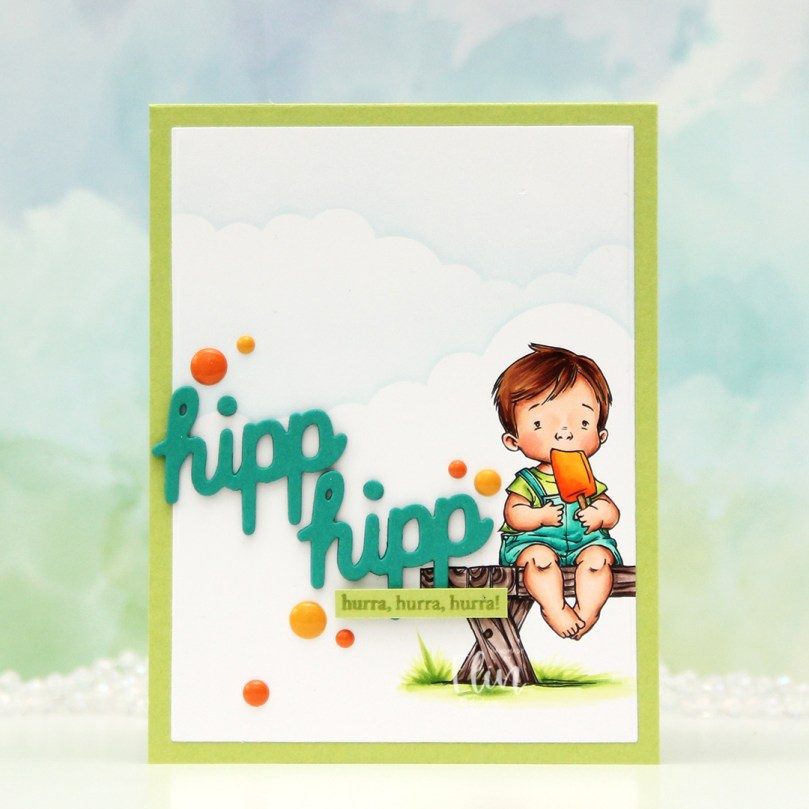 I decided to cut off about half of the bench. Since I’m only using one of the kids, I didn’t need the whole thing. If you want, there’s also a
 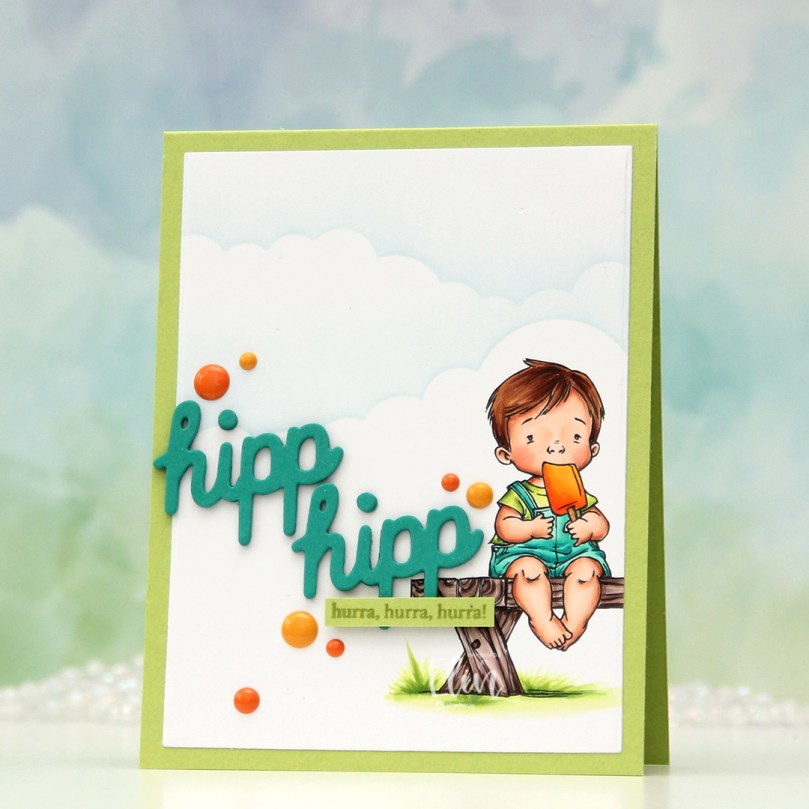 I adhered my panel directly to a card base I created from Green Parakeet cardstock from Papertrey Ink. I stamped a sentiment from Norsk Stempelblad AS onto a strip of the same color cardstock using Green Apple ink from Simon Says Stamp and put the sentiment aside while I worked on the rest of my card.
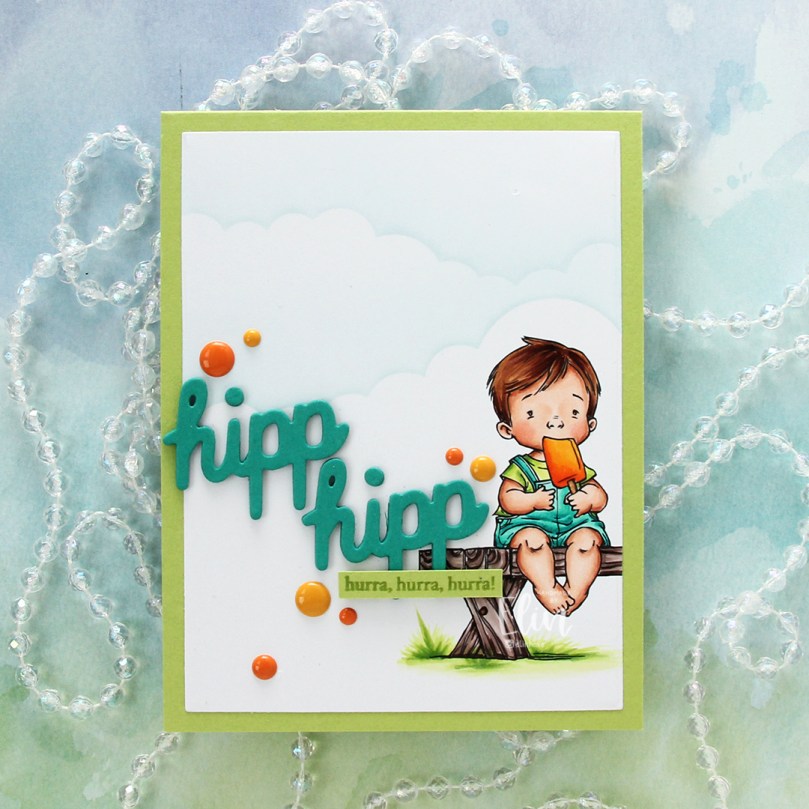 I die cut the word hipp 8 times from Tropical Teal cardstock from Papertrey Ink using a die from Kort og Godt, and created two stacks of four each for a dimensional look. I adhered my stacked die cuts to the card and put the green cardstock strip on top of the bottom hipp.
 To finish off the card I added a few enamel dots from Papirdesign. I decided to go for orange ones to pick up the color from the little boy’s ice cream.
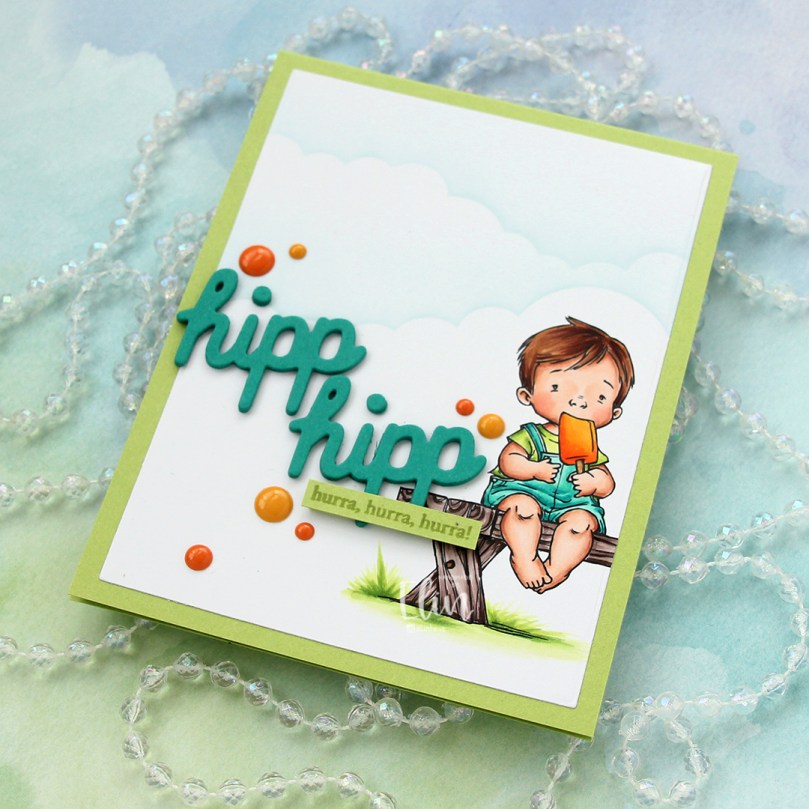 It’s a fairly simple card, but the clouds add a little something to the white space, and the die cuts and dots add dimension.
 For such a small image, I used a lot of colors.
 I colored my snowman with Copics and fussy cut him leaving a thin white border. I put him aside while I worked on the rest of the tag. Onto some white cardstock (Stamper’s Select White from Papertrey Ink), I ink blended distress inks in the colors Picked Raspberry, Spiced Marmalade and Scattered Straw for a soft background. I then used a die set from Hero Arts (Snowflake and Ornament) to die cut the ornament from my background and the snowflake circle twice from white cardstock. I adhered the two white die cuts together for a smidge of dimension, before adhering them to the base.
 I mounted the snowman on foam tape and white heat embossed a sentiment from Norsk Stempelblad AS onto a strip of Enchanted Evening cardstock from Papertrey Ink, mounted that on foam tape and added diamonds from Kort & Godt to the centers of the snowflakes, before finishing off the tag with a piece of ribbon, some thread and a couple of bells from UiT Hobby.
 Super simple color palette for this one.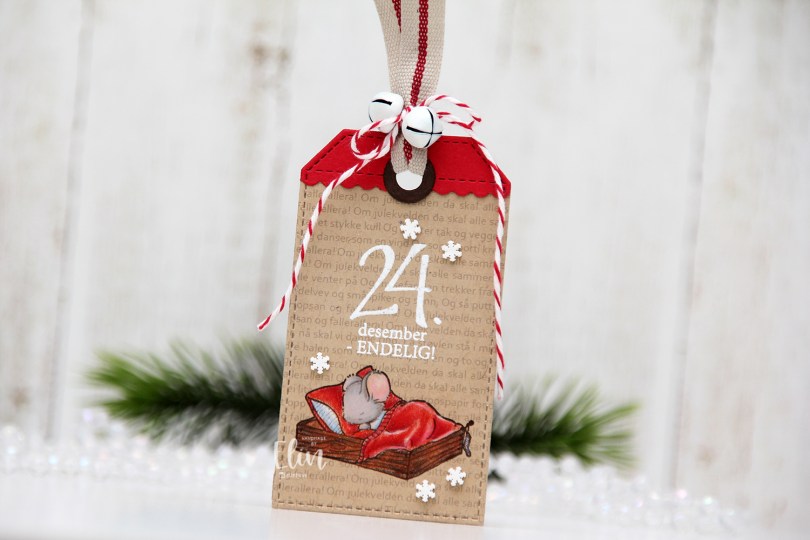
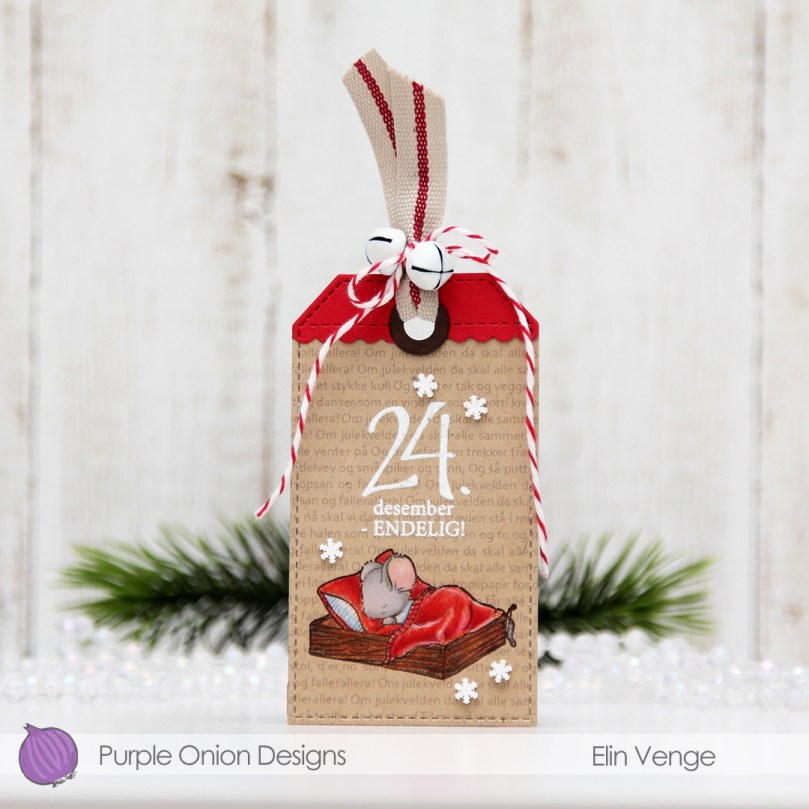 I stamped the cute mouse using Memento Rich Cocoa ink onto Classic Kraft cardstock from Papertrey Ink, before covering the image with a mask and running the cardstock through my printer to add the lyrics to a Norwegian Christmas song all about mice. I thought it was a fitting background. I colored the image with Prismacolor pencils (not Copics, I know, it’s rare), heat embossed a sentiment from the B04 stamp set from Norsk Stempelblad AS above the cutie and used a die from the Stitched Traditional Tag STAX die set from My Favorite Things to turn it into a tag. I then die cut a label from the Everyday Gift Box die set (also MFT) from Wild Cherry cardstock from My Favorite Things, and used the tag die again to turn it into the top piece of my tag. I also used a reinforcer die from the Fold-Up Tags die set (also from MFT) and die cut that from Dark Chocolate cardstock from Papertrey Ink. I added a ribbon, a couple of bells and some Cherry twine from Whisker Graphics to the top of the tag, before adhering a few snowdrift sprinkles from Little Things from Lucy’s Cards to finish.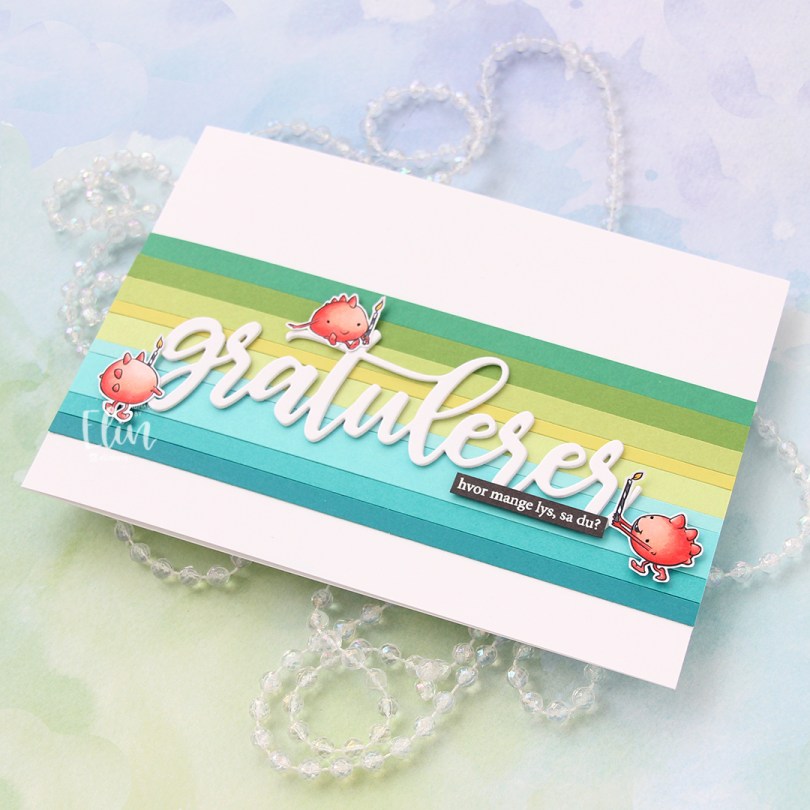
 I colored my monsters with Copics and fussy cut them leaving a thin white border. I covered my A7 card base with a band of solid colored cardstock strips. From top to bottom they are Concord & 9th Clover, Concord & 9th Parsley, Papertrey Ink Green Parakeet, Papertrey Ink Limeade Ice, Concord & 9th Sprout, My Favorite Things Summer Splash, Papertrey Ink Hawaiian Shores, Concord & 9th Oceanside and My Favorite Things Tropical Teal.
 I die cut the word gratulerer three times from white cardstock using the Flasketag, gratulerer die set from Papirdesign. The cardstock I used is Stamper’s Select White cardstock from Papertrey Ink, which is the same cardstock I used for my card base. I want my whites to match, and this is the perfect white cardstock, I love it.
 I added my stacked white die cut to the center of the striped background, mounted the monsters on foam tape and white heat embossed a sentiment from the A06 stamp set from Norsk Stempelblad AS onto Smokey Shadow cardstock from Papertrey Ink and adhered it to the stacked die cut word to finish the card. I decided against adding embellishments, I wanted the monsters to really steal the show.
 Very limited Copic selection for this one.
 This
This 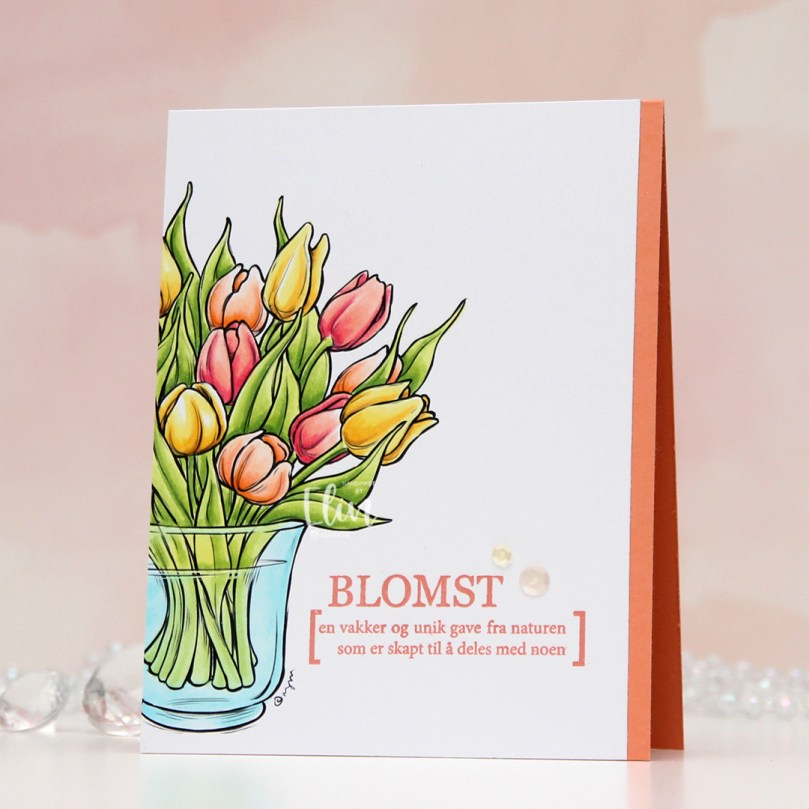 I stamped a sentiment from the Definisjoner stamp set from Norsk Stempelblad AS with Melon Berry ink from Papertrey Ink, chopped off a bit of the panel and adhered it to a card base I created from Melon Berry cardstock, also from Papertrey Ink.
 I added a couple of sequins from Little Things from Lucy’s Cards. The larger sequin is from the Sweet Shop mix, the smaller one from the Iced Sherbet mix.
 Super simple color palette.
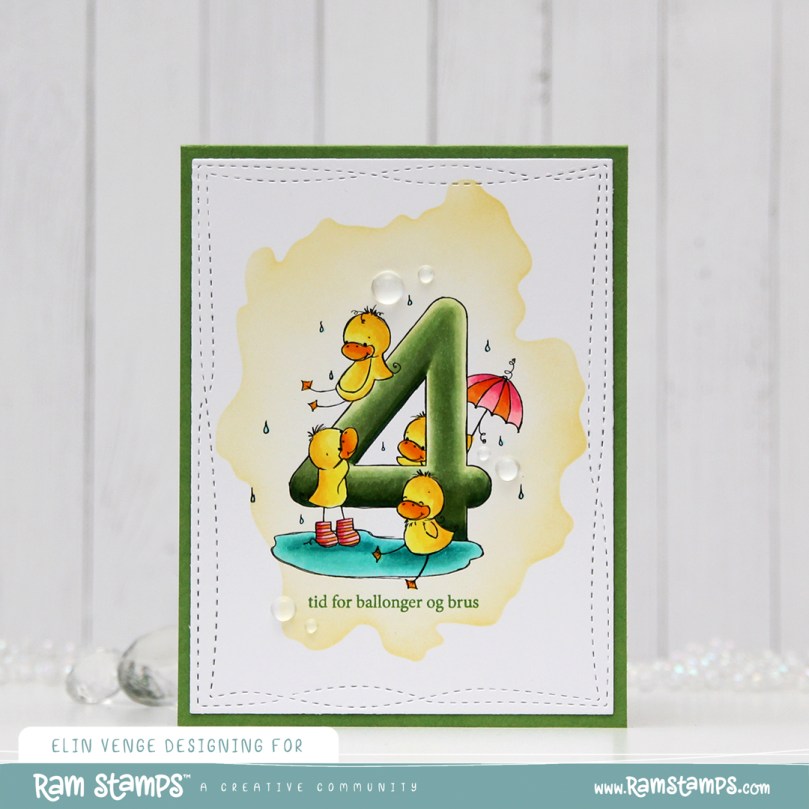 I love these animal number images from Rachelle, and these ducks are sooo cute. Perfect for a birthday card, I think. I colored the image with my Copics, before temporarily adhering the Watercolor Wash Free Form stencil from My Favorite Things and ink blending with Harvest Gold ink from Papertrey Ink. I then stamped a sentiment from the A06 stamp set from Norsk Stempelblad AS using Shadow Creek ink from Altenew.
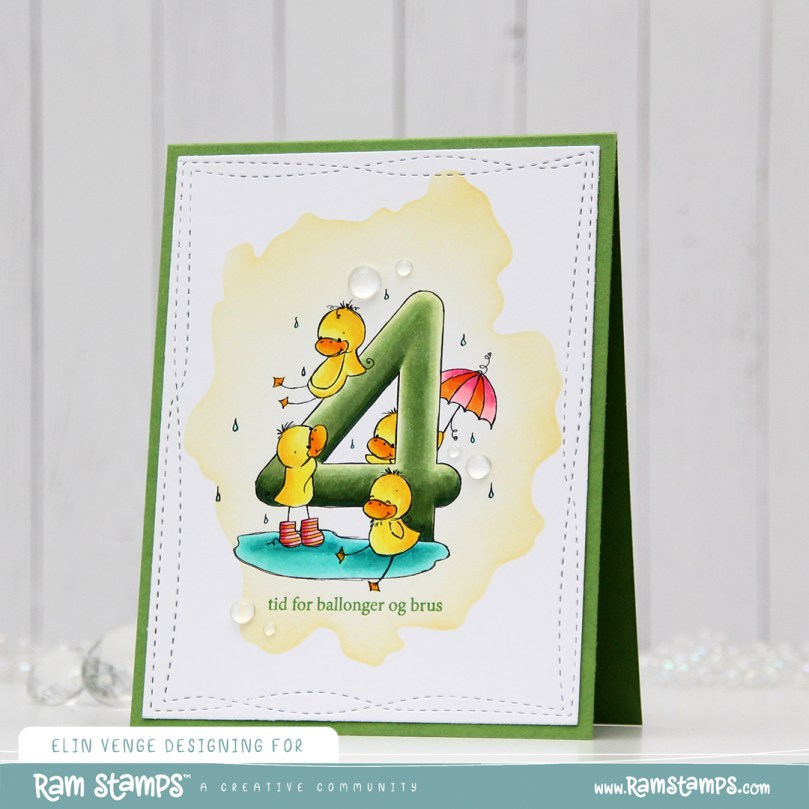 I used the largest of the Wonky Stitched Rectangle STAX dies from My Favorite Things to create a quirky faux stitch interest around the edge and adhered my panel to a top fold card base I created from Meadow cardstock from Hero Arts.
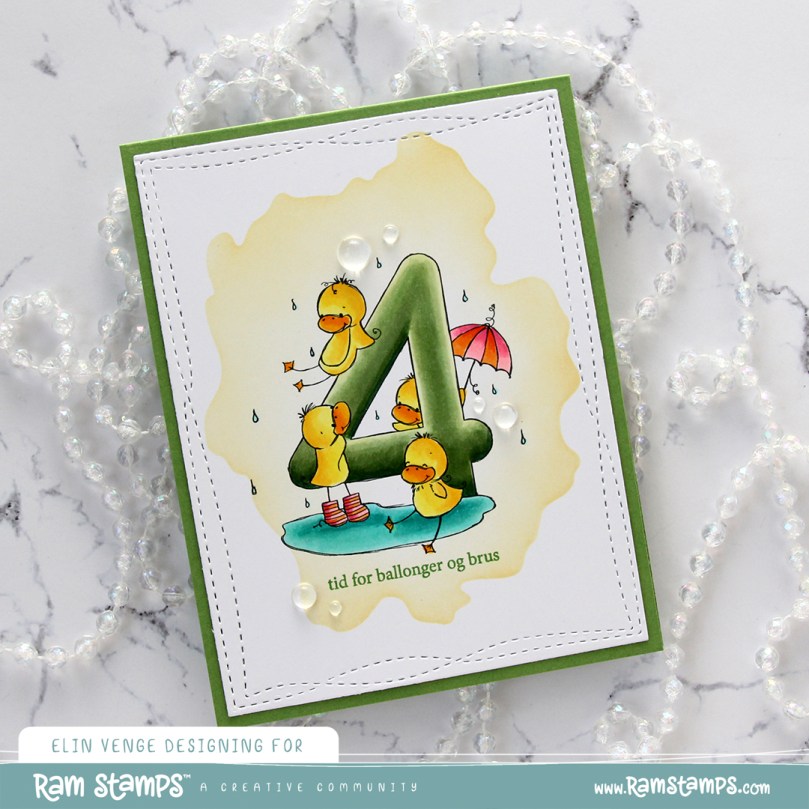 To finish off the card I added a few raindrops from Little Things from Lucy’s Cards, I thought they fit well with the water theme in the image.
 Simple, yet bright color palette for this one 🙂
 I had my penguins colored, fussy cut and ready to go. I rummaged through my Christmas themed patterned paper scraps and found a piece from Papirdesign and one from Maja Design that were just big enough to die cut a snowflake from. This snowflake is the Stitched Snowflake Frame from Lawn Fawn that came out last year. I added a white die cut circle to the back of the opening that the die creates and stamped a to/from stamp on the back.
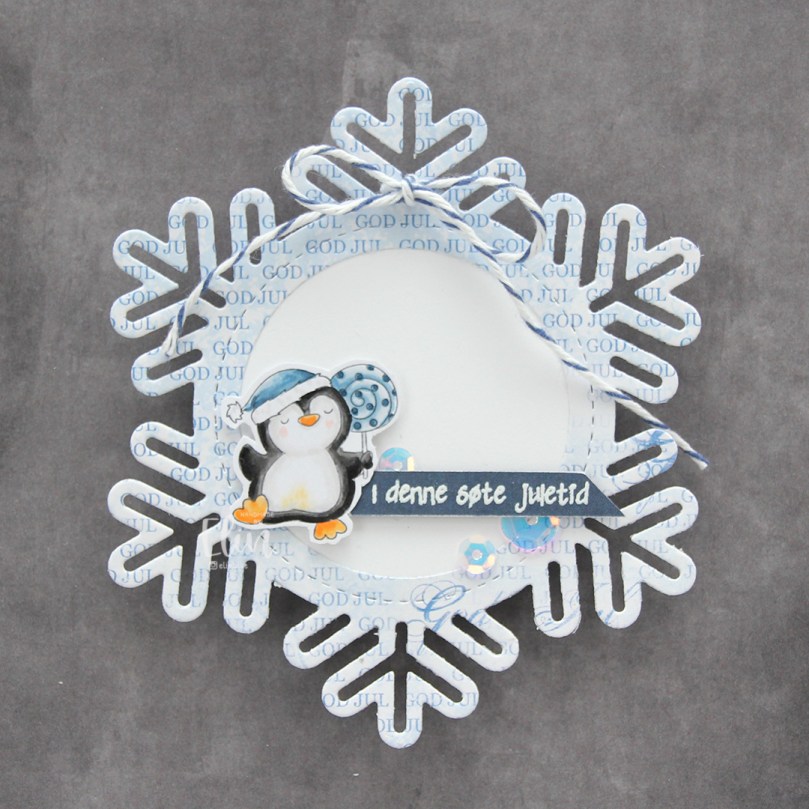 I added the penguin using foam squares and also a white heat embossed sentiment strip. The sentiment is from the Jul stamp set from Norsk Stempelblad. I stamped and white heat embossed a bunch at once on a scrap piece of blue cardstock from Maja Design. I added my strip using foam squares and finished off the tag with a few sequins from the Igloo mix from Little Things from Lucy’s Cards and a bow I tied to the top using Divine Twine in the color Blueberry.
 I used the same setup for the second tag, only switching out the sentiment and using pearls instead of sequins. They’re from the same mix from Lucy, though.
 I love using 1 mm foam squares. It adds a little bit of raised dimension to something that is very simple, and the bow adds a little bit of texture.
 Simple color palette for these two (and the other two penguins that are still lost somewhere in my craft room).
