
Hei og hopp! Jeg har lekt meg med monstre, bakgrunn og diecuts til dagens kort.
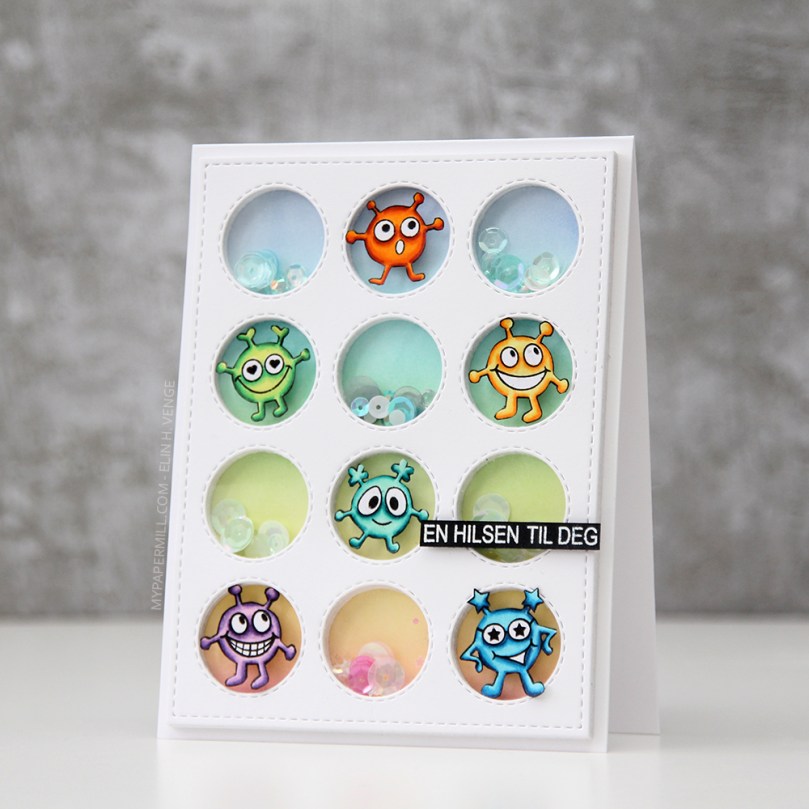 Det er ingen tvil om at jeg liker å lage enkle kort, men mine enkle kort er ofte ikke så enkle som man skulle tro ved første øyekast. Dette er et sånt kort. Jeg startet med å stemple monstrene fra Monster-platen til Huldra designstudio. Jeg hadde en plan for dette kortet, så jeg visste jeg trengte seks monstre. Det er kun fem på platen, så en måtte stemples to ganger. For å gjøre dem litt forskjellig ga jeg den ene tenner. Da alle var ferdig fargelagt klippet jeg dem ut. Siden de er så små er det skikkelig pirkejobb som tar tid, men det var dette med detaljer, da. Jeg er glad i detaljer og også ganske glad i pirk, så dette var jobb for meg.
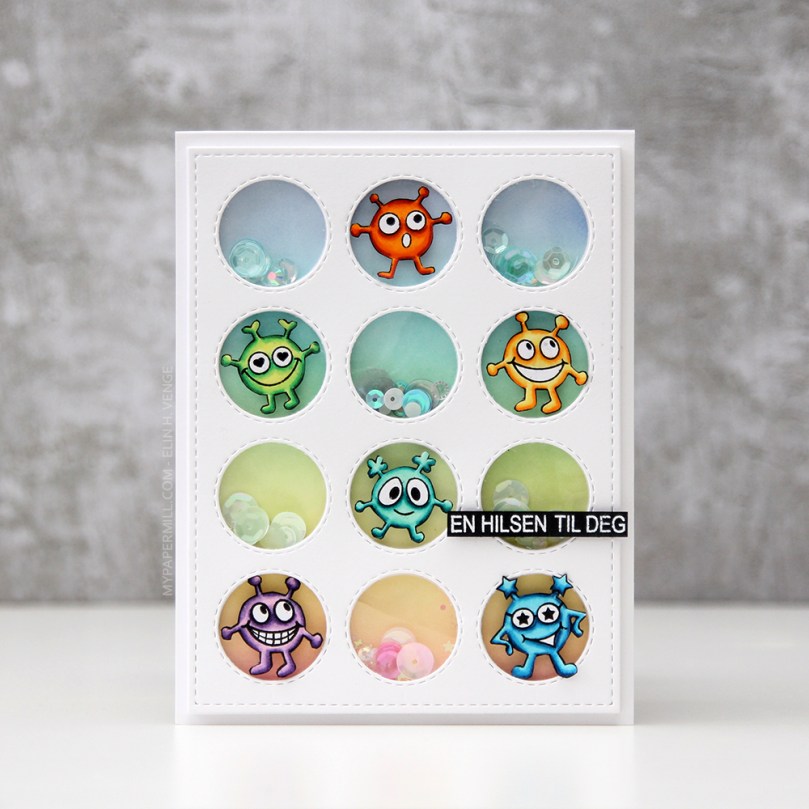 Jeg lagde bakgrunnen ved å maskere alle fire kantene, før jeg gikk inn med forskjellige farger Distress Ink med blenderbørster fra Taylored Expressions. Jeg gikk i en slags regnbuerekkefølge, de er fra nederst til øverst Worn Lipstick, Spiced Marmalade, Squeezed Lemonade, Twisted Citron, Cracked Pistachio, Mermaid Lagoon og Blueprint Sketch. Ved å bruke blenderbørstene får jeg en ganske dus fargepalett. Jeg valgte de varme fargene nederst og de kalde fargene øverst på bakgrunnen. Monstrene er satt på i motsatt rekkefølge, så monstrene i kalde farger har varme farger i bakgrunnen, mens monstrene i varme farger har kalde farger i bakgrunnen.
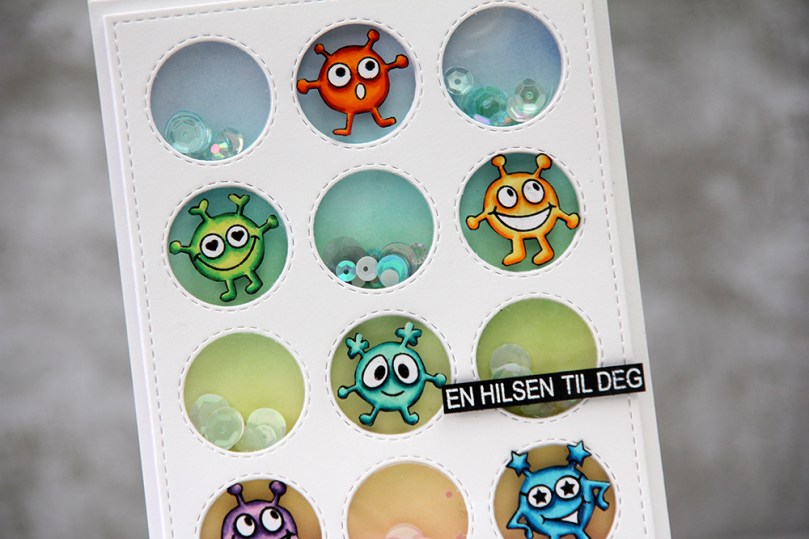 Mer pirkearbeid. Jeg stanset ut en coverdie fra Uniquely Creative 8 ganger i hvit kartong. Jeg limte 7 av lagene sammen og satte dem sentrert på kortbasen. På baksiden av den siste limte jeg fast acetat i annenhver åpning, jeg ville nemlig lage shakerkort og ha paljetter i de hullene hvor jeg ikke hadde monstre. Jeg fylte hullene med paljettblandinger fra Little Things from Lucy’s Cards i farger som matchet bakgrunnen (Let’s Be Mermaids øverst, Urban Chic mellom det gule og grønne monsteret, Peppermint på linjen med det turkise monsteret og Sweet Shop på den nederste raden) og limte det siste hvite laget med kartong oppå.
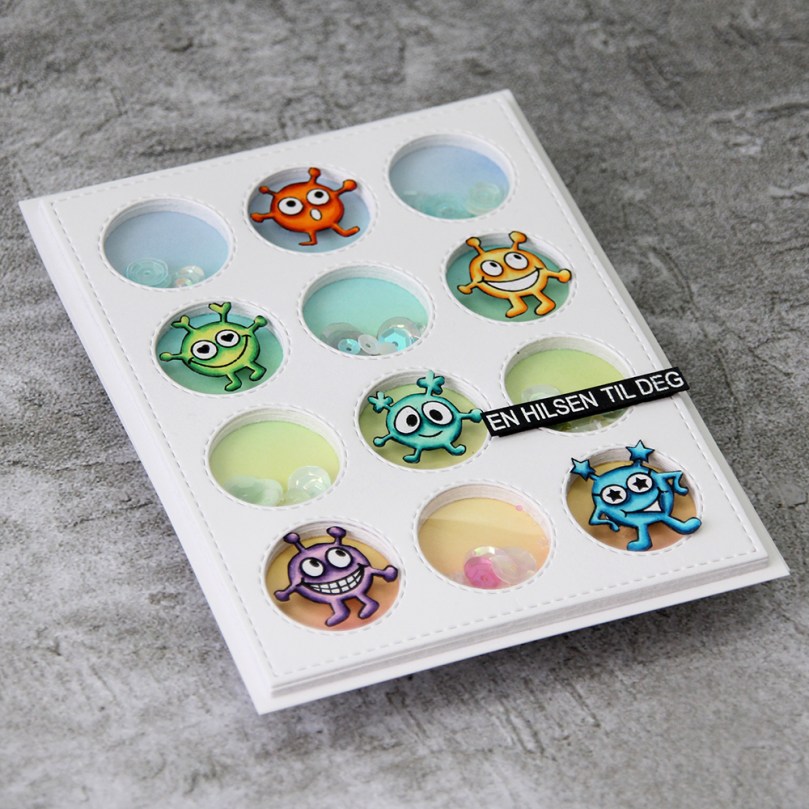 Til slutt gjensto kun å lime fast monstrene med 3D-puter og å få på en hilsen. Jeg stemplet og embosset en tekst fra en tekstplate fra Mathia design og satte limte den på med en smal strimmel 3D-teip. Teksten er egentlig lenger, men jeg hadde ikke plass til mer, så jeg stemplet EN HILSEN først, embosset det, og stemplet TIL DEG etterpå og embosset det. Til den typen stempeljobber er Mistien uvurderlig, alt er på rett linje!
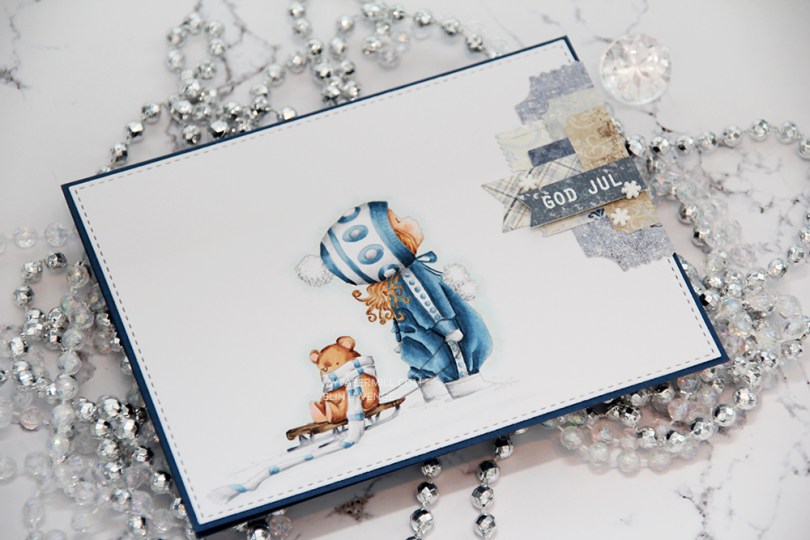
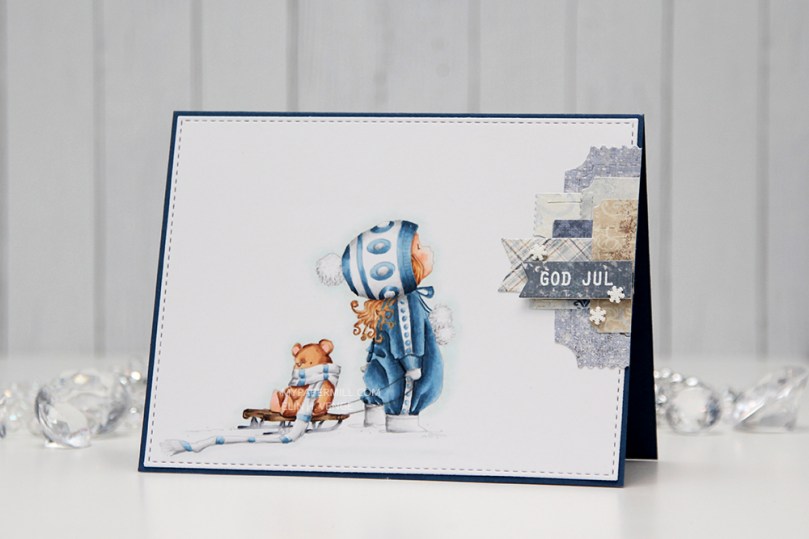 I had to use my favorite color combination for Christmas on this one. Blue, grey and brown. I made my greys very light, so they look more white than grey, and I have to admit I kind of love the look! I printed the image with 15 % opacity and did no line coloring. I love no line coloring!
 This card is very “me”. The cardbase is made from Papertrey Ink Enchanted Evening cardstock, I used a die from My Favorite Things to add the faux stitching detail on the main panel, and I added a little cluster of diecut patterned paper scraps. I stamped and heat embossed a Norsk Stempelblad AS sentiment on one of the patterned paper pieces and added three snowdrift sprinkles from Little Things from Lucy’s Card as my finishing touch.
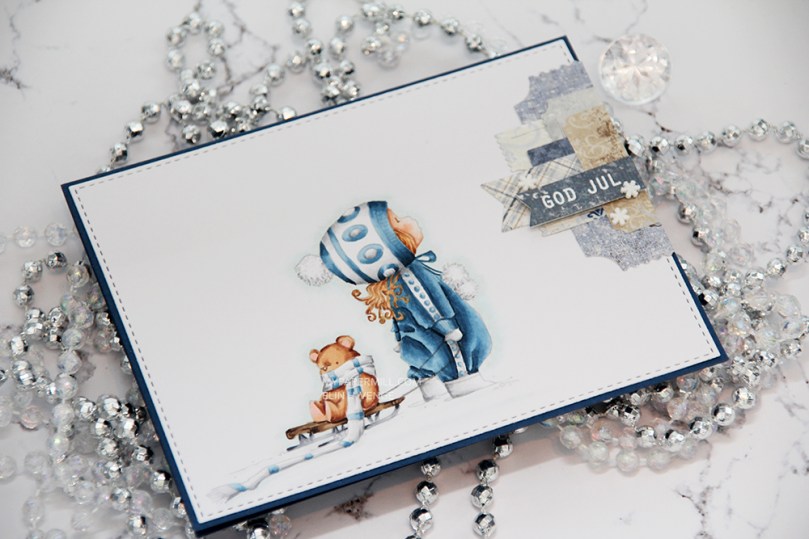 Clean and simple with cluster, these cards come together so easily once the image is colored.
 I used quite a few colors for this simple image. Lots of different earth tones for different parts of the image, and two grey families.
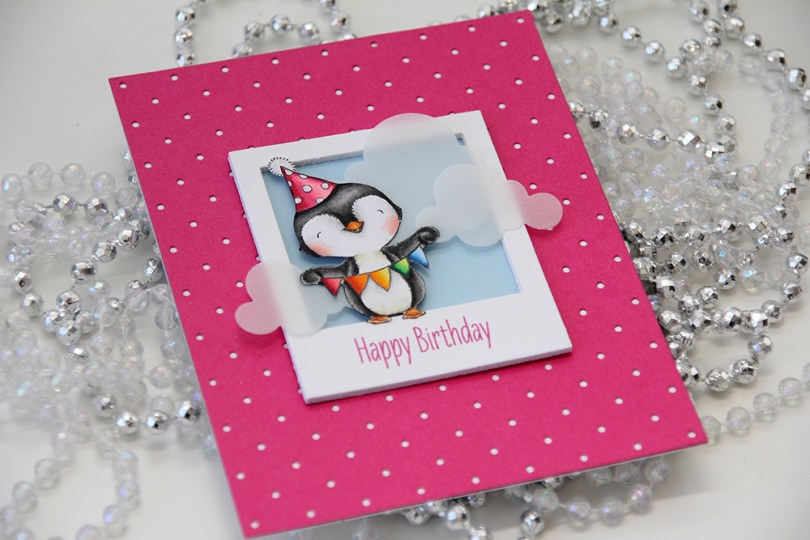
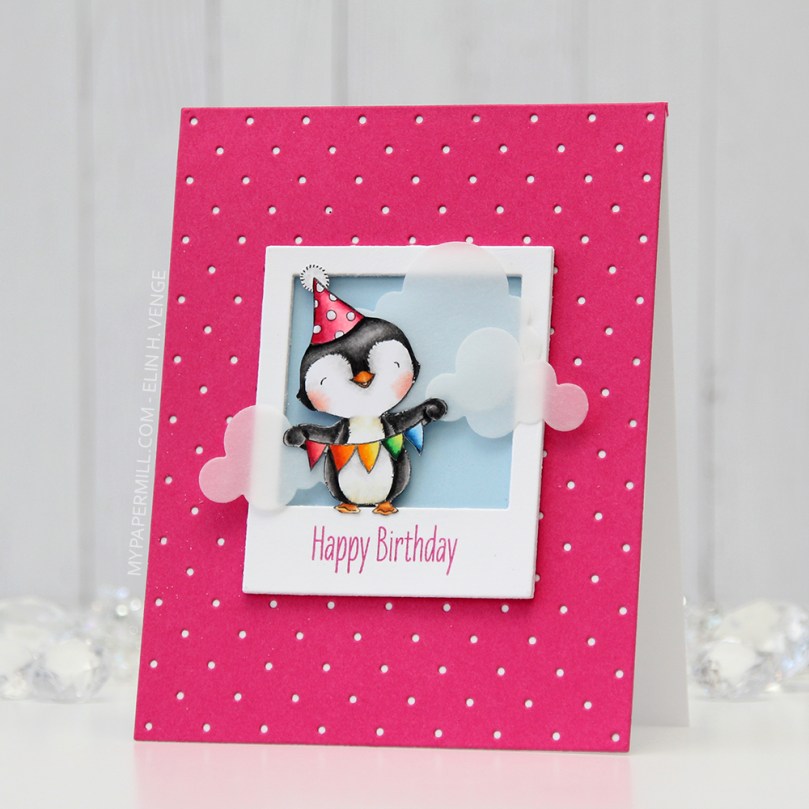 I love every image Stacey Yacula designs. This little penguin, from the
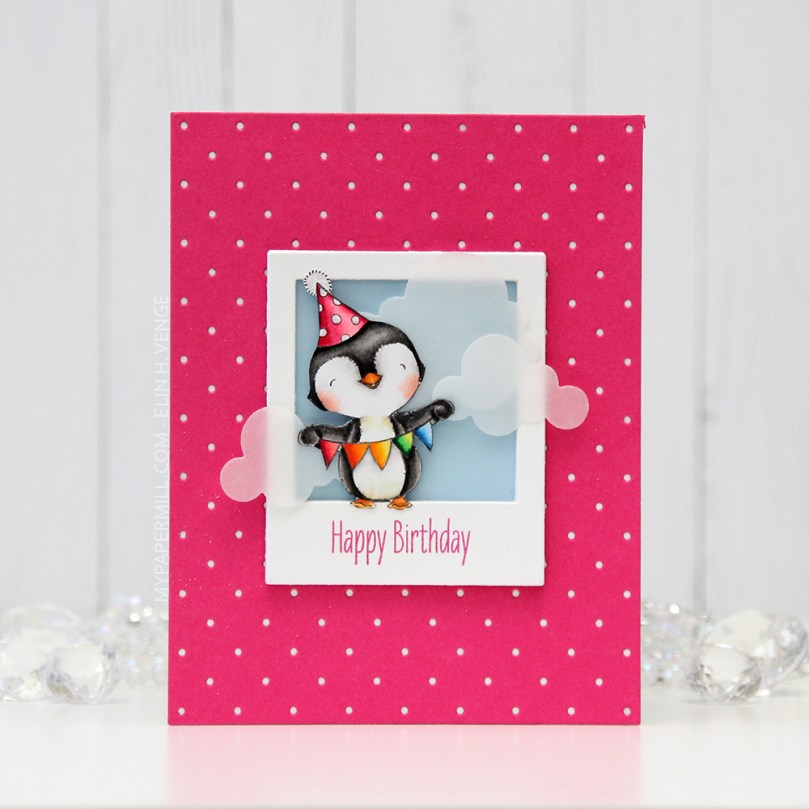 I created a polaroid frame by diecutting the
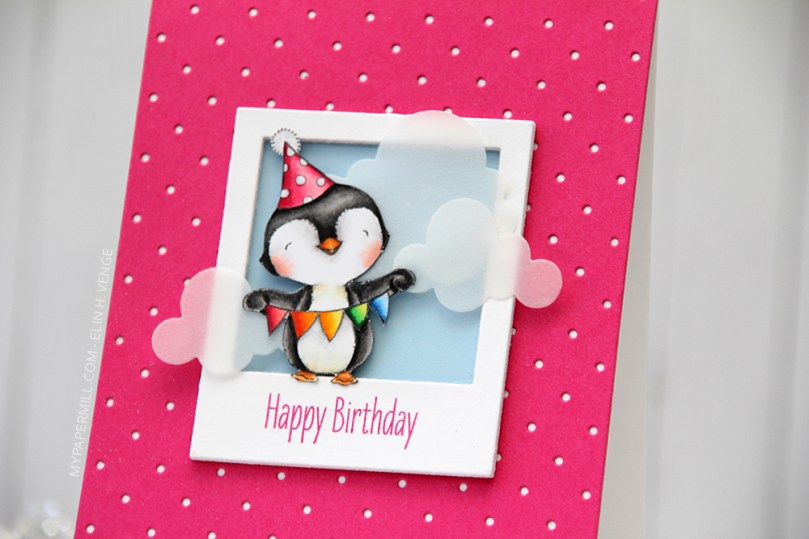 I wanted a little bit of interest to my background and diecut a piece of Raspberry Fizz cardstock from Papertrey Ink with the
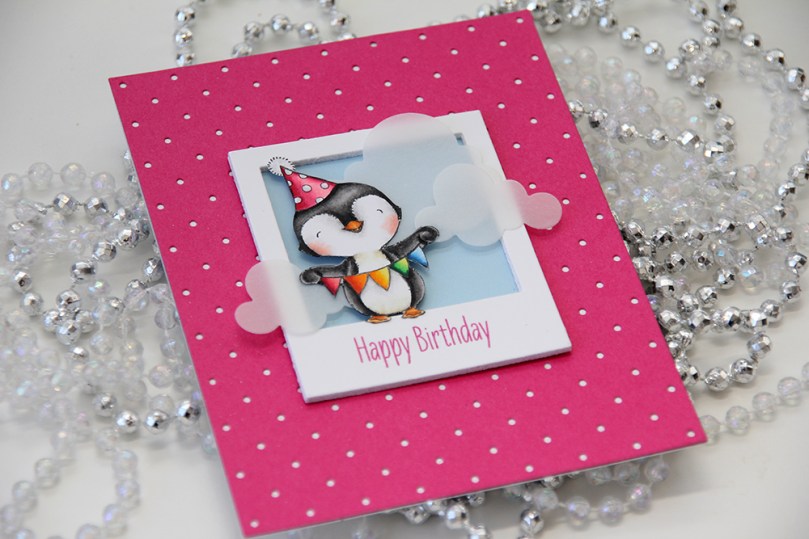 I glued my polaroid frame in the center of the card and added a few strategically placed vellum clouds. Because they hang off the edge of the frame, they break up the rigid rectangular look a little bit.

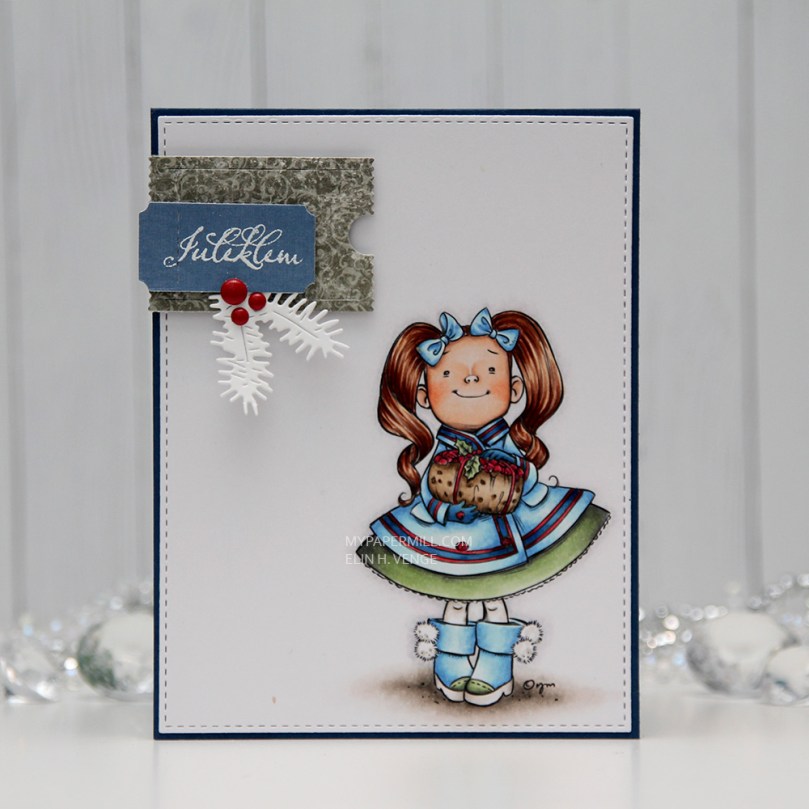 I colored up
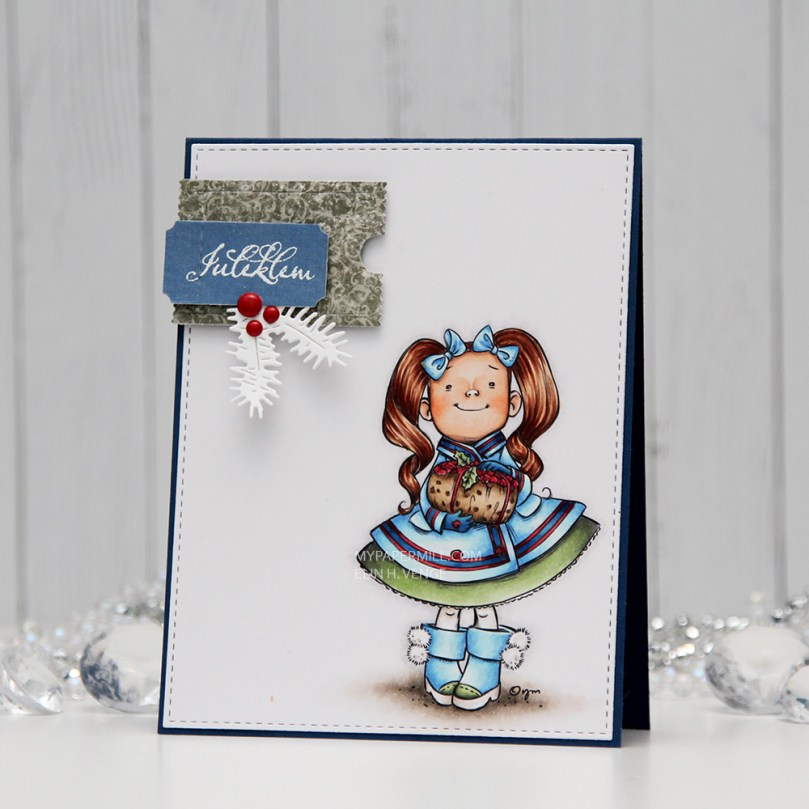 I used a Docrafts die to create those tickets from scraps of patterned paper from Maja Design, popping them up on foam squares from Gina K designs to give them a little bit of dimension. I white heat embossed a sentiment from Ladybug & Friends on one of the tickets and tucked a diecut pine branch behind it. I finished by adding a few red enamel dots from Papirdesign, tying in the red details from the colored image.
 As usual, I finish with the Copic colors I used to color my image.

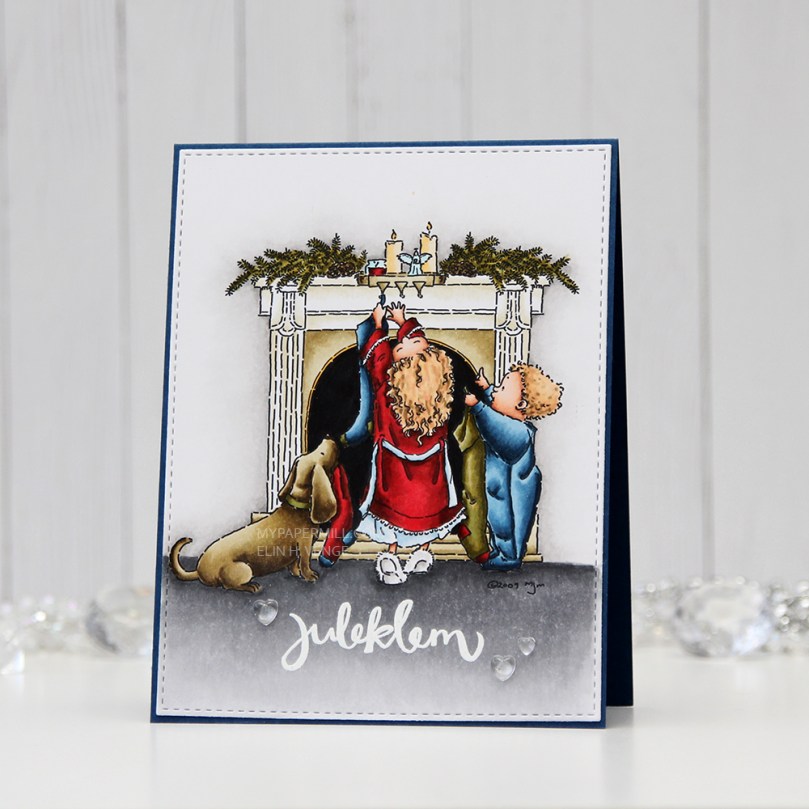 I colored up
 I’ve had this image for so long, and it really felt good to finally color it up. I used the largest of the dies in the Stitched Rectangles STAX (2) set from My Favorite Things, before heat embossing a Norsk Stempelblad AS sentiment in white using super fine detail embossing powder from Ranger.
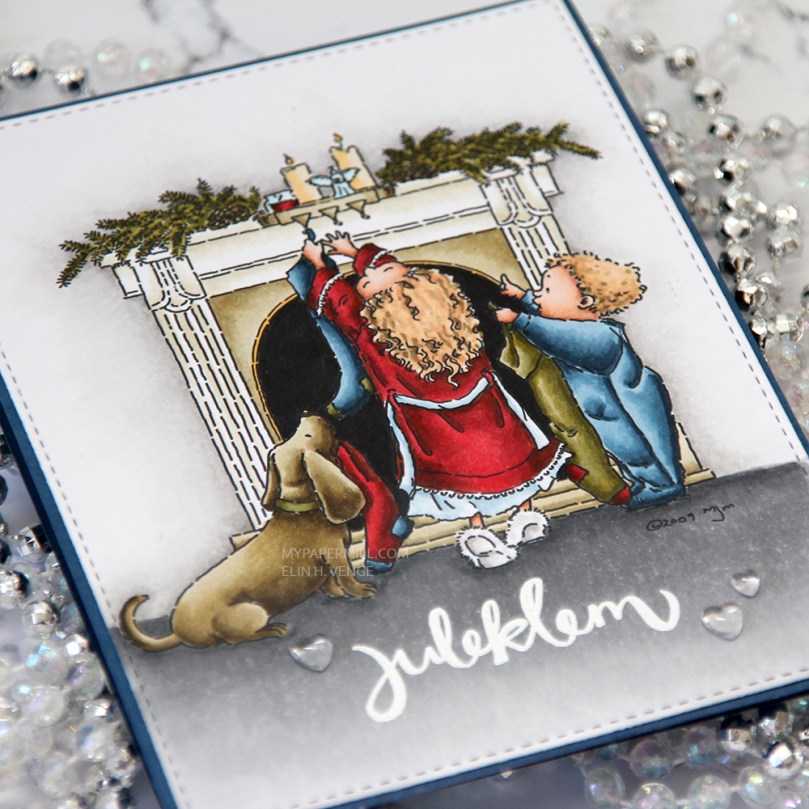 I love the look of those heart shaped raindrops from Little Things from Lucy’s Cards. They’re part of the crystal collection and add the perfect little touch to such a simple card.


 I turned my image into a card last night by stamping a sentiment, diecutting the entire panel with a faux stitch rectangle die, adding that to my card front and embellishing very sparingly with three clear crystals from the Ice Water mix from Little Things from Lucy’s Cards. That’s it.
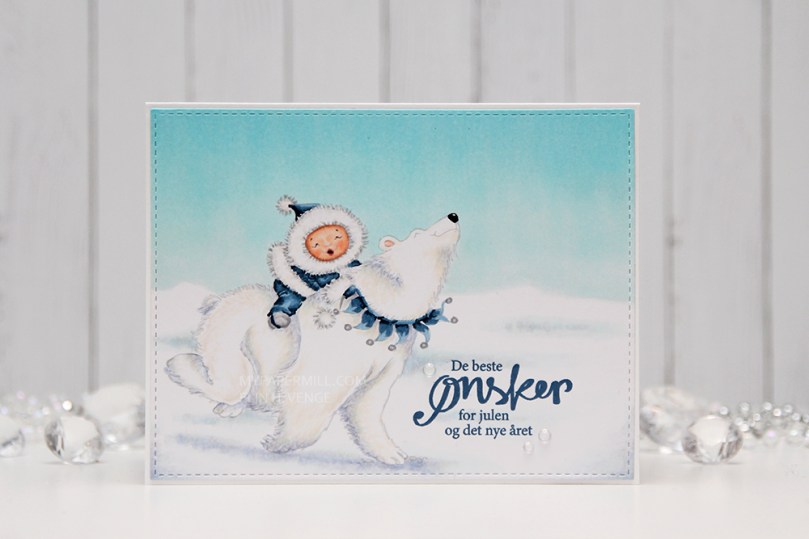 The sentiment is from the B04 stamp set from Norsk Stempelblad AS. I love the stamps Åshild has designed and am so glad I have so many different sets from them. I used Enchanted Evening ink from Papertrey Ink. It’s a beautiful dark blue color.
 Cards don’t get much simpler than this. And cards like this are so fun to make, too.
 Would you believe I used 10 (yes, ten) different colors for the fur?? Am I crazy?
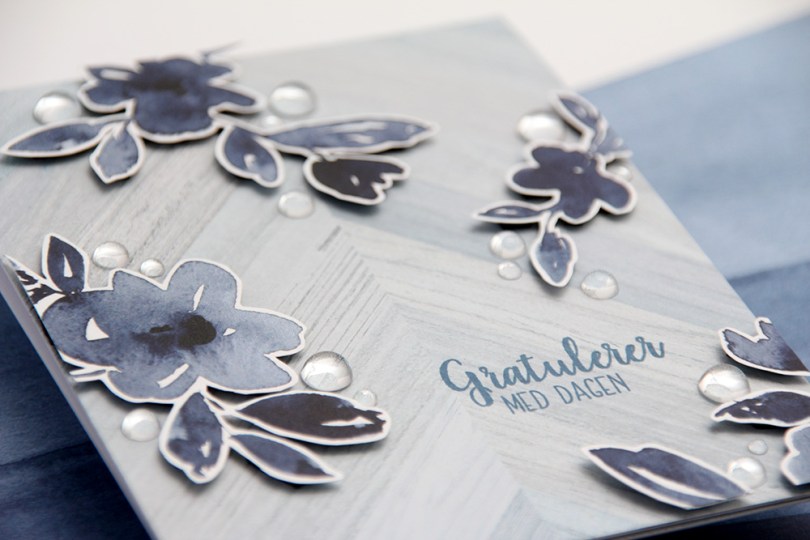
 Utrolig nok er det faktisk kun ett mønsterark som er brukt på dette kortet. Den lysere, mer diskrete bakgrunnen er nemlig baksiden av mønsterarket med alle blomstene.
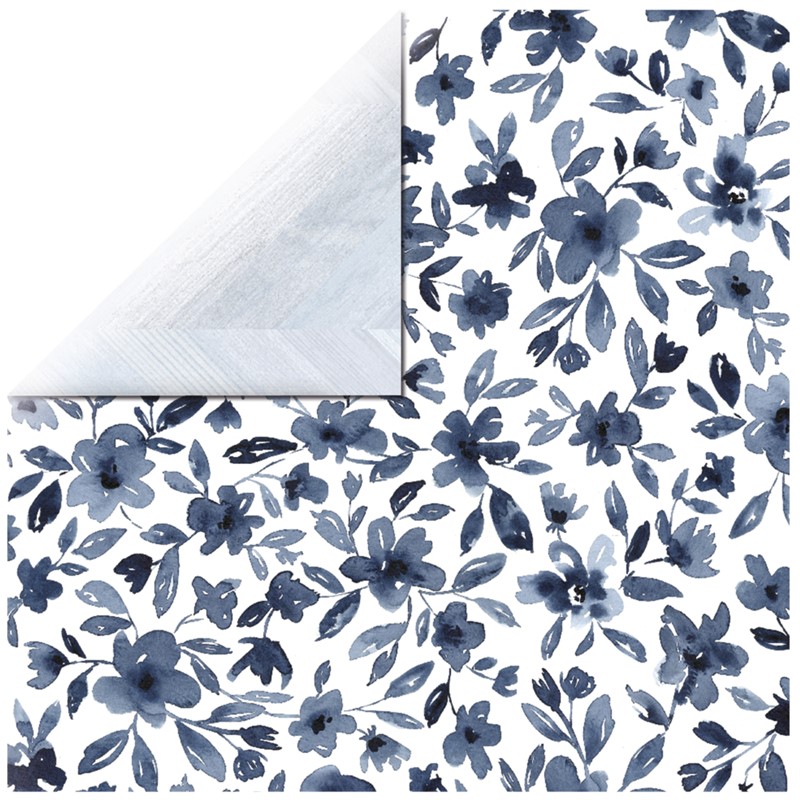 Jeg bestemte meg for å klippe rundt noen av blomstene og bruke dem som elementer på kortet mitt. Vanligvis liker jeg å klippe helt til kanten, men stilkene på disse blomstene er ganske spinkle, så jeg syns det var best med en hvit kant rundt for å spare meg for mye trøbbel.
 Jeg satte lave 3D-puter bak blomstene mine og monterte dem der jeg ville ha dem på kortet. Nede i det høyre hjørnet ser du også at jeg har brukt det jeg hadde til overs på innsiden, der har jeg riktignok kun limt det rett på uten 3D-puter bak, med en tynn strimmel av det lyseblå tvers over nederst på innsiden. Tekststempelet på fronten kommer fra Fleksitekstplaten til Huldra designstudio og er stemplet med Papertrey Ink Enchanted Evening blekk. Den er egentlig ganske mørk, men mulig jeg burde ha gått for en farge som er enda mørkere, jeg syns den ser litt blass ut mot det mørkeste i blomstene.
 Her syns det godt at blomstene sitter litt opp fra fronten av kortet. Jeg har brukt svarte 3D-puter, syns de ofte er bedre å bruke enn hvite, de er nemlig mindre synlige fra siden.
 Til slutt limte jeg på raindrops fra Little Things from Lucy’s Cards i forskjellige størrelser rundt blomstene mine. Vanligvis setter jeg småpynt som dette rundt teksten, to under og en over, men her har jeg fokusert på blomstene istedenfor. Pynten gjør at øynene dras mot blomstene, og gratulerer-teksten blir mer som et bakgrunnselement.
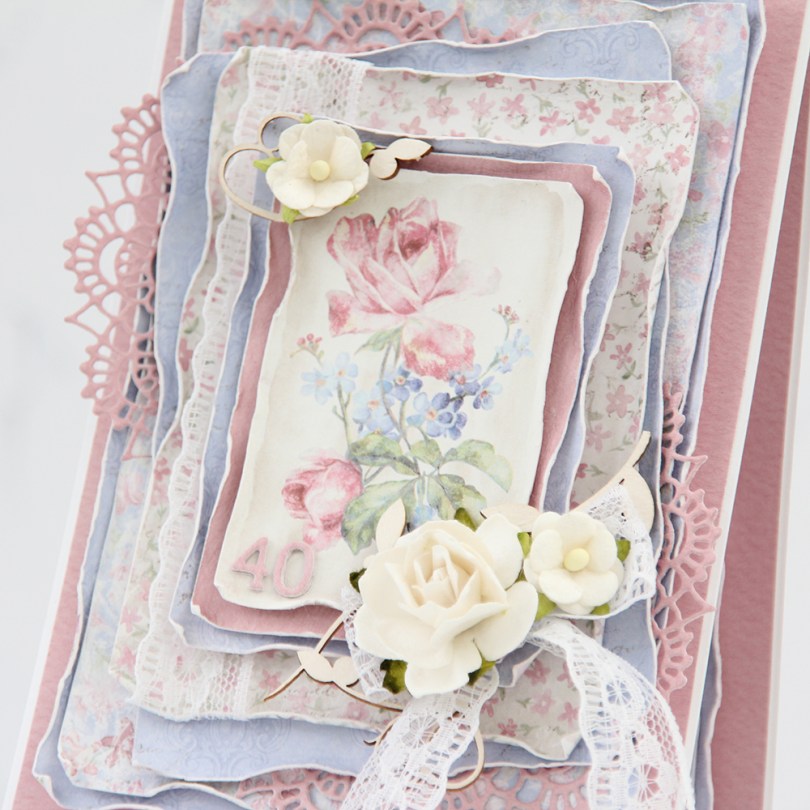
 There are two types of cards I love making more than any other: Christmas cards and birthday cards. I love making clean and simple cards, but also very layered ones with lots of patterned paper. Today’s card is one of those, made exclusively with papers from the Sofiero collection from Maja Design.
 One of the things I love the most about Maja Design paper is the quality of the paper they use. It’s almost as thick as cardstock, something I haven’t really found in other patterned papers. Their patterns are gorgous, too, making card making a breeze. The thick quality also means I can use a wet paint brush (with clean water) and run along the edges, before using my fingers to curl them slightly back. This is so much easier to do when the paper is wet, and so much easier to do with these good quality papers. Thinner paper won’t hold up as well to all that water. I love the look you achieve by doing this.
 I’m not an embellishment queen. I use a little bit on cards like this, but I rarely do a lot. This time, I used some pieces of chipboard from SnipArt and a few flowers to frame the image in the center of my card. I also used some lace to combat the rigid look you sometimes get when using just straight lines like square or rectangular panels.
 I also added a couple of diecut doilies to further break up the linear look, and added stacked diecut numbers to the bottom left of the focal point of the card. As you can tell from this photo, this is a card with lots of dimension, it’s not very mail friendly.
 I did a little bit of layering on the insides, as well. They are both the same, and those pink center panels provide plenty of room to write a personal message to the birthday girl.
 On the back of the card I stamped a sentiment from Norsk Stempelblad AS using Papertrey Ink Autumn Rose ink. The text is about butterflies, so I thought it fitting to add a few chipboard ones for a little bit of extra interest.
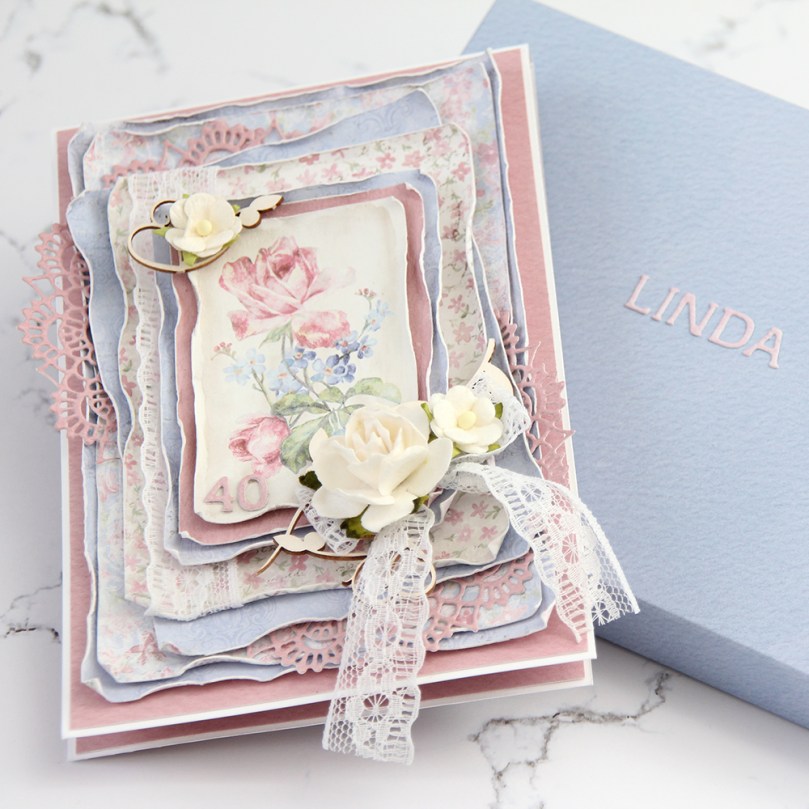 Even though my card isn’t very mail friendly, I needed something to put it in, so I made a box envelope to go with it and added the recipient’s name on the front of it. The card was hand delivered, so this works perfectly.
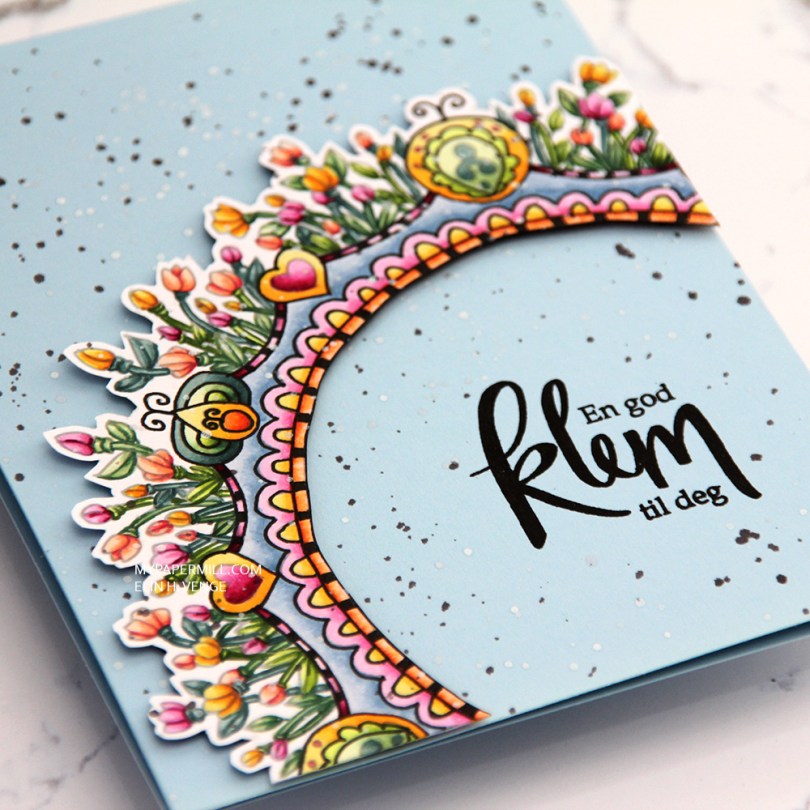
 This is a lot more artsy than what I normally do. I printed the image with an opacity setting of 25%, colored it with Copics and then used a Copic multiliner to add back in some black lines in selected areas before fussy cutting my image with a thin, white border on the outside and straight up to the black line on the inside.
 I used foam tape from Gina K to pop up my colored piece onto a cardbase I made from Spring Rain cardstock from Papertrey Ink.
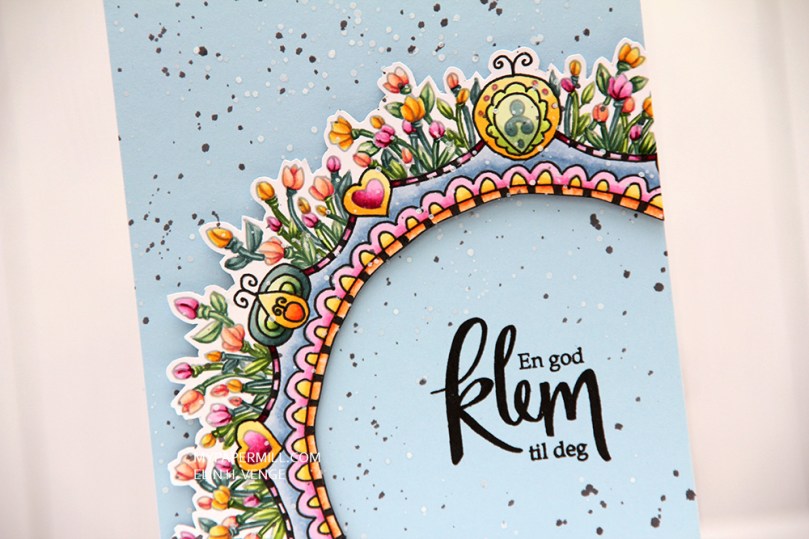 I stamped a Norsk Stempelblad AS sentiment using VersaFine Onyx Black ink, and added splatters across the entire card with white liquid watercolor from Hero Arts and a watered down black ink.
 Not exactly my usual style of card, this one. What do you think?

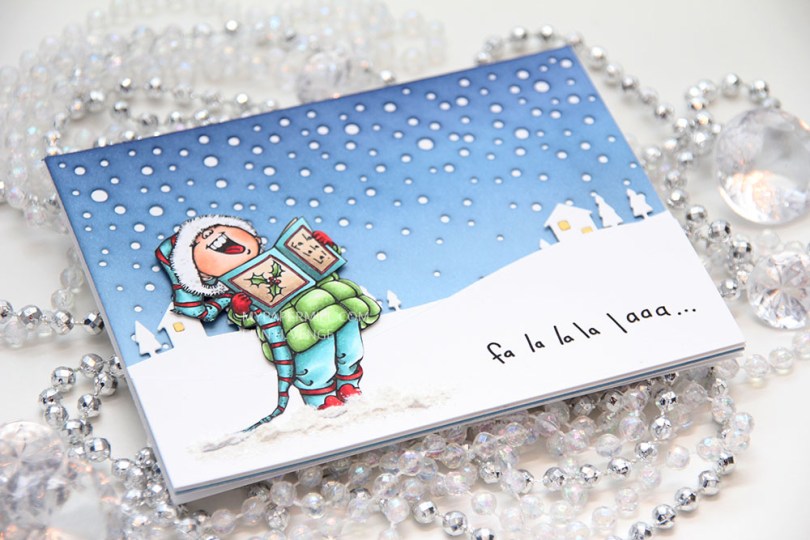
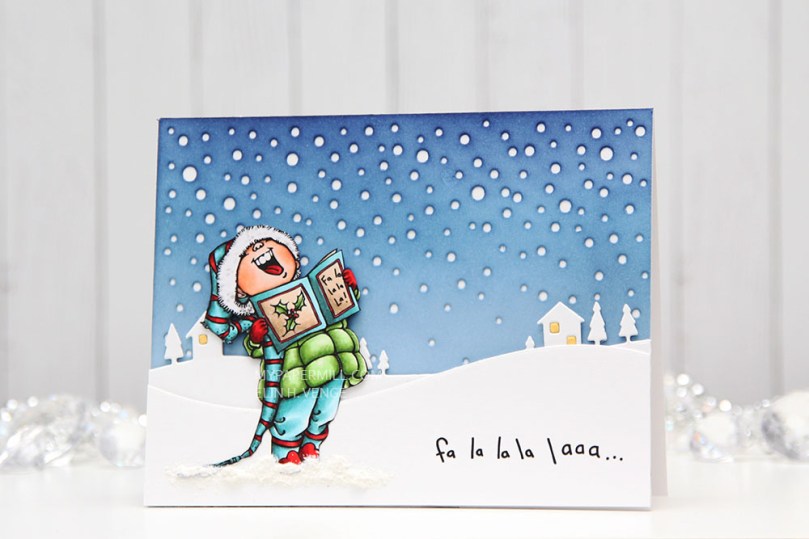
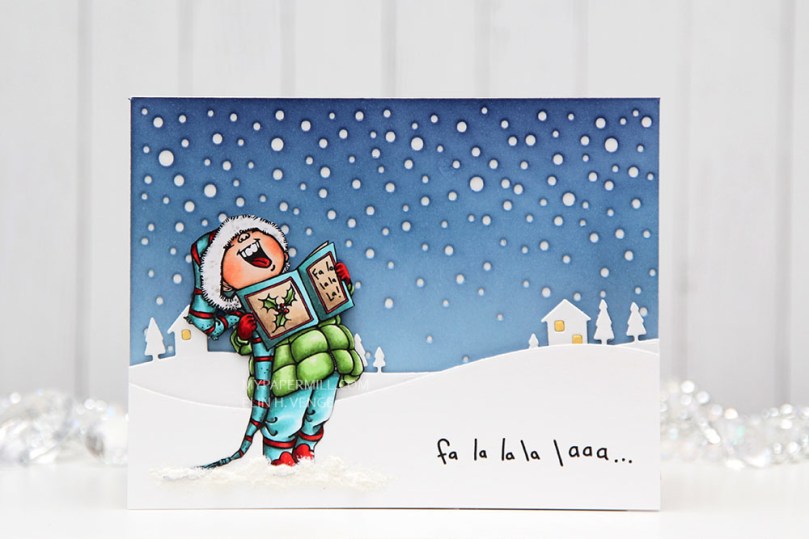 I diecut a panel of Spring Rain cardstock from Papertrey Ink using the Snowfall Backdrop die from Lawn Fawn and ink blended over the top. I used Chipped Sapphire Distress ink, Faded Jeans Distress ink, Stormy Sky distress ink and Spring Rain dye ink working my way from top to bottom, dark to light. I glued the piece straight onto my white cardbase.
 I used the Country Landscape die from Memory Box to diecut the background hills from Stamper’s Select White cardstock from Papertrey Ink. I used the same die to diecut the windows using Harvest Gold cardstock, also from PTI, and inlaid them. I popped the entire panel on low foam tape for a little bit of dimension. I then diecut my panel with the sentiment already printed using a die from the Stitched Hillside Borders die set from Lawn Fawn. I’m a huge fan of faux stitch dies, but since the Memory Box die doesn’t have the faux stitching, I didn’t want it on my top panel either, so I used the die upside down and glued this snow bank on with low foam tape. To ground my image I used snow paint just below it as snow, and sprinkled rock candy distress glitter on top while the snow paint was still wet.
 I changed up the sentiment a little. There’s an exclamation mark at the end, but I wanted that to be on the inside, so I added three dots instead and printed the same sentiment on the inside with the three dots in the beginning and the exclamation mark at the end.
 I was a little hesitant about using my blue background at first, because I didn’t think the image stood out enough against the blue. When I created the snow banks, the whole thing transformed, and I’m glad I stuck with the blue.
 Not a lot of markers for this one.

