Hi, crafty friends. Today’s the last day to take advantage of the 30% bundled discount offer for the new Charmed by the Sea release from Purple Onion Designs. The design team and guest designers have shared lots of amazing cards over the last two weeks featuring stamps from this release, and if you haven’t purchased this collection yet, I have another card for you today that I’m hoping will inspire you that little bit more.
 Meet Slumber. This little mouse taking a nap in a hammock tied to palm trees won me over as soon as I saw it. Can you imagine relaxing by the ocean, listening to the sound of the waves rushing to shore? Heaven! I stamped and masked the surf board from the beach accessories set, the crab and the bottle from the seaside accessories set, then stamped Slumber, did more masking, then added the shoreline background, all using Extreme Black ink from My Favorite Things. With the masks still in place, I stamped the sunrise sunset background using Fadeout ink from Inkon3 for a soft, no line look.
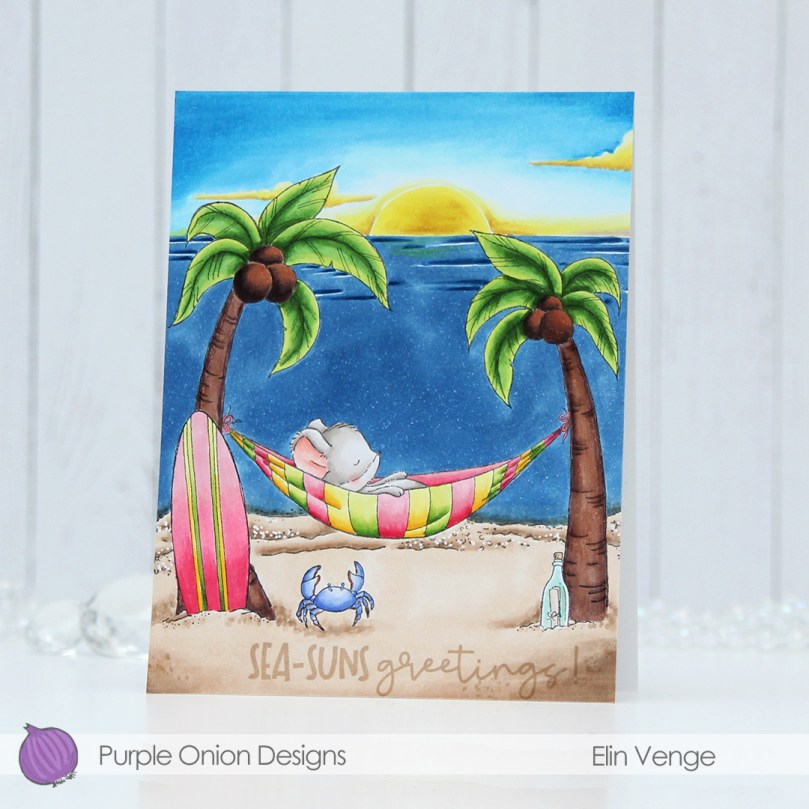 Whenever I color scenes like this, I always start with the background elements. For this card, I started with the sky and sun, then colored the ocean, the sand and the palm trees, leaving the accessories and the mouse for last. These are the most colorful elements. I even opted to color the crab blue. I didn’t want it to be brown and not show up in the sand, so I decided a blue swimmer crab was a good fit for this scene. It stands out against the other elements in the foreground, but still works with the overall design, because there’s already lots of blue on the card with the ocean and sky. Three completely different blue combos, but they work together still. Also, the blue swimmer crab makes me want to move back to Australia, even though it’s winter in Australia at the moment, and soooo cold (at least winter’s cold in Adelaide, where I used to live)!
 I’ve used the sunrise sunset background on more than half the cards I’ve made with this release, and I’ve tried to color it differently for each card. I love love love the versatility of this stamp, and never in a million years did I guess in advance that this would wind up being my favorite stamp of them all, but there you go. It’s just THAT good.
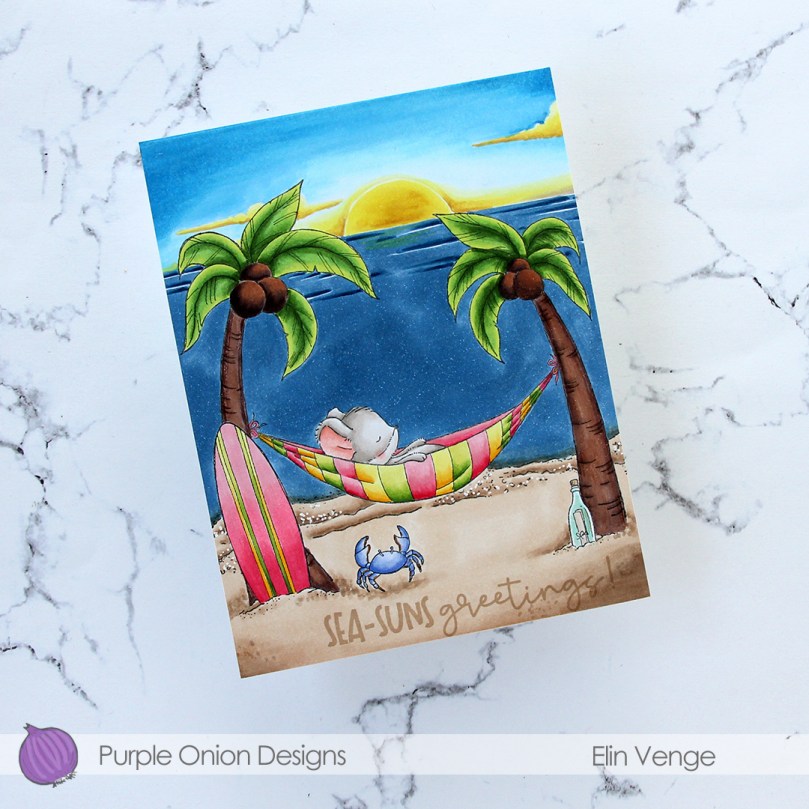 To finish off the card, I stamped a sentiment from the coordinating Seaside sentiment set using Classic Kraft ink from Papertrey Ink, and I also used a white Sharpie to add dots to the sand to mimic foam.
 Lots of colors used for this one, and I realize I’ve even left out a few in my graphic. I used W3, W1 and W00 for the mouse, in addition to R21 and R000 for his cheek and ears.

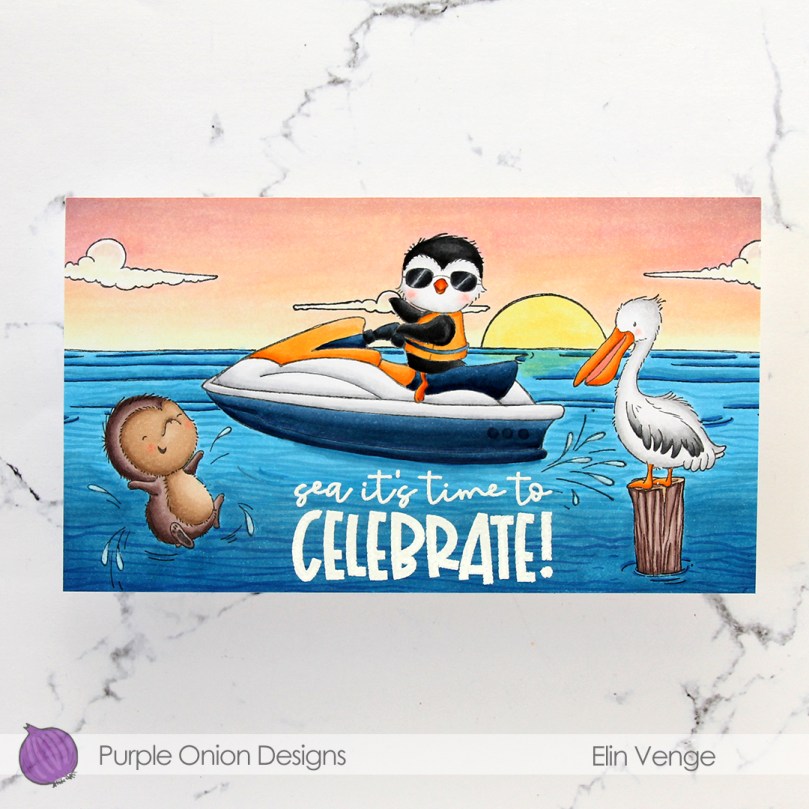 Meet Skeeter, Splash and Beaks. These summer loving friends are part of the Charmed by the Sea release from Purple Onion Designs, which was released mid-June. The Sunrise Sunset stamp in the background is also part of the release, and the sentiment is from the coordinating Seaside sentiment set.
 I colored in the scene with Copics, stamped the sentiment using VersaMark ink and sprinkled on Super fine detail embossing powder from Ranger, before melting in it from the back for a smooth look. Did you know that you get smoother embossed results if you use the heat gun from the back of the paper instead of the front? It makes quite a bit of difference, actually. I urge you to try it if you haven’t already.
 It looks like I wrote down the Copics I used for this card in a bit of a haste, because I see I’ve left out the blues, both for the water and the jetski. I made this card at the end of May, so I don’t really remember which ones I did use, but I believe it’s the B10 family (B18, 16, 14 and 12) for the water, and the B30 family (B39, 37 and 34) for the jetski.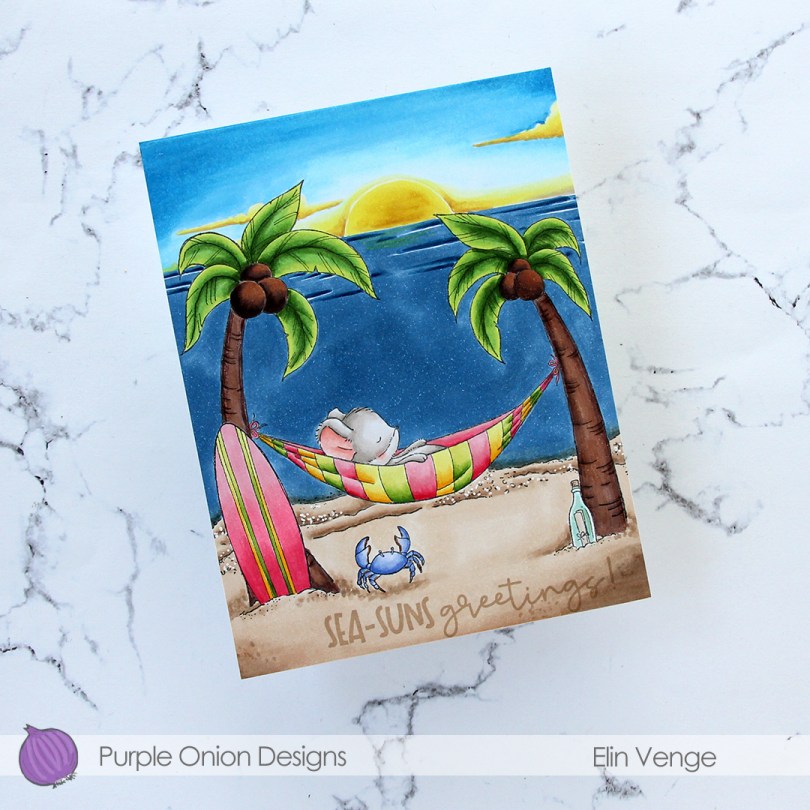
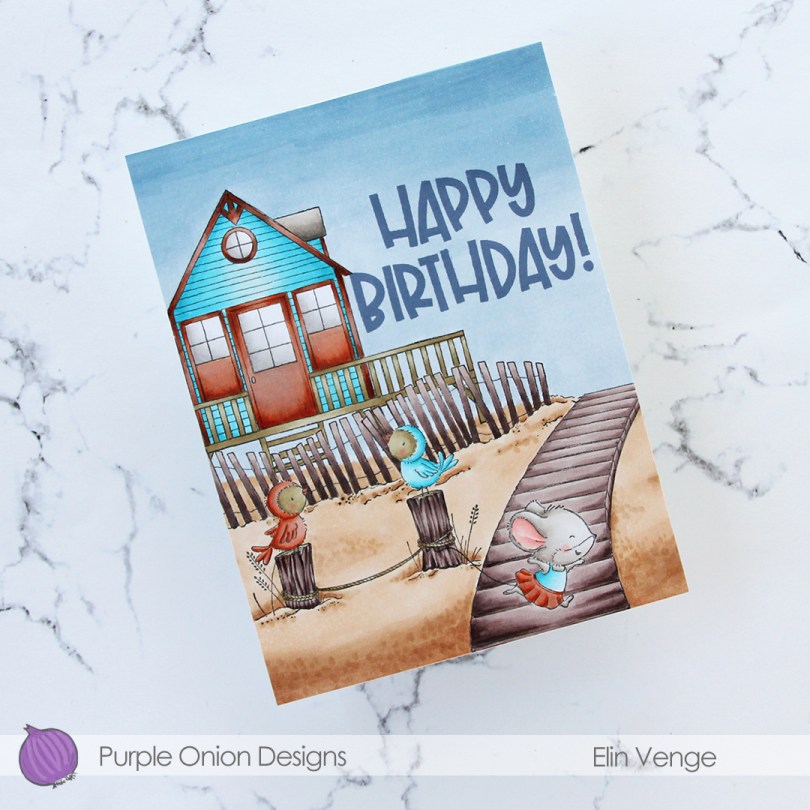
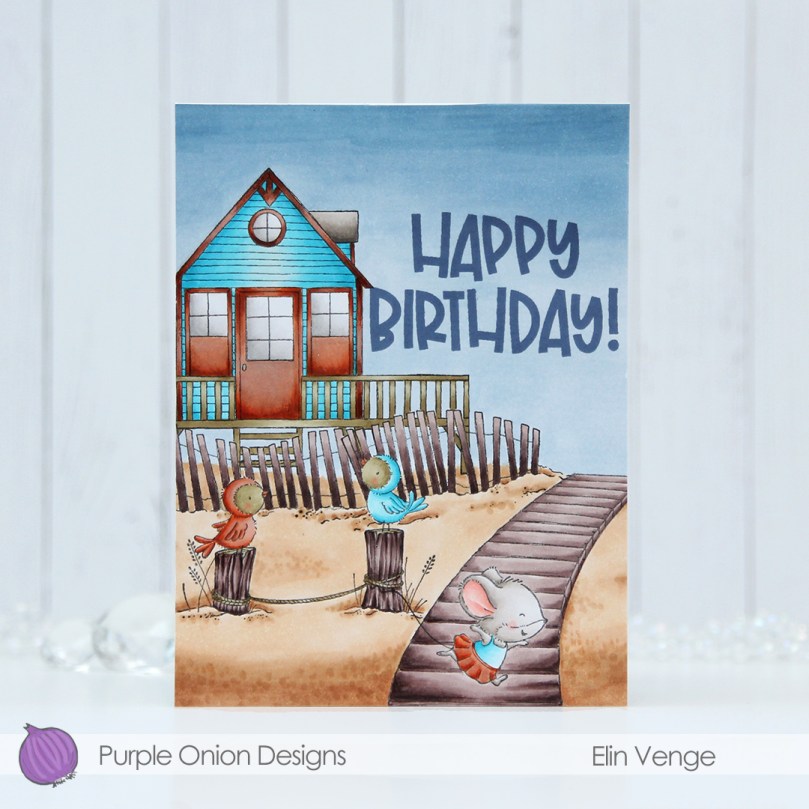 This time, I made a birthday card. I stamped and masked
 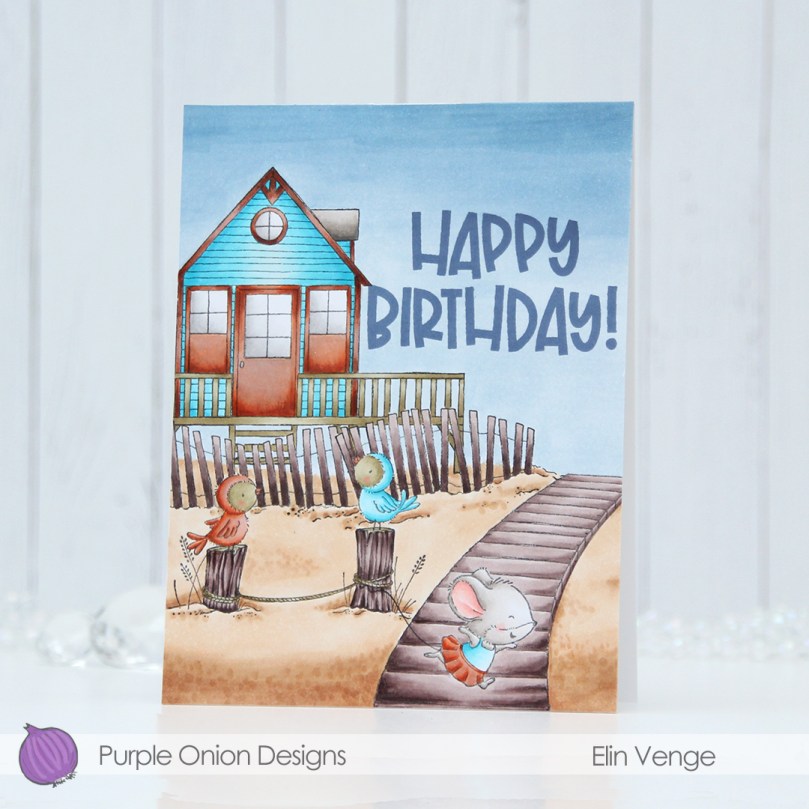 I had the scene all figured out, but struggled with the colors for this one. I’m usually confident in my color choices, but had a hard time with this card. I didn’t want to repeat the color combinations I’d used for the cards I’d already made using stamps from this release, and the combo I tried just didn’t work with the bright aqua. The door, windows and the trim of the beach house all have so many layers of different colors, and the end result is a mottled, rusty look. The rusty look, while not what I was going for, is cool, and I leaned into it by coloring one of the birds in the same color, as well as Iris’ skirt.
 The end result is more of a fall vibe than a summer feel, but some people still go to the beach late in the season, and little Iris looks like she’s running away, so that part at least feels appropriate.
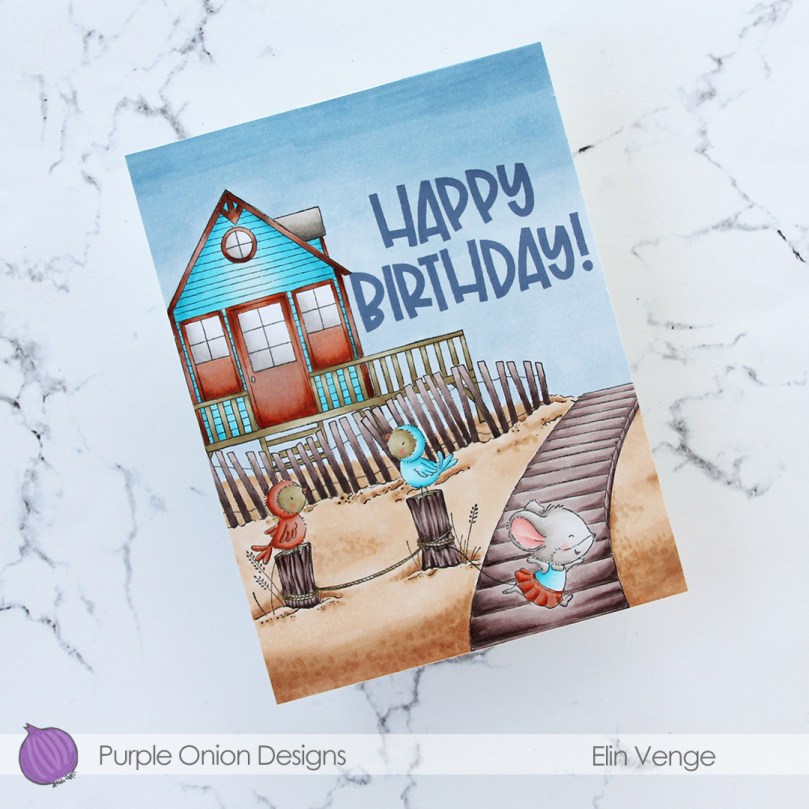 To finish off the card I stamped a sentiment from the coordinating
  Fairly limited color palette, actually, considering how many colors I tried for the beach house trim.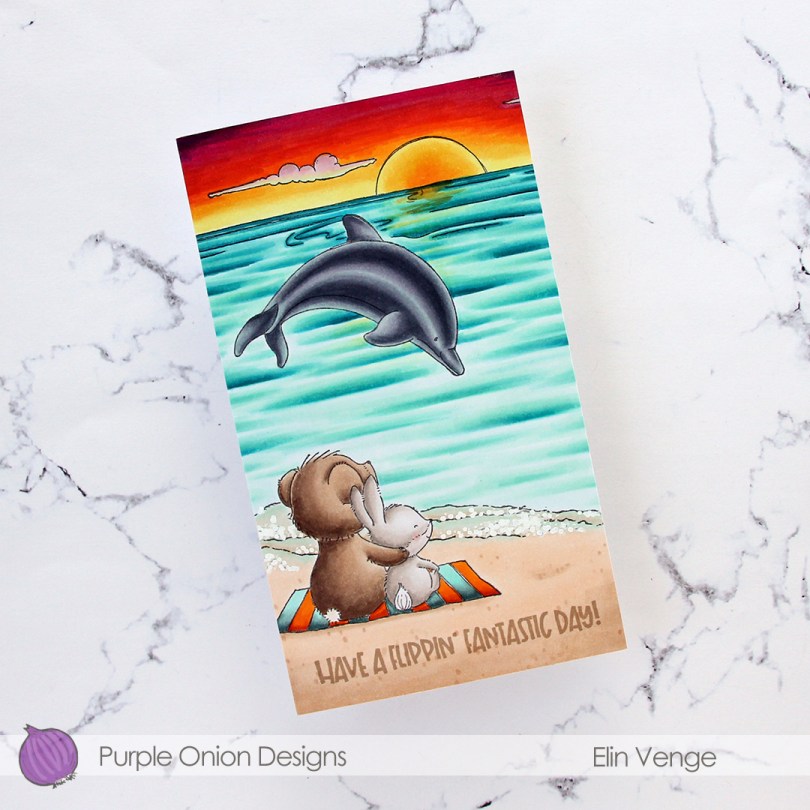
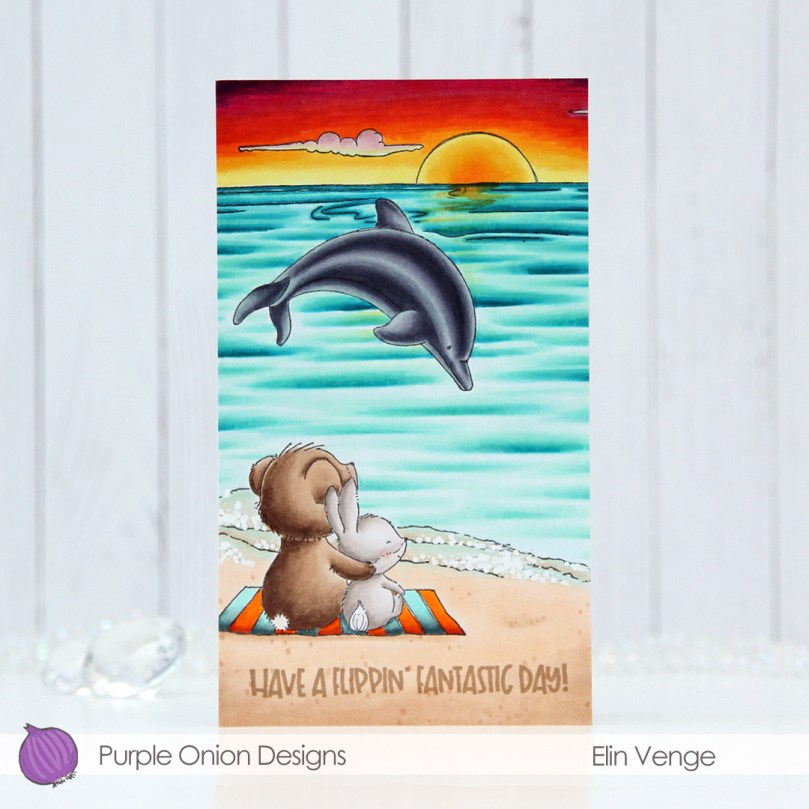 I wanted a bit of a dramatic sunset for this card, and also for the critters (
 I adhered my colored panel to a card base I created from Stamper’s Select White cardstock from Papertrey Ink, stamped a sentiment from the
  Lots of colors for this one.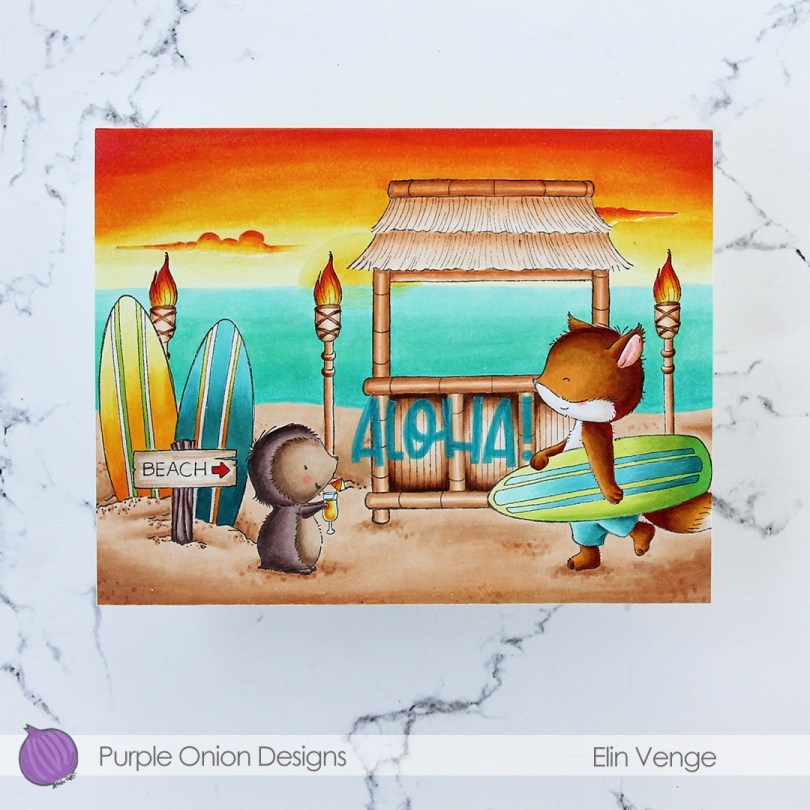
 I did a ton of masking for this card. I love creating stories in my head with these images, then stamping them and making them come to life.
  I colored in my scene using Copics, then stamped the
  I used a lot of colors for this card.
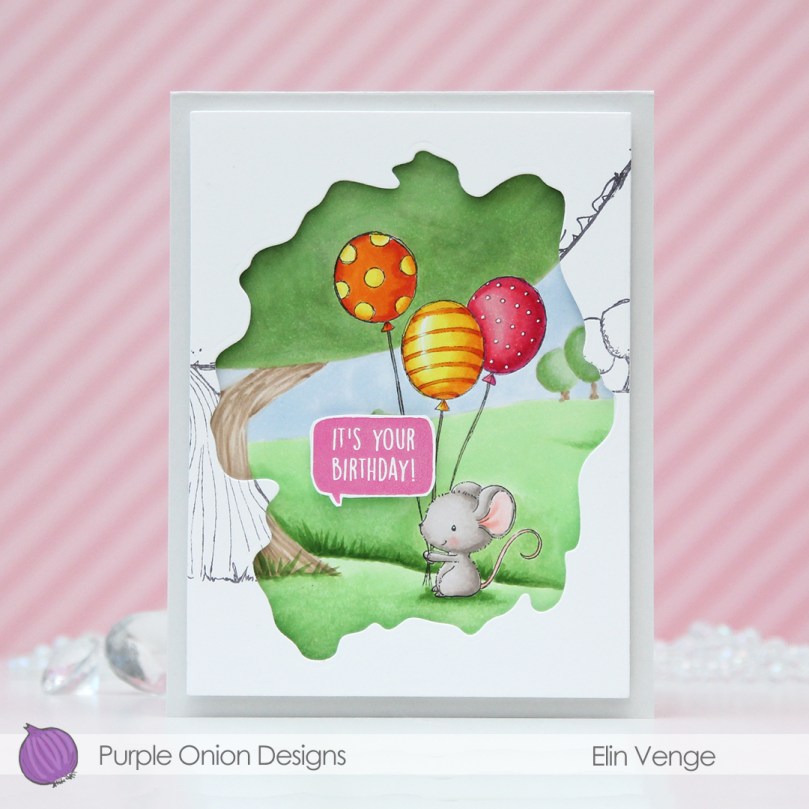 I colored the scene with Copics, then used The Perfect Spot again to stamp on white cardstock (Stamper’s Select White from Papertrey Ink, my favorite white cardstock), this time using Memento Espresso Truffle ink. I wanted this to be more visible than the background without being stark black, and this color is perfect. I then die cut the white panel using two dies: a rectangle die from Waffle Flower to make it smaller and the Watercolor Wash Free Form die from My Favorite Things to create a window.
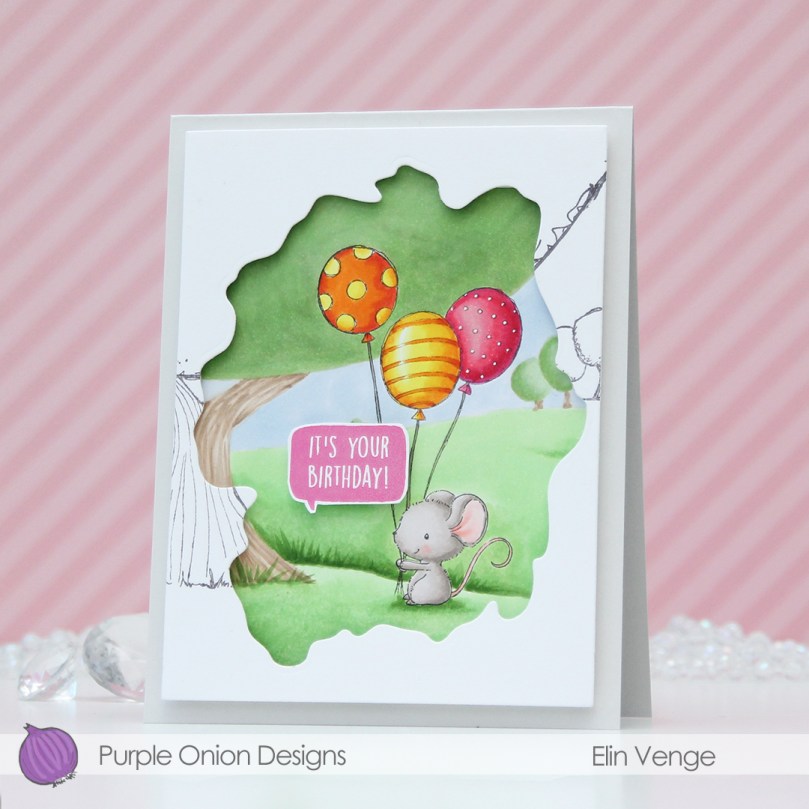 I added foam tape on the back of my white panel for dimension and lined up the stamped lines on the two panels as best as I could, before adding my double panel to a card base I created from Soft Stone cardstock from Papertrey Ink. I then stamped a sentiment from the
  Fairly simple color palette for this one. I also used B90, which is a color I’ve made myself.
 I stamped and colored my images, before fussy cutting them, leaving a bit of a white border around them all. I put my colored pieces aside and started working on the rest of the card. I decided to do a bit of ink blending with the Paint Strokes stencil from My Favorite Things. I thought the brush strokes would be good for a background for my colored images.
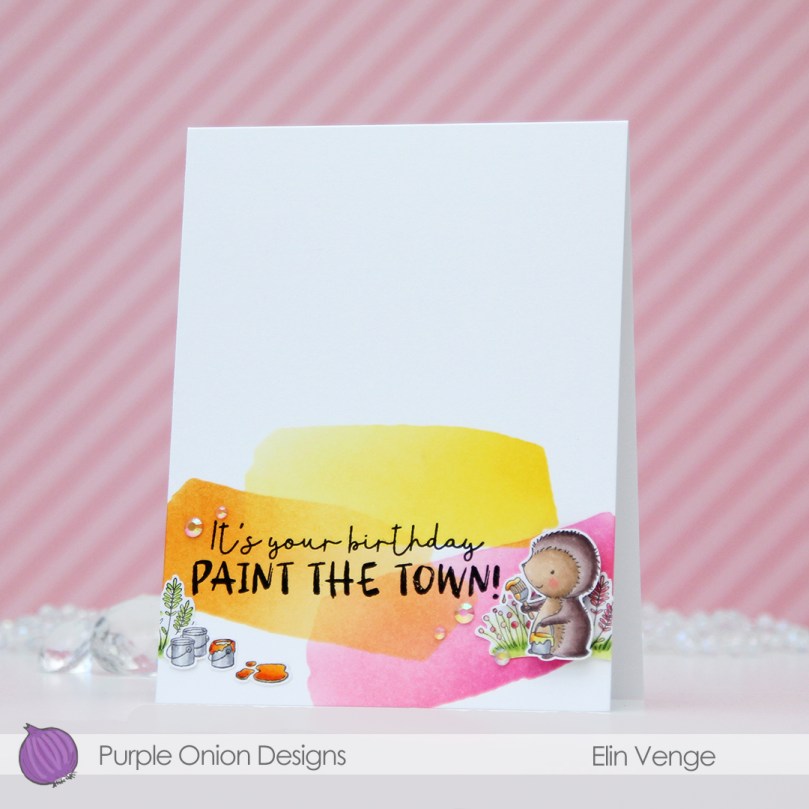 I started out with Coral Bliss and Pink Pearl inks from Altenew for the pink, but wanted a little more oomph and went over them with Picked Raspberry and Worn Lipstick distress inks, which gave it the pink I wanted. On the orange paint stroke, I only used Spiced Marmalade distress ink, and for the yellow, I chose Mustard Seed and Squeezed Lemonade distress inks. I then stamped a sentiment from the
  For such small images, I used a lot of colors for this card.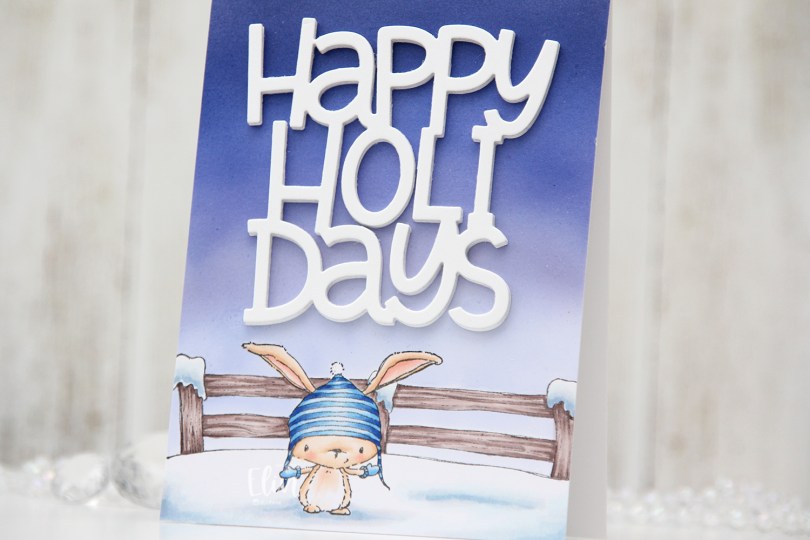
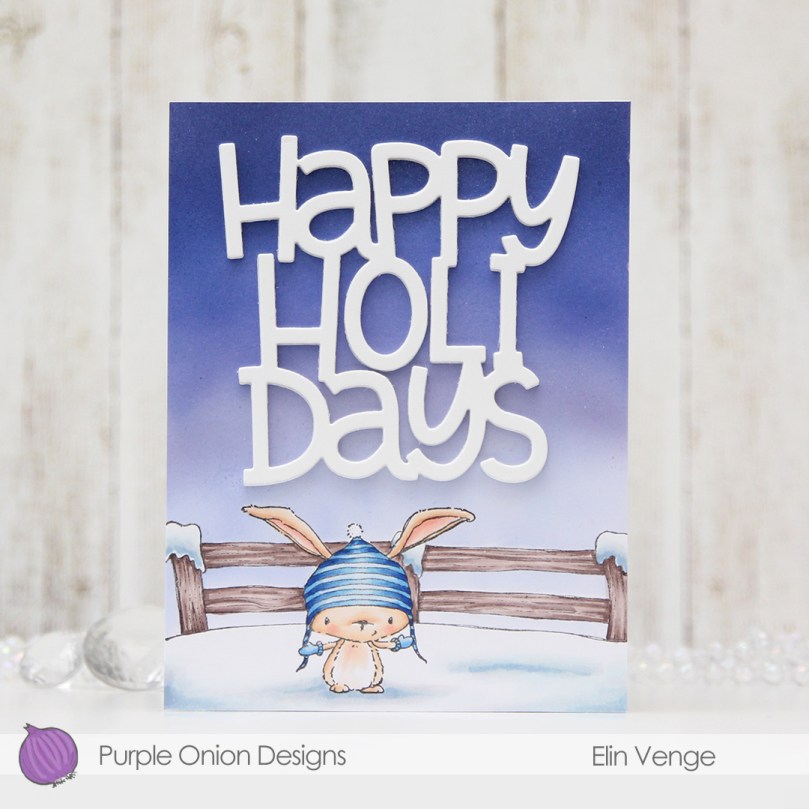 I stamped and masked Birch before stamping the
 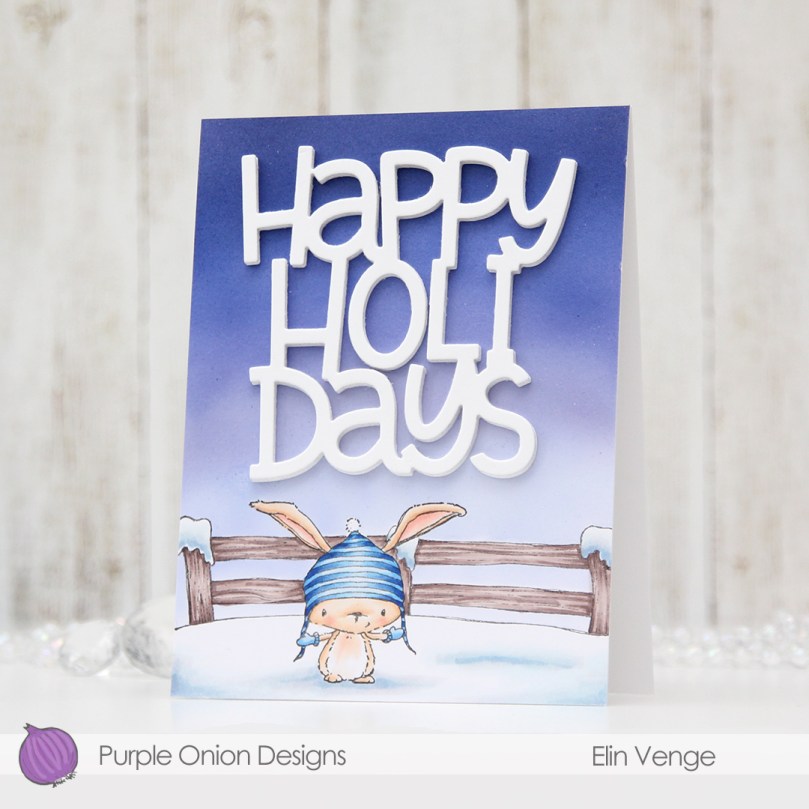 I used a gradient of purples for the sky, starting with BV17 at the top and working my way down to B60 at the very bottom. B60 is technically a blue color, but the entire B60 family has a purple tinge, making B60 the perfect choice for the lightest color in the sky. I then used the Big Happy Holidays die from Mama Elephant to die cut 6 layers from white cardstock that I stacked for a super dimensional sentiment that I placed in the sky. I decided to keep the card very clean and simple and didn’t add any embellishments at all.
 Lots of cool tones for this one (the markers after the gap are the ones I used for the air brushing).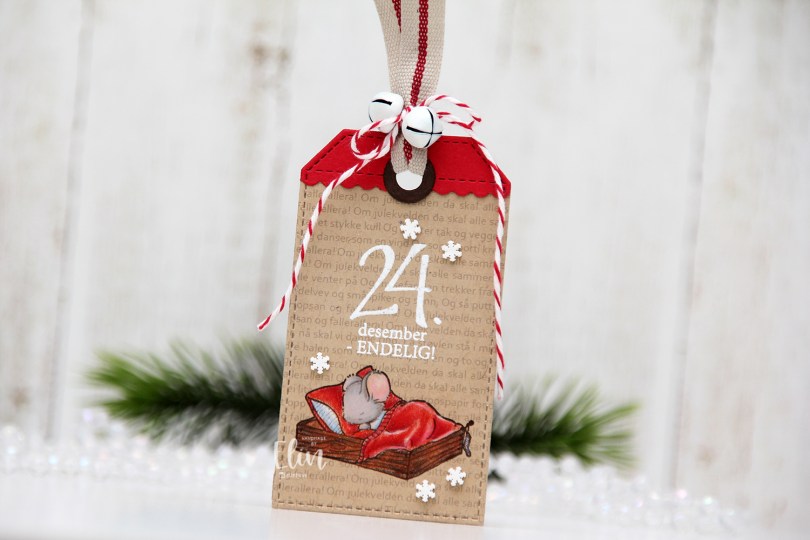
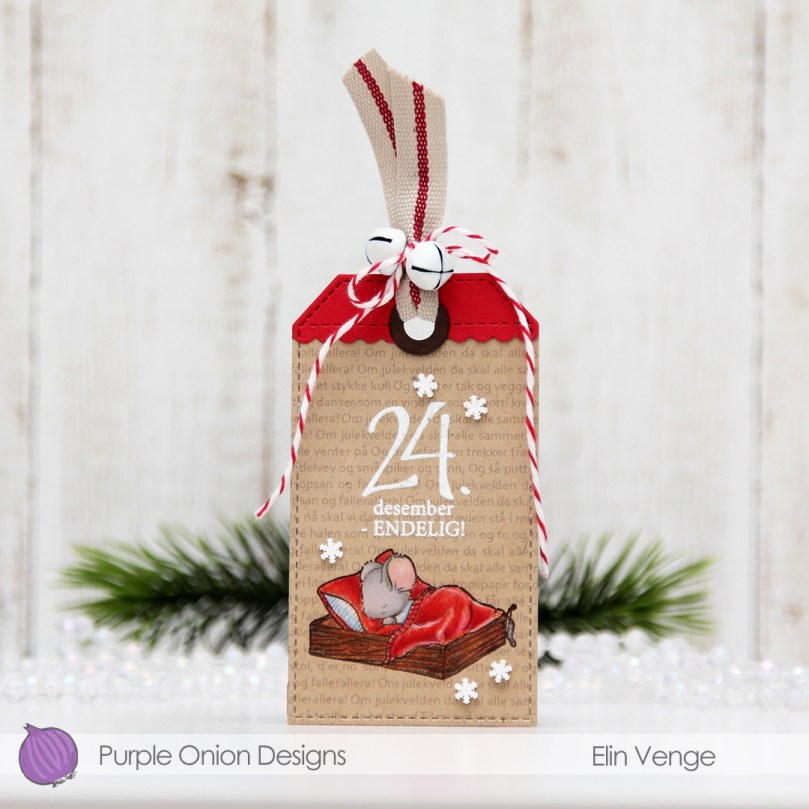 I stamped the cute mouse using Memento Rich Cocoa ink onto Classic Kraft cardstock from Papertrey Ink, before covering the image with a mask and running the cardstock through my printer to add the lyrics to a Norwegian Christmas song all about mice. I thought it was a fitting background. I colored the image with Prismacolor pencils (not Copics, I know, it’s rare), heat embossed a sentiment from the B04 stamp set from Norsk Stempelblad AS above the cutie and used a die from the Stitched Traditional Tag STAX die set from My Favorite Things to turn it into a tag. I then die cut a label from the Everyday Gift Box die set (also MFT) from Wild Cherry cardstock from My Favorite Things, and used the tag die again to turn it into the top piece of my tag. I also used a reinforcer die from the Fold-Up Tags die set (also from MFT) and die cut that from Dark Chocolate cardstock from Papertrey Ink. I added a ribbon, a couple of bells and some Cherry twine from Whisker Graphics to the top of the tag, before adhering a few snowdrift sprinkles from Little Things from Lucy’s Cards to finish.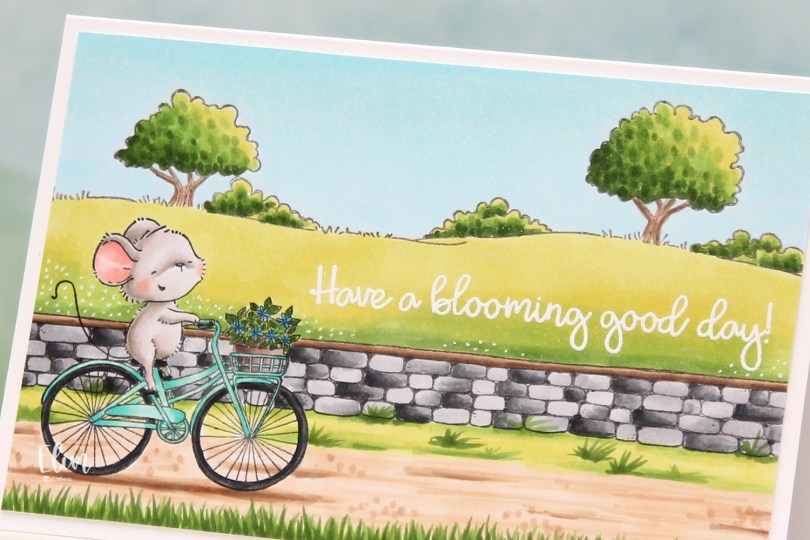
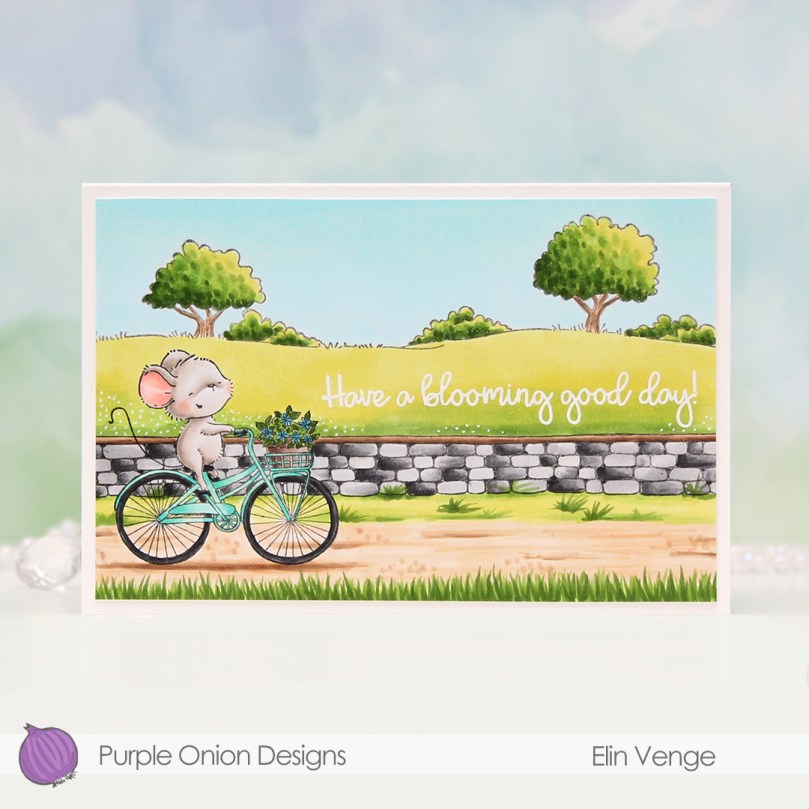 I love how happy this mouse looks riding that bike. Stacey Yacula has a way of creating characters that really come to life, I’m such a big fan of her style.
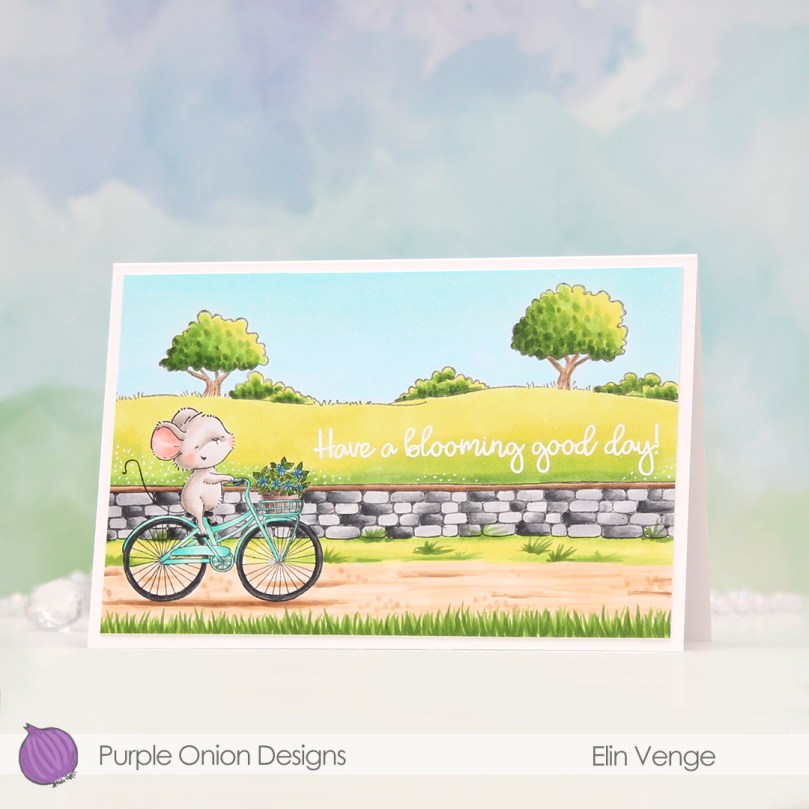 I stamped Anna, added a mask, then stamped the stone wall. Both were stamped with Extreme Black ink from My Favorite Things, which is a Copic friendly ink. I then used second generation stamping with the country side background, this time with Memento Espresso Truffle ink for a somewhat softer look.
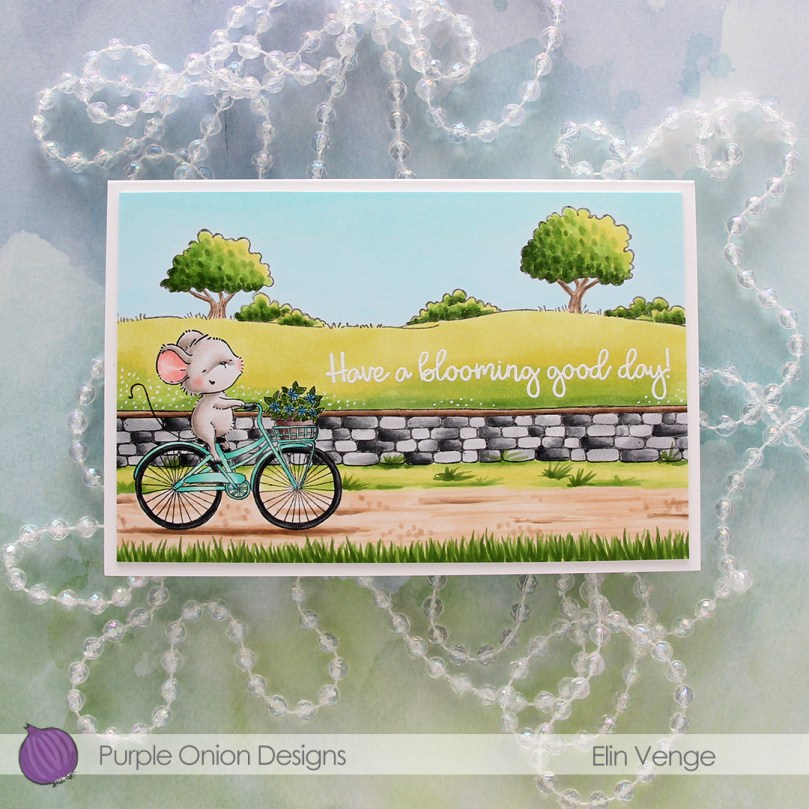 I colored in my scene using Copics, then stamped and white heat embossed a sentiment from the
 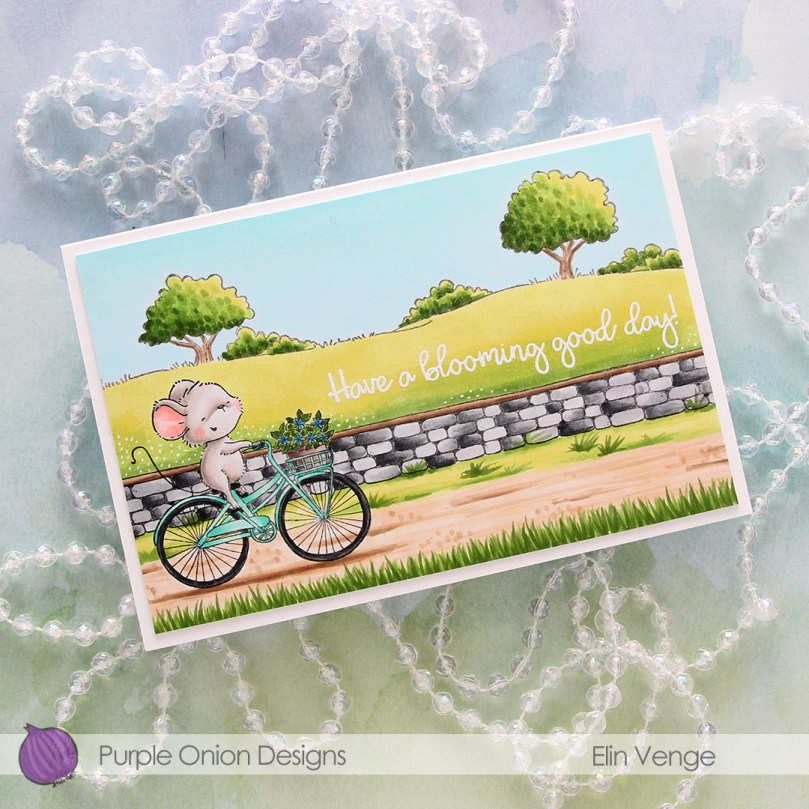 I used a white Gelly Roll 05 to create the white dot “flowers” in the background and added my panel to a top folding white card base I created. The finished card measures 6 x 4″.
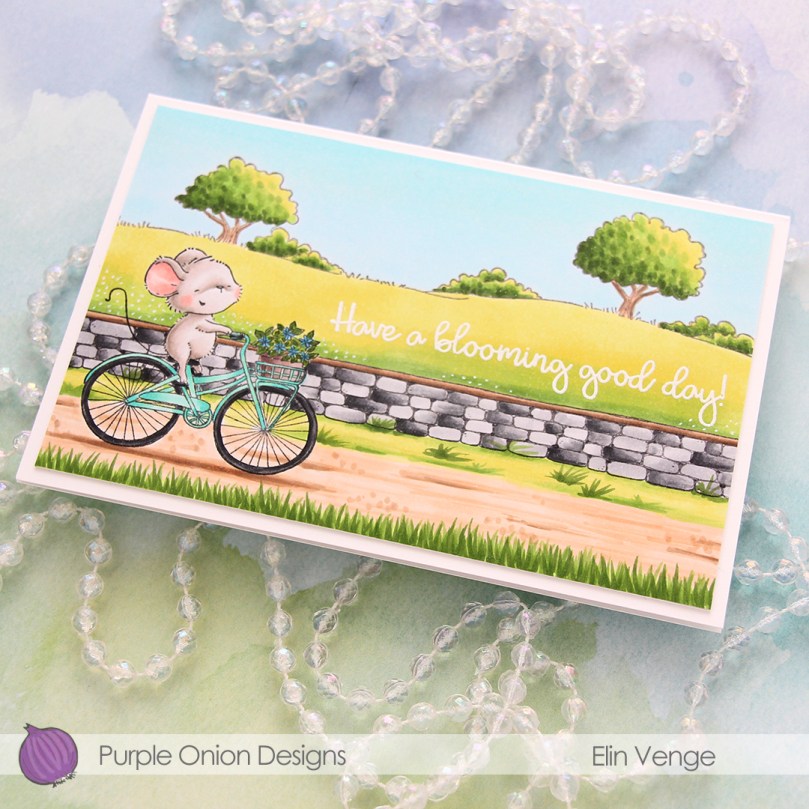 This is a very mail friendly card. No embellishments, it’s almost one layer and sooo simple.
 Quite a few Copics, but that usually happens with these full scene cards I create with Purple Onion stamps.
