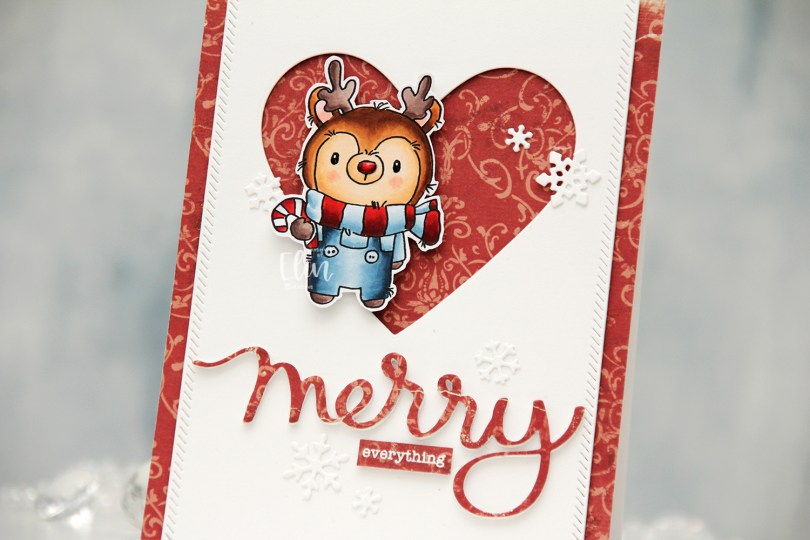
Hi, crafty friends. Christmas is less than a month away, and if you haven’t started creating your holiday cards yet, you should probably start soon. Maybe this reindeer from the Christmas Friends stamp set from Lili of the Valley will inspire you to do just that.
 I colored my reindeer with Copics, added black Glaze to his eyes for shine, a white dot on top with a Gelly Roll 05 once the black was dry and also a thick layer of Glossy Accents to his nose for dimension as well as shine. I fussy cut him leaving a white border and proceeded to work on the rest of my card.
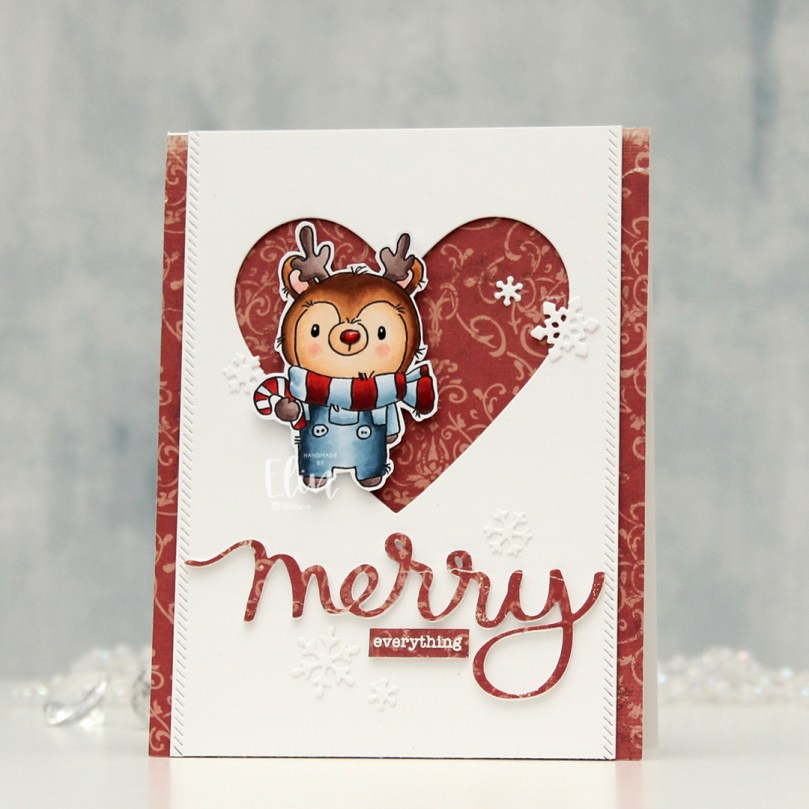 I covered a card base with the Julhälsningar sheet from the Vintage Winter collection from Maja Design. This has a little bit of pattern to it, but not so much that it’s too distracting. I created a window in a white panel using a heart die from Papirdesign, then used one of the dies in the Stitched Borders die set from Lawn Fawn to create a little bit of interest to the sides, before adhering the panel with foam tape to the center of the card front.
 Using the Merry Script die from Mama Elephant, I die cut three layers from white cardstock and one from the patterned paper to adhere on top. I stacked the four together and adhered my die cut to the card. I white heat embossed a sub sentiment from the Holiday messages stamp set from Mama Elephant onto a scrap piece of patterned paper and trimmed it down to a strip, before I added a few layers of cardstock behind it for dimension and adhered it below my die cut word.
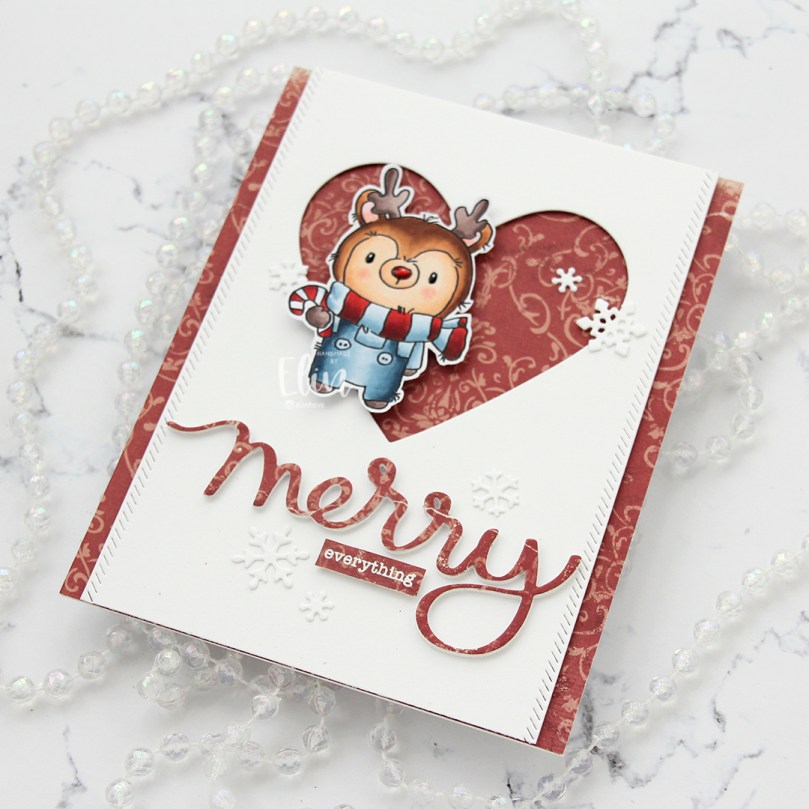 I mounted the reindeer on foam tape offset in the heart opening and added die cut snow flakes here and there. Some I created with the Snowflake Confetti Fancy die from Hero Arts, some are made with the Stitched Let It Snow Circle Frame die set from Memory Box, which includes a die that cuts three individual snowflakes (which is what I used).
 This card has a lot of texture and dimension, and the shine on Rudolph’s nose is the perfect detail to draw attention to him!
 Not a lot of Copics for this one.

 I die cut the reindeer from several colors of colored cardstock. I used Cocoa Nibs from Papertrey Ink for the antlers, Amarena Cherry from My Favorite Things for the red nose, Milk Chocolate from My Favorite Things for eyes and the remaining noses, as well as Kraft from Bazzill. I would have preferred Classic Kraft from Papertrey Ink, as it’s a heavier weight cardstock, but I’ve run out, and the Bazzill kraft worked just fine.
 I mounted a white panel onto my top fold landscape card base and adhered the reindeer in a line. A couple of them have additional layers of cardstock behind them for a tiny bit of dimension, Rudolf has lots of layers behind him, as well as shine to his nose. I added a very thick coat of Glossy Accents, and I also added black Glaze to his eyes for shine and dimension. I stamped GOD JUL using Milk Chocolate ink from My Favorite Things.
 I had an extra reindeer that I decided to add to the inside of the card, you can see his ear peeking out in this photo.
 I colored my snowman with Copics, added black Glaze to his eyes, then a white dot using a Gelly Roll 05 once the black was dry. I also used the white to add the white dots to his hat. I fussy cut my snowman, leaving a thin white trim around him, before putting him to the side to work on the rest of my card. I covered my card base with patterned paper from Maja Design. This frosty blue paper is from the Vintage Frost Basics collection from 2013, the sheet’s called 13th of December. I used the Notebook Edge die from My Favorite Things to create a fun border on a piece of Stamper’s Select White cardstock from Papertrey Ink. I used Light & Fluffy Modeling Paste from The Crafter’s Workshop to create snow through the Falling Snow stencil from Simon Says Stamp. While the paste was still wet, I sprinkled on Rock Candy distress glitter for an even frostier effect, and mounted my white panel with foam tape to my card front.
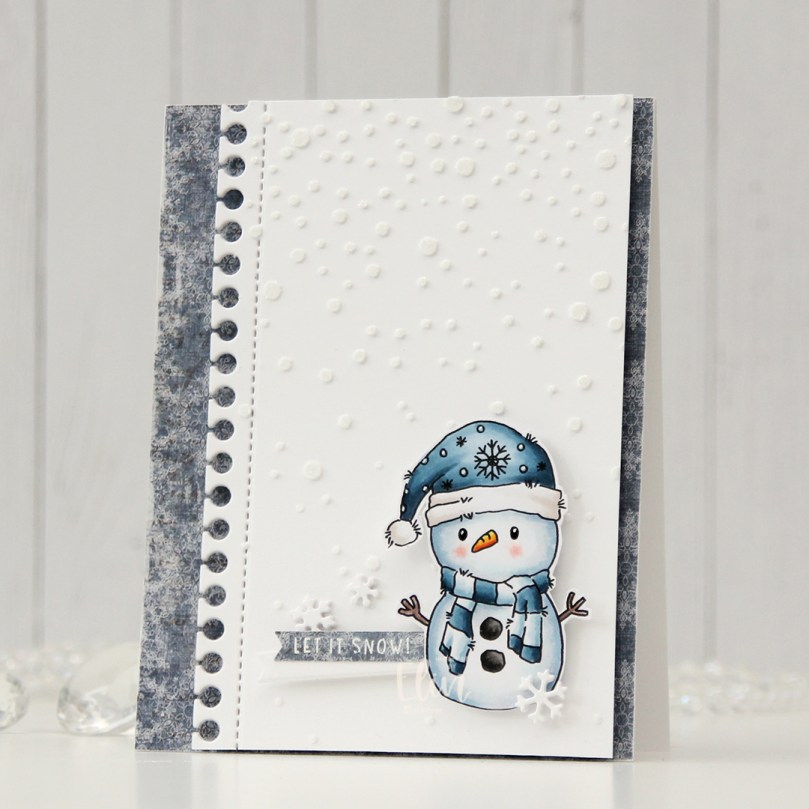 I stamped and white heat embossed a sentiment from the
  Simple color palette for this one. Lots of blues.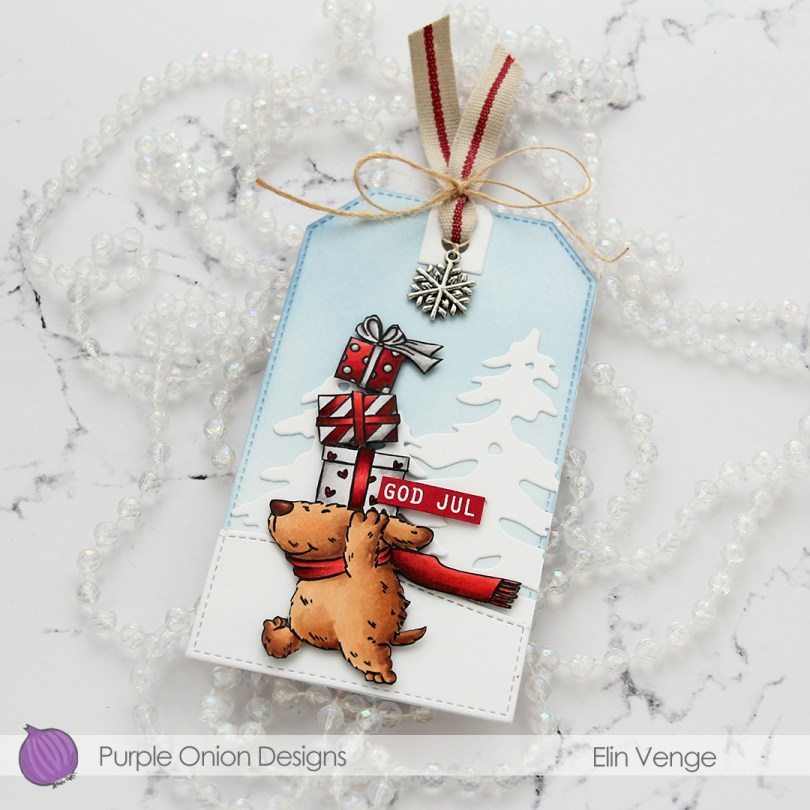
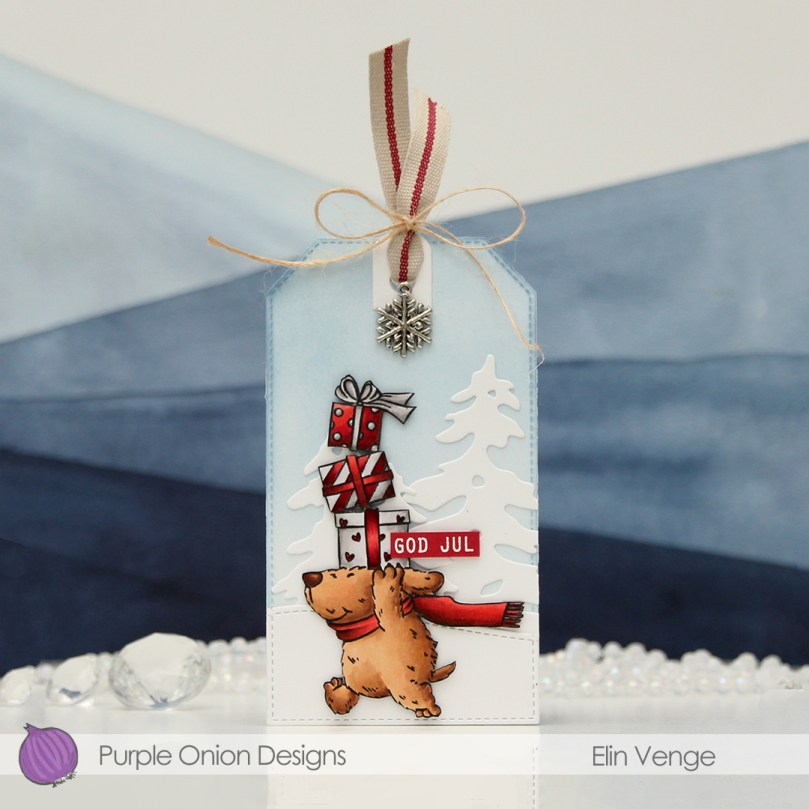 I stamped the image with Extreme Black ink from My Favorite Things, colored it with Copics, then stamped again, this time using Obsidian ink from Altenew for crips, dark lines. I decided to fussy cut right against the stamped lines, and put this cute dog to the side while I worked on the rest of the tag.
 I die cut a tag from white cardstock using the Stitched Trad. Tag STAX die set from My Favorite Things, before using Polar Bear, Icy Water and Winter Lake inks from Altenew to ink blend a soft blue sky. I die cut a couple of trees using the silhouette snow trees from Mama Elephant and adhered them on top of my ink blending. I used a die in the Stitched Hillside Borders die set from Lawn Fawn to create the faux stitch hill, then used the tag die again to die cut the bottom part and adhered it to the tag also.
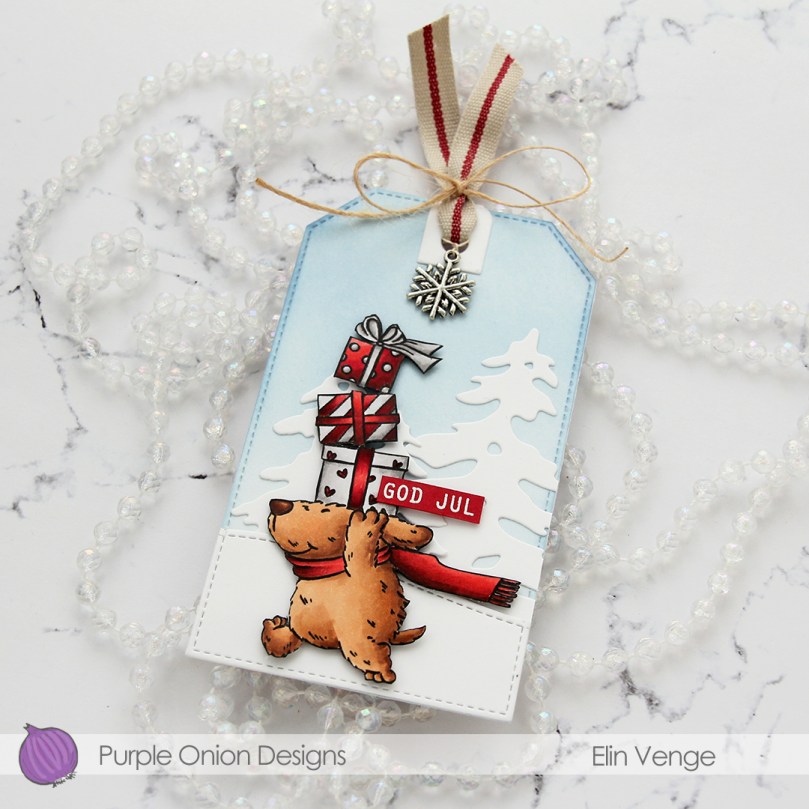 I added my dog using foam squares. stamped and white heat embossed a sentiment from the Julehilsen stamp set from Norsk Stempelblad AS onto Wild Cherry cardstock from My Favorite Things, before trimming it down and adding it with foam squares to the tag. I die cut a reinforcement piece from white cardstock using a die in the Fold-up Tags die set from My Favorite Things and adhered it to the top, before threading some ribbon through and adding a charm. I used some May Arts Natural Twine to tie a bow to secure everything.
 On the back of the tag, I stamped the Til/Fra frame from Norsk Stempelblad AS using Obsidian ink from Altenew. I used Dark Chocolate and Classic Kraft inks from Papertrey Ink to stamp the images that make up the background. The stamps are from North Star Design, Inkido and Ladybug and Friends. I believe none of these companies are still in business, but I love these particular stamps and use them regardless.
 Simple color palette for this one. No wonder, as it’s essentially just brown, gray and red.
 I colored the image with Copics, and after a couple of cards recently with very muted, vintage colors, I went super bright with this one. I love penguins done with BGs instead of grays, it’s like they’re happier, somehow.
 I stamped and white heat embossed a sentiment from Huldra Designstudio directly onto my card base, which I made from Oceanside cardstock from Concord and 9th.
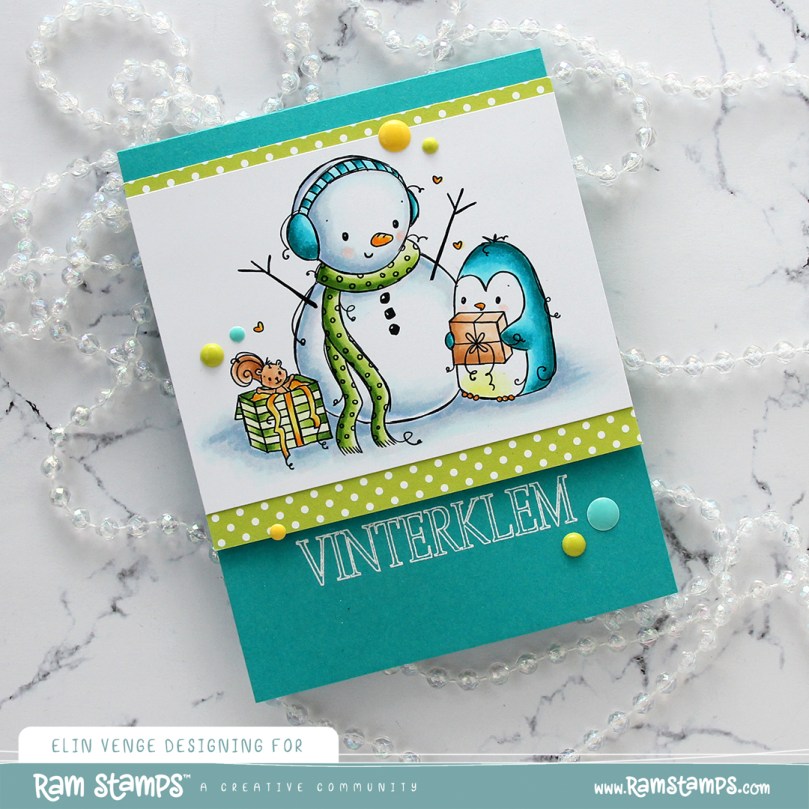 Above and below the colored panel, I added strips of patterned paper from the Party Patterns paper pad from My Favorite Things, before mounting it all on foam tape for dimension. I finished off the card with enamel dots. The bright green ones are from Papirdesign, the teal and yellow ones from the Cool Summer Nights and Pocketful of Sunshine packs from Altenew. The Papirdesign ones have more dimension to them than the ones from Altenew, which creates a little more variety.
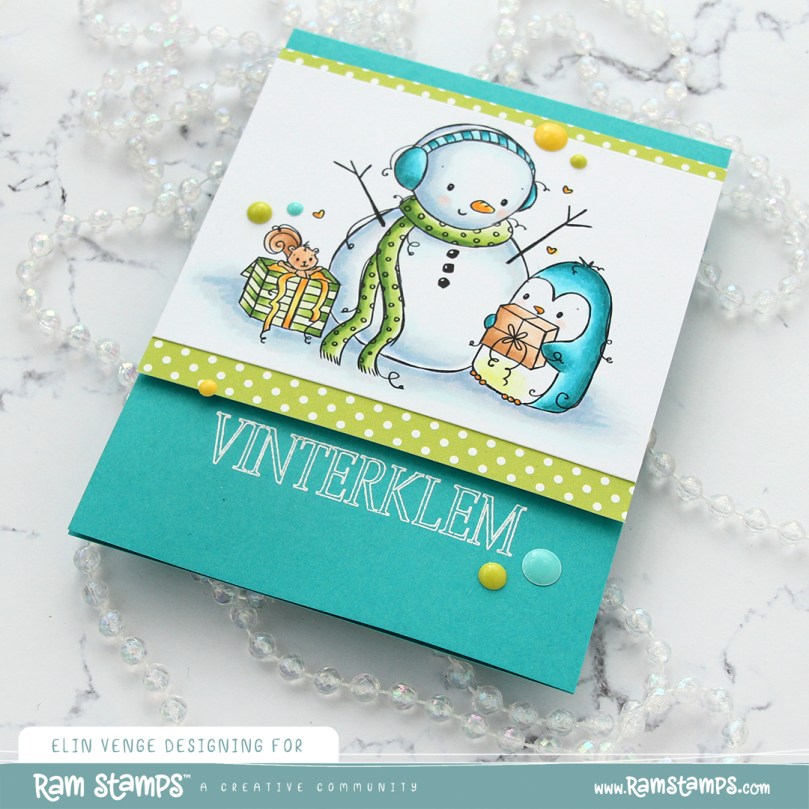 By using an untraditional color palette and a non holiday sentiment (winter hug), this image can be used for more than just Christmas. I’m thinking this would make a great wintery birthday card.
 Fun colors used for this one!
 I colored my image with Copics and used a fancy border die from Papirdesign (Snøkrystall ramme 2) to create trees and snowflakes along the edge. I wanted to do something different, and actually created a card base from vellum. I have heavyweight translucent vellum from My Favorite Things, and it’s a very thick, sturdy vellum that can handle being a card base.
 I sprinkled on chunky white embossing enamel from Stampendous both on my colored piece and on the vellum base, before adhering the two together. I decided to create a white panel with the same die cut border for the inside of the card, as the vellum is very slick and not well suited for writing a personal message.
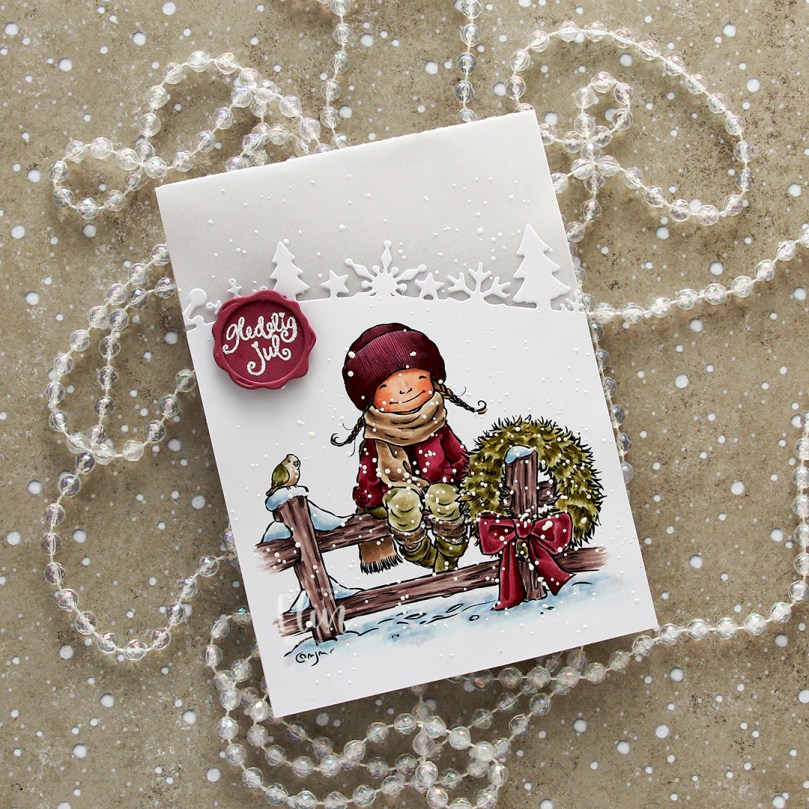 I stamped and white heat embossed a sentiment from the B05 stamp set from Norsk Stempelblad onto Autumn Rose cardstock from Papertrey Ink. I used the Wax Seals die set from Waffle Flower to turn it into a faux seal and mounted it onto my card using foam tape.
 The vellum and die cut border create unexpected elements, the embossing enamel creates texture and you get a little bit of dimension with the sentiment seal. They all contribute and make this simple card a special one.
 Not a whole lot of Copics for this, and a fairly muted color palette.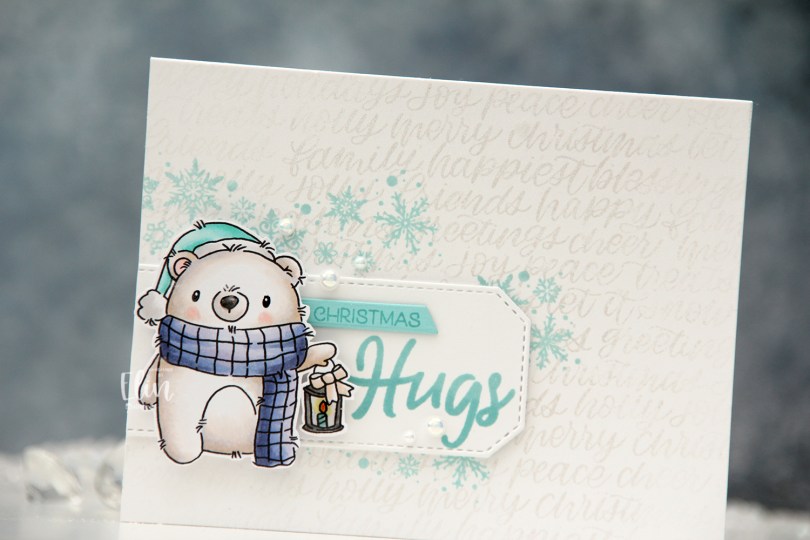
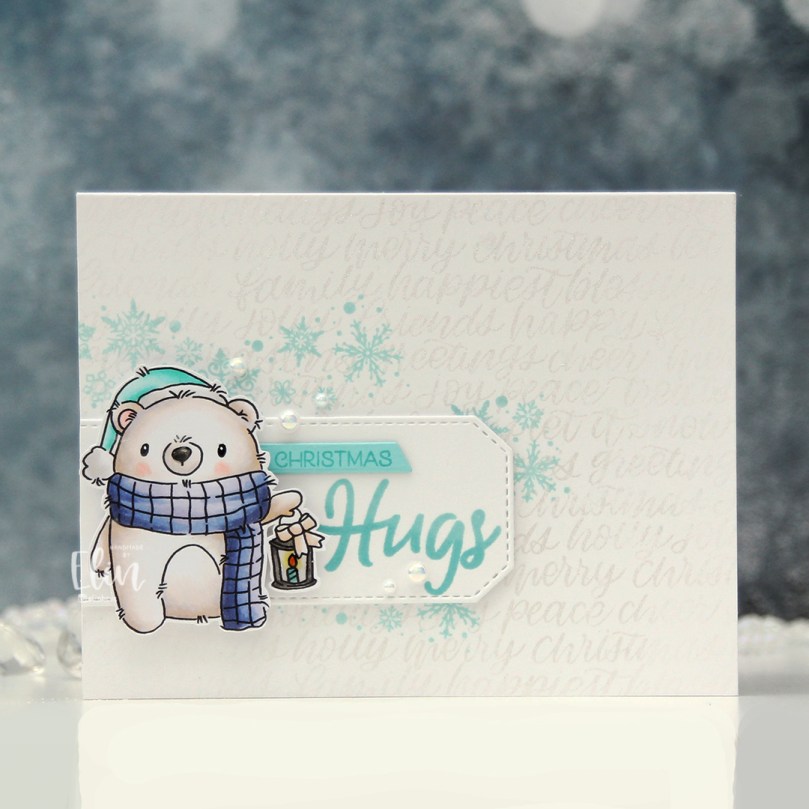 Isn’t he cute holding his little lantern? I went very untraditional with my aqua/purple combo, but I think it works. Onto a top fold landscape A2 card base I created from Stamper’s Select White cardstock from Papertrey Ink, I stamped the Hand-Lettered Holiday background stamp from Simon Says Stamp using VersaMark ink. I then brushed Perfect Pearls powder on top for a shiny, but subtle effect. I stamped the snowflakes from the Wreath & Mulled Wine stamp set from Ciao Bella on top using Sno Cone ink from My Favorite Things.
 I die cut a white tag using a die from the Stitched Trad. Tag STAX die set from My Favorite Things and stamped the word Hugs from the
 As usual, I use way more colors than I anticipate going in.
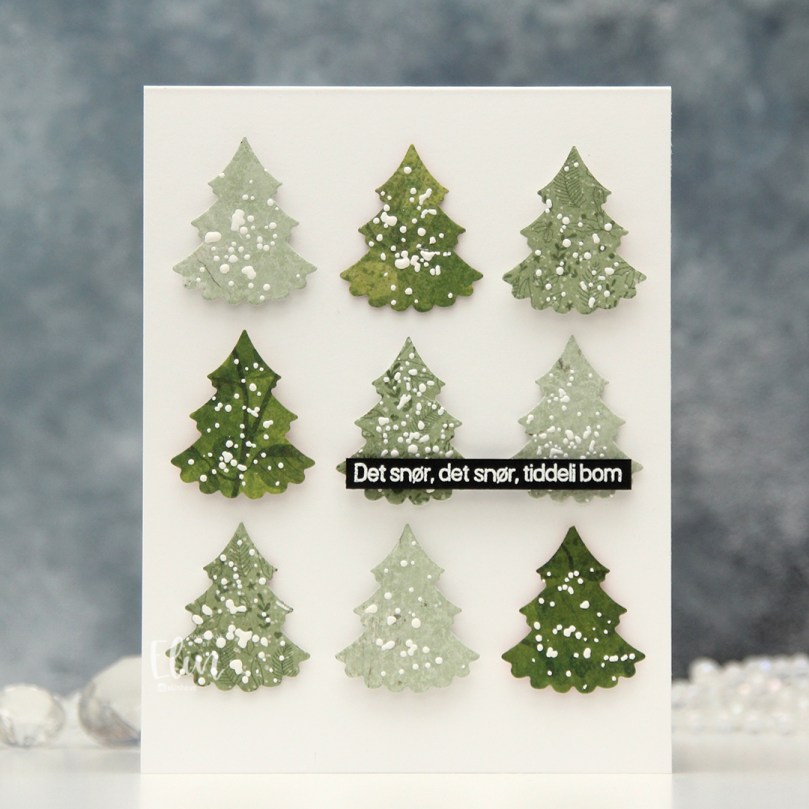 I die cut a tree nine times from three different shades of green patterned paper. The two lighter ones are both from Maja Design, while the dark one’s from Kaisercraft. This die is pretty small and perfect for scraps. There’s also a die in the sets that cuts the trunk, but I decided not to use that for this card.
 I sprinkled on Chunky white embossing enamel from Stampendous to each of the trees and melted the granules from the back to make snowy trees. I then used three different thicknesses of foam tape behind the trees for varying dimension.
 I stamped and white heat embossed the sentiment onto a black cardstock strip (True Black cardstock from Papertrey Ink), added a couple of more layers of cardstock behind it for dimension and glued it on top of two of my trees.
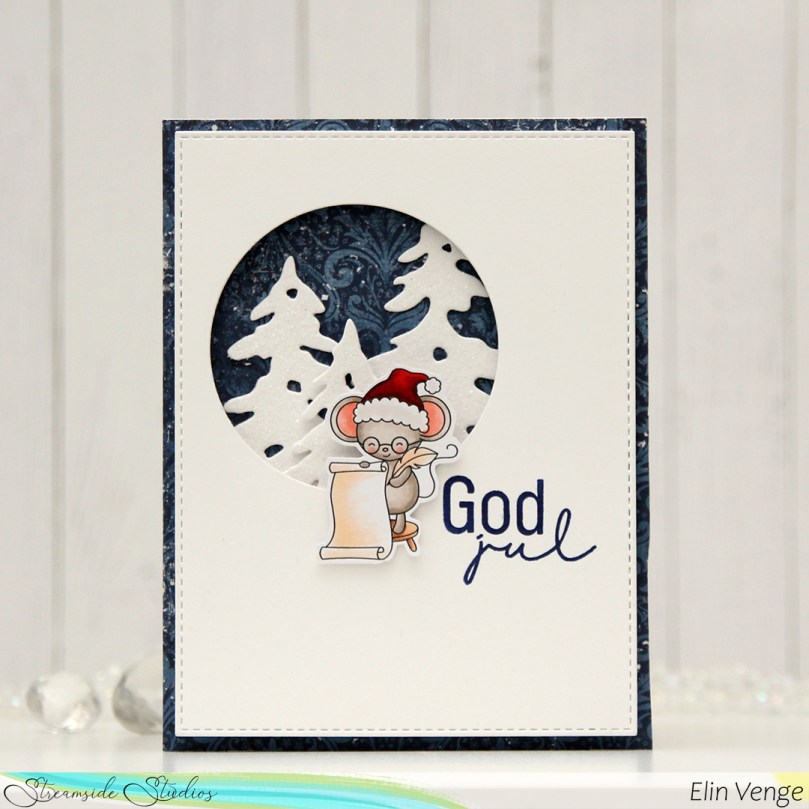 This little mouse is so cute, and she might be adding her name to Santa’s nice list, who knows? I colored her with Copics and fussy cut her leaving a white border.
 I covered a white card base with a panel of patterned paper from Maja Design. This is the Snowflakes pattern from the Holiday in the Alps collection. I love the design paper from Maja Design, it’s my favorite patterned paper to use! Into a panel of Stamper’s Select White cardstock from Papertrey Ink, I die cut a circle opening towards the top left and also used a stitched rectangle die from the A2 Stitched Rectangle STAX 2 set from My Favorite Things.
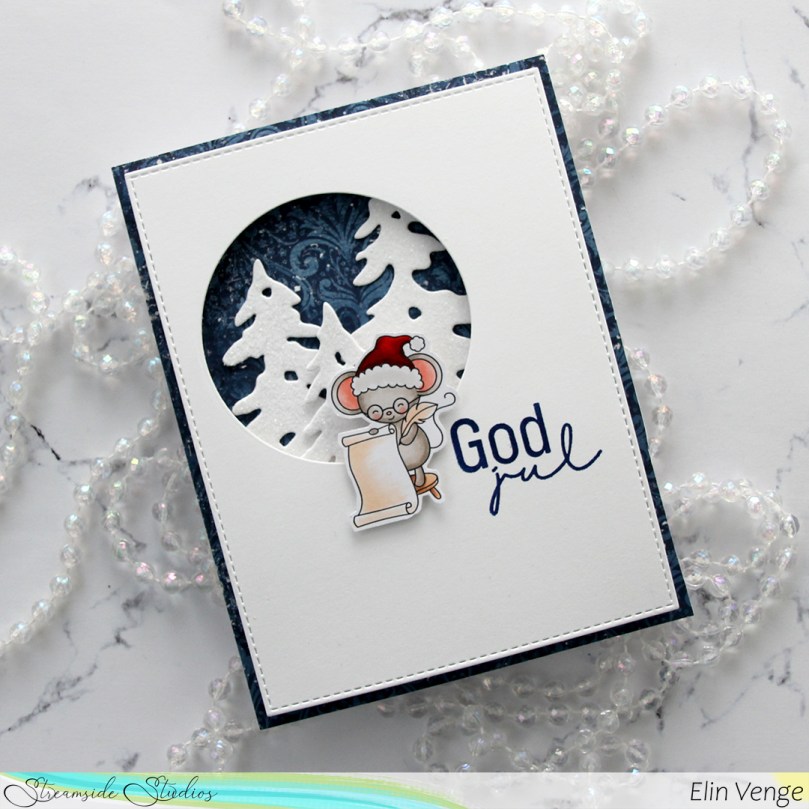 I stamped God jul from the M-442 stamp set from Kort & Godt using Blue Beyond ink from My Favorite Things. I die cut trees using the Silhouette Snow Trees die set from Mama Elephant, stacked them and added Rock Candy distress glitter from Ranger for a super snowy look. With the layering of the trees, this was pretty dimensional, so I had to double up on the foam tape when I added the panel with the circle opening.
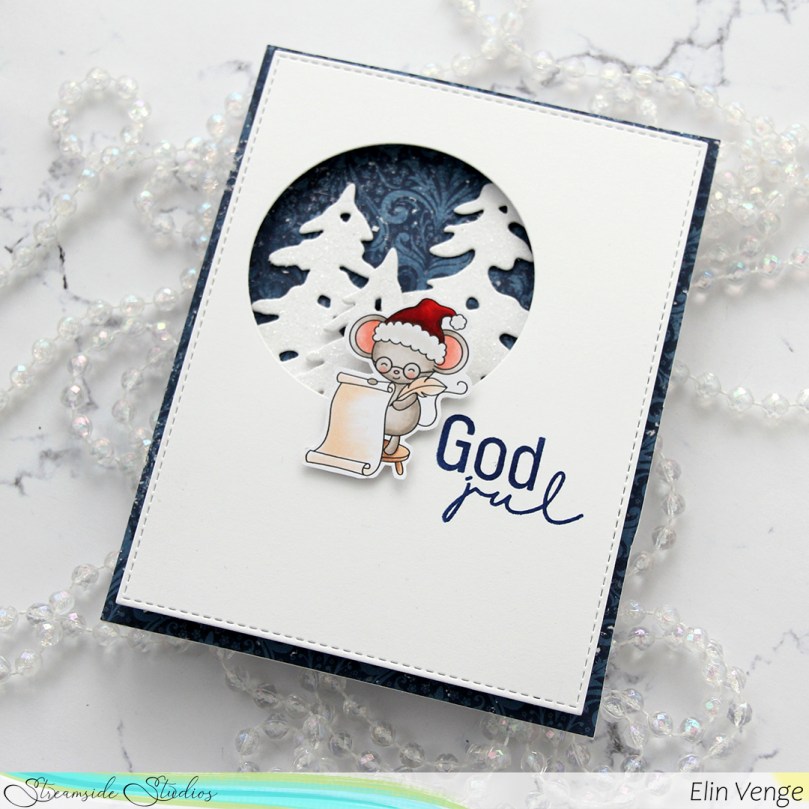 I also added foam tape behind the mouse and this card is very thick as a result.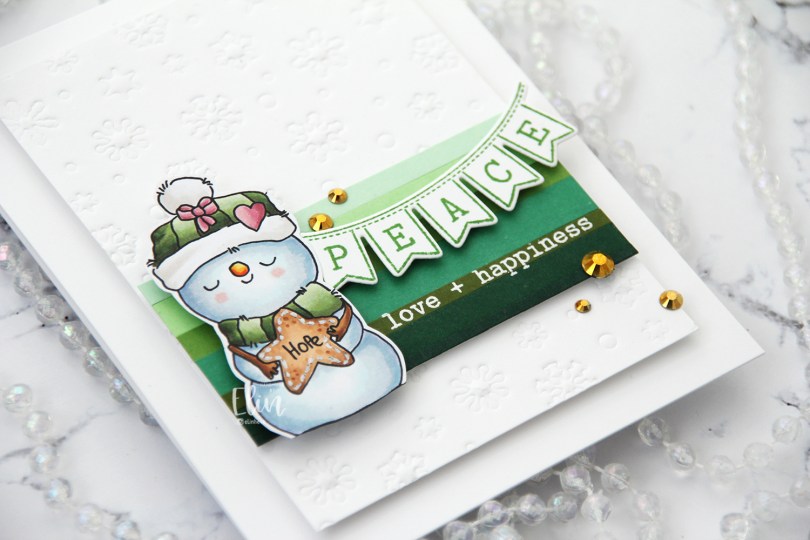
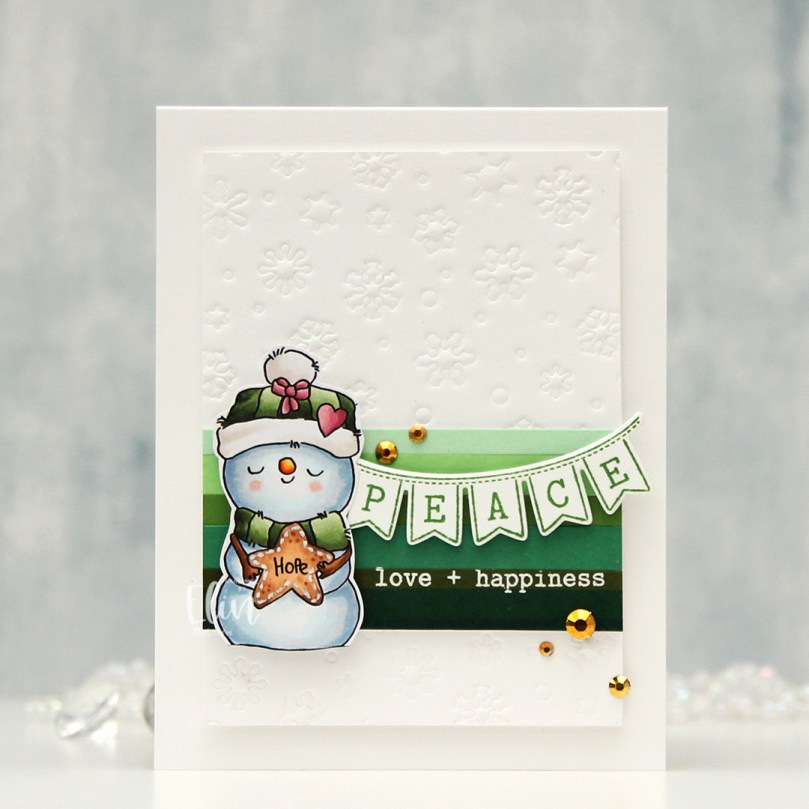
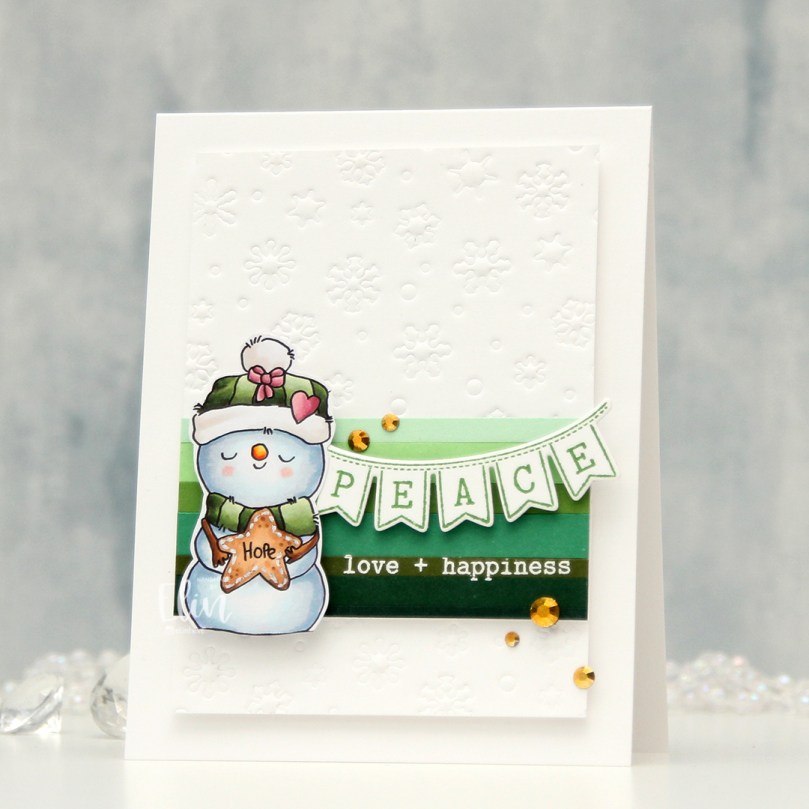 I dry embossed the Snowflake Confetti fancy die from Hero Arts on a piece of Stamper’s Select White cardstock from Papertrey Ink. I cut the panel down and added strips of green cardstock near the bottom. The colors are (bottom to top) Pinefeather (Papertrey Ink), Evergreen (Concord & 9th), Jalapeño Popper (My Favorite Things), Clover (C9), Parsley (C9), Vintage Jadeite (PTI) and Mint Julep (PTI). I white heat embossed a sentiment from the Sentiments from a Yeti stamp set from Mama Elephant and mounted my strips of green with a little bit of dimension behind them.
 I mounted my white dry embossed piece with the green strips onto a top fold white card base using foam tape. Using Shadow Creek Ink from Altenew, I stamped the Peace banner from the Sentiments from a Yeti stamp set from Mama Elephant and die cut it using the Yeti banner die from Mama Elephant, which coordinates. I added foam to the back and adhered it over the white heat embossing to complete my sentiment.
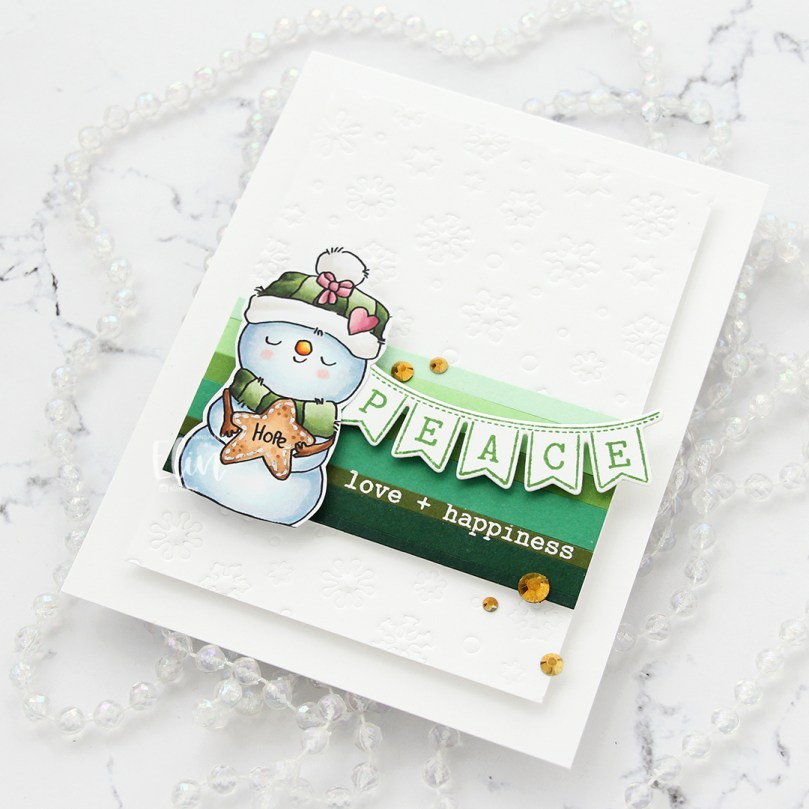 I used foam tape on the back of the snowman too, so this card has a lot of dimension. The dry embossed panel is on fairly thick foam tape, the green strips on a bit thinner foam tape, and the banner and snowman on thicker foam tape. I finished the card with a few gems from the Festivities mix from Little Things from Lucy’s Cards.
 This snowman looks so content, I love it!
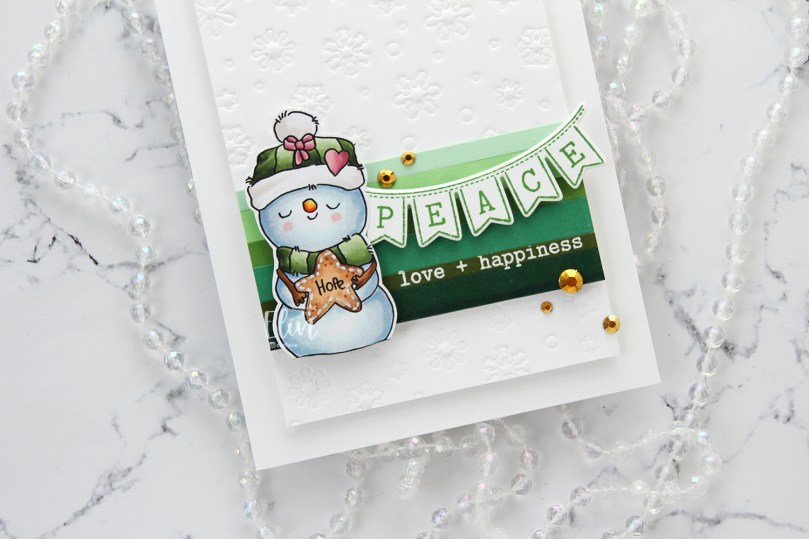 Peace, love + happiness. With a little bit of hope. Sounds like the perfect Christmas to me.
 I’m trying to limit the amount of Copics I use for my cards, but I’m failing miserably. I really don’t mind.
 Papirmølla