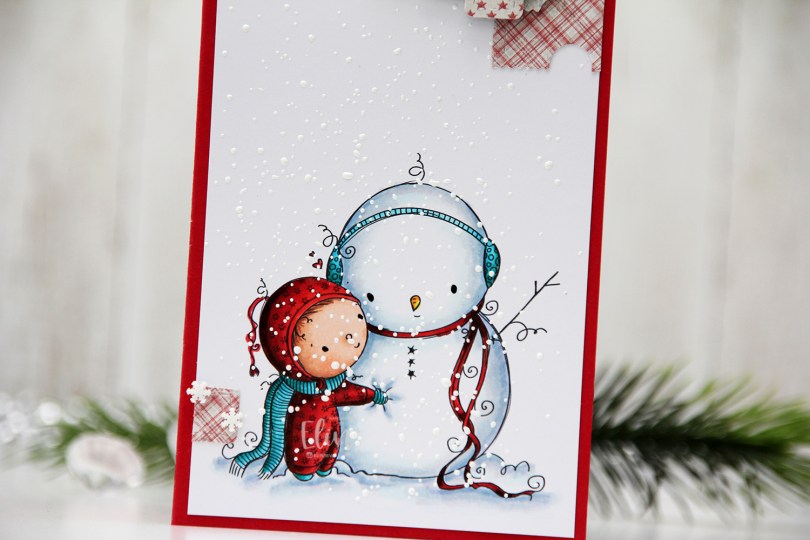
Hi. Sharing a simple mini slimline today with a cute image from Rachelle Anne Miller. I love this Snowman Hug image, and I’ve used it previously for a wintery birthday card, but today, I’ve got a red and tealy blue Christmas card to share. If you use the code ELINVENGE in Rachelle’s store, you get a 10 % discount on your purchase.
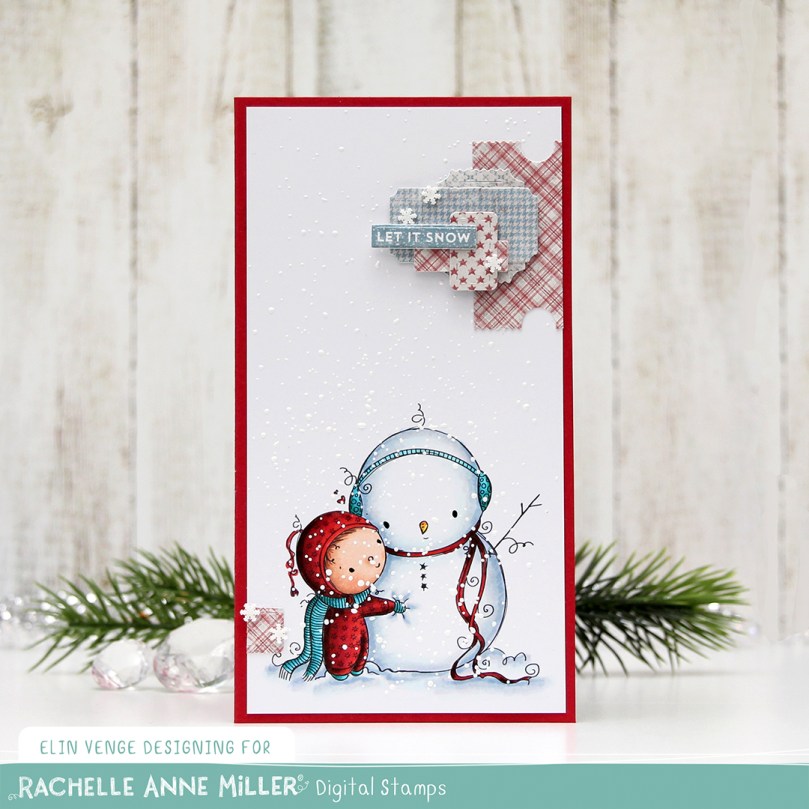
I feel like I haven’t made my signature cluster cards in a while, so I decided to pull out patterned paper scraps and my Happy Days Ticket Stubs die from XCut, an amazing die that cut nine different tickets in one pass, I love it. It’s an older die, but I always use it for my clusters.
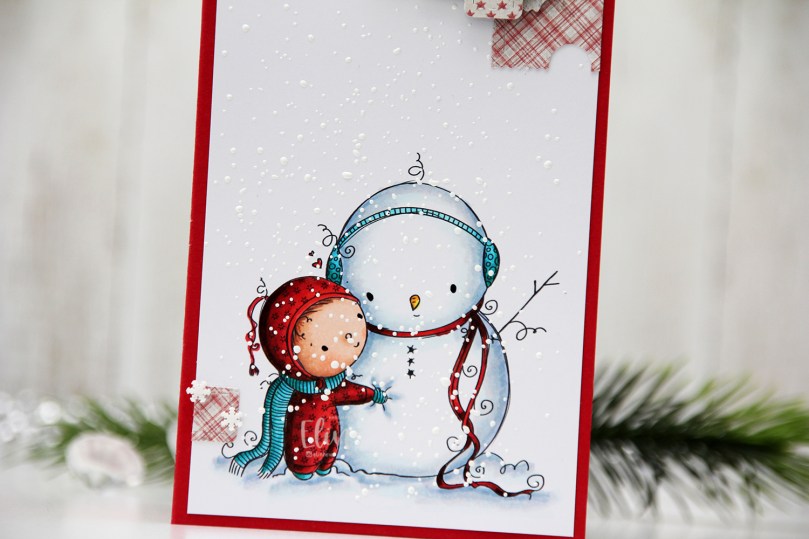 I don’t often create red Christmas cards, but when I can pair that red with a tealy blue, a light blue or a gray, I can make red work. I printed and colored the image onto a 3 1/4 x 6 1/4″ panel of X-Press It blending card, before sprinkling on lots of chunky white embossing enamel from Stampendous to make my scene extra snowy.
 The patterned papers are all die cut from the 6×6″ Home for the Holidays paper stack from Maja Design. I love their patterns and their colors, and the colors in this stack are SO good, I couldn’t resist.
 Mini slimline cards are fun to make. I really should make my envelopes as I go, but I’m not very consistent with that, I’m afraid, and will have lots of envelopes to create once we get a little closer to Christmas (we’ve got less than 100 days to go, by the way).
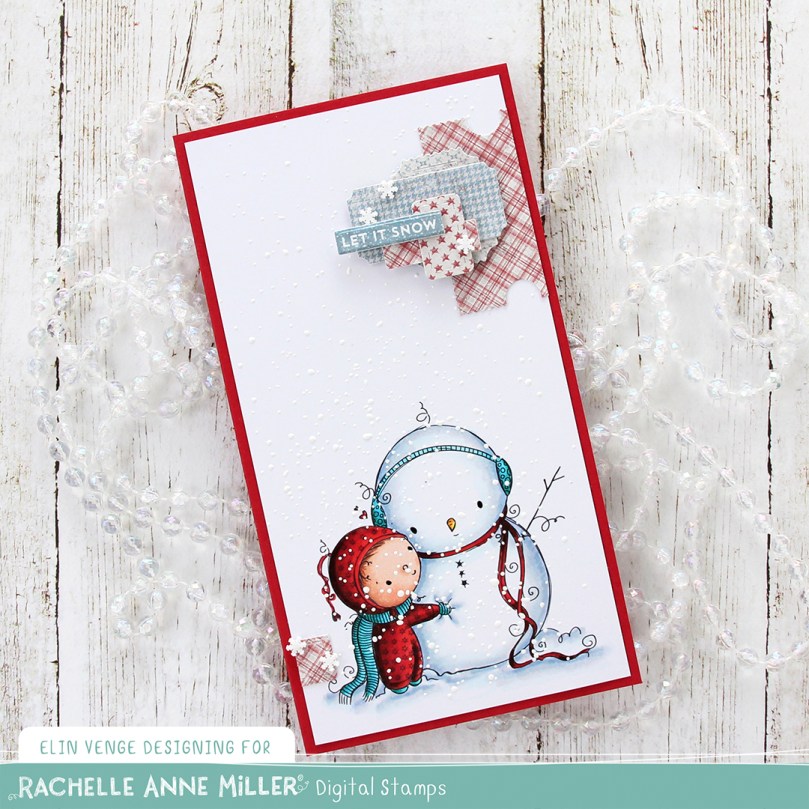 I stamped and white heat embossed a sentiment from the Itty Bitty Holiday stamp set from My Favorite Things onto a scrap piece of patterned paper from that stack from Maja Design, and die cut that with the coordinating Itty Bitty Strips die.
 I added a few snowdrift sprinkles from Little Things from Lucy’s Cards, and the entire panel is adhered onto a card base I made from Wild Cherry cardstock from My Favorite Things. I love their cardstock!
 As usual, I finish with my colors. Not a whole lot for this image.

 These badgers are the
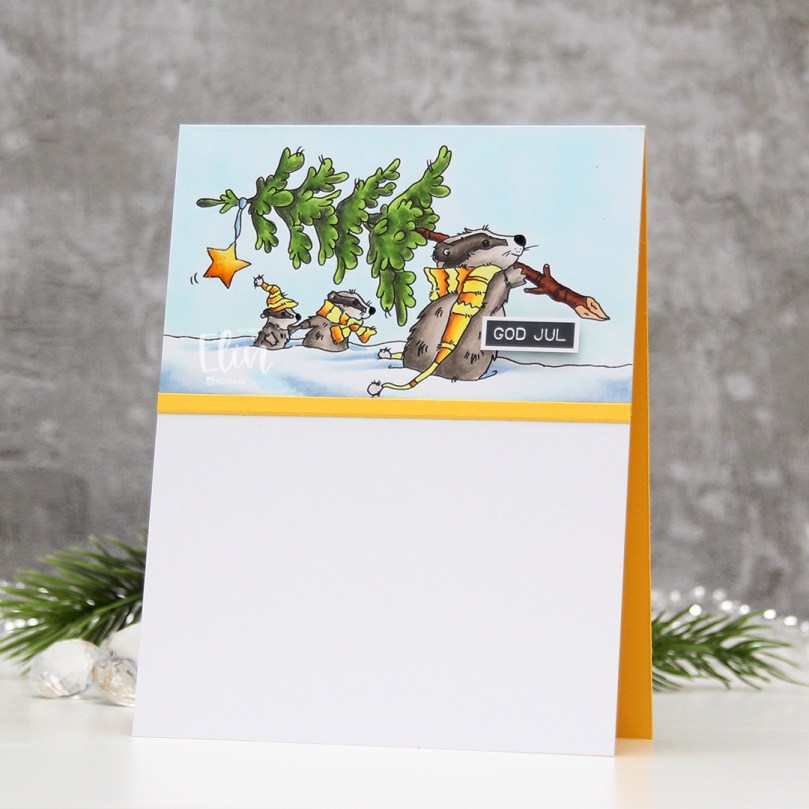 I adhered my colored panel to a top fold card I made from Bright Buttercup cardstock from Papertrey Ink. I added a strip of that same cardstock below my image and left tons of white space. I printed a sentiment from the
 Simple color palette, of course with a pop of yellow in there.
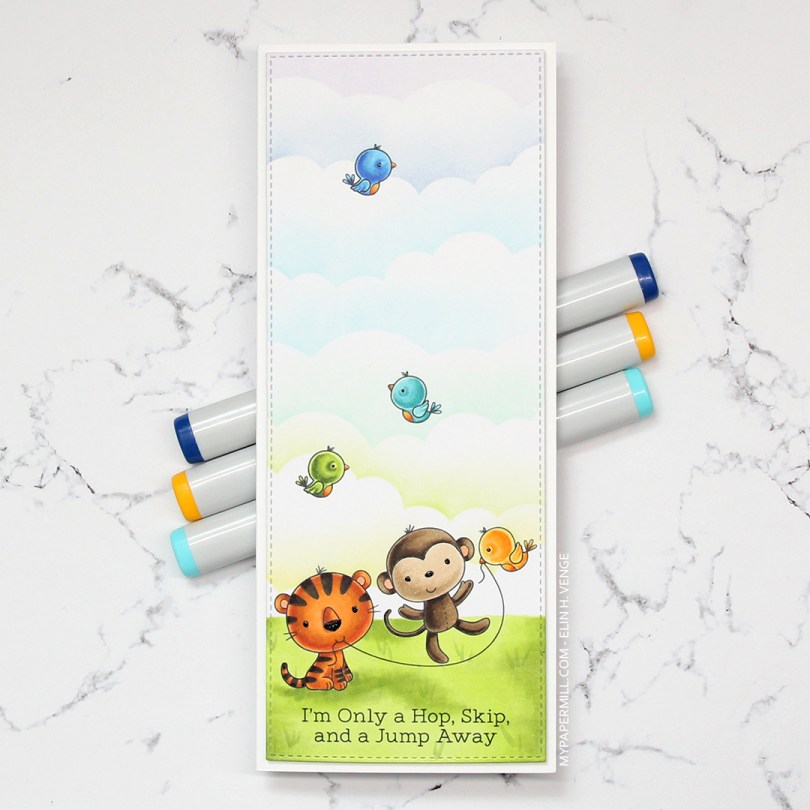
 I colored in all the critters using Copics, before masking them off and creating clouds behind them using a
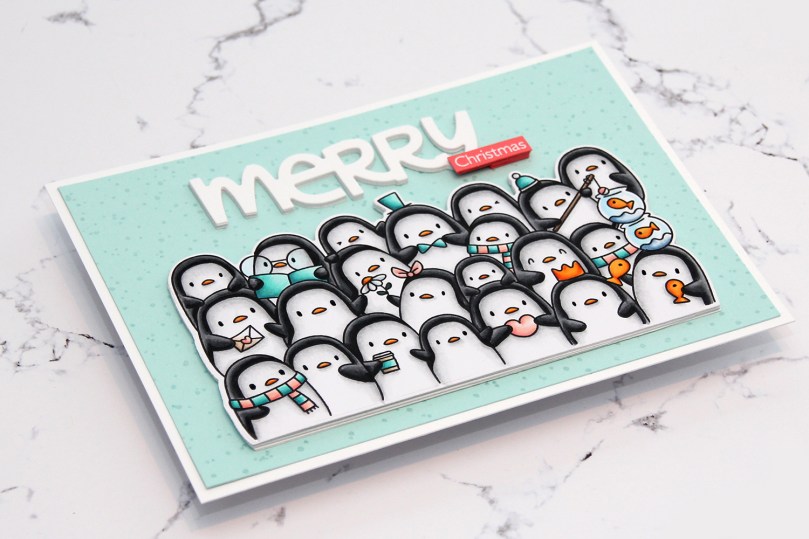 I colored the penguins with Copics and used the coordinating die to die cut this cute little waddle for the front of my card.
 The waddle of penguins actually opens up so you can write a personal message on the inside, and there’s a few more die cuts under there for dimension and a little bit of stability.
 I glued my penguins to a panel made from Aqua Mist card stock from Papertrey Ink. I used the Paint Splatter background stamp from My Favorite Things with VersaMark ink, poured White Satin Pearl embossing powder from Hero Arts on top and heat embossed it. I know the stamp is supposed to be paint splatter, but I think it looks like snow, which makes the stamp even more versatile, and it’s a great way to add some subtle interest to a background. I added the Aqua Mist panel onto a slightly larger panel of Stamper’s Select White cardstock from Papertrey Ink.
 The Penguin’s Waddle die set comes with a big word die “Oh so merry”. I die cut it several times from white cardstock, cut the “oh so” away to use just merry on my card and spritzed some sparkly sheer shimmer spray on top, which you can kind of see in this photo if you look closely. I stamped and white heat embossed the word Christmas from the Christmas Cheer stamp set from My Favorite Things onto Berry Sorbet cardstock from Papertrey Ink, then used my Cut-align ruler from Misti to make sure I’d cut the little strip straight. In this photo you can also see the shine in the penguins’ eyes. I added a little bit of black glaze pen to the eyes, and also a little bit of clear Wink of Stella to certain elements.


 Laura er veldig flink til å ha elementer som stikker ut fra “hull” på kortene sine, og det er det jeg har gjort her.
 Jeg har svertet Distress Oxide Ink på bakgrunnen min (Salty Ocean, Cracked Pistachio og Twisted Citron bak den gule dragen, Cracked Pistachio, Twisted Citron og Fossilized Amber bak den rosa drgen og Fossilized Amber og Picked Raspberry bak den blå dragen). Tanken var å ha kalde farger bak motiver i varme farger og motsatt, samtidig som jeg ville at det skulle se ut som om overgangene var naturlige fra den ene sirkelen til den neste.
 Hele det hvite panelet på fronten er satt på 3D-puter, alle dragene, som er fra Magical Dragons-settet til My Favorite Things er fargelagt med Copics, klippet ut og satt på 3D-puter. Jeg har laget øynene ekstra skinnende og svarte med en Glaze-penn og alle vingene har fått et strøk med Wink of Stella glitterpensel, det syns såvidt på den rosa vingen på bildet, men vises bedre i virkeligheten. Til slutt har jeg satt på en tekst fra Papertrey Ink embossed i hvitt på svart kartong.