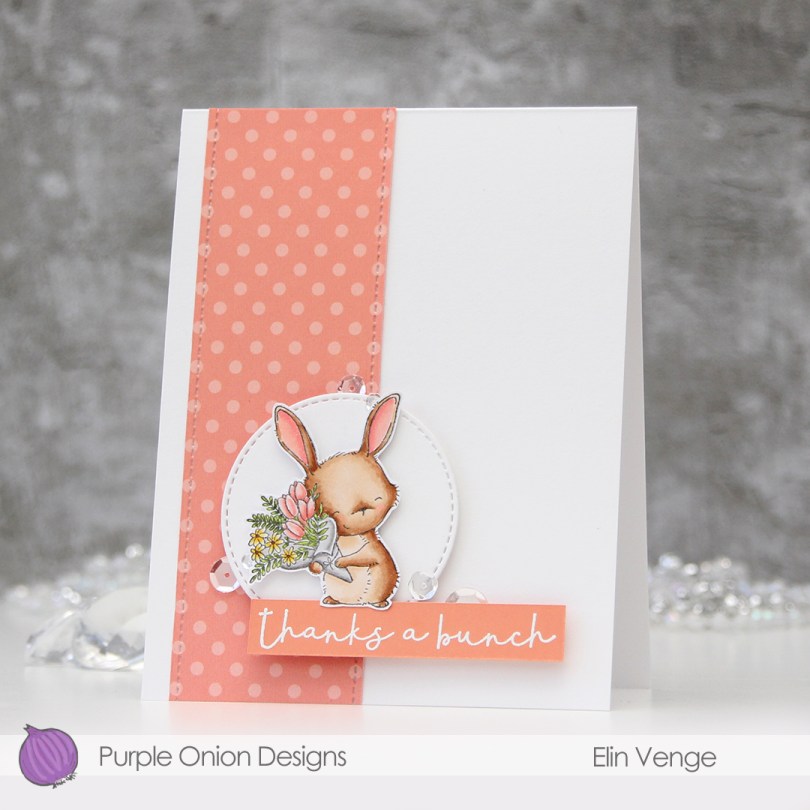
Hi, there! I have another card to share today featuring new goodies from the latest release over at Purple Onion Designs.
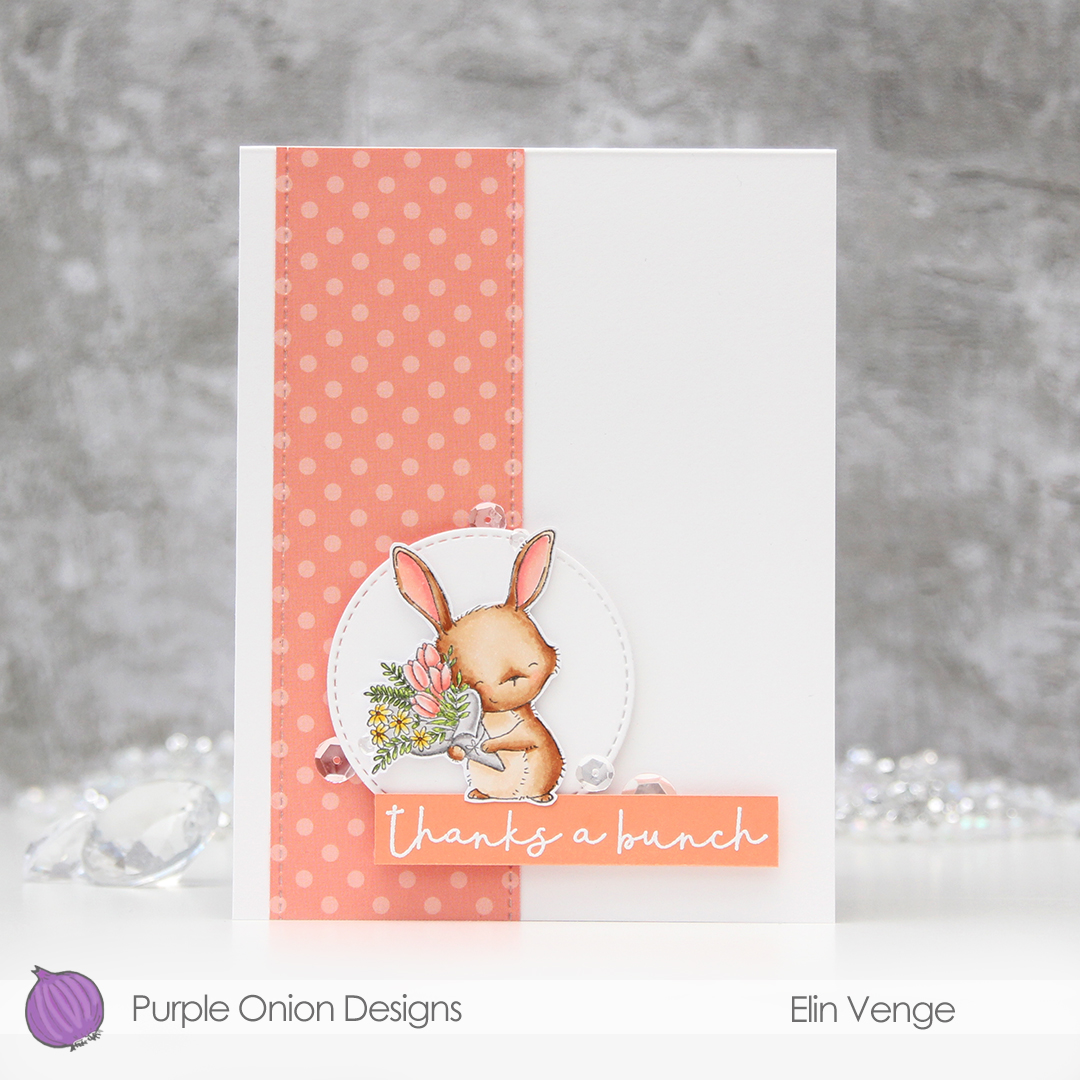
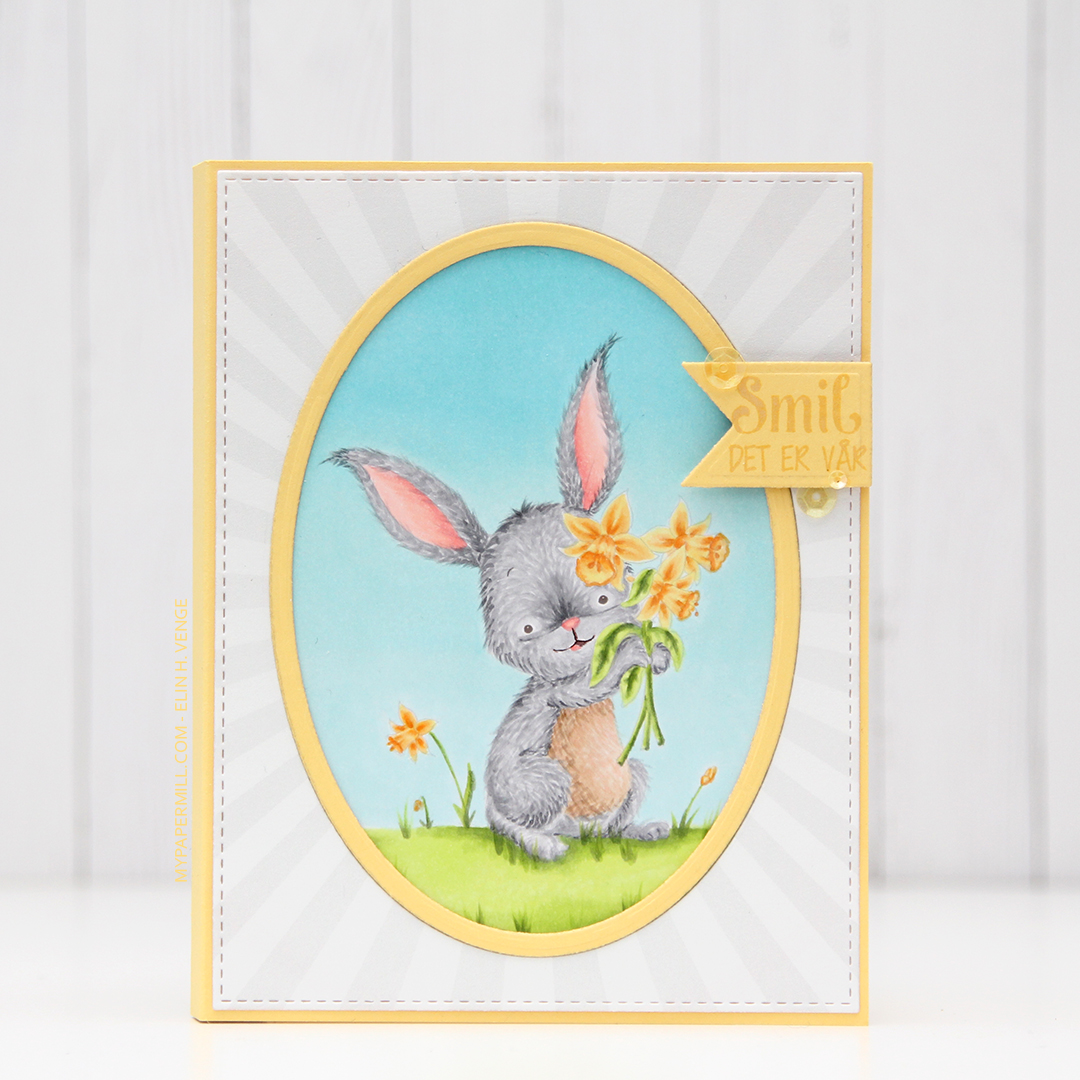
Isn’t this bunny with her bouquet of flowers adorable? Look at that sweet smile. I love Stacey Yacula’s illustration style, she really brings her characters to life. This is Junie. I colored her with my Copics and decided to fussy cut her.
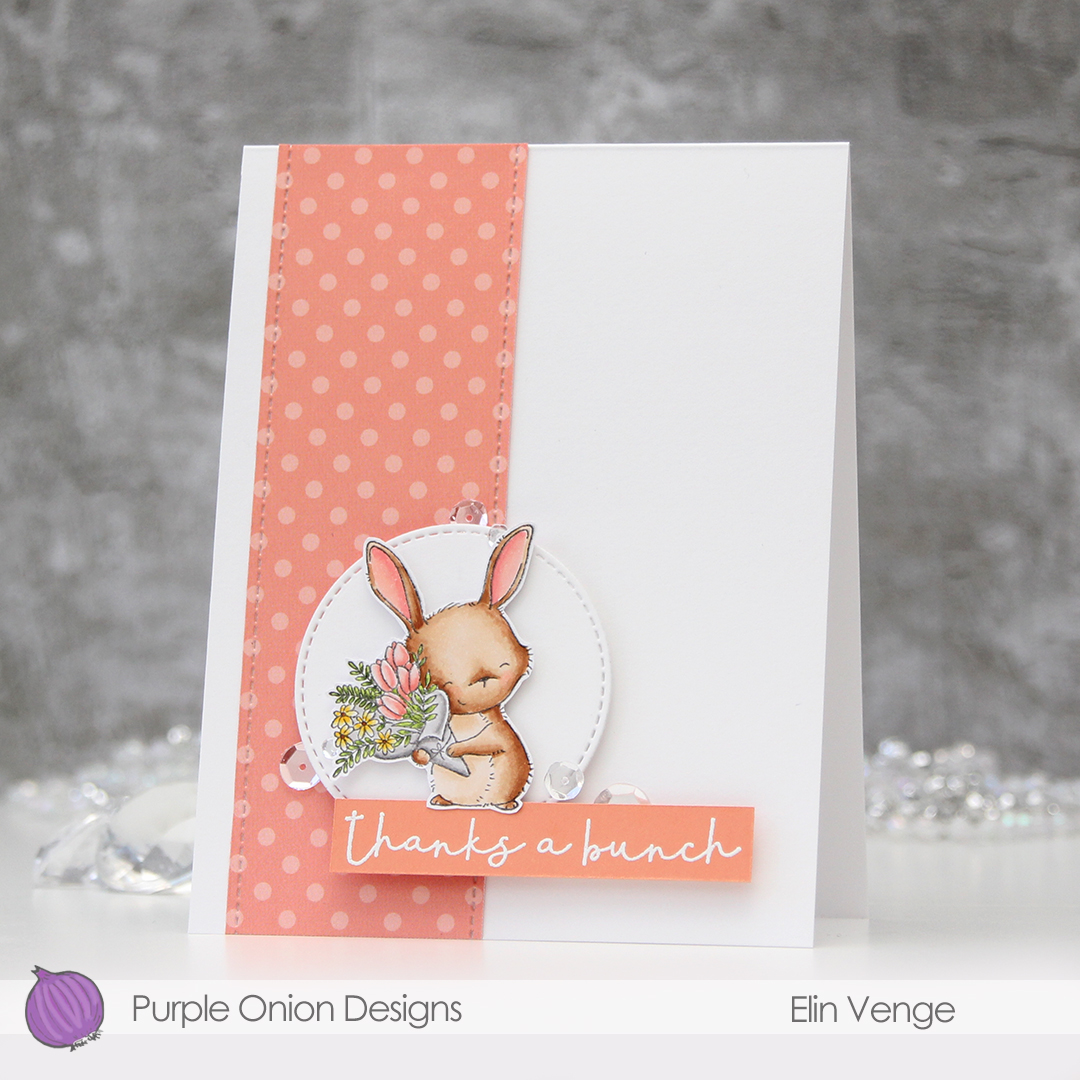
I pulled out a piece of patterned paper from the Dots & Stripes Pastels pack from Sunny Studio and cut it down to a strip, using one of the Stitched Borders dies from Lawn Fawn on both sides for a nice finished look. I die cut a white card stock circle using a die from My Favorite Things, and mounted it on foam tape.

I stamped and white heat embossed one of the sentiments in the “Around the Town” sentiment set on a piece of Melon Berry card stock and mounted it on foam tape, before adding my bunny with some 1 mm foam squares on top of the white circle.

I finished my card by adding some Pretty Pink Posh sparkling clear sequins in a visual triangle around the circle and bunny.

Small image equals a limited color palette.

 I colored my image onto X-Press It blending card using my Copics, before using the largest of the A2 Stitched Rectangles STAX dies from My Favorite Things to turn it into a nice panel with faux stitching around the edge. I adhered it onto a card base I made from Coral Crush card stock from My Favorite Things. Sadly, the color’s discontinued, but they have loads of other gorgeous card stock colors at My Favorite Things.
 I added a small cluster of scraps to the top left of my card. About half a mini doily from Doodlebug Design is at the bottom, followed by die cut pieces of patterned paper from Sunny Studio and a sentiment banner on top. I white heat embossed a sentiment from the Bitty Bears stamp set from My Favorite Things onto a banner of Peach Bellini card stock, also a discontinued MFT color.
 My embellishments tend to be sequins or enamel dots centered around the sentiment on my cards. For this one, I added another two sequins in the bottom right corner, just to do something different than my standard three sequins. These sequins are from the Heaven Sent mix from Little Things from Lucy’s Cards.
 I used quite a few colors for this one. For the frosting on the pink cupcake, I also used R87, which is a color I’ve created myself.
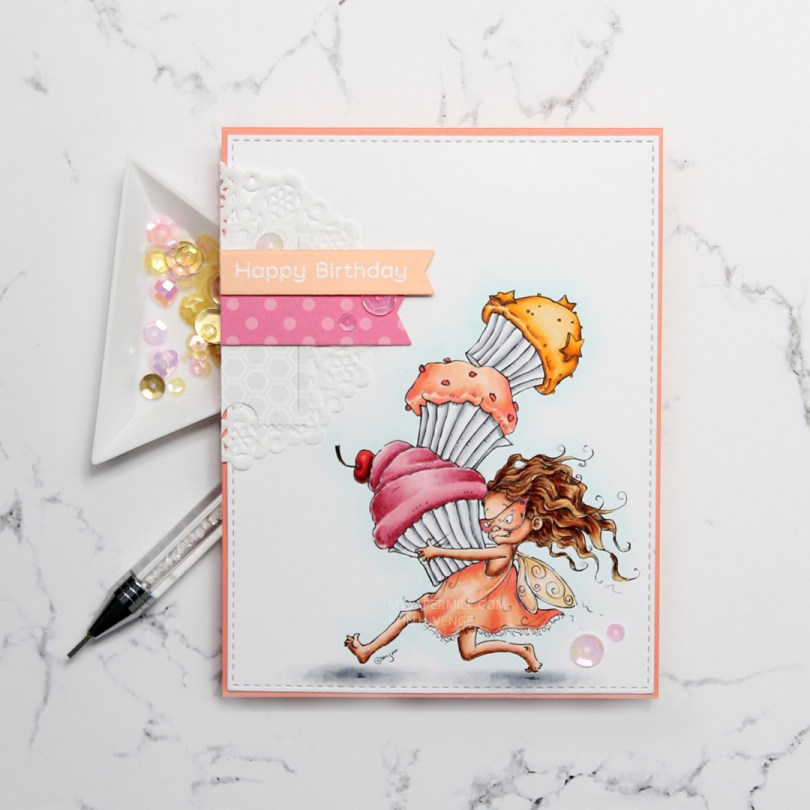
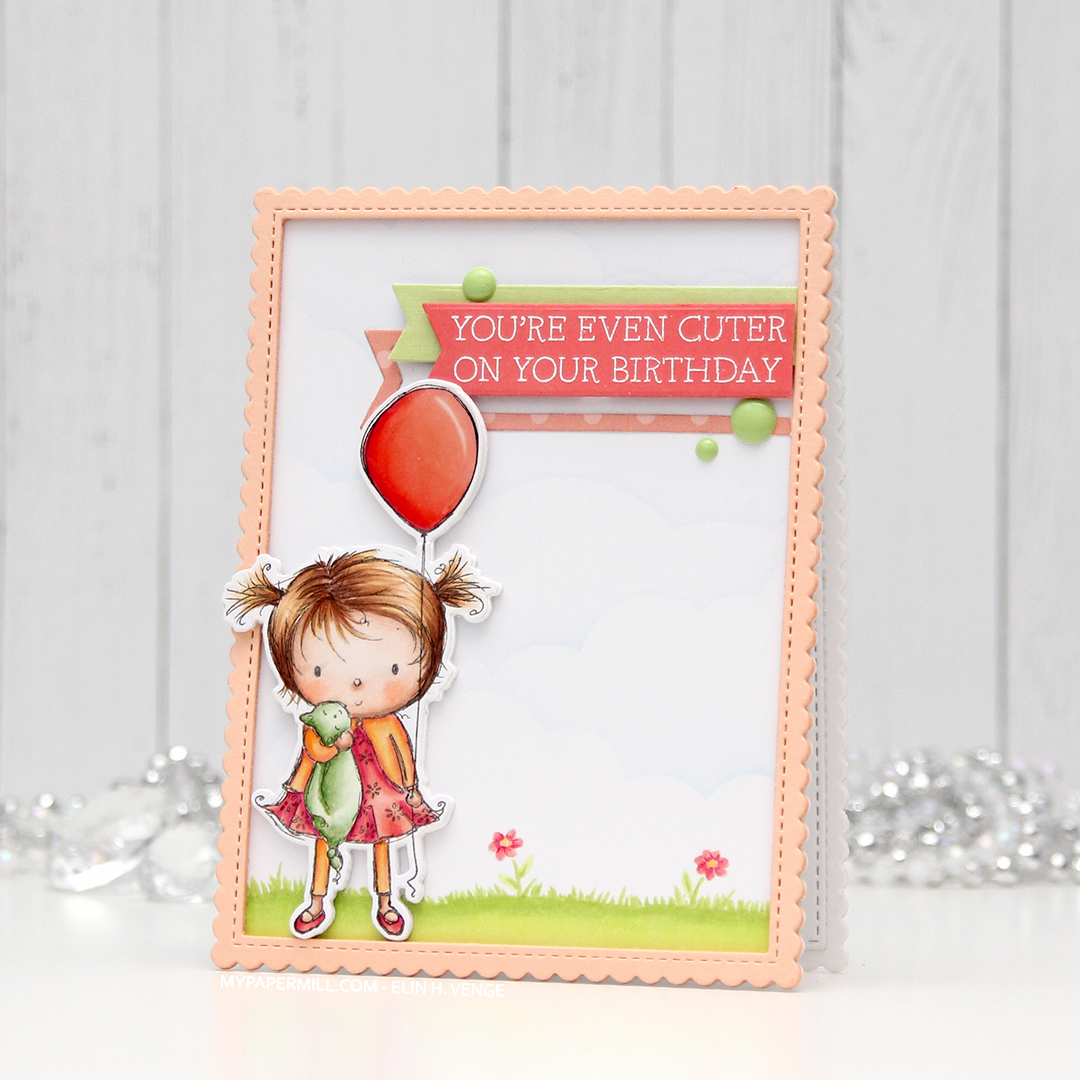 I don’t often purchase coordinating dies for stamp sets, but boy, they make it easy to add dimension. Once I’d colored up the little girl with the balloon, I die cut her and four additional pieces from white card stock to add dimension behind her. Way more sturdy than foam tape.
 I wanted to use lots of other goodies from MFT on this card, so I used the cloud stencil with a very light blue ink (Iceberg from Altenew) to create a barely there puffy cloudy sky behind her. It’s really soft, but shows up better in real life than in photos. I used a couple of elements from the Scene Builder stamp set and stamped those near the bottom using Fadeout ink from Inkon3 for a little bit of no line coloring. I die cut the largest of the Stitched Rectangle Scallop Edge Frames four times from Peach Bellini card stock and glued them together for dimension.
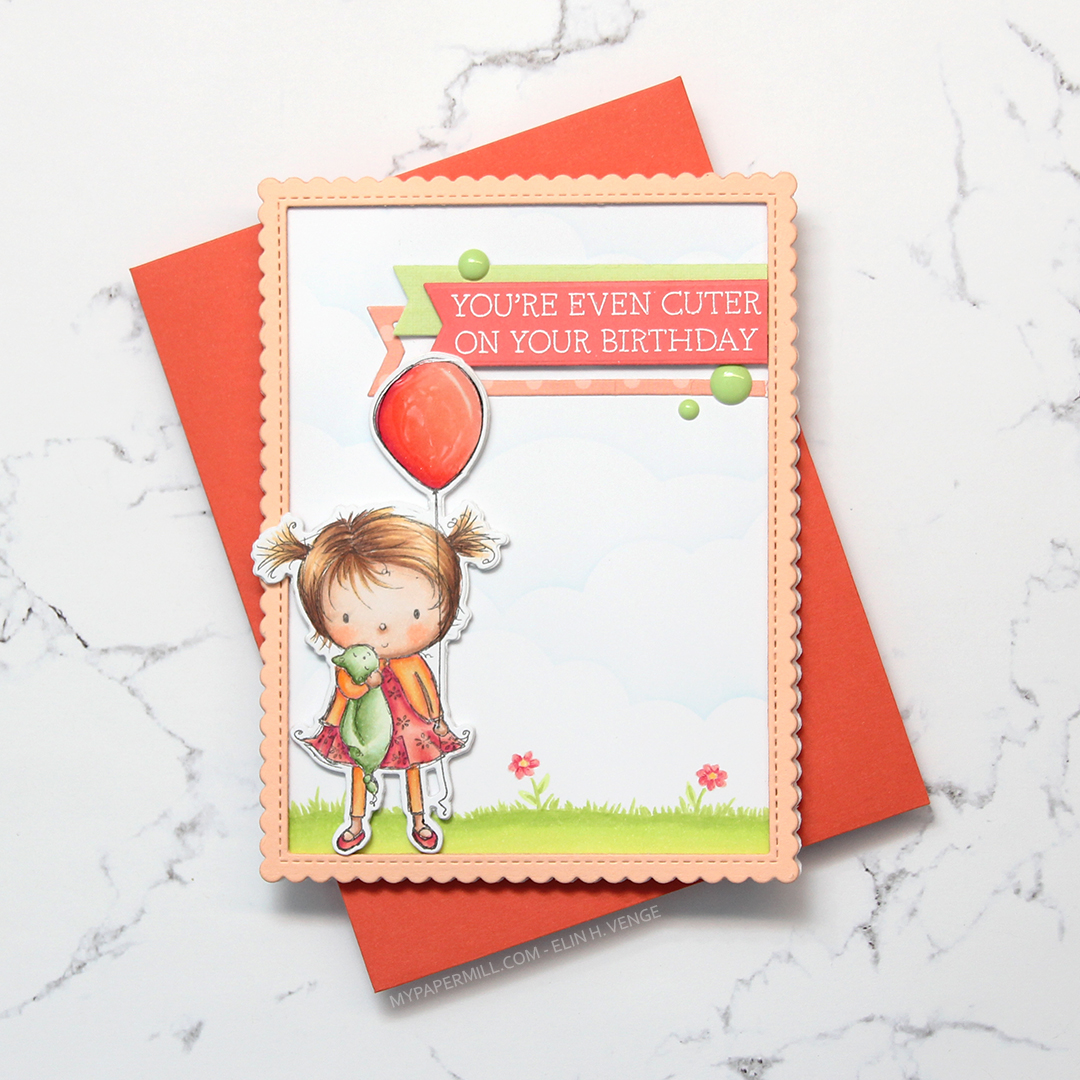 I added clear Wink of Stella glitter and a thick layer of Glossy Accents on the balloon, before stamping and white heat embossing one of the sentiments in the Birthday Cutie stamp set onto Berry Sorbet card stock from Papertrey Ink. I die cut the sentiment using one of the Fishtail Flag Frames dies from MFT, and found some scraps in my stash that I’d already die cut using dies from the same set. I use that die set a lot. I added three green enamel dots from the Tropical Forest set from Altenew and my card was finished. I paired the card with a Persimmon envelope, also from MFT. I love their envelopes!
 Lots of colors for this one! I was going for a peachy pink jacket and leggings, but it was too close to the pink I’d used for the rest of her, so I added some yellows on top. I also decided to go for a brighter green on the grass than her little stuffie.
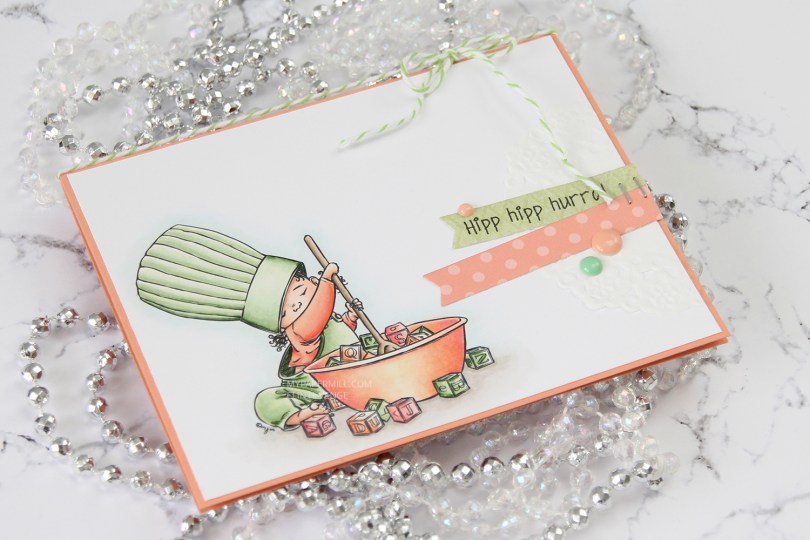
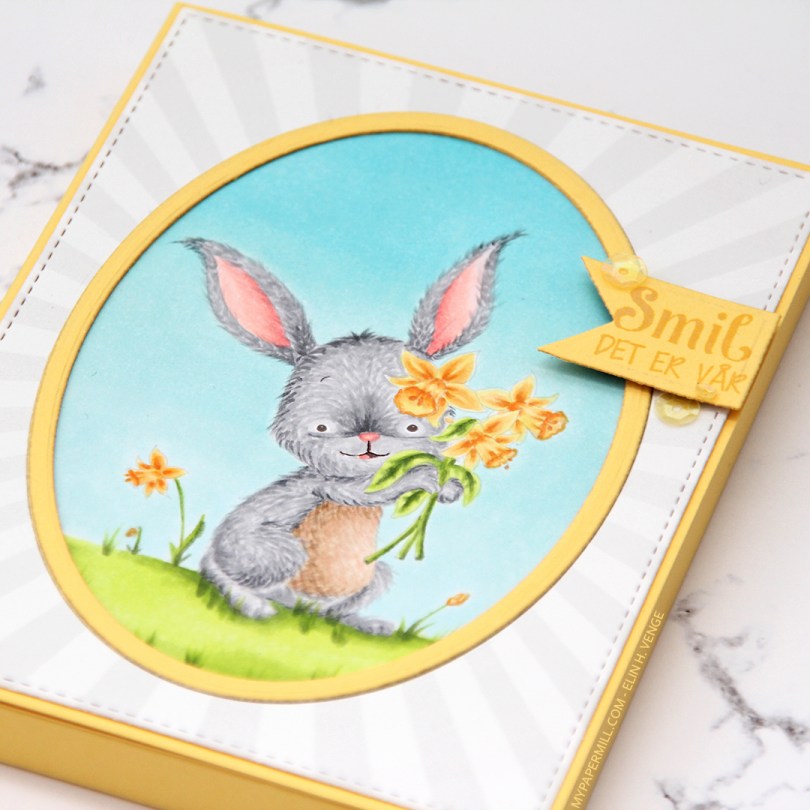
 I printed my image onto X-Press It blending card towards the bottom left corner of a quarter sheet. I colored it in with my Copics, before trimming it down to 5 3/8 x 4 1/8″. I wanted the Melon Berry cardbase from Papertrey Ink to show around the edges, and this size panel creates the perfect 1/16″ border on all four sides.
 If you’ve seen a card or two from me previously, you’ll no doubt know that I’m a fan of adding clusters on my cards. They vary in size and some are simpler than others, but they tend to have three things in common: a piece of a paper doily, fishtail banners and enamel dots or sequins. I also usually put my elements on straight, but this time I went for a less rigid look. I went through my patterned paper scraps and found a green piece from the Vintage Garden collection by Pion Design and diecut it using a fishtail flag frame die from My Favorite Things. I thought I’d have to go for just a piece of cardstock for the other banner, but then I remembered that I have a paper pack from Sunny Studio with pastel colors, and one of them fit perfectly.
 I stamped a Norsk Stempelblad AS sentiment onto the green banner using My Favorite Things Extreme Black ink and stapled the two banners together before gluing them onto the card. I added a string of Green Apple divine twine to the top of the card and a few My Mind’s Eye enamel dots to finish it off. In real life, the green dot looks closer to the greens I used in my image. Photos sometimes lie.

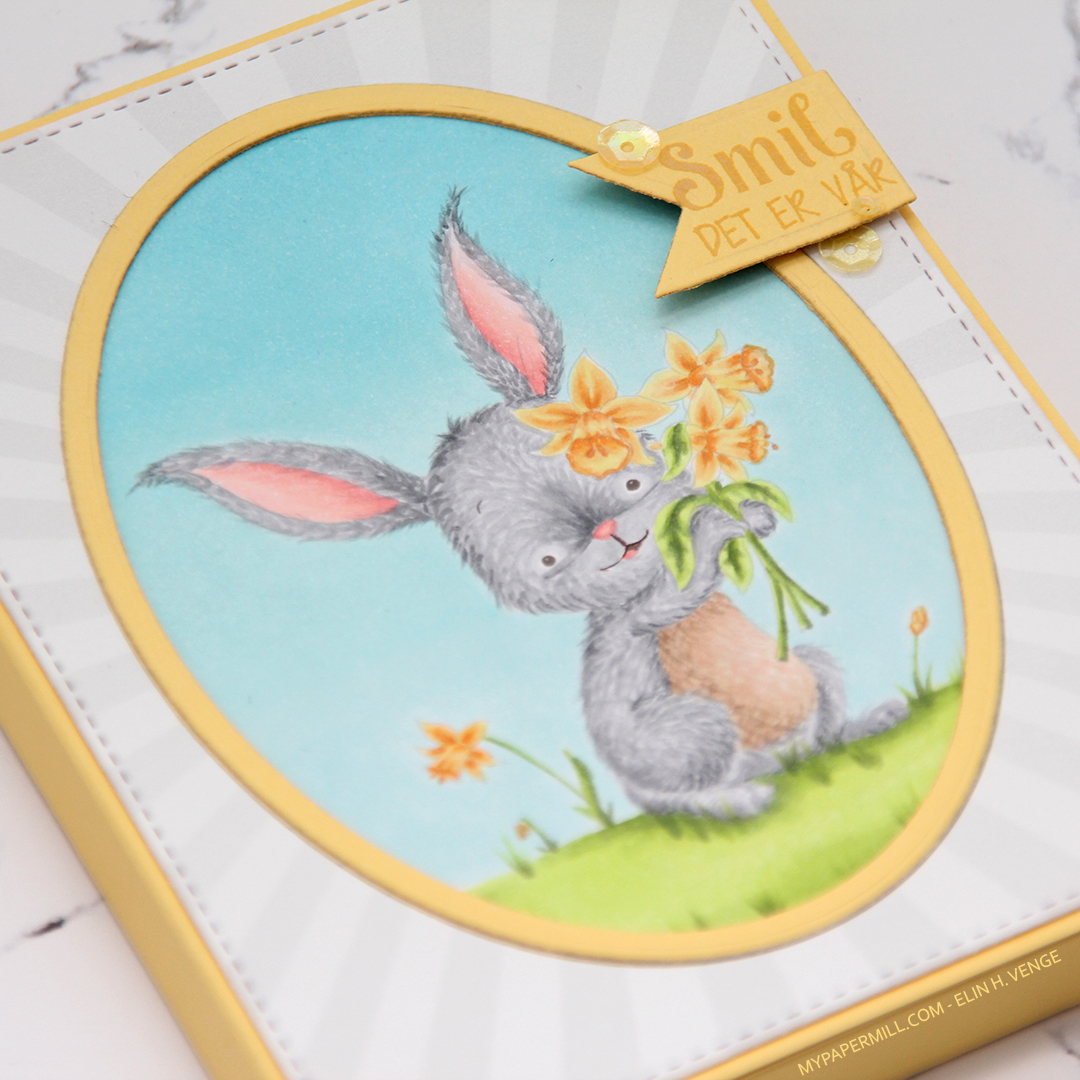
 I colored up this image from the Sending Sweet Celebration Wishes for day 8 of the last round of Kathy Racoosin’s 30 day coloring challenge on Instagram. I’m not usually good at turning images from that challenge into cards, but I’m trying to be better. I decided to fussy cut this one and put him on a vellum circle.
 I followed a sketch from MFT and glued a piece of patterned paper from Sunny Studio onto my cardbase, before cutting a white cardstock piece from Papertrey Ink on an angle and adding lots of foam adhesive on the back. I am not shy with my foam adhesive, I tend to cover the entire back, which I did this time as well. I stamped a sentiment from the same stamp set in VersaFine Onyx Black ink. I like the color and the crispness of this ink, but am no fan of that hinged lid, it’s a pain to work with.
 I glued my vellum circle to the white cardstock (I put my liquid glue strategically behind the bunny) and added a couple of Papirdesign enamel dots for a finishing touch.