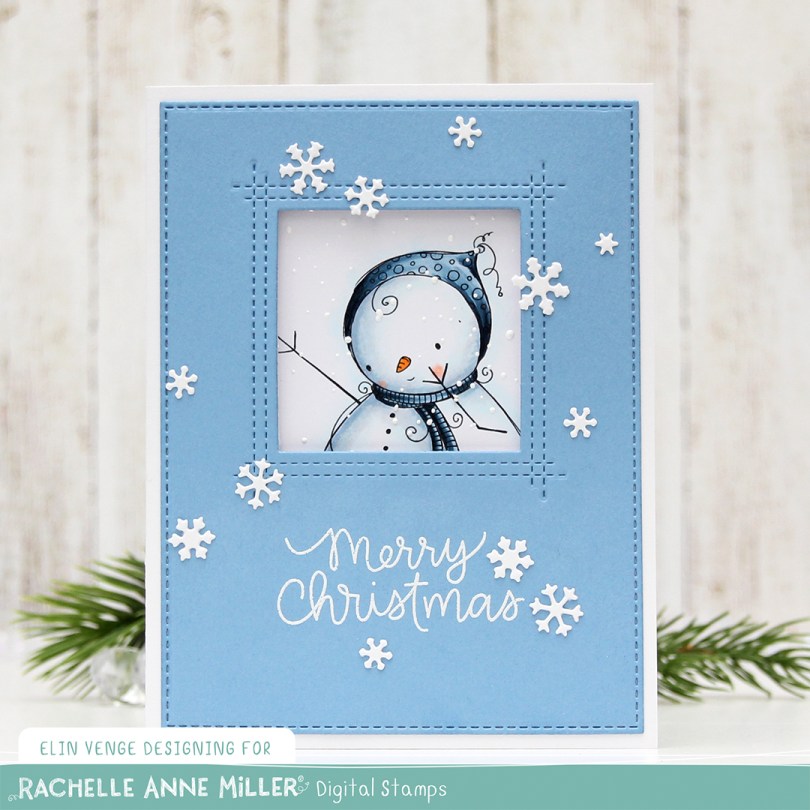
Hi! I’m back today with a Christmas card that is much more my speed than many of the ones I’ve been sharing lately. The reason? It’s blue!!! Nothing beats a blue Christmas card. Except maybe one that’s white on white, but those are notoriously difficult to photograph.
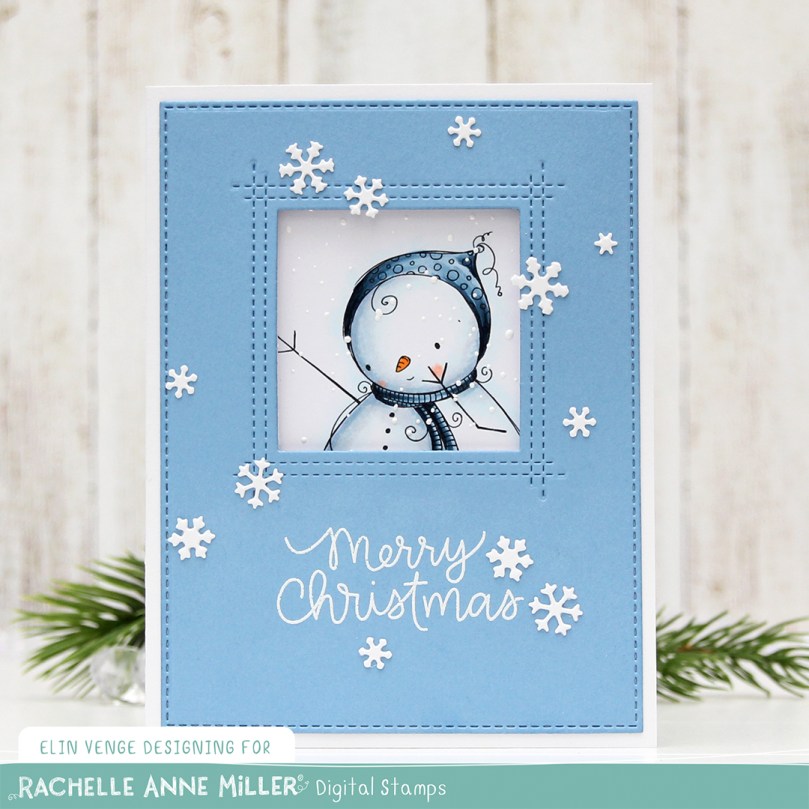 This cute image is called Snowman’s Gift, and it’s from the upcoming release from Rachelle Anne Miller, which will be available later this week (Thursday). I love coloring snowmen, and there’s more to this snowman than the tiny bit you can see through this window on the front of the card.
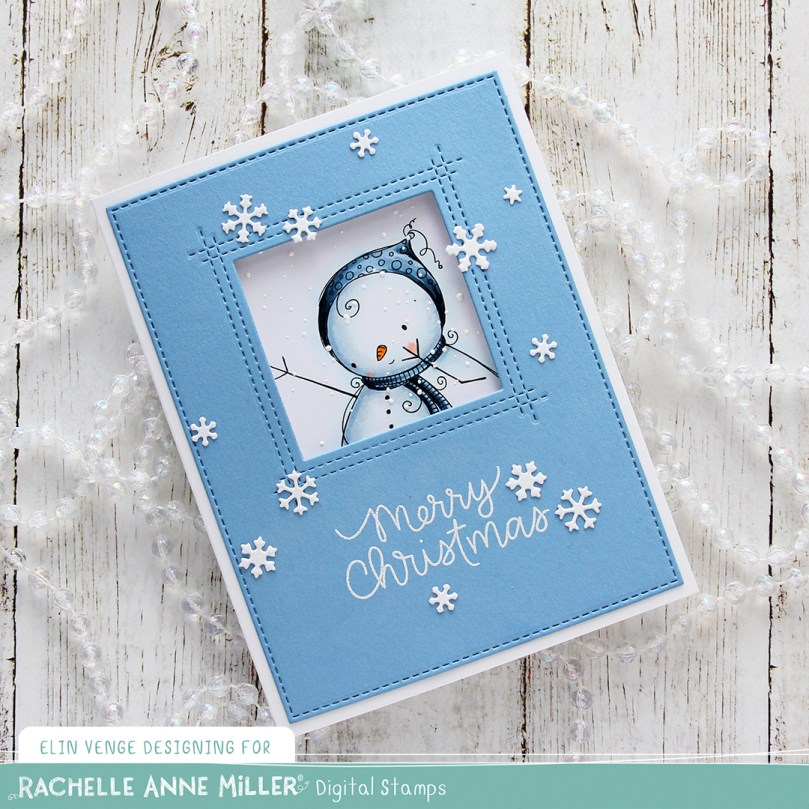 I actually turned this into a trifold card. I used the largest of the A2 Stitched Rectangles STAX 2 dies from My Favorite Things, as well as the Square Peek-a-Boo Window die to die cut from this panel of Lazy Day cardstock, also from My Favorite Things.
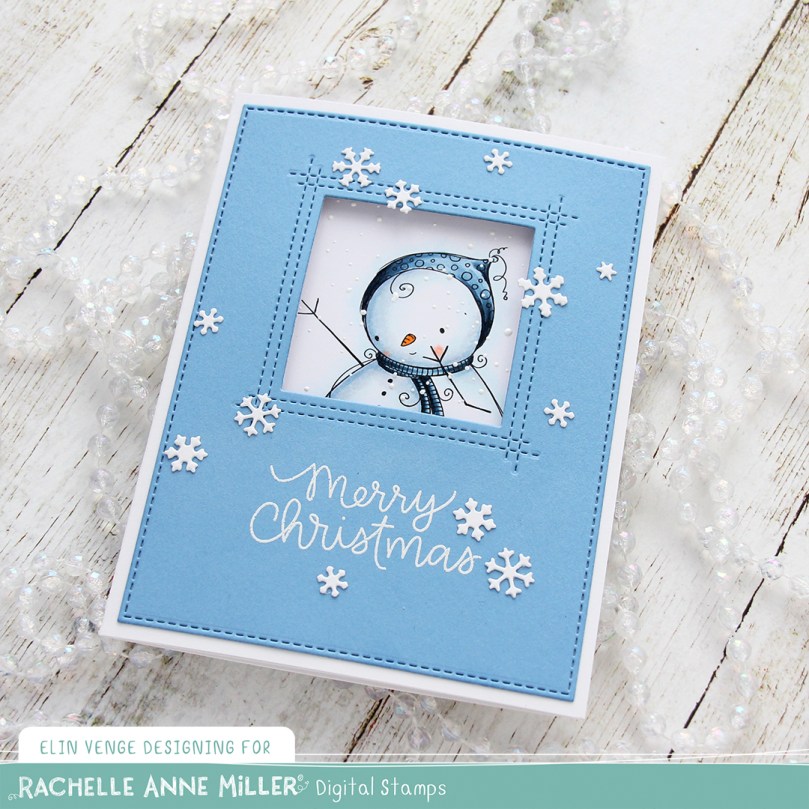
I heat embossed a sentiment from the Scripty Xmas set from Mama Elephant beneath the window and scattered white snowflakes here and there. The snowflakes are die cut using the Snowflake Confetti Fancy die from Hero Arts.
 When you open the card, the rest of the image is revealed, and that cute snowman isn’t alone. He has a little friend giving him a present. Below the image I stamped a sentiment from the Holiday Messages stamp set from Mama Elephant using Lazy Day ink from My Favorite Things. This panel is also die cut using that die from the Stitched Rectangles STAX set from MFT. I love these faux stitch rectangle dies, they’re my most used dies by far. I sprinkled on chunky white embossing enamel from Stampendous and heated the panel from the back to melt the granules before adhering it to my card. This opens up to reveal ample space to write a personal message to the recipient.


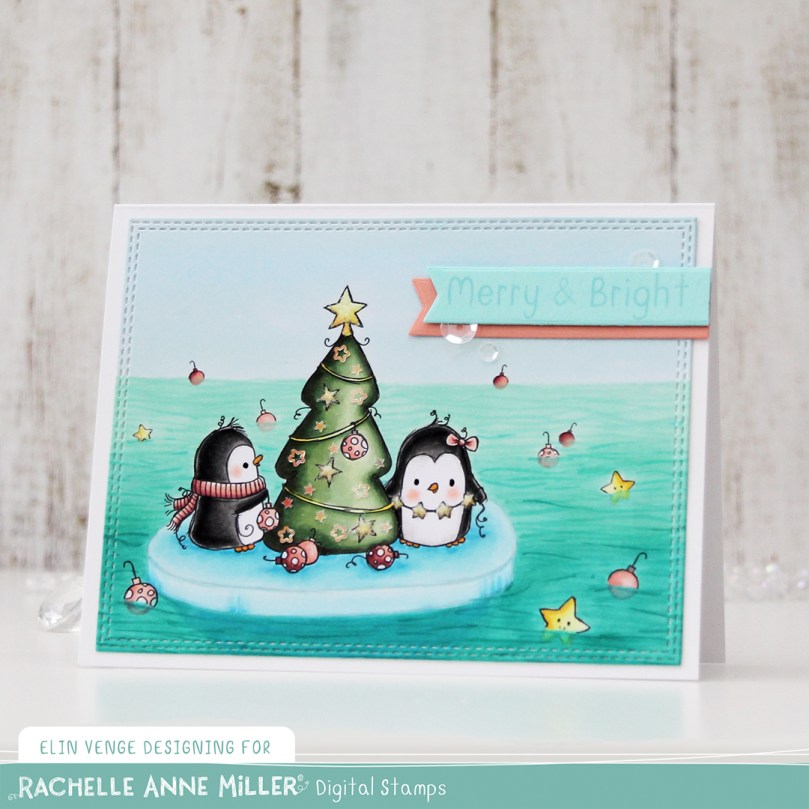 I put the penguins on a sheet of ice, made the ice no line and scattered baubles and stars around the ice to create a fun scene.
 I colored in my scene using Copics, die cut my panel using a double stitched rectangle die from My Favorite Things and decided to add a few little details for shine and texture. I added Rock Candy distress glitter to the stars, a dot of black glaze pen in each eye for a little bit of dimension and shine, and I also glued on some additional stars to the tree. The stars are from the Icicle sequin mix from Hero Arts.
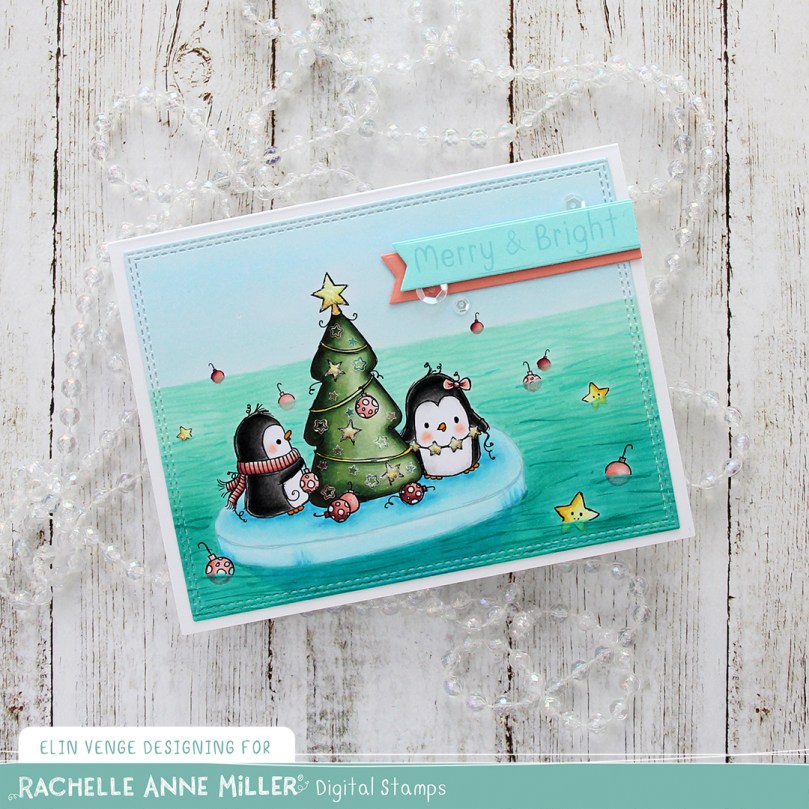 I printed one of the sentiments in the scene creator set onto a piece of Aqua Sky cardstock from Concord & 9th, and die cut that using a die from My Favorite Things. I used the same die to die cut from some Grapefruit cardstock, another beautiful Concord & 9th color, and one that matches perfectly with the baubles I colored.
 Near the sentiment, I added sequins from the White Orchid sequin mix from Little Things from Lucy’s Cards, and that finishes my card.
 I used lots of Copics for the ocean, the sheet of ice and the sky, not that many for everything else.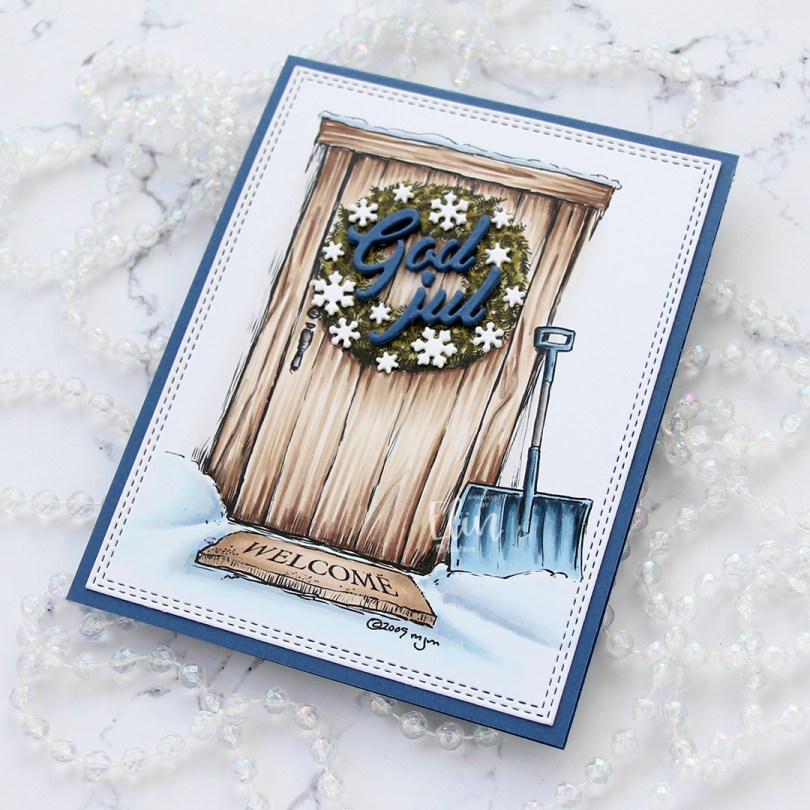
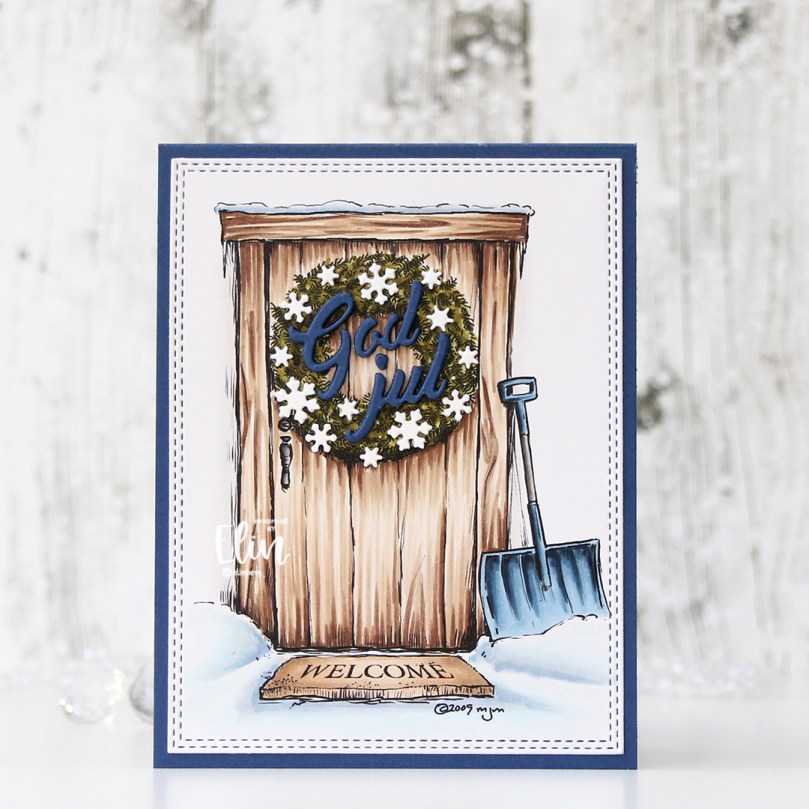 This card took me an hour and a half to make from start to finish, including coloring and the stacked die cuts. That’s so fast for me, I don’t know what happened.
 I printed the image center on a 1/4 sheet of X-Press It blending card before coloring with Copics. I didn’t use many colors, and it was pretty quick to come together.
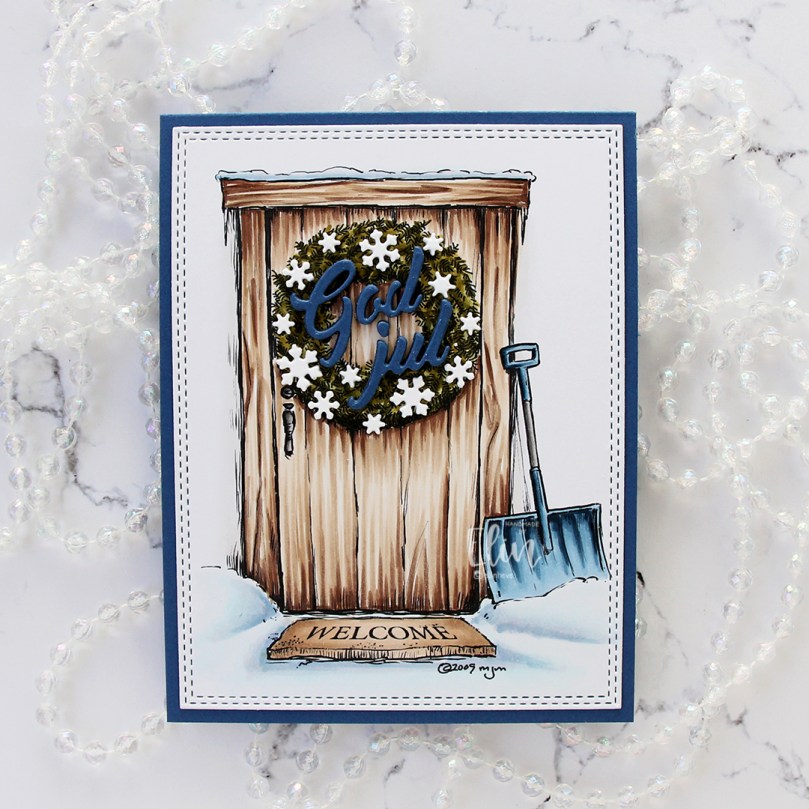 Using the largest of the dies in the A2 Double Stitched Rectangle STAX die set from My Favorite Things, I turned my colored piece into a panel with a nice faux stitch edge and adhered it to a cardbase I created from Blueberry cardstock from My Favorite Things.
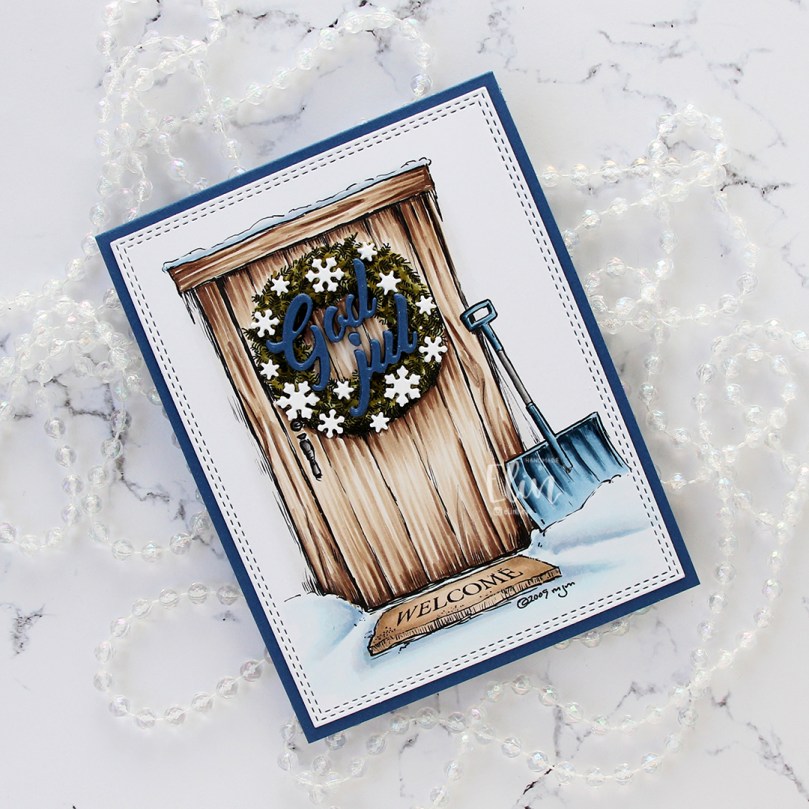 I stacked five God jul die cuts and adhered the layered die cuts to the wreath. The die I used is from Papirdesign. It’s actually a heart with the letters inside, I just skipped the heart and used the letters by themselves. I adhered tiny white snowflakes on the wreath, and I used a die from Hero Arts to die cut those. I stacked these too, but only two layers. And that’s the whole card, super simple.
 Not a lot of Copics for this one either. It really was super simple.


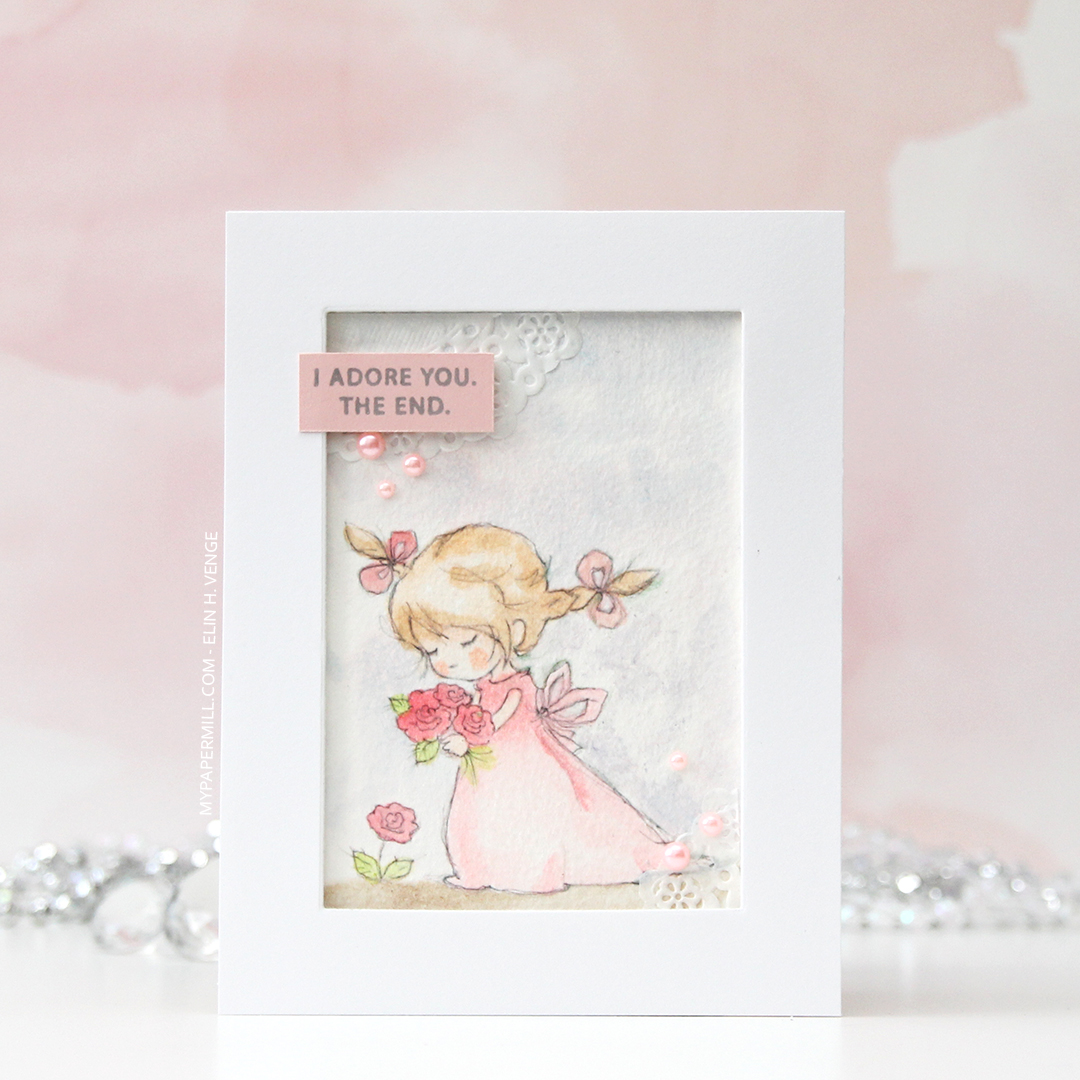
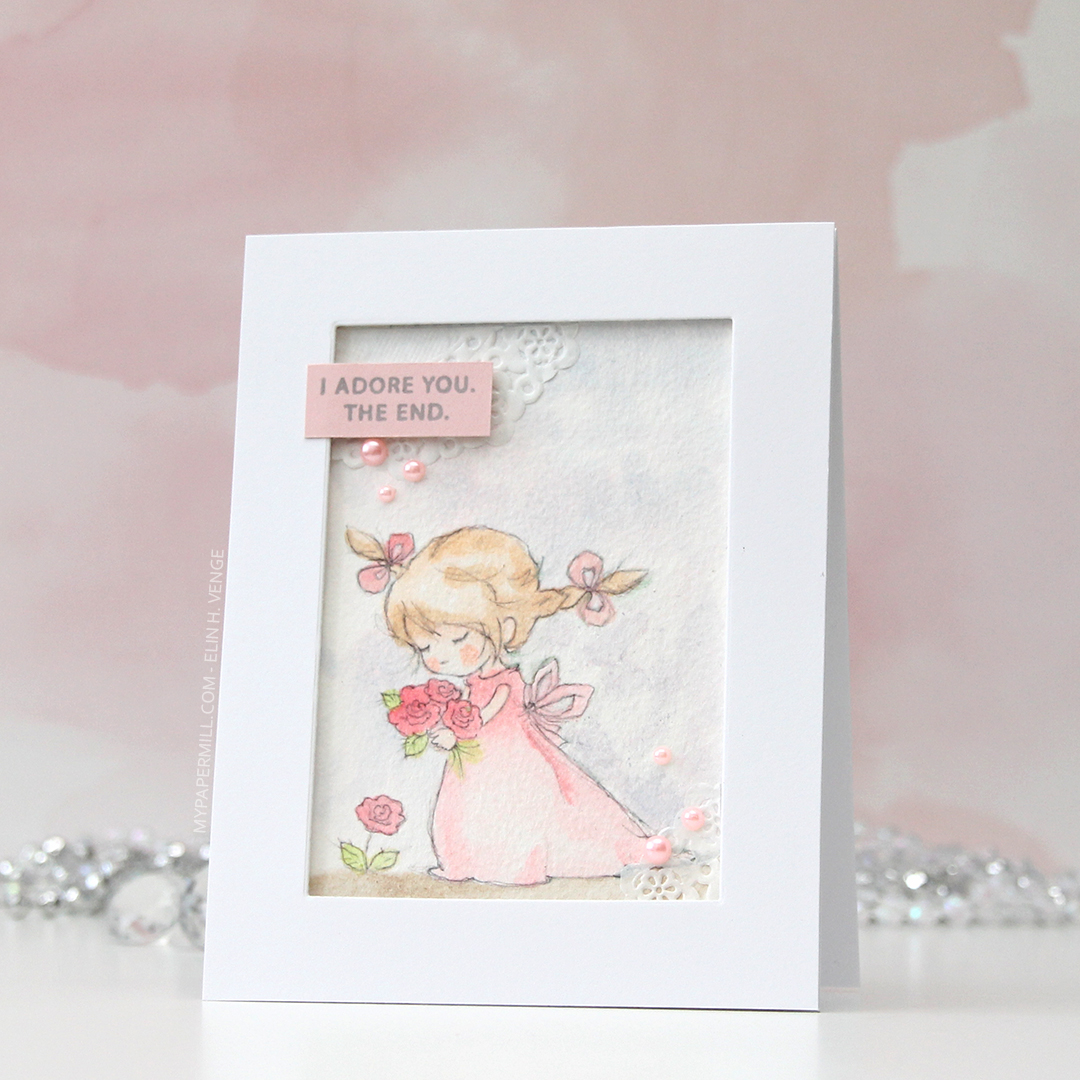



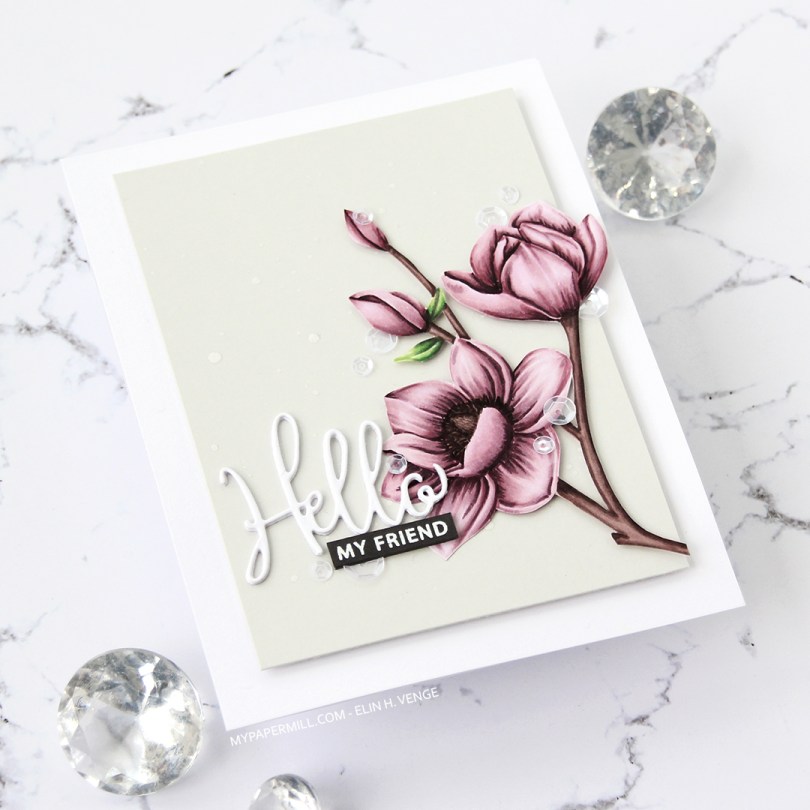
 I stamped the flowers in fadeout ink from Inkon3, before coloring them in with Copics and fussy cutting up to the line.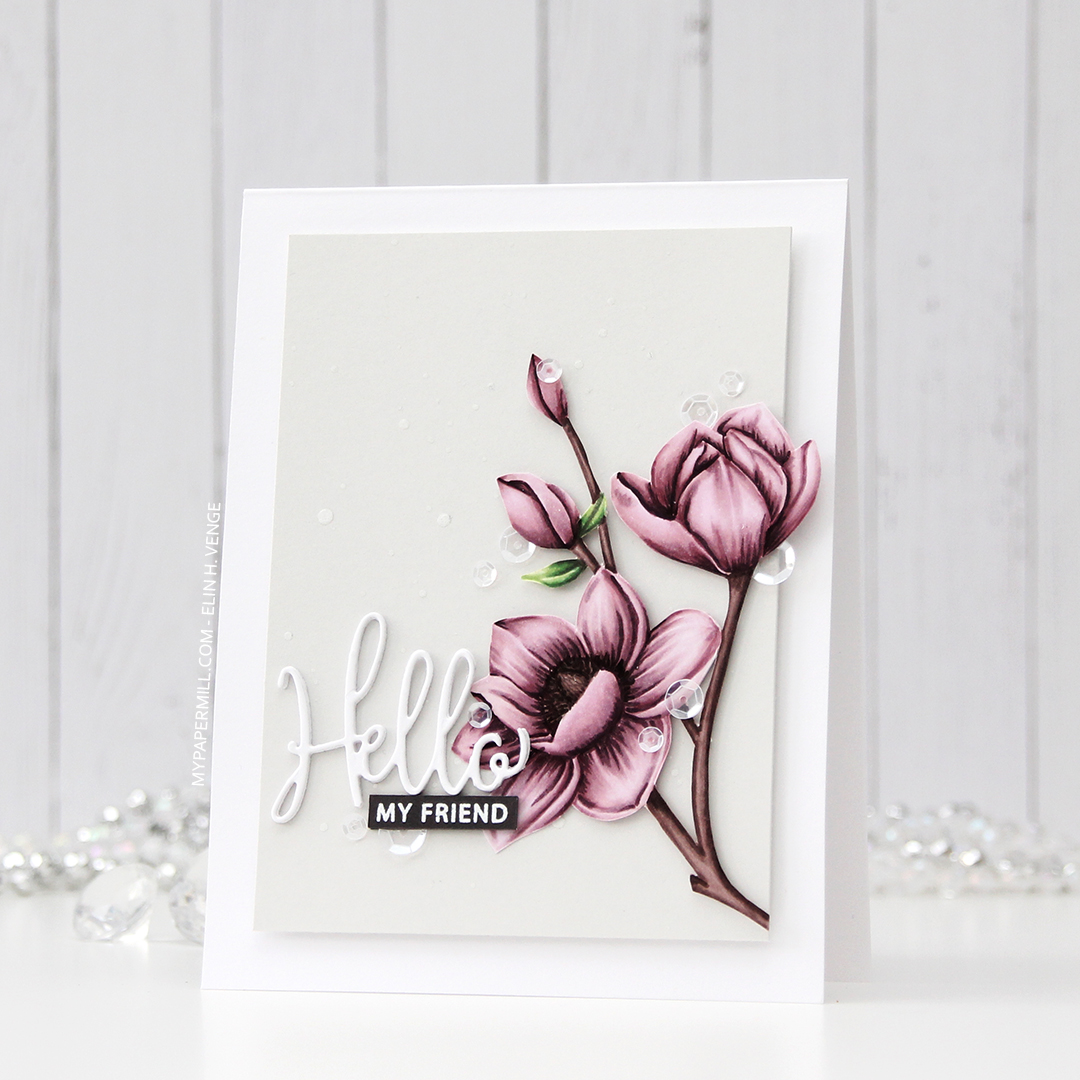
 I die cut Hello three times from white card stock and stacked the die cuts for dimension. The die is from a die set that came with my Gemini when I bought it two years ago, and this is the first time I used it. It has a swirl going down at the bottom of the H that connects to the o, but I chopped that off.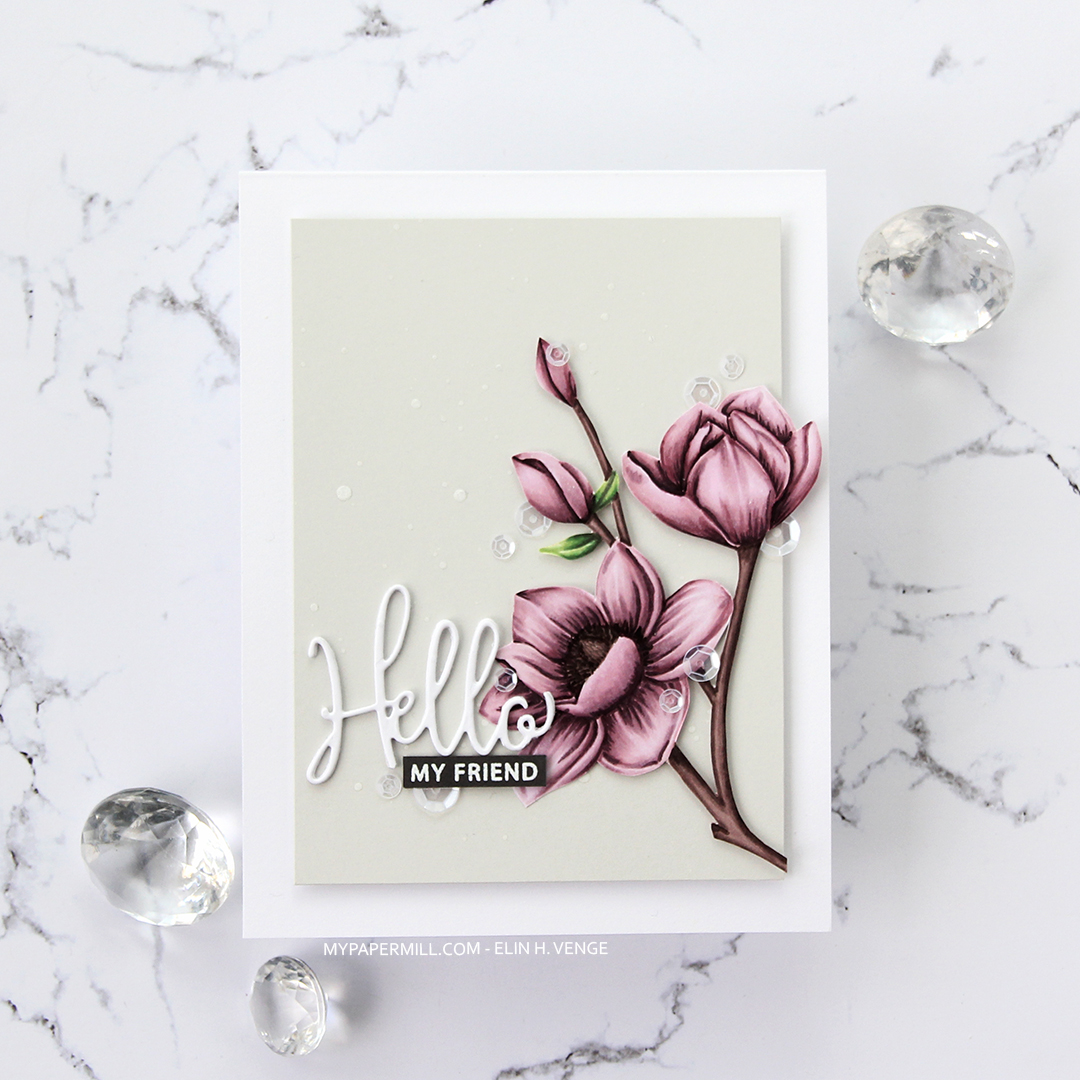
 I added sequins from the White Orchid Sequin mix from Little Things from Lucy’s cards on or near the flowers and the sentiment, and my card was complete.
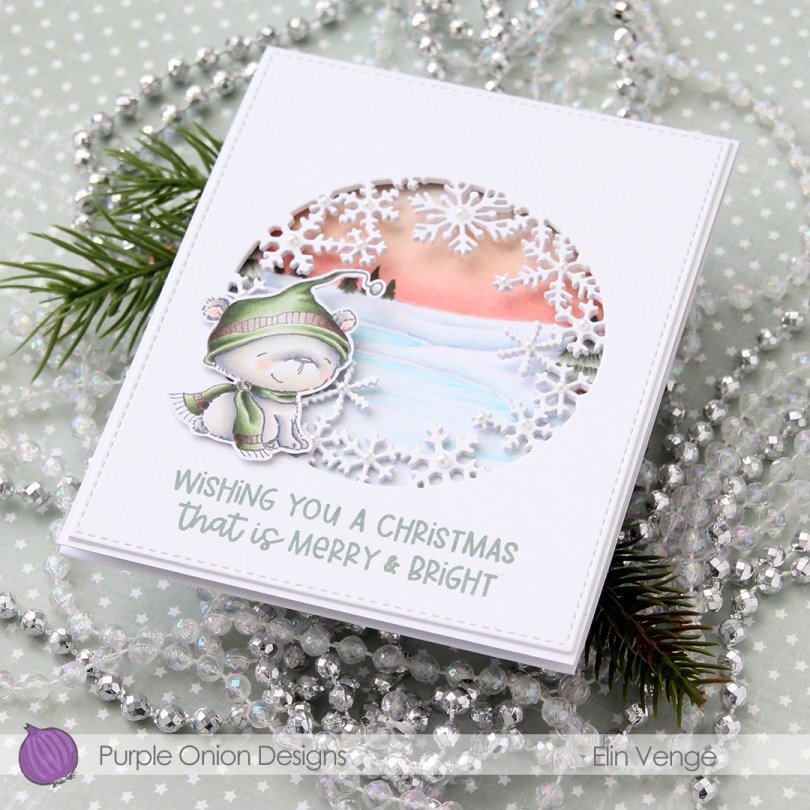
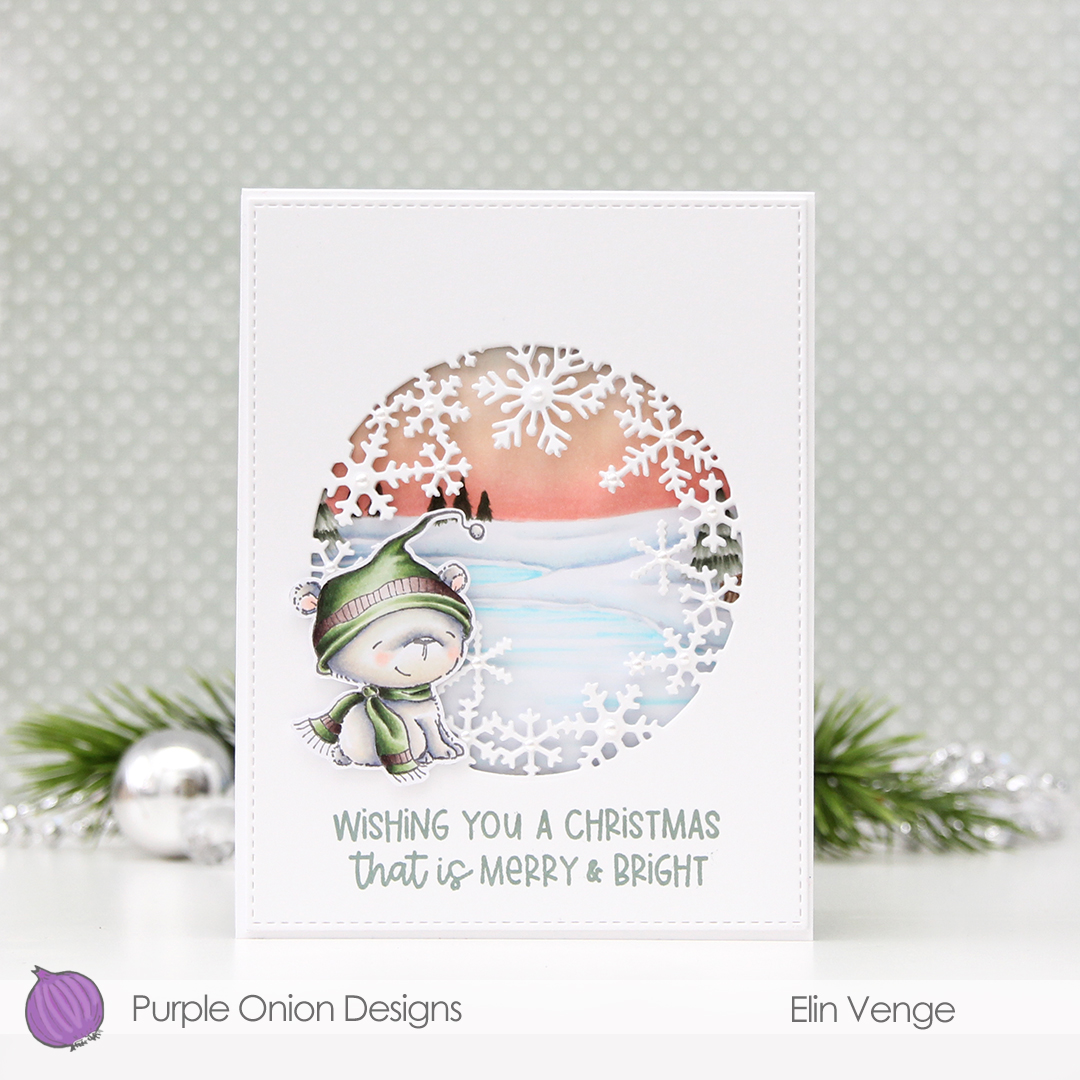 I started by coloring the polar bear (
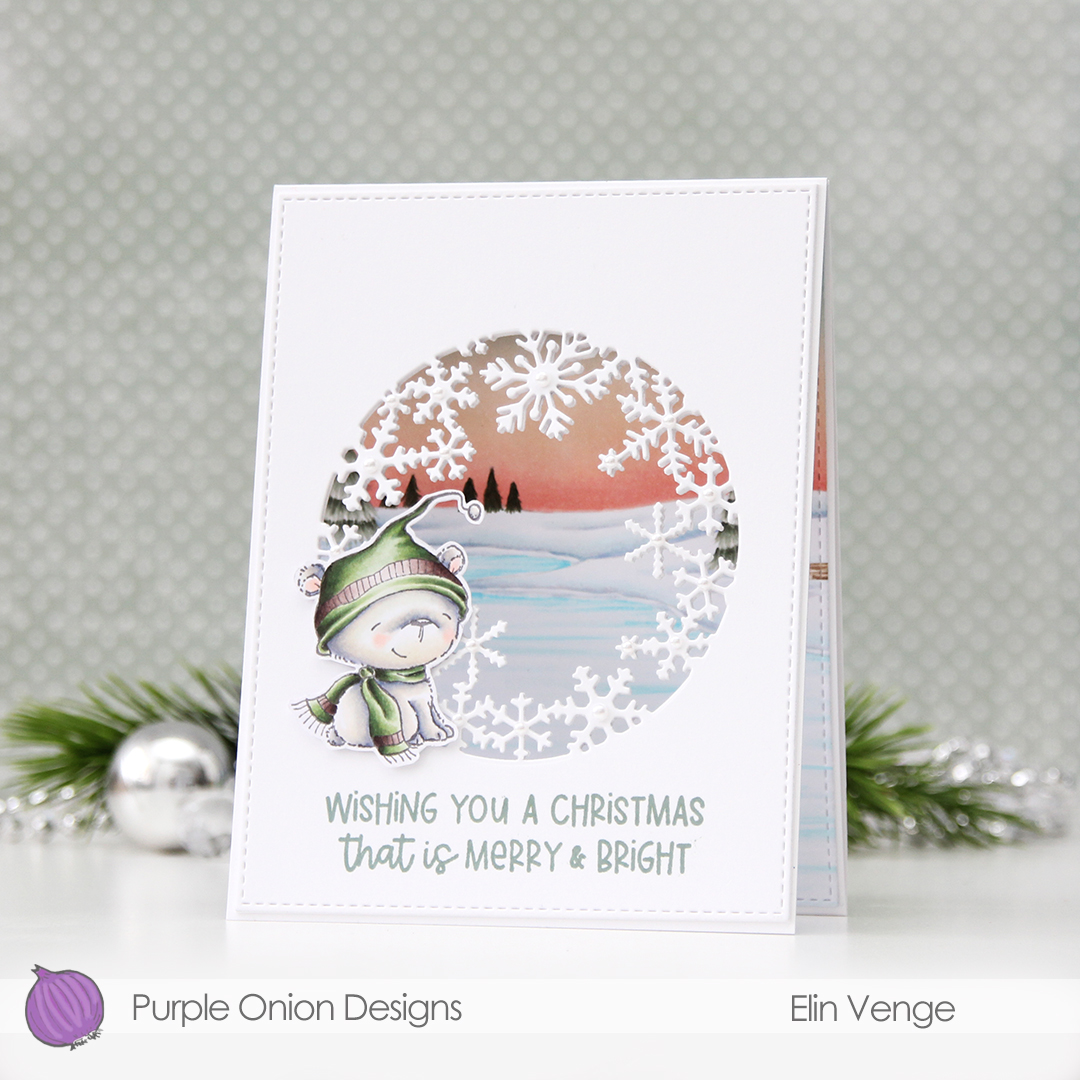 I love the snowflake circle die from Hero Arts and have used it many times before. I die cut a window into the center of the front of my card base, and at first thought that would be it. Once it morphed into a trifold, though, it was so back heavy that I needed an additional two die cut windows on top of the card base for some strength and stability. I used the largest of the A2 Stitched Rectangles from My Favorite Things to create a nice finished edge to the top layer.
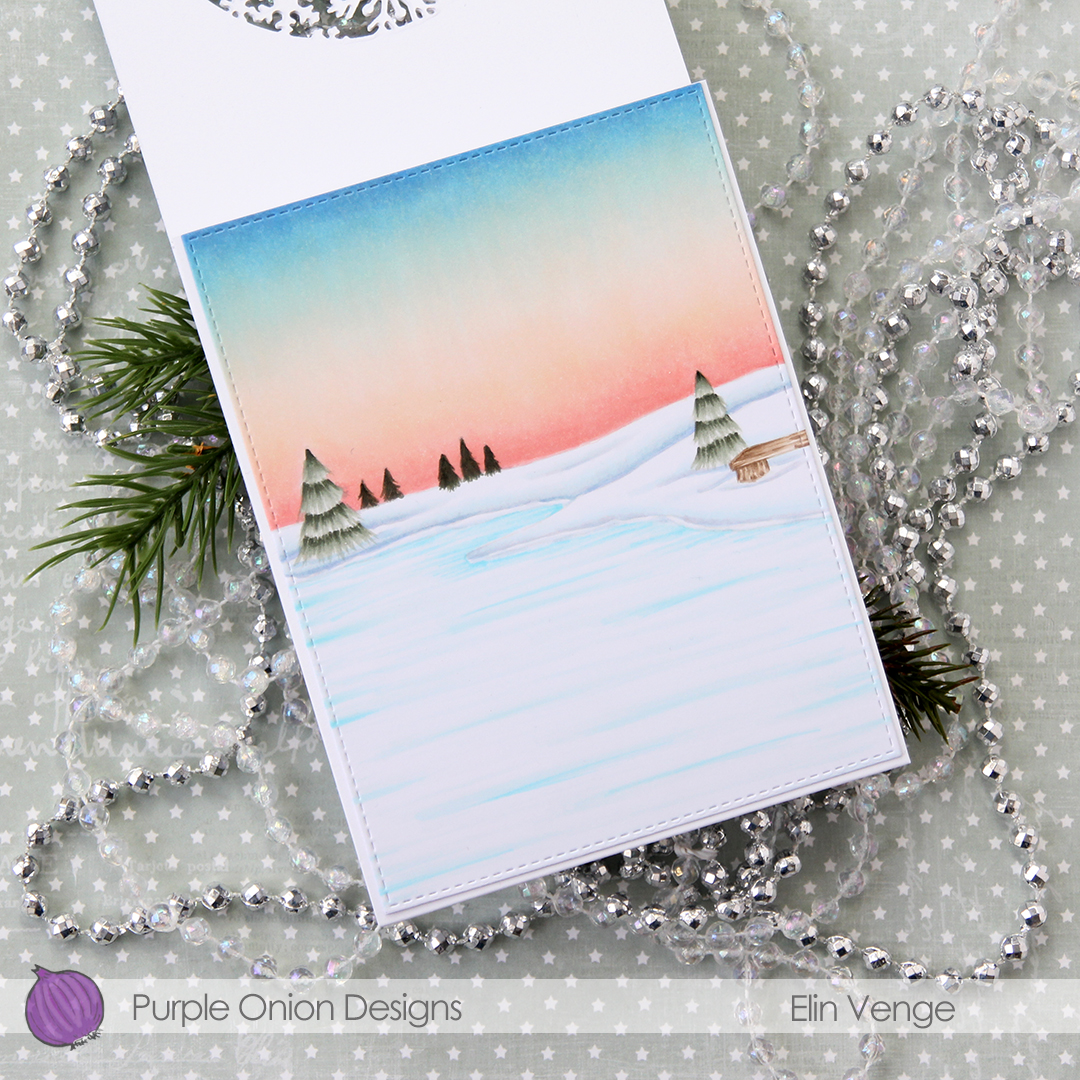 For the inside panel that you can see from the front, I stamped the
 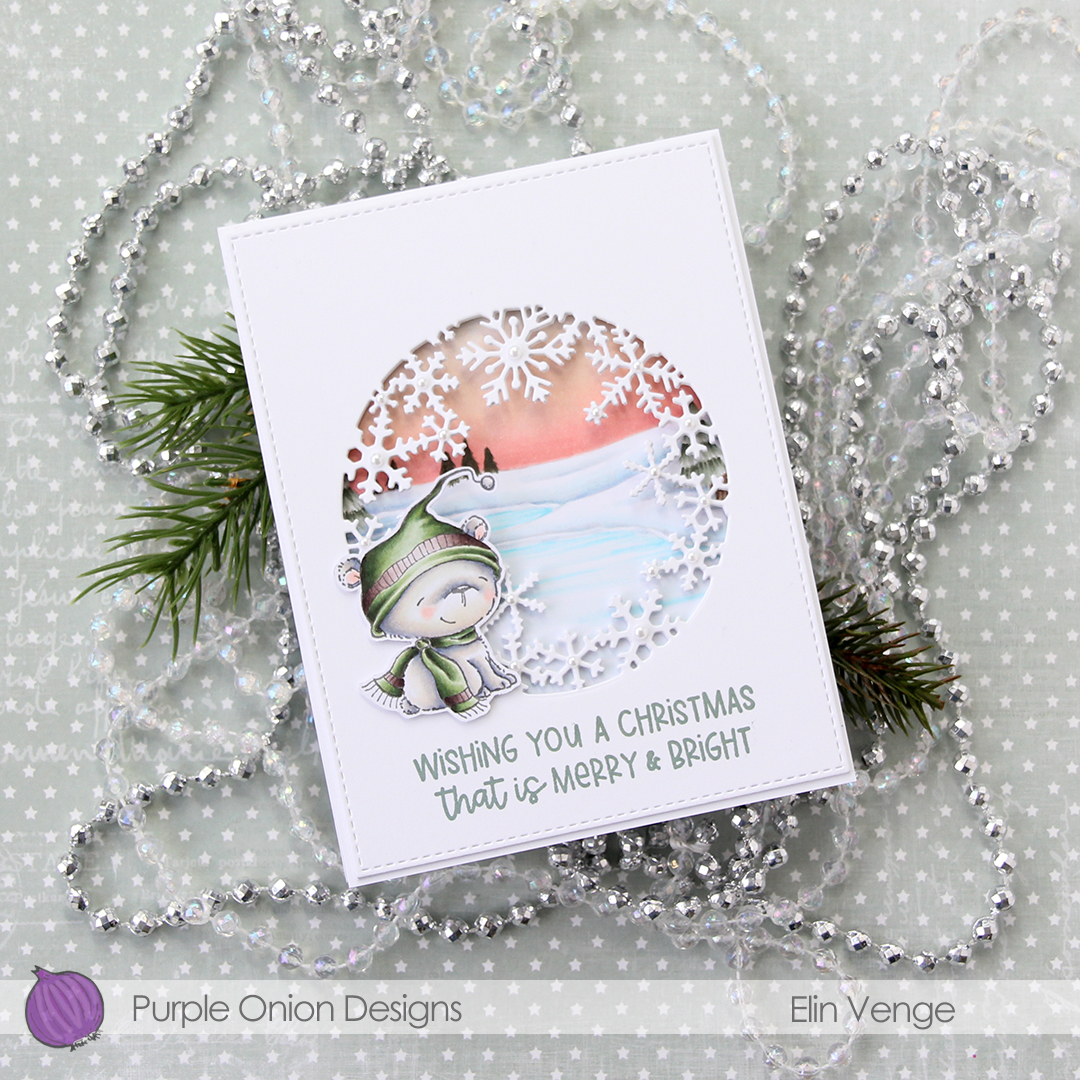 I stamped a sentiment from the
 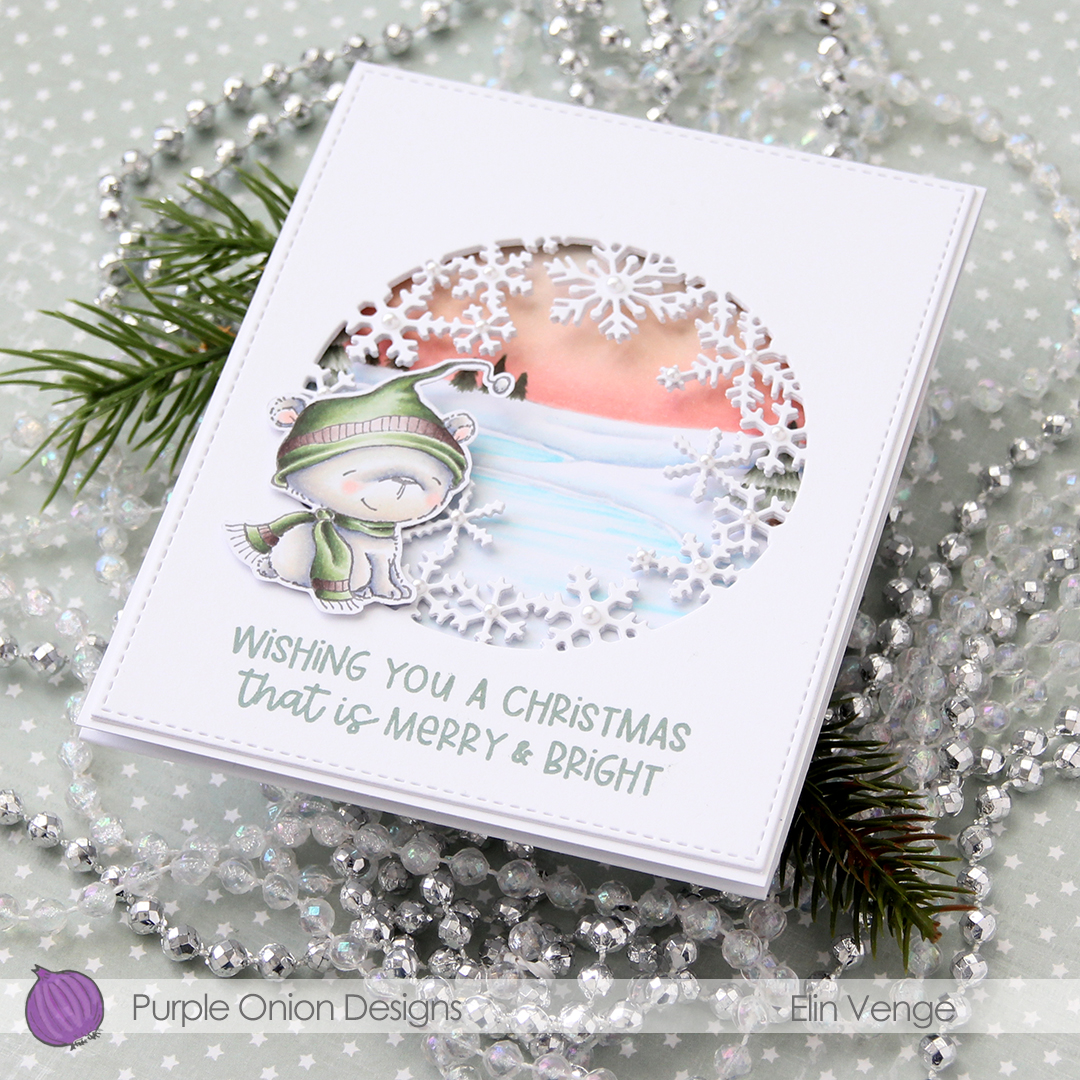 In this photo it’s pretty evident that the three layers of panels with die cut windows add a nice bit of dimension, as well as stability to what would otherwise be a pretty floppy card front, since the window is so big. I use 110 lb white card stock (Stamper’s Select White from Papertrey Ink), which is a nice, sturdy card stock, but with that big of a window, the only thing that will work is using several layers.
 I added white pearls from Kort & Godt to the center of the snowflakes. 3 mm pearls for the largest snowflakes, 2.5 mm pearls for all the others.
 Lots and lots of Copics for this one. I used 20 markers to color just the bear, 10 for his fur alone, which is a little bit crazy.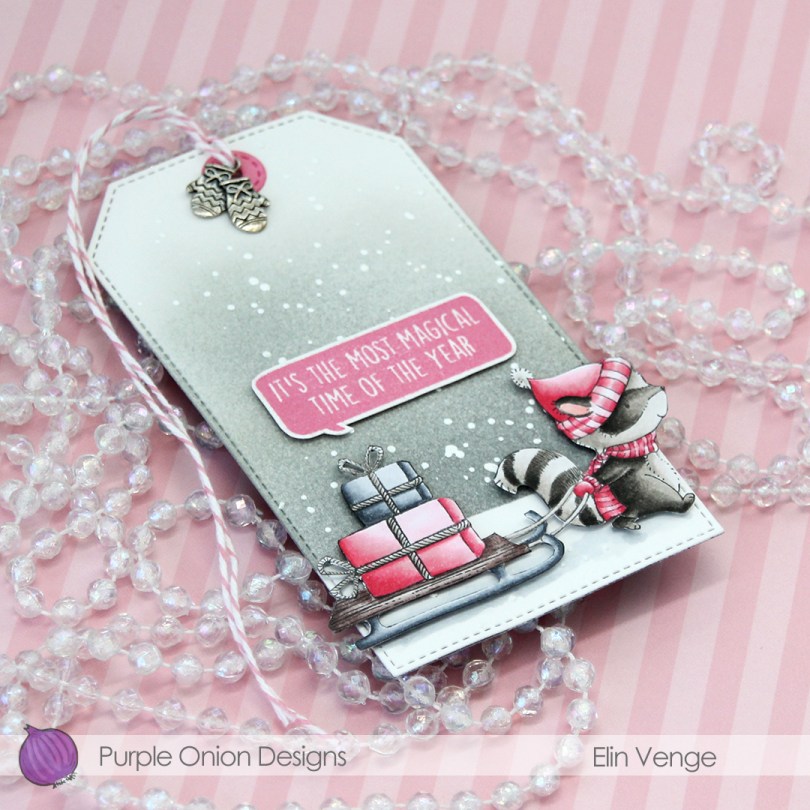
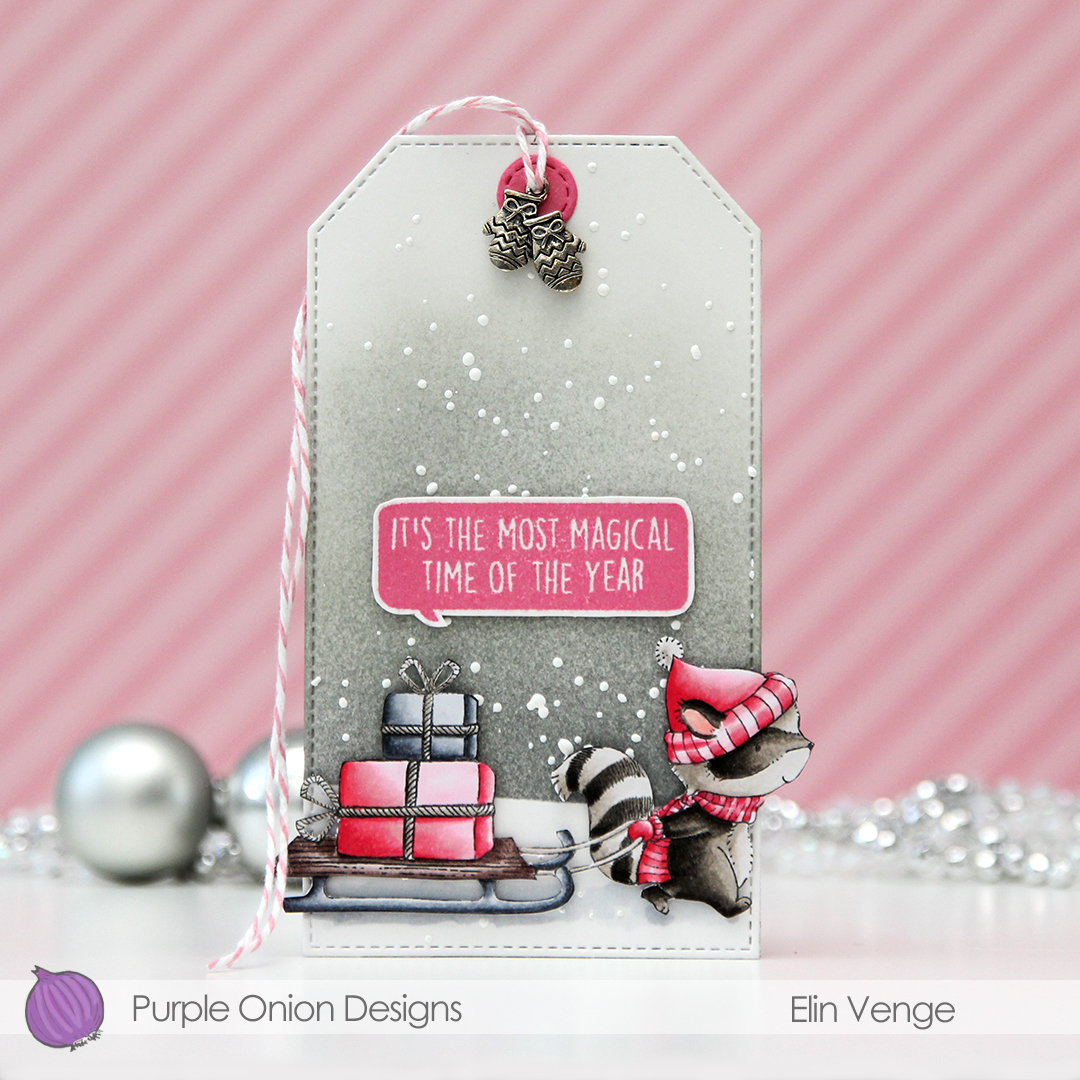 I went with a really bright pink, colored in the image with my Copics and did some serious fussy cutting, before adding 1 mm foam squares to the back. I also stamped one of the sentiments from the
 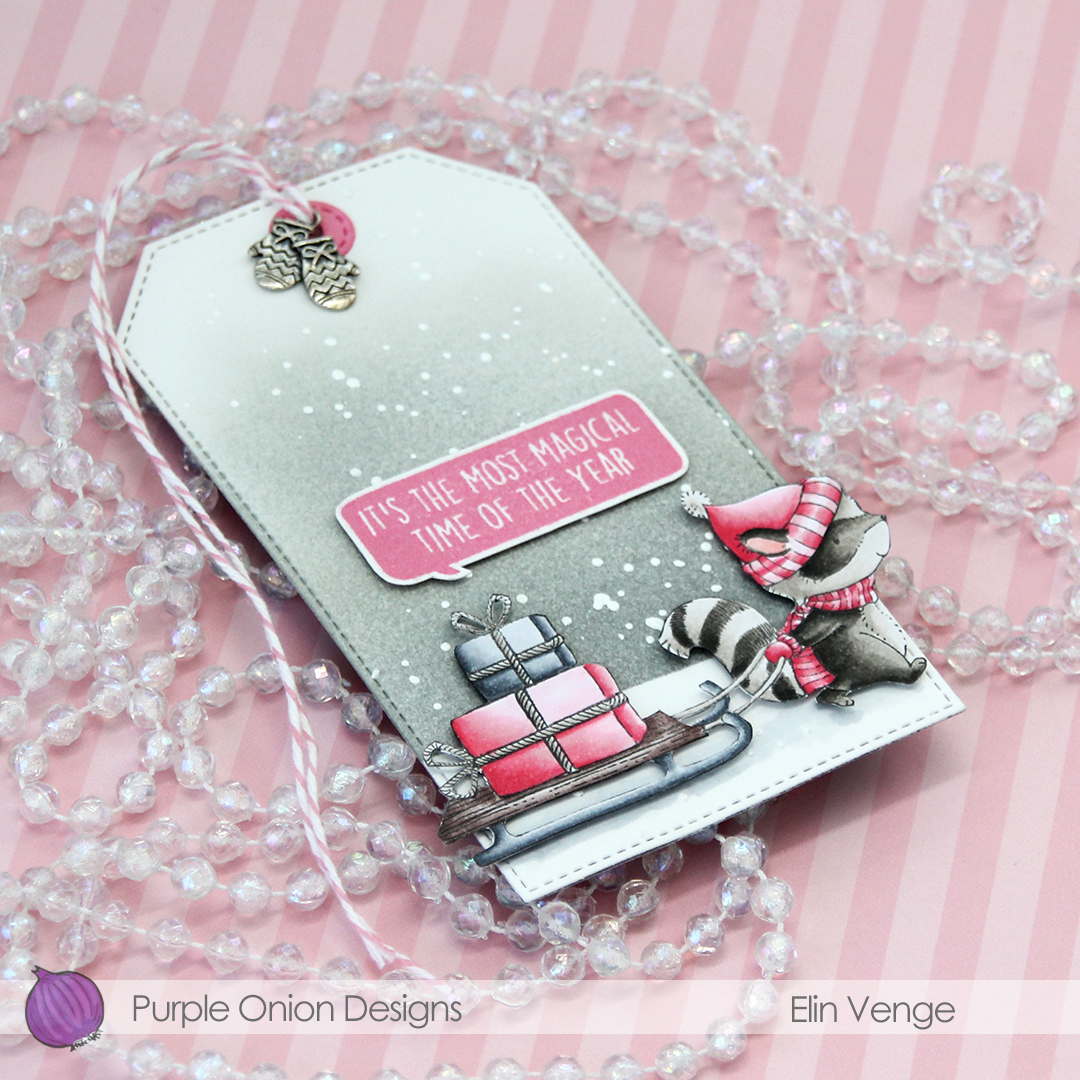 From a piece of Bristol Smooth card stock, I used the largest of the dies in the Stitched Traditional Tag STAX die set from My Favorite Things, masked off a curved line towards the bottom and ink blended a gray sky using Charcoal, Soft Granite and Wet Cement ink from Hero Arts, as well as Soft Stone ink from Papertrey Ink. The Charcoal is fairly dark, but the Soft Stone super soft, giving a nice gradient feel. I sprinked on chunky white embossing enamel from Stampendous and heated the tag from behind to melt the granules for a snowy effect on my background.
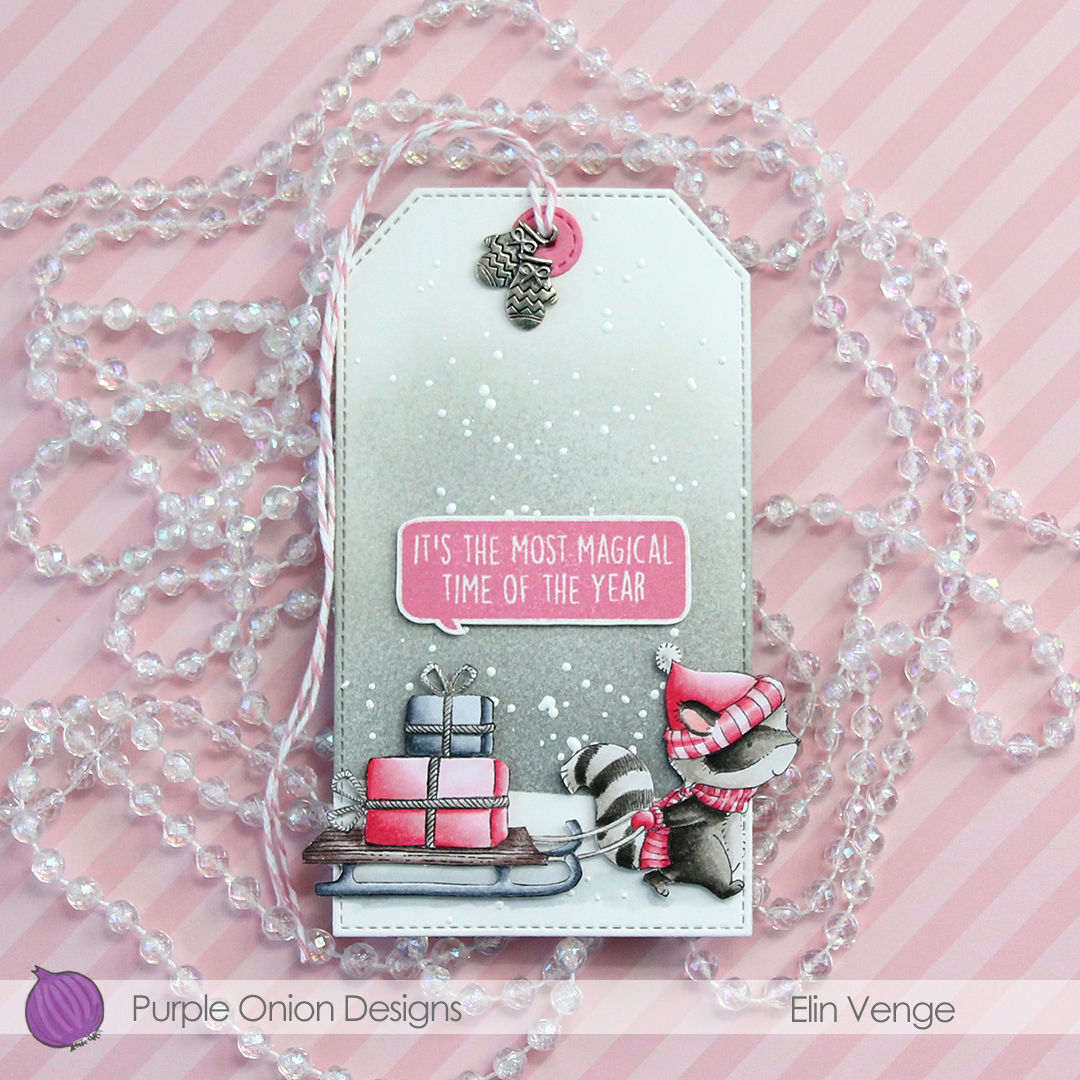 Going direct to paper, I colored a scrap of Bristol Smooth with the Hibiscus Burst ink pad that I used for the sentiment, before using one of the tiny dies in the Tag Builder Blueprints 6 die set from My Favorite Things to create my reinforcement piece. I think the faux stitching on the circle matches the stitching on the tag perfectly, one of many reasons why I love my MFT dies, they’re so awesome to mix and match. I added a bit of Cotton Candy twine from Whisker Graphics and a charm from my stash near the top to complete the tag.
 Not a lot of colors for this one, but I did my best to make the pink really pop against the other colors.
 I colored up the image with my Copics. Nothing unusual about that, but these blues are brighter than the ones I normally use. The colored panel was too narrow to fill the width of a regular card, so I decided to put a frame around it. I used one of the wood frame nested dies from Hero Arts to create my frame from Classic Kraft card stock from Papertrey Ink, and built up layers by adding a few more frames behind the top one. I created a card bas from Lush Lagoon card stock from Papertrey Ink, and used the By the numbers impression, also from PTI, to create a debossed look to the card base. There’s quite a bit of blue showing outside the frame, so I wanted a little bit of texture there.
 Using Limelight card stock from My Favorite Things, I die cut the number (from the By the numbers die set from Papertrey Ink) four times and stacked them for a dimensional look. I adhered the number to the frame using liquid glue, and glued a white heat embossed black sentiment strip on top, with two more layers of black card stock behind that, for even more dimension.
 I added a bunch of green enamel dots from Papirdesign, and rummaged through my old patterned paper for one I could make an envelope from. I struck gold with this green one from Pion Design from 2010. I don’t use a lot of patterned paper anymore (at least not big pieces), but I can’t exactly throw it away, either, so I figure it’s perfect to create envelopes from. This way, they get used!
 Super bright colors. Well, except for all the browns. I actually used five colors for his sheriff’s badge before I ended up with a color I liked.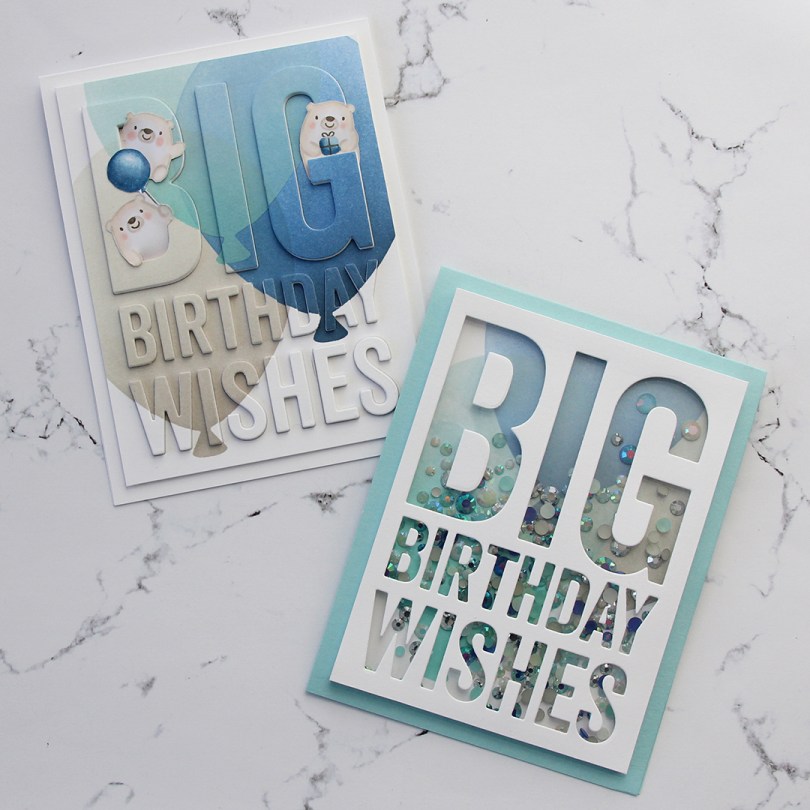
 I have a great crafty friend who suggested I
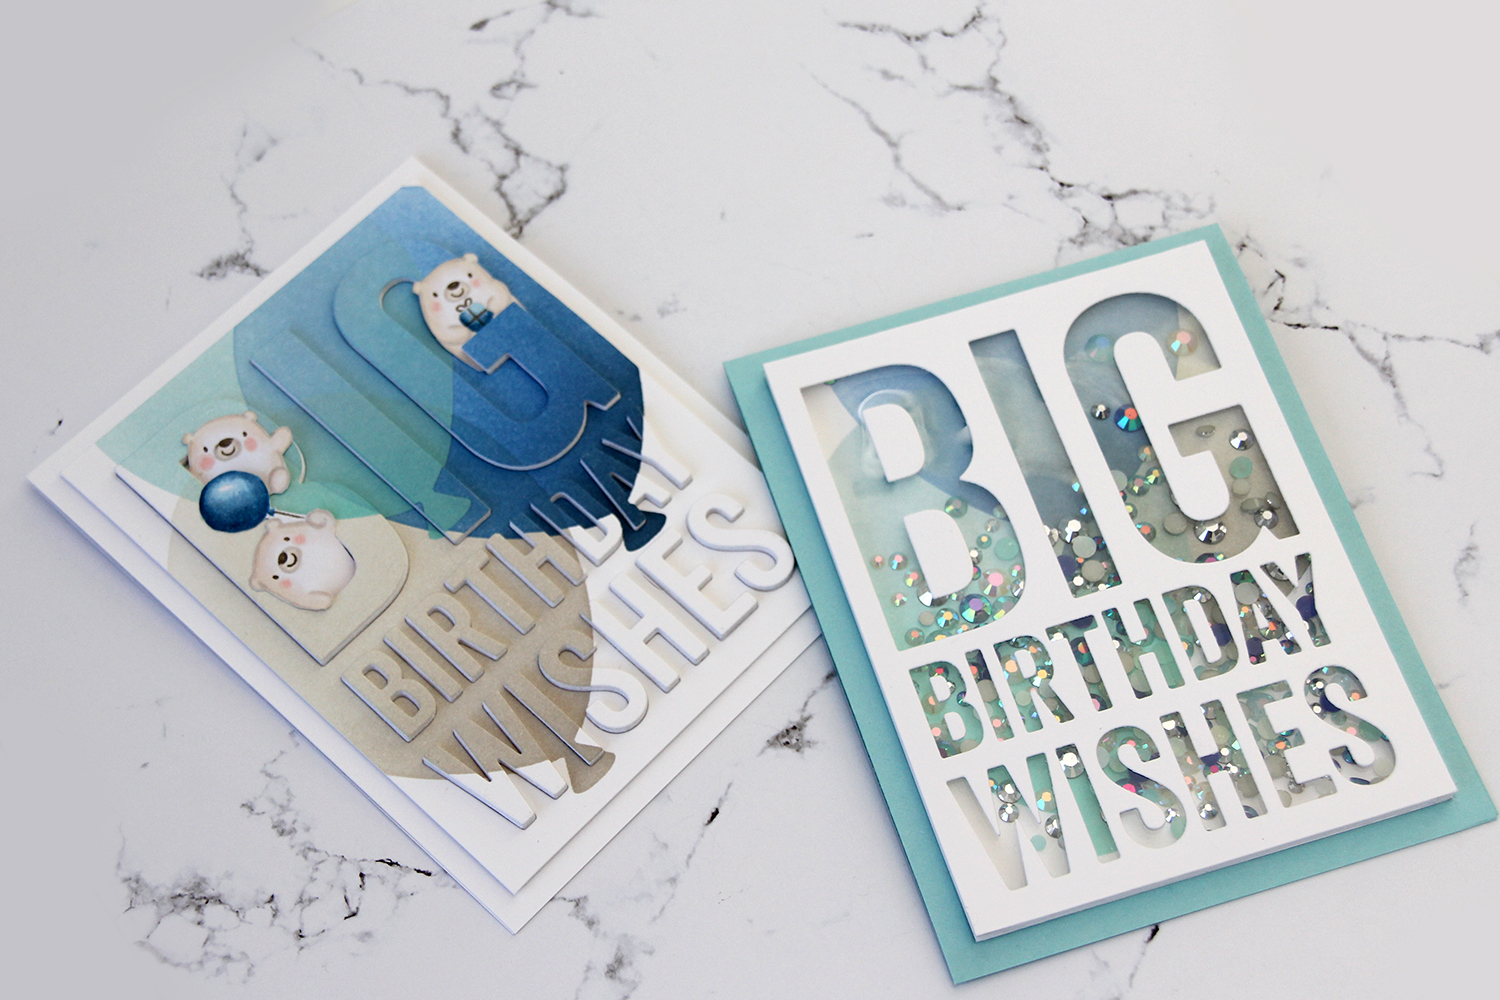
 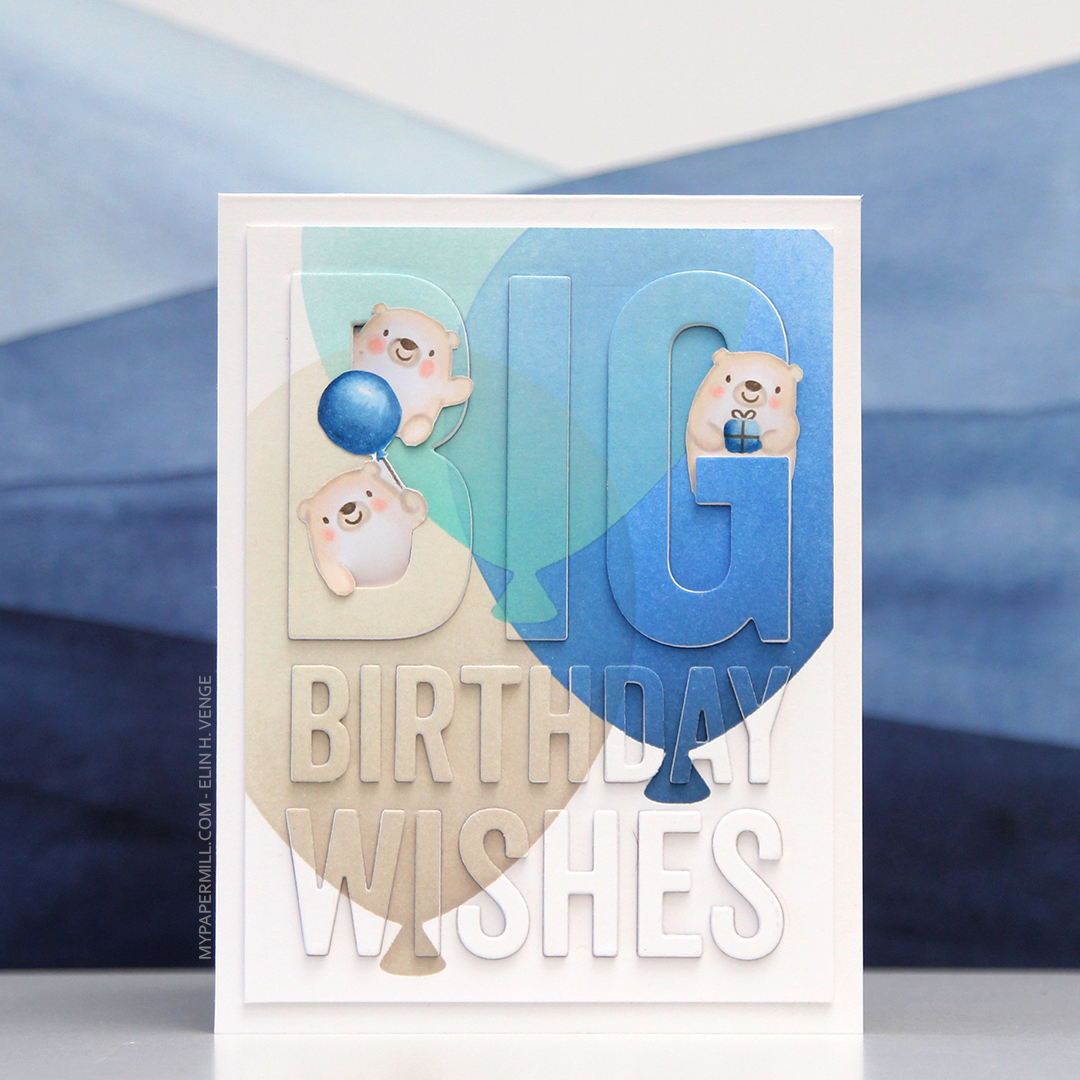 Starting with the raised die cut inlay card, I did some serious ink blending. I love the look of ink blending, but I have a shoulder that protests every time I do it, meaning it doesn’t happen every day. I don’t have colored inks from MFT, so I used the brands I have and made it work. I used Hero Arts Wet Cement and Papertrey Ink Soft Stone inks for the gray balloon, Papertrey Ink Hawaiian Shores and Distress Ink Speckled Egg for the teal balloon, and Altenew Dark Night, Azurite, Ultramarine and Eastern Sky for the blue balloon.
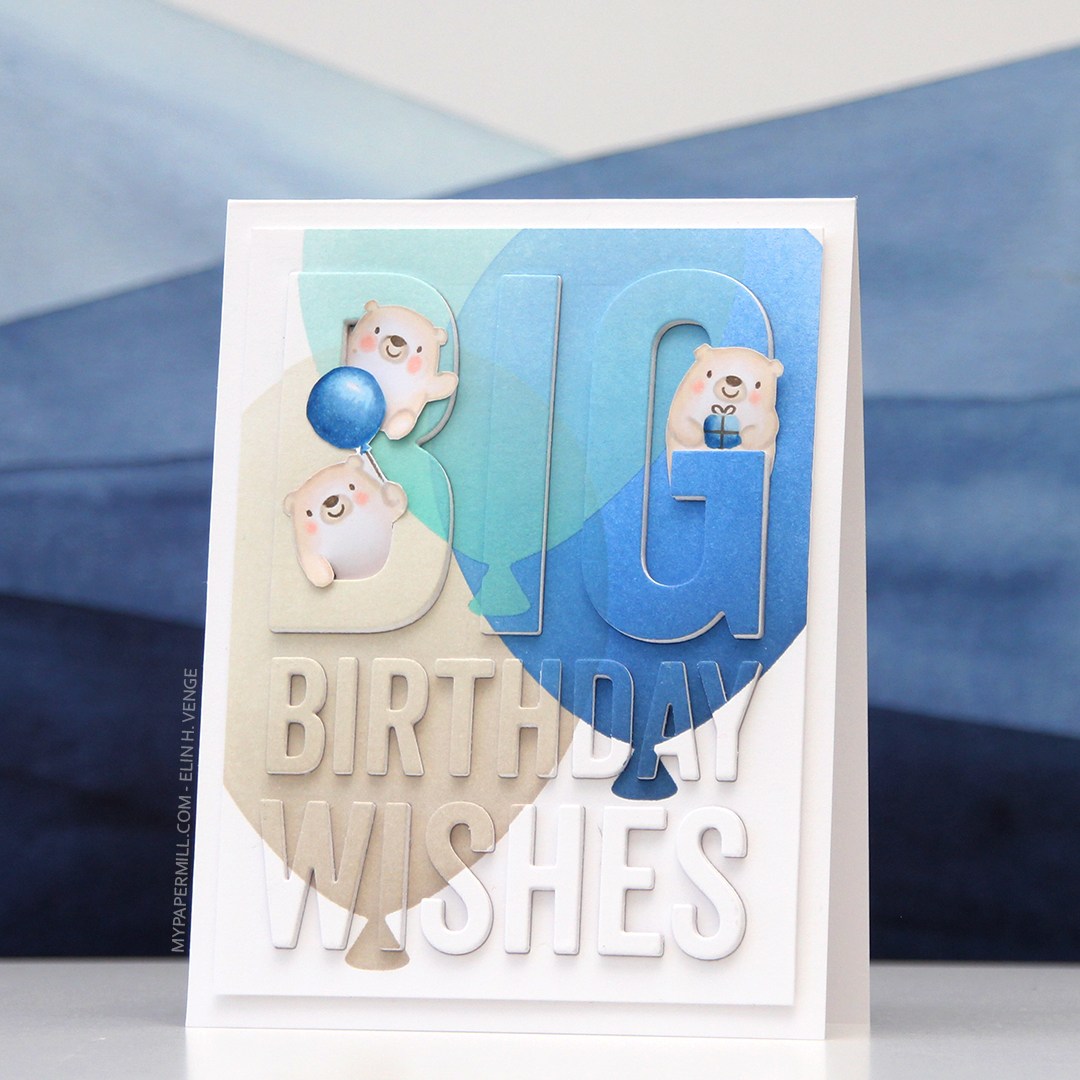 Once the panel was inked, I used the Big Birthday Wishes die to die cut the panel, making sure to keep all the little pieces for the stacked inlay technique. I die cut five more pieces from white card stock and stacked all the individual letters, putting the inked piece on top, giving me a total of six layers for each letter. I no line colored a few of the bears from the Bitty Bears stamp set to look like polar bears, and added them to the big letters at the top.
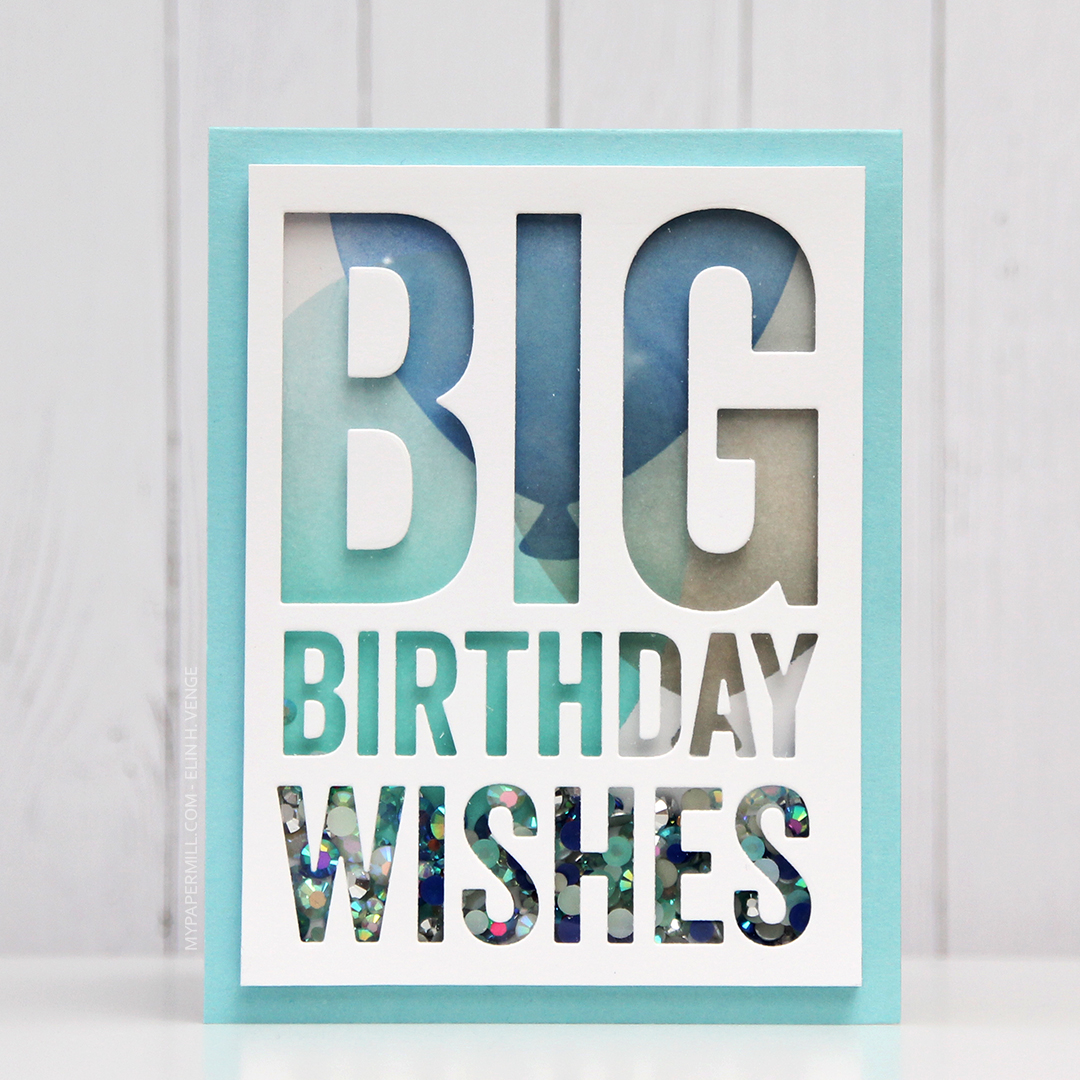 For the second card I used the same color inks to ink blend the balloons, cut off the edges to make it a smaller panel and used the negative of a die cut for the shaker window. I built up the walls of the shaker using thin strips of white card stock. I’m not a fan of foam tape for shaker windows, I prefer to take the extra time and effort to build dimension with cardstock. It’s fiddly and time consuming, but I love it!
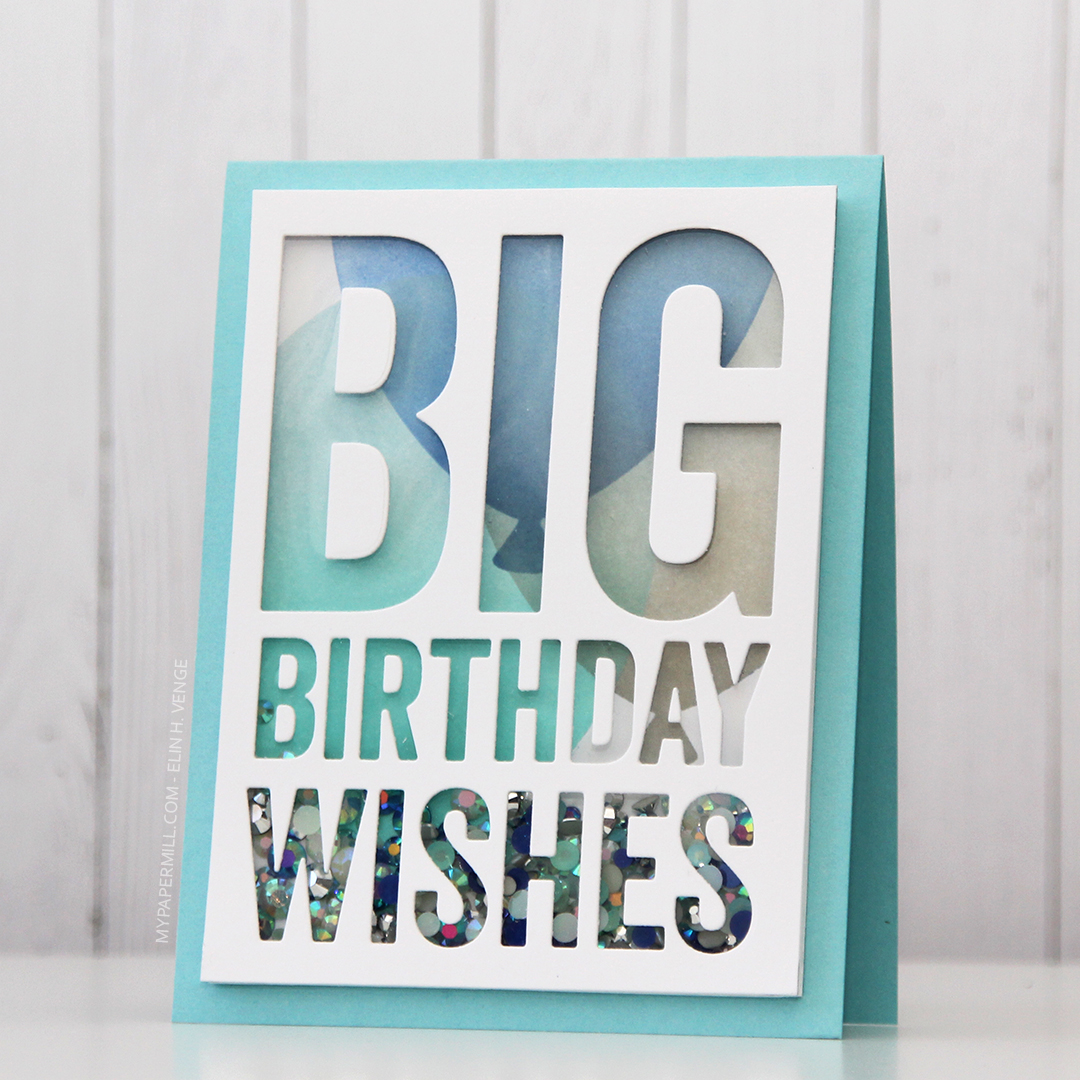 I glued the negative die cut onto a piece of acetate, and filled the shaker with the Starry Sky Mix of jewels from Pretty Pink Posh before adding the piece of acetate and negative die cut on top, sealing in the jewels. The colors of the jewels are perfect for the color palette I was going for. I glued the finished shaker piece onto a top fold card base I made from Berrylicious card stock, and my card was finished.
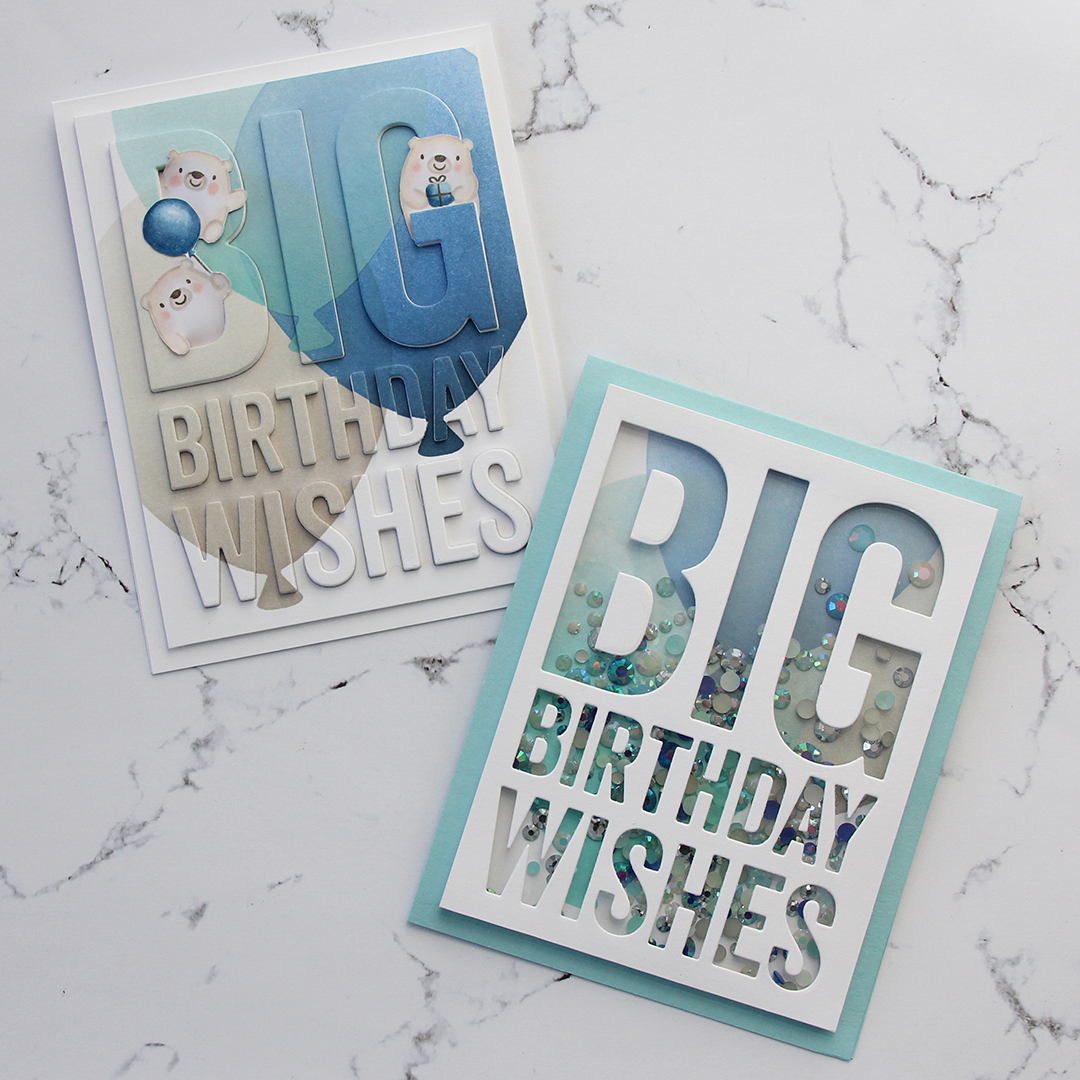 I had so much fun creating these two cards, but will admit that I struggled with which bears to use, I’d colored all but one bear from the stamp set. Indecisive is my middle name. So is procrastinator, perfectionist and a whole bunch of other descriptors.
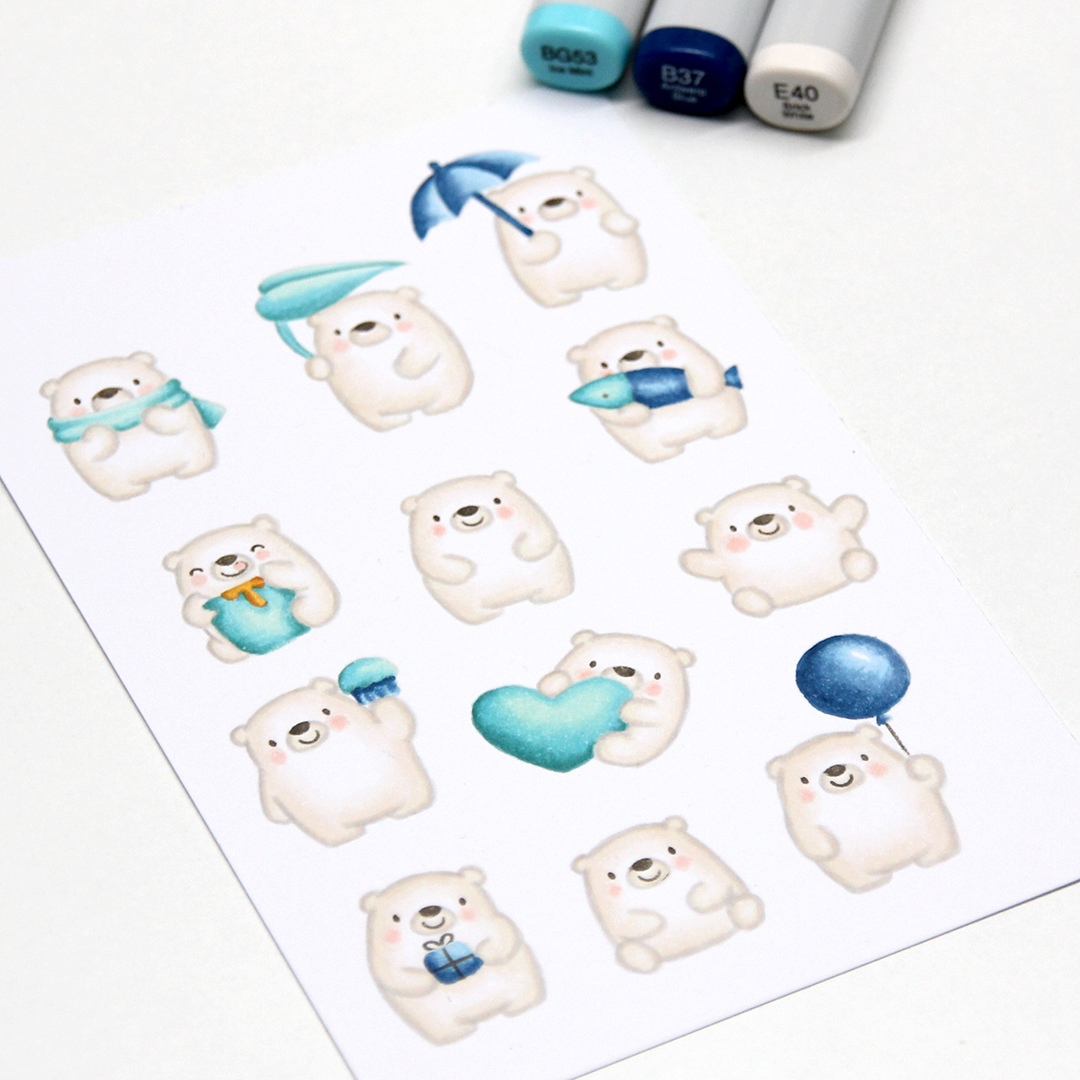 All the bears (except for the one that couldn’t fit on this panel) all colored up like polar bears. While the stamps were still in my Misti, I used a Memento Rich Cocoa dual marker on the eyes, noses and mouths and stamped them on top of the fadeout ink from Inkon3 I’d already used. This is a trick I like to use, and it saves me from having to draw eyes and mouths in after my coloring and risk ruining my images.
 Last, but not least, the colors I used. Not a lot, but enough to make these cute bears look like polar bears and for them to match the color palette for the MFT color challenge.
 Papirmølla