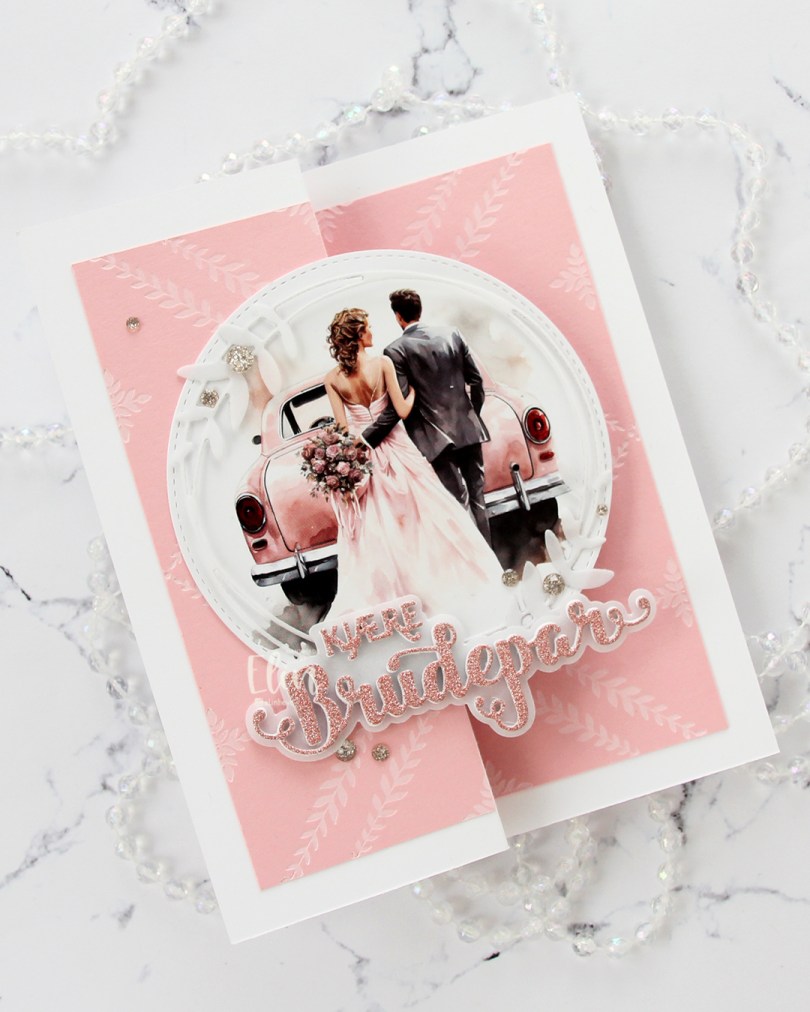
Hi, crafty friends. Wedding season is right around the corner, and I have a wedding card to share today with a bit of a fun fold.
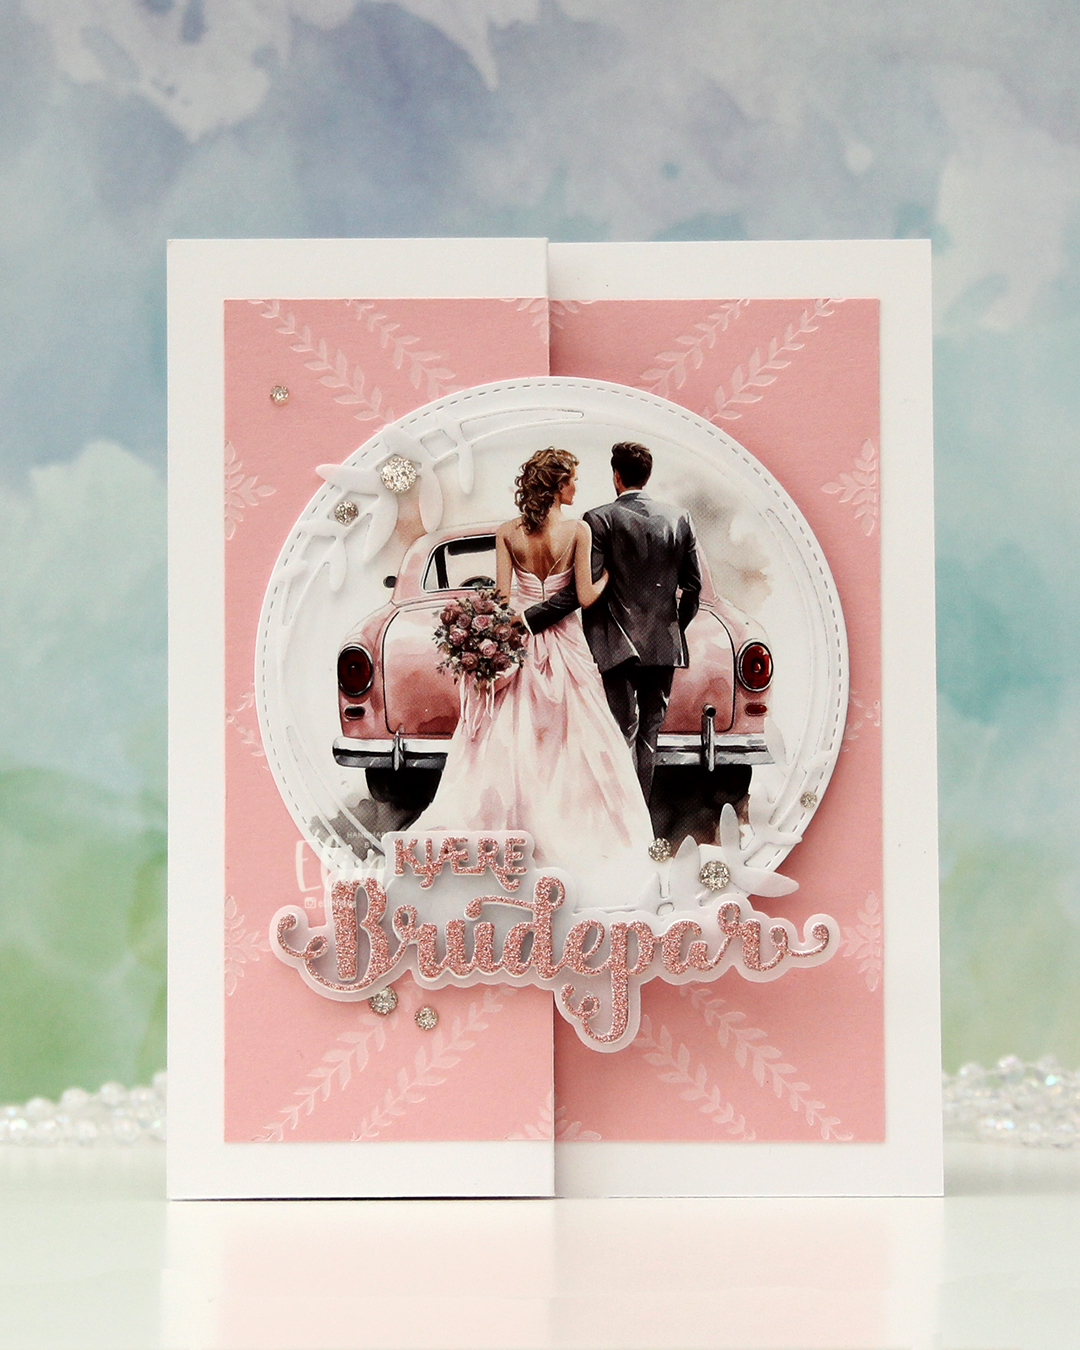 This is a super simple fun fold, you basically fold the front of a regular sidefold card at the halfway point, so it doubles up on itself, which then becomes the front. For this one I started with three panels of Pale Peony cardstock from Papertrey Ink. I inked up the Leafy Lattice press plate from Pinkfresh Studio with white pigment ink from Concord & 9th to impress and ink up a very subtle pattern on all panels. I created a card base from Stamper’s Select White cardstock from Papertrey Ink that measures 5 x 6 1/4″ when it’s folded. I scored and folded the front at 2 1/2″. I put one of my panels on the inside of the card, put one on the back of the card and cut the last one in two to put on the front, making sure the pattern lined up with the inside.
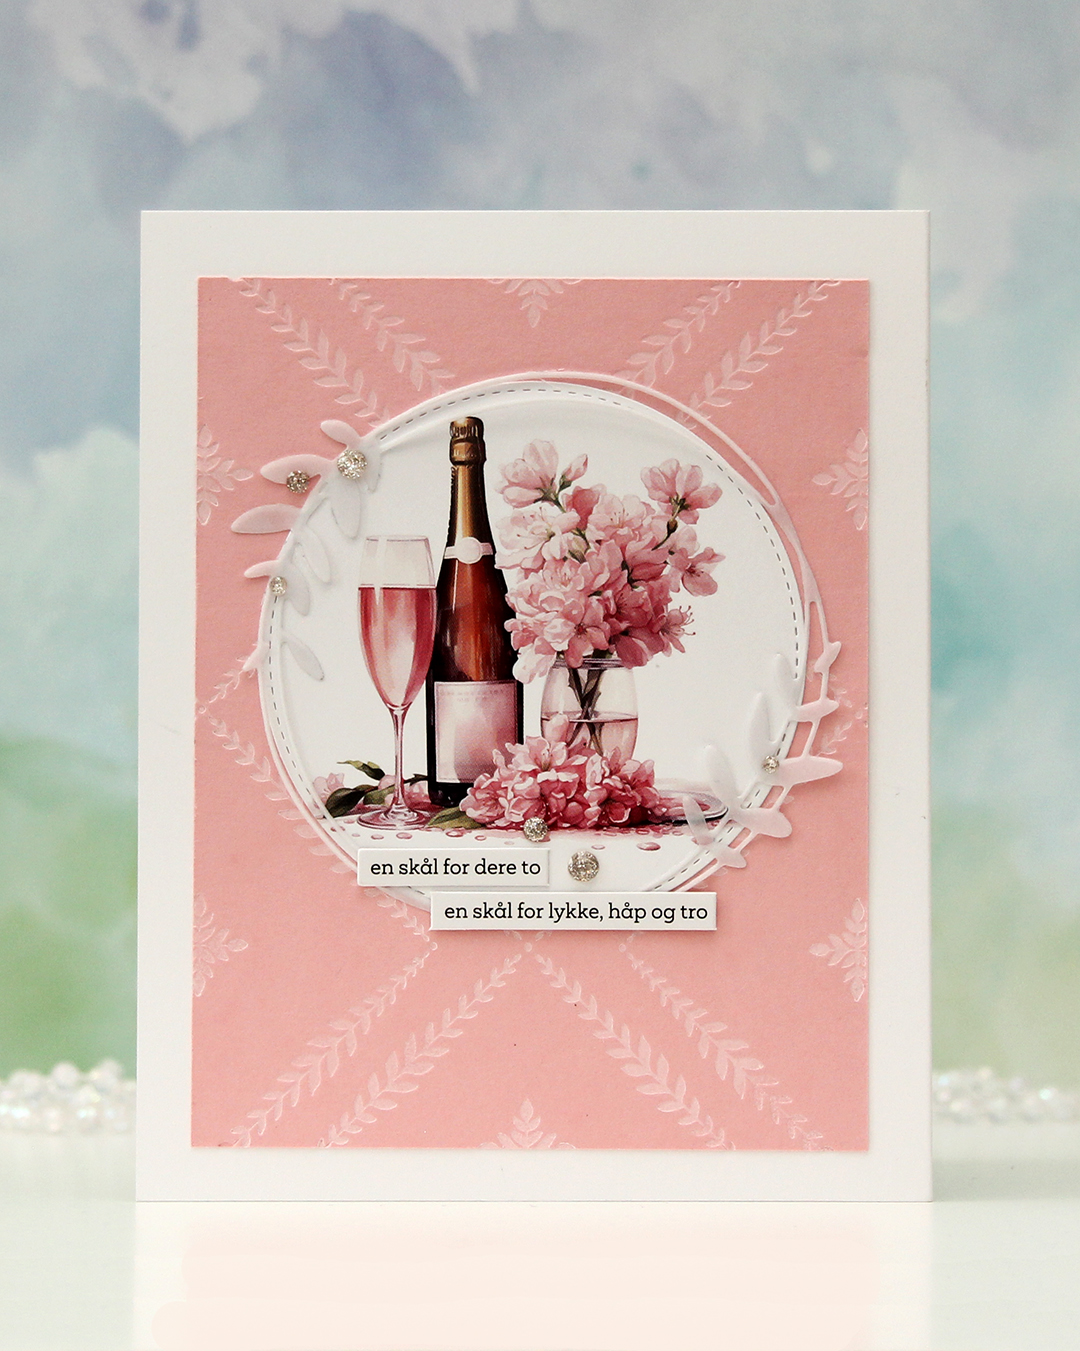
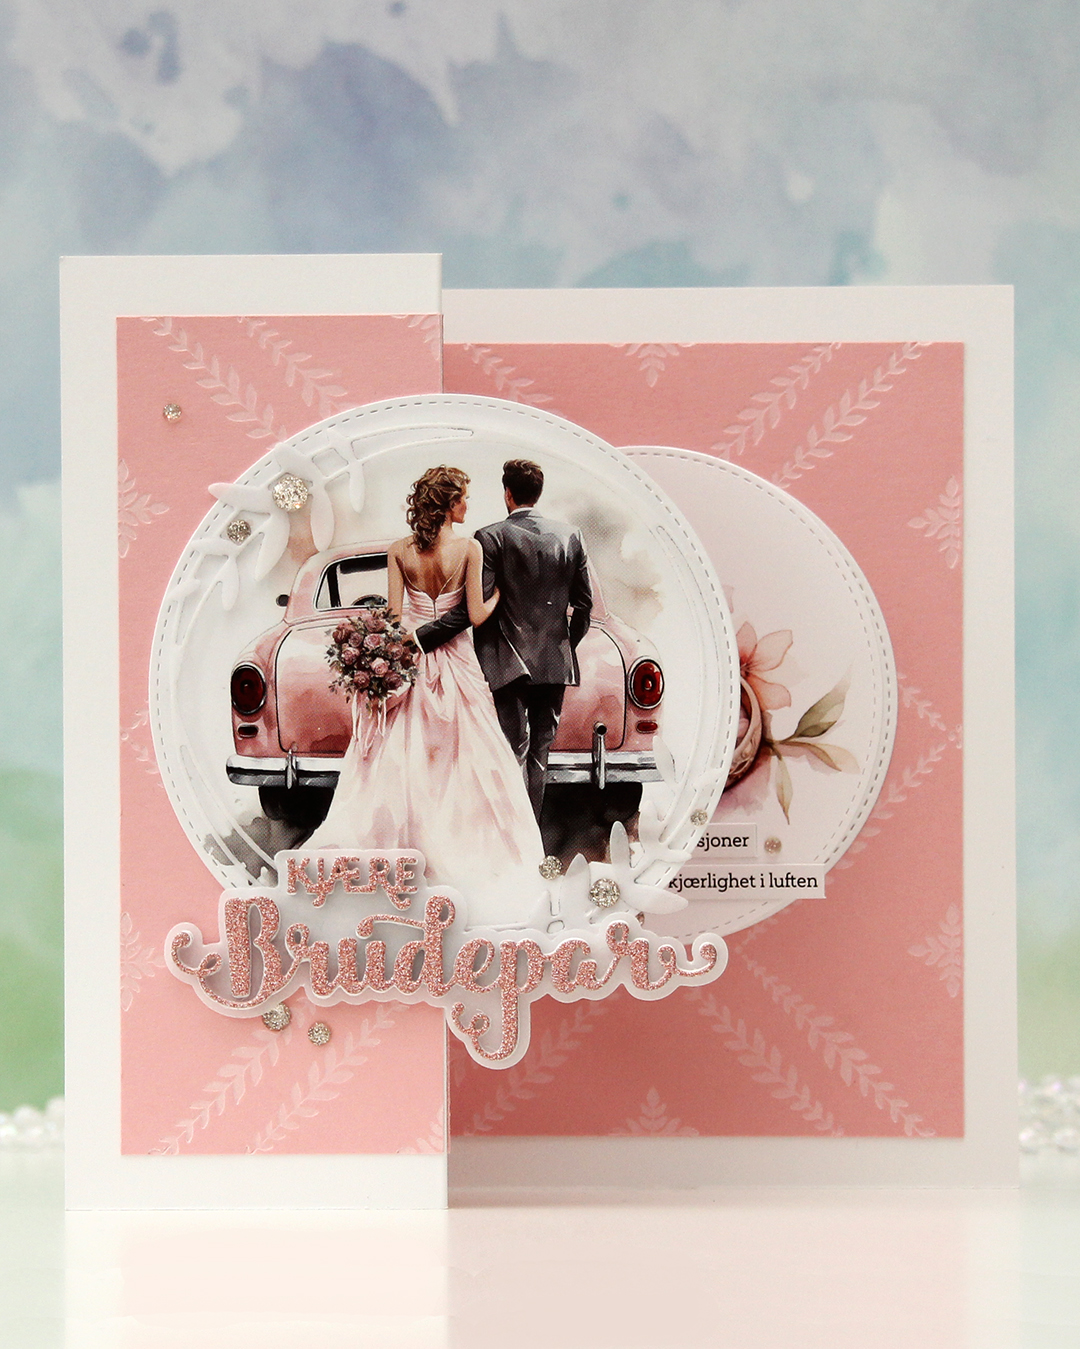 This is what the card looks like on display. I die cut a couple of images from a sheet from Kort & Godt (MA1001) using a die in the Stitched Circle STAX die set from My Favorite Things. This paper is kind of thin, so I backed it with a plain white cardstock circle behind. I glued one circle to the front, making sure to put glue on the left side only. I die cut the leafy circle die from Kort & Godt (die 345) from Heavyweight Translucent vellum from MFT and added that on top of my circle image, adhering it only in a few spots. I used the Kjære brudepar die set (PD18406) from Papirdesign for the word, stacking a few white ones, adding the shadow die cut from vellum, then another few white die cuts topped with a glitter one, die cut from pink glitter cardstock from Kort & Godt, before finishing off with a few champagne glitter drops from Pinkfresh Studio.
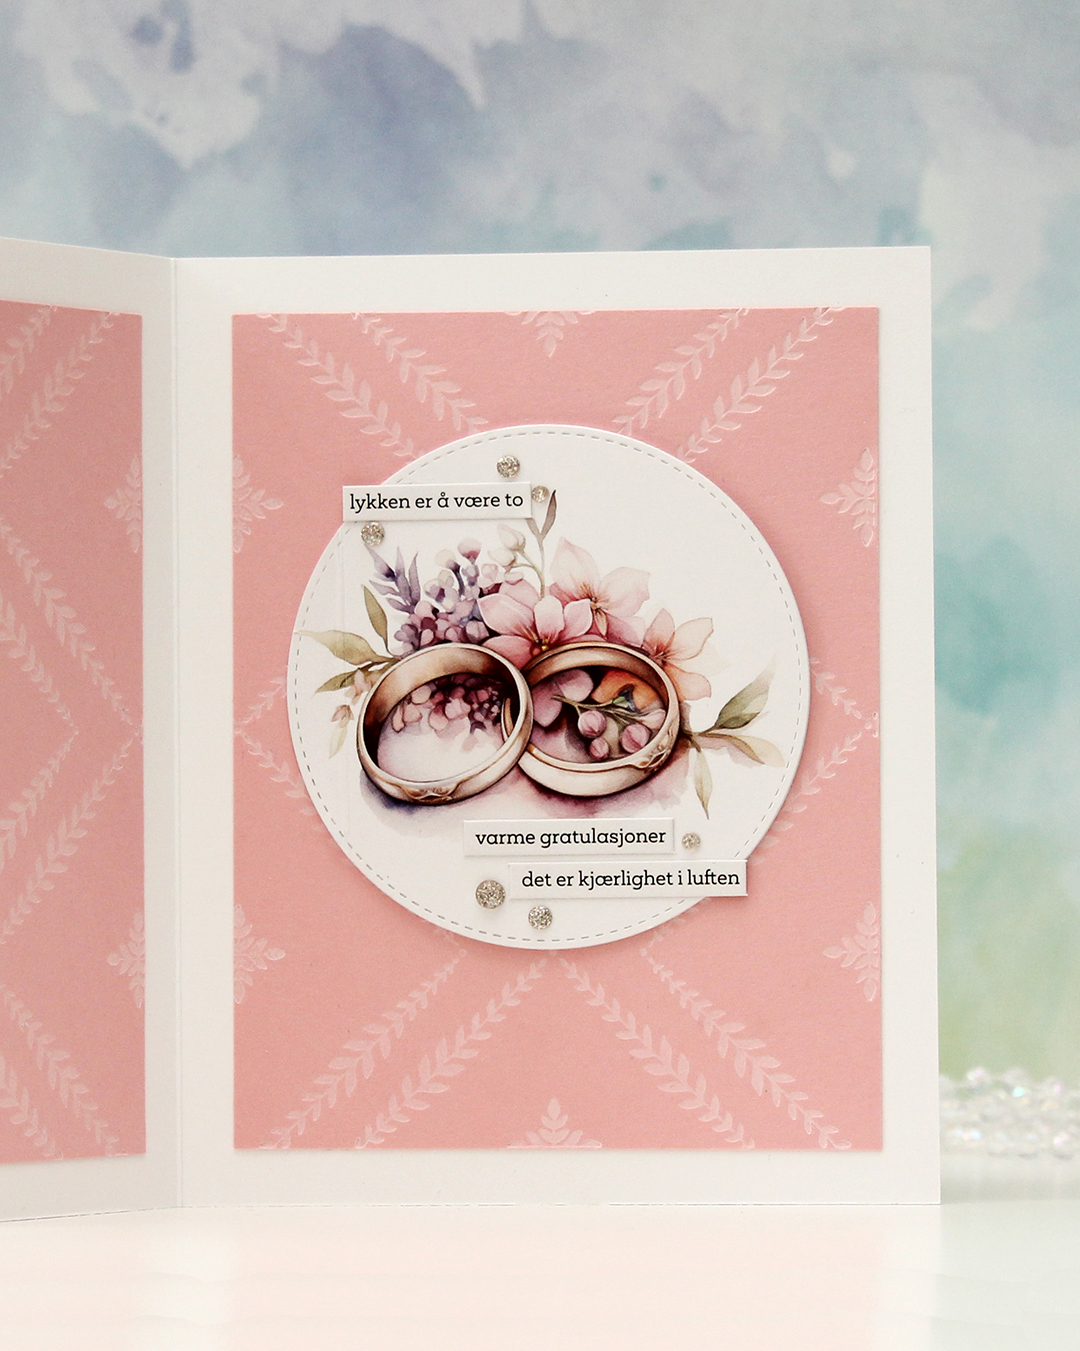 The circle image on the inside is a little bit smaller than the one on the front, and is hidden when the card is closed. . I added some wedding themed sentiment sticker strips from Kort & Godt (ST1018) and a few more glitter drops to embellish. This circle actually opens to reveal a place to write a sentiment, there’s a score line you can see on the left here.
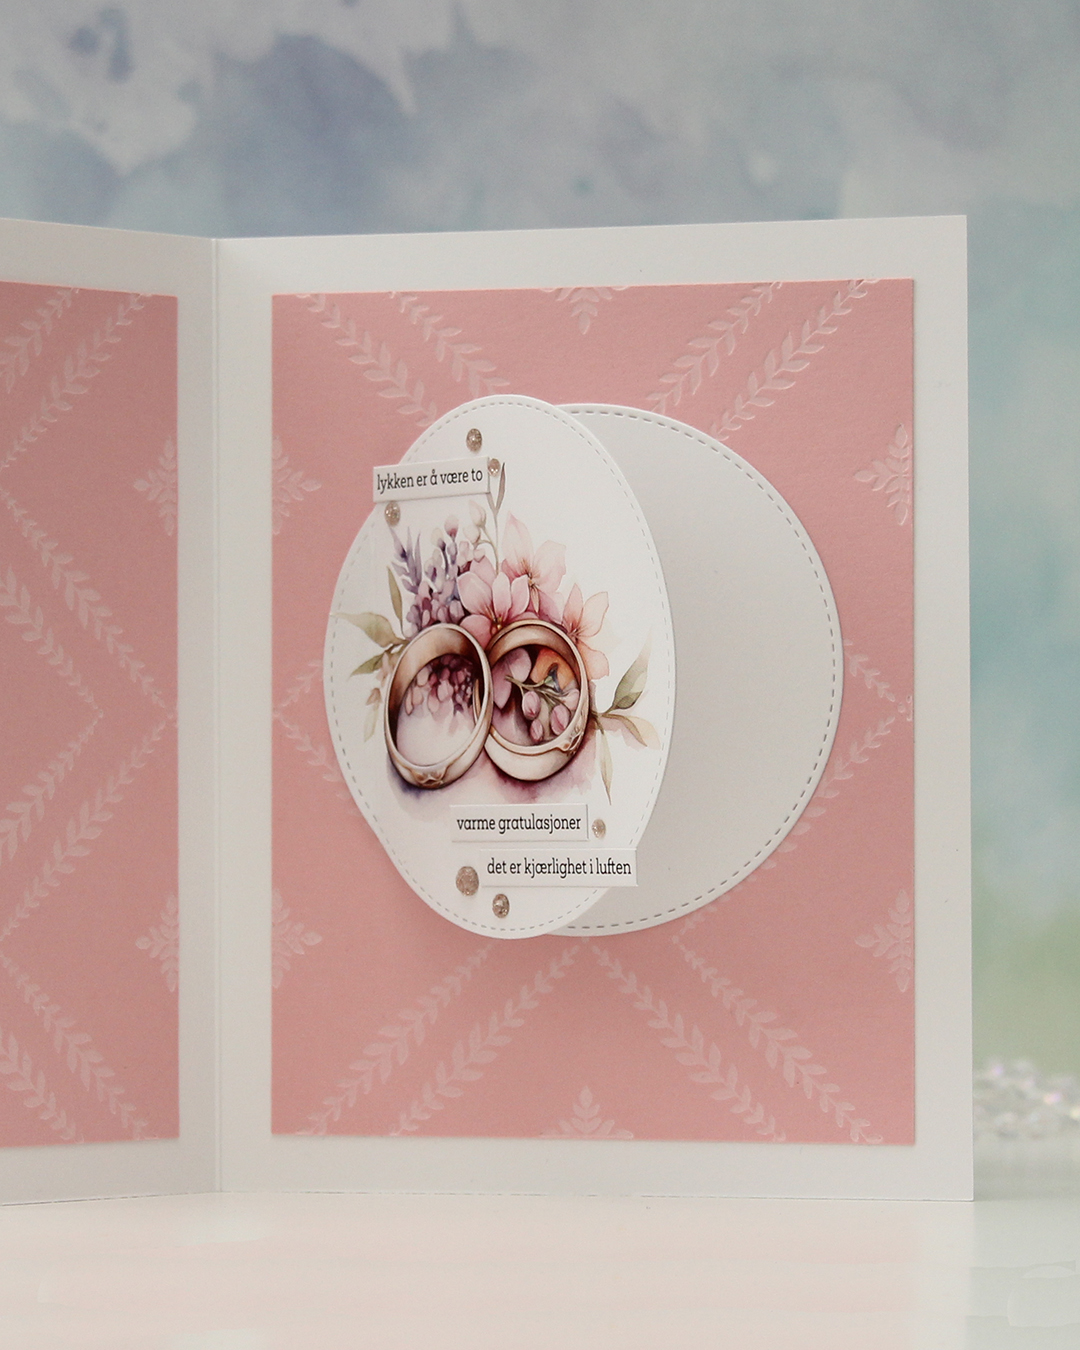 Another circle hides behind, and there’s enough room for a personal message without it showing too well when the card is open on display.
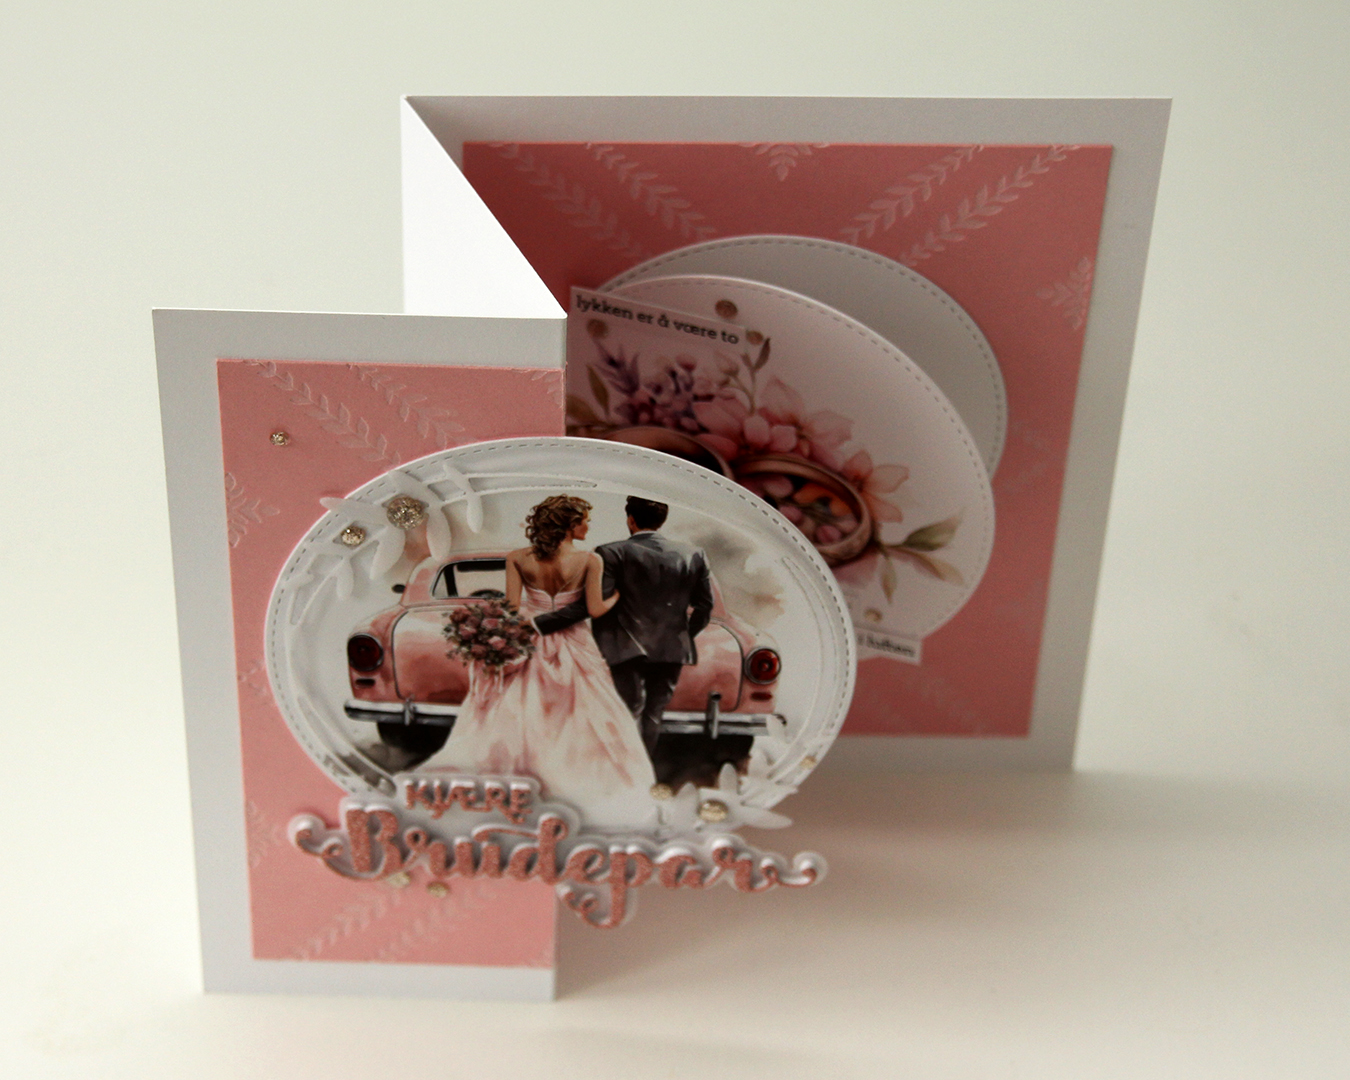 Here you can see the card open from a different angle.
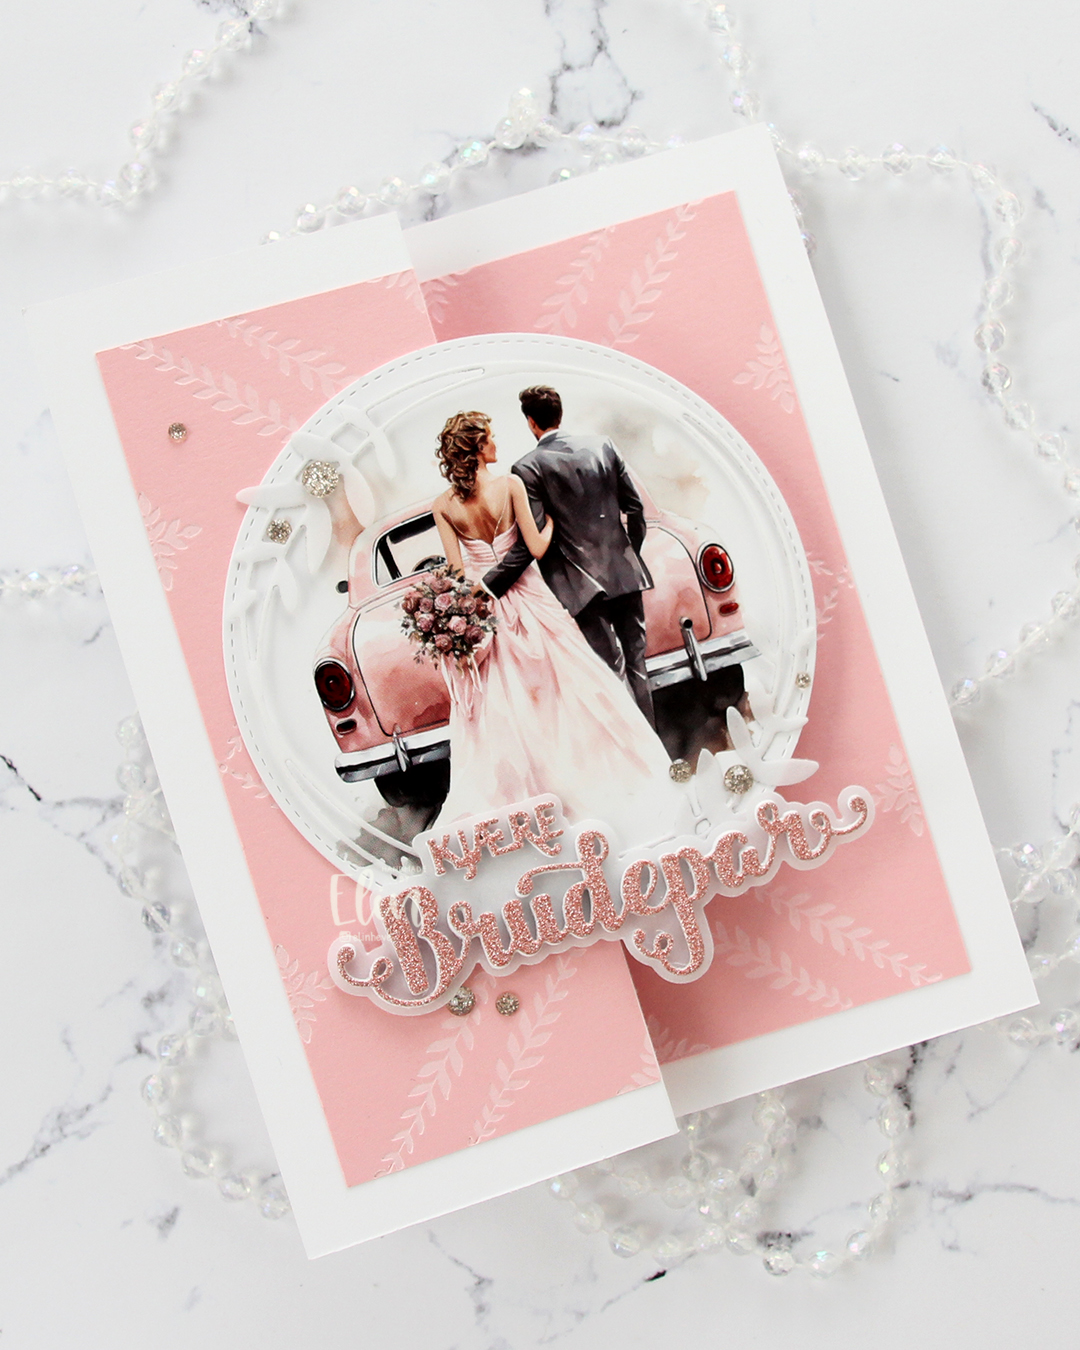 This wound up being a very soft looking card, between all the pink, white and vellum.
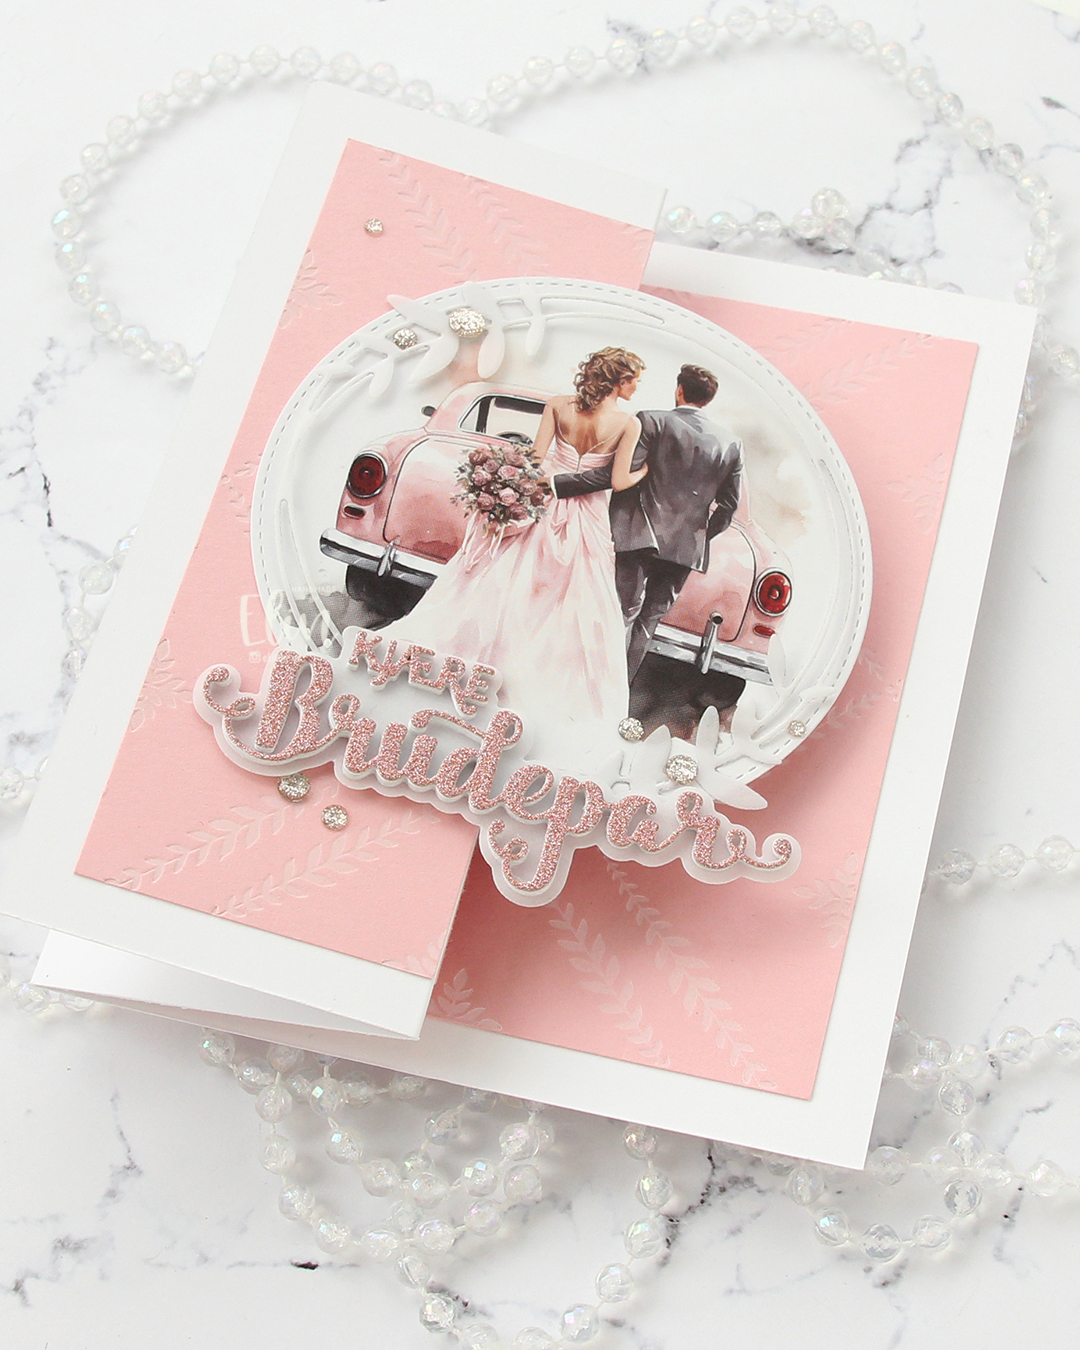 I love love love the added texture and crisp inking you get with a press plate. It’s the best thing ever.
 The back of the card. Another die cut circle, another vellum circle with the leaves and a couple more of the sentiment sticker strips. I hope you try this fun fold if you haven’t already. It’s easy, but still something different than store bought.


Such a beautiful card! The colours are so pretty and I love all the folds and layers.